name principles of matter - mrscienceut.netmrscienceut.net/matterworkbook.pdf · three phases...
TRANSCRIPT
Name _____________________________________________________________
Principles of
Matter
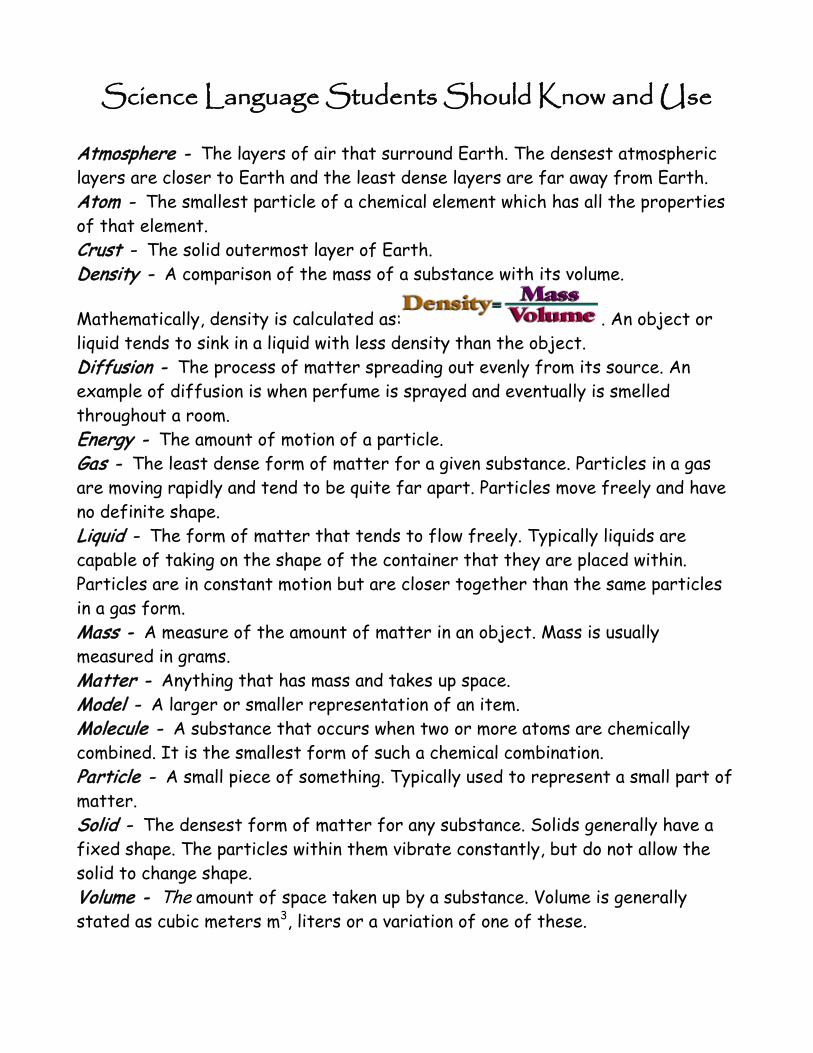
Science Language Students Should Know and Use Atmosphere - The layers of air that surround Earth. The densest atmospheric layers are closer to Earth and the least dense layers are far away from Earth. Atom - The smallest particle of a chemical element which has all the properties of that element. Crust - The solid outermost layer of Earth. Density - A comparison of the mass of a substance with its volume.
Mathematically, density is calculated as: . An object or liquid tends to sink in a liquid with less density than the object. Diffusion - The process of matter spreading out evenly from its source. An example of diffusion is when perfume is sprayed and eventually is smelled throughout a room. Energy - The amount of motion of a particle. Gas - The least dense form of matter for a given substance. Particles in a gas are moving rapidly and tend to be quite far apart. Particles move freely and have no definite shape. Liquid - The form of matter that tends to flow freely. Typically liquids are capable of taking on the shape of the container that they are placed within. Particles are in constant motion but are closer together than the same particles in a gas form. Mass - A measure of the amount of matter in an object. Mass is usually measured in grams. Matter - Anything that has mass and takes up space. Model - A larger or smaller representation of an item. Molecule - A substance that occurs when two or more atoms are chemically combined. It is the smallest form of such a chemical combination. Particle - A small piece of something. Typically used to represent a small part of matter. Solid - The densest form of matter for any substance. Solids generally have a fixed shape. The particles within them vibrate constantly, but do not allow the solid to change shape. Volume - The amount of space taken up by a substance. Volume is generally stated as cubic meters m3, liters or a variation of one of these.
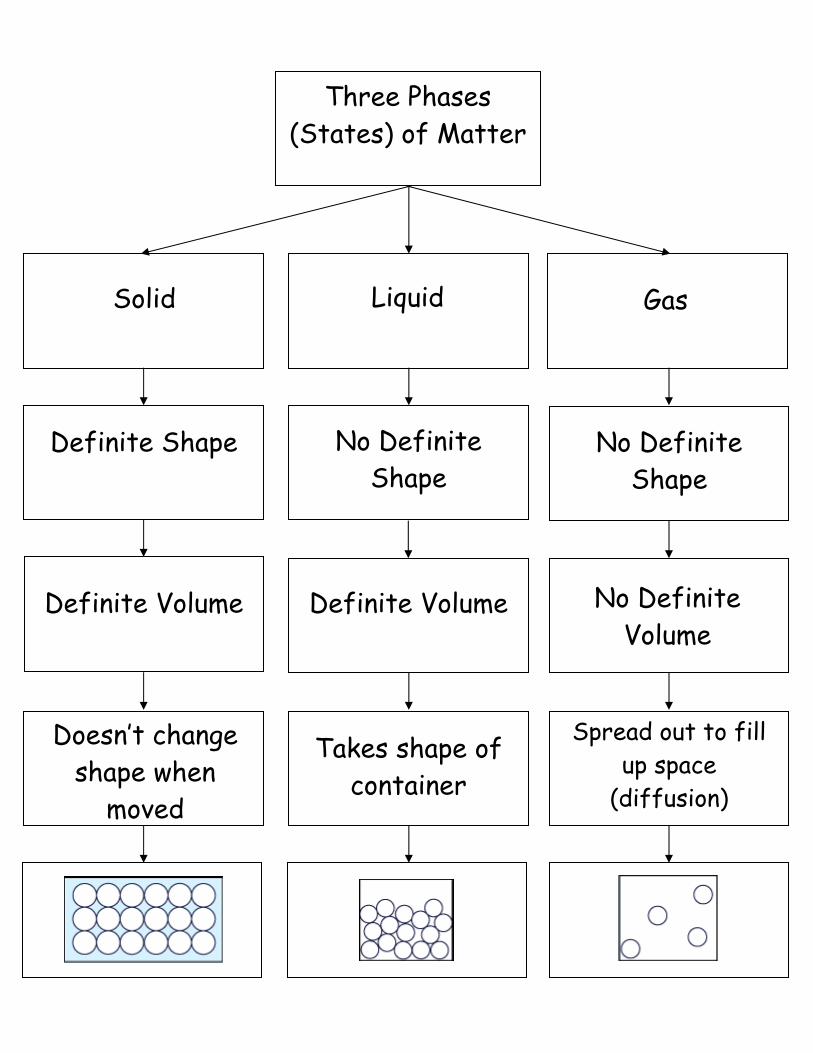
Three Phases (States) of Matter
Solid Liquid Gas
Doesn’t change shape when
moved
Definite Volume
No Definite Shape
Definite Volume
Definite Shape
Takes shape of container
No Definite Shape
No Definite Volume
Spread out to fill up space
(diffusion)
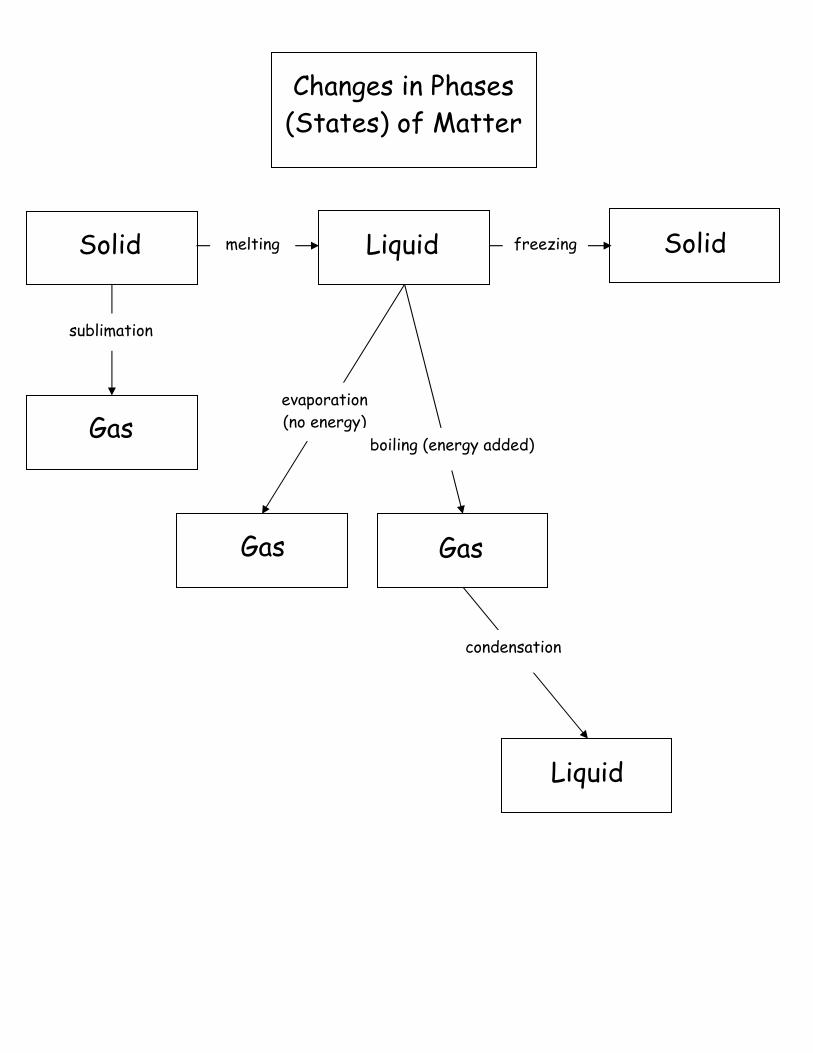
Changes in Phases (States) of Matter
melting freezing Solid Liquid Solid
sublimation
Gas
Gas
evaporation (no energy)
boiling (energy added)
Gas
condensation
Liquid
1 | P a g e
Bill Nye – Phases of Matter As you watch Bill Nye Phases of Matter, answer the following questions: 1. What is Bill Nye the Science Guy brought to you by? 2. The universe of made of __________________________. 3. Matter comes in three phases (states). They are: a. b. c. 4. The difference between molten steel and solid steel is ______________________. 5. Solid, liquid, and gas are all phases of _______________________. 6. Getting things to change phase takes _________________________. 7. Water vapor is invisible. True False 8. If we want to change a ____________________ to a _____________________, you would have to take away energy. 9. Liquid nitrogen is so cold, the energy in the room can make it _________________. 10. The faster the molecules are going, the __________________ the gage will read. The slower the molecules are going, the _________________ the gage will read. 11. When the motion of molecules stop, that is called ___________________ __________________. 12. Scientists have reached absolute zero. True False
2 | P a g e
13. The Way Cool scientist works for the _______________ ______________ company. 14. The gas is _______________________ than the air so the bag goes down. 15. When matter is in the gas phase, it takes the ______________ of its container. When matter is in the liquid phase, it takes the ______________ of its container. 16. Bill Nye tells that he is cooking, changing the __________________ of __________________.
Structure of Matter Lab Materials:
Sugar cube Word Sand paper Plastic knife and spoon Cup Wax paper Slice of lemon Toothpick Ziploc bag Eyedropper Hand lens
Procedure Activity 1 - Sugar Cube 1. Study the cube and list three properties that you observe.
a.
b.
c.
3 | P a g e
2. Now, break the cube into smaller pieces. What are these smaller pieces called? __________________________________________________________________ 3. Can you break these pieces into even smaller pieces? If you can, do so. 4. Look at the smaller pieces of sugar. Describe three properties of these smallest pieces.
a.
b.
c. Activity 2 - Wood
1. Look at the piece of wood. Examine its structure. List three properties of this piece of wood.
a.
b.
c. 2. Now, obtain the smallest piece of wood possible by using any of the materials provided. Describe what you did. __________________________________________________________________ __________________________________________________________________ 3. Observe three properties of this new smallest piece of wood.
a.
b.
c.
4 | P a g e
Activity 3 - Water 1. Fill the cup half full of water. Observe and describe three properties of the water.
a.
b. c.
2. Now, try to obtain the smallest piece of water. Describe how you obtained this smallest piece and observe three properties of this particle. __________________________________________________________________ __________________________________________________________________
a.
b.
c. Activity 4 - Lemon 1. Place a piece of lemon on a paper towel. Observe and describe three properties of this lemon.
a.
b.
c. 2. Identify the smallest piece of the lemon and describe three properties of this particle and how you obtained the particle. __________________________________________________________________ __________________________________________________________________
5 | P a g e
a.
b.
c. Analysis/Conclusion 1. What is the term you used to describe the “smallest part” of either the wood or the lemon activity? __________________________________________________________________ 2. What is the smallest part of water you can break down and still have water? __________________________________________________________________ 3. What can you infer about the smallest pieces of the lemon that you smell? __________________________________________________________________ __________________________________________________________________ 4. Was there any item you worked with that you could not break down into smaller pieces? Explain why or why not. __________________________________________________________________ __________________________________________________________________ __________________________________________________________________ 5. Are the properties of the smallest particles from each item the same as the properties of the larger whole that they came from? Yes or No? Defend your answer. __________________________________________________________________ __________________________________________________________________ __________________________________________________________________
6 | P a g e
Popcorn Matter Materials
Frozen shortening cube in a sealable sandwich bag Glue Popcorn kernels
Part A – Observations Procedure 1. Lay your shortening model of a solid flat on your table and record your observations about the appearance of the atoms (kernels) in the model. 2. Your task is to change your model of a solid to a model of a liquid. As a group, plan a way to accomplish this. To avoid messes, bags should remain sealed during this step. 3. Once the cube has completely melted, lay it flat on the table and record your observations about the appearance of the atoms (kernels) in the model liquid. Part B – Observations Procedure 1. Observe the atoms in the model as they change from a solid, to a liquid, and then to a gas. Be sure to note the spacing and movement of the kernels and to sketch their arrangement as they are popping. 2. On your worksheet, arrange 12 kernels in each circle to represent the arrangement of the atoms in each phase. Glue the kernels in place so they won’t move.
--------------------------------------------------- 1. Record your observations about the appearance of the atoms (kernels) in the model. __________________________________________________________________ __________________________________________________________________
7 | P a g e
2. Record your observations about the appearance of the atoms (kernels) in the model liquid. __________________________________________________________________ __________________________________________________________________ 3. Record what happens as the frozen cube melts in the beaker on the hot plate. __________________________________________________________________ __________________________________________________________________ __________________________________________________________________ __________________________________________________________________ 4. Draw a picture of what happens as the popcorn heats up and begins to pop.
8 | P a g e
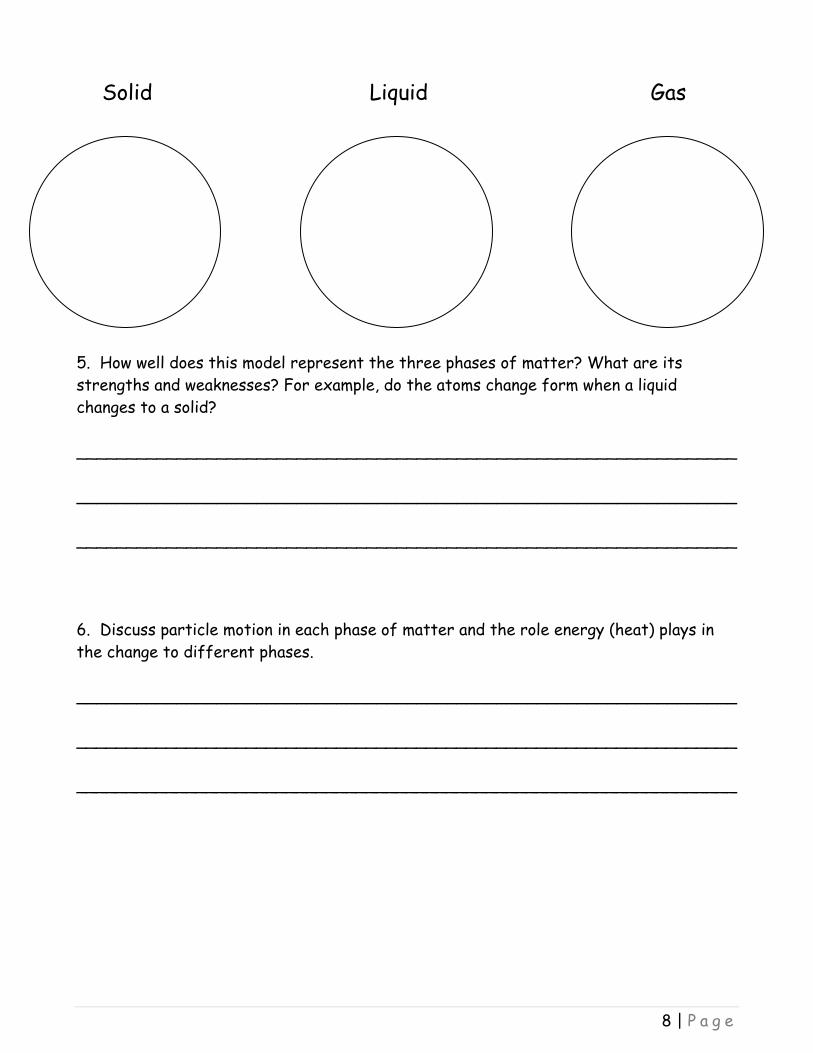
Solid Liquid Gas 5. How well does this model represent the three phases of matter? What are its strengths and weaknesses? For example, do the atoms change form when a liquid changes to a solid? __________________________________________________________________ __________________________________________________________________ __________________________________________________________________ 6. Discuss particle motion in each phase of matter and the role energy (heat) plays in the change to different phases. __________________________________________________________________ __________________________________________________________________ __________________________________________________________________
9 | P a g e
One M&M and Water Materials
Two M&Ms Plate Measuring Cup
Procedure 1. Examine an M&M. Describe the size, shape, color, texture, etc. of the outside of the M&M. __________________________________________________________________ __________________________________________________________________ 2. Break open the second M&M. Examine the inside. Describe the properties of the inside of an M&M. __________________________________________________________________ __________________________________________________________________ 3. Based on your observations, list at least four properties of M&Ms. a. b. c. d. 4. Fill the measuring cup with room temperature water. Pour it in the plate. Make sure there is enough water to cover the bottom of the entire plate. (No water is to overflow onto the desk). 5. Let the water settle.
10 | P a g e
6. After the water has settled, carefully placed the M&M that was not broken into the center of the plate. Make sure the M&M and water are kept as still as possible. 7. Observe for one minute. Draw a diagram of what you see.
7. Describe the movement of the color from your M&M.
__________________________________________________________________ __________________________________________________________________ 8. Carefully pour the water out of your plate, throw the M&M in the garbage, and dry the plate, tray, and measuring cup. Put it back on the table where you got it.
Colliding Colors?
Materials
Two plates Measuring Cup Three M&Ms, two different colors
Procedure
1. Pour water into the two plates so that it completely covers the bottom of each plate.
2. Once the water settles, carefully place the same color M&M in the center of each plate.
3. Place a different-colored M&M about 2 centimeters form the M&M in one of the plates. Observe for 1 minute.
11 | P a g e
4. Carefully empty the water out of the plates, throw away the M&Ms, dry the plates, tray, and measuring cup, and place them on the table.
-------------------------------------------------------------------------- 1. Draw a picture of your two plates below. Be sure to use color!
2. Complete the graphic organizer below Results
Evidence
12 | P a g e
Explain how this experiment demonstrates particle motion.
M&M Colors in Different Temperatures Materials
Three plates Permanent marker Small cup Measuring cup Cold water Room temperature water Hot water Three M&Ms, same color
Procedures 1. Draw a target on each of the three plates so that you can better compare the rates at which the M&Ms dissolve in each temperature of water. To make the mark:
Use the permanent marker to trace around the top of the cup and draw a circle in the center of each plate.
Turn the cup over and use the bottom to draw a smaller circle inside each larger one.
Make a dot in the center of the circles on each plate. 2. Pour the water into the plate so that it covers the bottom of the entire plate.
13 | P a g e
3. Place a same-colored M&M in the center of each plate. (Place them in the plate as close to the same time as you can). 4. Observe for about 1 minute. 5. Carefully empty the water out of the plates, throw away the M&Ms, dry the plates, tray, and measuring cup, and place them on the table.
-------------------------------------------------------------------------- 1. Observe your M&Ms for about 1 minute. Describe what you see. Record your observations below.
__________________________________________________________________ __________________________________________________________________ 2. Draw a picture of results.
3. Complete the graphic organizer below. Results
14 | P a g e
Evidence Explain how this experiment demonstrates particle motion in different temperatures of water.
M&M Colors in Different Liquids Materials
Three plates Two cups Permanent marker Small cup Measuring cup Teaspoon Salt Sugar Stirrer Three M&Ms, same color
15 | P a g e
Procedures 1. Draw a target on each of the three plates so that you can better compare the rates at which the M&Ms dissolve in each temperature of water. To make the mark:
Use the permanent marker to trace around the top of the cup and draw a circle in the center of each plate.
Turn the cup over and use the bottom to draw a smaller circle inside each larger one.
Make a dot in the center of the circles on each plate. 2. Label two cups salt and sugar. Add about ½ cup of room-temperature water to each cup (enough water to cover the bottom of each plate). 3. Add 4 teaspoons each of salt and sugar to their labeled cups. Stir until both are as dissolved as possible. 4. Pour the saltwater into one plate, sugar water into another, and the same amount of regular water into the third plate. 5. Place a same-colored M&M in the center of each plate. (Place them in the plate as close to the same time as you can). 6. Observe for about 1 minute.
-------------------------------------------------------------------------- 1. Observe for about 1 minute. Describe what you see. Record your observations below. __________________________________________________________________ __________________________________________________________________ 2. Draw a picture of results.
16 | P a g e
3. Complete the graphic organizer below. Results Evidence Explain how this experiment demonstrates particle motion in different liquids.
Investigating the Line Materials
Two clear plastic cup White sheet of paper
17 | P a g e
Measuring Cup Two M&Ms, two different colors Two sugar-coated candies, different colors.
Procedures 1. Place the cups on a white sheet of paper. Pour water into the cups until it is about as deep as the water was in your plates in previous activities. 2. Once the water settles, place two different-colored M&Ms in the water about 2 cm apart. Repeat this process for the other sugar-coated candies in the other cup. 3. Observe for about 1 minute. 4. Carefully empty the water out of the cup, throw away the M&Ms, dry the cup, tray, and measuring cup, and place them on the table.
-------------------------------------------------------------------------- 1. Observe for about 1 minute. Look from the side and describe what you see. Record your observations below. __________________________________________________________________ __________________________________________________________________ 2. Draw a picture of your cup after the experiment is completed. (Make sure you use color!)
M&M Other
18 | P a g e
3. Complete the graphic organizer below. Results Evidence Explain how this experiment demonstrates particle motion (why did it form a line?).
Spreading Molecules Materials
Two cups Hot water
19 | P a g e
Cold water Food coloring
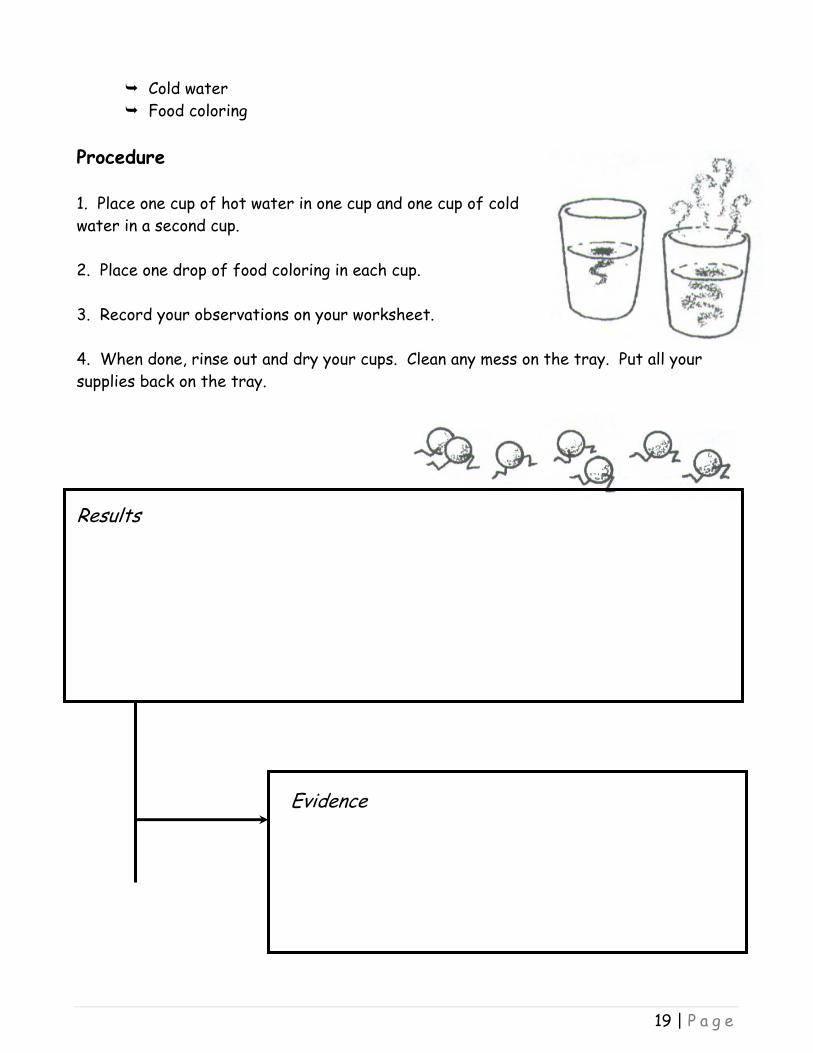
Procedure 1. Place one cup of hot water in one cup and one cup of cold water in a second cup. 2. Place one drop of food coloring in each cup. 3. Record your observations on your worksheet. 4. When done, rinse out and dry your cups. Clean any mess on the tray. Put all your supplies back on the tray.
Results Evidence
20 | P a g e
Explain how this experiment demonstrates particle motion.
Sí, C! Materials
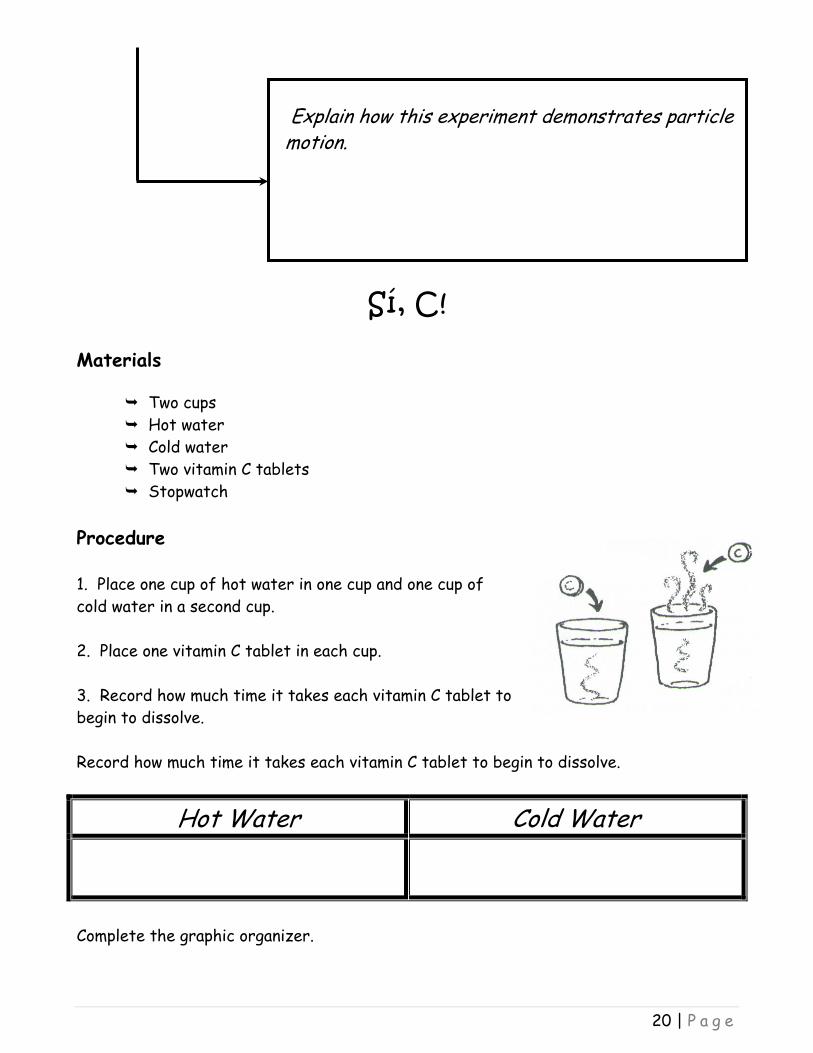
Two cups Hot water Cold water Two vitamin C tablets Stopwatch
Procedure 1. Place one cup of hot water in one cup and one cup of cold water in a second cup. 2. Place one vitamin C tablet in each cup. 3. Record how much time it takes each vitamin C tablet to begin to dissolve. Record how much time it takes each vitamin C tablet to begin to dissolve.
Hot Water Cold Water
Complete the graphic organizer.
21 | P a g e
Results Evidence Explain how this experiment demonstrates particle motion.
Gases – Expanding Possibilities! (Source: American Chemical Society – Science for Kids)
Materials
Empty ½ liter plastic bottle Plastic cup Flexible straw
22 | P a g e
Clay Room temperature water Warm water Tray
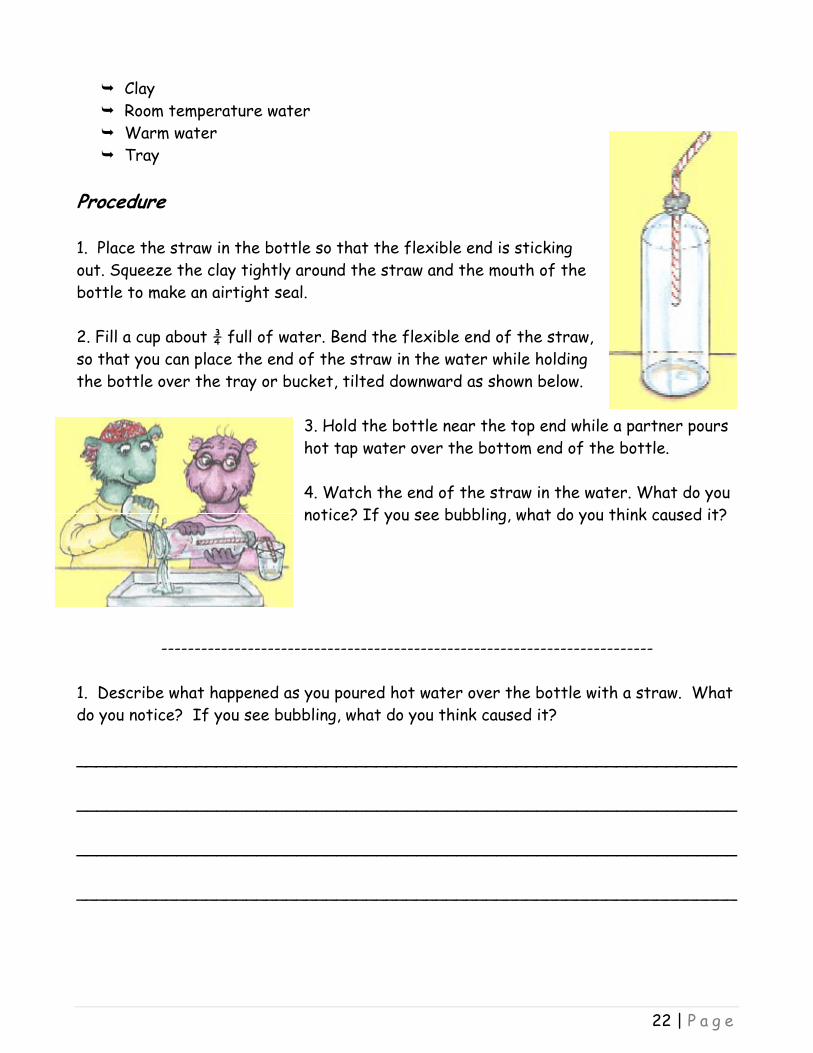
Procedure 1. Place the straw in the bottle so that the flexible end is sticking out. Squeeze the clay tightly around the straw and the mouth of the bottle to make an airtight seal. 2. Fill a cup about ¾ full of water. Bend the flexible end of the straw, so that you can place the end of the straw in the water while holding the bottle over the tray or bucket, tilted downward as shown below.
3. Hold the bottle near the top end while a partner pours hot tap water over the bottom end of the bottle. 4. Watch the end of the straw in the water. What do you notice? If you see bubbling, what do you think caused it?
--------------------------------------------------------------------------
1. Describe what happened as you poured hot water over the bottle with a straw. What do you notice? If you see bubbling, what do you think caused it? __________________________________________________________________ __________________________________________________________________ __________________________________________________________________ __________________________________________________________________
23 | P a g e
2. Did you see bubbles in the cup with room temperature water? Explain why or why not. __________________________________________________________________ __________________________________________________________________ __________________________________________________________________ __________________________________________________________________
Cool It and Pool It! (Source: American Chemical Society – Science for Kids)
Materials
Ice Two clear plastic cups Water Paper towels
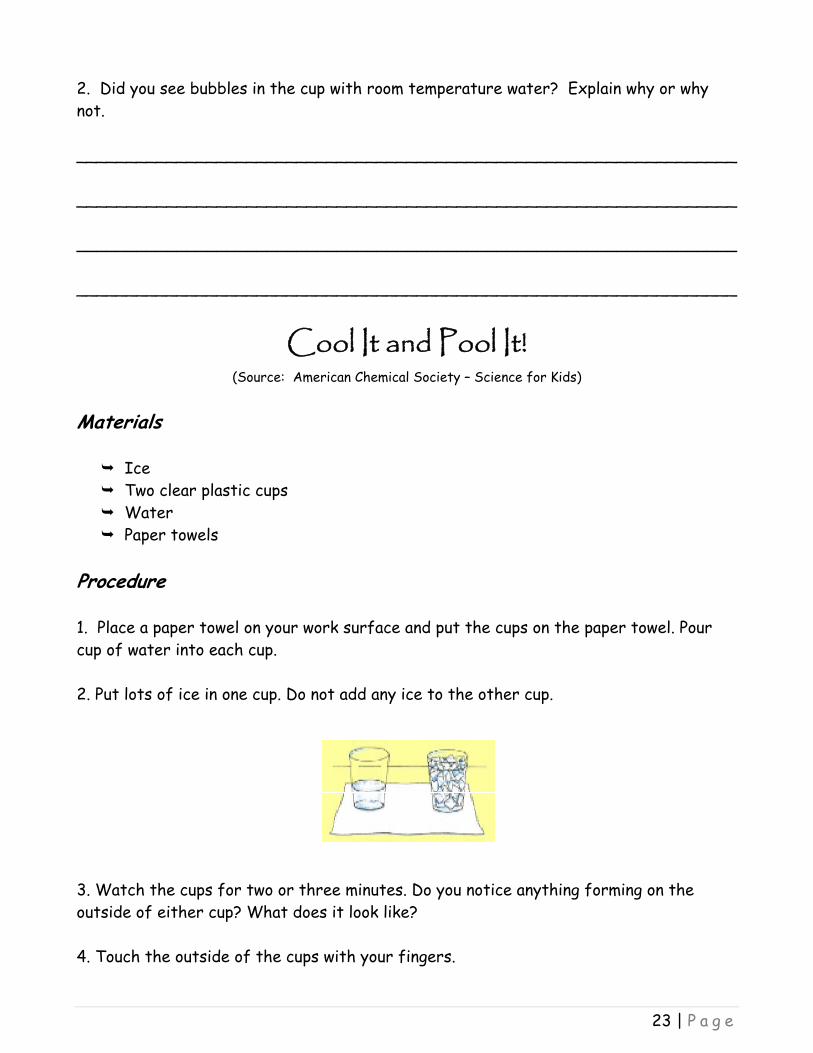
Procedure 1. Place a paper towel on your work surface and put the cups on the paper towel. Pour cup of water into each cup. 2. Put lots of ice in one cup. Do not add any ice to the other cup.
3. Watch the cups for two or three minutes. Do you notice anything forming on the outside of either cup? What does it look like? 4. Touch the outside of the cups with your fingers.
24 | P a g e
1. After two or three minutes of observation, describe what each cup looks like. a. Cup with water – ______________________________________________ _________________________________________________________________ b. Cup with ice – ________________________________________________ _________________________________________________________________ 2. Touch the outside of the cups with your fingers. Is there any difference between the way they feel? If either cup feels wet, where do you think the liquid came from? __________________________________________________________________ __________________________________________________________________ __________________________________________________________________
A Condensation Sensation
Materials
Two wide clear plastic cups Two tall clear plastic cups Hot water Ice Magnifying Glass Stopwatch
Procedure
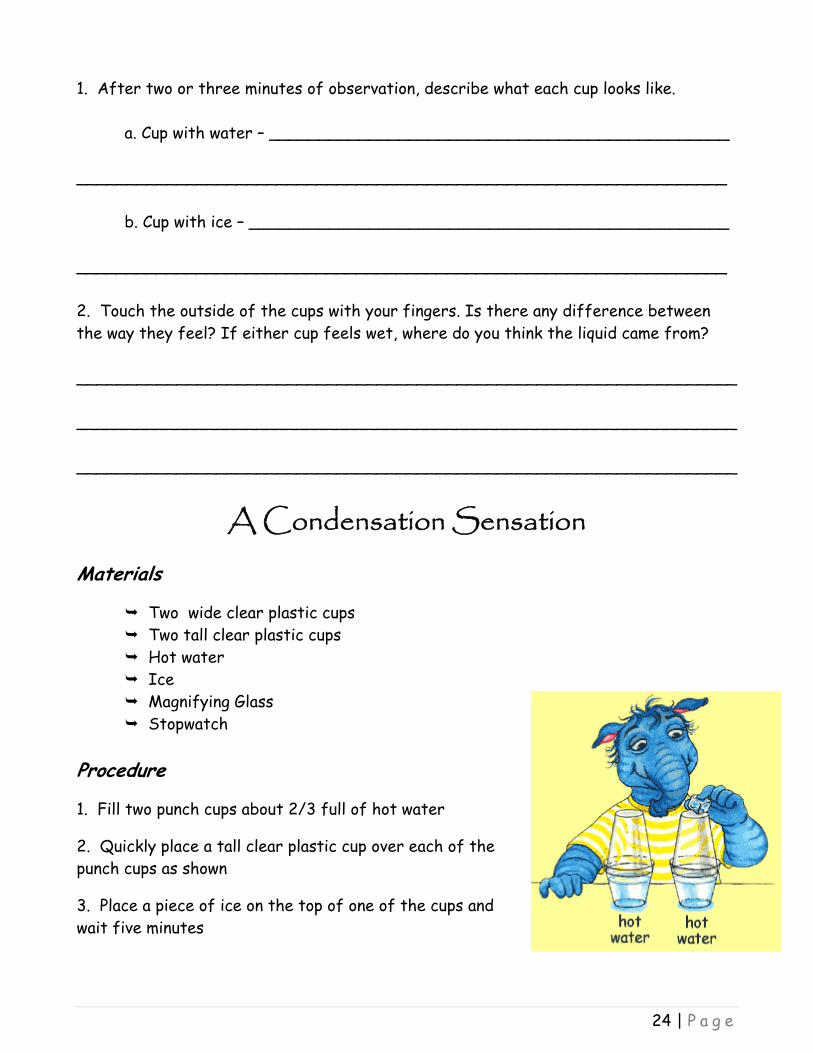
1. Fill two punch cups about 2/3 full of hot water
2. Quickly place a tall clear plastic cup over each of the punch cups as shown
3. Place a piece of ice on the top of one of the cups and wait five minutes
25 | P a g e
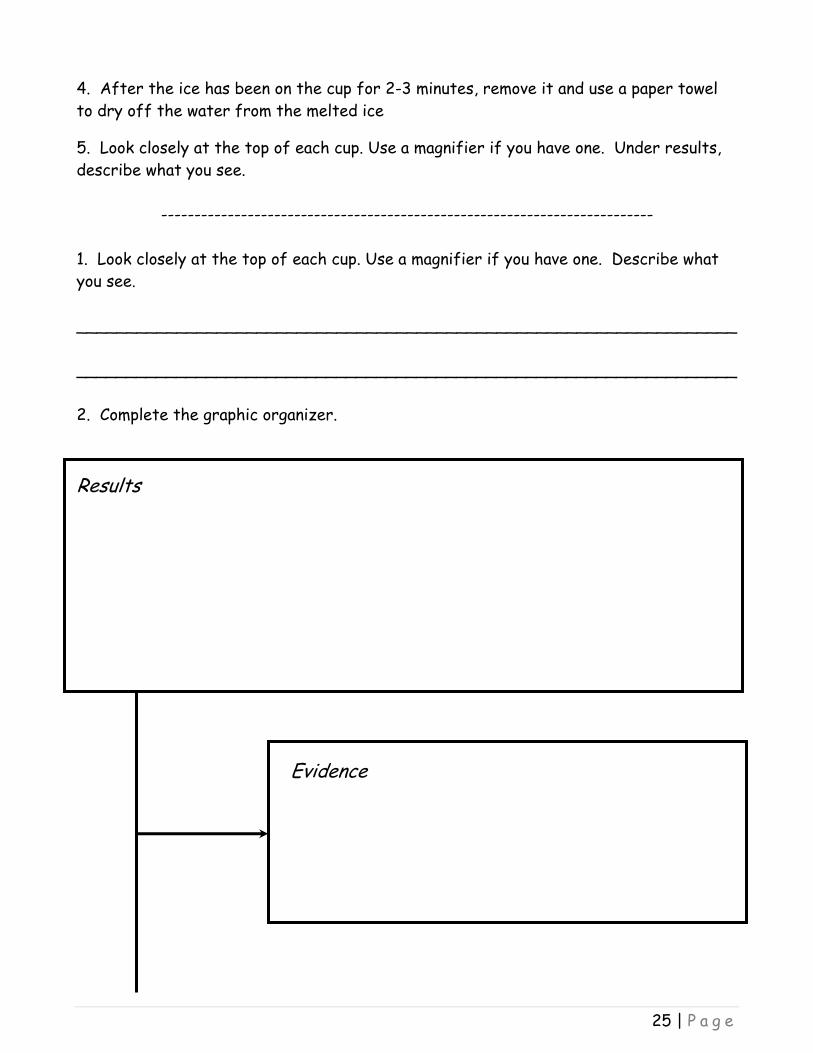
4. After the ice has been on the cup for 2-3 minutes, remove it and use a paper towel to dry off the water from the melted ice
5. Look closely at the top of each cup. Use a magnifier if you have one. Under results, describe what you see.
-------------------------------------------------------------------------- 1. Look closely at the top of each cup. Use a magnifier if you have one. Describe what you see. __________________________________________________________________ __________________________________________________________________ 2. Complete the graphic organizer. Results Evidence
26 | P a g e
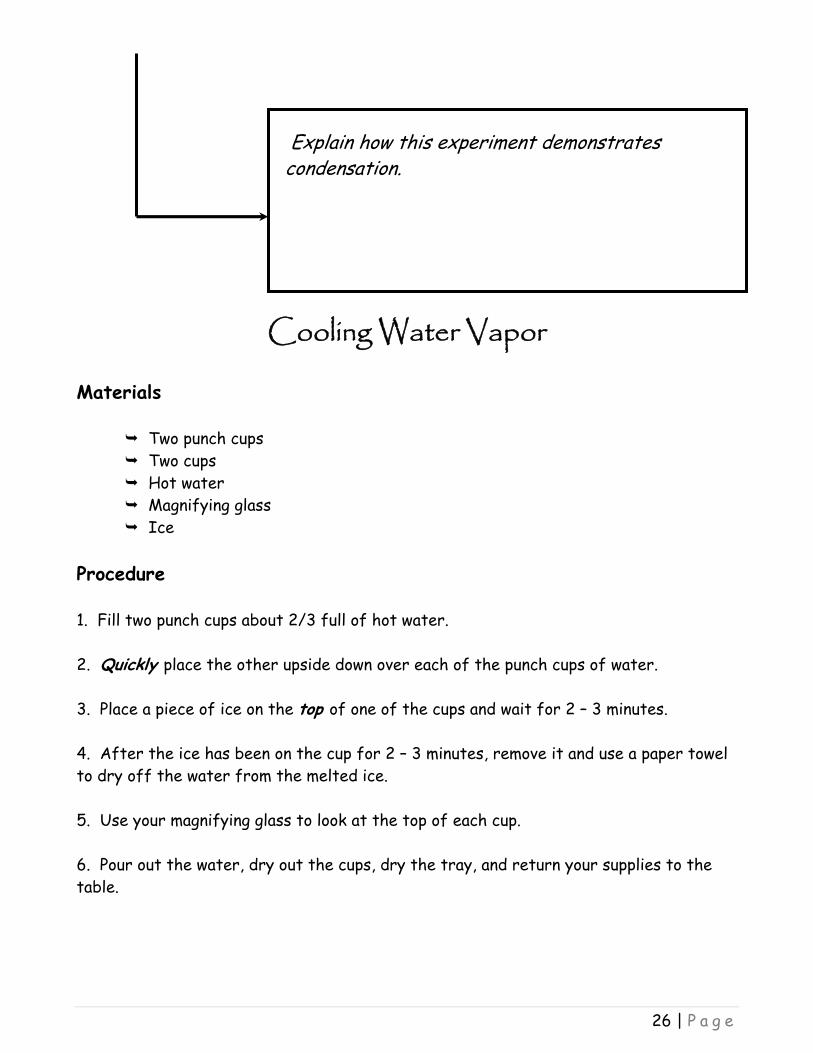
Explain how this experiment demonstrates condensation.
Cooling Water Vapor Materials
Two punch cups Two cups Hot water Magnifying glass Ice
Procedure 1. Fill two punch cups about 2/3 full of hot water. 2. Quickly place the other upside down over each of the punch cups of water. 3. Place a piece of ice on the top of one of the cups and wait for 2 – 3 minutes. 4. After the ice has been on the cup for 2 – 3 minutes, remove it and use a paper towel to dry off the water from the melted ice. 5. Use your magnifying glass to look at the top of each cup. 6. Pour out the water, dry out the cups, dry the tray, and return your supplies to the table.
27 | P a g e
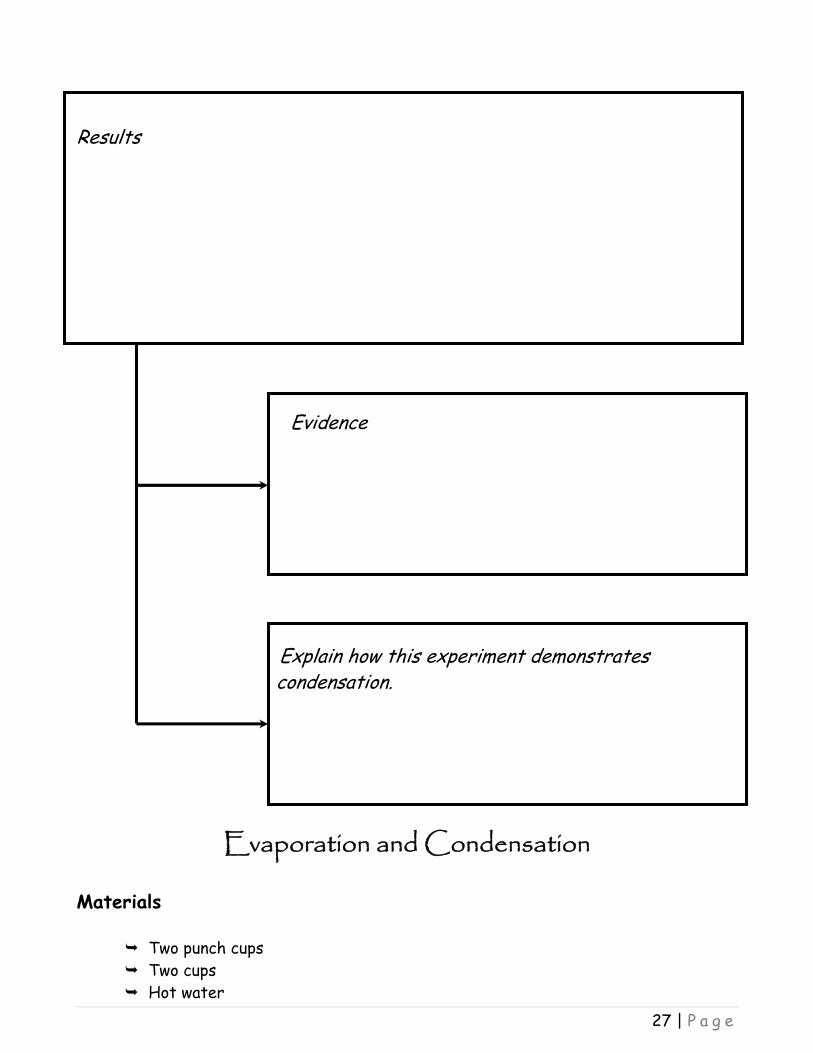
Results Evidence Explain how this experiment demonstrates condensation.
Evaporation and Condensation Materials
Two punch cups Two cups Hot water
28 | P a g e
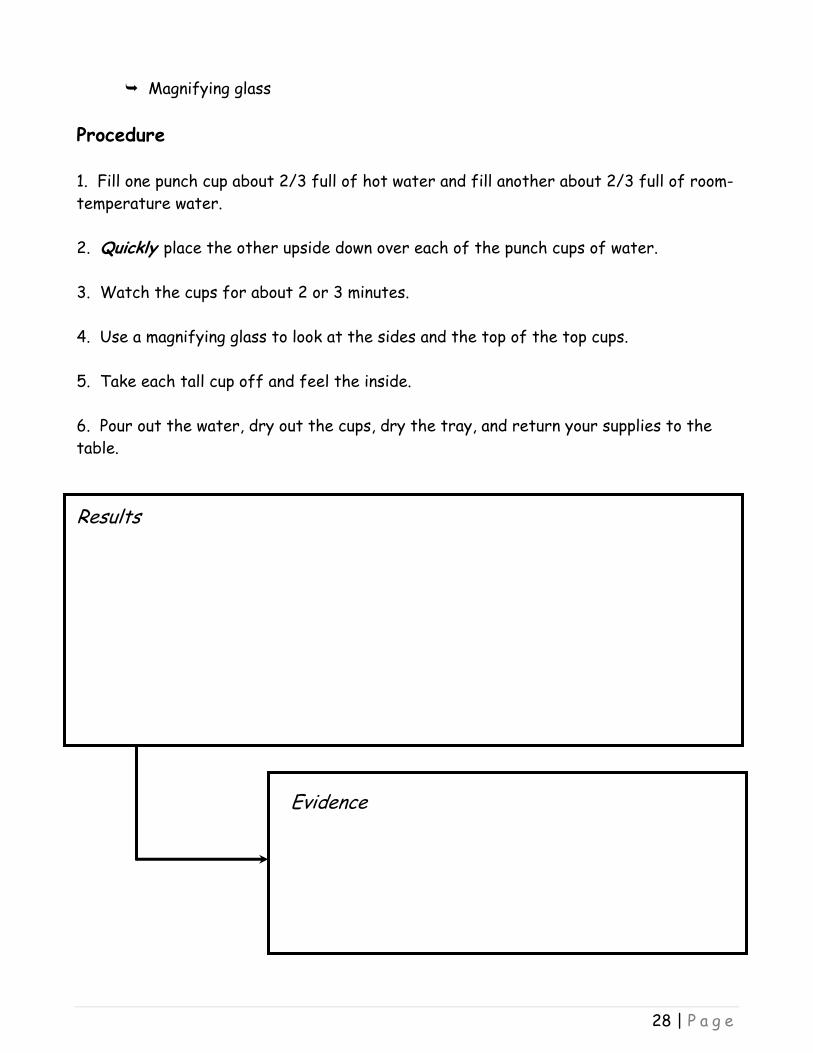
Magnifying glass Procedure 1. Fill one punch cup about 2/3 full of hot water and fill another about 2/3 full of room-temperature water. 2. Quickly place the other upside down over each of the punch cups of water. 3. Watch the cups for about 2 or 3 minutes. 4. Use a magnifying glass to look at the sides and the top of the top cups. 5. Take each tall cup off and feel the inside. 6. Pour out the water, dry out the cups, dry the tray, and return your supplies to the table. Results Evidence
29 | P a g e
Explain how this experiment demonstrates evaporation and condensation.
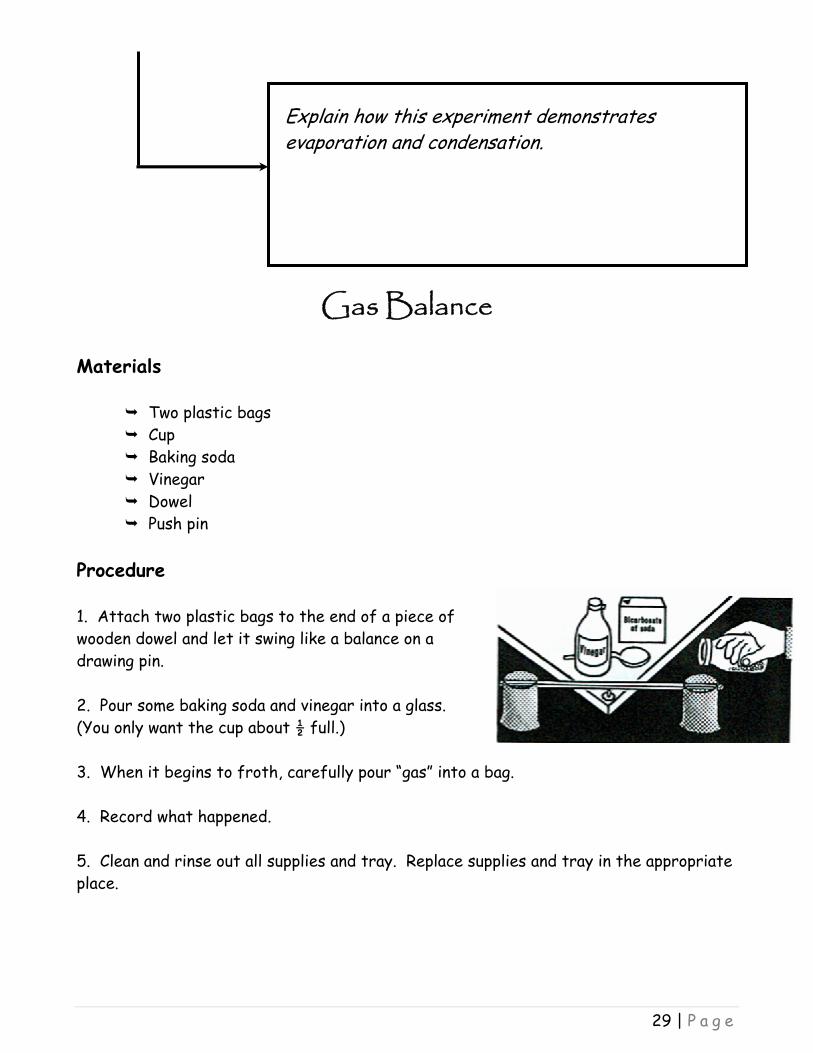
Gas Balance Materials
Two plastic bags Cup Baking soda Vinegar Dowel Push pin
Procedure 1. Attach two plastic bags to the end of a piece of wooden dowel and let it swing like a balance on a drawing pin. 2. Pour some baking soda and vinegar into a glass. (You only want the cup about ½ full.) 3. When it begins to froth, carefully pour “gas” into a bag. 4. Record what happened. 5. Clean and rinse out all supplies and tray. Replace supplies and tray in the appropriate place.

30 | P a g e
Results Evidence Explain how this shows gas has mass.