opennebulaconf 2016 - storage hands-on workshop by javier fontán, opennebula
TRANSCRIPT
Storage Workshop
OpenNebulaConf 20164th edition

Agenda for the Workshop
● OpenNebula Storage Model
○ QCOW2 Drivers
● Lightning Talks
● Creating VM Images for OpenNebula
● Cangallo!

OpenNebula Storage Model
Images DatastoreSystem Datastore
VM 1
VM 2
CentOS Image
Devuan Image
Ubuntu Image
Database Image Pers
Virtual Router Image
Empty FS Image
VM-1 disk.0
VM-1 disk.1
VM-2 disk.0
VM-2 disk.1
Link

OpenNebula Storage Model
A Simplified View (!):
● Images reside in Images Datastore and are copied to System Datastore
● VMs use images in System Datastore as disks● Persistent Images are not copied but a link is created
instead. The image in Images Datastore is modified● Volatile disks can be created in the System Datastore● Disk files have the names disk.0, disk.1, etc...

Image Datastore Drivers
● The drivers reside in /var/lib/one/remotes/datastore
● These drivers manage monitoring, creation, deletion, cloning... actions of images
○ clone: create an copy of an image○ cp: add an image to the datastore○ export: export to a marketplace○ mkfs: create an empty image○ monitor: get info about the datastore○ rm: delete an image○ snap_delete/flatten/revert: manage persistent
snapshots○ stat: get info about an image that is going to be
imported

Image Datastore Drivers: fs
Add Image
● stat: get image size● cp: copy image into datastore and retrieve ID

Transfer Drivers
● They manage system datastore● Clone Images to System DS● Copy images back to Images DS● Creates contextualization CDROM● Reside in /var/lib/one/remotes/tm:
○ clone: copy image from Images DS to System DS○ context: generate context CD○ cpds: copy disk to Images DS○ ln: link a persistent Image to System DS

Transfer Drivers: VM Lifecycle
● VMs have Prolog and Epilog stages● Prolog and Epilog scripts found in
/var/lib/one/vms/<id>
# cat transfer.0.prolog CLONE qcow2 ursa:/var/lib/one//datastores/1/9c1f5c33cd858e3ae2ab07fa3b41c914 ursa:/var/lib/one//datastores/0/999/disk.0 999 1CONTEXT qcow2 /var/lib/one/vms/999/context.sh /var/lib/one/vms/999/token.txt ursa:/var/lib/one//datastores/0/999/disk.1 999 0# cat transfer.0.epilog DELETE qcow2 ursa:/var/lib/one//datastores/0/999/disk.0 999 1DELETE qcow2 ursa:/var/lib/one//datastores/0/999 999 0

Transfer Drivers: VM Lifecycle
Some VM actions have trigger a TM action. Check /usr/lib/one/mads/one_vmm_exec.rb. Attach disk:
steps = [ # Perform a PROLOG on the disk { :driver => :tm, :action => :tm_attach, :parameters => tm_command.split }, # Run the attach vmm script { :driver => :vmm, :action => :attach_disk, :parameters => [ :deploy_id, :disk_target_path, target, target_index, drv_message ], :fail_actions => [ { :driver => :tm, :action => :tm_detach, :parameters => tm_rollback.split } ] } ]

Transfer Manager: QCOW2
● QCOW2 format can create overlays (linked clones)● This is used in QCOW2 driver● Makes cloning faster and occupies less disk space● It’s slower afterwards as it adds another indirection● Enables live disk snapshotting● Assumes a shared filesystem for both Images and System
datastores

Transfer Manager: QCOW2 Clone
● A new image is created in system datastore:
qemu-img create -b <original> -f qcow2 <disk>
● A new image is created in <disk> that contains only metadata. It’s base image is <original>
● When reading it checks if the block is in <disk> image, if it’s not there searches in <original>. This can be chained.
● When writing it checks if the block is already in <disk>, if not a new block is allocated, copies the block from <original> and writes there

Transfer Manager: QCOW2 Snapshot
● Instead of cloning the image directly in disk.0 a directory is created with the snapshots and a link is made to point to the actual snapshot:
disk.0 -> /var/lib/one/datastores/0/6363/disk.0.snap/0disk.0.snap/disk.0.snap/0 (base image in Images Datastore)
● New snapshots with an external snapshot to snaps dir and the link updated:
disk.0 -> /var/lib/one/datastores/0/6363/disk.0.snap/1disk.0.snap/disk.0.snap/0 (base image in Images Datastore)disk.0.snap/1 (base image snapshot 0)

Lightning Talks
OpenNebulaConf 20164th edition

Creating Images for OpenNebula
OpenNebulaConf 20164th edition

Creating Images for OpenNebula
VM images need to be prepared to support OpenNebula features:
● context packages: automatic configuration● ruby package: onegate dependency● growpart: enable root partition resizing● disable serial console: OpenNebula does not configure
it and can cause problems● open-vm-tools package: for VMware machines● qemu guestfs package: enable disk freeze for live
snapshots

qcow2 Format
$ qemu-img create -f qcow2 image.qcow2 10G
Metadata
Cluster Map
Cluster Data

qcow2 Image With Parent
$ qemu-img create -f qcow2 -o backing_file=base.qcow2 image.qcow2
Metadata
Cluster Map
Cluster Data
Metadata
Cluster Map
Cluster Data
Parent

● There are other ways to create your images:○ virt-install○ packer.io○ foreman○ etc...
● Sometimes modifying already created images is convenient
● Even if you use other image formats you can convert them

Mount Image
● Convert to raw and use mount -o loop○ mount -o loop,offset=32256 image.raw /mnt
● Convert to raw and use losetup○ losetup /dev/loop0 image.raw○ kpartx -a /dev/loop0○ mount /dev/loop0p1 /mnt
● Use nbd○ modprobe nbd○ qemu-nbd -c /dev/nbd0 image.qcow2○ mount /dev/nbd0p1 /mnt

libguestfs
From its webpage http://libguestfs.org:libguestfs is a set of tools for accessing and modifying virtual machine (VM) disk images. You can use this for viewing and editing files inside guests, scripting changes to VMs, monitoring disk used/free statistics, creating guests, P2V, V2V, performing backups, cloning VMs, building VMs, formatting disks, resizing disks, and much more.

guestfish - Read or Edit Files
$ guestfish -ia image.qcow2
><fs> cat /var/log/service/error.log
><fs> vi /etc/service.conf
$ guestfish -ia image.qcow2 <<EOF
upload service.conf /etc/service.conf
tar-in ssh-configuration.tar /etc/sshd
EOF
$ guestfish --ro -i -c qemu:///system -d vm-name
><fs> cat /var/log/service/error.log

virt-customize
● Starts custom VM and attach disks and connects to network
● Change passwords, create users● Move files● Install packages● Execute scripts
virt-customize [--options] [ -d domname | -a disk.img [-a disk.img ...] ] [--chmod PERMISSIONS:FILE] [--commands-from-file FILENAME] [--copy SOURCE:DEST] [--copy-in LOCALPATH:REMOTEDIR] [--delete PATH] [--edit FILE:EXPR] [--firstboot SCRIPT] [--firstboot-command 'CMD+ARGS'] [--firstboot-install PKG,PKG..] [--hostname HOSTNAME] [--install PKG,PKG..] [--link TARGET:LINK[:LINK..]] [--mkdir DIR] [--move SOURCE:DEST] [--password USER:SELECTOR] [--root-password SELECTOR] [--run SCRIPT] [--run-command 'CMD+ARGS'] [--scrub FILE] [--sm-attach SELECTOR] [--sm-register] [--sm-remove] [--sm-unregister] [--ssh-inject USER[:SELECTOR]] [--truncate FILE] [--truncate-recursive PATH] [--timezone TIMEZONE] [--touch FILE] [--update] [--upload FILE:DEST] [--write FILE:CONTENT] [--no-logfile] [--password-crypto md5|sha256|sha512] [--selinux-relabel] [--sm-credentials SELECTOR]

OpenNebula Marketplace Images
● Download CentOS images● Create CDROM with OpenNebula context packages● Create script to modify the image
○ Mount CDROM○ Install context packages○ Remove cloud-init and NetworkManager packages○ Install EPEL repository○ Install growpart packages

OpenNebula Images - Create CDROM
# Download context packages from github
curl -s https://api.github.com/repos/OpenNebula/addon-context-linux/releases | jq -r '.[0].assets[].browser_download_url' | xargs -L1 wget -P repo
# Create ISO image with label “EXTRA”
genisoimage -o extra-packages.iso -R -J -V EXTRA repo/

OpenNebula Images - Prepare Script
mkdir /tmp/mountmount LABEL=EXTRA /tmp/mount
# Install opennebula context packagerpm -Uvh /tmp/mount/one-context*rpm
# Remove cloud-init and NetworkManageryum remove -y NetworkManager cloud-init
# Install growpart and upgrade util-linuxyum install -y epel-release --nogpgcheckyum install -y cloud-utils-growpart --nogpgcheckyum upgrade -y util-linux --nogpgcheck

OpenNebula Images - Calling virt-customize
# Create an overlay to preserve original image
$ qemu-img create -f qcow2 -b $orig $image
# Run customization
$ virt-customize --attach $ISO_IMAGE --run $script --format qcow2 -v -a $image --root-password disabled

Optimizing Images
● qemu-img does not know anything about filesystems● Blocks not allocated (sparse files) or that contain zeroes
are not copied● Normal file deletion does not zero or deallocate blocks● Swap partitions contain information if used● This information can be stripped to make the images
smaller● virt-sparsify to the rescue!

Optimizing Images - virt-sparsify
There are two ways of doing sparsification:
● Normal Sparsification:○ Occupies the maximum space of the image
● In Place Sparsification:○ Create an sparse qcow2 file

Optimizing Images - Normal Sparsification
● Create overlay of the image● Create a file in all filesystems and fill it with zeroes until
there is not more space and delete file● Fill swap partitions with zeroes● Convert it to a new qcow2 file skipping zero blocks
$ TMPDIR=/var/tmp virt-sparsify original.qcow2 new.qcow2

Optimizing Images - In Place Sparsification
● Uses trim command, normally used for SSD disks● Deallocates blocks from filesystem● Does not require the total amount of disk space● The qcow2 file contains holes and is not the best one
for distribution● Can be converted to a non sparse qcow2 file● Can not be used with compression
$ virt-sparsify --in-place original.qcow2 new.qcow2

Optimizing Images - Compression
● qcow2 images can have the blocks compressed● Compression rate is less that xz or bzip2● Is more convenient as it can be directly used as is● Use of these images trades disk space for CPU
consumption● Can be done directly in virt-sparsify with
--compress (not In Place)
qemu-img tips
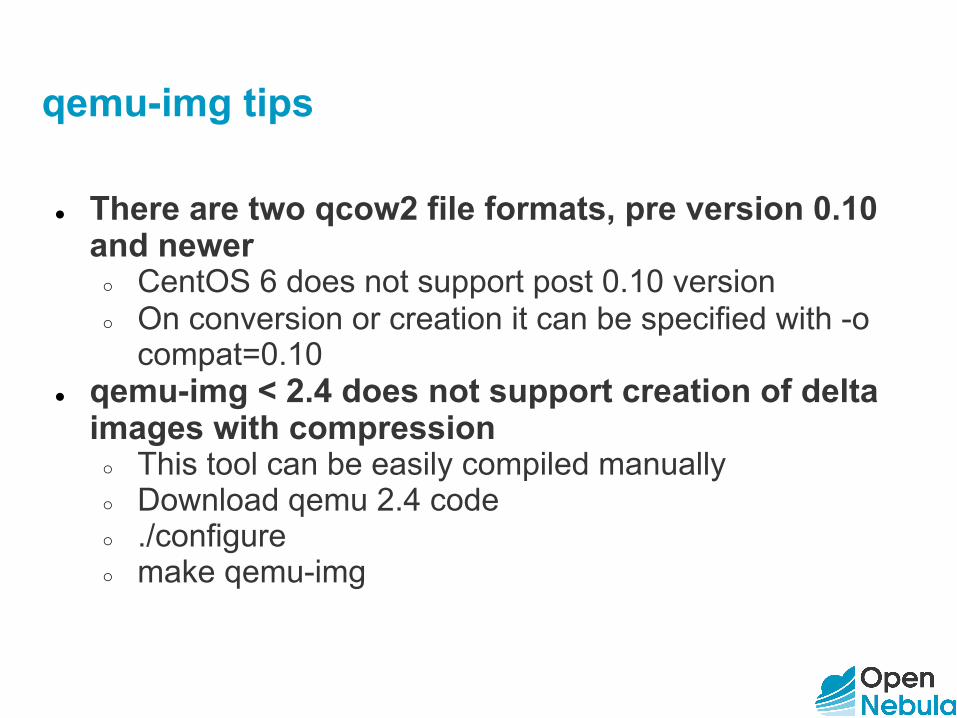
● There are two qcow2 file formats, pre version 0.10 and newer
○ CentOS 6 does not support post 0.10 version○ On conversion or creation it can be specified with -o
compat=0.10● qemu-img < 2.4 does not support creation of delta
images with compression○ This tool can be easily compiled manually○ Download qemu 2.4 code○ ./configure○ make qemu-img

Cangallo!
OpenNebulaConf 20164th edition

Cangallo (pronounced canga-io) is a command-line tool written in ruby, that uses qemu-img and libguestfs to manage, create and organize qcow2 images. Its repository holds images and deltas of derived images in a similar way as Docker but in a block level instead of file level.
https://canga.io
Cangallo!

Cangallo: Repository
In Cangallo images are registered into a repository:$ canga listNAME SIZE DAYS_AGO default:centos7 370.2 Mb 134.2 default:debian8 455.8 Mb 134.2 default:ubuntu1404 247.6 Mb 134.2 default:ubuntu1604 290.1 Mb 134.2^ default:centos7/one 47.7 Mb 134.1 OpenNebula Compatible CentOS 7^ default:0b5e9704c8e898ee 51.0 Mb 134.1 OpenNebula Compatible Ubuntu 14.04^ default:0eb98b0f62e528e6 78.0 Mb 134.1 OpenNebula Compatible Ubuntu 16.04 default:centos7-1606 354.2 Mb 101.4^ default:centos7-1606/one 50.1 Mb 92.3 OpenNebula Compatible CentOS 7^ default:centos7-1606/one/vmware 69.7 Mb 59.3 OpenNebula Compatible CentOS 7^ default:debian7/one 69.6 Mb 4.0 OpenNebula Compatible Debian 8^ default:ubuntu1404/one 51.8 Mb 4.0 OpenNebula Compatible Ubuntu 14.04^ default:ubuntu1604/one 80.1 Mb 4.0 OpenNebula Compatible Ubuntu 16.04 default:centos7-1608 137.9 Mb 4.0^ default:centos7-1608/one 57.1 Mb 4.0 OpenNebula Compatible CentOS 7

Cangallo: Cangafiles
Cangafiles are small yaml files that contain instructions on how to create a derived image.
$ cat cangafiles/centos7.canga # vim:tabstop=2:sw=2:et:syntax=yaml:---description: OpenNebula Compatible CentOS 7os: CentOS 7parent: centos7-1608tag: centos7-1608/onetasks: - copy: context / - run: - rpm -Uvh /context/one-context*rpm - yum remove -y NetworkManager cloud-init - yum install -y epel-release cloud-utils-growpart ruby --nogpgcheck - yum install -y util-linux --nogpgcheck - delete: /context

Cangallo: Build Image
$ canga build cangafiles/centos7.canga [ 0.0] Examining the guest ...[ 7.0] Setting a random seed[ 7.0] Copying: context to /[ 7.0] Running: rpm -Uvh /context/one-context*rpm[ 7.6] Running: yum remove -y NetworkManager cloud-init[ 11.1] Running: yum install -y epel-release cloud-utils-growpart ruby --nogpgcheck[ 25.8] Running: yum install -y util-linux --nogpgcheck[ 30.8] Running: rm -rf /context[ 31.4] Finishing off[ 3.1] Trimming /dev/sda1[ 3.5] Sparsify in-place operation completed with no errorsCalculating image sha256 with libguestfs (it will take some time)Image SHA256: 7da5deee65885250577807e50f18d727f6a1147957aac5b5783bc724df9bde4cCopying file to repositoryDeleting temporary image

Cangallo: Use Images
● For testing in your laptop you can use overlays (empty images with the repository as parent):
$ canga overlay centos7/one centos7.qcow2
● Export to an independent image$ canga export centos7/one centos7.qcow2 -c
$ canga export centos7/one centos7.vmdk -f vmdk
Cangallo: Remote Repositories
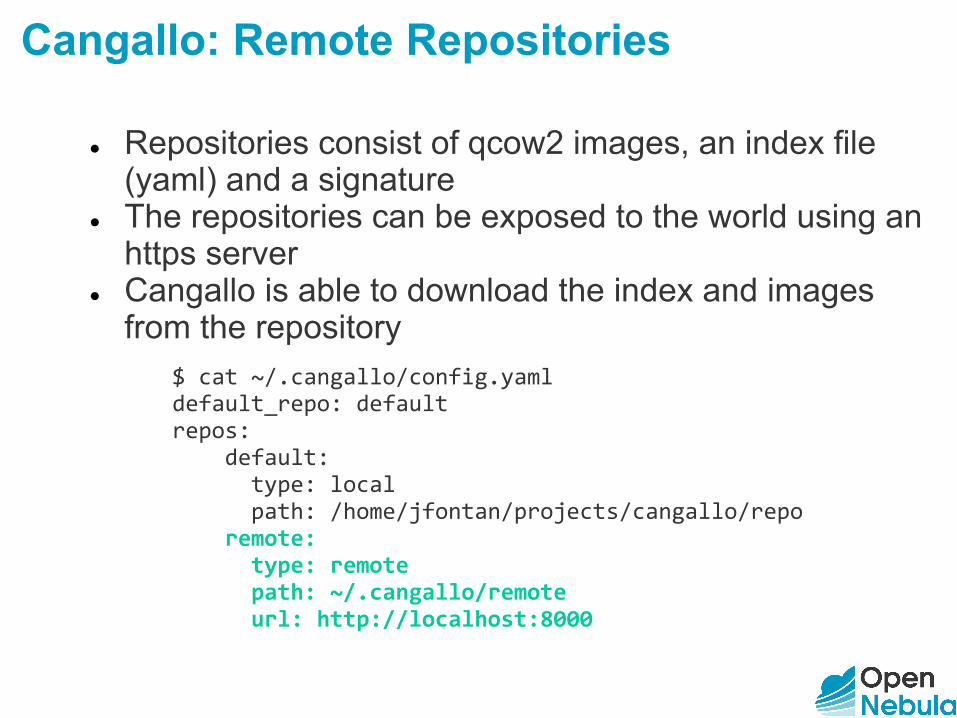
● Repositories consist of qcow2 images, an index file (yaml) and a signature
● The repositories can be exposed to the world using an https server
● Cangallo is able to download the index and images from the repository
$ cat ~/.cangallo/config.yaml default_repo: defaultrepos: default: type: local path: /home/jfontan/projects/cangallo/repo remote: type: remote path: ~/.cangallo/remote url: http://localhost:8000

OpenNebulaConf 20164th edition
Platinum
Gold
Silver
Community
THANKS!