oracle fusion apps | oracle fusion - installing …...for fusion middleware •install oracle...
TRANSCRIPT
Installing Metadata Repository for Fusion Middleware
• Install oracle Database 10.2.0.4 or 11.1.0.7+
• Install Oracle Weblogic Server 11g
• Download and unzip the rcu ( Repository Creation Utility)
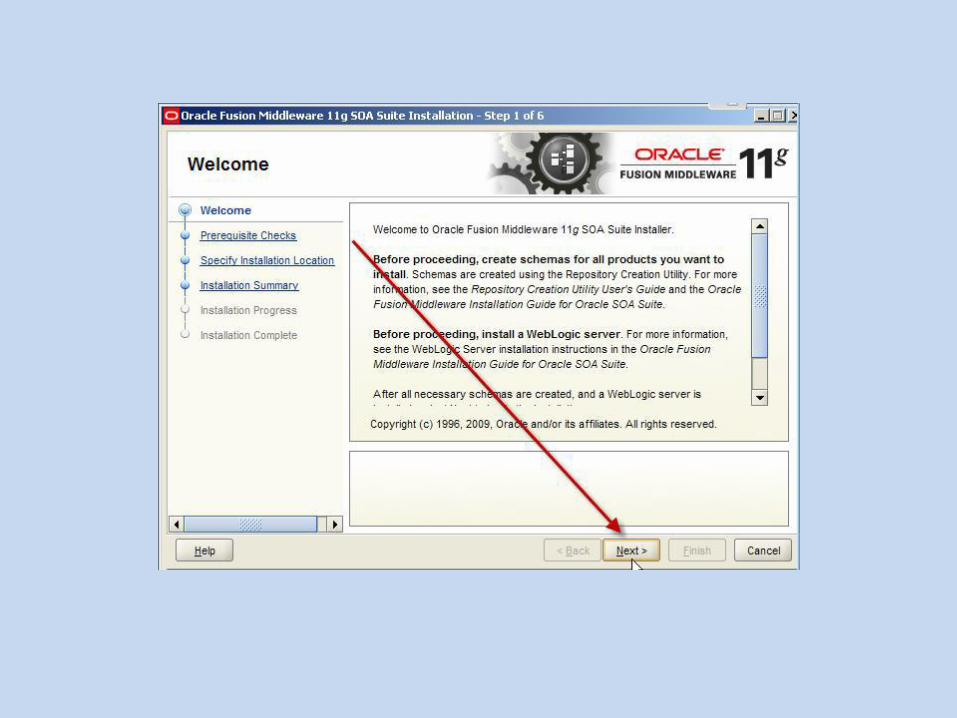
• Install SOA Suite
• Configure SOA Install
Oracle Metadata Repository
• Most components require a database-based repository. In those cases, you must use the Oracle Fusion Middleware Metadata Repository Creation Utility (RCU) to create the Oracle Metadata Repository in an existing database. You use RCU to create schemas to hold configuration information for particular components, and optionally,for overall configuration information.
To create a metadata repository:
1. Invoke RCU, using the following command:
(UNIX) RCU_HOME/bin/rcu
(Windows) RCU_hOME\bin\rcu.bat
2. On the Welcome page, click Next.
The Create Repository page appears.
3. To create the repository, which loads the component schemas into the database,
select Create, then click Next.
The Database Connection Details page appears.
4. Provide the following information about the database into which you want to load
the component schemas:
■ Database Type: Select the type of database. This example assumes that you
are using an Oracle Database.
■ Host Name: Enter the host name for the computer where the database is
installed, for example: myhost.example.com.
■ Port: Enter the port number, for example: 1521.
■ Database Name: Enter the Service Identifier (SID) for the database.

• Username: Enter a user name for the database which is assigned the SYSDBA
• role, for example: SYS.
• ■ Password: Enter the password for the user.
• ■ Role: Select SYSDBA.
• 5. Click Next.
• The Checking Prerequisites dialog box is displayed.
• 6. When the operation completes, click OK.• The Select Components page appears.• 7. Provide the following information:• ■ Select Create a New Prefix, and enter characters to be
added to the beginning• of the schema names. For example, if you enter OFM, the
Oracle Business• Activity Monitoring schemas are named OFM_ORABAM.• ■ In the component table, select the components. For
example, if you want to• install Oracle SOA Suite components, select SOA
Infrastructure, as shown

• 8. Click Next.• 9. The Checking Prerequisites dialog box is displayed.
When the operation• completes, click OK.• The Schema Passwords page appears.
• 10. You can use the same password for all schemas, or enter passwords for each
• schema. If you enter passwords for each schema, you can specify that auxiliary
• schemas use the same password as the main schema. In this case, select Use same
• passwords for all schemas. Then, enter the password and re-enter it to confirm.
• 11. Click Next.
• The Map Tablespaces page appear.
• 12. This page displays the default tablespacesfor each schema. You can manage the
• tablespaces, configuring the size, storage type, and data files for the tablespaces. In
• addition, depending on the components you selected, you may be able to specify
• additional tablespaces for the components.
• For this example, assume the default tablespace is adequate. Click Next.
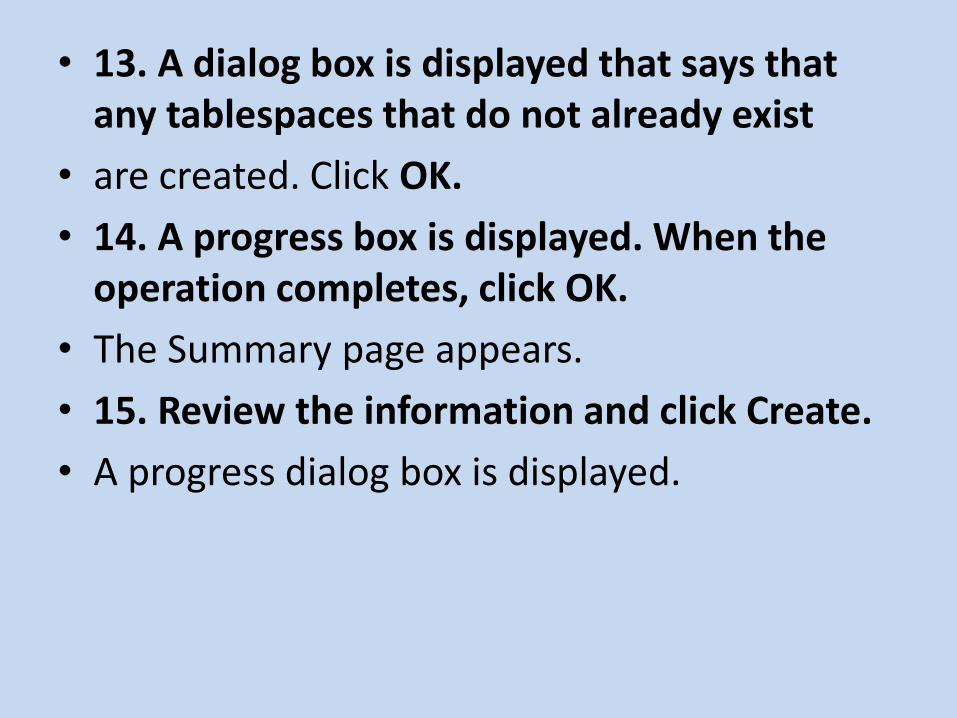
• 13. A dialog box is displayed that says that any tablespaces that do not already exist
• are created. Click OK.
• 14. A progress box is displayed. When the operation completes, click OK.
• The Summary page appears.
• 15. Review the information and click Create.
• A progress dialog box is displayed.
• 16. When it completes, note the details in the Completion Summary, and click Close.
• Now, you have created a database-based metadata repository and have populated it
• with the required schemas.
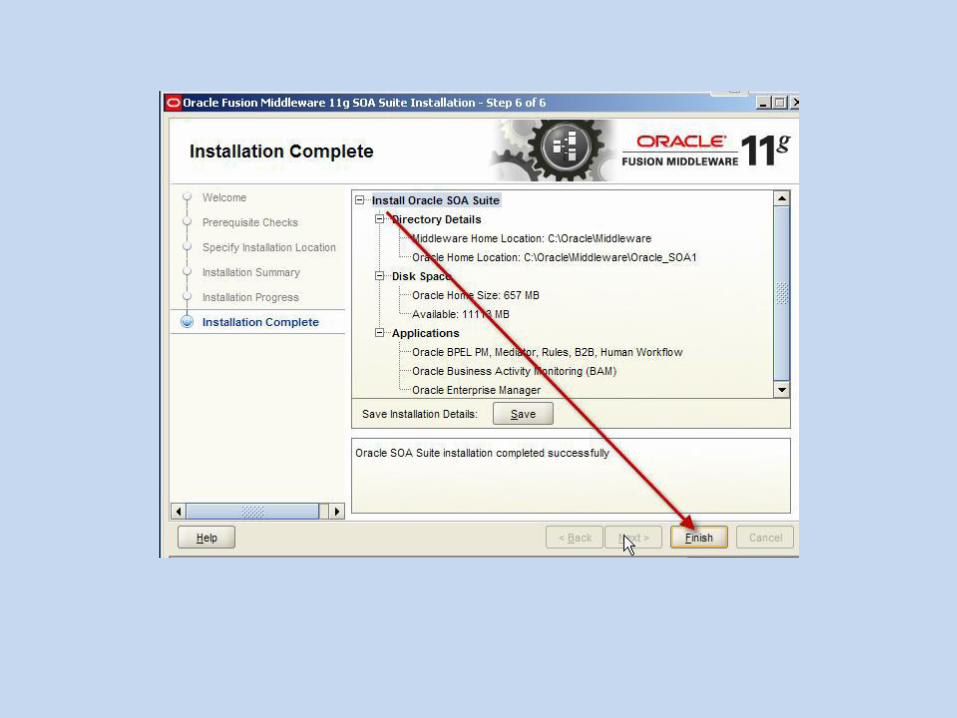
Install SOA Suite.
Run the installer from the soa stage
./runInstaller.sh or setup.exe
Provide the jre location when prompted by the installer.
Installer will check the system and packages
Requirements (soa prereq)
Prompt for the location of Weblogic installation and soa server installation.
Displays a summary of installation.
Check and make sure there is no warnings or messages in the prereqs
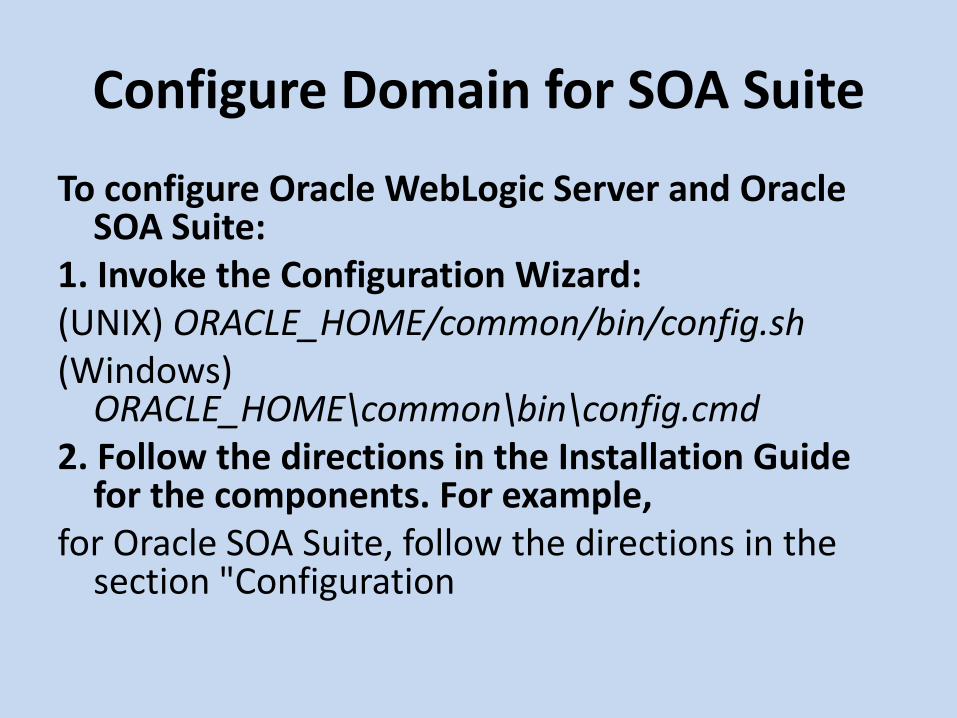
Configure Domain for SOA Suite
To configure Oracle WebLogic Server and Oracle SOA Suite:
1. Invoke the Configuration Wizard:(UNIX) ORACLE_HOME/common/bin/config.sh(Windows)
ORACLE_HOME\common\bin\config.cmd2. Follow the directions in the Installation Guide
for the components. For example,for Oracle SOA Suite, follow the directions in the
section "Configuration
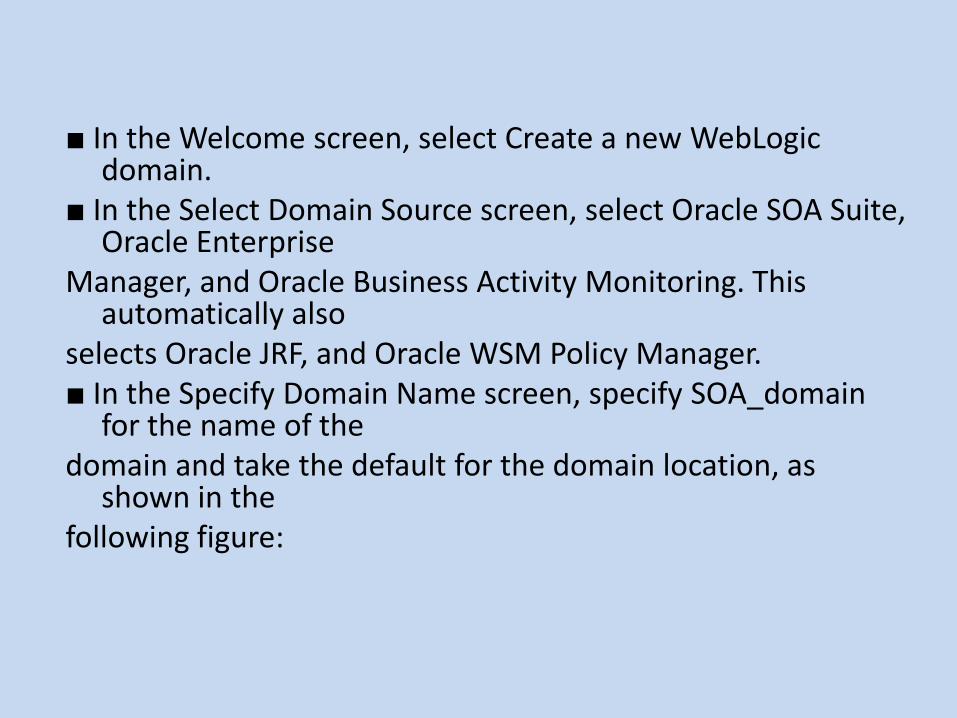
■ In the Welcome screen, select Create a new WebLogicdomain.
■ In the Select Domain Source screen, select Oracle SOA Suite, Oracle Enterprise
Manager, and Oracle Business Activity Monitoring. This automatically also
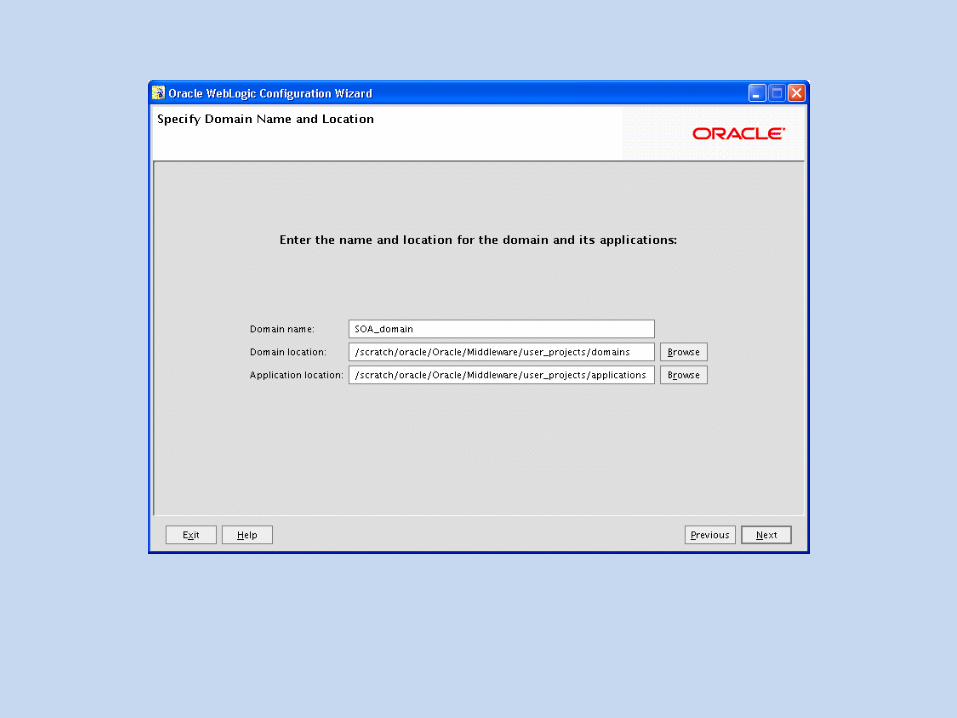
selects Oracle JRF, and Oracle WSM Policy Manager.■ In the Specify Domain Name screen, specify SOA_domain
for the name of thedomain and take the default for the domain location, as
shown in thefollowing figure:
■ In the Configure Administrator User Name and Password screen, use the
default user name, weblogic, and enter a password. Then, re-enter thepassword.■ In the Configure Server Start Mode and JDK screen, select
Production Mode.■ In the Configure JDBC Component Schema screen, the following
instructionsassume that you have the same password and database for all of the
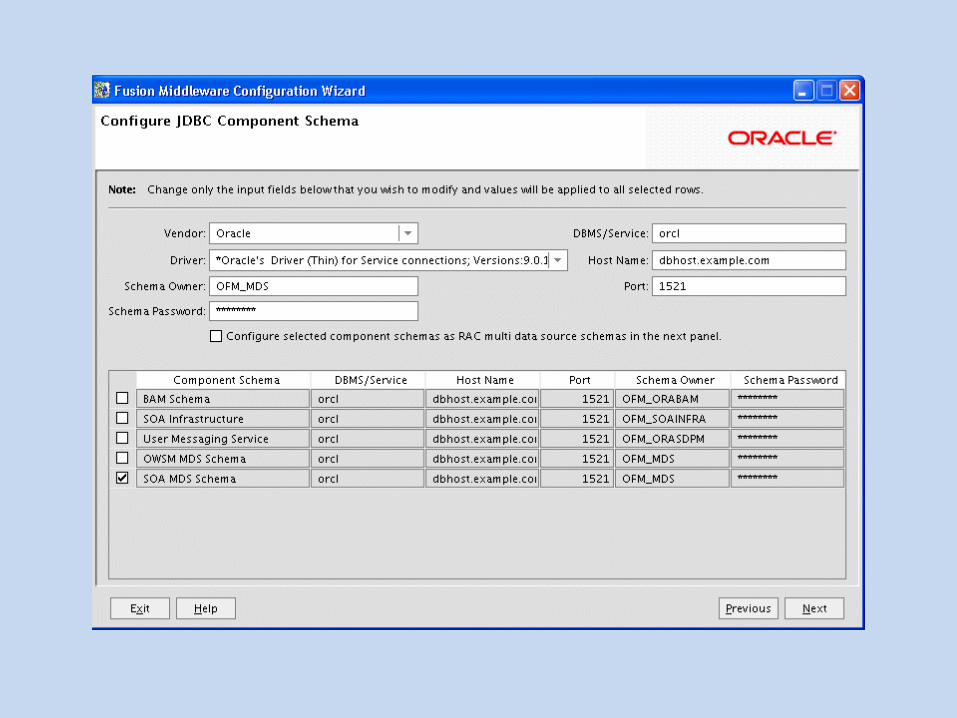
schemas:– Select all of the schemas.– For Vendor, select Oracle.– For Driver, select Oracle's Driver (Thin) for Service connections;Versions:9.0.1,9.2.0,10,11.
For Driver, select Oracle's Driver (Thin) for Service connections;Versions:9.0.1,9.2.0,10,11.– For Schema Owner, do not enter anything if the schemas listed in thetable are correct. Each data source uses the user name specified in thetable.If you need to change the schema owner, select each schema individually,then change the owner name.– If you used the same password when you created the schemas, enter thepassword in Schema Password.Alternatively, you can specify different passwords for each data source byentering them in the password column of the table.– With all of the schemas selected, for DBMS/Service, enter the SID of thedatabase.– With all of the schemas selected, for Host Name, enter the host name ofthe database.– With all of the schemas selected, for Port, enter the listening port of thedatabase.The following figure shows the Configure JDBC Component Schema page
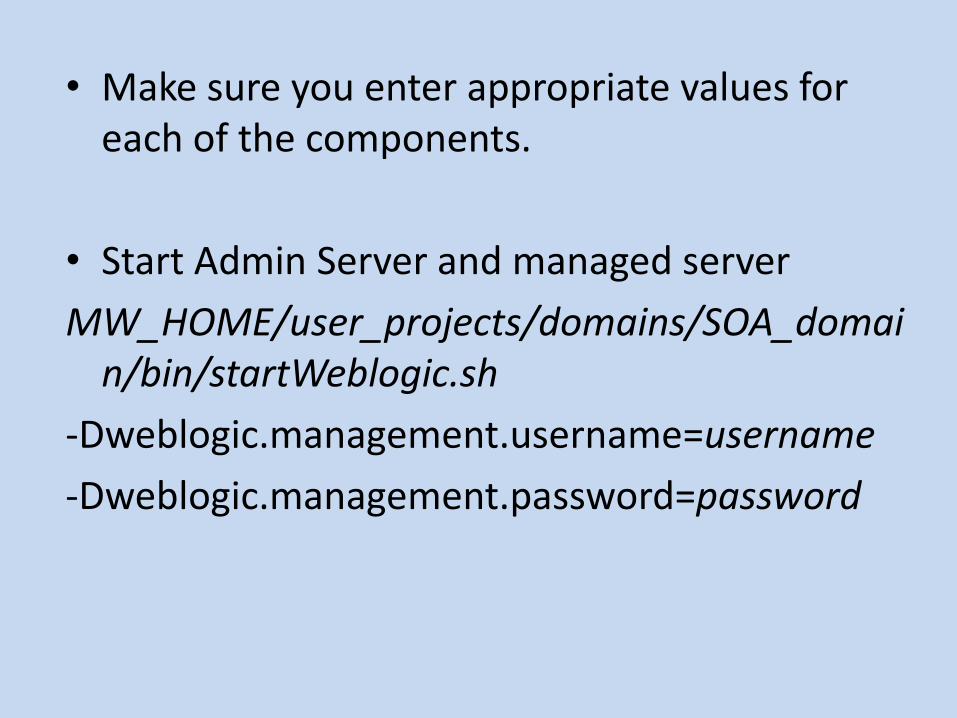
• Make sure you enter appropriate values for each of the components.
• Start Admin Server and managed server
MW_HOME/user_projects/domains/SOA_domain/bin/startWeblogic.sh
-Dweblogic.management.username=username
-Dweblogic.management.password=password

• Start Managed Server
MW_HOME/user_projects/domains/SOA_domain/bin/startManagedWebLogic.sh
soa_server1 http://hostname:7001
username password
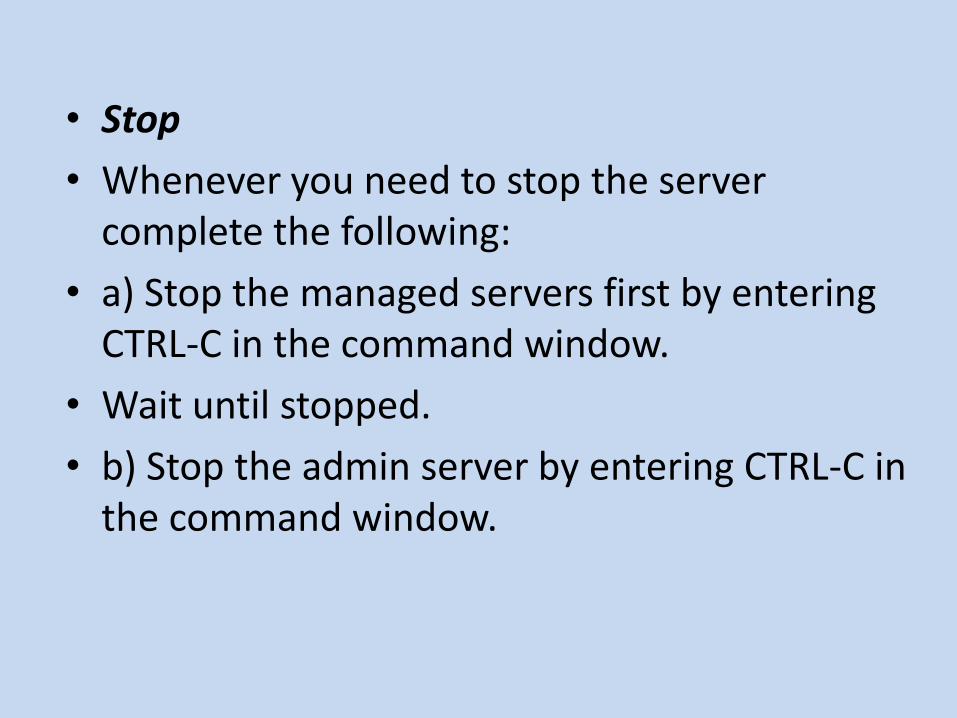
• Stop
• Whenever you need to stop the server complete the following:
• a) Stop the managed servers first by entering CTRL-C in the command window.
• Wait until stopped.
• b) Stop the admin server by entering CTRL-C in the command window.