original recipe - united notionsoriginal recipe can be found at original recipe quilted nap sack w/...
TRANSCRIPT
Original Recipe can be found at www.modabakeshop.com
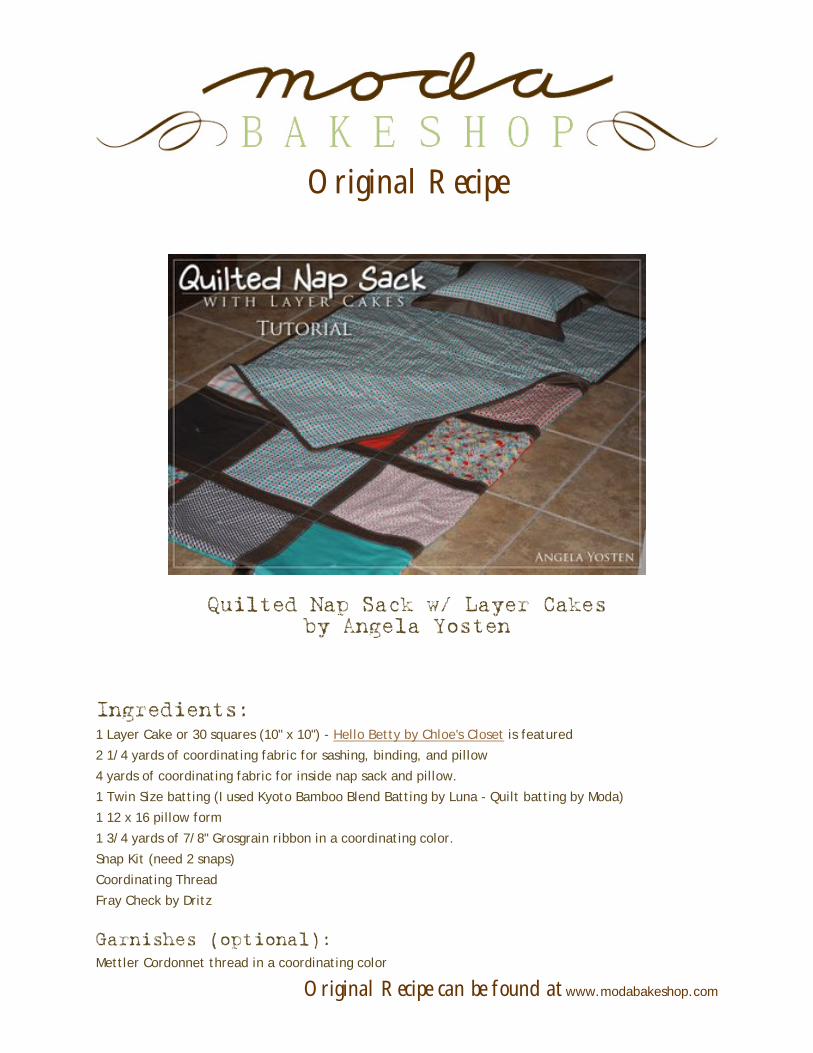
Original Recipe
Quilted Nap Sack w/ Layer Cakes by Angela Yosten
Ingredients: 1 Layer Cake or 30 squares (10" x 10") - Hello Betty by Chloe's Closet is featured
2 1/4 yards of coordinating fabric for sashing, binding, and pillow
4 yards of coordinating fabric for inside nap sack and pillow.
1 Twin Size batting (I used Kyoto Bamboo Blend Batting by Luna - Quilt batting by Moda)
1 12 x 16 pillow form
1 3/4 yards of 7/8" Grosgrain ribbon in a coordinating color.
Snap Kit (need 2 snaps)
Coordinating Thread
Fray Check by Dritz
Garnishes (optional):
Mettler Cordonnet thread in a coordinating color

Original Recipe can be found at www.modabakeshop.com
Instructions:
ALL SEAM ALLOWANCES ARE 1/4" UNLESS NOTED OTHERWISE.
Step One:
Gather all your ingredients together.
Step Two:
For the back of the nap sack, lay out 18 of your layer cake
squares - 3 across and 6 down
For the Front (cover) of the nap sack, lay out 12 of your layer
cake squares - 3 across and 4 down.
Step Three:
From the coordinating fabric for the Sashing, cut the
following:
9 strips that measure 2 1/2" x 33"
20 strips that measure 2 1/2" x 10"
Step Four:
Sew the 10" strips in between each of the 10" squares in each
row. (2 strips for each row)
Original Recipe can be found at www.modabakeshop.com
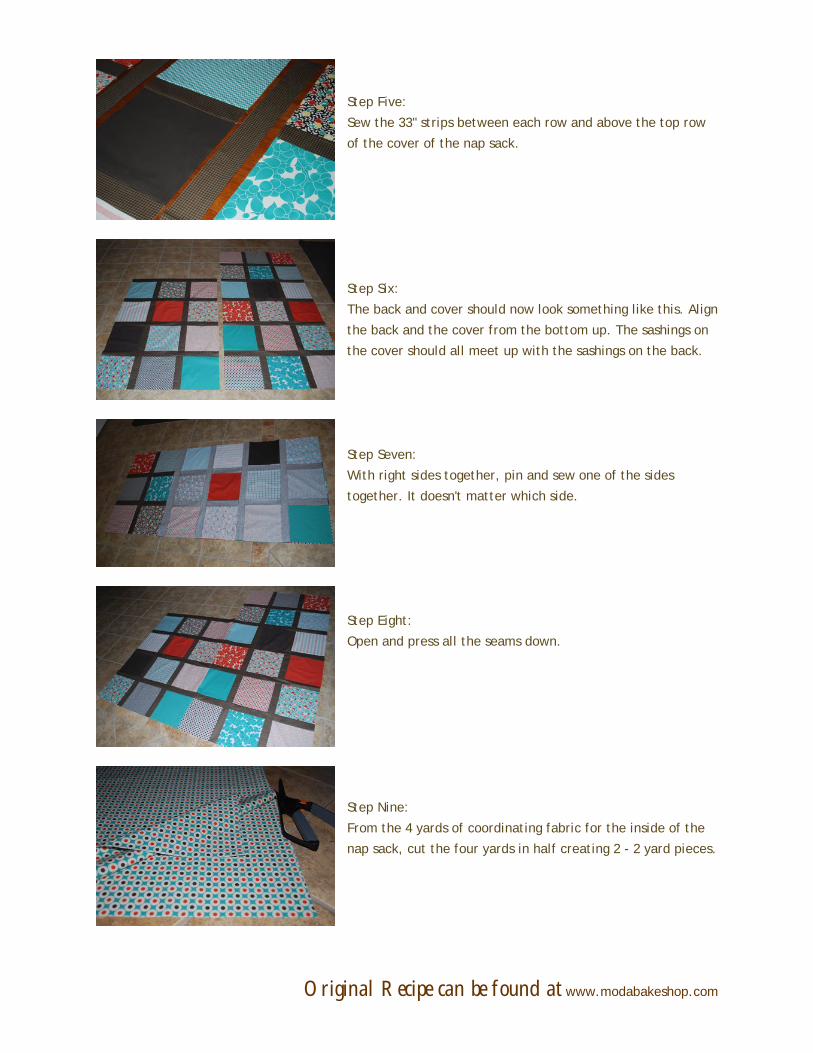
Step Five:
Sew the 33" strips between each row and above the top row
of the cover of the nap sack.
Step Six:
The back and cover should now look something like this. Align
the back and the cover from the bottom up. The sashings on
the cover should all meet up with the sashings on the back.
Step Seven:
With right sides together, pin and sew one of the sides
together. It doesn't matter which side.
Step Eight:
Open and press all the seams down.
Step Nine:
From the 4 yards of coordinating fabric for the inside of the
nap sack, cut the four yards in half creating 2 - 2 yard pieces.
Original Recipe can be found at www.modabakeshop.com
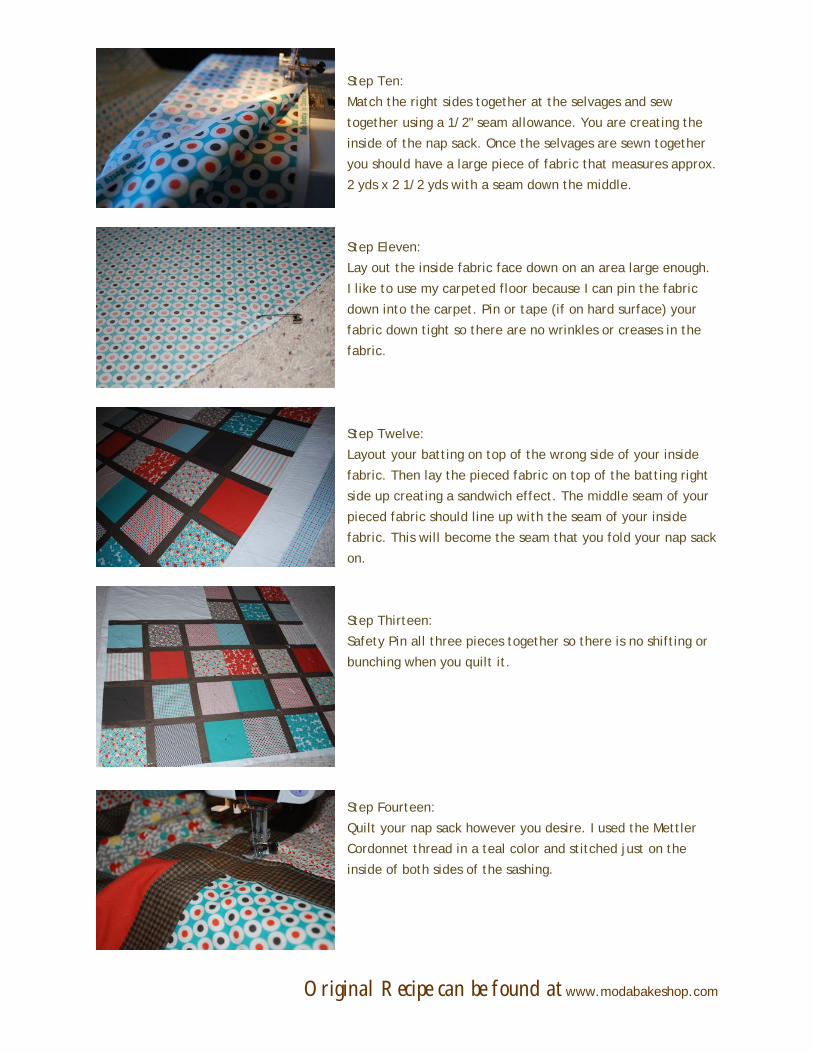
Step Ten:
Match the right sides together at the selvages and sew
together using a 1/2" seam allowance. You are creating the
inside of the nap sack. Once the selvages are sewn together
you should have a large piece of fabric that measures approx.
2 yds x 2 1/2 yds with a seam down the middle.
Step Eleven:
Lay out the inside fabric face down on an area large enough.
I like to use my carpeted floor because I can pin the fabric
down into the carpet. Pin or tape (if on hard surface) your
fabric down tight so there are no wrinkles or creases in the
fabric.
Step Twelve:
Layout your batting on top of the wrong side of your inside
fabric. Then lay the pieced fabric on top of the batting right
side up creating a sandwich effect. The middle seam of your
pieced fabric should line up with the seam of your inside
fabric. This will become the seam that you fold your nap sack
on.
Step Thirteen:
Safety Pin all three pieces together so there is no shifting or
bunching when you quilt it.
Step Fourteen:
Quilt your nap sack however you desire. I used the Mettler
Cordonnet thread in a teal color and stitched just on the
inside of both sides of the sashing.
Original Recipe can be found at www.modabakeshop.com
Be sure to refer to your sewing machine manual for what they suggest when using a thicker thread like
Mettler Cordonnet. You may need to adjust your tension just a bit. I used it as both the top and bobbin
thread, which in the future I may just use regular thread in the bobbin and the the decorative
Cordonnet thread as the top thread for smoother sewing.
To finish it off, I tied off the nap sack in the center of every
square with the Mettler Cordonnet. You can then trim off all
the excess fabric using the pieced layer as your guide.
Save the large scrap piece for your pillow center.
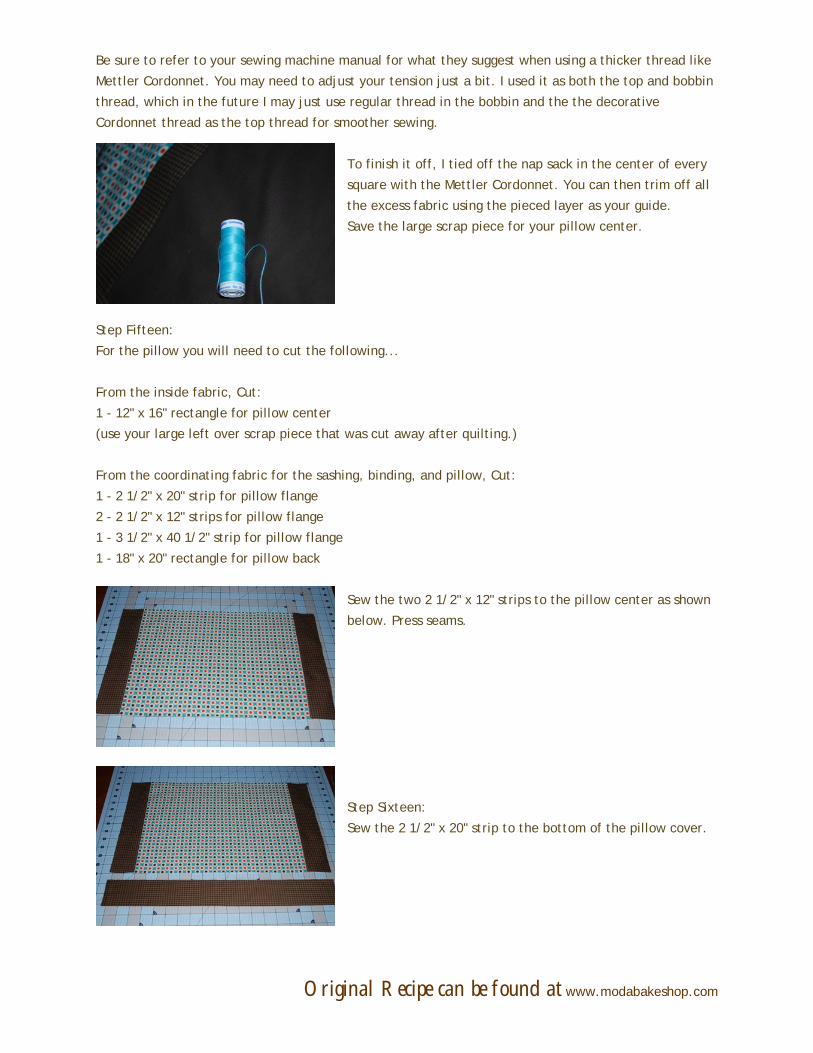
Step Fifteen:
For the pillow you will need to cut the following...
From the inside fabric, Cut:
1 - 12" x 16" rectangle for pillow center
(use your large left over scrap piece that was cut away after quilting.)
From the coordinating fabric for the sashing, binding, and pillow, Cut:
1 - 2 1/2" x 20" strip for pillow flange
2 - 2 1/2" x 12" strips for pillow flange
1 - 3 1/2" x 40 1/2" strip for pillow flange
1 - 18" x 20" rectangle for pillow back
Sew the two 2 1/2" x 12" strips to the pillow center as shown
below. Press seams.
Step Sixteen:
Sew the 2 1/2" x 20" strip to the bottom of the pillow cover.
Original Recipe can be found at www.modabakeshop.com
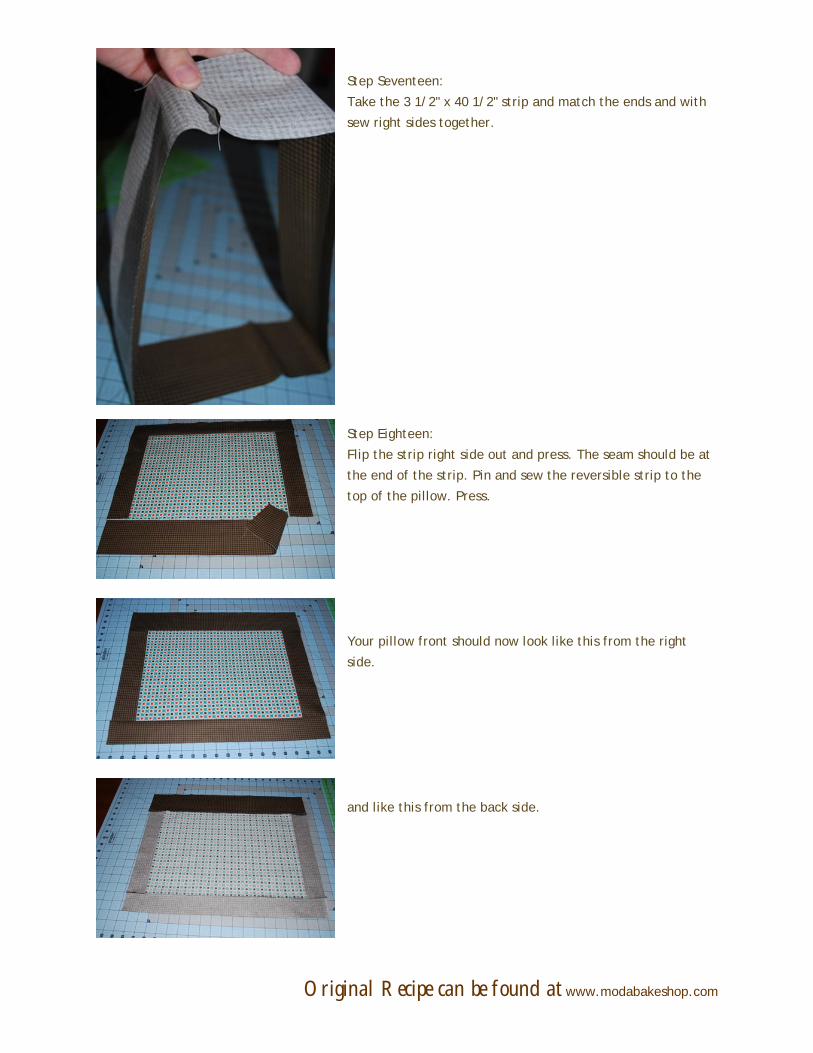
Step Seventeen:
Take the 3 1/2" x 40 1/2" strip and match the ends and with
sew right sides together.
Step Eighteen:
Flip the strip right side out and press. The seam should be at
the end of the strip. Pin and sew the reversible strip to the
top of the pillow. Press.
Your pillow front should now look like this from the right
side.
and like this from the back side.
Original Recipe can be found at www.modabakeshop.com
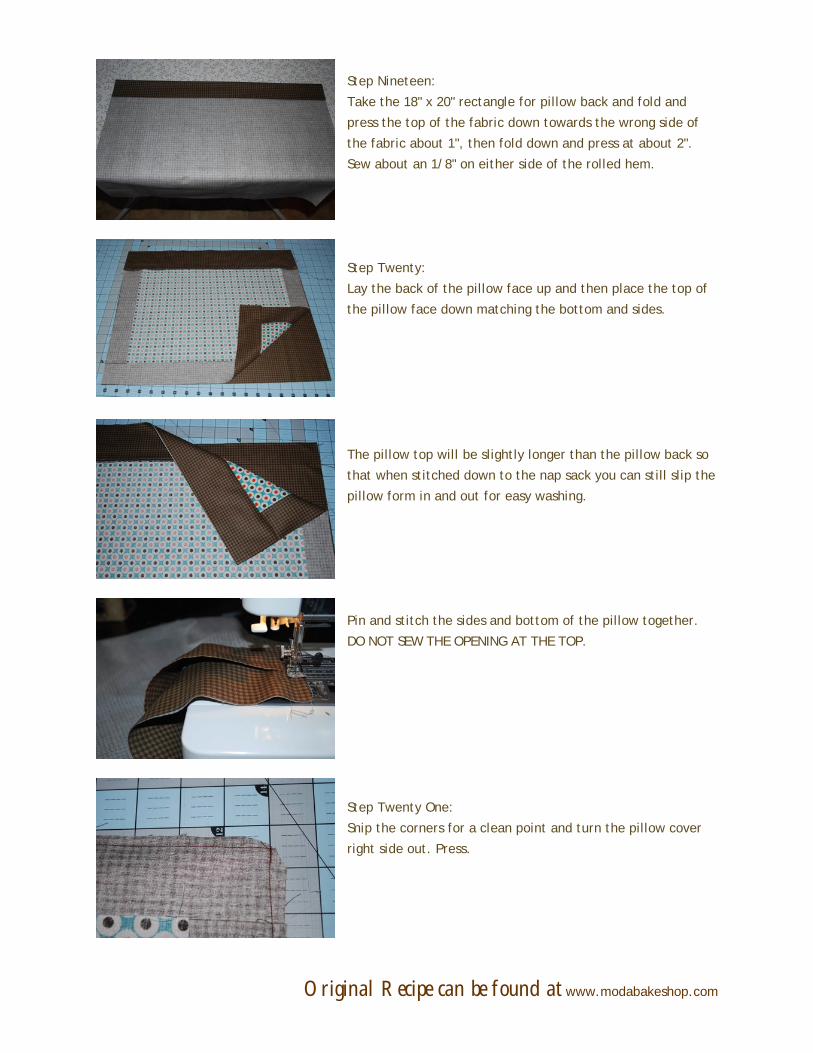
Step Nineteen:
Take the 18" x 20" rectangle for pillow back and fold and
press the top of the fabric down towards the wrong side of
the fabric about 1", then fold down and press at about 2".
Sew about an 1/8" on either side of the rolled hem.
Step Twenty:
Lay the back of the pillow face up and then place the top of
the pillow face down matching the bottom and sides.
The pillow top will be slightly longer than the pillow back so
that when stitched down to the nap sack you can still slip the
pillow form in and out for easy washing.
Pin and stitch the sides and bottom of the pillow together.
DO NOT SEW THE OPENING AT THE TOP.
Step Twenty One:
Snip the corners for a clean point and turn the pillow cover
right side out. Press.
Original Recipe can be found at www.modabakeshop.com
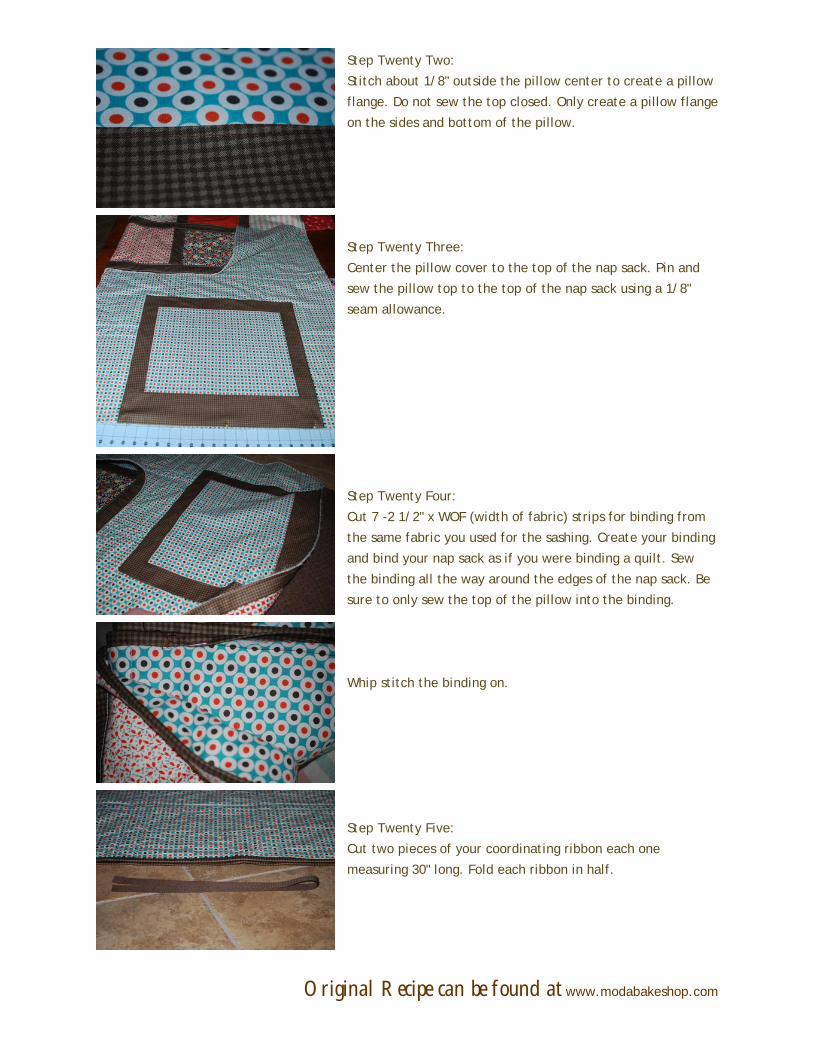
Step Twenty Two:
Stitch about 1/8" outside the pillow center to create a pillow
flange. Do not sew the top closed. Only create a pillow flange
on the sides and bottom of the pillow.
Step Twenty Three:
Center the pillow cover to the top of the nap sack. Pin and
sew the pillow top to the top of the nap sack using a 1/8"
seam allowance.
Step Twenty Four:
Cut 7 -2 1/2" x WOF (width of fabric) strips for binding from
the same fabric you used for the sashing. Create your binding
and bind your nap sack as if you were binding a quilt. Sew
the binding all the way around the edges of the nap sack. Be
sure to only sew the top of the pillow into the binding.
Whip stitch the binding on.
Step Twenty Five:
Cut two pieces of your coordinating ribbon each one
measuring 30" long. Fold each ribbon in half.
Original Recipe can be found at www.modabakeshop.com
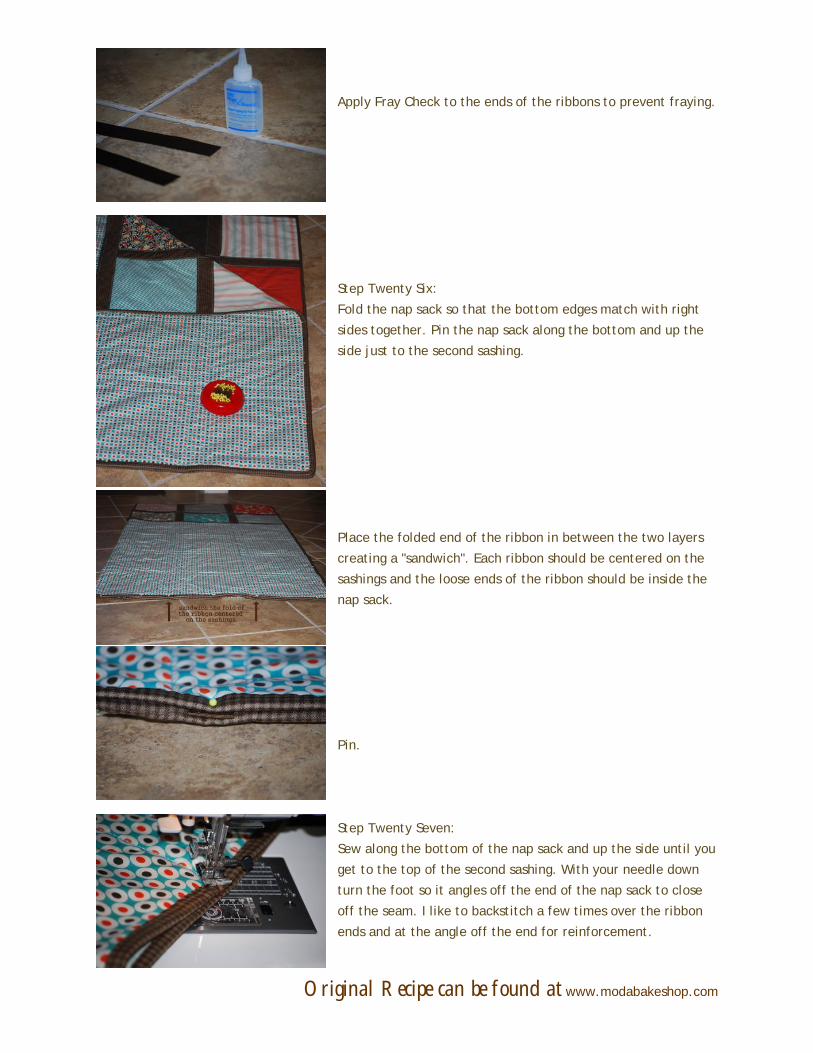
Apply Fray Check to the ends of the ribbons to prevent fraying.
Step Twenty Six:
Fold the nap sack so that the bottom edges match with right
sides together. Pin the nap sack along the bottom and up the
side just to the second sashing.
Place the folded end of the ribbon in between the two layers
creating a "sandwich". Each ribbon should be centered on the
sashings and the loose ends of the ribbon should be inside the
nap sack.
Pin.
Step Twenty Seven:
Sew along the bottom of the nap sack and up the side until you
get to the top of the second sashing. With your needle down
turn the foot so it angles off the end of the nap sack to close
off the seam. I like to backstitch a few times over the ribbon
ends and at the angle off the end for reinforcement.
Original Recipe can be found at www.modabakeshop.com
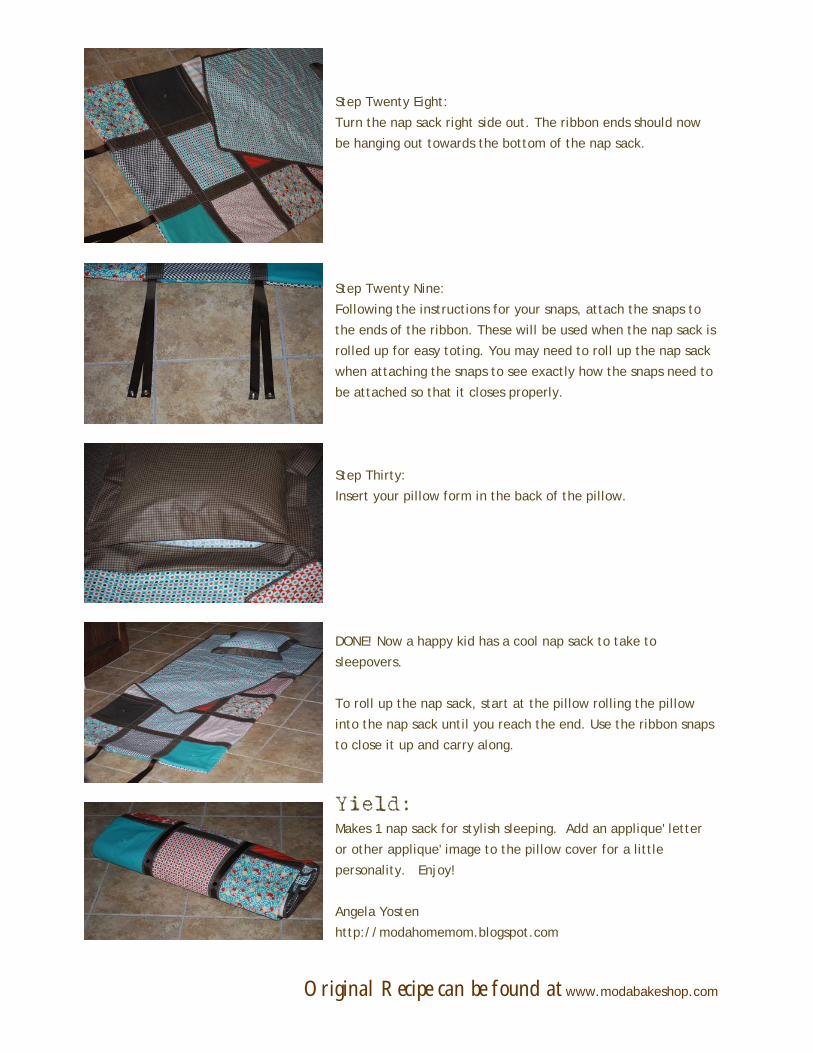
Step Twenty Eight:
Turn the nap sack right side out. The ribbon ends should now
be hanging out towards the bottom of the nap sack.
Step Twenty Nine:
Following the instructions for your snaps, attach the snaps to
the ends of the ribbon. These will be used when the nap sack is
rolled up for easy toting. You may need to roll up the nap sack
when attaching the snaps to see exactly how the snaps need to
be attached so that it closes properly.
Step Thirty:
Insert your pillow form in the back of the pillow.
DONE! Now a happy kid has a cool nap sack to take to
sleepovers.
To roll up the nap sack, start at the pillow rolling the pillow
into the nap sack until you reach the end. Use the ribbon snaps
to close it up and carry along.
Yield:
Makes 1 nap sack for stylish sleeping. Add an applique' letter
or other applique' image to the pillow cover for a little
personality. Enjoy!
Angela Yosten
http://modahomemom.blogspot.com