photobookshop page 1 … · to insert a photo into a date on the calendar select insert >...
TRANSCRIPT

[email protected] www.photobookshop.com.au
Getting Started on your Calender
Click on ‘Check for Updates’ and select ‘Start’
Page 1


[email protected] www.photobookshop.com.au
Finish installation to begin building your calendar
Select the calendar option
Page 3
[email protected] www.photobookshop.com.au
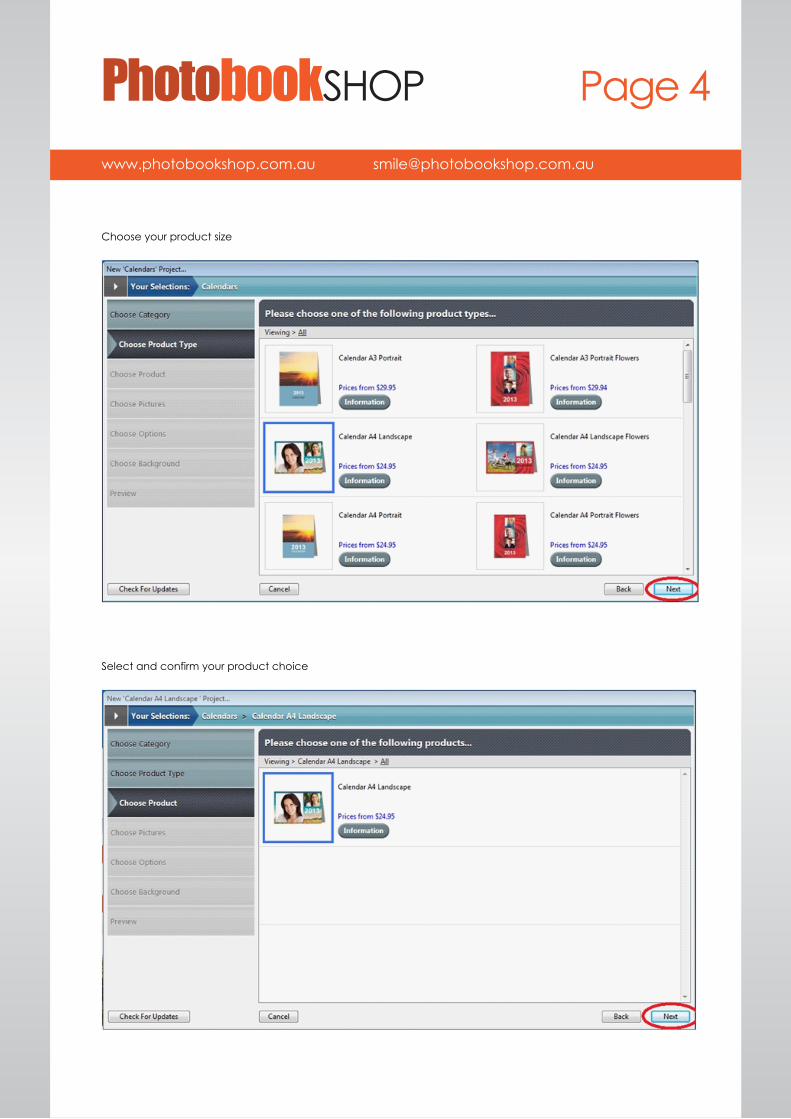
Select and confirm your product choice
Choose your product size
Page 4

[email protected] www.photobookshop.com.au
Add your photos from your designated folder – you must select at least 12 photos for a 12 month calendarNote: This is just to get through the wizard; you can change this once you start your project.
Add your photos from your designated folder – you must select at least 12 photos for a 12 month calendar
You can add individual photos or add a folder that contains photos
Page 5

[email protected] www.photobookshop.com.au
VERY IMPORTANT: Select the month you want the calendar to start from, the year of a the calendar and the number of months you want for the calendar
Click next to add your pictures to your calendar template. Once you start, you cannot add more months.If you wish to add more months once started, you must re-start your project
Page 6
[email protected] www.photobookshop.com.au
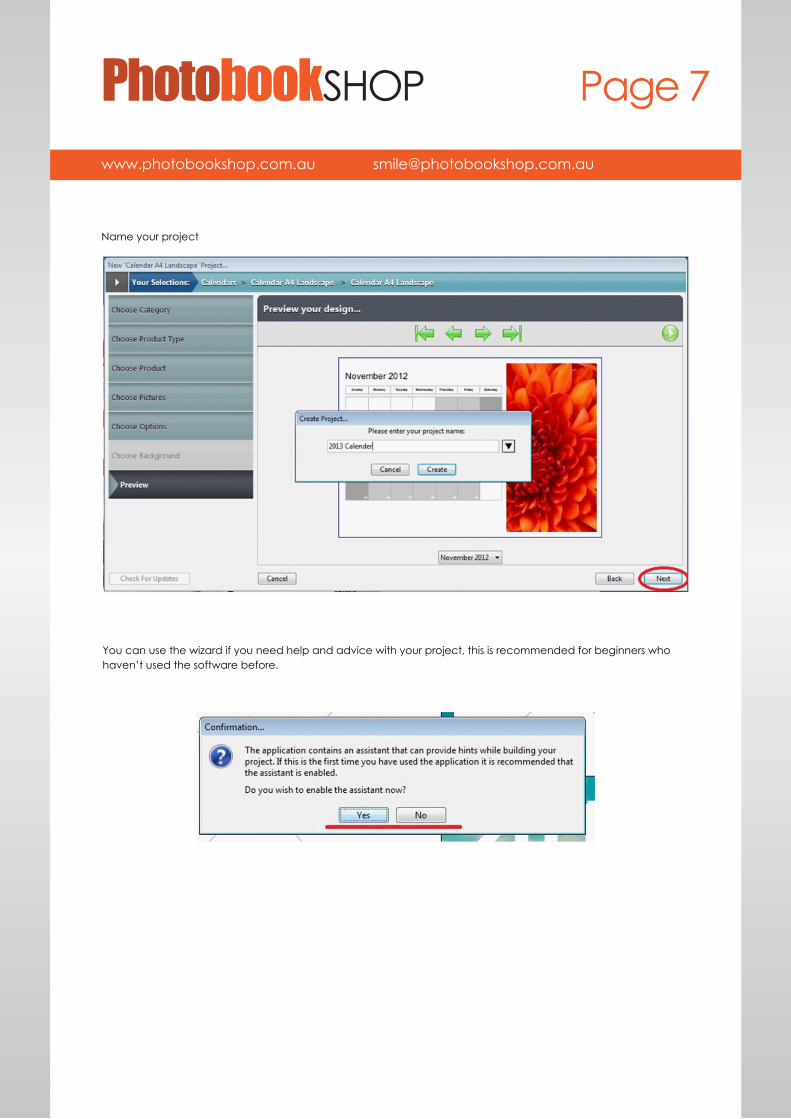
Name your project
You can use the wizard if you need help and advice with your project, this is recommended for beginners who haven’t used the software before.
Page 7

[email protected] www.photobookshop.com.au
Page 8
To insert a photo into a date on the calendar select Insert > Picture Box > Rectangle
To change the year, font or size of the year, double click on it and adjust the text in the inspector bar.
DO NOT DELETE THE CALENDER MONTH LAYOUT, YOU CANNOT RETURN IF YOU DELETE IT AND WILL HAVE TO START AGAIN

[email protected] www.photobookshop.com.au
Page 9
Resize the rectangle so it fits the date.
See below for example fitting.
DO NOT DELETE THE CALENDER LAYOUT, YOU CANNOT RETURN IF YOU DELETE IT AND WILL HAVE TO START AGAIN (AS ABOVE)

[email protected] www.photobookshop.com.au
Drag and drop an image into the rectangle to place an image.
This is how it should look.
Page 10

[email protected] www.photobookshop.com.au
To insert text into a date on the calendar select Insert > Text Box
Double Click to edit the text box
Page 11

[email protected] www.photobookshop.com.au
Type inside the text box
Write your text here inside this text box. Resize and format in the inspector toolbar on the right. Edit background colour of the text box and colour of the text in the inspector
Page 12

[email protected] www.photobookshop.com.au
Close up of previous
Page 13
Adding your own background to the calendar
Firstly select background on the submenu down below
Click the gear icon and select Add
Select your image that you wish to use as the background. Click Open

[email protected] www.photobookshop.com.au
Page 14
Drag and drop your background to your desired page until the page border turns blue. This will change the background on the selected page.
Name your background and select a category if you wish and then click OK