r. c. walsh, jr., do, col, txang chief, aerospace medicine...
TRANSCRIPT
R. C. Walsh, Jr., DO, Col, TXANG
Chief, Aerospace Medicine
136 AW/GMU

Objectives List the indications for OMM in the military
patient
Identify the appropriate OMT techniques that can be used in an austere environment.
Be able to safely perform OMT techniques on common musculoskeletal issues in the military population.
Be able to safely perform OMT techniques on common systemic issues in the military population.

OMM in the military Not just for musculoskeletal disorders!
Pre-op and Post-op care
OB/Gyn
Pulmonary
Cardio
GI
Ortho
Trauma
Fluid management

Indications for OMT Neck and back pain
Shoulder/knee (extremity) pain
URI/Pneumonia
Asthma/bronchitis
CHF
Cellulitis
Prevention or tx of post-op ileus/atelectasis
Lymphedema
Any post-op pain
Post-partum pain
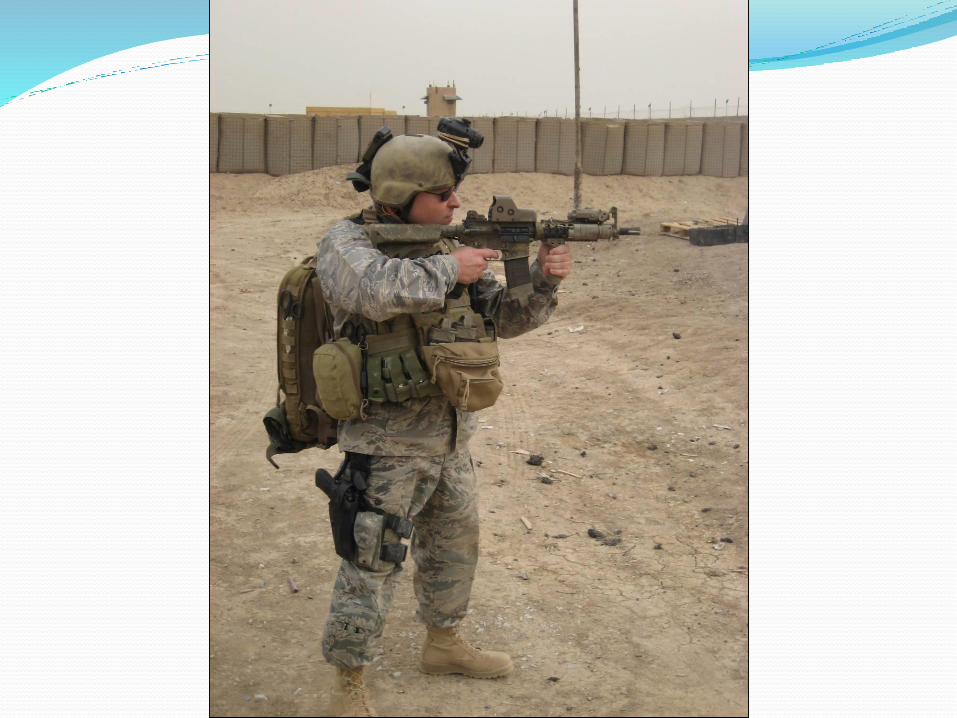

Things to Consider OA/cervical dysfunction from wearing headgear (w
and w/o NVGs)
1st rib issues-body armor, heavy gear
Upper back/levator scap issues-pulling G’s, rucksacks
Back issues from “too much at the gym”
Extremity injuries from overuse/conditioning/boots
Don’t waste your manipulative effects on areas of the body that do not require your immediate attention

Goals of OMT in Visceral Dysfunction for systemic illnesses
Normalize sympathetic tone to that viscera.
Normalize parasympathetic tone to that viscera.
Improve venous and lymphatic return.
Improve the mechanical function of the contiguous structures.
Improve the mechanical environment of the viscera for visceral mobility and motility.
Remove any structural hindrance to respiration and circulation.

Order of Treatment1. Treat related structural
dysfunction• Indirect if possible
2. Normalize sympathetics• Rib raising• Thoracolumbar inhibition
3. Enhance drainage• Fascial diaphragms• Lymphatic pumps
4. Normalizeparasympathetics
5. Suboccipital release
Parasympathetics
Lymphatics
Sympathetics
Structural Dysfunction

Treat Related Somatic Dysfunction
• Cephalgia• Cranial Osteopathy• Cervical
• Cardiovascular• Thoracic• Ribs
• Respiratory• Thoracic• Ribs
• GI/GU• Lumbosacral

Sympathetic Innervations• Heart & Lungs
T1 – T5
• Upper GI TractT5 – T9
• Small bowel & Right ColonT10 – T11(appendix-T12)
• Left Colon & PelvicOrgansT12 – L2

Techniques to Normalize Sympathetic Tone•Rib Raising
• Temporary stimulation with subsequent rebound normalization of excessive afferent input to facilitated cord segments
• Abdominal plexus release
• Collateral ganglion inhibition
• Chapman’s point stimulation
• Treat vertebral & rib S/D before
doing rib raising

Chapman’s Reflexes• Anterior points
• Diagnosis• Posterior points
• Treatment• Differential
Diagnosis• Appendicitis
Tip of 12th rib• Reflux/GERD
Between ribs 5 and 6 on the left side

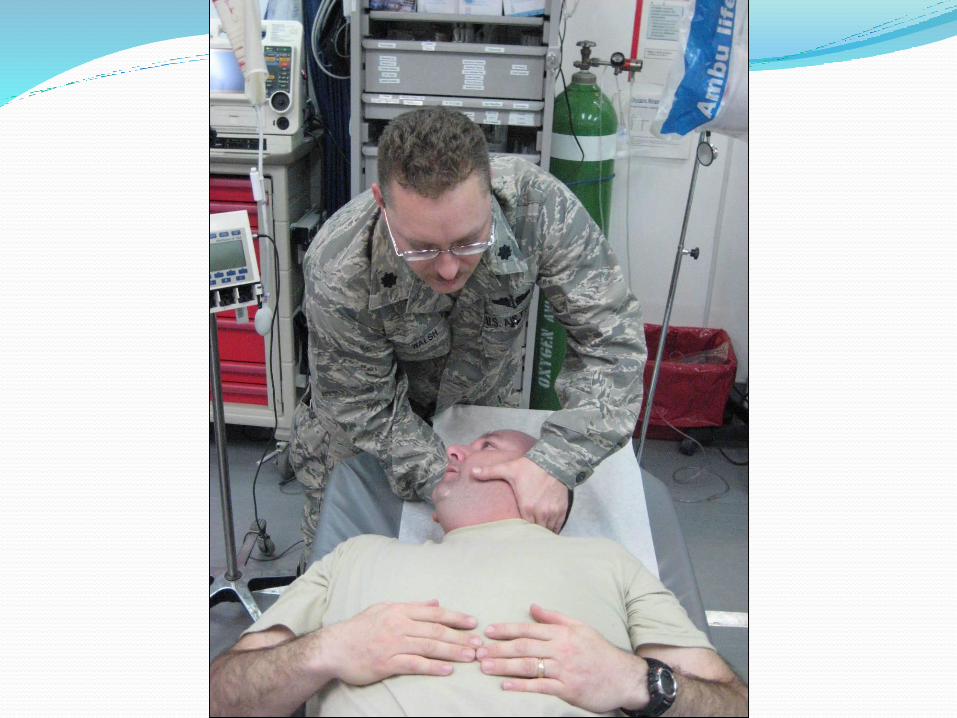
Normalize Parasympathetics• OA, C1, and C2 (Vagus nerve)
• Suboccipital release
• Counterstrain
• MFR/FPR
• ME
• HVLA/articulatory
• S2-4 (Pelvic Splancnics)
• Sacral Rocking

Lymphatics Consider anatomical region or organs upon which
focus of lymphatic treatment will be directed.
Consider path of lymphatic drainage related to anatomical region or organs.
Begin lymphatic treatment at most proximal drainage location (usually thoracic inlet).
Treat common “choke points” (diaphragms and transition zones) distally, ending at focus anatomical region or organ.
Add general lymphatic pump techniques to facilitate fluid motion.

Fascial Diaphragms• Pelvic Diaphragm
• Lumbosacral fascia
• Abdominal Diaphragm
• Thoracolumbar fascia
• Thoracic Inlet
• Sibson’s fascia
• Cervicothoracic diaphragm
• Occipitoatlantal diaphragm
Lymphatic Techniques Thoracic inlet/outlet
Sibson’s fascia release
Pectoral Traction
Helps expand the chest
Miller Lymphatic Pump
Helps create negative pressure in the chest
Pedal Pump
Re-doming of the diaphragms
Pelvic diaphragm release
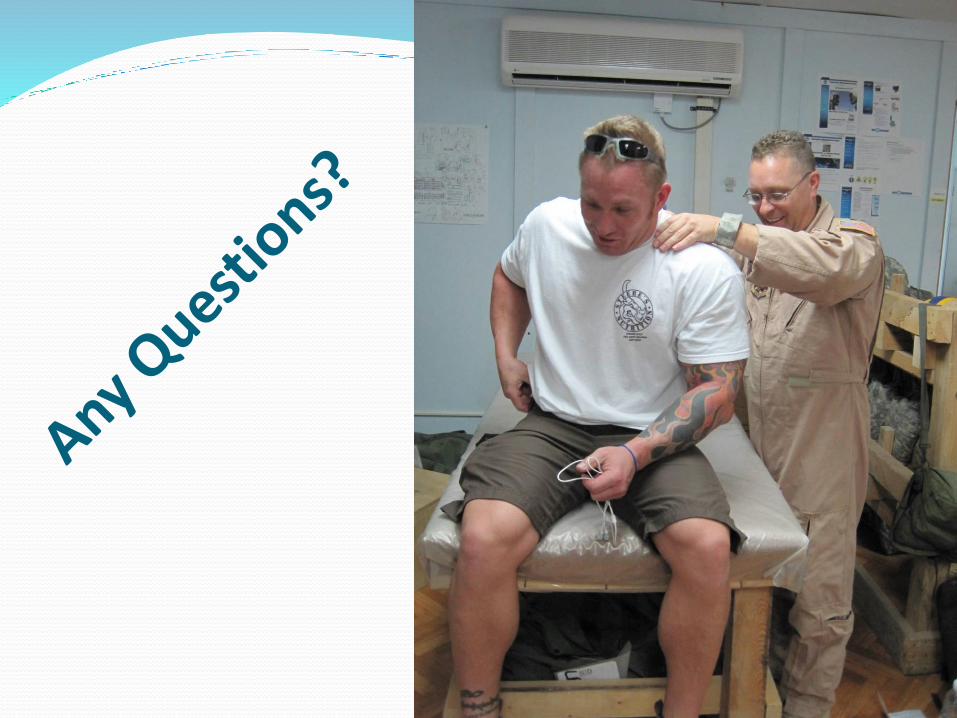
Post op pain/Trauma These patients can and should receive OMT
Address corresponding Sympathetic, Parasympathetic, and Lymphatic systems-
key to restoring autonomic balance and decreased fluid congestion
Avoid excessive jiggling and overhead arm techniques
Techniques such as lymphatic pump with arms overhead or vigorous pedal pump may endanger the stability of the operative site or injury
Utilize indirect techniques

Cervical Spine Mechanics Type I and Type II mechanics do not apply to the cervical spine
OA When sidebending is introduced, rotation will occur in
opposite direction (SLRR) AA
Rotation only Typical Cervicals
When sidebending is introduced, rotation will occur in same direction (SLRL)
Motion OA
50 % of cervical FB/BB AA
50 % of cervical rotation Typical Cervicals
Remaining 50 % of cervical FB/BB & rotation

Thoracic Spine Mechanics Type I Mechanics
When motion is introduced into the spine from a neutral position sidebending precedes rotation, with rotation occurring to the side opposite sidebending.
Example: SxRy
Type II Mechanics When sidebending is introduced into a region of the spine in
a non-neutral position, rotation of at least one segment must precede sidebending. Rotation and sidebending occur to the same side
Example: RSx
Most freedom in rotation with articular facets preferring this motion (most in spine except AA)
Less ROM than C and L spines in FB/BB and SB due to costal restrictions

Lumbar Spine Mechanics Same as for Thoracic spine
Sagittal plane orientation of the facets
Superior Articular Facet faces Posteromedially
Inferior Articular Facet Faces Anterolaterally
Allows good FB, BB
Discourages Rotation & SB

OA Joint- Indirect, Pt Coop/Resp Force-SlRr (Nicolas, 2nd Ed., pg. 407)
Operator stabilizes the atlas with left hand
Occiput is sidebent left and slightly rotated right
Adjust in all 3 planes for greatest ease
Patient holds breath at point of maximal ease waiting for release

AA Joint-Horizontal Plane-ME (Nicholas, 2nd Edition, pg. 242)
Pt supine and operator seated at head of table
Operator places palms on each side of the pt’s skull contacting atlas with finger tips
Lift head into complete FB without SB
Rotate to R or L to engage restrictive barrier
Pt instructed to rotate head opposite direction of setup against operator’s counter-force
Upon relaxation, engage new barrier and repeat 2-3 times

Typical Cervicals-FPRC3-ESrRr (Nicolas, 2nd Ed., pg. 407)
Palpate articular facet of C3/C4 with pads of the left thumb and index finger and hold between fingers
Use right hand on pt’s head to straighten cervical lordosis with FB
Add compressive force through right hand down to C3/C4
Extend the neck through C3 while maintaining compression
Sidebend and rotate through the level of C3 to the right, freeing all three planes of motion
Hold 3-4 seconds for release and return to normal position
Recheck

1st Rib Segmental Diagnosis Thumbs just anterior to patient’s trapezius, apply
pressure in caudad direction; sink down to first rib
Compare elevation
Spring in caudad direction- lack of spring usually indicates elevation (by scalenes)
clinical note: depression is very uncommon, usually 2º to trauma or lifting.
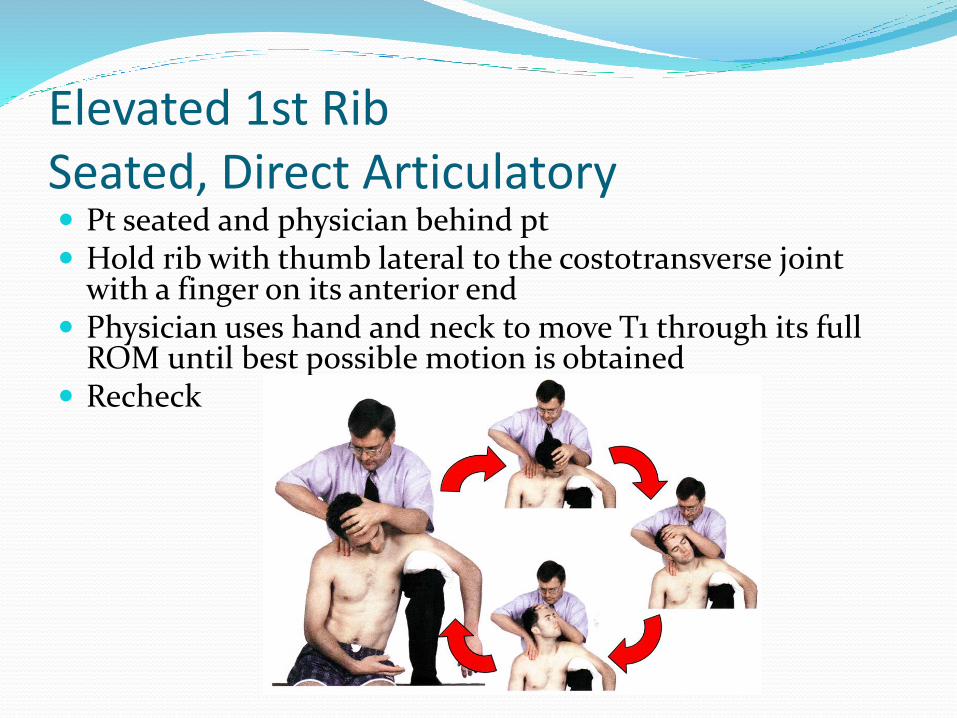
Elevated 1st RibSeated, Direct Articulatory Pt seated and physician behind pt Hold rib with thumb lateral to the costotransverse joint
with a finger on its anterior end Physician uses hand and neck to move T1 through its full
ROM until best possible motion is obtained Recheck

Thoracic Diagnosis Determine which transverse process of the vertebrae is
posterior: this is the side of rotation
Have the patient flex and extend to see if the transverse process moves more anteriorly with either flexion or extension: If it moves back into the coronal plane, or “improves”: If a posteriorly rotated process moves anteriorly with
flexion: it is FRSx
If a posteriorly rotated process moves anteriorly with extension: it is ERSx
If rotational component does not change with either maneuver, it is neutral: NSxRy

Neutral Triaxial Plane-Seated Direct, ME T4-12 SlRr (Nicholas, 2nd Edition, pg. 248) Pt sits on table with doc standing behind pt.
Pt placed in “Osteopathic salute” position on side of rotation
DO places thumb or thenar eminence against apex of lesioned group
Reach beneath pt’s arm to grasp opposite arm
Pt is slightly extended, sidebent right and rotated left until all planes of motion are localized under thumb/thenar eminence
Pt uses isometric ME force to straighten up
reposition pt in all 3 planes after relaxation (engage the new lesion barrier).
repeat 3 times or until SD is corrected.

Non-Neutral Triaxial Plane-Seated, Direct ME T4-12 RrSr (Nicholas, 2nd Edition, pg.
250)
Pt sits on table, doc stands behind pt.
Pt placed in “Osteopathic salute” position on side of rotation
DO places thumb or thenar eminence against apex of lesioned group
Reach beneath pt’s arm to grasp opposite arm
Pt is slightly extended, sidebent left and rotated left until all planes of motion are localized under thumb/thenar eminence
Pt uses isometric ME force to straighten up
reposition pt in all 3 planes after relaxation (engage the new lesion barrier).
repeat 3X or until SD is corrected.

Neutral and Non-Neutral Dysfunction of Lumbar Spine Seated, Direct ME is the same as for Thoracic spine
except more FB or BB to localize to the affected lumbar level
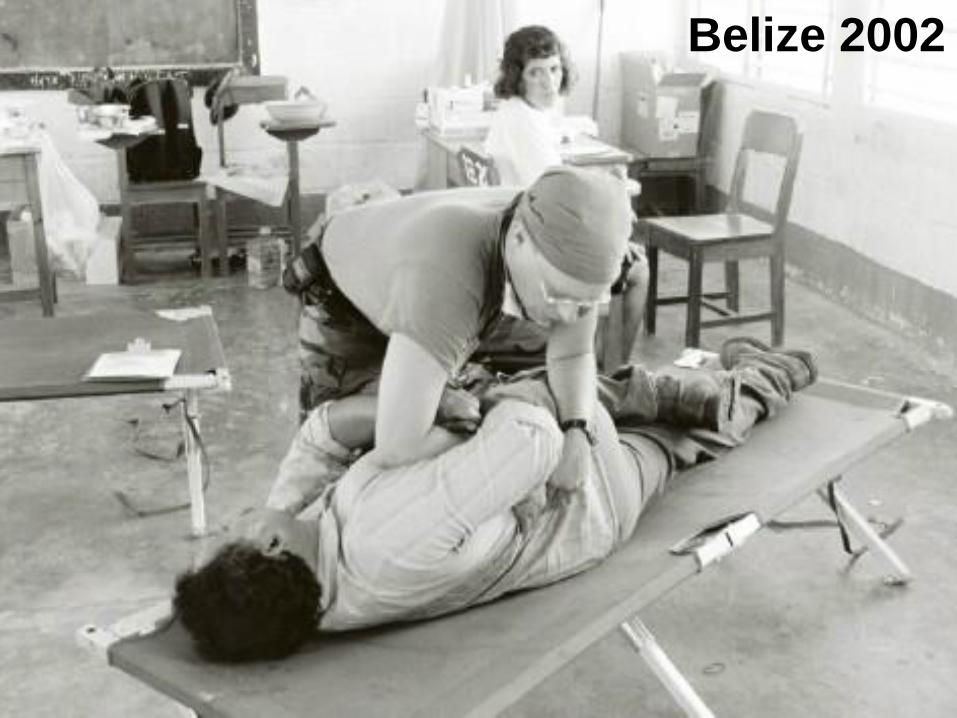
Belize 2002
Psoas Syndrome Classic pattern of somatic dysfunction of the low back and
hip which centers around shortening of the psoas on one side
Characteristics include:
tight psoas on one side- causes sidebending of lumbarsto that side and shortening of the leg with eversion of the foot on that side
tight piriformis on the other side- causing external rotation of the leg and sciatica
Non-neutral L1 or L2 (usually the key lesion) rotated and side-bent to the side of the spasm
Oblique axis sacral dysfunction to the same side as psoas spasm
Psoas Treatment Plan If spasm acute: rule out an organic cause, ice,
NSAIDs, promote correct posture, avoid sit-ups and backward bending at the waist
OMT:
Remove the key lumbar non-neutral at L1 or L2
Strain-counter strain to relax lumbars, psoas, and piriformis
Prescribe exercises that stretch the psoas such as swimming and push-ups

Myofascial Treatment of Psoas Patient prone
Operator stands on side opposite of tight psoas
leg is lifted and adducted to point of movement of thoracolumbar junction
May be done as muscle energy technique as well.


Upper Extremity OMTIndications:
Rotator Cuff injuries-MFR/FPR
Frozen shoulder-Spencer’s
Radial head dysfunction-ME
Carpal Tunnel Syndrome-MFR
Techniques:
Spencer Technique
Counterstrain
Myofascial/Ligamentous articular release

Spencer Technique Treatment for SD of clavicle, glenohumeral joint,
or muscular imbalance of the shoulder.
7 stages
Utilizes ligamentous release and isometric contractions
Physician stabilization of joint critical during isometric contractions
Always use short lever first before activating extended (straight) arm (stages 1-3)
Good for adhesive capsulitis (frozen shoulder), and improving ROM (not for acutely inflamed joints)

Spencer Technique- 7 Stages
Short Lever
1- Extension
2- Flexion
3- Circumduction
(compression)
Long lever
4- Circumduction
(traction)
5- Abduction
6- Internal rotation
7- Joint pump

7 Stages of Spencer Stage 1: Extension
Stage 2: Flexion
Stage 3: Circumduction with Compression
Stage 4 Circumduction with Traction
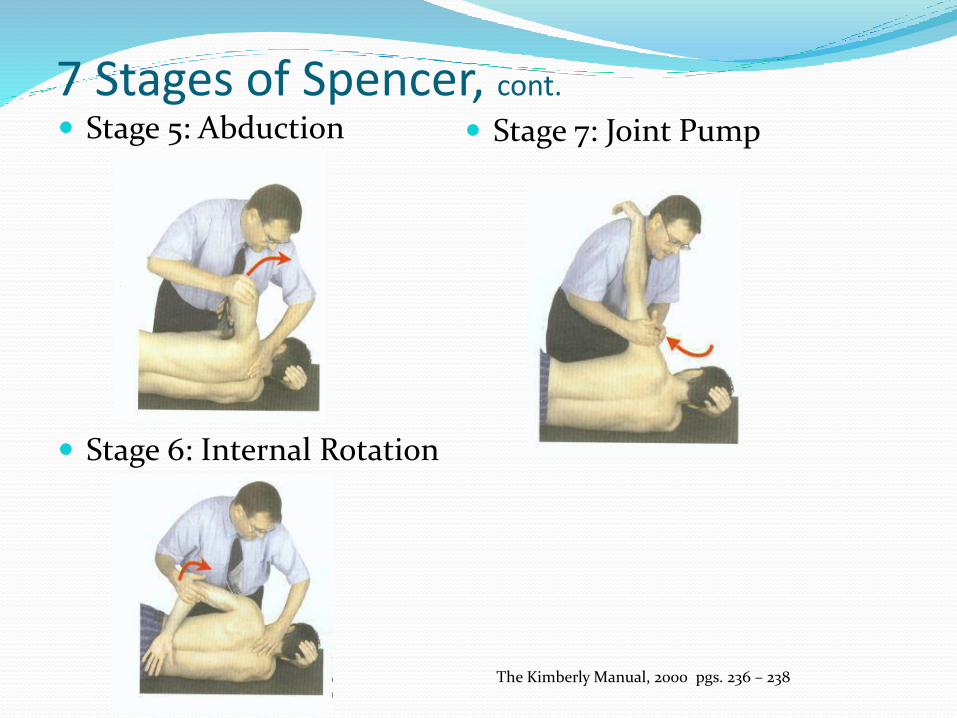
7 Stages of Spencer, cont.
Stage 5: Abduction
Stage 6: Internal Rotation
Stage 7: Joint Pump
The Kimberly Manual, 2000 pgs. 236 – 238

Counterstrain
Most common tender points occur along the supraspinatus muscle.
Place patient in “statue of liberty position”
Hold 90-120 seconds
The Kimberly Manual, 2000 pgs. 234

Lower Extremity OMTLower Extremity Somatic Dysfunction
Hip (Flexed, Extended, Internally rotated, Externally Rotated, Adducted, Abducted, Tenderpoints(Iliopsoas, Piriformis…)
Knee (Tibial torsions, Fibular Head Anterior or Posterior) Tenderpoints
Ankle (Anterior/posterior tibia on talus, tibial talarcompression, Subtalar compression) tenderpoints
Foot (Supinated, Pronated, inferior cuboid, Inferior metatarsal head) Tenderpoints.
Many more……

Lower Extremity Techniques Muscle Energy (direct/indirect) techniques work very
well for chronic conditions-hips rotation, fibular head ant/post.
Myofascial Release and Balanced Ligamentous techniques (indirect) can be safely used for acute conditions-knee and ankle sprains.
Strain-Counter strain for tender points-Piriformis syndrome.


SinusitisGoals of treatment with OMT:
To relieve obstruction and pain
To improve venous and lymphatic flow from the area
To effect reflex changes
To improve mucociliary clearance
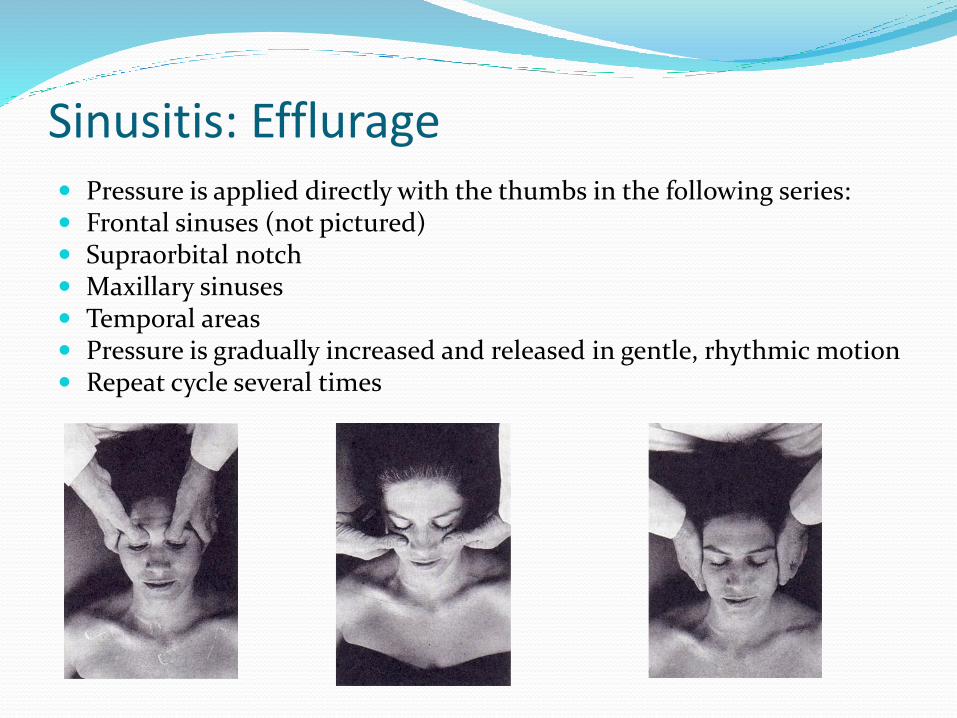
Sinusitis: Efflurage Pressure is applied directly with the thumbs in the following series: Frontal sinuses (not pictured) Supraorbital notch Maxillary sinuses Temporal areas Pressure is gradually increased and released in gentle, rhythmic motion Repeat cycle several times

Sinusitis: Counterstrain
Maxillary sinus - Interlace fingers above the bridge of the nose with the thenar eminences resting on the lateral curve of the zygoma. Apply pressure through the thenar eminences in a compressing and lifting motion. Maintained for 90 seconds then release.
Supraorbital tender points – one hand rests on the patient’s forehead, lightly pulling it superiorly. Fingers of the other hand pinching the bridge of the nose distract the nose caudad.
URI/Pneumonia Goals of treatment:
Balance autonomics Improve rib cage motion Improve lymphatic movement
Treatment options: Sub occipital release, OA and AA treatment ME for C3-C5 dysfunction Soft tissue stretching of scalene muscles Correction of 1st rib dysfunction reflex at Rt sternal border, inferior to ribs 3 and 4 (if rib
involved inhibitory pressure works well) Re-doming of the diaphragm Lymphatic pump techniques

Pneumonia (cont) Normalizing Parasympathetic/Sympathetic Tone:
Increase of the following: Acute burst of catecholamines and bronchial dilation Thinning of secretions Improve blood flow
Decrease of the following: Goblet cell hyperplasia over the long term Smooth muscle hyperplasia over the long term Quantity of mucus production
Improving diaphragmatic motion: Allowing for increased tidal volume
Improving lymphatic flow and decreasing vascular congestion