recone steps for 9900 series. tear down 1 cut through surround and spiders, remove cone assembly
TRANSCRIPT

Recone Steps for 9900 Series
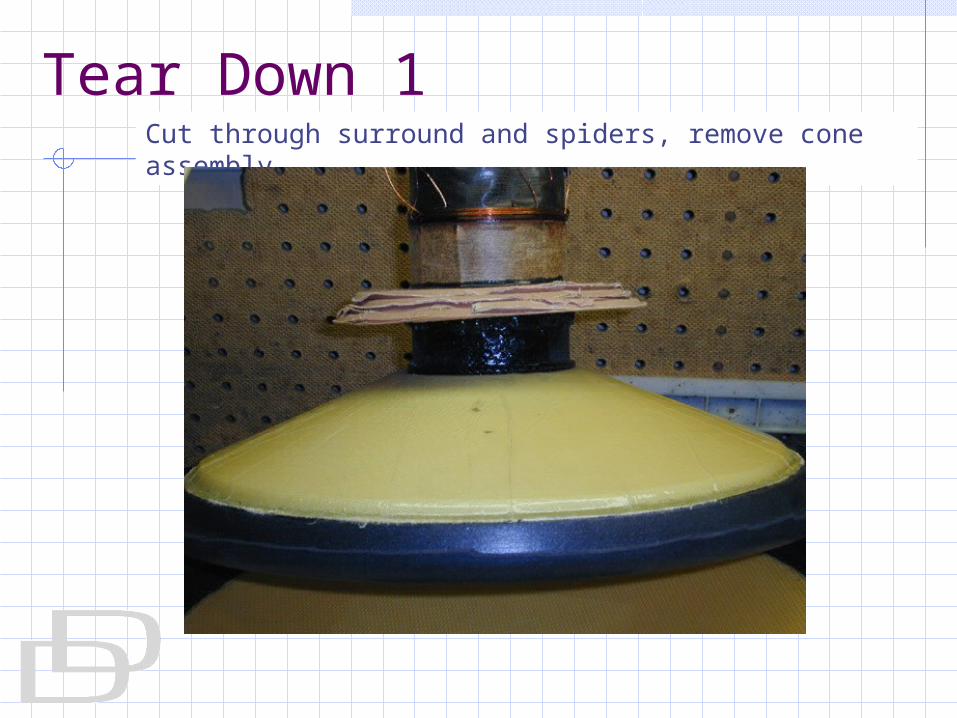
Tear Down 1Cut through surround and spiders, remove cone assembly
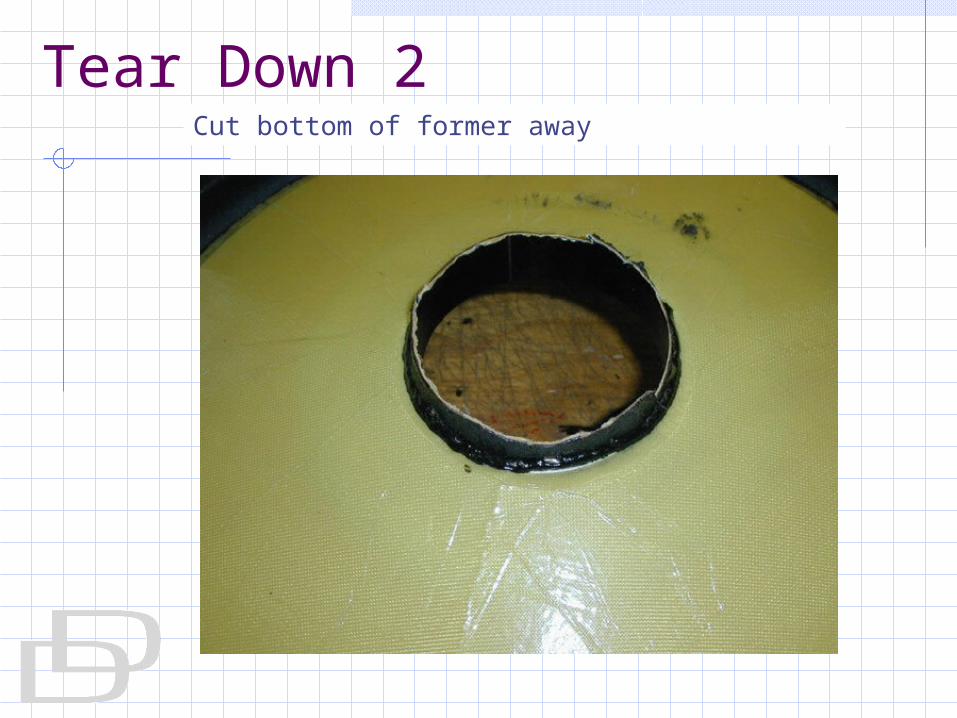
Tear Down 2Cut bottom of former away

Tear Down 3Cut top of former away

Tear Down 4Remove top spider ring along with old spiders. Clean off old surround and glue. Use a 36 grit grinding pad.

Tear Down 5Peel out old former, carefully cut away old glue. Use grinding wheel if necessary. Do not cut through Kevlar. Remove as much of old glue as possible.

Tear Down 6Remove old surround material and glue.If the old surround cuts away clean and flat, it may be possible to glue new surround edge over the old one. Check entire glue joint first, patch any loose areas. IF over-gluing is not possible, cut/grind away old surround and glue, until cone surface is smooth.
Tear Down 7
Ream out cone I.D. until it fits easily over new voice coil.
Repair any cut marks in the Kevlar or foam core.

Place cone onto former, draw a line on the former where bottom of cone comes to rest.Step 1

Step 2Glue Nylon just under the cone marker line

Step 3Overcoat nylon to form a solid ridge. This ridge gives added glue joint area, reinforcing the glue joint holding the bottom of the cone

Step 4Lay glue joint on frame. Spread over the area where the surround lays flat. Lay glue on the nylon ridge now attached to the voice coil former

Step 5Lay cone into basket, twist slightly to spread glue. Let the surround ease out to find a no stress set point. Use craft stick to spread glue under surround edge. Work the edge and glue around entire circumference. Accelerate 1 section between frame holes. Work flat with craft stick. Move to next section until glue is set.

Step 6Lay glue into gap around former and I.D. of the cone, then over onto the cone surface. Lay nylon around the gap and spiral out onto the cone.

Step 7Lay glue over nylon and out 20-25mm onto cone surface. Accelerate.

Step 8 Place dustcap on cone. Draw a line at the O.D.

Step 9 Scuff the area above and below the line.

Step 10 Lay glue on and below line.

Step 11 Lay dustcap into the glue bead
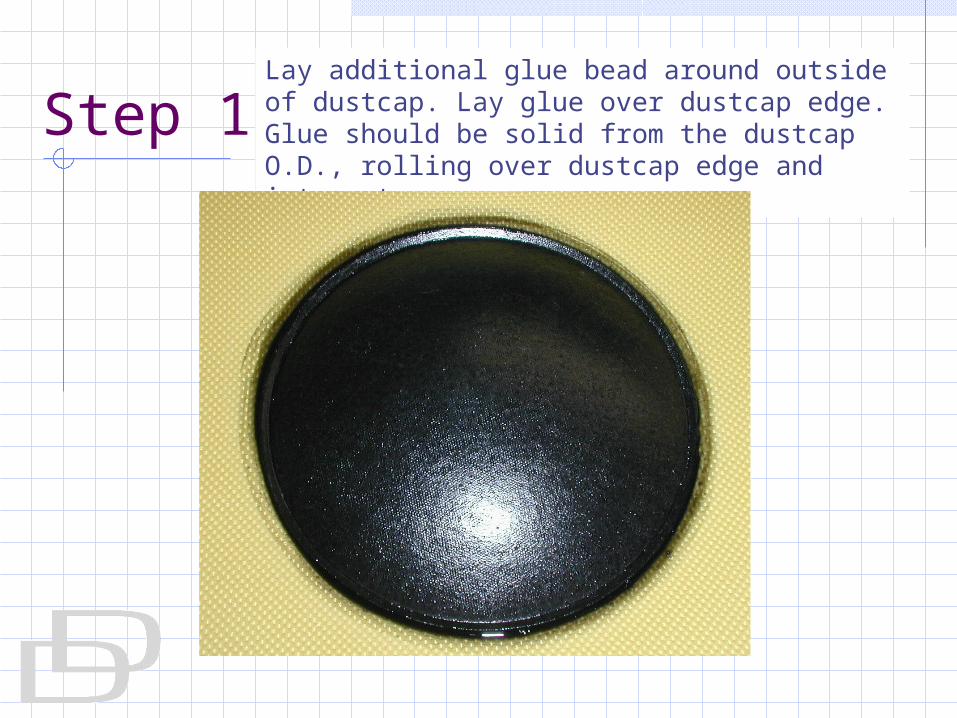
Step 12Lay additional glue bead around outside of dustcap. Lay glue over dustcap edge. Glue should be solid from the dustcap O.D., rolling over dustcap edge and into outer groove.