renault trafic(install(guide( - xplore technologies · pdf filerenault trafic(install(guide(...
TRANSCRIPT
For more information, contact your local Motion Reseller or Motion Representative.
© 2013 Motion Computing, Inc. All rights reserved. Motion and Motion Computing are registered trademarks of Motion Computing, Inc .
www.MotionComputing.com
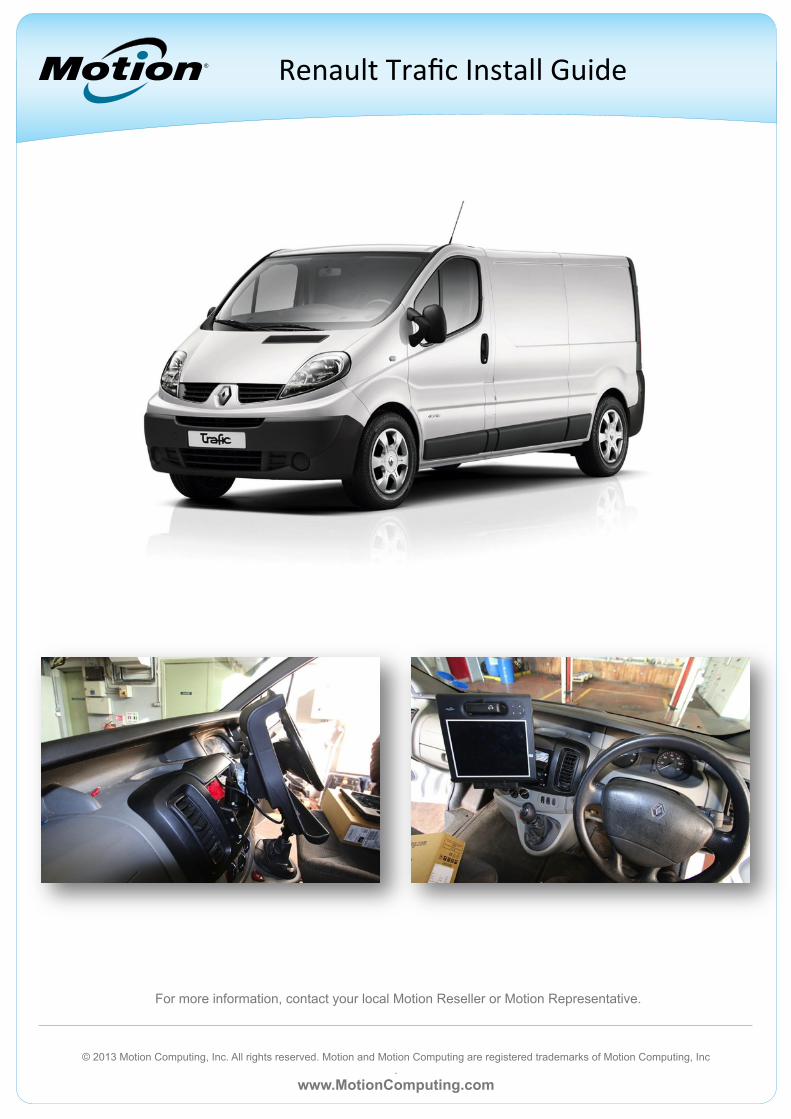
Renault Trafic Install Guide

For more information, contact your local Motion Reseller or Motion Representative.
© 2013 Motion Computing, Inc. All rights reserved. Motion and Motion Computing are registered trademarks of Motion Computing, Inc .
www.MotionComputing.com
Renault Trafic Install Guide
1) Remove the radio by inser:ng radio removal tools into the holes on the sides of the radio as shown.
2) Gently release the radio as shown.

For more information, contact your local Motion Reseller or Motion Representative.
© 2013 Motion Computing, Inc. All rights reserved. Motion and Motion Computing are registered trademarks of Motion Computing, Inc .
www.MotionComputing.com
Renault Trafic Install Guide
3) Remove the antenna cable as shown.
4) Using plas:c trim panel removal tools, carefully remove the lower storage compartment as shown.

For more information, contact your local Motion Reseller or Motion Representative.
© 2013 Motion Computing, Inc. All rights reserved. Motion and Motion Computing are registered trademarks of Motion Computing, Inc .
www.MotionComputing.com
Renault Trafic Install Guide
6) Slide it all the way in un:l it is fully seated.
5) Insert the DIN Slot Bracket 032-‐02-‐0326 as shown.

For more information, contact your local Motion Reseller or Motion Representative.
© 2013 Motion Computing, Inc. All rights reserved. Motion and Motion Computing are registered trademarks of Motion Computing, Inc .
www.MotionComputing.com
Renault Trafic Install Guide
7) Carefully spot through and drill four 6.5mm holes as shown. One each on the leQ and right hand sides. Two on the boRom.
8) Using plas:c trim panel removal tools, carefully remove the top dash cover as shown.

For more information, contact your local Motion Reseller or Motion Representative.
© 2013 Motion Computing, Inc. All rights reserved. Motion and Motion Computing are registered trademarks of Motion Computing, Inc .
www.MotionComputing.com
Renault Trafic Install Guide
9) Remove the two screws retaining the lower kick panel as shown.
10) Using a plas:c trim panel removal tool, carefully release the lower kick panel as shown.

For more information, contact your local Motion Reseller or Motion Representative.
© 2013 Motion Computing, Inc. All rights reserved. Motion and Motion Computing are registered trademarks of Motion Computing, Inc .
www.MotionComputing.com
Renault Trafic Install Guide
11) Remove the three screws shown from below the heater controls.
12) Using a plas:c trim panel removal tool, carefully release the heater control panel as shown.

For more information, contact your local Motion Reseller or Motion Representative.
© 2013 Motion Computing, Inc. All rights reserved. Motion and Motion Computing are registered trademarks of Motion Computing, Inc .
www.MotionComputing.com
Renault Trafic Install Guide
13) Fit the Side Spacers 032-‐02-‐0328 as shown. Secure to the vehicle using Socket BuRon Head Screws TD504034, Lock Washers TD504032 and Nuts TD501324.
14) Secure the boRom of the bracket in place as shown using Socket BuRon Head Screws TD504030, Lock Washers TD504032 and Nuts TD501324.

For more information, contact your local Motion Reseller or Motion Representative.
© 2013 Motion Computing, Inc. All rights reserved. Motion and Motion Computing are registered trademarks of Motion Computing, Inc .
www.MotionComputing.com
Renault Trafic Install Guide
15) Snap the heater control panel back in place as shown.
16) Refit the three screws removed in step 11 to secure the heater control panel in place.

For more information, contact your local Motion Reseller or Motion Representative.
© 2013 Motion Computing, Inc. All rights reserved. Motion and Motion Computing are registered trademarks of Motion Computing, Inc .
www.MotionComputing.com
Renault Trafic Install Guide
17) Refit the two screws removed in step 9 to retain the lower kick panel as shown.

For more information, contact your local Motion Reseller or Motion Representative.
© 2013 Motion Computing, Inc. All rights reserved. Motion and Motion Computing are registered trademarks of Motion Computing, Inc .
www.MotionComputing.com
Renault Trafic Install Guide
18) Reconnect the antenna cable and refit the radio as shown.
19) Refit the storage compartment as shown.

For more information, contact your local Motion Reseller or Motion Representative.
© 2013 Motion Computing, Inc. All rights reserved. Motion and Motion Computing are registered trademarks of Motion Computing, Inc .
www.MotionComputing.com
Renault Trafic Install Guide
20) Fit the Front Plate 032-‐02-‐0327 as shown and secure in place using four Socket BuRon Head Screws TD503712 and four Lock Washers TD503481.

For more information, contact your local Motion Reseller or Motion Representative.
© 2013 Motion Computing, Inc. All rights reserved. Motion and Motion Computing are registered trademarks of Motion Computing, Inc .
www.MotionComputing.com
Renault Trafic Install Guide
21) Rotate the VESA plate on the Tilt & Rotate Assembly by 180 degrees as shown. Remove the four socket head cap screws, rotate the VESA plate by 180 degrees and re-‐fit the four socket head cap screws.

For more information, contact your local Motion Reseller or Motion Representative.
© 2013 Motion Computing, Inc. All rights reserved. Motion and Motion Computing are registered trademarks of Motion Computing, Inc .
www.MotionComputing.com
22) Fit the Docking Sta:on / Tilt & Rotate Assembly to the front bracket as shown using the provided M8 fasteners. NOTE:-‐ Ensure that the loca:on lugs are correctly engaged before final :ghtening to prevent unwanted rota:on. 23) When installing the docking sta:on to the VESA mount, ensure that the view the driver has through the windshield is not restricted in any way. If it is then select a lower set of holes on the VESA mount.
Renault Trafic Install Guide

For more information, contact your local Motion Reseller or Motion Representative.
© 2013 Motion Computing, Inc. All rights reserved. Motion and Motion Computing are registered trademarks of Motion Computing, Inc .
www.MotionComputing.com
�
�
�
�
��
��
�
5(9,6,216
(&1
5(9�
'(6&5,37,21
'$7(
$3352
9('
,7(0�12�
3$57�180
%(5
'(6&5,37,21
47<�
������������
5HQD
XOW�7UDILF�',1�3ODWH
�
������������
5HQD
XOW�7UDILF�)URQW�3ODWH
��
�����������
5HQD
XOW�7UDILF�6LGH�6SDF
HU�
�7'������
0��)OD
QJHG
�1\ORQ
�,QVHUW�1XW��%ULJKW�
=LQF�3ODWH
�
�7'������
0��(;7(51
$/�72
27+/2
&.�:$6+(5��
%ULJKW�=LQF�3ODWH
�
�7'������
0��(;7(51
$/�72
27+/2
&.�:$6+(5��
%ULJKW�=LQF�3ODWH
�
�7'������
0��[����62&.(7�%
8772
1�+($
'�
6&5(:��%ULJKW�=LQF�3ODWH
�
�7'������
0��;���62
&.(7�%
8772
1�+($
'�
6&5(:�+7��%ULJKW�=LQF�3ODWH
�
�7'������
0��[����62&.(7�%
8772
1�+($
'�
6&5(:��%ULJKW�=LQF�3ODWH
�
' & % $$%&'
��
���
�
81/(66�27+(5:,6(
�63(&,),('
',0(1
6,216�$5(�,1
�0,//,0(7(56
72/(5$
1&(6�$5(�
����������;��������
������
����������;�;�����
������
����������;�;;���
�������
����������;�;;;
�������������
������$1*/(6�
�������'HJ
%5($
.�$//�6+$
53�('*(6
$1'�&251
(56��5(0
29(
�%85
56�
0$7(5,$/
),1,6+
7%$
7,7/( 6,=( %
':*���12�
5(9
6&$/(�����
$��
5$$
���������
5HQD
XOW�7UDILF�%UDFNHW�.LW 6+((7��
�2)��
����������
'2�127�6&$/(�'5$
:,1*
�
�
�����55��������
$867,1
��7;������
������������
7+,6�'2&80
(17�&
217$,16�,1)2
50$7,2
135235,(7$5<�72
�027,2
1�&2038
7,1*�$1'
6+$//�127�%
(�86('
�)25�(1
*,1((5,1*
'(6,*1��352
&85
(0(1
7�25�0$18)$&785(
,1�:
+2/(�25�,1�3$57�:
,7+287�7+
(&216(17�2
)�027,2
1�&2038
7,1*
$3352
9$/6
'$7(
'5$
:1
&+(
&.('
'(6,*1�(1*,1((5
7+,5'�$1*/(�352
-(&7,2
1