renovation, repair and painting · renovation, repair and painting (rrp) program rule for...
TRANSCRIPT
Steps to
LEAD SAFE Renovation, Repair
and Painting
1-800-424-LEAD
www.epa.gov/lead
Renovating, Repairing or Painting?
Are you working on a home renovation, repair or painting project?
Does the project involve a home built before 1978?
If so, you need to know how to work safely with lead-based paint. This guide is designed to help contractors and homeowners plan for and complete a home renovation, repair or painting project using lead safe work practices. Lead safe work practices are a group of techniques that reduce the amount of dust produced by renovation activities. When used correctly, they make the work area safer for workers and the home safe for residents when renovation is complete. Following lead safe work practices will allow you to:
! Set up the job safely;
! Minimize the creation of dangerous lead dust; and
! Leave the work area clean and safe for residents after completing the job.
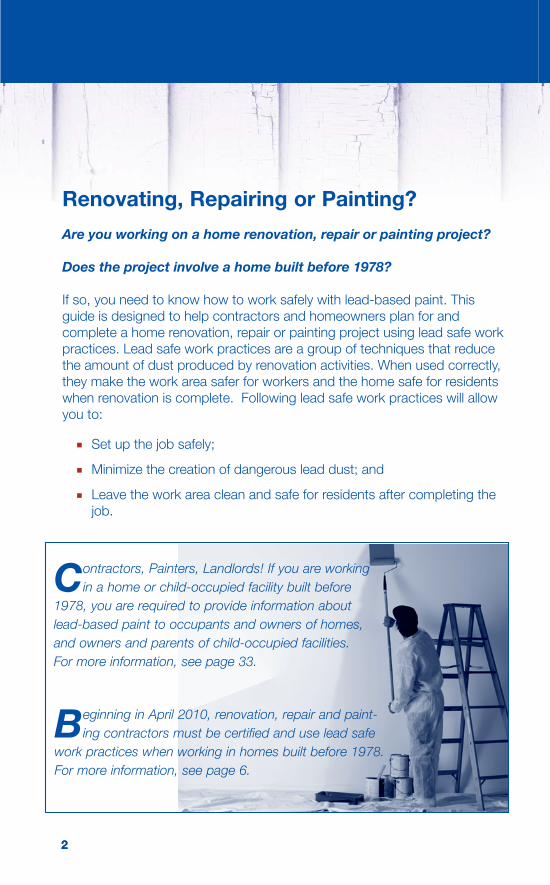
Contractors, Painters, Landlords! If you are working in a home or child-occupied facility built before
1978, you are required to provide information about lead-based paint to occupants and owners of homes, and owners and parents of child-occupied facilities. For more information, see page 33.
Beginning in April 2010, renovation, repair and paint-ing contractors must be certified and use lead safe
work practices when working in homes built before 1978. For more information, see page 6.
22
Table of Contents
Learn the Facts About Lead-Based Paint 4
The Renovation, Repair and Painting Program Rule 6
Other Federal and State Regulations 9
Step 1: Determine if the Job Involves Lead-Based Paint 10
Step 2: Set It Up Safely 12
Step 3: Protect Yourself 16
Step 4: Minimize the Dust 18
Step 5: Leave the Work Area Clean 21
Step 6: Control the Waste 23
Step 7: Verify Work Completion with the Cleaning
Verification Procedure or Clearance 25
Learn More About Lead Safety 30
Other Resources 32
Pre-Renovation Education Requirements 33
Shopping List 35
33
4
Learn the Facts about Lead-Based Paint
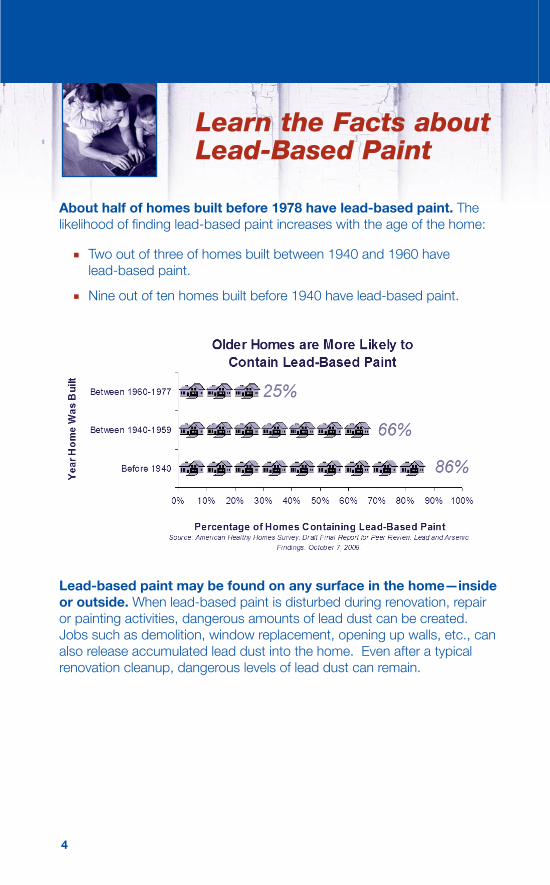
About half of homes built before 1978 have lead-based paint. The likelihood of finding lead-based paint increases with the age of the home:
! Two out of three of homes built between 1940 and 1960 have lead-based paint.
! Nine out of ten homes built before 1940 have lead-based paint.
Lead-based paint may be found on any surface in the home—inside or outside. When lead-based paint is disturbed during renovation, repair or painting activities, dangerous amounts of lead dust can be created. Jobs such as demolition, window replacement, opening up walls, etc., can also release accumulated lead dust into the home. Even after a typical renovation cleanup, dangerous levels of lead dust can remain.
4
5
Lead gets into the body when it is swallowed or breathed.
! People, especially children, can swallow lead dust as they eat, play, and perform other ordinary hand-to-mouth activities.
! People may also breathe in lead dust or fumes while they work on jobs that sand, scrape, burn, brush, blast or otherwise disturb painted surfaces that contain lead paint.
! Additionally, pets may be poisoned by the same types of exposure to lead.
Once in the body, lead can have significant effects on human health.
! In children, lead poisoning damages the nervous system and causes developmental and behavioral problems that can affect them for their lifetime.
! In adults, lead poisoning causes health and reproductive problems. Pregnant women are especially vulnerable to the effects of lead.
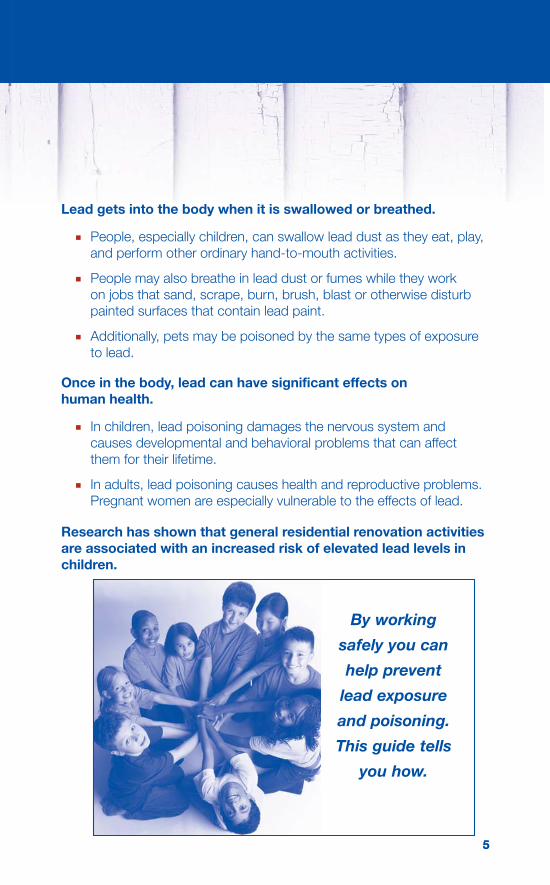
Research has shown that general residential renovation activities are associated with an increased risk of elevated lead levels in children.
By working
safely you can
help prevent
lead exposure
and poisoning.
This guide tells
you how.
55
The Renovation, Repair and Painting Program Rule
This section summarizes requirements of EPA’s Lead-Based Paint Renovation, Repair and Painting (RRP) Program Rule for contractors, and provides guidance to homeowners/occupants, so that each may learn to properly address lead-based paint hazards associated with renovation, repair and painting activities.
The RRP rule affects contractors, property managers and others who disturb known or presumed lead-based paint during renovation. The term renovation covers all activities done for compensation that disturb painted surfaces including most repair, remodeling and maintenance activities, such as window replacement, weatherization and demoli-tion. The RRP rule applies to all renovation work performed in residential houses, apartments and child-occupied facilities such as schools and day-care centers built before 1978. Those affected by the RRP rule should read the complete rule, which is available on EPA’s Web site at: http://www.epa.gov/lead/pubs/renovation.htm.
Training, certification, and work practice requirements in the Renovation, Repair and Painting Rule are effective April 22, 2010. Pre-renovation education requirements are effective now.
Requirements for Renovation Contractors Include:
Certification and Training Requirements
! All firms performing renovation, repair or painting work must become certified. This can be accomplished by applying to EPA or to the State, if it has an EPA-authorized renovation program, and paying a fee.
! Firms must have one or more “Certified Renovators” assigned to jobs where lead-based paint is disturbed. To become certified, a renovator must successfully complete an EPA or State-approved training course conducted by an EPA or State-accredited training provider.
! All renovation workers must be trained. Renovation workers can be trained on-the-job by a Certified Renovator to use lead safe work practices, or they can become Certified Renovators themselves.
6

Pre-Renovation Education Requirements ! Contractors, property managers and others who perform renova-
tions for compensation in residential houses, apartments, and child-occupied facilities built before 1978 are required to distribute EPA’s Renovate Right lead hazard information pamphlet before starting renovation work to occupants and owners of homes, and owners and parents of child-occupied facilities. More information about pre-renovation education requirements can be found on page 33.
Work Practice Requirements
! Renovators must use work-area containment to prevent dust and debris from leaving the work area.
! Certain work practices are prohibited. Open-flame burning, using heat guns at greater than 1,100 degrees Fahrenheit and the use of power tools without high- efficiency particulate air (HEPA) exhaust control (to collect dust generated) are prohibited.
! Thorough cleaning followed by a cleaning verification procedure to minimize exposure to lead-based paint hazards are required.
! Generally, minor repair and maintenance activities (less than 6 square feet per interior room or 20 square feet per exterior project) are exempt from the work practices requirements. However, this exemption does not apply to jobs involving window replacement or demolition, or that involve the use of any of the prohibited practices listed above.
7
Exemption from the RRP Rule The training, certification and work practice requirements do not apply where the firm obtains a signed statement from the owner that all of the following conditions are met:
! The renovation will occur in the owner’s residence;
! No child under age 6 resides there;
! No woman who is pregnant resides there;
! The housing is not a child-occupied facility; and,
! The owner acknowledges that the renovation firm will not be required to use the work practices contained in the rule.
Homeowners Working in Their Own Homes The RRP rule applies only to renovations performed for compensation. If you work on your own home, the rules do not apply. Even so, EPA encourages homeowners to use lead safe work practices, in order to protect themselves, their families, and the value of their homes.
Landlords Working in Their Own Property Landlords receive rental payments and maintenance personnel in rental property or child-occupied facilities receive wages or salaries derived from rent payments. This is considered compensation under the RRP rule. Therefore, renovation and repair activities performed by landlords or employees of landlords are covered by the rule. Work performed by landlords or their employees in pre-1978 housing and child-occupied facilities must be performed using lead safe work practices, if lead-based paint or presumed lead-based paint is disturbed.
8

Other Federal and State Regulations
The U.S. Department of Housing and Urban Development (HUD) Lead Safe Housing Rule HUD’s Lead Safe Housing Rule (24 CFR Part 35) covers pre-1978 federally-owned or assisted housing and federally-owned housing that is being sold. It does not cover child-occupied facilities outside of residen-tial housing. The requirements of HUD’s rule are similar to EPA’s RRP rule, but there are some differences in the details, including:
! Exemptions. HUD’s rule does not allow owners of federally- assisted housing to opt out of its requirements.
! Training Requirements. HUD does not recognize on-the-job training. To conduct lead hazard control in federally-assisted housing, either all workers must have completed a HUD-approved course, or the crew must be supervised by a Certified Renovator who is also a Certified Lead Abatement Supervisor.
! Minor Repair and Maintenance. HUD’s definition of minor repair and maintenance that is exempt from its rule is different than EPA’s (2 square feet interior and 20 square feet exterior or 10 percent of the surface area of a small building component type).
Other differences between the EPA and HUD rules (concerning paint testing, prohibited practices, clearance testing and waste disposal) are pointed out in the appropriate places.
State and Local Regulations Other state or local requirements that are different from or more stringent than the federal requirements may apply. For example, federal law allows EPA to authorize states to administer their own lead renovation program in place of the federal lead program. Even in states without an authorized lead renovation program, a state may promulgate its own rules that may be different or go beyond the federal requirements.
For more information on the rules that apply in your state, please contact the National Lead Information Center at 1-800-424-LEAD (5323) or www.epa.gov/lead/nlic.htm.
9
.
.
Step 1Step 1 Determine If the Job Involves Lead-Based Paint
Before you begin a job, consider whether lead-based paint will be an issue.
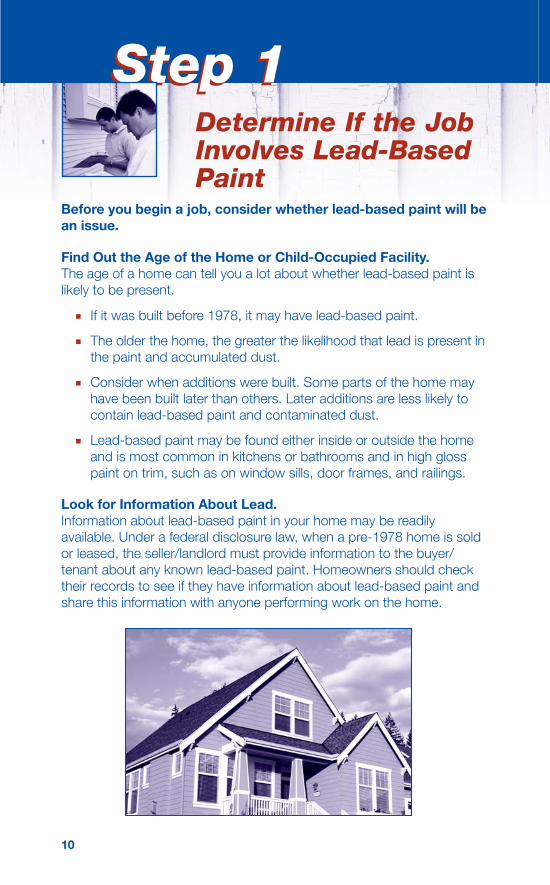
Find Out the Age of the Home or Child-Occupied Facility. The age of a home can tell you a lot about whether lead-based paint is likely to be present.
! If it was built before 1978, it may have lead-based paint.
! The older the home, the greater the likelihood that lead is present in the paint and accumulated dust.
! Consider when additions were built. Some parts of the home may have been built later than others. Later additions are less likely to contain lead-based paint and contaminated dust.
! Lead-based paint may be found either inside or outside the home and is most common in kitchens or bathrooms and in high gloss paint on trim, such as on window sills, door frames, and railings.
Look for Information About Lead. Information about lead-based paint in your home may be readily available. Under a federal disclosure law, when a pre-1978 home is sold or leased, the seller/landlord must provide information to the buyer/ tenant about any known lead-based paint. Homeowners should check their records to see if they have information about lead-based paint and share this information with anyone performing work on the home.
10

11
Consider Lead Testing. If a home was built before 1978, you must either assume that lead-based paint is present or have the work area tested for lead-based paint before starting the job. There are two options for testing paint in a home under the Renovation, Repair and Painting Rule:
1. Paint testing by a certified lead-based paint inspector or lead-based paint risk assessor—These licensed professionals conduct a surface-by-surface investigation for lead-based paint by collecting paint chips for laboratory analysis or by testing painted surfaces with an machine called an X-Ray Fluorescence Analyzer (XRF) which measures the amount of lead in the paint.
2. Paint testing by a Certified Renovator—Certified Renovators, at the
request of the homeowner, can use EPA-recognized chemical spot
test kits to test all painted surfaces affected by the renovation.
Note: HUD does not recognize testing by a Certified Renovator using spot test kits. In housing covered by the HUD Lead Safe Housing Rule, only the first option is allowed.
All surfaces affected by a renovation covered by the Renovation, Repair and Painting Rule must either be tested for lead-based paint or presumed to contain lead-based paint. Testing must include all affected surfaces coated with paint, shellac, varnish, stain, coating or even paint covered by wallpaper, if it will be disturbed during the renovation work. A report documenting the testing must list the surfaces tested and the surfaces which contain lead-based paint. If lead-based paint is present on an affected surface, then the lead safe work practices described in this pamphlet must be used on the job.
For a list of certified lead testing professionals in your area, contact the National Lead Information Center at 1-800-424-LEAD (5323) or visit http://cfpub.epa.gov/flpp.
Remember, if the home was built before 1978 and there is no information available about the paint, renovators must presume lead-based paint is present and use the lead safe work practices described in this pamphlet. Make sure everyone involved on the job, including workers, supervisors and residents, uses proper safety precautions.
11

Step 2Step 2 Set It Up Safely
When you work on a job with lead-based paint, you should separate the work area from the rest of the home. The goal of proper setup of the work area is to keep dust in the work area and non-workers out.
The work area is the area that may become contaminated during the work. The size of the work area may vary depending on the method used to disturb lead-based paint and the amount of dust and debris that is generated as a result. Whenever lead-based paint is disturbed, the work area must be protected by plastic sheeting applied to the floor, ground or other applicable surfaces to prevent contamination of the home or exterior, from dust generated by the work.
The Renovation, Repair and Painting Rule requires that the work area be protected by plastic sheeting that extends a minimum of 6 feet in all directions from the location where paint will be disturbed. The Rule further requires that protective plastic sheeting extend far enough from the location of paint disturbance so that all dust or debris generated by the work remains within the area protected by the plastic. The entire portion of the home or exterior that is protected by plastic sheeting, however large, is the work area.
Unauthorized persons and pets must be prevented from entering the work area. This can be accomplished by posting warning signs and by establishing barriers around the work area such as barrier tape, fencing, plastic barriers in doorways, etc.
12
Shopping List
Here is a list of supplies and tools you will need to set up the work area safely. These items are available in hardware, paint or garden supply stores.
Materials to Restrict Access and Cover the Floor/Ground
" Signs
" Barrier tape, rope or fencing
" Cones
" Heavy duty plastic sheeting
" Tape (masking, duct or painter’s)
" Stapler
" Utility knife or scissors
What To Do
To keep the dust in and people out of your work area, you will need to take the steps below for inside or outside jobs. Some jobs create more dust than others and, therefore, call for additional precautions.
For Inside Jobs
! Have occupants leave the room where the work will be done and have them stay outside of the work area until after the final cleanup.
! Place signs, barrier tape and/or cones to keep all non-workers, especially children, out of the work area. Keep pets out of the work area for their safety and to prevent them from tracking dust and debris throughout the home. Signs should be in the primary language of the occupants and should say “Do Not Enter – Authorized Personnel Only” and “No Eating, Drinking, or Smoking.”
13
! Remove furniture and belongings from the work area. These items may include: drapes, curtains, furniture, rugs, etc. If an item is too large to move, cover it with heavy plastic sheeting and tape the sheeting securely in place.
! Use heavy plastic sheeting to cover floors in the work area, to a minimum of 6 feet from the area of paint disturbance. Secure with tape.
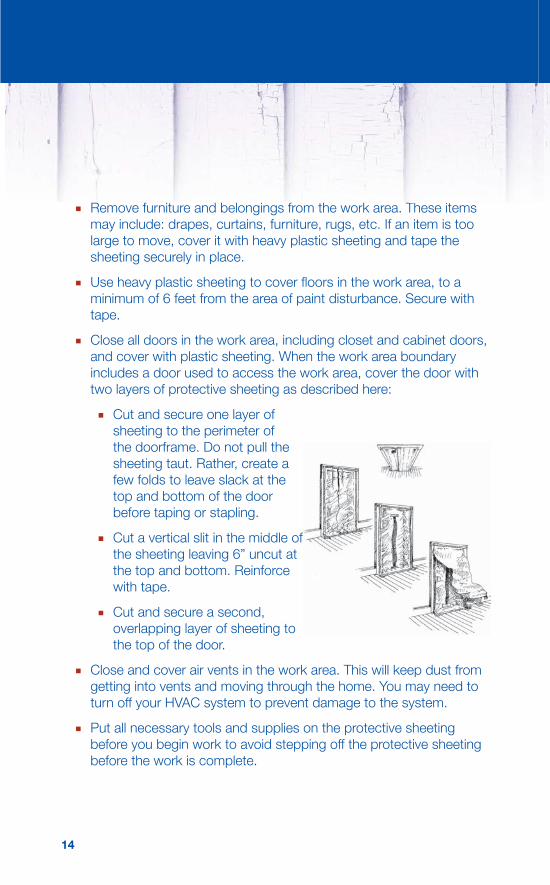
! Close all doors in the work area, including closet and cabinet doors, and cover with plastic sheeting. When the work area boundary includes a door used to access the work area, cover the door with two layers of protective sheeting as described here:
! Cut and secure one layer of sheeting to the perimeter of the doorframe. Do not pull the sheeting taut. Rather, create a few folds to leave slack at the top and bottom of the door before taping or stapling.
! Cut a vertical slit in the middle of the sheeting leaving 6” uncut at the top and bottom. Reinforce with tape.
! Cut and secure a second, overlapping layer of sheeting to the top of the door.
! Close and cover air vents in the work area. This will keep dust from getting into vents and moving through the home. You may need to turn off your HVAC system to prevent damage to the system.
! Put all necessary tools and supplies on the protective sheeting before you begin work to avoid stepping off the protective sheeting before the work is complete.
14
For Outside Jobs
! Keep non-workers away from the work area by marking it off with signs, tape and/or cones.
! Cover the ground and plants with heavy plastic sheeting to catch debris. The covering should extend at least 10 feet out from the building. Secure the covering to the exterior wall with a wood strip and staples, or tape.
! Close windows and doors within 20 feet of the work area to keep dust and debris from getting into the home.
! Move or cover any play areas that are within 20 feet of the work area.
! When working on the 2nd story or above, extend the sheeting farther out from the base of the home and to each side of the area where paint is being disturbed.
! Vertical shrouding on scaffolding should be used if work is close to a sidewalk, street, or property boundary, or the building is more than three stories high.
! Avoid working in high winds if possible. The EPA Renovation, Repair and Painting Rule does not specifically address wind speed, but when the wind is strong enough to move dust and debris, special precautions need to be taken to keep the work area contained. That may mean creating a wind screen of plastic at the edge of the ground-cover plastic to keep dust and debris from migrating. Ultimately, you are responsible for preventing dust and debris from leaving the work area, so take appropriate precautions when wind is a factor.
! Put all necessary tools and supplies on the protective sheeting before you begin work to avoid stepping off the protective sheeting before the work is complete.
15
Step 3Step 3 Protect Yourself
Workers should protect themselves. Without the right personal protective equipment, workers may ingest or inhale lead from the job and may risk bringing lead from the worksite home to their families. The following items are available through hardware, paint, garden supply stores or other specialty suppliers.
Shopping List
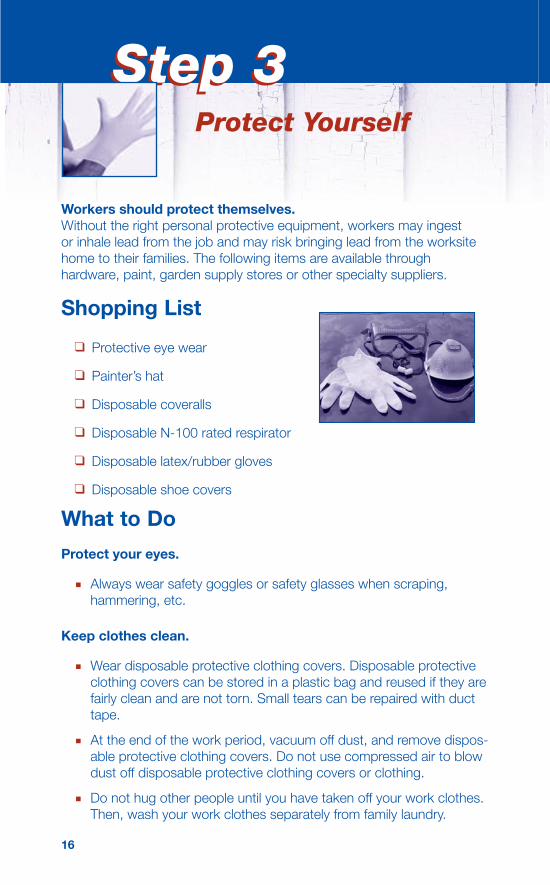
" Protective eye wear
" Painter’s hat
" Disposable coveralls
" Disposable N-100 rated respirator
" Disposable latex/rubber gloves
" Disposable shoe covers
What to Do
Protect your eyes.
! Always wear safety goggles or safety glasses when scraping, hammering, etc.
Keep clothes clean.
! Wear disposable protective clothing covers. Disposable protective clothing covers can be stored in a plastic bag and reused if they are fairly clean and are not torn. Small tears can be repaired with duct tape.
! At the end of the work period, vacuum off dust, and remove dispos-able protective clothing covers. Do not use compressed air to blow dust off disposable protective clothing covers or clothing.
! Do not hug other people until you have taken off your work clothes. Then, wash your work clothes separately from family laundry.
16
! Wear disposable shoe covers to prevent the tracking of dust from the work area and to protect your shoes from exposure to dust.
! Wear gloves to protect your hands and prevent exposure to dust.
! Wear a painter’s hat to protect your head from dust and debris. These are easy to dispose of at the end of the day.
Wear respiratory protection. When work creates dust or paint chips, workers should wear respiratory protection, such as an N-100 dispos able respirator, to prevent them from breathing leaded dust.
Post a warning sign. Post a sign at the work entrance reminding workers to avoid eating, drinking and smoking in the work area.
Your sign should say: ! Warning
! Lead Work Area
! Poison
! No Smoking, Drinking or Eating
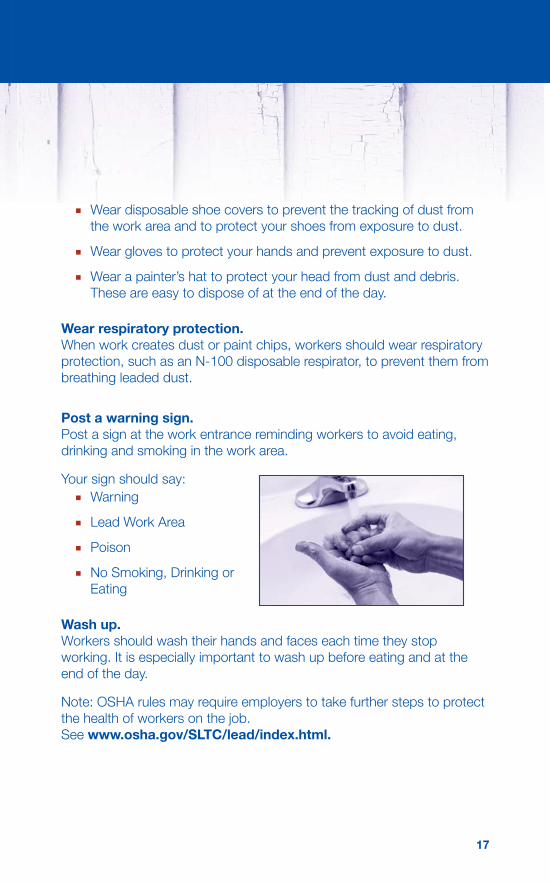
Wash up. Workers should wash their hands and faces each time they stop working. It is especially important to wash up before eating and at the end of the day.
Note: OSHA rules may require employers to take further steps to protect the health of workers on the job. See www.osha.gov/SLTC/lead/index.html.
17
18
Step 4
18
Step 4 Minimize the Dust
As you work, your goal is to keep down the dust. Remember that as you scrape, drill, cut, open walls, etc., you are creating dust. You can keep dust down by using the right tools and following some simple practices that minimize and control the spread of dust. The following items are available through hardware, paint, garden supply stores or other specialty suppliers.
Shopping List
Materials for all jobs:
" Wet-dry sandpaper, sanding sponge
" Misting bottle or pump sprayer
" Heavy plastic sheeting
" Utility knife or scissors
" Masking tape, duct tape, or painters’ tape
" High Efficiency Particulate Air (HEPA) vacuum cleaner (a special vacuum cleaner that can remove very small particles from floors, window sills, and carpets and not return them to the air)
" Heavy duty plastic bags
" Tack pads (large, sticky pads that help remove dust), paper towels, or disposable wipes
Other tools that may be needed:
" Low-temperature heat gun (under 1,100 degrees Fahrenheit)
" Chemical strippers without methylene chloride
" Power tools with HEPA filter equipped vacuum attachments
What To Do
Use the right tools.
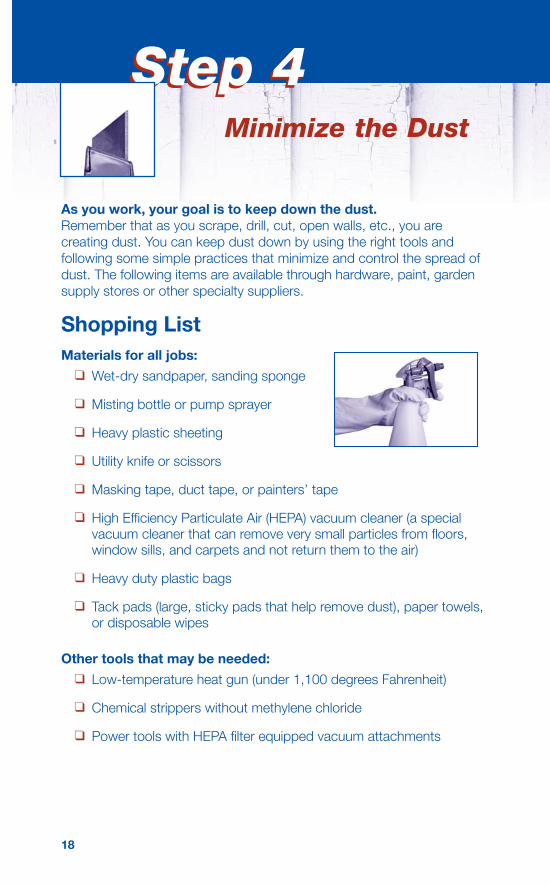
! Use wet sanders and misters to keep down the dust created during sanding, drilling and cutting.
! Use HEPA vacuum attachments on power sanders and grinders to contain the dust created by these tools.
! When a heat gun is needed to remove paint, use a temperature setting below 1,100 degrees Fahrenheit.
Use work practices that minimize dust.
! Mist areas before sanding, scraping, drilling and cutting to keep the dust down (except within 1 foot of live electrical outlets).
! Score paint with a utility knife before separating components.
! Pry and pull apart components instead of pounding and hammering.
! Keep components that are being disposed of in the work area until they are wrapped securely in heavy plastic sheeting or bagged in heavy duty plastic bags. Once wrapped or bagged, remove them from the work area and store them in a safe area away from residents.
Control the spread of dust.
! Keep the work area closed off from the rest of the home.
! Don’t track dust out of the work area:
! Stay in the contained work area and on the contained paths.
! Vacuum off suits when exiting the work area so the dust stays inside the work area.
! Every time you leave the plastic sheeting, remove your dispos-able shoe covers, and wipe or vacuum your shoes, especially, the soles, before you step off the plastic sheeting. A large disposable tack pad on the floor can help to clean the soles of your shoes.
! Launder non-disposable protective clothing separately from family laundry.
19
20
Do Not Use Prohibited Practices. The Renovation, Repair and Painting Rule prohibits the use of some dangerous work practices by contractors. These “Prohibited Practices” are:
! Open-flame burning or torching of lead-based paint.
! The use of machines that remove lead-based paint through high-speed operation such as sanding, grinding, power planing, abrasive blasting or sandblasting, unless such machines are used with a HEPA exhaust control.
! Operating a heat gun on lead-based paint at temperatures greater than 1,100 degrees Fahrenheit.
In federally-assisted housing, HUD’s rule prohibits additional work practices:
! Extensive dry scraping and sanding by hand.
! Heat guns that char paint.
! Paint stripping in a poorly ventilated space using a volatile paint stripper.
Note: The EPA Renovation, Repair and Painting Rule does not apply to homeowners who renovate their own property. However, because the practices prohibited under the rules generate significant amounts of dust, EPA recommends that they be avoided by the do-it-yourself homeowner also.
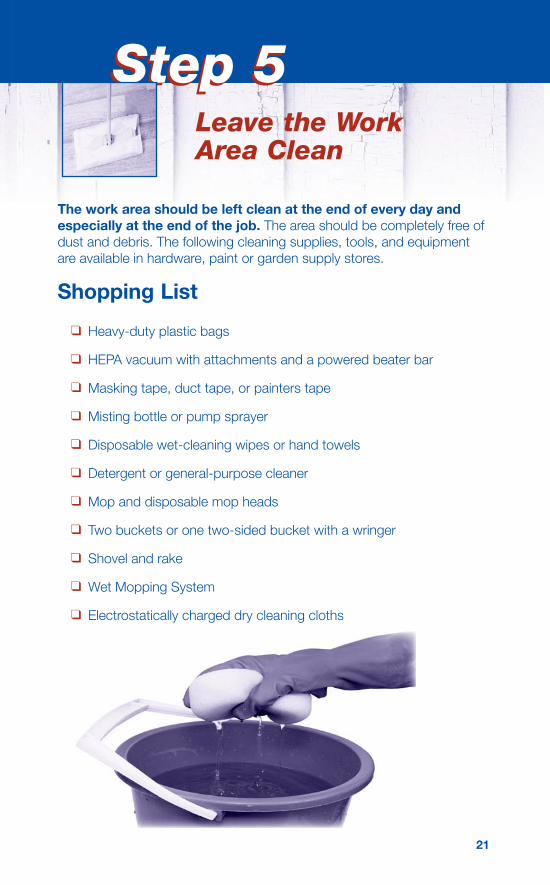
Step 5Step 5 Leave the Work Area Clean
The work area should be left clean at the end of every day and especially at the end of the job. The area should be completely free of dust and debris. The following cleaning supplies, tools, and equipment are available in hardware, paint or garden supply stores.
Shopping List
" Heavy-duty plastic bags
" HEPA vacuum with attachments and a powered beater bar
" Masking tape, duct tape, or painters tape
" Misting bottle or pump sprayer
" Disposable wet-cleaning wipes or hand towels
" Detergent or general-purpose cleaner
" Mop and disposable mop heads
" Two buckets or one two-sided bucket with a wringer
" Shovel and rake
" Wet Mopping System
" Electrostatically charged dry cleaning cloths
21

What To Do
On a daily basis, renovators and do-it-yourself homeowners should:
! Pick up as you go. Put trash in heavy-duty plastic bags.
! Vacuum the work area with a HEPA vacuum cleaner frequently during the day and at the end of the day.
! Clean tools at the end of the day.
! Wash up each time you take a break and before you go home.
! Dispose of or clean off your personal protective equipment.
! Continue to separate the work area from the rest of the home and remind residents to stay out of the area.
When the job is complete, renovators and do-it-yourself homeowners should:
! Remove plastic sheeting carefully, fold it with the dirty side in, tape it shut, and dispose of it.
! Make sure all trash and debris, including building components, are disposed of properly.
! Vacuum all surfaces, including walls, with a HEPA vacuum cleaner.
! Mist and scrub the work area with a general-purpose cleaner on a wet rag or mop, changing the rinse water often until dust and debris are removed.
! Vacuum all surfaces again once they are dry.
! Visually inspect your work. Look around the home, both inside and out. You should not be able to see any dust, paint chips or debris.
! Re-clean the area thoroughly if you find dust or debris.
22
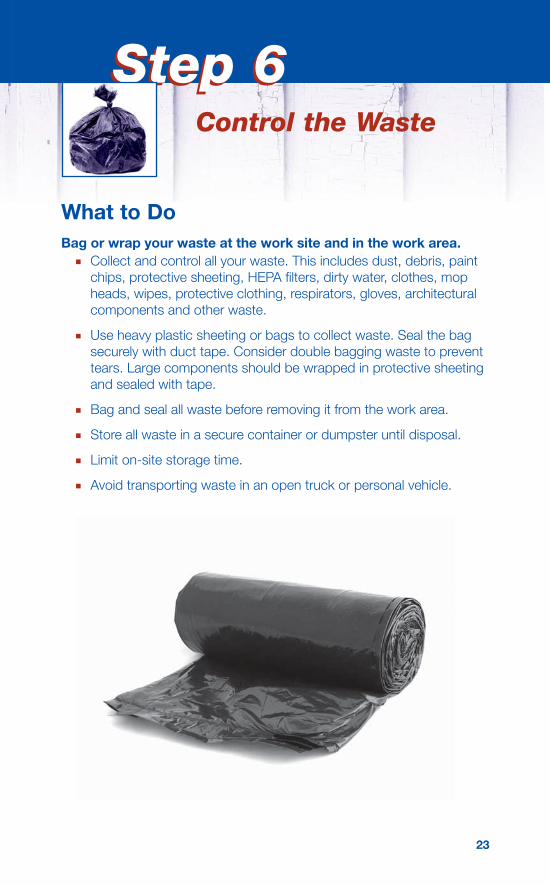
Step 6Step 6 Control the Waste
What to Do
Bag or wrap your waste at the work site and in the work area. ! Collect and control all your waste. This includes dust, debris, paint
chips, protective sheeting, HEPA filters, dirty water, clothes, mop heads, wipes, protective clothing, respirators, gloves, architectural components and other waste.
! Use heavy plastic sheeting or bags to collect waste. Seal the bag securely with duct tape. Consider double bagging waste to prevent tears. Large components should be wrapped in protective sheeting and sealed with tape.
! Bag and seal all waste before removing it from the work area.
! Store all waste in a secure container or dumpster until disposal.
! Limit on-site storage time.
! Avoid transporting waste in an open truck or personal vehicle.
23
Dispose of waste water appropriately. ! Water used for cleanup should be filtered and dumped in a toilet
if local rules allow. If not, collect it in a drum and take it with you. Never dump this water down a sink or tub, down a storm drain, or on the ground. Always dispose of waste water in accordance with federal, state and local regulations.
! EPA’s Web site has state information on solid and hazardous waste disposal. See the following link for futher information: http://www.epa.gov/epawaste/wyl/stateprograms.htm.
Be aware of waste disposal rules. ! Because EPA considers most residential renovation and remodeling
as “routine residential maintenance,” most waste generated during these activities is classified as solid, non-hazardous waste, and should be taken to a licensed solid waste landfill. This is not the case for work done in commercial, public or other nonresidential child-occupied facilities, where waste may be considered hazardous and require special disposal methods. See the following link for futher information: www.epa.gov/lead/pubs/fslbp.htm.
! Always check state and local requirements before disposing of waste. Some are more stringent than federal regulations.
24
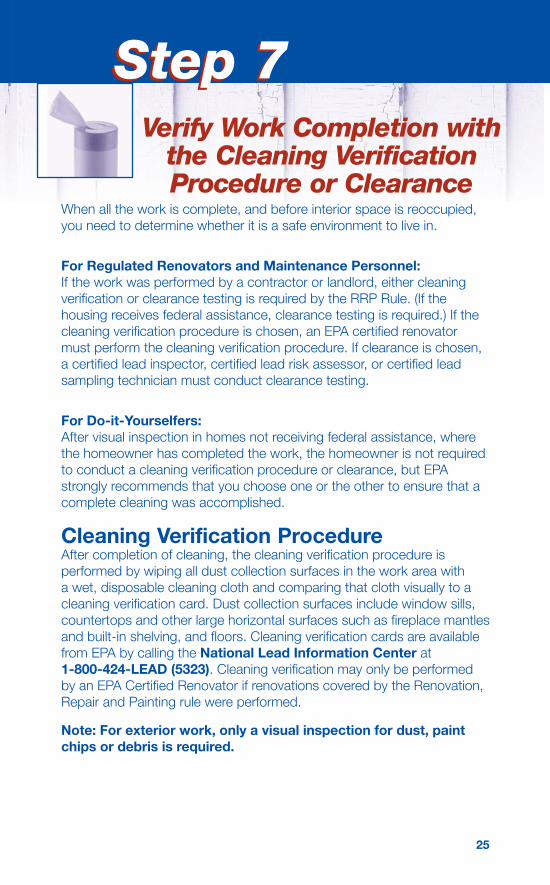
Step 7Step 7 Verify Work Completion with
the Cleaning Verification Procedure or Clearance
When all the work is complete, and before interior space is reoccupied, you need to determine whether it is a safe environment to live in.
For Regulated Renovators and Maintenance Personnel: If the work was performed by a contractor or landlord, either cleaning verification or clearance testing is required by the RRP Rule. (If the housing receives federal assistance, clearance testing is required.) If the cleaning verification procedure is chosen, an EPA certified renovator must perform the cleaning verification procedure. If clearance is chosen, a certified lead inspector, certified lead risk assessor, or certified lead sampling technician must conduct clearance testing.
For Do-it-Yourselfers: After visual inspection in homes not receiving federal assistance, where the homeowner has completed the work, the homeowner is not required to conduct a cleaning verification procedure or clearance, but EPA strongly recommends that you choose one or the other to ensure that a complete cleaning was accomplished.
Cleaning Verification Procedure After completion of cleaning, the cleaning verification procedure is performed by wiping all dust collection surfaces in the work area with a wet, disposable cleaning cloth and comparing that cloth visually to a cleaning verification card. Dust collection surfaces include window sills, countertops and other large horizontal surfaces such as fireplace mantles and built-in shelving, and floors. Cleaning verification cards are available from EPA by calling the National Lead Information Center at 1-800-424-LEAD (5323). Cleaning verification may only be performed by an EPA Certified Renovator if renovations covered by the Renovation, Repair and Painting rule were performed.
Note: For exterior work, only a visual inspection for dust, paint chips or debris is required.
25
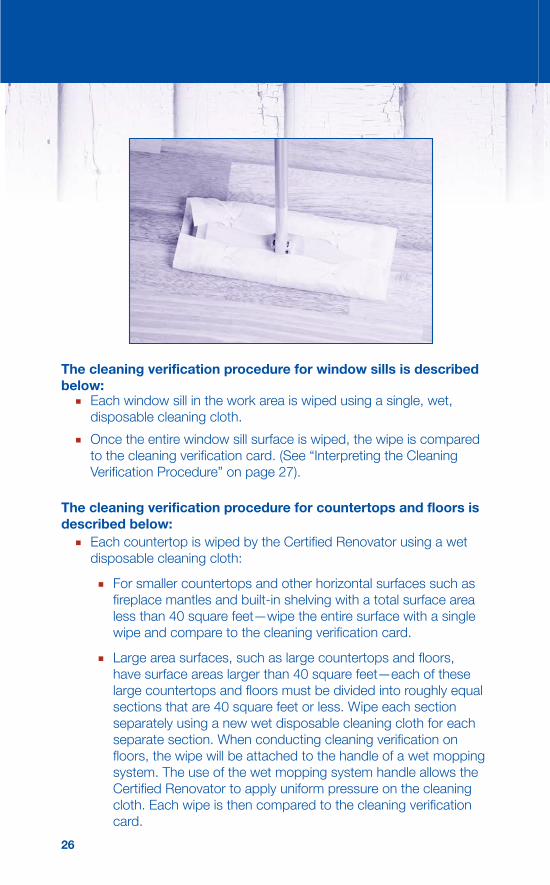
The cleaning verification procedure for window sills is described below:
! Each window sill in the work area is wiped using a single, wet, disposable cleaning cloth.
! Once the entire window sill surface is wiped, the wipe is compared to the cleaning verification card. (See “Interpreting the Cleaning Verification Procedure” on page 27).
The cleaning verification procedure for countertops and floors is described below:
! Each countertop is wiped by the Certified Renovator using a wet disposable cleaning cloth:
! For smaller countertops and other horizontal surfaces such as fireplace mantles and built-in shelving with a total surface area less than 40 square feet—wipe the entire surface with a single wipe and compare to the cleaning verification card.
! Large area surfaces, such as large countertops and floors, have surface areas larger than 40 square feet—each of these large countertops and floors must be divided into roughly equal sections that are 40 square feet or less. Wipe each section separately using a new wet disposable cleaning cloth for each separate section. When conducting cleaning verification on floors, the wipe will be attached to the handle of a wet mopping system. The use of the wet mopping system handle allows the Certified Renovator to apply uniform pressure on the cleaning cloth. Each wipe is then compared to the cleaning verification card.
26
Interpreting the Cleaning Verification Procedure
! Compare each wipe representing a specific surface section to the cleaning verification card. If the cloth used to wipe a surface section within the work area is cleaner than the example wipes on the cleaning verification card, then that surface section has been adequately cleaned.
! If the cloth is not cleaner than the cleaning verification card, re-clean that surface section. Then use a new wet disposable cleaning cloth to wipe the surface section again. If the second cloth is cleaner than the cleaning verification card, that surface section has been adequately cleaned.
! If the second cloth is not cleaner than the cleaning verification card, re-clean the surface, wait for 1 hour or until the surface section has dried completely, whichever is longer.
! Wipe the surface section with a dry electrostatic cleaning cloth. The cleaning verification procedure is now complete and the surface is considered clean.
! When all of the surfaces in the work area have passed comparison with the cleaning verification card, or have completed the post-renovation cleaning verification, the project is complete and the area can be turned over to occupants unless the housing is receiving federal assistance, or state or local laws require dust clearance testing, in which case the project must pass dust clearance testing before the area can be turned over to occupants.
27
Dust Clearance Testing Clearance testing is conducted by certified lead-based paint inspectors, certified lead risk assessors, or certified l ead dust sampling technicians. For homes receiving federal assistance, the clearance testing must be done by a person independent of the renovation firm.
! Although optional under the Renovation, Repair and Painting Rule, some states and localities may require clearance. Also, a homeowner may specifically request that a clearance test be performed in their contract. In this case, clean up the work area and check your work, then contact a certified lead-based paint inspector, risk assessor or lead dust sampling technician to arrange for clearance testing.
! HUD requires clearance testing after renovation or repair work in pre-78 homes receiving federal assistance, which are regulated under the Lead Safe Housing Rule. Contractors must determine whether the home is federally-assisted. Federal assistance may be channeled through a state or local government, community development corporation or other similiar entity.
! Clearance sampling for interior jobs will consist of a floor sample taken in each room where work was performed (to a maximum of four samples) and an additional sample on the floor outside the entry to the work area. Where window sills and window troughs were present in the work area, a window sill or window trough sample will be collected in each room where work was performed (to a maximum of four samples).
! All clearance samples must be sent to an EPA-recognized dust-lead laboratory for analysis. You can view the list of laboratories at www.epa.gov/lead/pubs/nllap.htm.
! For exterior jobs, EPA, like HUD, requires only a visual assessment of the work area to pass clearance.
28
Interpret the Clearance Sampling Results
The laboratory will report the amount of lead in the dust. A dust sample at or above the following limits for lead is considered hazardous:
! Floors: 40 micrograms per square foot
! Window sills: 250 micrograms per square foot
! Window troughs: 400 micrograms per square foot
If the laboratory report shows lead levels at or above these thresholds, the home fails the dust wipe test. The home must be cleaned and retested until compliance with these clearance limits is achieved. Re-cleaning must be done by the contractor.
It is a good idea for homeowners to specify in the initial contract that a dust clearance test will be done at the end of the job and that the contractor will be responsible for re-cleaning if the home fails this test. No one besides the contractor and the clearance examiner should enter the work area until the area has been cleaned.
29
Learn More About Lead Safety
To learn more about lead safe work practices, contact the National Lead Information Center at 1-800-424-LEAD (5323) and see the following link http://www.epa.gov/lead/nlic.htm. The Center is the federal govern-ment’s leading source of quality information on lead poisoning prevention and lead hazards.
Take a Course. Get trained in lead safety. Professional trainers and community colleges in your area may offer training. For information on courses, contact the National Lead Information Center. One relevant course is:
! Lead Safety For Renovation, Repair and Painting (EPA-740-R-09-001, February 2009). EPA and HUD developed this 8 hour training course to instruct renovators, painters and mainte-nance personnel how to work safely in homes with lead-based paint. The course is interactive and includes hands-on activities for practicing the skills workers need to avoid creating lead hazards in the homes where they work. More information can be found at: http://www.epa.gov/lead/pubs/epahudrrmodel.htm.
Find Out About Local Rules and Resources. The National Lead Information Center can provide information on how to contact your state, local and/or tribal programs to get general information about lead poisoning prevention.
! Local health departments can provide information about local programs, including assistance for poisoned children.
! State and tribal lead poisoning prevention or environmental protec-tion programs can provide information about the lead regulations that apply in your community and can tell you about possible sources of financial aid for reducing lead hazards. They also may be able to tell you about the costs and availability of individuals certified to test lead paint and/or lead dust.
! Building code officials can tell you the regulations that apply to the renovation and remodeling work that you are planning.
30
Access Additional Resource Materials. The National Lead Information Center can also provide copies of the following general reference and how-to guidance materials:
! Renovate Right: Important Lead Hazard Information for Families, Child Care Providers and Schools (EPA-740-F-08-002, March 2008). http://www.epa.gov/lead/pubs/renovaterightbrochure.pdf
! Small Entity Compliance Guide to Renovate Right: A Handbook for Contractors, Property Managers and Maintenance Personnel Working in Homes, Child Care Facilities and Schools Built Before 1978. (EPA-740-F-08-003, December 2008). http://www.epa.gov/lead/pubs/sbcomplianceguide.pdf
! Contractors: Lead Safely During Renovation (EPA 740-F-08-001, March 2008). This short pamphlet provides a quick summary of general information on lead safe work practices to contain, minimize and clean up dust. http://www.epa.gov/lead/pubs/contractor_brochure.pdf
! Protect Your Family from Lead in Your Home (EPA 747-K-99-001, June 2003). This is a general information pamphlet on lead-based paint, lead hazards, the effects of lead poisoning and steps you can take to protect your family. http://www.epa.gov/lead/pubs/leadpdfe.pdf
! Lead Paint Safety: A Field Guide for Painting, Home Maintenance, and Renovation Work (HUD-1779-LHC, March 2001). This guide gives step-by-step instruction on lead safe work practices for different jobs in the home. http://www.hud.gov/offices/lead/training/LBPguide.pdf
31
Other Resources
For other resources on lead, visit the following Web sites:
http://www.epa.gov/lead/ — EPA is playing a major role in addressing residential lead hazards, including deteriorating lead-based paint, lead contaminated dust and lead contaminated residential soil. This Web site provides information about lead and lead hazards and provides some simple steps to protect your family. It contains links to basic information, as well as more detailed information and documents on lead in the news, rules and regulations, education and outreach materials, training, and other lead links.
http://www.hud.gov/offices/lead/ — The U.S. Department of Housing and Urban Development’s Office of Healthy Homes and Lead Hazard Control (OHHLHC) is unique among federal agencies dealing with lead-hazards, as it is staffed to bring lead health science to bear directly upon America’s housing. The site will direct you to resources on lead paint regulations, training, guidance/technical guidelines and compliance and enforcement.
http://www.osha.gov/SLTC/lead/index.html — The mission of the U.S. Department of Labor’s Occupational Safety and Health Administration (OSHA) is to assure the safety and health of America’s workers by: setting and enforcing standards; providing training, outreach, and education; establishing partnerships; and encour aging continual improvements in workplace safety and health. OSHA has established the reduction of lead exposure as a high strategic priority. This site contains links to lead recognition, evaluation, compliance, and training resources.
http://www.cdc.gov/lead — The U.S. Department of Health and Human Services Centers for Disease Control and Prevention (CDC) are committed to achieving improvements in people’s health. This site provides CDC’s compiled information on lead and includes materials and links for parents, health professionals, researchers, students and others interested in the topic of lead. The key resources include fact sheets, guidelines and recommendations and questions and answers.
32

Pre-Renovation Education Requirements
The pre-renovation education requirements of the Renovation, Repair and Painting Rule ensure that owners and occupants of pre-1978 homes and child-occupied facilities are provided information about potential hazards of lead-based paint exposure before renovations are begun.
Who is affected? The requirements apply to any person paid to do work that disturbs paint in residential housing or child-occupied facilities built before 1978. This includes residential rental property owners and managers, general contractors and special trade contractors such as painters, plumbers, carpenters and electricians.
What properties are affected? All residential properties and child-occupied facilities built before 1978 are affected unless they meet one of the exceptions listed below.
Are there any exceptions? The requirements do not apply to housing designated for elderly or disabled persons (unless children under age 6 live there), zero-bedroom dwellings (studio apartments, dormitories, etc.), housing determined to be free of lead-based paint by a lead-based paint inspection, emergency renovations and repairs, and minor repairs that disturb less than 6 square feet of paint on interior surfaces or less than 20 square feet of paint on exterior surfaces.
What are the requirements? The Renovation, Repair and Painting Rule requires the distribution of the lead pamphlet Renovate Right: Important Lead Hazard Information for Families, Child Care Providers and Schools before the work starts.
! In residential housing, the pamphlet must be provided to both the owner and occupants, and the contrac tor is required to document the receipt or mailing of the brochure.
! In multi-family residential housing, the pamphlet must be distributed to each affected unit.
! When common areas of multi-family residential housing are affected by work, the pamphlet may be delivered to each unit or a notice can be sent to each unit notifying them of the location and duration of the work and the location of information postings about lead hazards and the work to be performed.
! In child-occupied facilities, the pamphlet must be provided to the owner, to the responsible party and to parents.
33
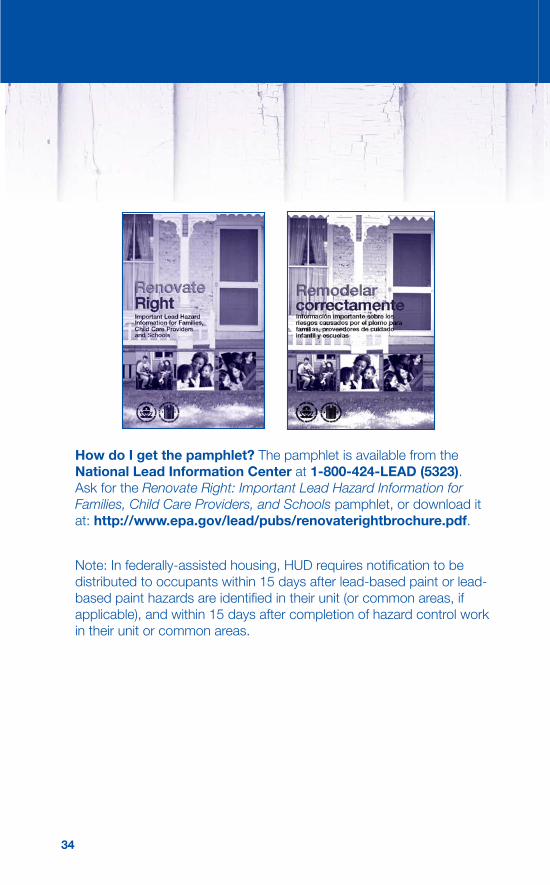
How do I get the pamphlet? The pamphlet is available from the National Lead Information Center at 1-800-424-LEAD (5323). Ask for the Renovate Right: Important Lead Hazard Information for Families, Child Care Providers, and Schools pamphlet, or download it at: http://www.epa.gov/lead/pubs/renovaterightbrochure.pdf.
Note: In federally-assisted housing, HUD requires notification to be distributed to occupants within 15 days after lead-based paint or lead-based paint hazards are identified in their unit (or common areas, if applicable), and within 15 days after completion of hazard control work in their unit or common areas.
34
35
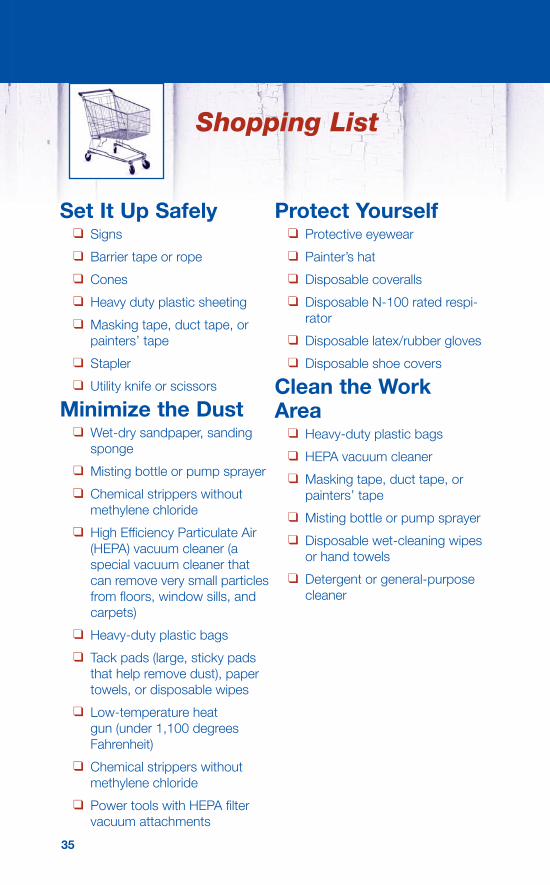
Shopping List
Set It Up Safely " Signs
" Barrier tape or rope
" Cones
" Heavy duty plastic sheeting
" Masking tape, duct tape, or painters’ tape
" Stapler
" Utility knife or scissors
Minimize the Dust " Wet-dry sandpaper, sanding
sponge
" Misting bottle or pump sprayer
" Chemical strippers without methylene chloride
" High Efficiency Particulate Air (HEPA) vacuum cleaner (a special vacuum cleaner that can remove very small particles from floors, window sills, and carpets)
" Heavy-duty plastic bags
" Tack pads (large, sticky pads that help remove dust), paper towels, or disposable wipes
" Low-temperature heat gun (under 1,100 degrees Fahrenheit)
" Chemical strippers without methylene chloride
" Power tools with HEPA filter vacuum attachments
Protect Yourself " Protective eyewear
" Painter’s hat
" Disposable coveralls
" Disposable N-100 rated respi-rator
" Disposable latex/rubber gloves
" Disposable shoe covers
Clean the Work Area " Heavy-duty plastic bags
" HEPA vacuum cleaner
" Masking tape, duct tape, or painters’ tape
" Misting bottle or pump sprayer
" Disposable wet-cleaning wipes or hand towels
" Detergent or general-purpose cleaner
35
Prevent Lead Exposure During Renovation, Repair, and Painting
Understand that Renovation, Repair and Painting Jobs Can Create Hazards. People, especially children, may swallow the
lead dust or paint chips created during the job and get poisoned. Lead poisoning has serious health effects.
Read Renovate Right, EPA and HUD’s Lead Hazard Information Pamphlet. Contractors are required by law to give
clients in pre-1978 homes and child-occupied facilities a copy of Renovate Right. Renovate Right explains the danger of lead-based paint and its associated hazards. You can get copies of Renovate Right by calling 1-800-424-LEAD (5323) or you can download it at http://www.epa.gov/lead/pubs/renovaterightbrochure.pdf.
Use Lead-Safe Work Practices. Follow practices that will protect you and residents from exposure to lead. These practices may take
a small amount of additional time and money, but they are necessary to protect children, residents, workers and workers’ families from exposure to lead dust.
Conduct Lead Testing Before and/or After the Work is Performed. Pre-job testing can identify any lead paint in the home
and allow workers to target lead safe work practices to the areas where there is lead paint. Using the cleaning verification procedure or clearance testing at the end of the job ensures that no dust has been left behind.
Learn More About Lead. To learn more about working safely with lead, contact the National Lead Information Center at
1-800-424-LEAD (5323) or visit EPA’s Web site at www.epa.gov/lead or HUD’s Web site at www.hud.gov/offices/lead.
March 2009, EPA-740-K-09-003 U.S. Environmental Protection Agency, Office of Pollution Prevention and Toxics U.S. Dept. of Housing and Urban Development, Office of Healthy Homes and Lead Hazard Control
Printed with Vegetable Oil-Based Inks, Recycled Paper