repairing simple non-manifold meshes with...
TRANSCRIPT
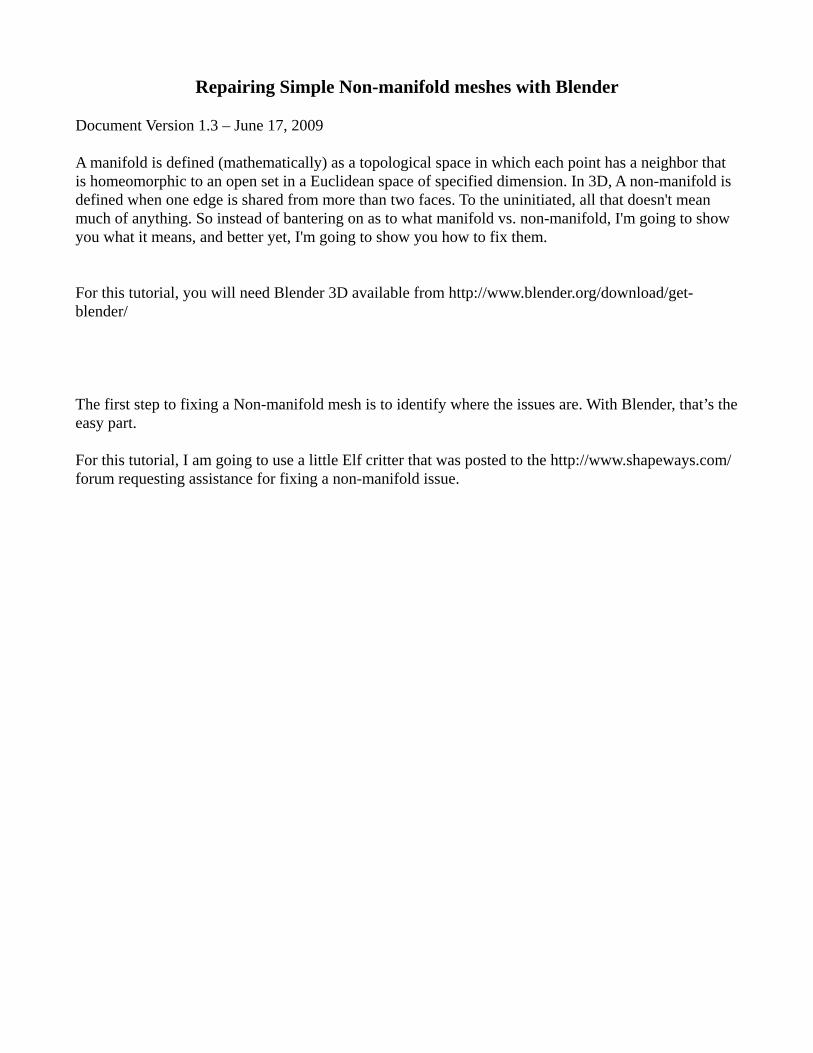
Repairing Simple Non-manifold meshes with Blender Document Version 1.3 – June 17, 2009 A manifold is defined (mathematically) as a topological space in which each point has a neighbor that is homeomorphic to an open set in a Euclidean space of specified dimension. In 3D, A non-manifold is defined when one edge is shared from more than two faces. To the uninitiated, all that doesn't mean much of anything. So instead of bantering on as to what manifold vs. non-manifold, I'm going to show you what it means, and better yet, I'm going to show you how to fix them. For this tutorial, you will need Blender 3D available from http://www.blender.org/download/get-blender/ The first step to fixing a Non-manifold mesh is to identify where the issues are. With Blender, that’s the easy part. For this tutorial, I am going to use a little Elf critter that was posted to the http://www.shapeways.com/ forum requesting assistance for fixing a non-manifold issue.

Now, to start with, we need to get into edit mode so we can see where the issue is. Hit the {TAB] key to enter Edit mode, and then hit the {Z} key to change the view to wire form. Then we need to Deselect all of the Vertices so we can use Blender to identify the non-manifold areas. To Select / Deselect you use the {A} key on your keyboard. This is a toggle that Selects and/or Deselects all of the Vertices. So hit it until your model looks like this.

Now, you can either use the keyboard shortcut {Ctrl+Alt+Shift+M} or use the Blender [Select] menu and choose [Select > non-manifold]. You will now have all the non-manifold edges selected. (See next image.)
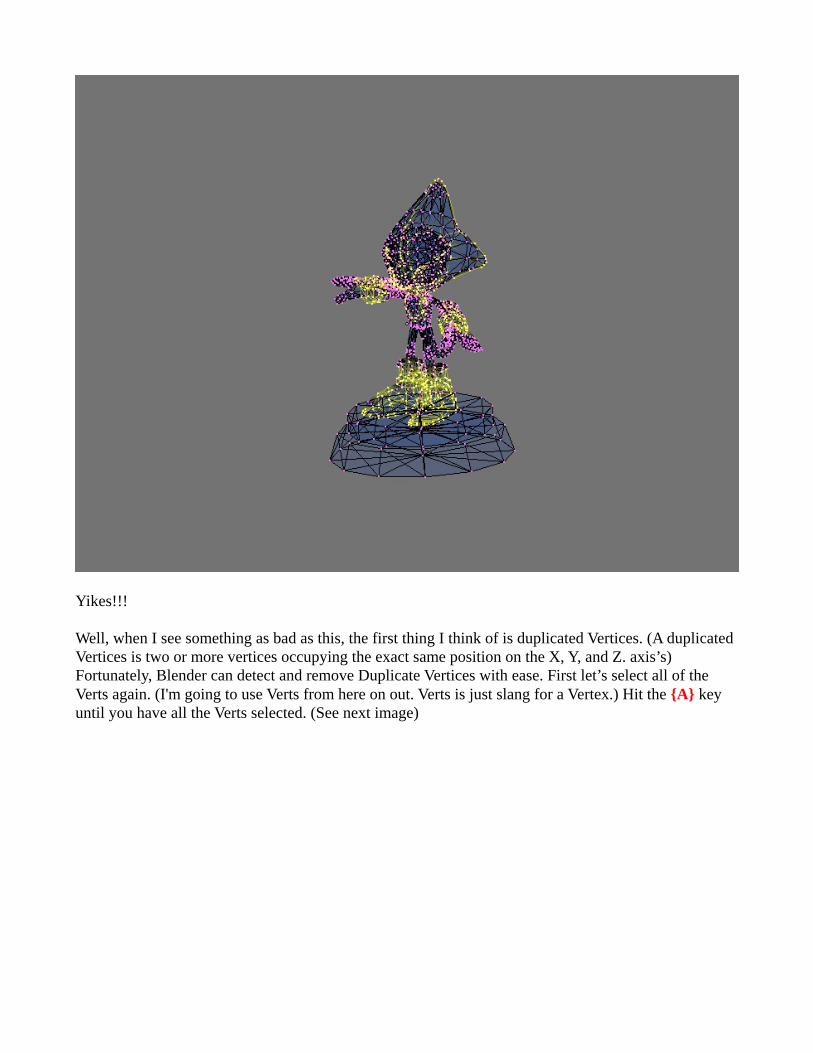
Yikes!!! Well, when I see something as bad as this, the first thing I think of is duplicated Vertices. (A duplicated Vertices is two or more vertices occupying the exact same position on the X, Y, and Z. axis’s) Fortunately, Blender can detect and remove Duplicate Vertices with ease. First let’s select all of the Verts again. (I'm going to use Verts from here on out. Verts is just slang for a Vertex.) Hit the {A} key until you have all the Verts selected. (See next image)

And now we want to have Blender hunt down all the duplicate Verts and remove them. Hit the {W} key and then select [Remove Doubles] from the menu.

And you will get a little confirmation message stating how many Duplicate Verts were removed.
NOTE: It is a good practice to Remove Duplicate Vertices from any mesh imported into Blender. Now, lets go see how our non-manifold's look now.
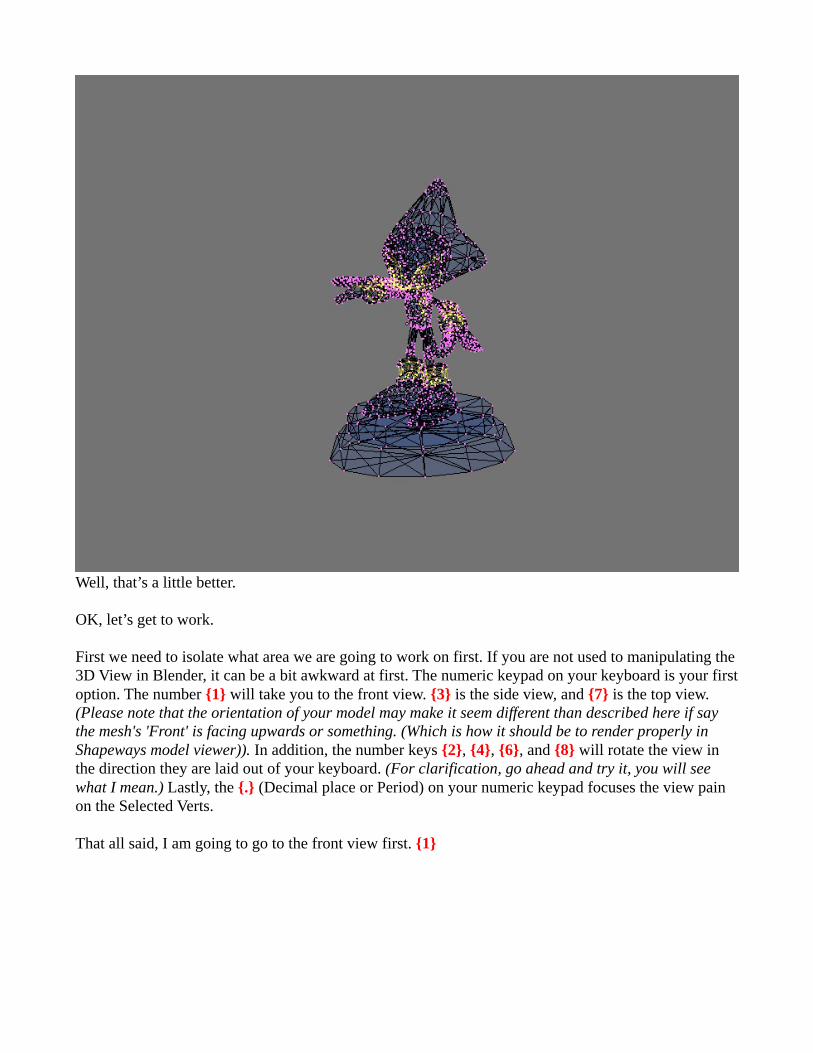
Well, that’s a little better. OK, let’s get to work. First we need to isolate what area we are going to work on first. If you are not used to manipulating the 3D View in Blender, it can be a bit awkward at first. The numeric keypad on your keyboard is your first option. The number {1} will take you to the front view. {3} is the side view, and {7} is the top view. (Please note that the orientation of your model may make it seem different than described here if say the mesh's 'Front' is facing upwards or something. (Which is how it should be to render properly in Shapeways model viewer)). In addition, the number keys {2}, {4}, {6}, and {8} will rotate the view in the direction they are laid out of your keyboard. (For clarification, go ahead and try it, you will see what I mean.) Lastly, the {.} (Decimal place or Period) on your numeric keypad focuses the view pain on the Selected Verts. That all said, I am going to go to the front view first. {1}

And then I am going to Deselect some of the non-manifold Verts so we can concentrate on fixing one area. The {B} key on your keyboard gives you two tools for Selecting and Deselecting Verts. The first time you hit it, you will have a box style cursor, the second time you hit it, you have a circular tool. Holding down the {ALT} key with either tool will Deselect Verts, otherwise you are Selecting Verts. So I am going to work on the bottom half first by Deselecting all of the upper Verts. {B} then Hold down {ALT} and drag the cursor to make a Box around the Verts you want to Deselect.

Sorry the image is hard to see the Box, but its there! When you release the Mouse button, the Verts you 'Boxed' will no longer be Selected.

Now we want to get a closer view of the problem area, so hit the {.} on you numeric keypad to focus the view.

Okay, now from close up, we can tell that this model is made up from a bunch of Primitives bunched together into the shape of the little Elf critter. Shapeways will allow this type of model to be printed, but the over lapping areas can cause the price to sky-rockets as this adds volume to the overall mesh. That however will not be addressed in this Tutorial. By manipulating the view a little (Numeric Keypad {2} {4} {6} and {8}) you can get the view to an angle to where the issue can be seen.
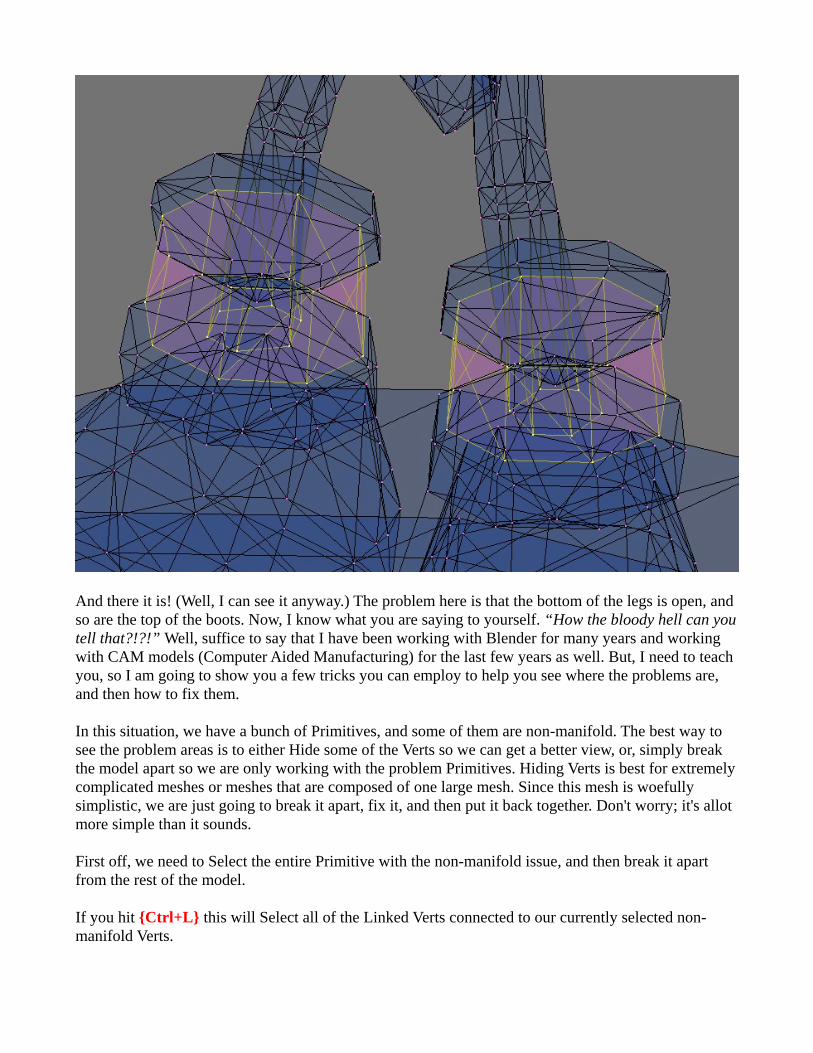
And there it is! (Well, I can see it anyway.) The problem here is that the bottom of the legs is open, and so are the top of the boots. Now, I know what you are saying to yourself. “How the bloody hell can you tell that?!?!” Well, suffice to say that I have been working with Blender for many years and working with CAM models (Computer Aided Manufacturing) for the last few years as well. But, I need to teach you, so I am going to show you a few tricks you can employ to help you see where the problems are, and then how to fix them. In this situation, we have a bunch of Primitives, and some of them are non-manifold. The best way to see the problem areas is to either Hide some of the Verts so we can get a better view, or, simply break the model apart so we are only working with the problem Primitives. Hiding Verts is best for extremely complicated meshes or meshes that are composed of one large mesh. Since this mesh is woefully simplistic, we are just going to break it apart, fix it, and then put it back together. Don't worry; it's allot more simple than it sounds. First off, we need to Select the entire Primitive with the non-manifold issue, and then break it apart from the rest of the model. If you hit {Ctrl+L} this will Select all of the Linked Verts connected to our currently selected non-manifold Verts.

Now we have the first of our problem area Selected, to separate them from the rest of the mesh, hit the {P} key and choose [Selected] from the pop up menu.

Now your problems areas are a separate mesh.

So let’s get a closer look at them. From here, we need to get out of Edit mode and go back to Object mode. {Tab}

Tthen select the newly separated mesh... (Right click on it)
And lastly, move the separated mesh to a different layer. Press the {M} key, and then click one of the blocks, to move it to that layer. (You can also use the number keys across the top of your keyboard to choose a different layer)


Tada! Now, go to the layer you moved the mesh to. You can either use the Menu bar or the number keys on the top of your keyboard. (Note: The number keys in the numeric keypad will not work!)


Now let’s take a closer look....
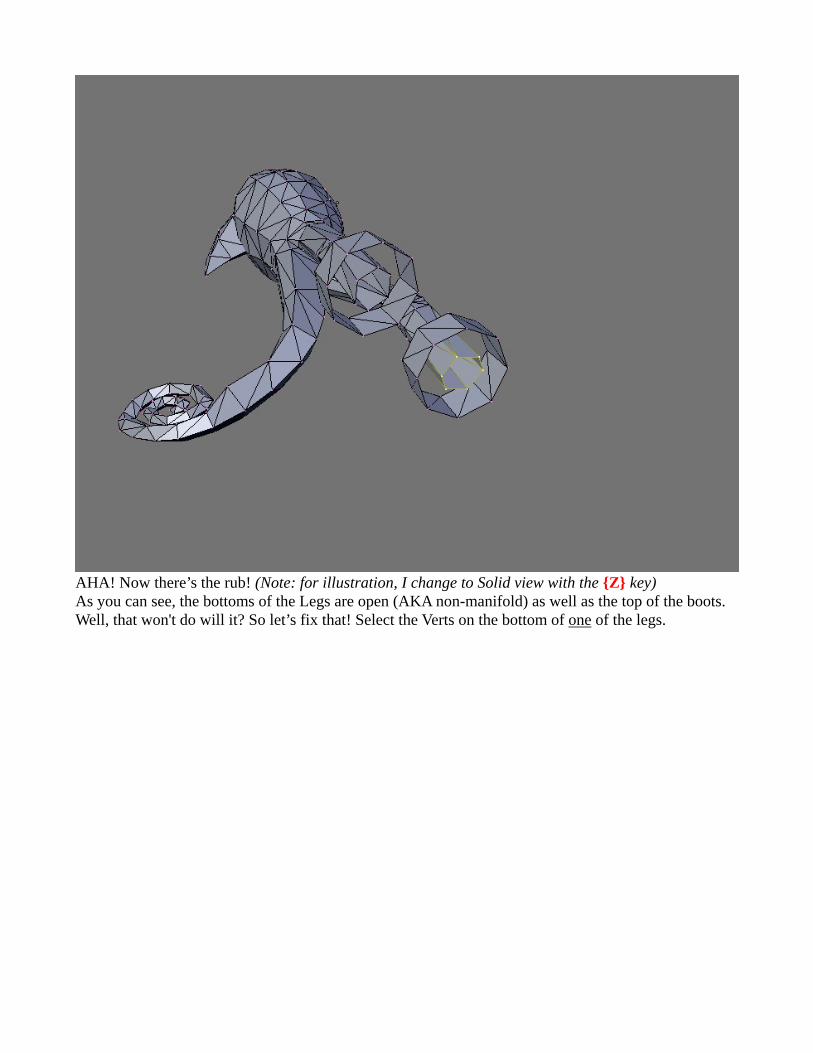
AHA! Now there’s the rub! (Note: for illustration, I change to Solid view with the {Z} key) As you can see, the bottoms of the Legs are open (AKA non-manifold) as well as the top of the boots. Well, that won't do will it? So let’s fix that! Select the Verts on the bottom of one of the legs.
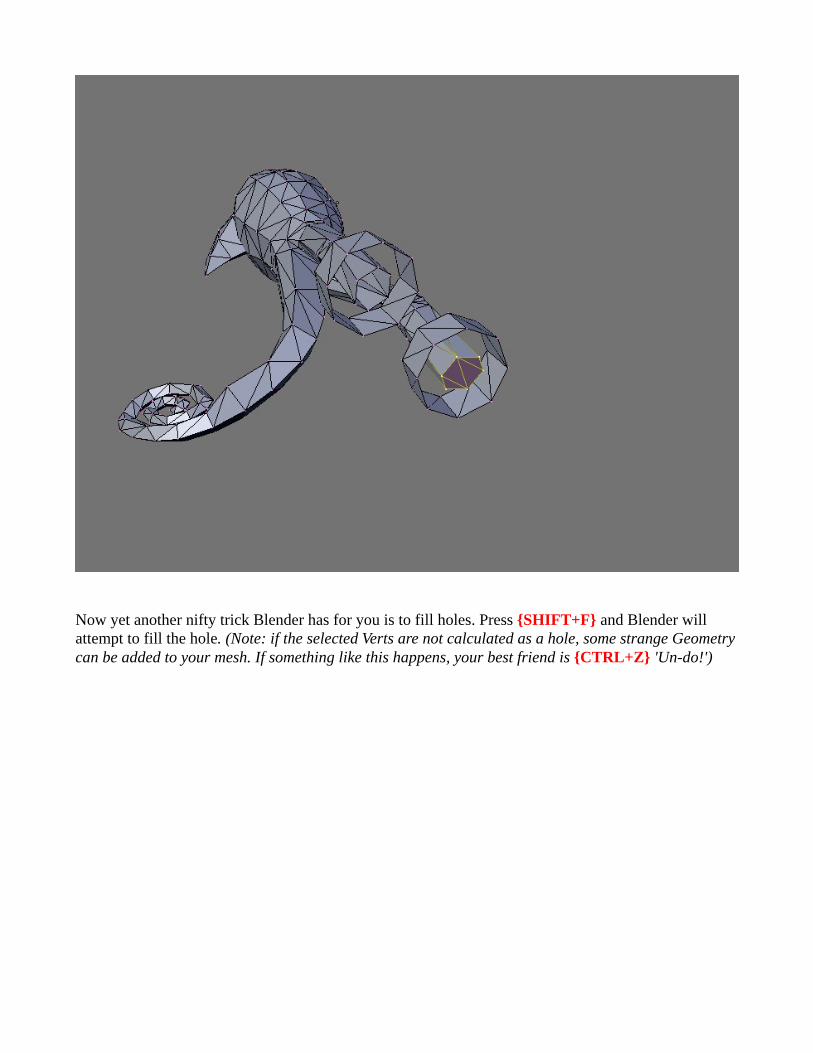
Now yet another nifty trick Blender has for you is to fill holes. Press {SHIFT+F} and Blender will attempt to fill the hole. (Note: if the selected Verts are not calculated as a hole, some strange Geometry can be added to your mesh. If something like this happens, your best friend is {CTRL+Z} 'Un-do!')

Now wash, rinse, repeat on the other open (non-manifold) areas...

This image looks a bit odd from what one would normally expect to see. You can see the bottom of the leg still because it is precisely flush with the bottom of the boot cuff. For what we are trying to accomplish here, this isn't an issue.
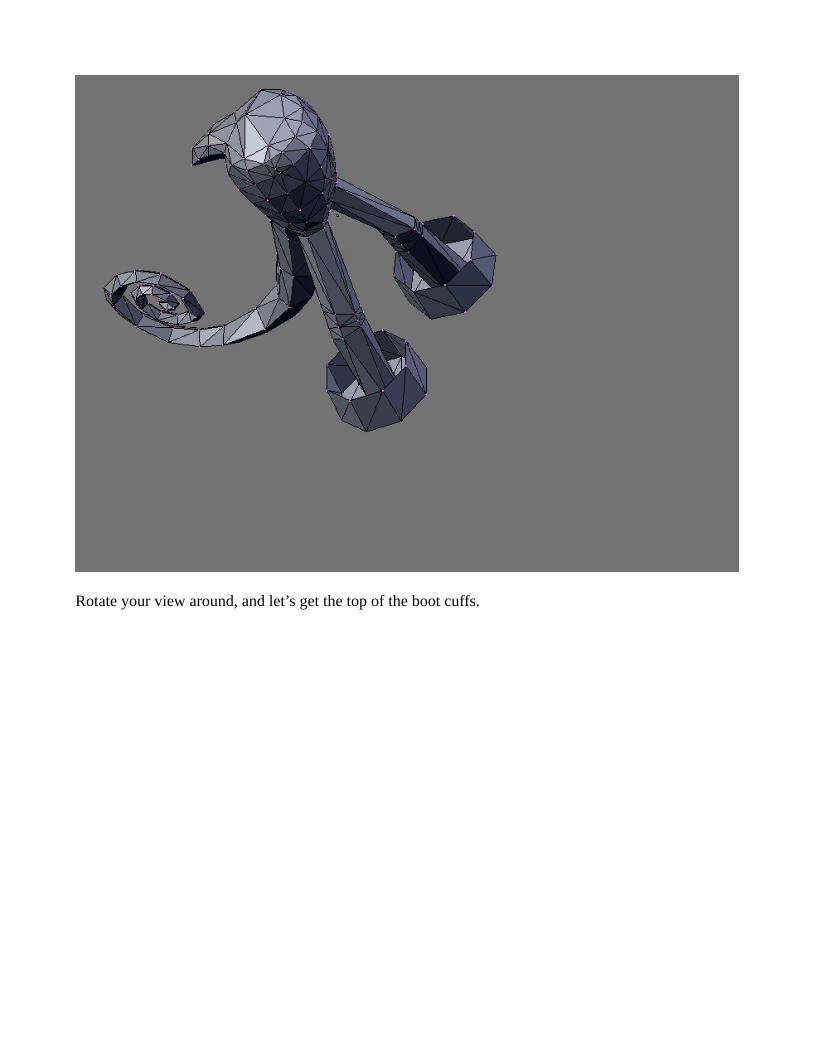
Rotate your view around, and let’s get the top of the boot cuffs.

Now let’s make sure this part is all manifold.... {CTRL+ALT+SHIFT+M}

Uh oh! Looks like the mesh we separated has another problem area. And this one is a bit trickier. If you zoom in {.} (Numeric keyboard {+} and {-} zoom in and out) and get a really close look.

Egad! What the heck is that! If you change the View to Solid mode, it becomes a bit more apparent what is going on here.

What we have here is an open (non-manifold) section of the mesh that is inside the mesh. Now is a good time to learn about Hiding Verts so we can see the detail we need. So let’s select a few Verts on the outside of the mesh around where we know the problem is.

And now let’s Hide them so we can see inside. (H} key will Hide Verts for you.

Adjust our view a little more....

well, now we can see the problem, but how do we fix it? Well, we are going to get in REAL close. First hit {ALT+H} to unhide the section we hid before.

And now we are going to change from Orthographic view to Perspective. Press the {5} key on the numeric keypad and your view will change...

The reason we changed to Perspective view, is that we can now Pan to view inside the model. This can be a little tricky to navigate until you have the hang of it. Now, Select just the non-manifold again {CTRL+ALT_SHIFT+M} and then focus the viewer with the {.} key and then zoom in a little with the {+} key and pan around with the Numeric keypad {2} {4} {6} and {8} until you can see the non-manifold section from the inside.
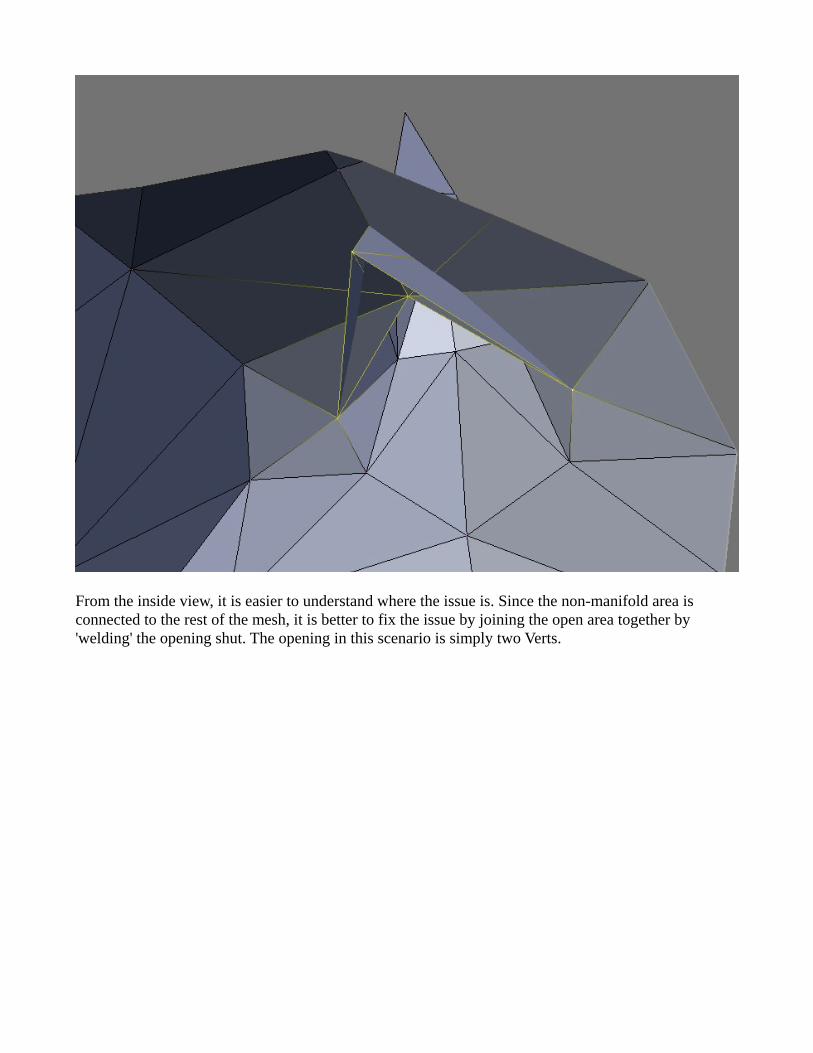
From the inside view, it is easier to understand where the issue is. Since the non-manifold area is connected to the rest of the mesh, it is better to fix the issue by joining the open area together by 'welding' the opening shut. The opening in this scenario is simply two Verts.

Select only the two Verts that are open, and then Scale them together by pressing the {S} key and then Holding the {CTRL} key. This will draw the two Verts together until they are located in the exact same position on the Z, Y, and Z axis’s.
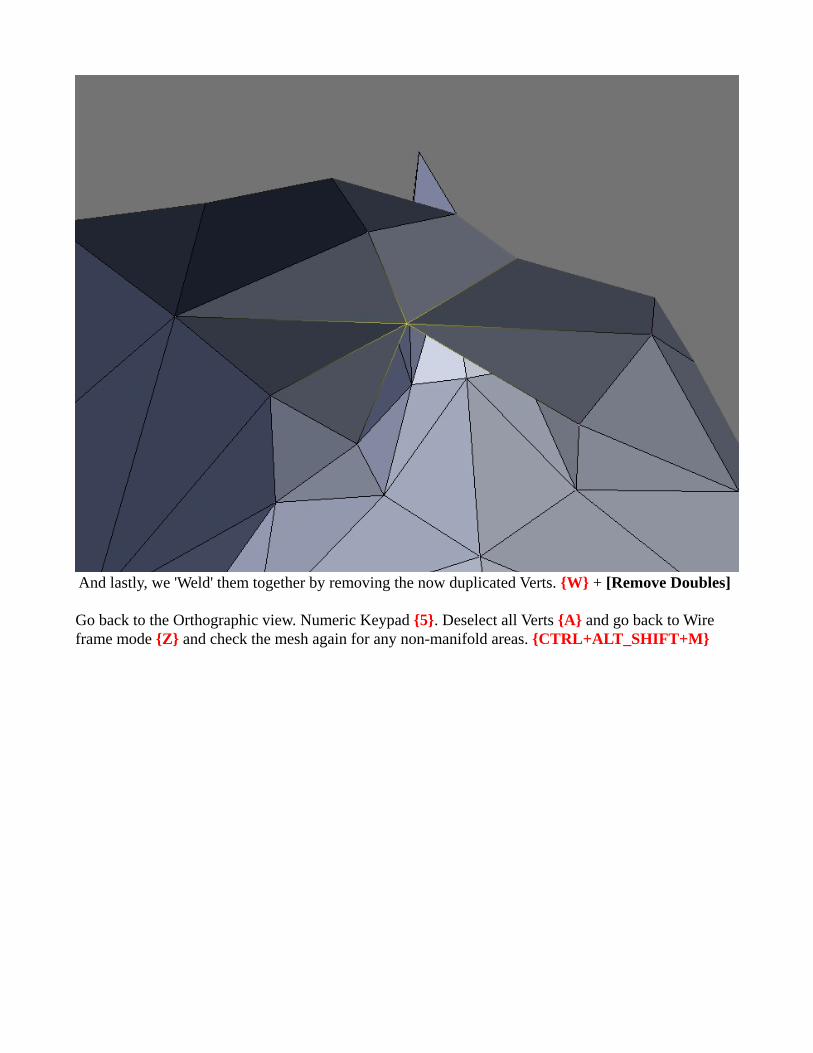
And lastly, we 'Weld' them together by removing the now duplicated Verts. {W} + [Remove Doubles] Go back to the Orthographic view. Numeric Keypad {5}. Deselect all Verts {A} and go back to Wire frame mode {Z} and check the mesh again for any non-manifold areas. {CTRL+ALT_SHIFT+M}

TADA!!! This section of the mesh is now complete! Now you can go back to the first layer, and separate out other non-manifold sections and fix them. Once you have all the sections fixed, You put it all back together. Move each separated mesh back to the first Layer.

While in Object mode {TAB} Select all the separated meshes {A} (Or you can use the {B} key as well.)

And finally.... Press {CTRL+J} + [Join Selected Meshes].

Done! Now one last thing I will show you here. I have noted while repairing other models, that the Normals sometimes can really get screwed up during this process. Not to worry, Blender has you covered. (Note: Normals can be thought of as the direction a surface is facing.) A really neat trick in Blender, is to actually Show the Normals. Go to the Editing buttons {F9} and then enter Edit mode {Tab} and look for the button Titled [Draw Normals]

Give it a click and you should see something like this.
(Note: If you don't see the Normals show up, just Increase the [NSize] Above the [Draw Normals] Button until they are clearly visible.) If you zoom in really close... {+} a few times

You can actually see which direction they are pointing. For this tutorial, I am just going to tell you a quick fix for Inverted Normals. Select all the Verts. {A} and then {CTRL+N} [Recalculate Normals Outside]. This will normally fix Inverted Normals. But there are allot of scenarios where more attention is required to fix them. But that is another tutorial in itself. Truly hope this Tute helps you with your non-manifold models. Feel free to distribute, post, copy, print, or whatever as you want. Thanks WiKKiD Widgets