scanning documents to portfolio
DESCRIPTION
Scanning Documents to Portfolio. Using our hp scanjet 5470c. First Steps to Scanning. Scanner for our use is located on CSD 1 in Bohannon 236 Go to: Start menu Select “HP Precision Scan Pro 3.1”. Product Tour. Insert Item You Wish to Scan. - PowerPoint PPT PresentationTRANSCRIPT

Scanning Documents to Portfolio
Using our hp scanjet 5470c

First Steps to Scanning
• Scanner for our use is located on CSD 1 in Bohannon 236
• Go to:– Start menu– Select “HP Precision Scan Pro 3.1”
HP Precisionscan Pro 3.1.lnk

Product Tour

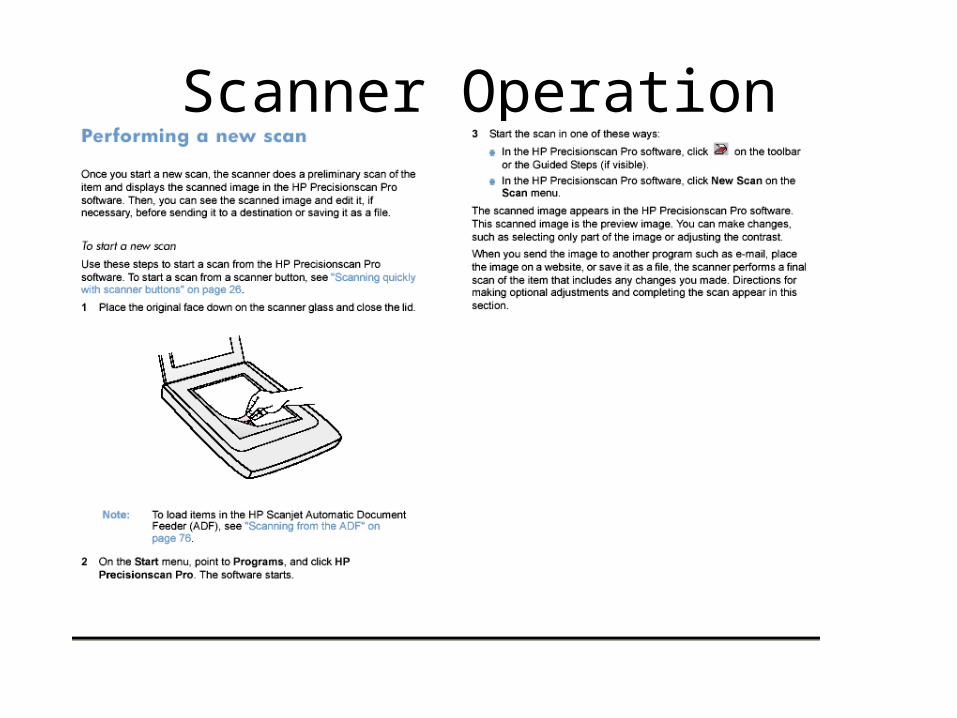
Insert Item You Wish to Scan

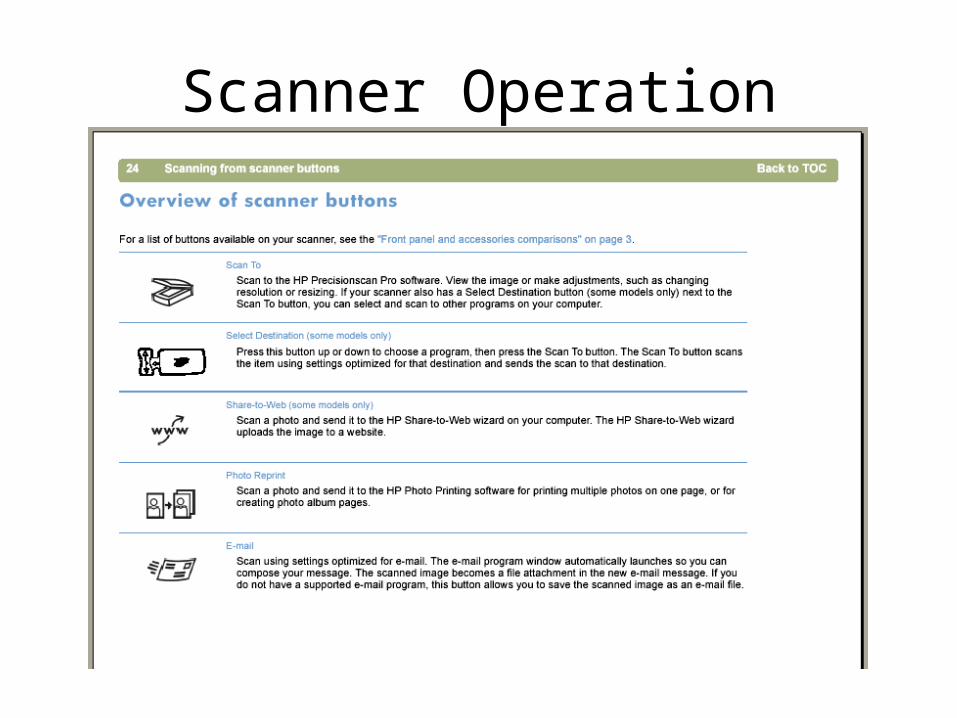
Scanner ButtonsSCAN TO – WWW – PHOTO REPRINT – EMAIL – PRINTER
POWER – MORE OPTIONS - CANCEL
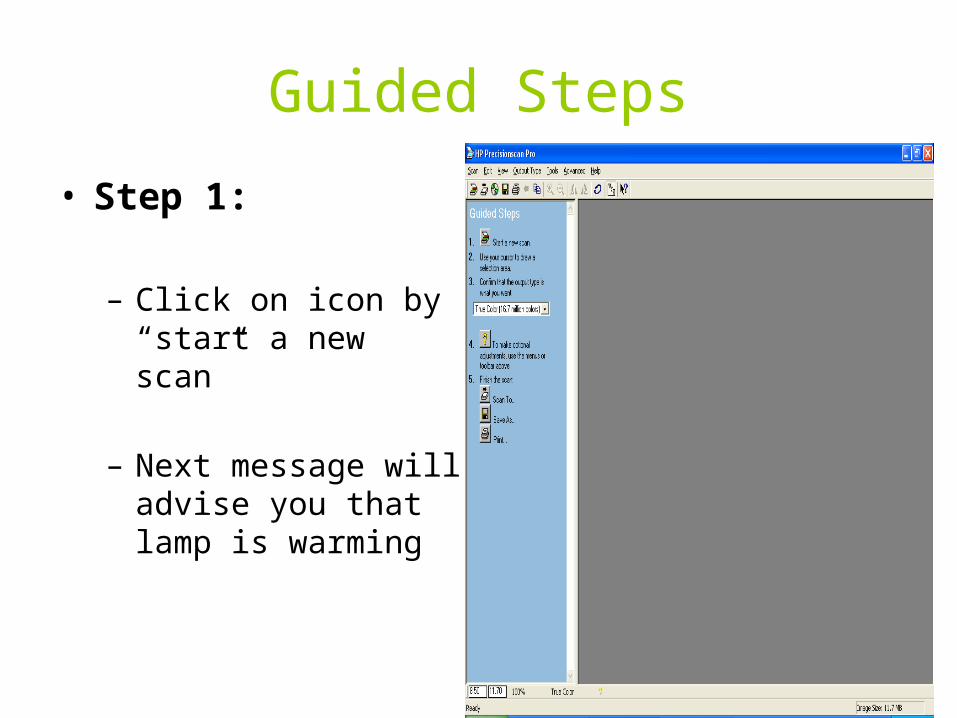
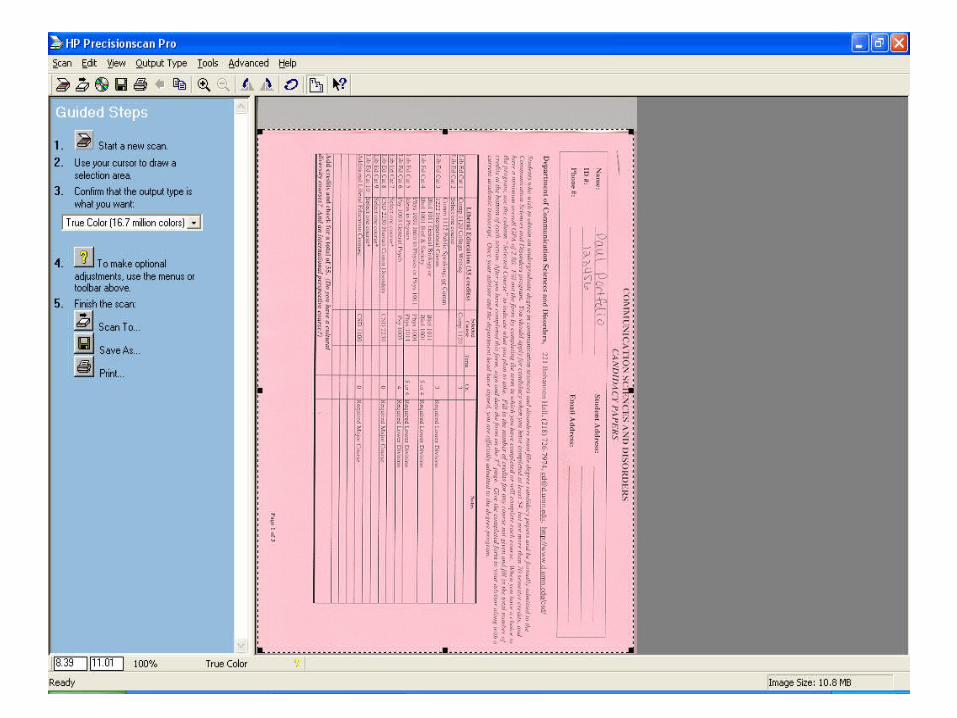
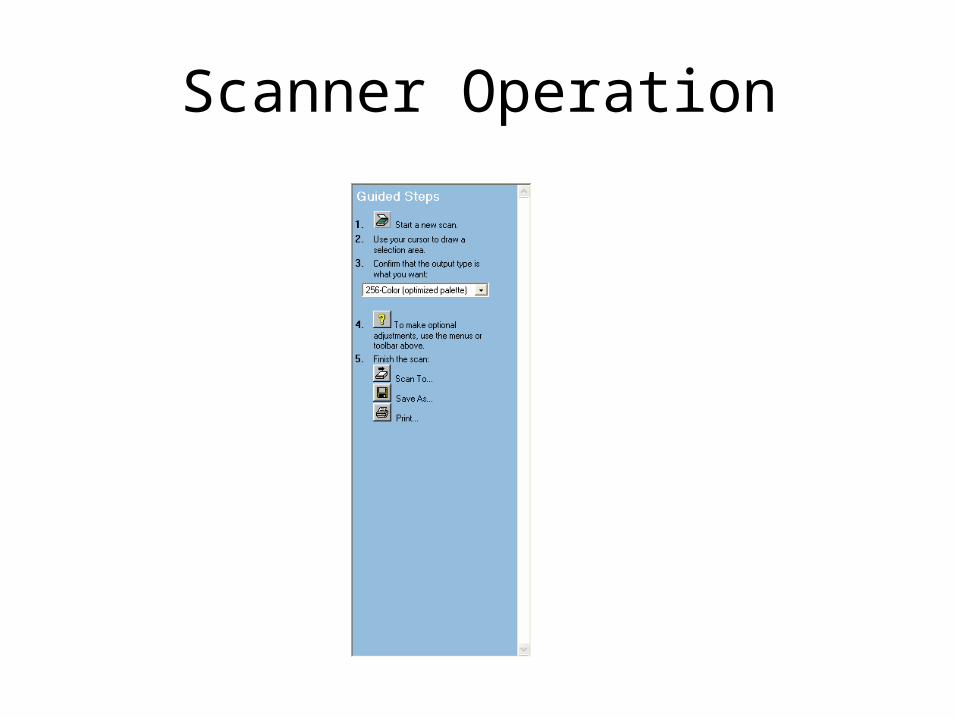
Guided Steps
• Step 1:
– Click on icon by “start a new scan”
– Next message will advise you that lamp is warming

Guided Steps
• Step 2:– Use your cursor to
draw a selection area

Guided Steps
• Step 3:
– Confirm that the output type is what you want
• Use drop down menu to change
• Choices include Grayscale, True Color & others
• Defaults to True Color

Guided Steps
• Step 4
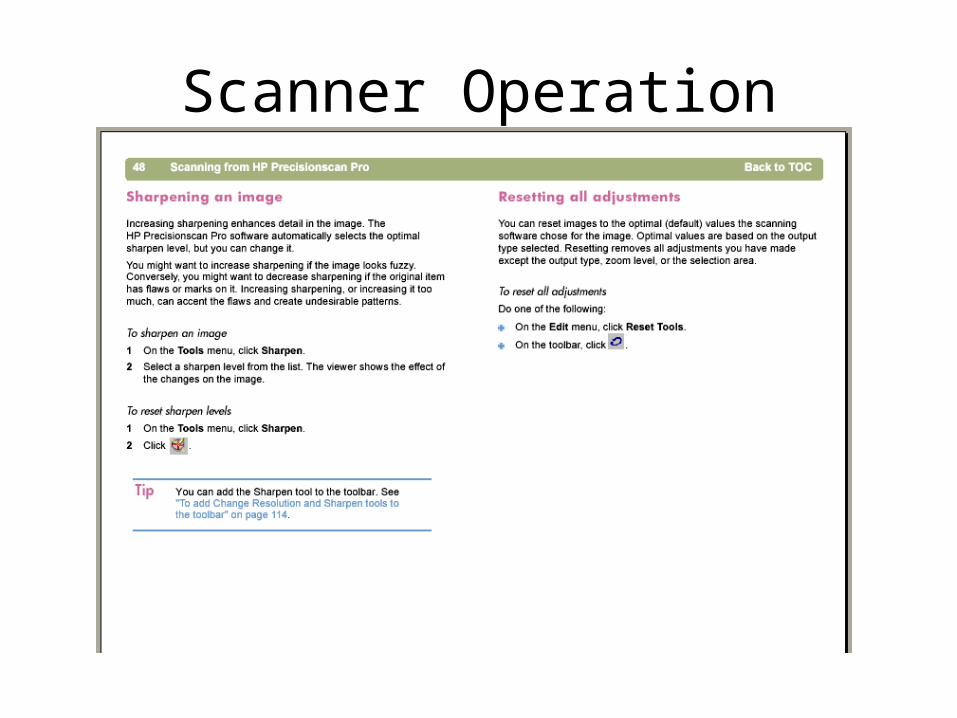
– Make optional adjustments using tool bar
• ROTATE CLOCKWISE• ZOOM IN• MANY MORE
– Just hover over icons to view your options
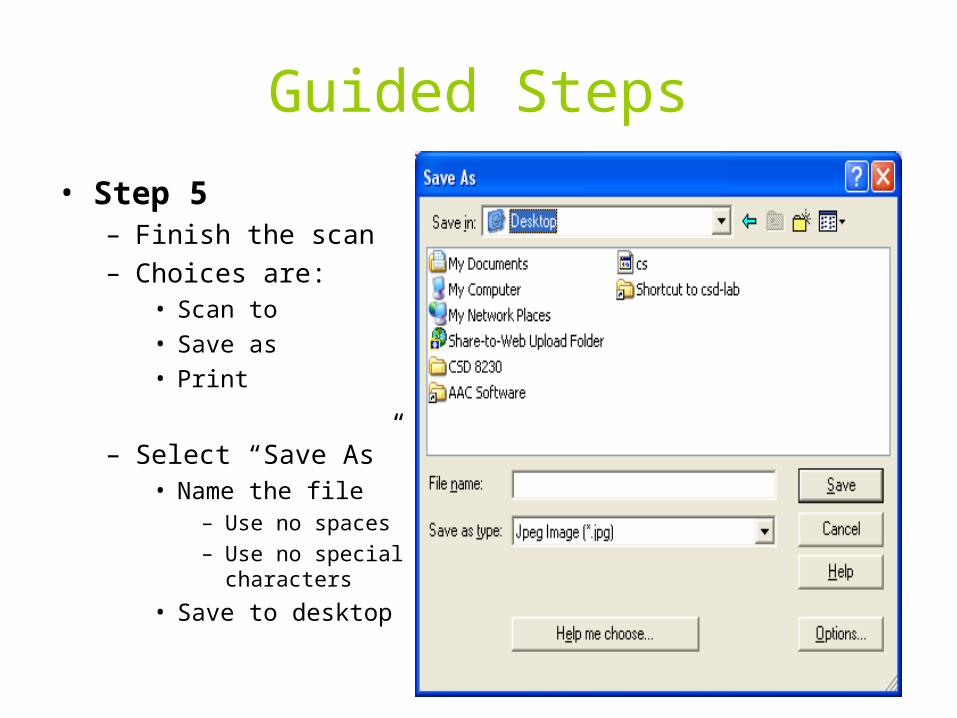
Guided Steps
• Step 5– Finish the scan– Choices are:
• Scan to
• Save as
– Select “Save As”• Name the file
– Use no spaces– Use no special
characters
• Save to desktop
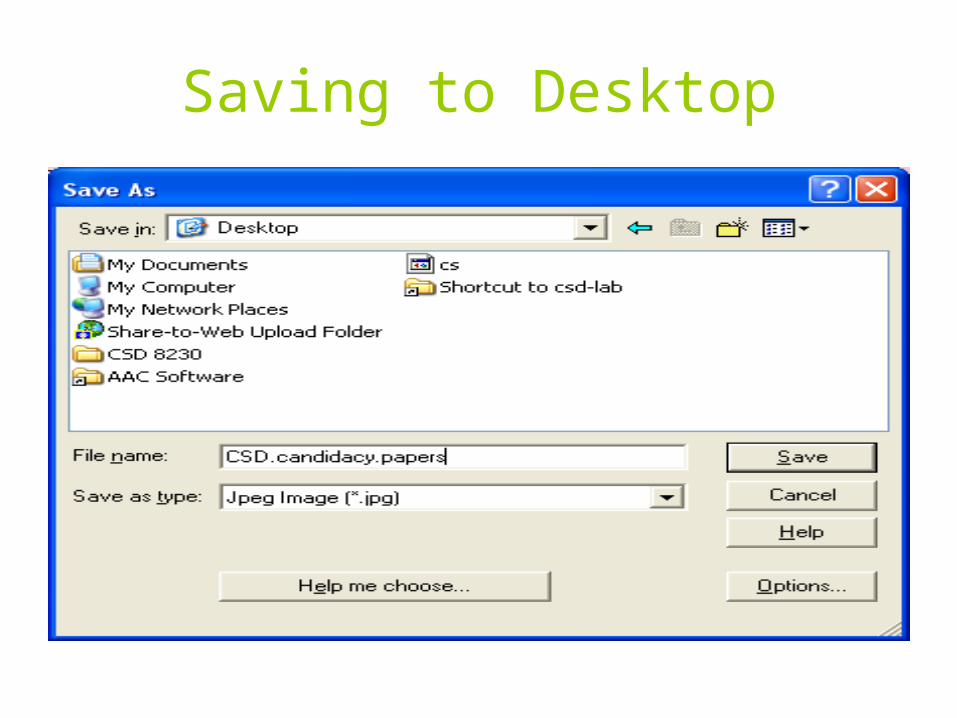
Saving to Desktop

Upload to Portfolio
• Log into your Portfolio• Select “enter” function• Go to Material Manager
– Follow same steps as explained in last week’s Material Manager PowerPoint
– Uploading this type of file requires the exact same procedure as uploading a word file
• Following the upload, DELETE the item from the desktop

Scanner Operation
• This covers the basics to get us scanning!
• For more details on the many other features of our lab’s scanner, review the remainder of this PowerPoint
• It will be available at the CSD 4010 web site for your convenience!
• In the interest of time, today we will take turns with the scanner & then email the saved document to upload to Portfolio from a different computer

Scanner Operation

Scanner Operation

Scanner Operation

Scanner Operation
Scanner Operation

Scanner Operation

Scanner Operation

Scanner Operation
Scanner Operation

Scanner Operation

Scanner Operation

Scanner Operation

Scanner Operation

Scanner Operation
Scanner Operation

Scanner Operation

Scanner Operation
Scanner Operation

Scanner Operation
Scanner Operation