shabby home - the joy of christmas
DESCRIPTION
Patterns and detailed explanations accompanied by pictures and photographs with a magical mood will help you to give the Joy of Christmas to all those you hold dear. You can follow the development of my future creations and my new projects by visiting my blog: www.francescashabbyhome.blogspot.comTRANSCRIPT

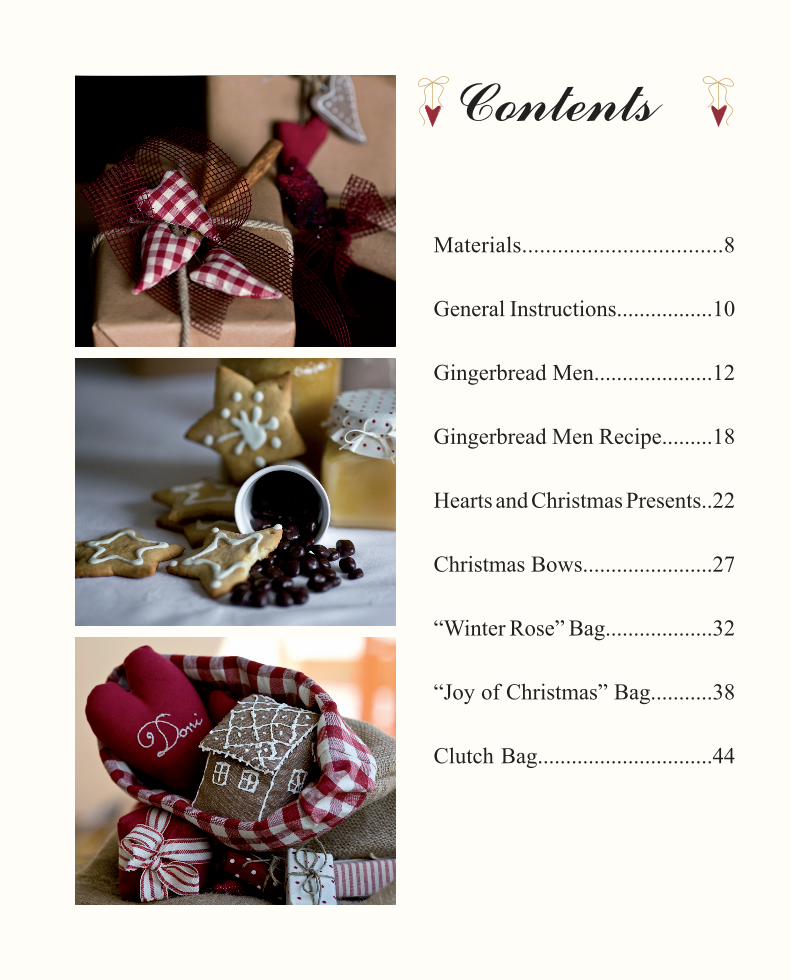
Contents
Materials..................................8
General Instructions.................10
Gingerbread Men.....................12
Gingerbread Men Recipe.........18
Hearts and Christmas Presents..22
Christmas Bows.......................27
“Winter Rose” Bag...................32
“Joy of Christmas” Bag...........38
Clutch Bag...............................44
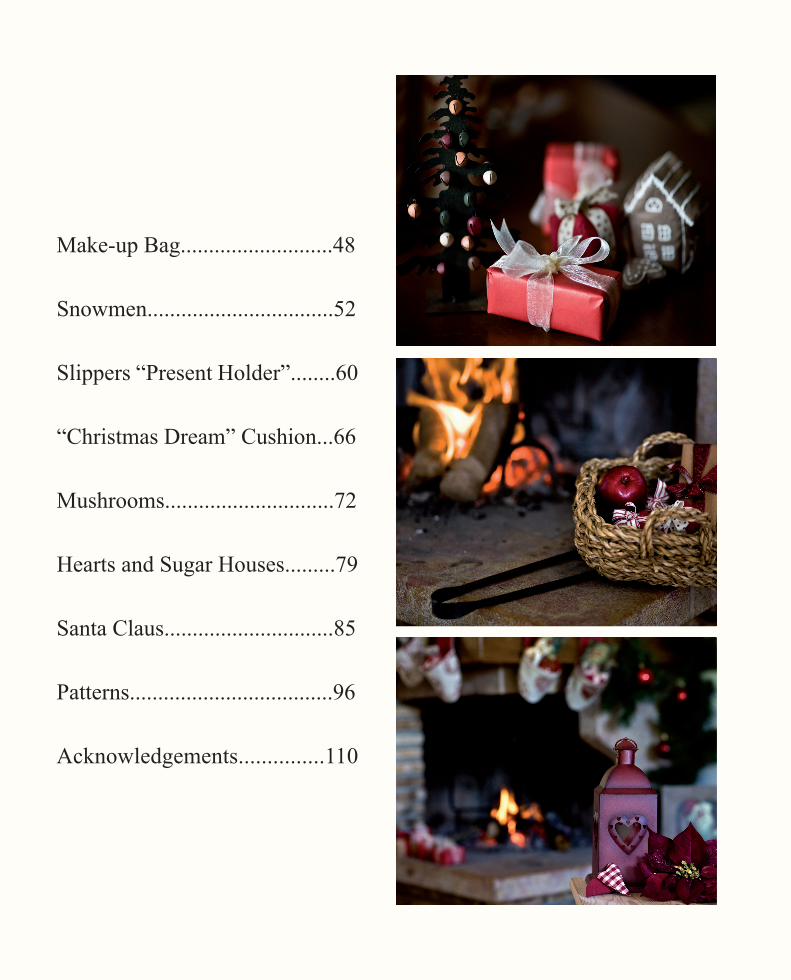
Make-up Bag...........................48
Snowmen.................................52
Slippers “Present Holder”........60
“Christmas Dream” Cushion...66
Mushrooms..............................72
Hearts and Sugar Houses.........79
Santa Claus..............................85
Patterns....................................96
Acknowledgements...............110
12
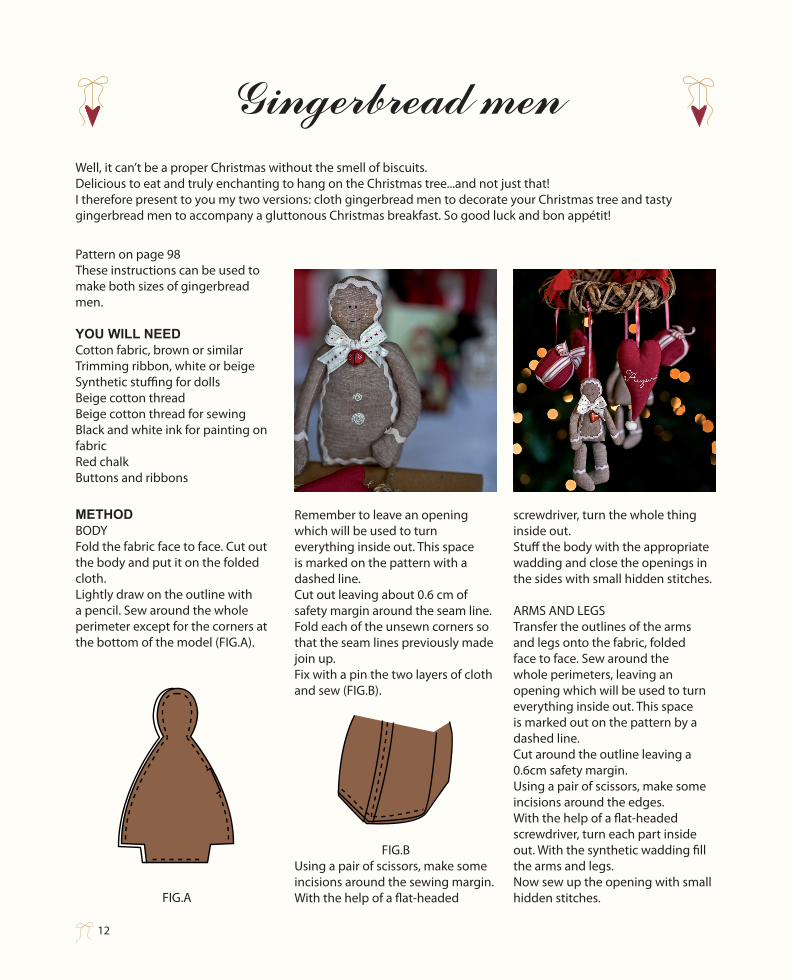
Well, it can’t be a proper christmas without the smell of biscuits. Delicious to eat and truly enchanting to hang on the christmas tree...and not just that!i therefore present to you my two versions: cloth gingerbread men to decorate your christmas tree and tasty gingerbread men to accompany a gluttonous christmas breakfast. so good luck and bon appétit!
Pattern on page 98These instructions can be used to make both sizes of gingerbread men.
YOU WILL NEEDcotton fabric, brown or similarTrimming ribbon, white or beigesynthetic stuffing for dollsBeige cotton threadBeige cotton thread for sewingBlack and white ink for painting on fabric red chalkButtons and ribbons
METHODBODYFold the fabric face to face. cut out the body and put it on the folded cloth. lightly draw on the outline with a pencil. sew around the whole perimeter except for the corners at the bottom of the model (Fig.a).
Fig.a
remember to leave an opening which will be used to turn everything inside out. This space is marked on the pattern with a dashed line.cut out leaving about 0.6 cm of safety margin around the seam line. Fold each of the unsewn corners so that the seam lines previously made join up.Fix with a pin the two layers of cloth and sew (Fig.B).
Fig.BUsing a pair of scissors, make some incisions around the sewing margin. With the help of a flat-headed
screwdriver, turn the whole thing inside out. stuff the body with the appropriate wadding and close the openings in the sides with small hidden stitches.
arMs anD legsTransfer the outlines of the arms and legs onto the fabric, folded face to face. sew around the whole perimeters, leaving an opening which will be used to turn everything inside out. This space is marked out on the pattern by a dashed line. cut around the outline leaving a 0.6cm safety margin.Using a pair of scissors, make some incisions around the edges. With the help of a flat-headed screwdriver, turn each part inside out. With the synthetic wadding fill the arms and legs.now sew up the opening with small hidden stitches.
Gingerbread men
32
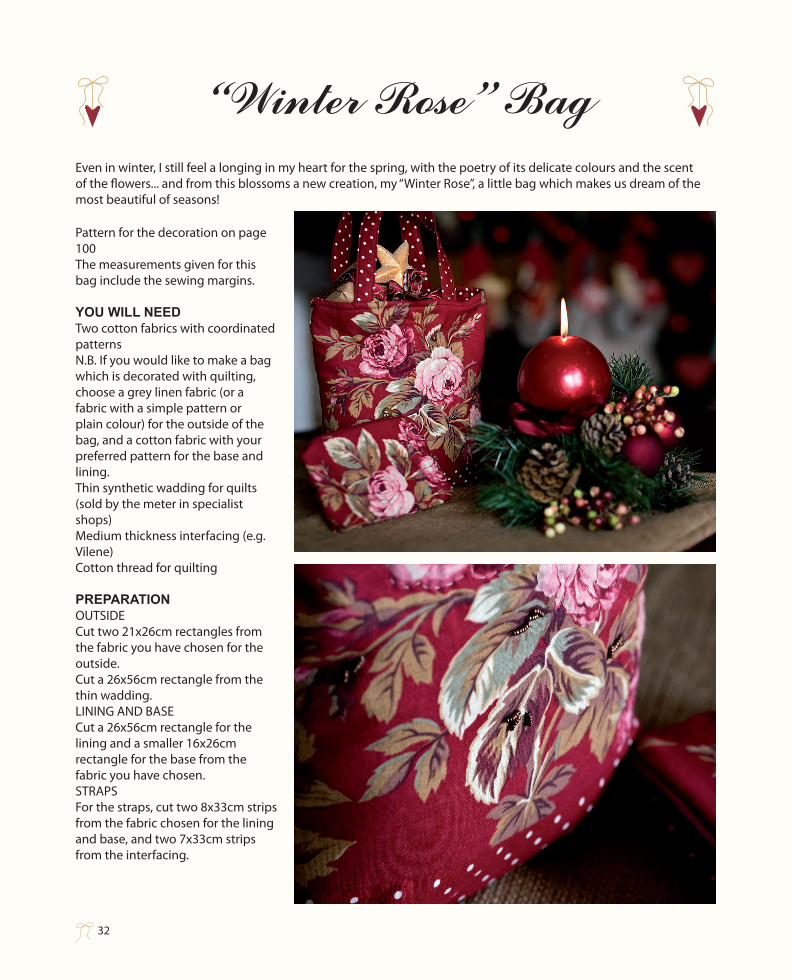
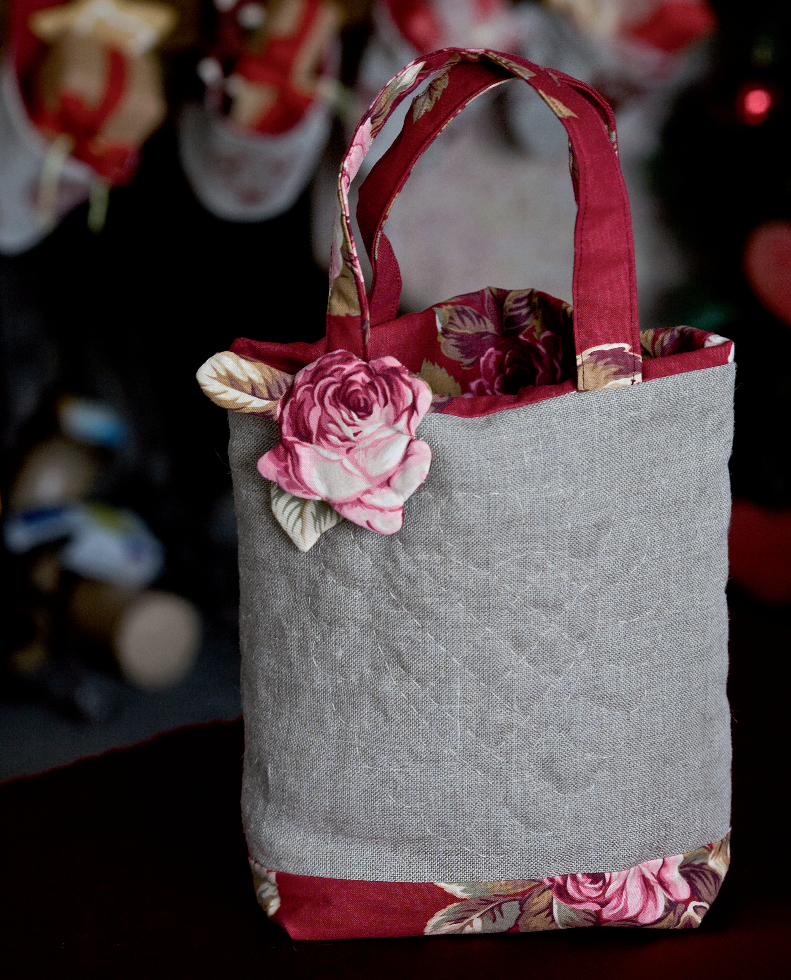
Pattern for the decoration on page 100The measurements given for this bag include the sewing margins.
YOU WILL NEEDTwo cotton fabrics with coordinated patternsn.B. if you would like to make a bag which is decorated with quilting, choose a grey linen fabric (or a fabric with a simple pattern or plain colour) for the outside of the bag, and a cotton fabric with your preferred pattern for the base and lining. Thin synthetic wadding for quilts (sold by the meter in specialist shops)Medium thickness interfacing (e.g. Vilene)cotton thread for quilting
PREPARATIONOUTsiDecut two 21x26cm rectangles from the fabric you have chosen for the outside. cut a 26x56cm rectangle from the thin wadding.lining anD Basecut a 26x56cm rectangle for the lining and a smaller 16x26cm rectangle for the base from the fabric you have chosen.sTraPs For the straps, cut two 8x33cm strips from the fabric chosen for the lining and base, and two 7x33cm strips from the interfacing.
“Winter Rose” Bageven in winter, i still feel a longing in my heart for the spring, with the poetry of its delicate colours and the scent of the flowers... and from this blossoms a new creation, my “Winter rose”, a little bag which makes us dream of the most beautiful of seasons!
34
4445
44
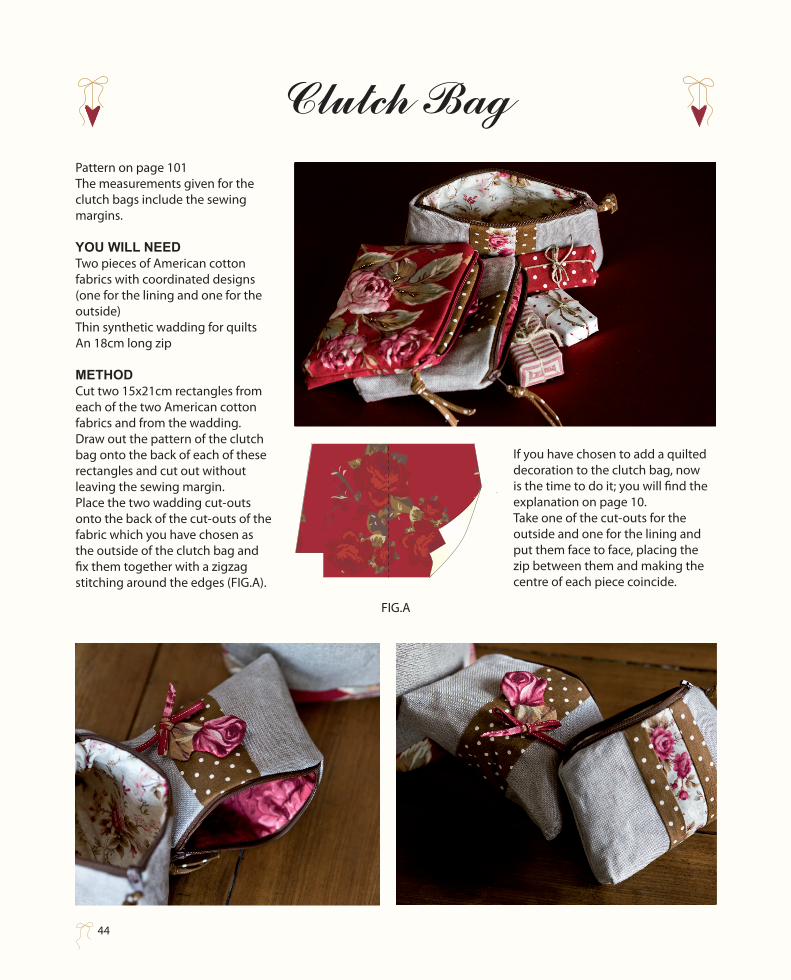
Pattern on page 101The measurements given for the clutch bags include the sewing margins.
YOU WILL NEEDTwo pieces of American cotton fabrics with coordinated designs (one for the lining and one for the outside)Thin synthetic wadding for quiltsAn 18cm long zip
METHODCut two 15x21cm rectangles from each of the two American cotton fabrics and from the wadding. Draw out the pattern of the clutch bag onto the back of each of these rectangles and cut out without leaving the sewing margin. Place the two wadding cut-outs onto the back of the cut-outs of the fabric which you have chosen as the outside of the clutch bag and fix them together with a zigzag stitching around the edges (FIG.A).
FIG.A
If you have chosen to add a quilted decoration to the clutch bag, now is the time to do it; you will find the explanation on page 10.Take one of the cut-outs for the outside and one for the lining and put them face to face, placing the zip between them and making the centre of each piece coincide.
Clutch Bag

4445
45
The zip should be placed with the right side facing the cut-out for the outside and the wrong side touching the fabric for the lining (FIG.B).
FIG.B
After having fixed the three layers together with some pins, proceed with the sewing which should be as close as possible to the ‘teeth’ of the zip. To help with this, I suggest opening the zip completely. Once you have nearly finished, stop sewing, move the sliding of the zip in the opposite direction, closing it slightly, and then finish sewing. In this way, the width of the slider will not prevent you from sewing neatly.
5253
52
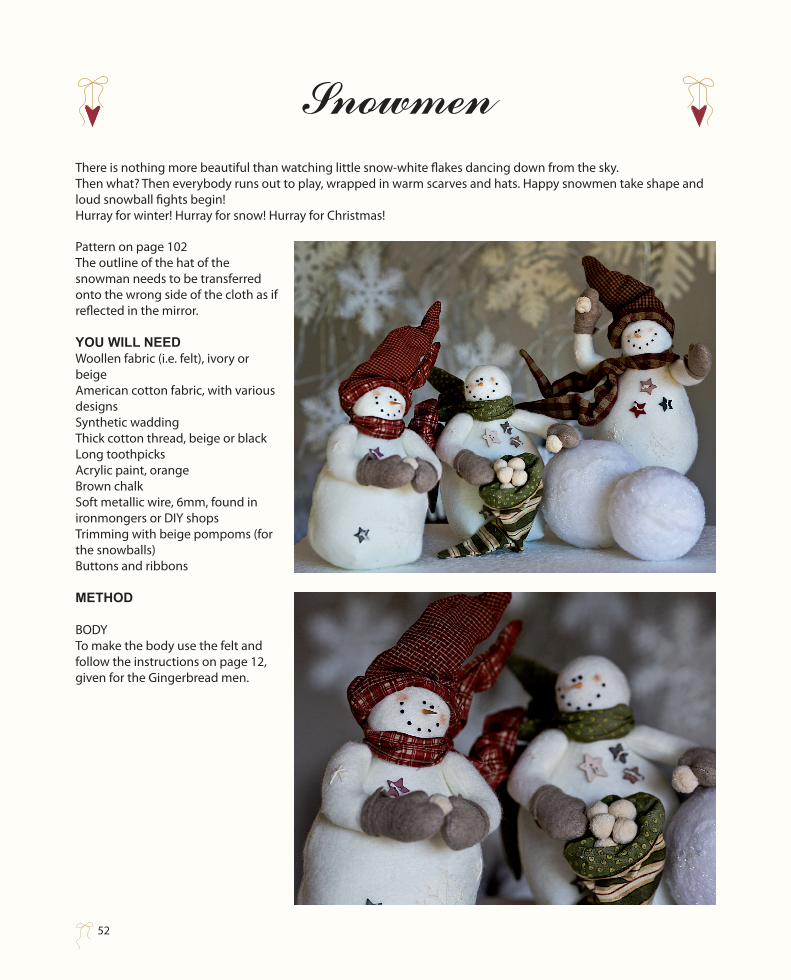
Pattern on page 102The outline of the hat of the snowman needs to be transferred onto the wrong side of the cloth as if reflected in the mirror.
YOU WILL NEED Woollen fabric (i.e. felt), ivory or beigeAmerican cotton fabric, with various designsSynthetic waddingThick cotton thread, beige or blackLong toothpicksAcrylic paint, orangeBrown chalkSoft metallic wire, 6mm, found in ironmongers or DIY shops Trimming with beige pompoms (for the snowballs)Buttons and ribbons
METHOD
BODYTo make the body use the felt and follow the instructions on page 12, given for the Gingerbread men.
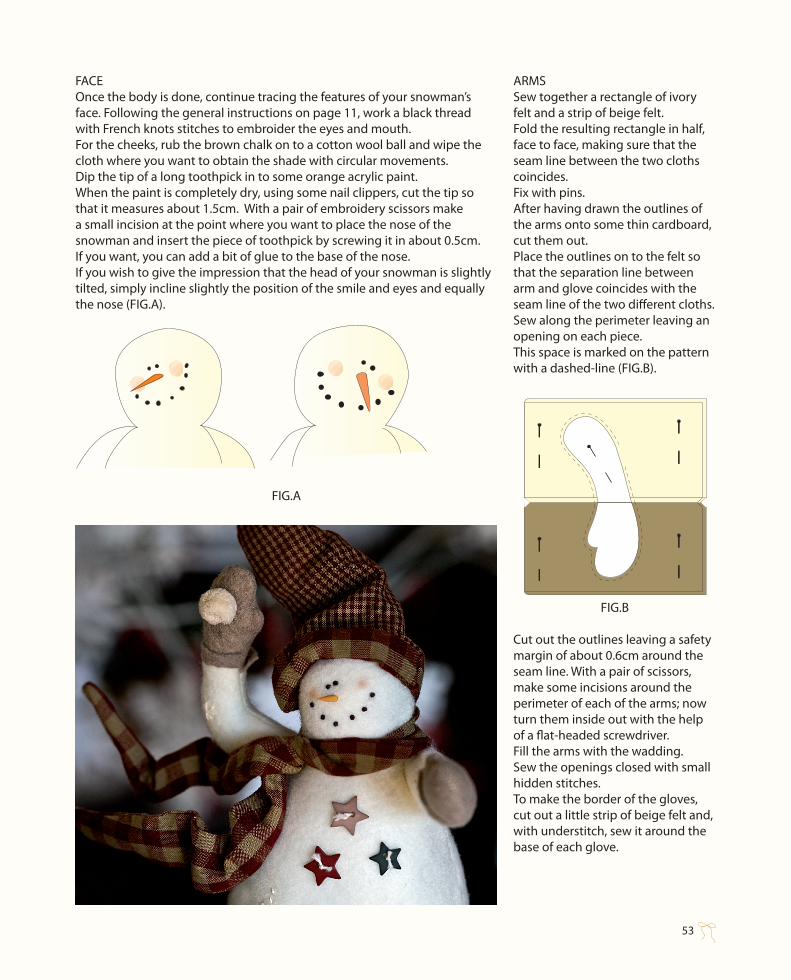
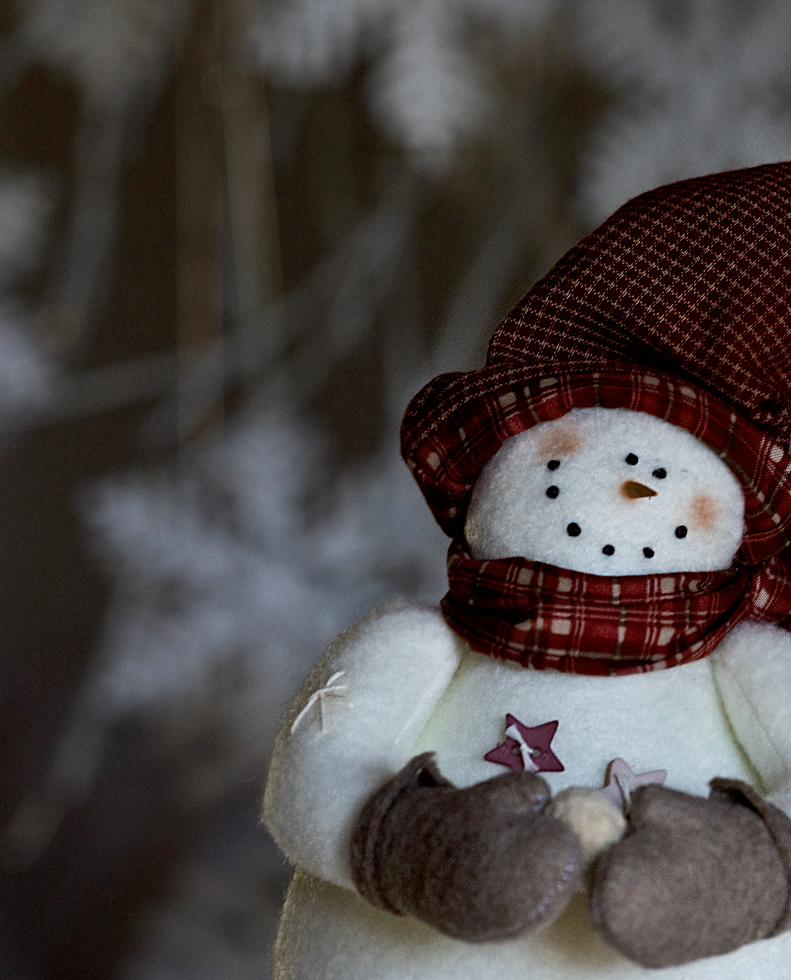
SnowmenThere is nothing more beautiful than watching little snow-white flakes dancing down from the sky.Then what? Then everybody runs out to play, wrapped in warm scarves and hats. Happy snowmen take shape and loud snowball fights begin!Hurray for winter! Hurray for snow! Hurray for Christmas!
5253
53
FACEOnce the body is done, continue tracing the features of your snowman’s face. Following the general instructions on page 11, work a black thread with French knots stitches to embroider the eyes and mouth. For the cheeks, rub the brown chalk on to a cotton wool ball and wipe the cloth where you want to obtain the shade with circular movements.Dip the tip of a long toothpick in to some orange acrylic paint. When the paint is completely dry, using some nail clippers, cut the tip so that it measures about 1.5cm. With a pair of embroidery scissors make a small incision at the point where you want to place the nose of the snowman and insert the piece of toothpick by screwing it in about 0.5cm. If you want, you can add a bit of glue to the base of the nose.If you wish to give the impression that the head of your snowman is slightly tilted, simply incline slightly the position of the smile and eyes and equally the nose (FIG.A).
FIG.A
ARMSSew together a rectangle of ivory felt and a strip of beige felt.Fold the resulting rectangle in half, face to face, making sure that the seam line between the two cloths coincides. Fix with pins.After having drawn the outlines of the arms onto some thin cardboard, cut them out. Place the outlines on to the felt so that the separation line between arm and glove coincides with the seam line of the two diff erent cloths. Sew along the perimeter leaving an opening on each piece. This space is marked on the pattern with a dashed-line (FIG.B).
FIG.B
Cut out the outlines leaving a safety margin of about 0.6cm around the seam line. With a pair of scissors, make some incisions around the perimeter of each of the arms; now turn them inside out with the help of a fl at-headed screwdriver. Fill the arms with the wadding. Sew the openings closed with small hidden stitches.To make the border of the gloves, cut out a little strip of beige felt and, with understitch, sew it around the base of each glove.

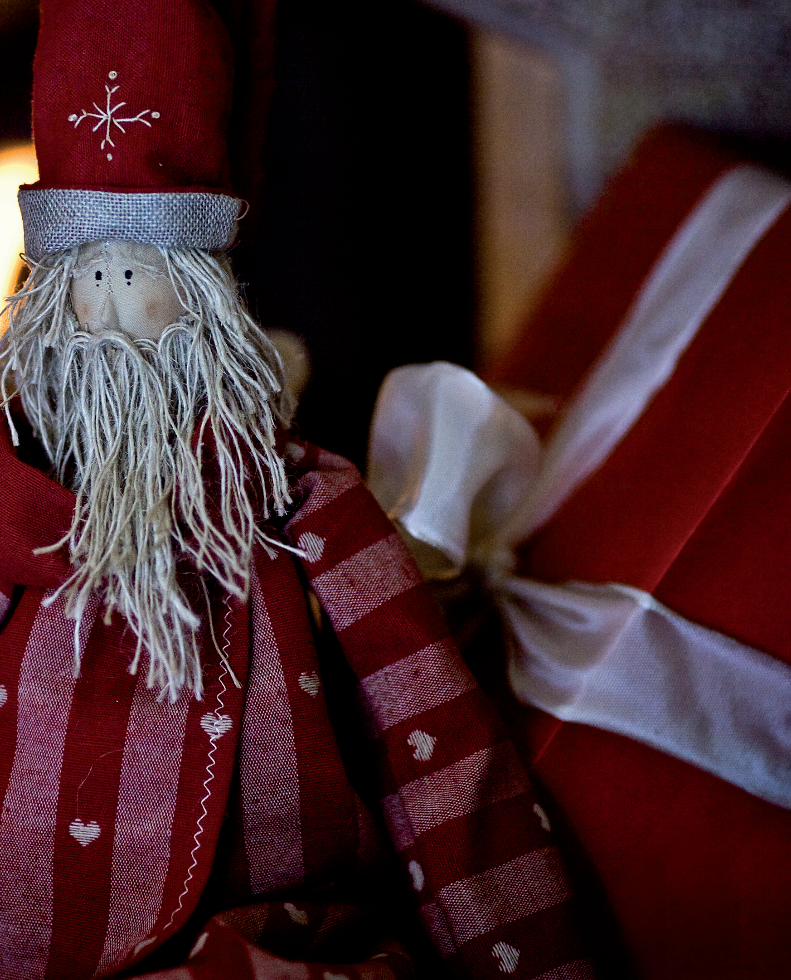
85
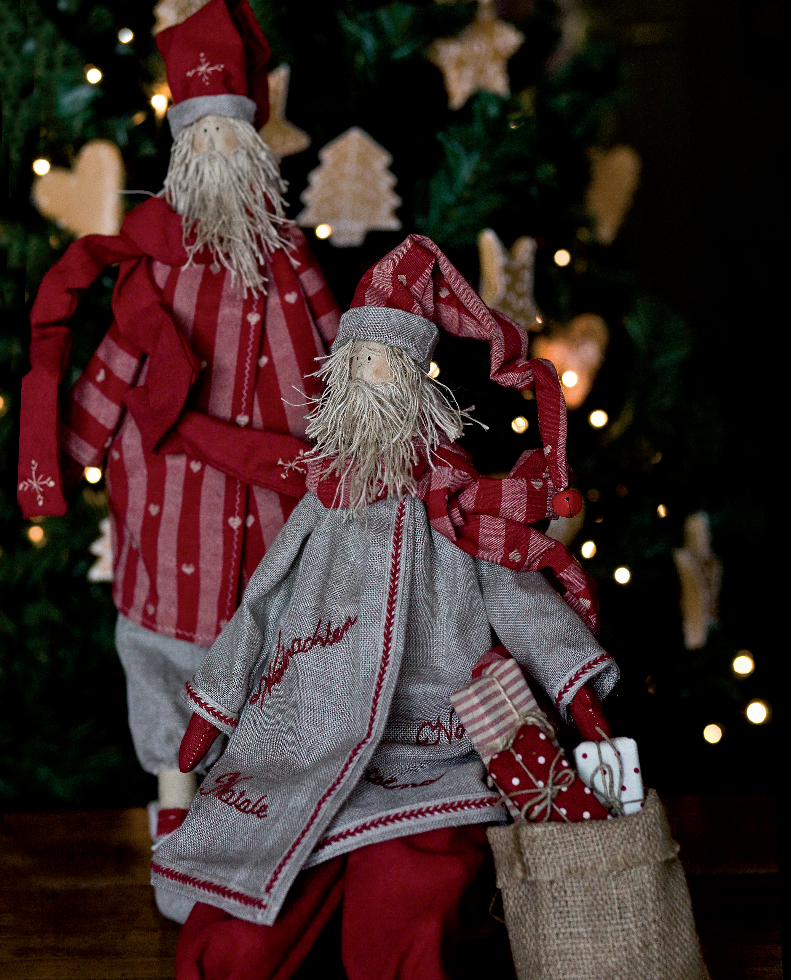
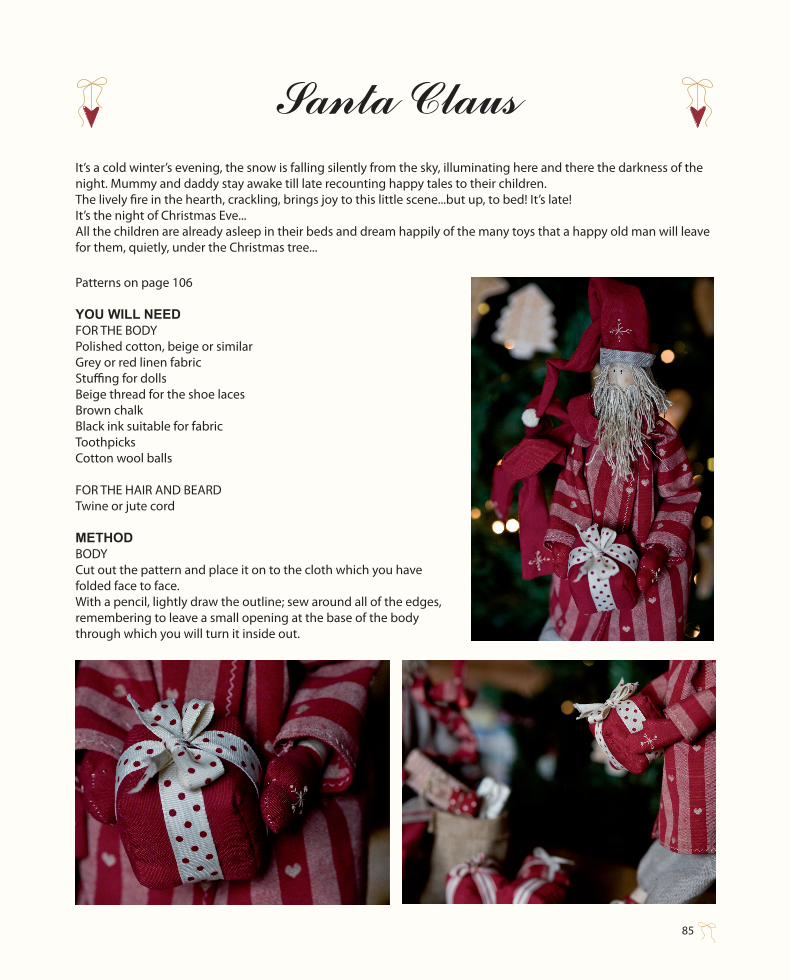
Santa ClausIt’s a cold winter’s evening, the snow is falling silently from the sky, illuminating here and there the darkness of the night. Mummy and daddy stay awake till late recounting happy tales to their children.The lively fire in the hearth, crackling, brings joy to this little scene...but up, to bed! It’s late! It’s the night of Christmas Eve... All the children are already asleep in their beds and dream happily of the many toys that a happy old man will leave for them, quietly, under the Christmas tree...
Patterns on page 106
YOU WILL NEEDFOR THE BODYPolished cotton, beige or similarGrey or red linen fabricStuffing for dolls Beige thread for the shoe lacesBrown chalkBlack ink suitable for fabricToothpicksCotton wool balls
FOR THE HAIR AND BEARDTwine or jute cord
METHODBODYCut out the pattern and place it on to the cloth which you have folded face to face. With a pencil, lightly draw the outline; sew around all of the edges, remembering to leave a small opening at the base of the body through which you will turn it inside out.


PatternsAnd now to work!My best wishes to you all and may your creativity give to others “The Joy of Christmas”!Enjoy!