simple photo organization starter kit | professional photo organizer
TRANSCRIPT
Simple Photo Organization Starter Kit
Use these 5 simple steps to keep your photos accessible, catalogued, safe, and sharable.1. SET UP: Pull together the various type of media you would to be organized and accessible. This can include a variety of different pictorial records:
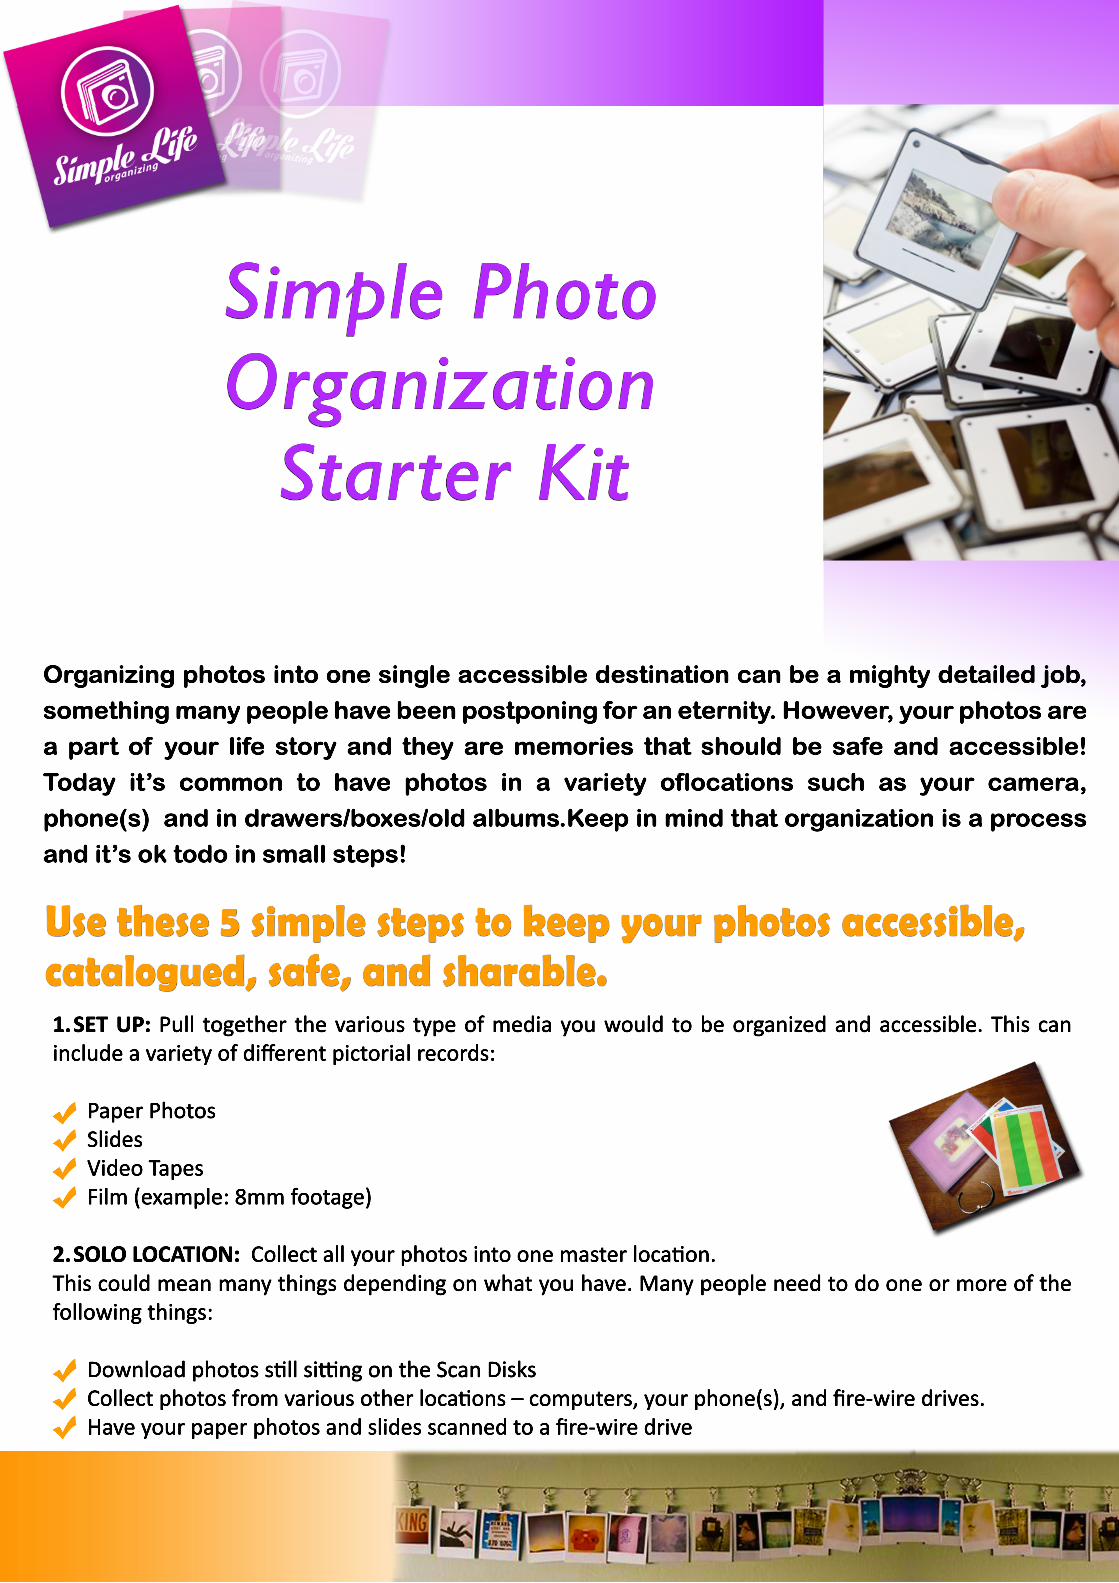
Paper Photos Slides Video Tapes Film (example: 8mm footage)
2. SOLO LOCATION: Collect all your photos into one master locaon. ThisThis could mean many things depending on what you have. Many people need to do one or more of the following things:
Download photos sll sing on the Scan Disks Collect photos from various other locaons – computers, your phone(s), and fire-wire drives. Have your paper photos and slides scanned to a fire-wire drive
Organizing photos into one single accessible destination can be a mighty detailed job,
something many people have been postponing for an eternity. However, your photos are
a part of your life story and they are memories that should be safe and accessible!
Today it’s common to have photos in a variety oflocations such as your camera,
phone(s) and in drawers/boxes/old albums.Keep in mind that organization is a process
and it’s ok todo in small steps!
My name is Julie Smith and I am an entrepreneur, organization junkie, wife/mom, friend and Girl Scout troop leader! I've been incredibly luckily to combine my passions for photography, organization and film into the most incredible job – Photo Organizer! I get to help people sort, save and share their lifetime of stories and adventures. Together we get those photos out of the closet, off the phones and found on various computers and then put back into their lives – or at least into one location where they are easier to find! Today you can find me having fun and hanging out in Burbank, California or at www.simplelifeorganizing.com learning hlearning how to blog (fingers crossed)!
BTW, if you don’t live in the Southern California area but would like to discuss a project with a photo organizer, you can find one near you at appo.org!
3. SEPERATE: Go through each photo folder (includes paper and digital file) and purge! Everyone should delete the unimportant photos which generally include: blurry shots, duplicates, and photos that don’t help tell the story of that event/moment. With paper photos send extra copies to others that might enjoythem.
4. SORTING STYLE: There are many ways to label files. Most importantly, pick something that makes the most sense to you! This is the case for both paper and digital photos
By Date By Event By Person My Personal favorite is Date, What, Where That looks like this: “2014-01-16 Birthday, San Diego”
5. SAVE: Backup your photos! Everyone has a variety of opons – Remember – Computers and Fire-wire drives can break and fail. Consider other opons as backups such as Cloud Storage and Archival DVDs
MMoving forward, come up with a process of connuing to download your photos on a regular basis. It should not take a lot of me, and try to keep it as simple as possible. Pick something that makes sense to your family. If you teach your kids the process, they can help out too!
...........