smart board basics · smartboard basics resources for benefits click on the pictures to access...
TRANSCRIPT
1
July 24, 2012
SMART BOARD BASICS
In this lesson you will learn:
*Benefits to Students & Educators*Setting up your Smart Board Notebook*Orienting the Board* Smart Board Tools
Created By Laverne L. Proctor_2012
SMART BOARD BASICS
What is a SMART Board?
The SMART Board interactive whiteboard turns your computer and projector into a powerful tool for teaching, collaborating and presenting. With a computer image projected onto the board, you can simply press on its large, touch-sensitive surface to access and control any application. Using a pen from the SMART Pen Tray, you can work naturally at the board to take notes and highlight important information.You can use the SMART Board to: Interact: Touch the board to control any computer application. Create: Write notes, draw diagrams and illustrate ideas. Focus: Highlight key information with electronic ink. Capture: Save, print or e-mail notes. (Taken from http://www.smarttech.com)
SMART BOARD BASICS
BENEFITS TO STUDENTS
Students are highly engaged when there are opportunities to work directly on a SMART Board interactive whiteboard.
Students are more focused on their learning when teachers use a SMART Board interactive whiteboard.
The use of SMART Board interactive whiteboards limit opportunities for distraction by focusing students’ attention on lessons.
SMART Technologies ULC.
2
July 24, 2012
SMART BOARD BASICSBENEFITS TO STUDENTS
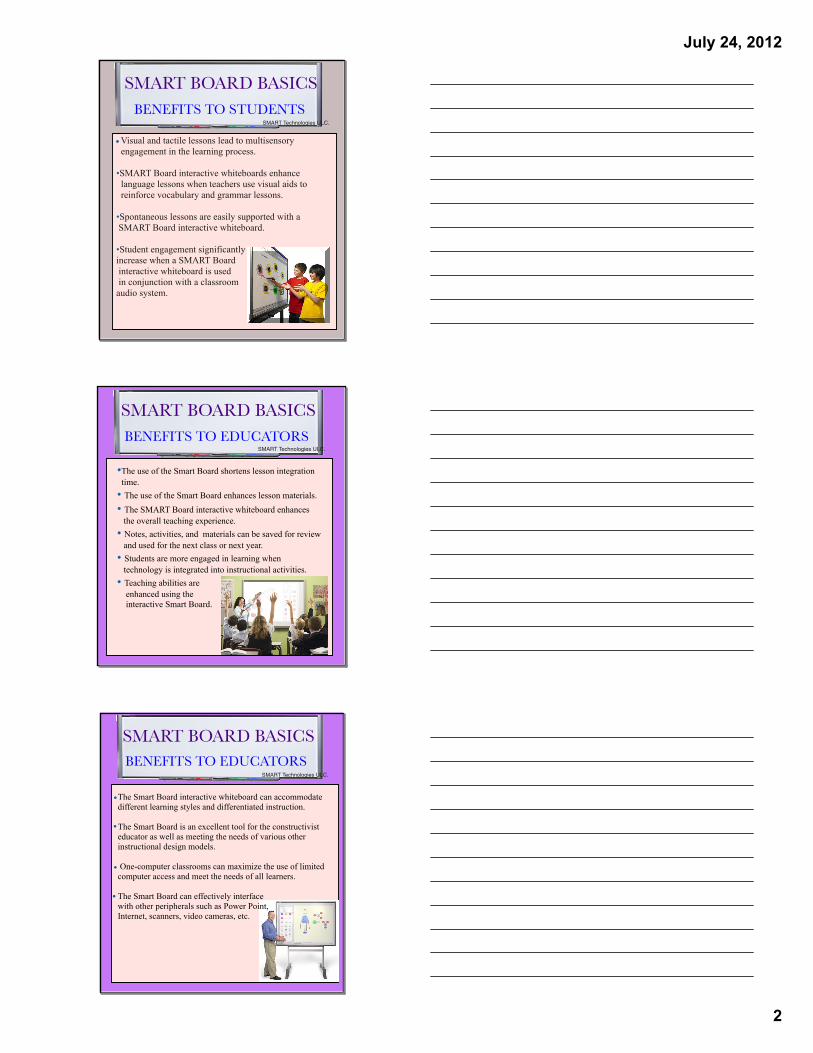
Visual and tactile lessons lead to multisensory engagement in the learning process.
•SMART Board interactive whiteboards enhance language lessons when teachers use visual aids to reinforce vocabulary and grammar lessons.
•Spontaneous lessons are easily supported with a SMART Board interactive whiteboard.
•Student engagement significantly increase when a SMART Board interactive whiteboard is used in conjunction with a classroom audio system.
•
SMART Technologies ULC.
SMART BOARD BASICSBENEFITS TO EDUCATORS
SMART Technologies ULC.
•The use of the Smart Board shortens lesson integration time.• The use of the Smart Board enhances lesson materials. • The SMART Board interactive whiteboard enhances the overall teaching experience.• Notes, activities, and materials can be saved for review and used for the next class or next year. • Students are more engaged in learning when technology is integrated into instructional activities.• Teaching abilities are enhanced using the interactive Smart Board.
SMART BOARD BASICSBENEFITS TO EDUCATORS
SMART Technologies ULC.
The Smart Board interactive whiteboard can accommodate different learning styles and differentiated instruction. The Smart Board is an excellent tool for the constructivist educator as well as meeting the needs of various other instructional design models. One-computer classrooms can maximize the use of limited computer access and meet the needs of all learners. The Smart Board can effectively interface with other peripherals such as Power Point,Internet, scanners, video cameras, etc.
•
•
•
•

3
July 24, 2012
SMARTBOARD BASICS
RESOURCES FOR BENEFITS
CLICK ON THE PICTURES TO ACCESS INFORMATION.
SMARTBOARD BASICS
SETTING UP YOUR BOARD
SMARTBOARD BASICS
ORIENTING YOUR BOARD
TIP: Using the pen will get a more precise alignment.
or
2. Double click on icon in the task bar. The SMART Tools will appear.
1. Press and hold the two buttons on the Pen Tray.
3. On the Welcome Screen, choose "Orient".
or

4
July 24, 2012
SMARTBOARD BASICSUsing the Onscreen Keyboard
Double click on the Smart icon on the tool bar. A menu will pop up & you select the Keyboard tool. The keyboard will then appear.
SMARTBOARD BASICSUsing the Styluses & Eraser on the Pen Tray
Using the Pen Tray Tools
1. Remove a stylus from the pen tray and write over top of this page or any application.
• Press firmly and with consistent pressure on the board. • Be careful not to rest you hand against the board as it
will result in a slip of the pen or scribble. 2. Remove a new color stylus to write on the board again, but this time, write with your finger instead of the stylus.3. Use the eraser tool--it won't erase anything except the electronic ink from the pen stylus.4. Experiment: use fingers versus actual tools; pick up and try to use more than one tool. Note the SMART Board reads the last tool removed from the tray.5. Replace the tools and note that the screen now gives the cursor arrow and allows touch control. Use your finger as a mouse to scroll down this page or click a button. Your annotations will disappear.
SMARTBOARD BASICS
MENU TOOLBAR
Previous PageNext PageAdd PageOpenSave
Screen ShadeFull ScreenDual Page DisplayScreen CaptureTables
Select ToolPens & HighlightersCreative PensEraserLinesShapes
Shapes Magic PenFill ColorText BoxPropertiesMove Toolbar
PasteUndoRedoDelete
This is a brief overview of the name and function of each menu tool on the bar.
5
July 24, 2012
SMARTBOARD BASICS TOOLS: MAGIC PEN
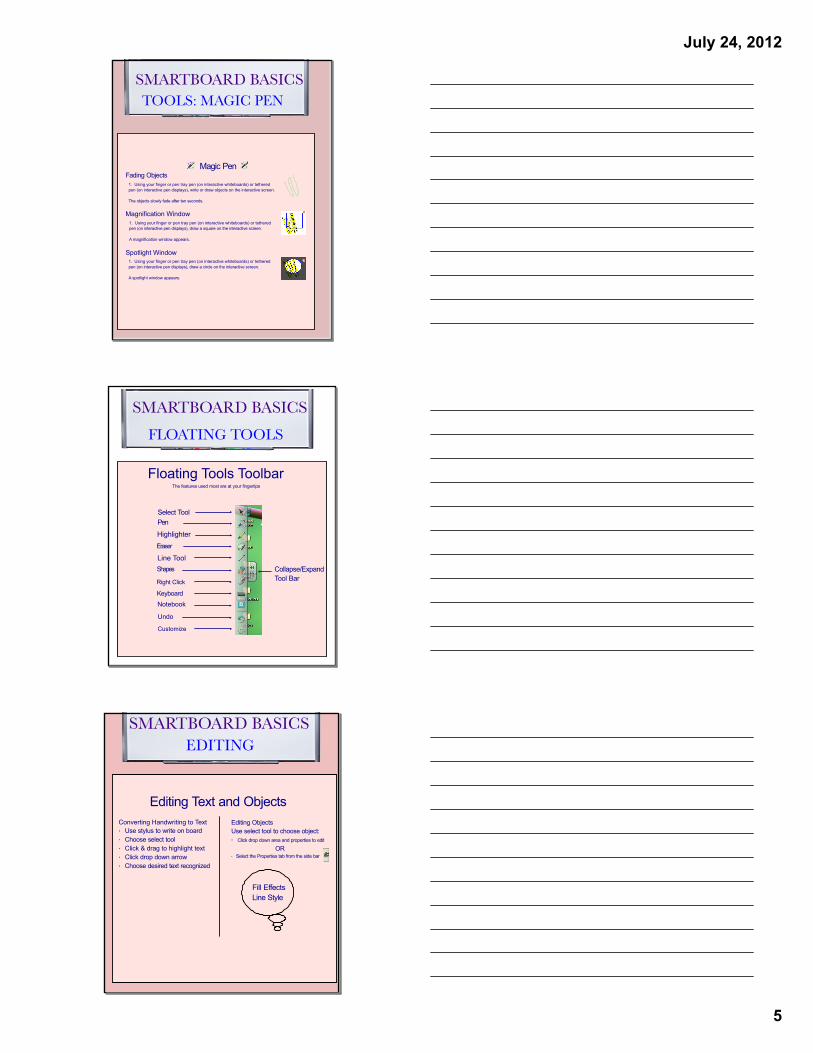
1. Using your finger or pen tray pen (on interactive whiteboards) or tethered pen (on interactive pen displays), write or draw objects on the interactive screen.
The objects slowly fade after ten seconds.
Magic PenFading Objects
Magnification Window1. Using your finger or pen tray pen (on interactive whiteboards) or tethered pen (on interactive pen displays), draw a square on the interactive screen.
A magnification window appears.
Spotlight Window1. Using your finger or pen tray pen (on interactive whiteboards) or tethered pen (on interactive pen displays), draw a circle on the interactive screen.
A spotlight window appears.
SMARTBOARD BASICS
Floating Tools ToolbarThe features used most are at your fingertips
Select ToolPen
Highlighter
Line Tool
Undo
Eraser
Right Click
Customize
Collapse/ExpandTool Bar
NotebookKeyboard
Shapes
FLOATING TOOLS
SMARTBOARD BASICS EDITING
Editing Text and Objects
Converting Handwriting to Text· Use stylus to write on board· Choose select tool· Click & drag to highlight text· Click drop down arrow· Choose desired text recognized
Editing ObjectsUse select tool to choose object:· Click drop down area and properties to edit
OR· Select the Properties tab from the side bar
Fill EffectsLine Style

6
July 24, 2012
SMARTBOARD BASICS
TAB MENU
Page Sorter · gives an overview of all the pages in a lesson or presentation. · allows you to organize pages & move object from page to page
Gallery: · stores images, templates, and Macromedia Flash files and organizes them into collections
Attachments:· add files, shortcuts to files, or Web addresses into the Attachment tab.
Using the Tab Menu
SMARTBOARD BASICS
PAGE SORTER
· Click the "page sorter" tab.
· Uncheck the "auto-hide" box to keep page sorter open.
· Use the page "drop down" menu to insert, delete, and clone pages.
· Click on the circle next to the scroll bar and drag to expand the page sorter.
· Click and drag to change order of pages.
SMARTBOARD BASICS
GALLERY
Enter keywords to quicklyfind related gallery itemsReturn to previous
search results-like the Internet browser's back button
Press the "Gallery" tab to open the Gallery area
Select a folder to display items in the search results area
Search Results Area
Click and drag the thumbnail image to your Smart Notebook page to use the graphic
Using the Gallery
7
July 24, 2012
SMARTBOARD BASICS
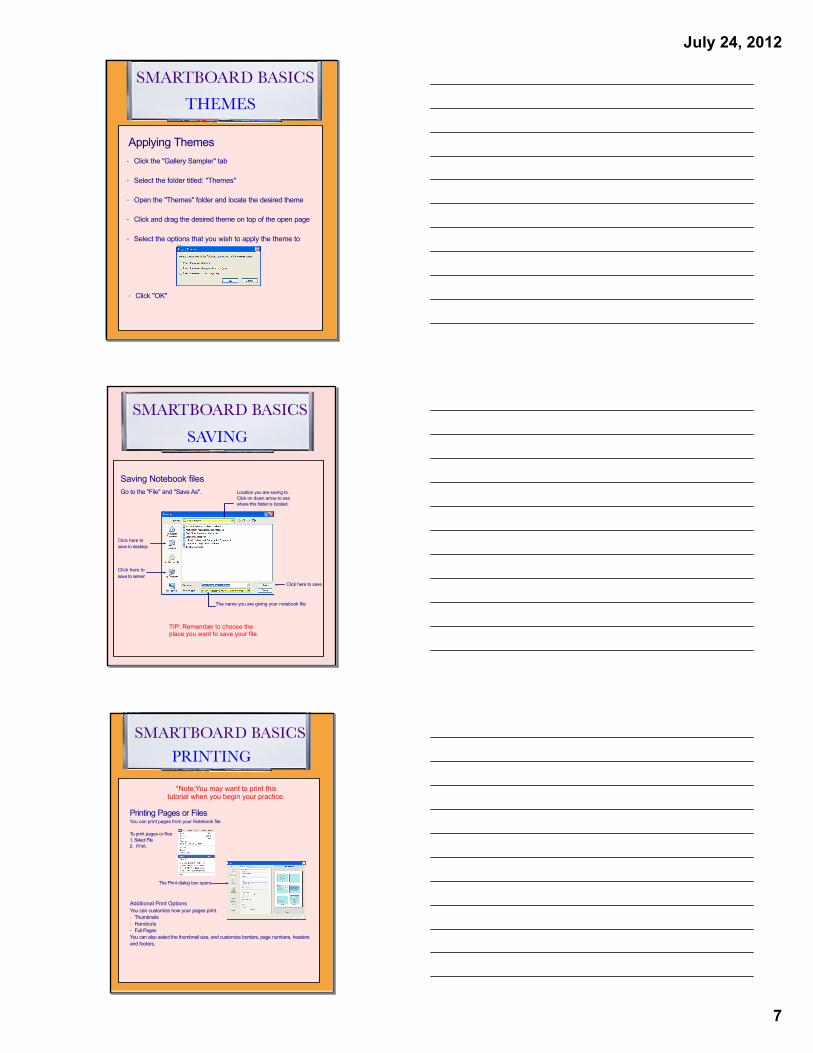
Applying Themes· Click the "Gallery Sampler" tab
· Select the folder titled: "Themes"
· Open the "Themes" folder and locate the desired theme
· Click and drag the desired theme on top of the open page
· Select the options that you wish to apply the theme to
· Click "OK"
THEMES
SMARTBOARD BASICS
TIP: Remember to choose the place you want to save your file.
Saving Notebook filesGo to the "File" and "Save As". Location you are saving to.
Click on down arrow to see where this folder is located.
The name you are giving your notebook file
Click here to save to desktop
Click here to save to server
Click here to save
SAVING
SMARTBOARD BASICS
Additional Print OptionsYou can customize how your pages print.· Thumbnails· Handouts · Full Pages You can also select the thumbnail size, and customize borders, page numbers, headers and footers.
Printing Pages or FilesYou can print pages from your Notebook file.
To print pages or files1. Select File2. Print.
The Print dialog box opens.
*Note:You may want to print this tutorial when you begin your practice.
PRINTING

8
July 24, 2012
SMARTBOARD BASICSSMART TOOLS SMART RESOURCES
These sites have downloadable lessons that are readily available for
classroom use.
Smart Exchange
The Teacher's Guide (Templates & Interactive Website Resources)
SMARTer SmartBoard
SMARTBOARD BASICSSMART TOOLS
Now try it yourself.
Start exploring and creating.For additional help, tutorials or information on training sessions, use the Help menu or go to smarttech.com/us/Resources/Training