so sew easy wear everywhere skirt - site...
TRANSCRIPT
Find more great sewing patterns at So Sew Easy – http://so-sew-easy.com
1 | P a g e
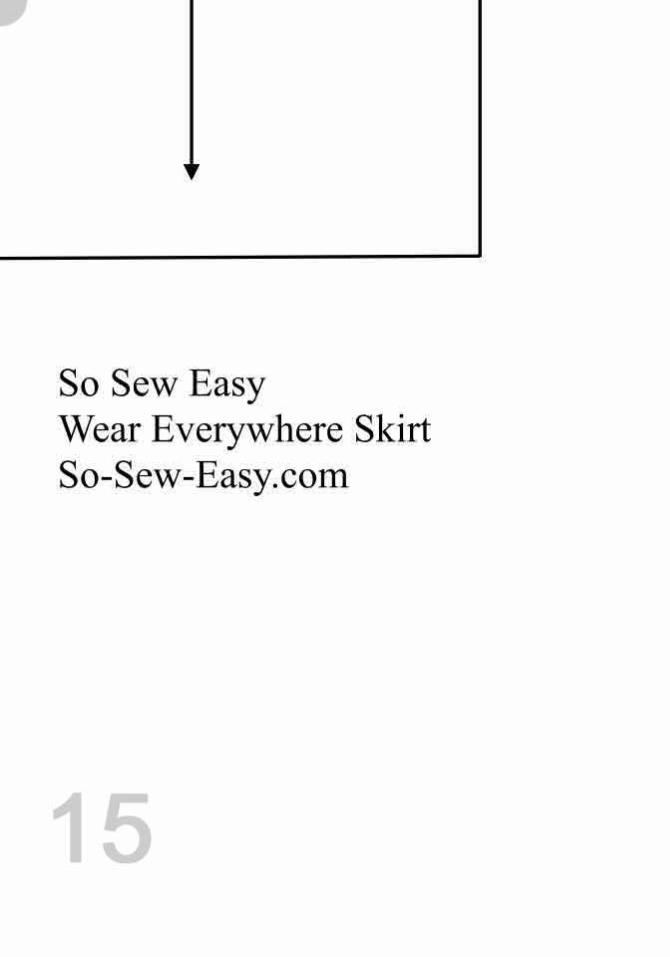
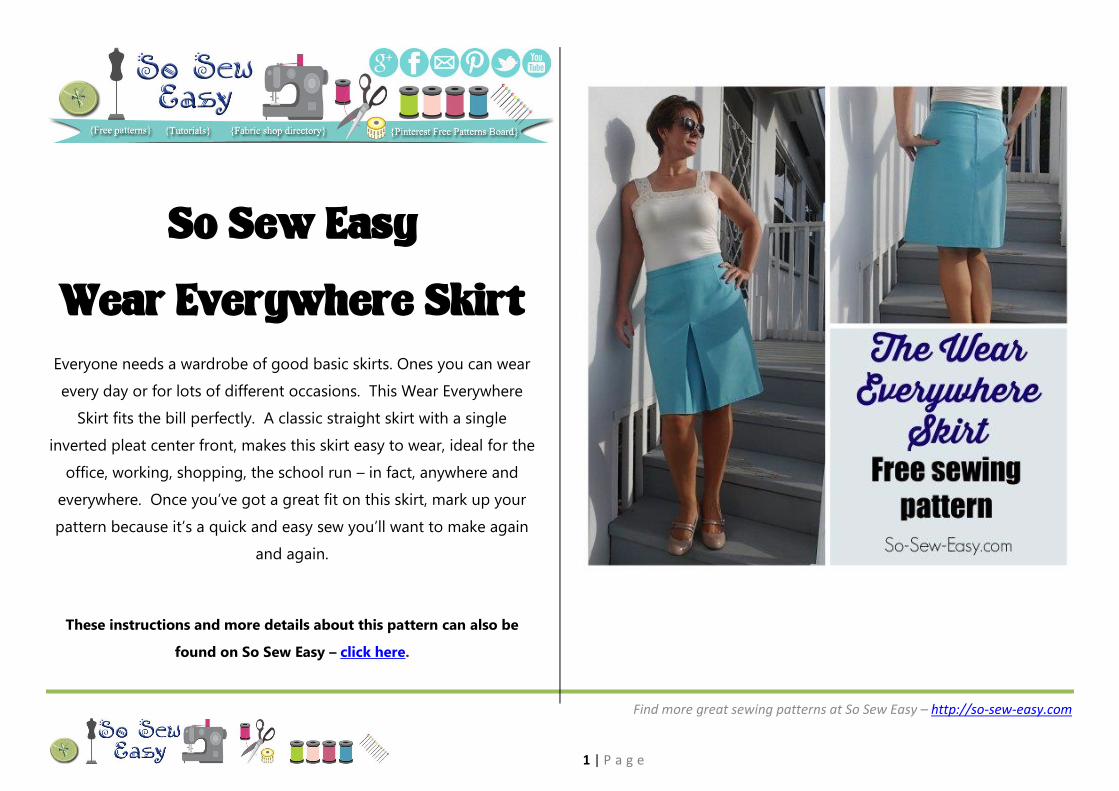
So Sew Easy
Wear Everywhere Skirt Everyone needs a wardrobe of good basic skirts. Ones you can wear
every day or for lots of different occasions. This Wear Everywhere
Skirt fits the bill perfectly. A classic straight skirt with a single
inverted pleat center front, makes this skirt easy to wear, ideal for the
office, working, shopping, the school run – in fact, anywhere and
everywhere. Once you’ve got a great fit on this skirt, mark up your
pattern because it’s a quick and easy sew you’ll want to make again
and again.
These instructions and more details about this pattern can also be
found on So Sew Easy – click here.
Find more great sewing patterns at So Sew Easy – http://so-sew-easy.com
2 | P a g e
Features:
Straight skirt, fitted at waist and hips
Easy to sew
Center front inverted box pleat
Sits at the natural waist with darts for shaping
Center back zipper plus waistband with closure
Knee-length as standard, lengthen or shorten as needed.
Skill level –Beginner This is an easy pattern using simple turn and stitch techniques. Accurate
stitching will help you to get a good finish. You should also know how to
insert a zipper into the center back seam.
Please read through all of these instructions before
starting your project and cutting your fabric.
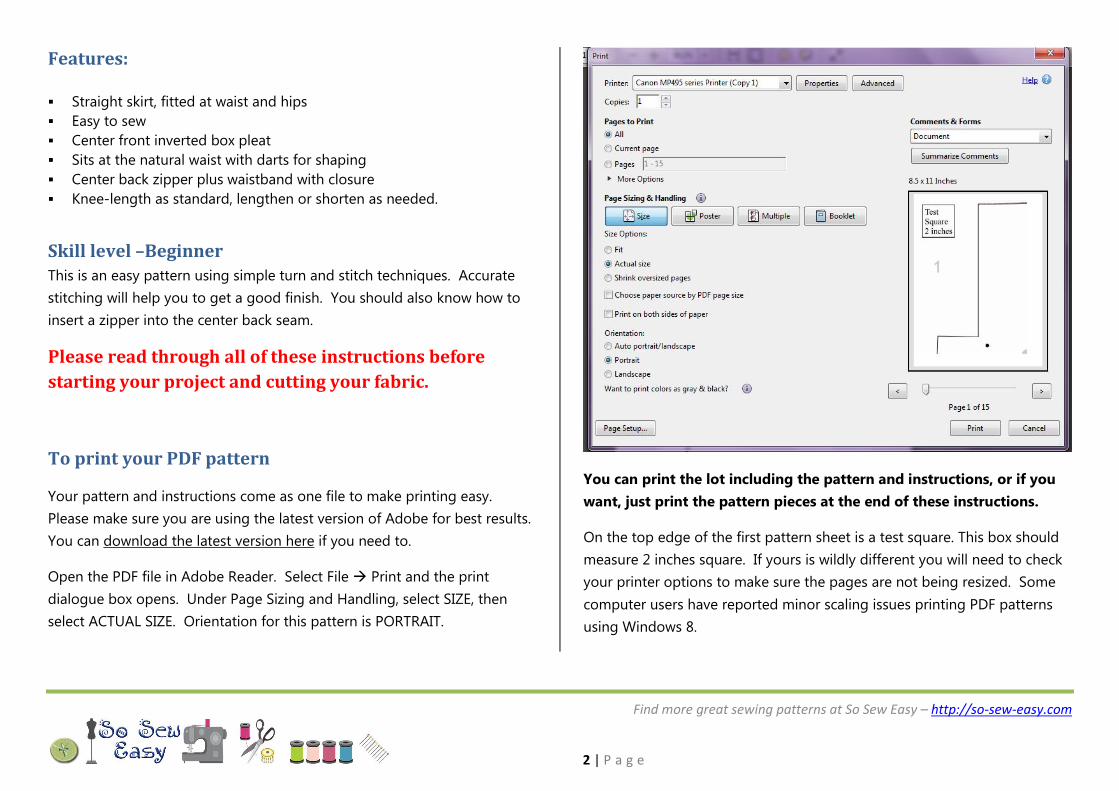
To print your PDF pattern
Your pattern and instructions come as one file to make printing easy.
Please make sure you are using the latest version of Adobe for best results.
You can download the latest version here if you need to.
Open the PDF file in Adobe Reader. Select File Print and the print
dialogue box opens. Under Page Sizing and Handling, select SIZE, then
select ACTUAL SIZE. Orientation for this pattern is PORTRAIT.
You can print the lot including the pattern and instructions, or if you
want, just print the pattern pieces at the end of these instructions.
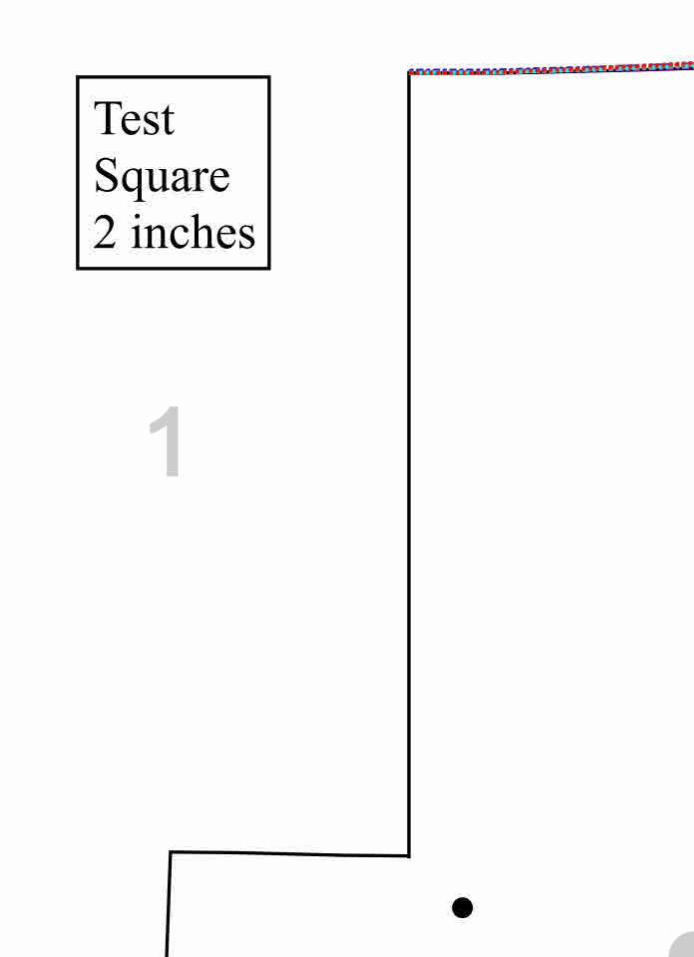
On the top edge of the first pattern sheet is a test square. This box should
measure 2 inches square. If yours is wildly different you will need to check
your printer options to make sure the pages are not being resized. Some
computer users have reported minor scaling issues printing PDF patterns
using Windows 8.
Find more great sewing patterns at So Sew Easy – http://so-sew-easy.com
3 | P a g e
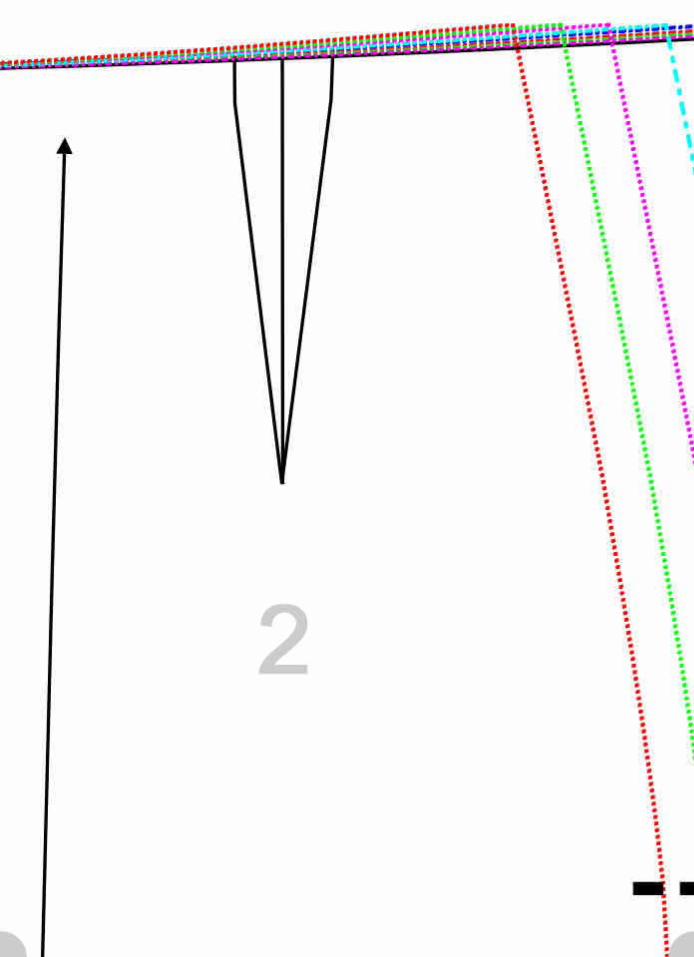
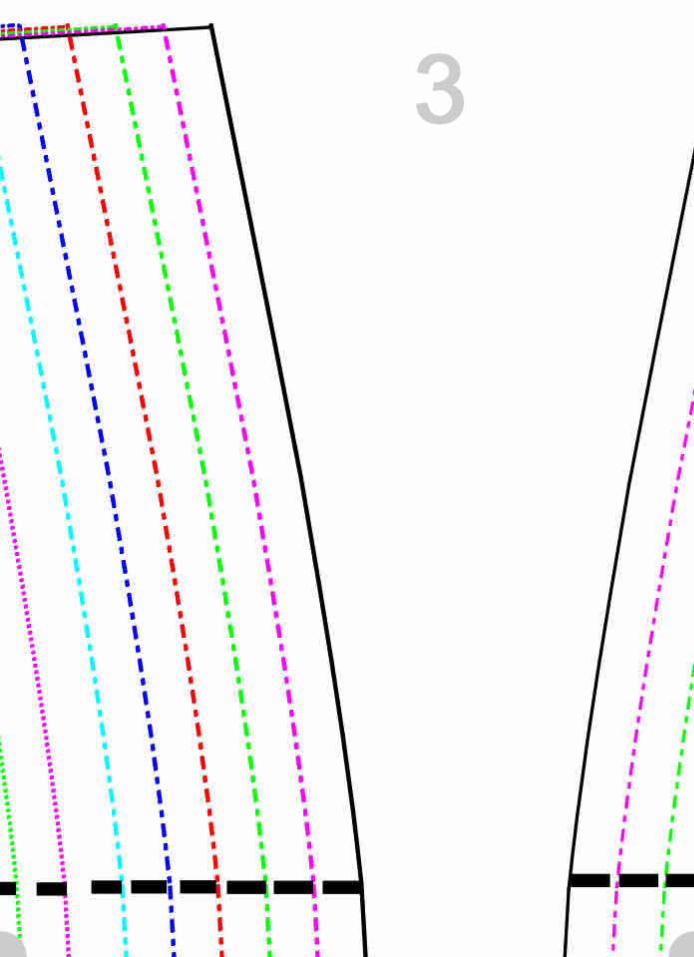
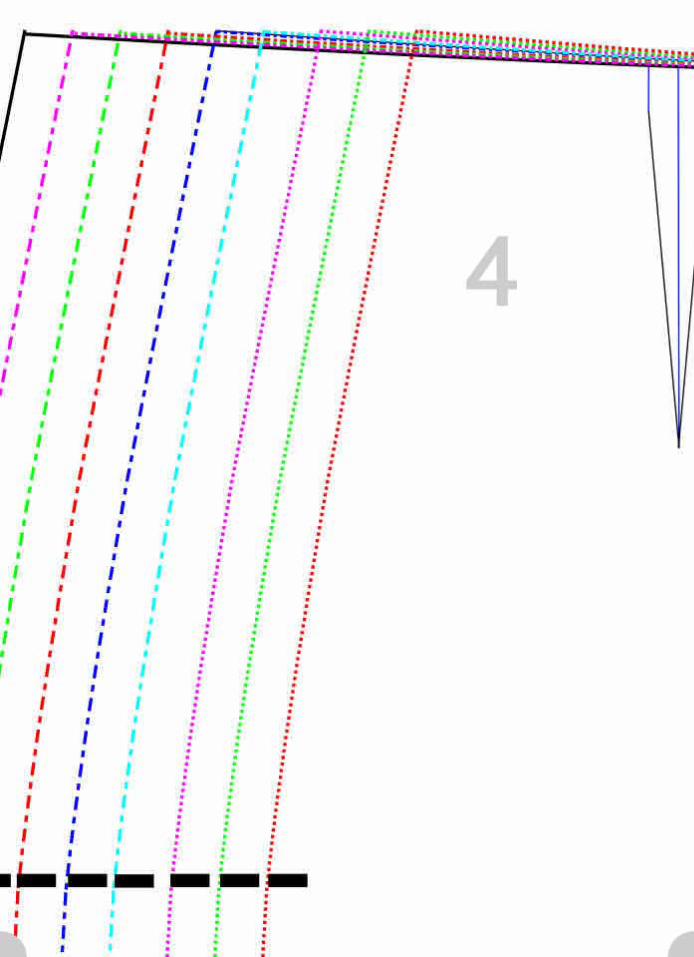
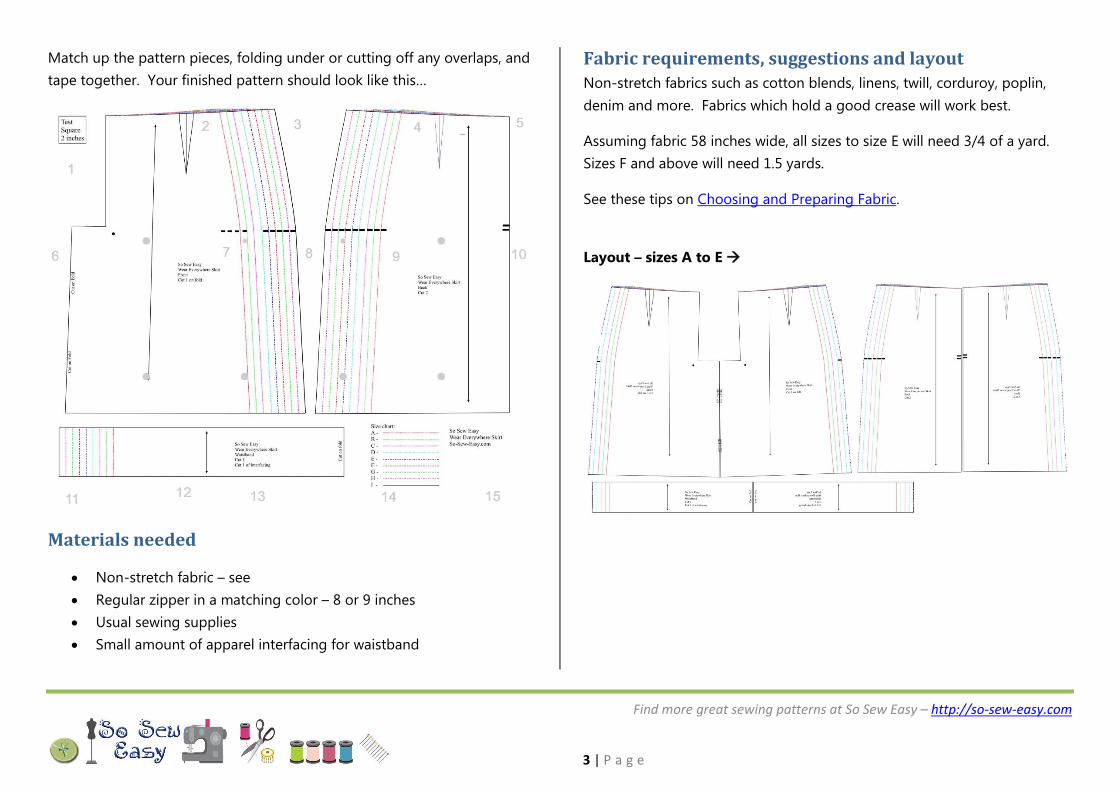
Match up the pattern pieces, folding under or cutting off any overlaps, and
tape together. Your finished pattern should look like this…
Materials needed
Non-stretch fabric – see
Regular zipper in a matching color – 8 or 9 inches
Usual sewing supplies
Small amount of apparel interfacing for waistband
Fabric requirements, suggestions and layout Non-stretch fabrics such as cotton blends, linens, twill, corduroy, poplin,
denim and more. Fabrics which hold a good crease will work best.
Assuming fabric 58 inches wide, all sizes to size E will need 3/4 of a yard.
Sizes F and above will need 1.5 yards.
See these tips on Choosing and Preparing Fabric.
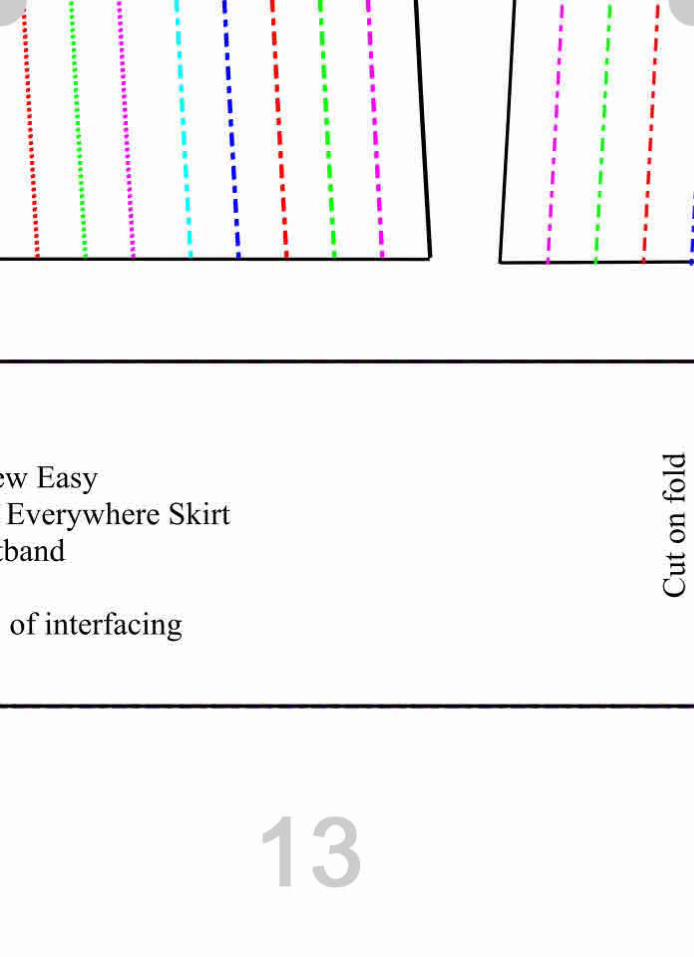
Layout – sizes A to E
Find more great sewing patterns at So Sew Easy – http://so-sew-easy.com
4 | P a g e
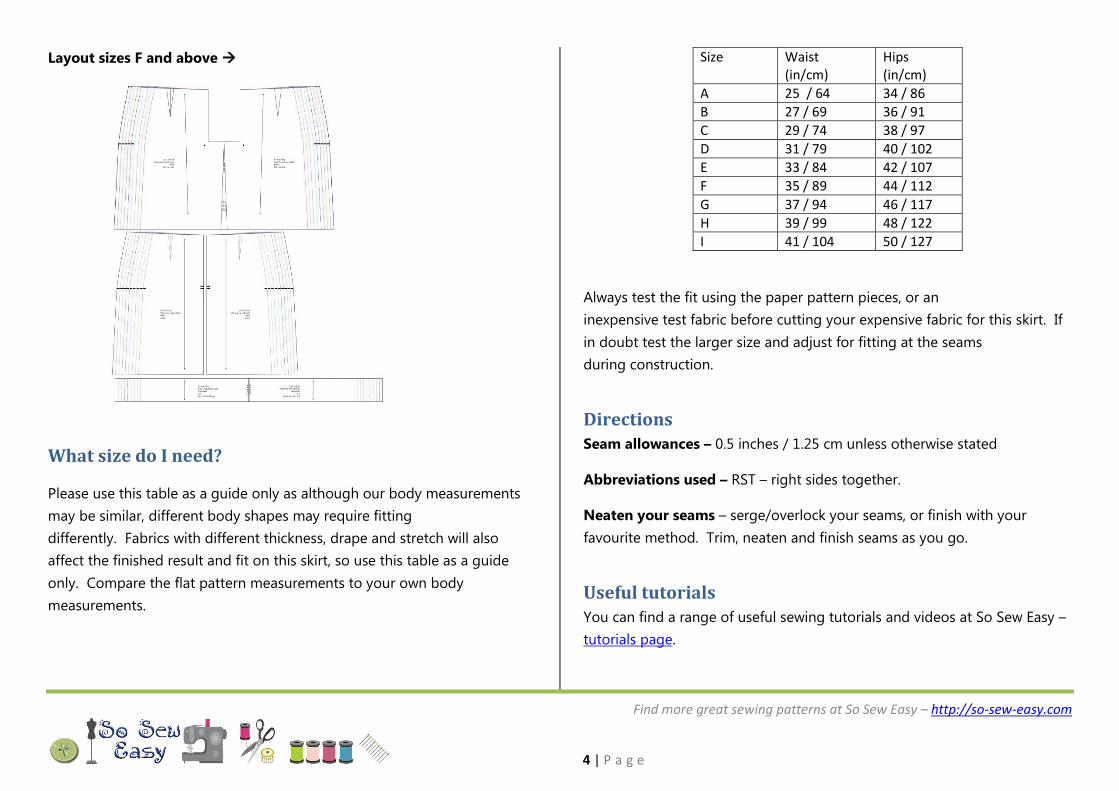
Layout sizes F and above
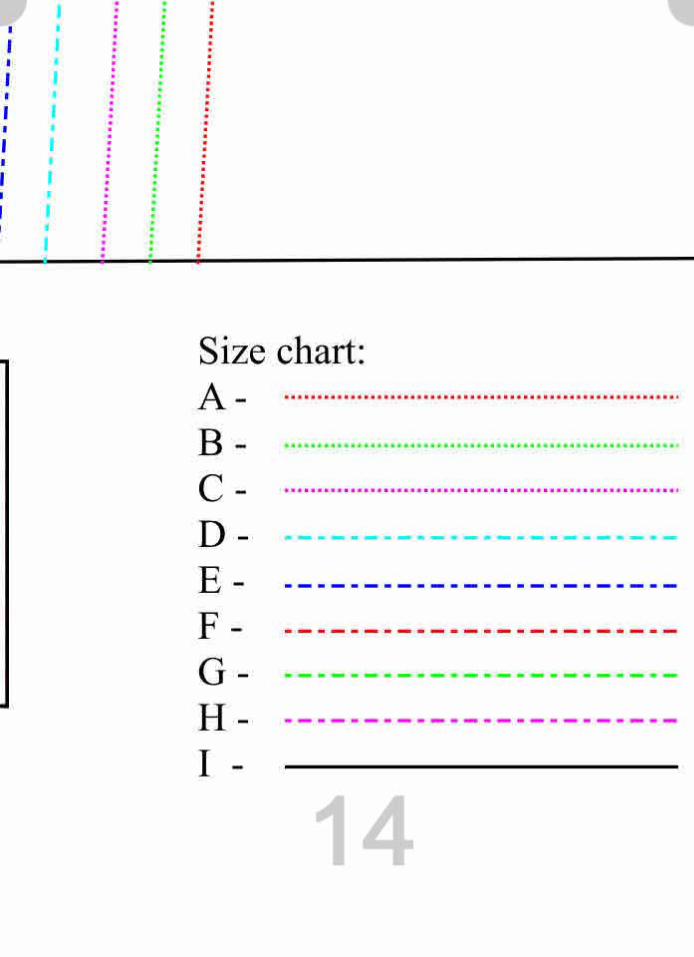
What size do I need?
Please use this table as a guide only as although our body measurements
may be similar, different body shapes may require fitting
differently. Fabrics with different thickness, drape and stretch will also
affect the finished result and fit on this skirt, so use this table as a guide
only. Compare the flat pattern measurements to your own body
measurements.
Size Waist (in/cm)
Hips (in/cm)
A 25 / 64 34 / 86
B 27 / 69 36 / 91
C 29 / 74 38 / 97
D 31 / 79 40 / 102
E 33 / 84 42 / 107
F 35 / 89 44 / 112
G 37 / 94 46 / 117
H 39 / 99 48 / 122
I 41 / 104 50 / 127
Always test the fit using the paper pattern pieces, or an
inexpensive test fabric before cutting your expensive fabric for this skirt. If
in doubt test the larger size and adjust for fitting at the seams
during construction.
Directions Seam allowances – 0.5 inches / 1.25 cm unless otherwise stated
Abbreviations used – RST – right sides together.
Neaten your seams – serge/overlock your seams, or finish with your
favourite method. Trim, neaten and finish seams as you go.
Useful tutorials You can find a range of useful sewing tutorials and videos at So Sew Easy –
tutorials page.
Find more great sewing patterns at So Sew Easy – http://so-sew-easy.com
5 | P a g e
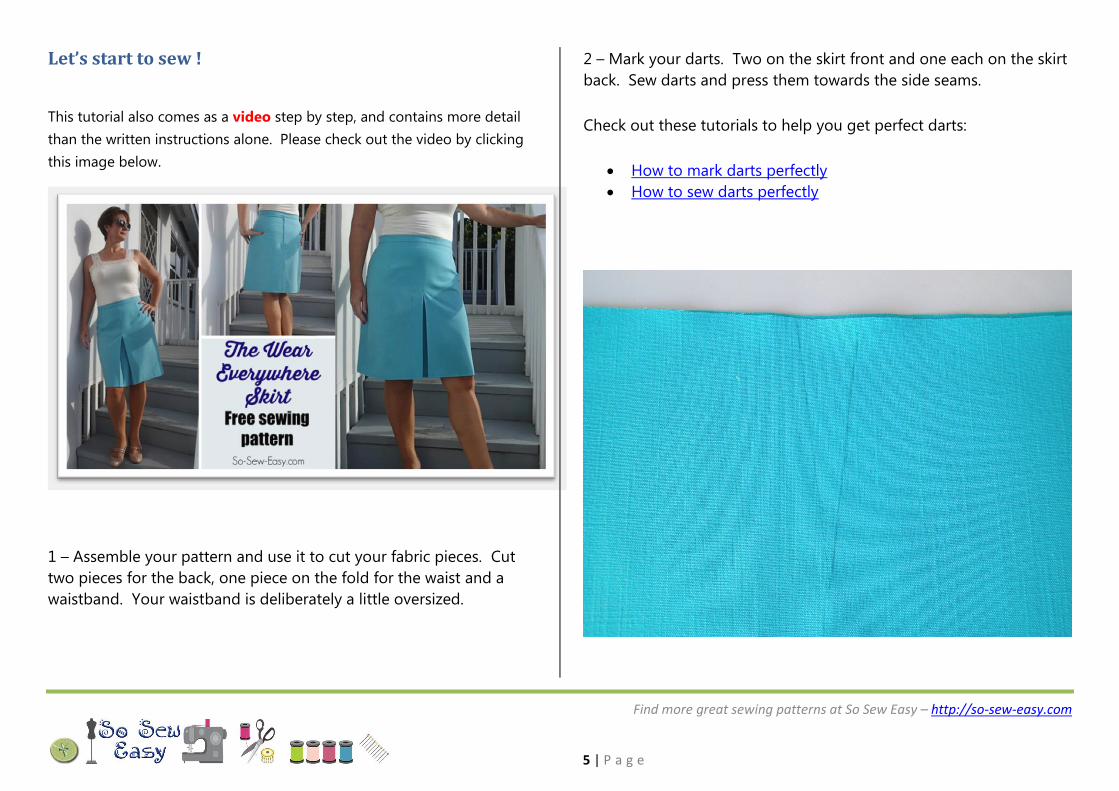
Let’s start to sew !
This tutorial also comes as a video step by step, and contains more detail
than the written instructions alone. Please check out the video by clicking
this image below.
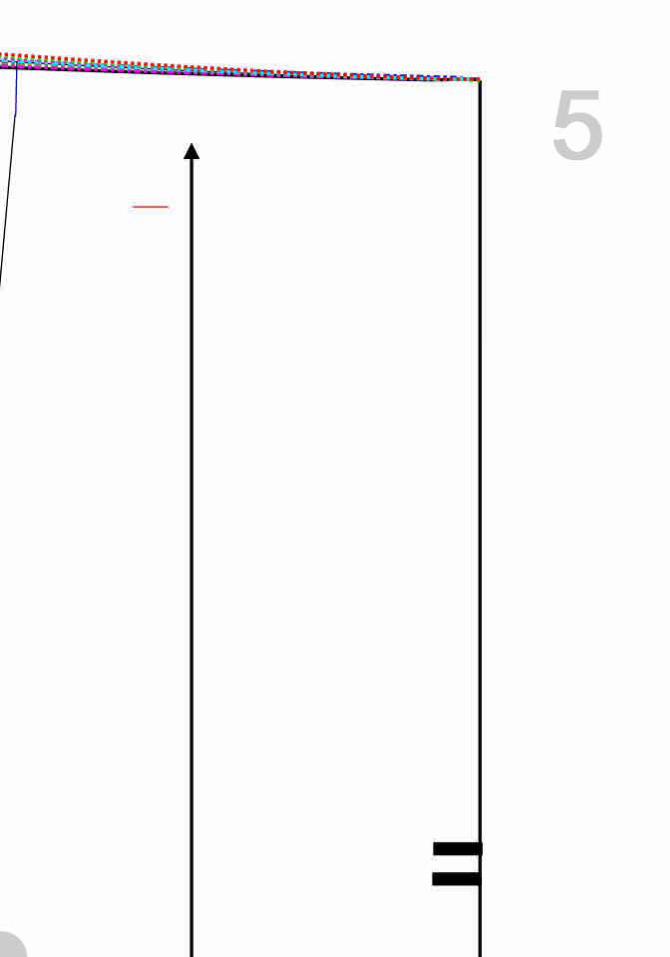
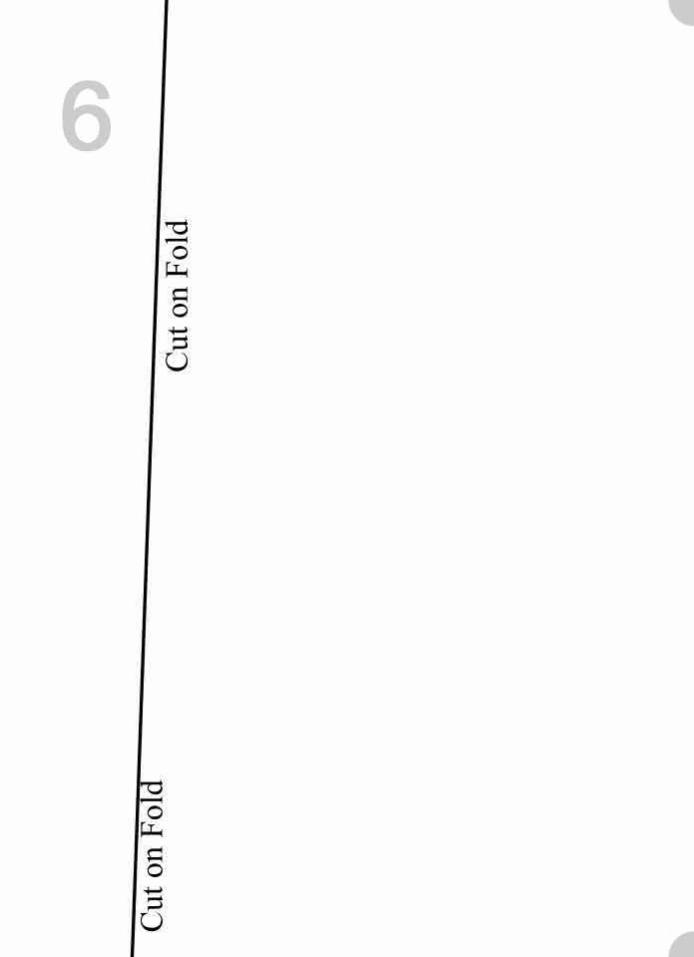
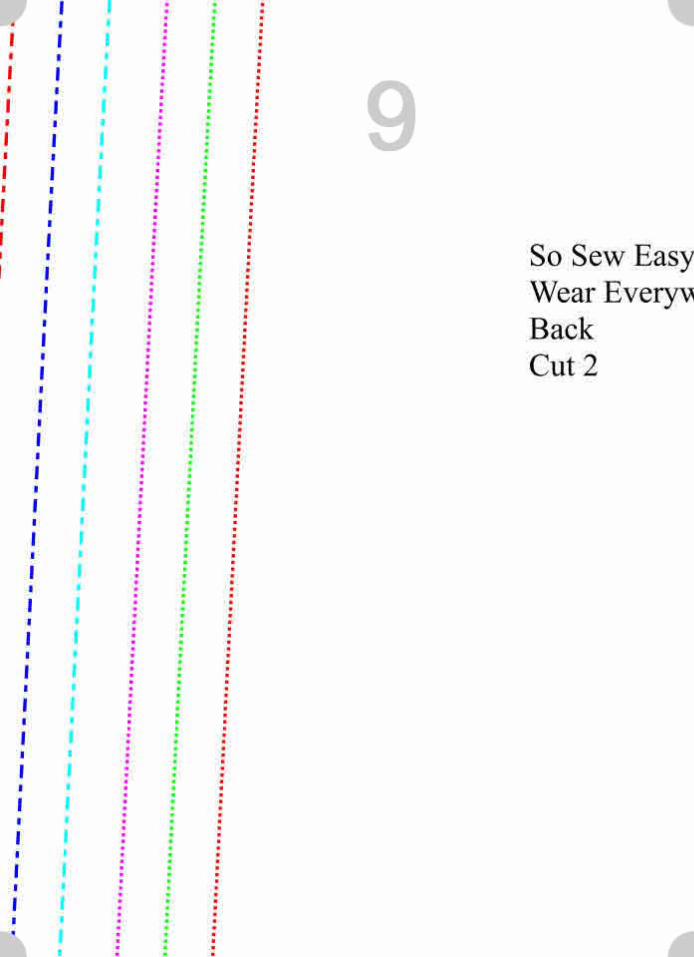
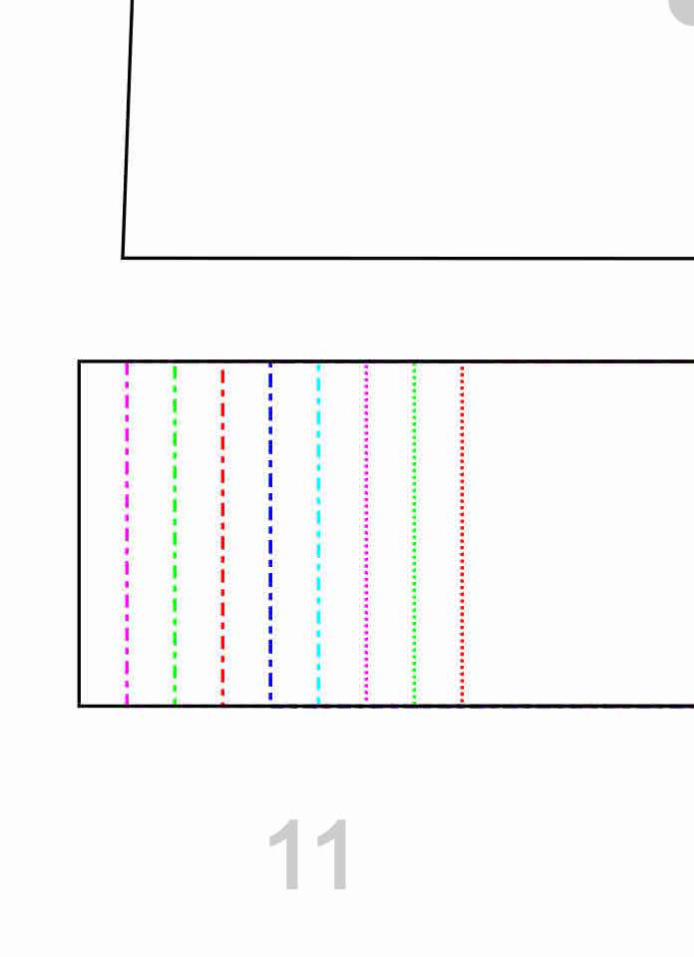
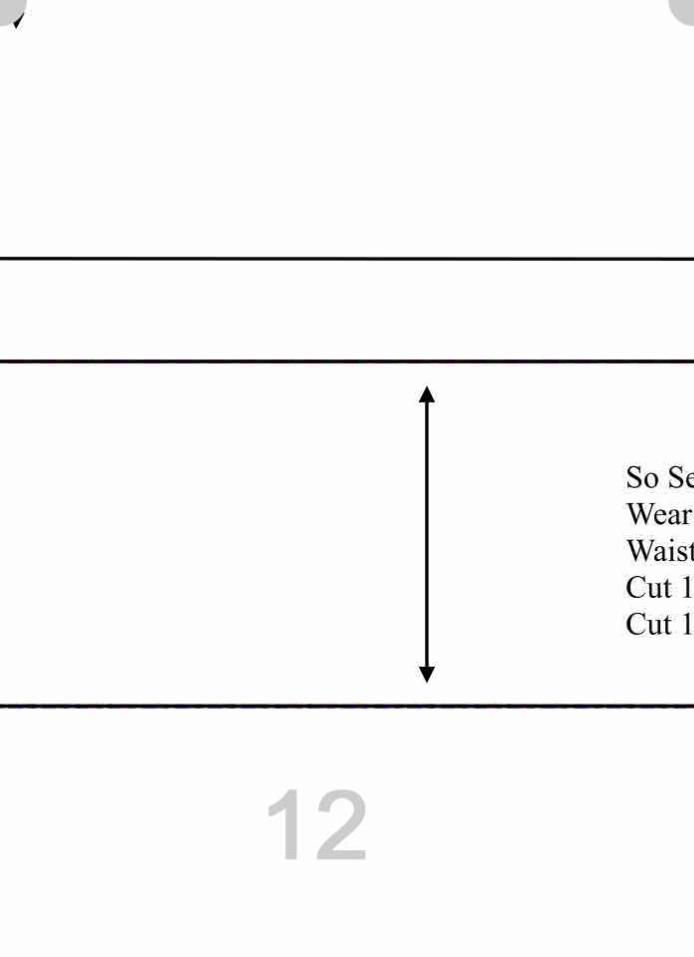
1 – Assemble your pattern and use it to cut your fabric pieces. Cut
two pieces for the back, one piece on the fold for the waist and a
waistband. Your waistband is deliberately a little oversized.
2 – Mark your darts. Two on the skirt front and one each on the skirt
back. Sew darts and press them towards the side seams.
Check out these tutorials to help you get perfect darts:
How to mark darts perfectly
How to sew darts perfectly
Find more great sewing patterns at So Sew Easy – http://so-sew-easy.com
6 | P a g e
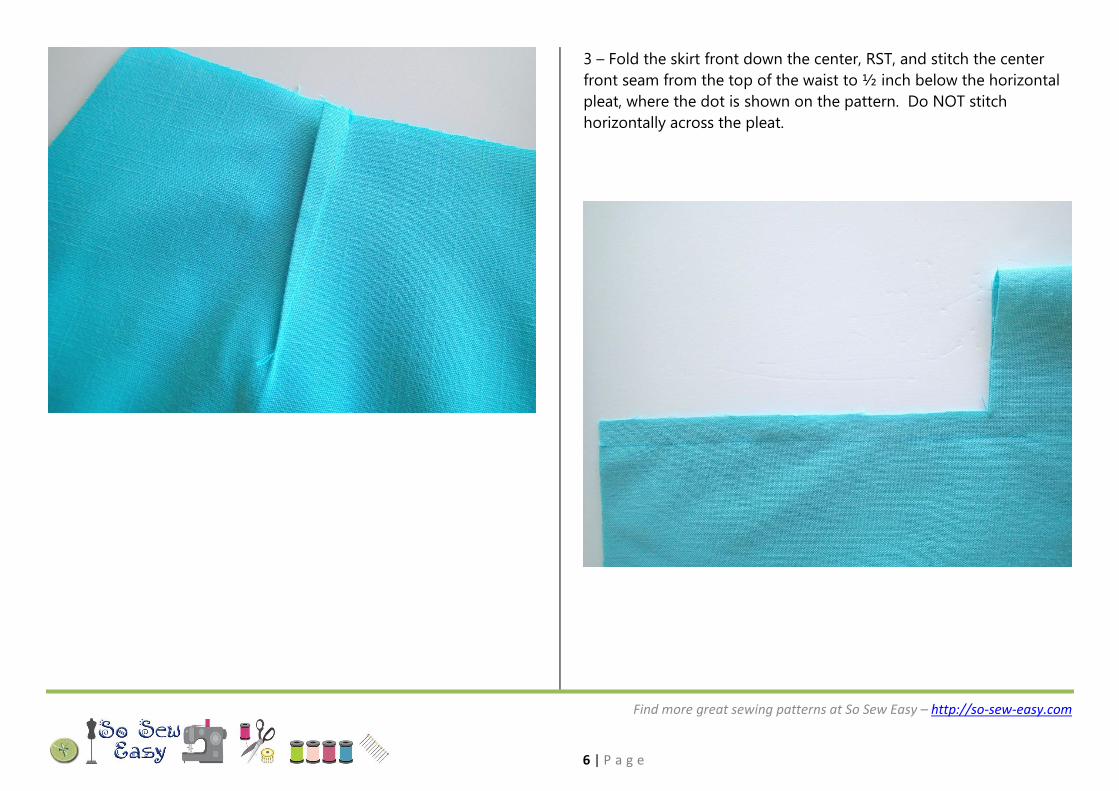
3 – Fold the skirt front down the center, RST, and stitch the center
front seam from the top of the waist to ½ inch below the horizontal
pleat, where the dot is shown on the pattern. Do NOT stitch
horizontally across the pleat.
Find more great sewing patterns at So Sew Easy – http://so-sew-easy.com
7 | P a g e
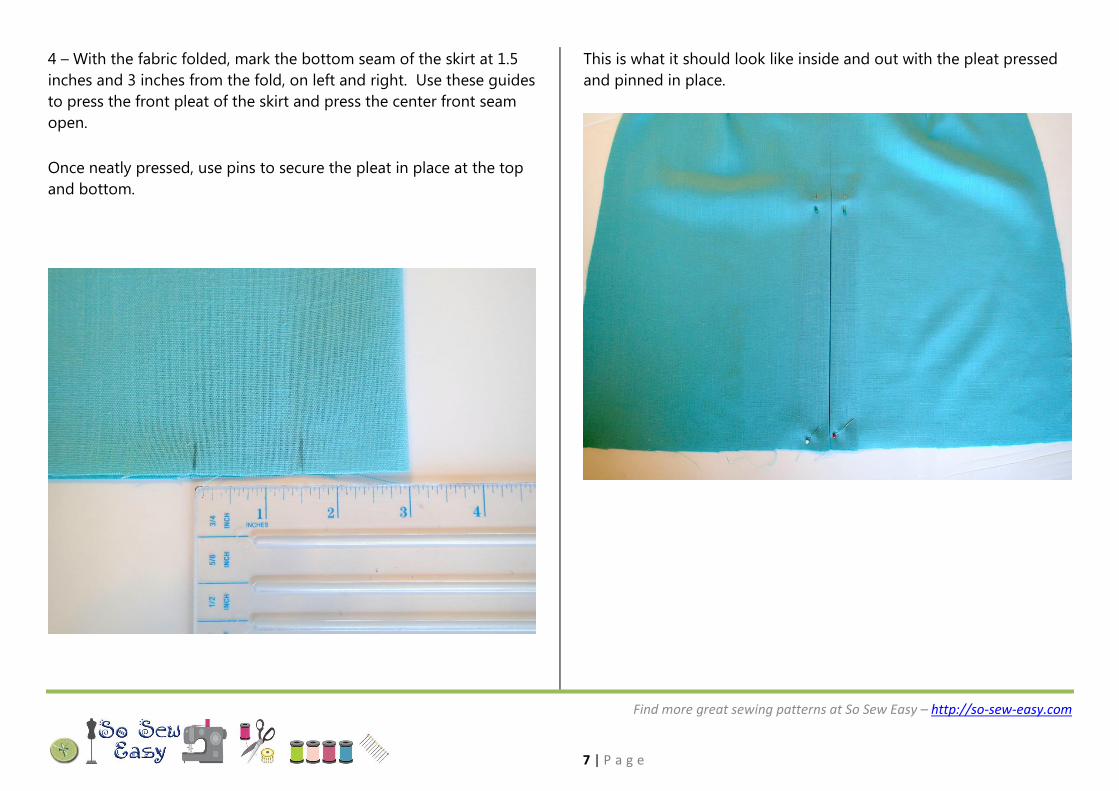
4 – With the fabric folded, mark the bottom seam of the skirt at 1.5
inches and 3 inches from the fold, on left and right. Use these guides
to press the front pleat of the skirt and press the center front seam
open.
Once neatly pressed, use pins to secure the pleat in place at the top
and bottom.
This is what it should look like inside and out with the pleat pressed
and pinned in place.
Find more great sewing patterns at So Sew Easy – http://so-sew-easy.com
8 | P a g e
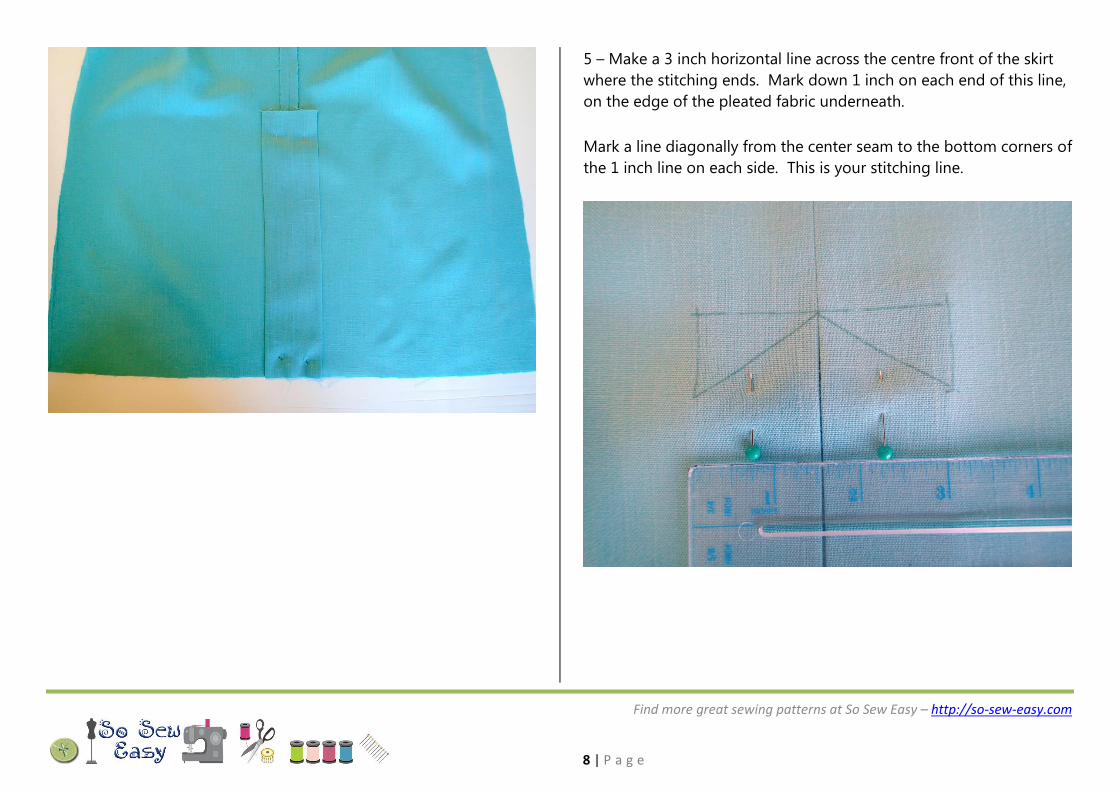
5 – Make a 3 inch horizontal line across the centre front of the skirt
where the stitching ends. Mark down 1 inch on each end of this line,
on the edge of the pleated fabric underneath.
Mark a line diagonally from the center seam to the bottom corners of
the 1 inch line on each side. This is your stitching line.

Find more great sewing patterns at So Sew Easy – http://so-sew-easy.com
9 | P a g e
6 – Stitch the top of the pleat in place along this line. Trim, neaten
and finish the seam.
7 – Sew your zipper into the center back seam, matching the top of
the zipper tape with the top of the waist. Close the seam below the
zipper. Press the seam open and finish the raw edges.
(More details for how to insert the zipper is included in the video if
you need it.)
Find more great sewing patterns at So Sew Easy – http://so-sew-easy.com
10 | P a g e
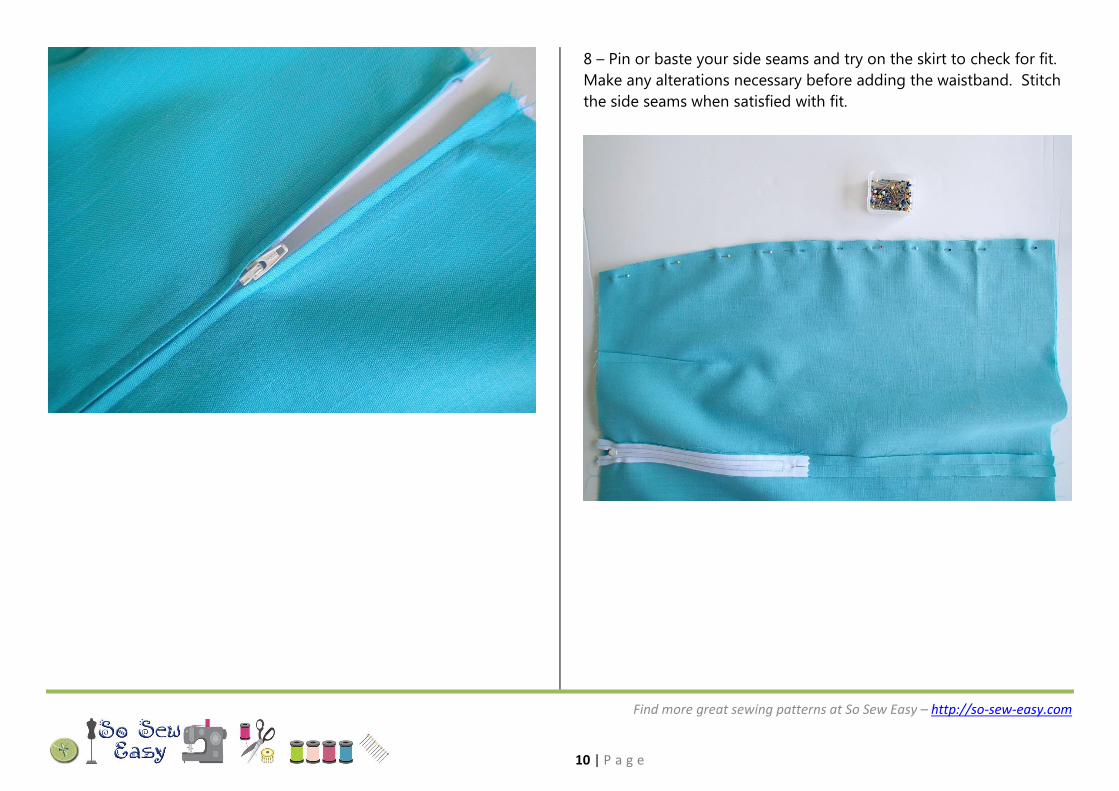
8 – Pin or baste your side seams and try on the skirt to check for fit.
Make any alterations necessary before adding the waistband. Stitch
the side seams when satisfied with fit.
Find more great sewing patterns at So Sew Easy – http://so-sew-easy.com
11 | P a g e
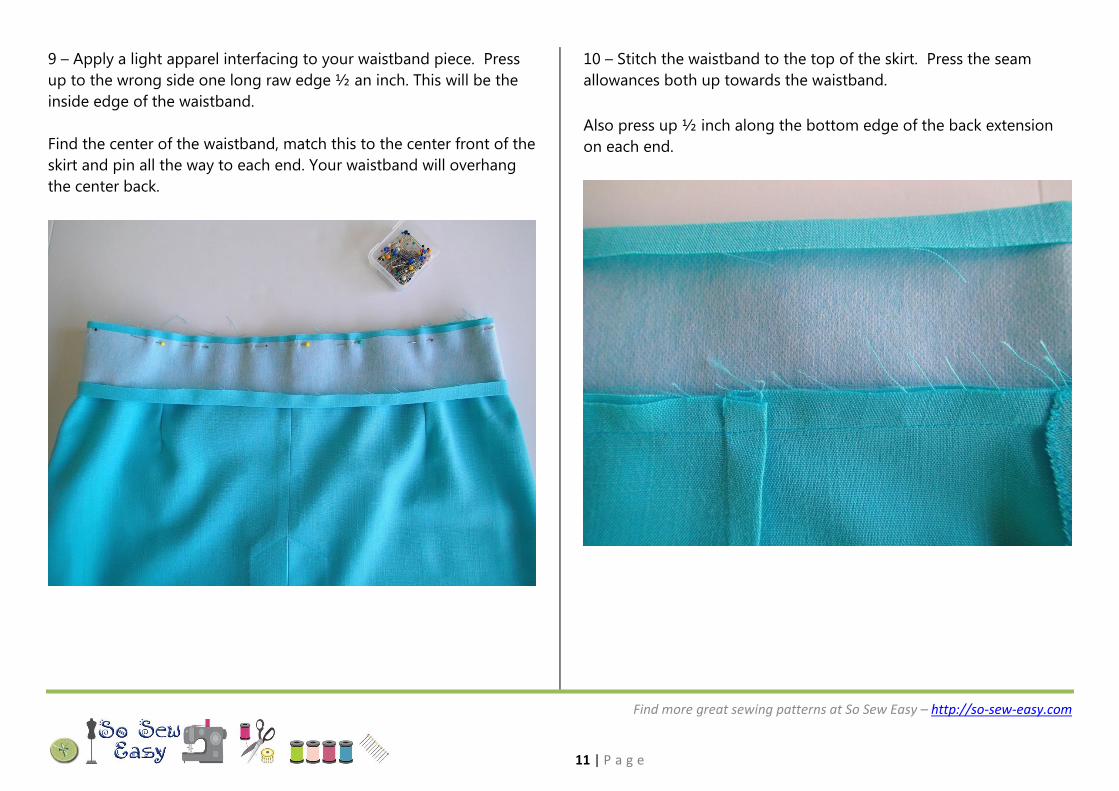
9 – Apply a light apparel interfacing to your waistband piece. Press
up to the wrong side one long raw edge ½ an inch. This will be the
inside edge of the waistband.
Find the center of the waistband, match this to the center front of the
skirt and pin all the way to each end. Your waistband will overhang
the center back.
10 – Stitch the waistband to the top of the skirt. Press the seam
allowances both up towards the waistband.
Also press up ½ inch along the bottom edge of the back extension
on each end.

Find more great sewing patterns at So Sew Easy – http://so-sew-easy.com
12 | P a g e
11 – Fold the waistband RST at the center back on each side and
match raw edges. Decide how wide you want your extension –
typically around ¾ of an inch, or the size of your button.
Stitch down from the fold to the pressed line and then horizontally
towards the fold towards the zipper, stopping level with the edge of
the fabric at center back.
See the video if you need more help with this section.
12 –Turn the waistband the right way out and create nice crisp points
on your corners. Folding the seam allowances inside often helps
more than poking them.
Find more great sewing patterns at So Sew Easy – http://so-sew-easy.com
13 | P a g e
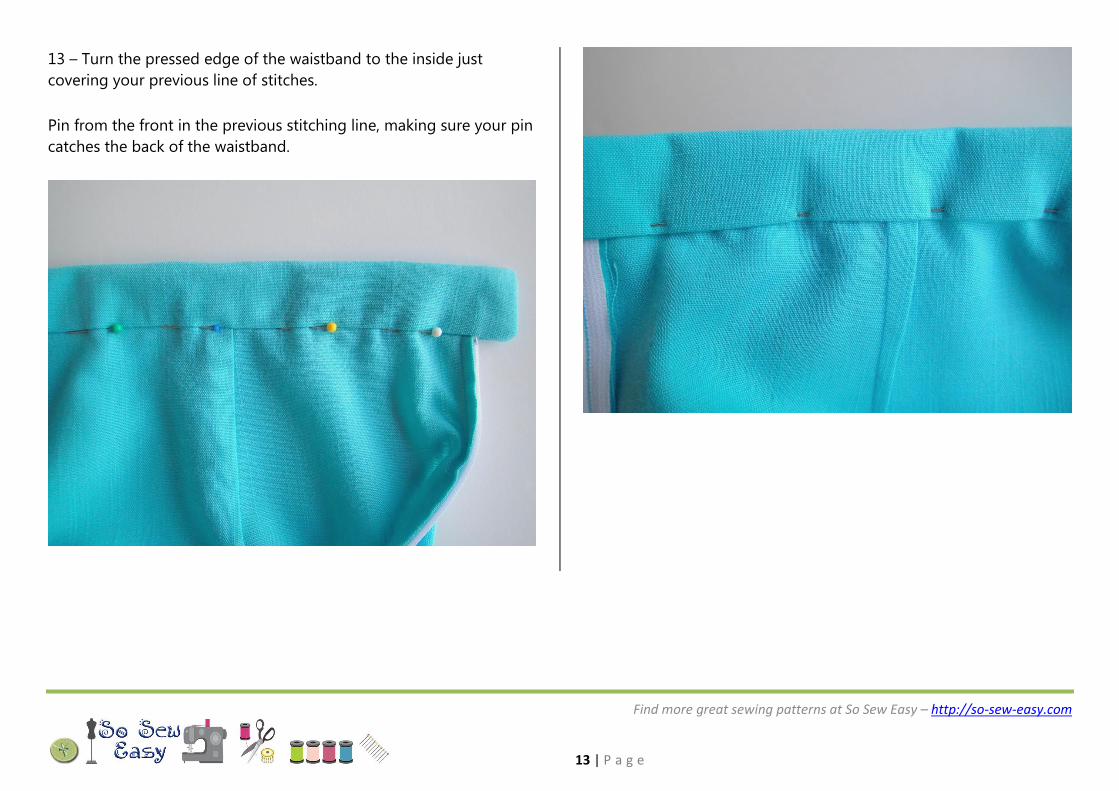
13 – Turn the pressed edge of the waistband to the inside just
covering your previous line of stitches.
Pin from the front in the previous stitching line, making sure your pin
catches the back of the waistband.
Find more great sewing patterns at So Sew Easy – http://so-sew-easy.com
14 | P a g e
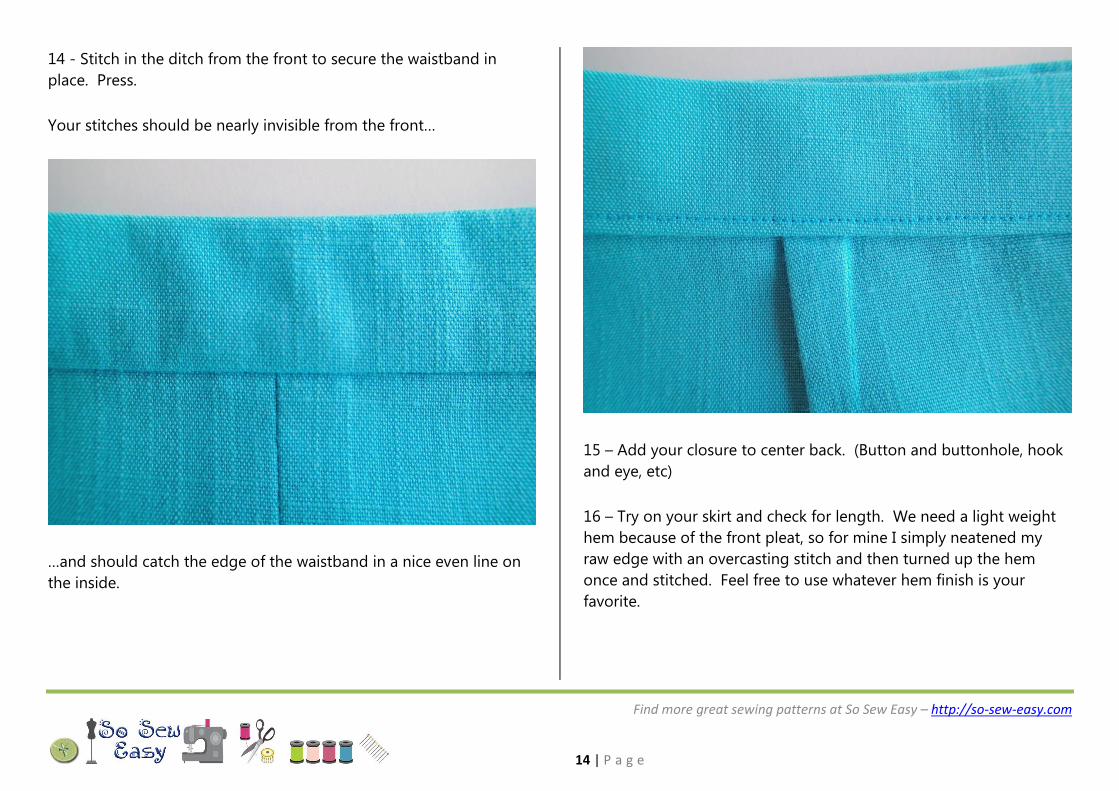
14 - Stitch in the ditch from the front to secure the waistband in
place. Press.
Your stitches should be nearly invisible from the front…
…and should catch the edge of the waistband in a nice even line on
the inside.
15 – Add your closure to center back. (Button and buttonhole, hook
and eye, etc)
16 – Try on your skirt and check for length. We need a light weight
hem because of the front pleat, so for mine I simply neatened my
raw edge with an overcasting stitch and then turned up the hem
once and stitched. Feel free to use whatever hem finish is your
favorite.
Find more great sewing patterns at So Sew Easy – http://so-sew-easy.com
15 | P a g e
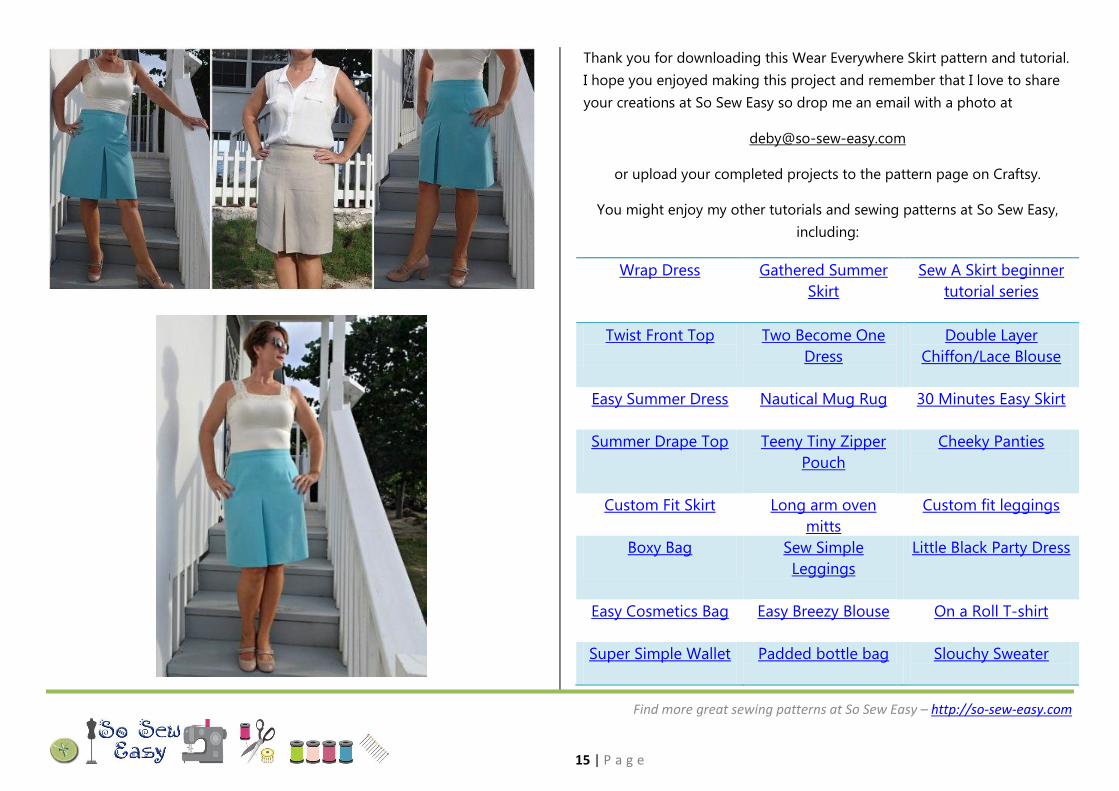
Thank you for downloading this Wear Everywhere Skirt pattern and tutorial.
I hope you enjoyed making this project and remember that I love to share
your creations at So Sew Easy so drop me an email with a photo at
or upload your completed projects to the pattern page on Craftsy.
You might enjoy my other tutorials and sewing patterns at So Sew Easy,
including:
Wrap Dress
Gathered Summer
Skirt
Sew A Skirt beginner
tutorial series
Twist Front Top
Two Become One
Dress
Double Layer
Chiffon/Lace Blouse
Easy Summer Dress
Nautical Mug Rug 30 Minutes Easy Skirt
Summer Drape Top
Teeny Tiny Zipper
Pouch
Cheeky Panties
Custom Fit Skirt
Long arm oven
mitts
Custom fit leggings
Boxy Bag
Sew Simple
Leggings
Little Black Party Dress
Easy Cosmetics Bag
Easy Breezy Blouse On a Roll T-shirt
Super Simple Wallet
Padded bottle bag Slouchy Sweater
Find more great sewing patterns at So Sew Easy – http://so-sew-easy.com
16 | P a g e
Classic Straight leg
knit pants
Cool It Can Cozy
Gathered front top
Make it Yours Clutch
Bag
Spring Mug Rug Waterfall top
Reversible Apron
Flirty Skirty Carry All Bag
Cowl Neck Top
Expanding Nautical
Tote Bag
Wear Everywhere
Dress
Fab Felt Christmas
Tree
Sew Simple
Leggings
Easiest ever Felt tree
ornaments
Turning Japanese
Bag
Flex frame glasses
case
Color Block Dress
Baby changing mat
Halloween Table
Runner and
placemats
Insulated Baby Bottle
Bag
Give me a Shrug Top
Sunshine Ribbon
Baby Toy
The Perfect Baby Burp
Cloth
The perfect maxi skirt
Zipper Top Tote Bag ‘It’s a Wrap’ Top
Cuddle Me Cardy Fall Mug Rugs Half-circle wrap skirt
Show Some Flare a-
line skirt
Wear Everywhere
Skirt
In a Twist Dress
The Ultimate Wallet
For the latest list of patterns available, pop on over to my designer page at
Craftsy.
This pattern graphic, the photos and the instructions are copyright
Deby Coles at So Sew Easy. Please do not copy, publish, sell,
redistribute or alter them in any way. Please don’t print and give to
your friends, or send it to anyone by email. Please do not rebrand this
work as your own and sell or give it away, even if altered. This is
intended for your personal use. If you would like to recommend these
instructions, please pass on the original download link at So Sew Easy.
Thank you for your understanding.
Usage – you ARE allowed to use this pattern to make things to sell on
a small handmade basis, such as for craft fairs and for your Etsy shop.
However it may not be used for larger scale commercial purposes
without a commercial licence