social media profiles for historical and literary figuressocial media profiles for historical and...
TRANSCRIPT

Social Media Profiles for Historical and Literary FiguresBy Megan TownesEver wonder what Shakespeare’s Instagram might look like? Or whether Severus Snape would have any friends at all on Facebook?
This fun project challenges students to imagine what a famous person from history or a character from a favorite novel might be doing on social media if he/she were alive today. Using Adobe Photoshop CC, students create fake Instagram, Facebook, or Twitter profiles. Then, they reflect on what they chose to include in their social media profiles — and what they chose to leave off — as a way to demonstrate their understanding of the personality,
motivations, and public persona of their chosen person or character.
This project includes:• Lesson plan
• Technical tutorial & Photoshop templates
• Rubric
• Example Projects
• Peer review form
• Design guidelines
About the Author
Megan Townes is a passionate educator, mother, and wife. She is currently a Teacher Ambassador for Microsoft, where she shares her passion for integrating technology into classroom practice with teachers from all around Australia. Prior to this role, she spent ten years teaching high school English and Computing Studies in fun, alternative, and challenging ways. Megan is a self-confessed edugeek and loves working with teachers to empower them to achieve more in their classrooms.
To learn more about Megan, visit the Adobe Education Exchange.
Sample projects courtesy Megan Townes
Lesson Plan
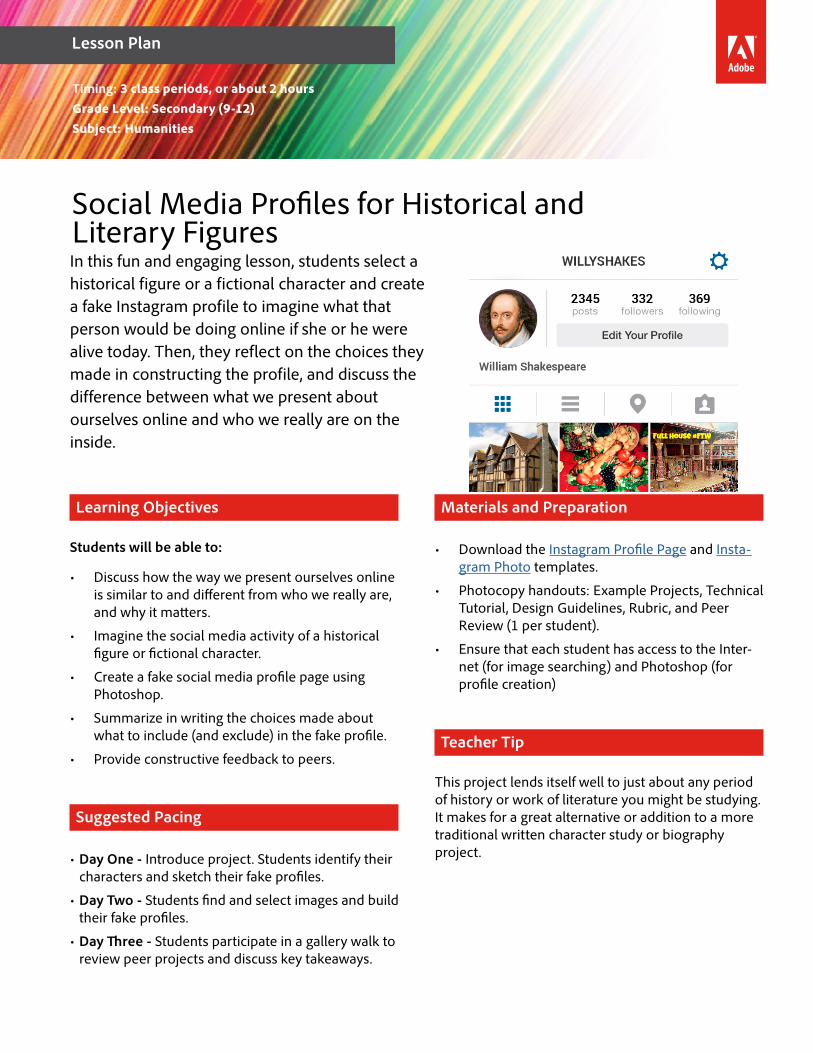
Social Media Profiles for Historical and Literary FiguresIn this fun and engaging lesson, students select a historical figure or a fictional character and create a fake Instagram profile to imagine what that person would be doing online if she or he were alive today. Then, they reflect on the choices they made in constructing the profile, and discuss the difference between what we present about ourselves online and who we really are on the inside.
Learning Objectives
Students will be able to:
• Discuss how the way we present ourselves online is similar to and different from who we really are, and why it matters.
• Imagine the social media activity of a historical figure or fictional character.
• Create a fake social media profile page using Photoshop.
• Summarize in writing the choices made about what to include (and exclude) in the fake profile.
• Provide constructive feedback to peers.
Suggested Pacing
• Day One - Introduce project. Students identify their characters and sketch their fake profiles.
• Day Two - Students find and select images and build their fake profiles.
• Day Three - Students participate in a gallery walk to review peer projects and discuss key takeaways.
Materials and Preparation
• Download the Instagram Profile Page and Insta-gram Photo templates.
• Photocopy handouts: Example Projects, Technical Tutorial, Design Guidelines, Rubric, and Peer Review (1 per student).
• Ensure that each student has access to the Inter-net (for image searching) and Photoshop (for profile creation)
Teacher Tip
This project lends itself well to just about any period of history or work of literature you might be studying. It makes for a great alternative or addition to a more traditional written character study or biography project.
Timing: 3 class periods, or about 2 hoursGrade Level: Secondary (9-12)Subject: Humanities
3Social Media Profiles Lesson Plan
Lesson Procedure
1. MotivationAsk students to think about a time when they had to decide whether or not to share a picture on Instagram. What are some of the questions your students ask themselves when deciding what to share online?
Note: This lesson works best if you ask students to share experiences with the social media platforms they actu-ally use. So if your students aren’t active on Instagram, think about Facebook or Twitter. You can easily find templates for fake Facebook or Twitter profiles on Adobe Stock, or you can challenge your students to start from scratch and build the fake profiles without templates. This will require more advanced Photoshop skills, but it’s still achievable for most high school students.
Discuss as a class: How does your social media profile reflect what you want the world to see versus who you really are? Are they the same, or different? How so?
2. Direct InstructionIntroduce the project:
• Explain that each student will be creating a fake social media profile for a historical figure or character you’ve been studying in class. In doing so, students will be demonstrating their understanding of the character or the person as well as reflecting on this question of public versus private personas.
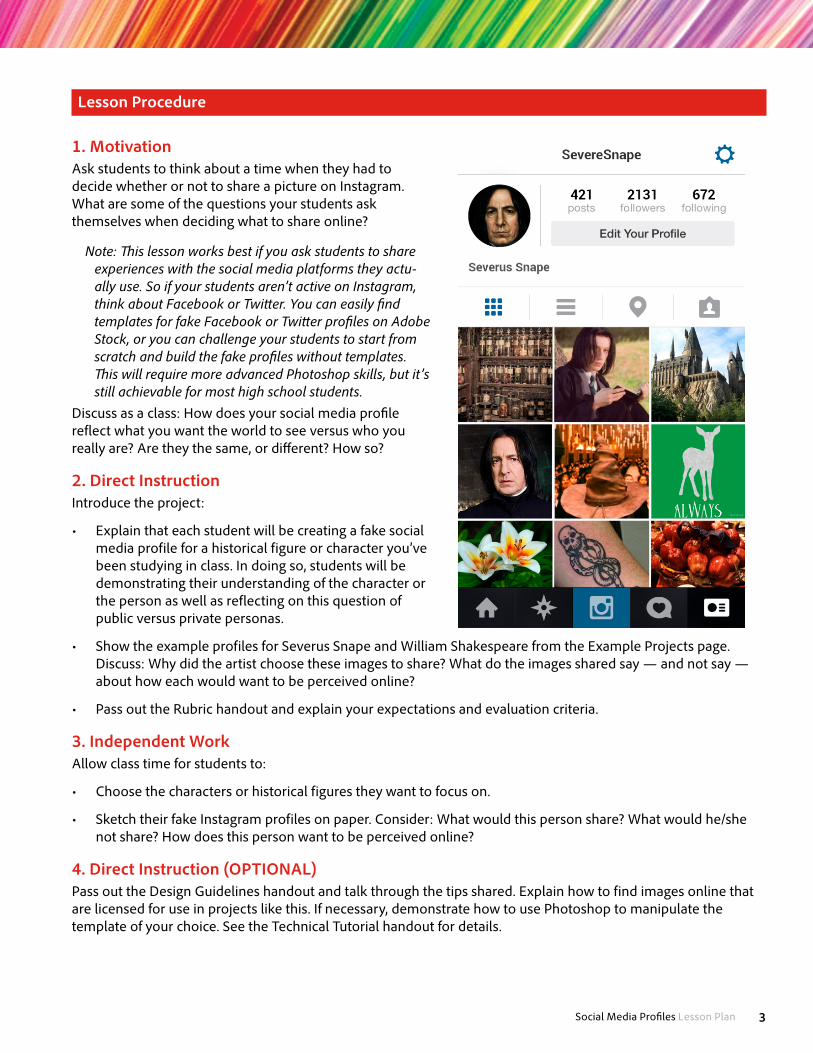
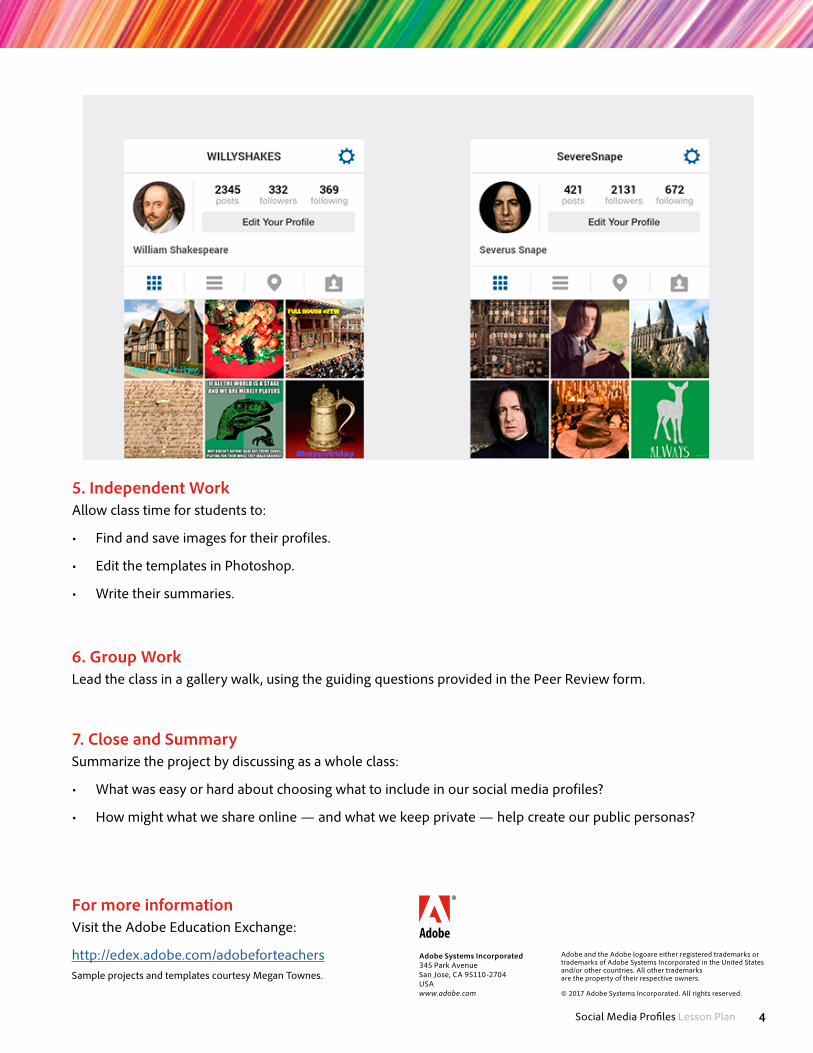
• Show the example profiles for Severus Snape and William Shakespeare from the Example Projects page. Discuss: Why did the artist choose these images to share? What do the images shared say — and not say — about how each would want to be perceived online?
• Pass out the Rubric handout and explain your expectations and evaluation criteria.
3. Independent WorkAllow class time for students to:
• Choose the characters or historical figures they want to focus on.
• Sketch their fake Instagram profiles on paper. Consider: What would this person share? What would he/she not share? How does this person want to be perceived online?
4. Direct Instruction (OPTIONAL)Pass out the Design Guidelines handout and talk through the tips shared. Explain how to find images online that are licensed for use in projects like this. If necessary, demonstrate how to use Photoshop to manipulate the template of your choice. See the Technical Tutorial handout for details.
4Social Media Profiles Lesson Plan
5. Independent WorkAllow class time for students to:
• Find and save images for their profiles.
• Edit the templates in Photoshop.
• Write their summaries.
6. Group WorkLead the class in a gallery walk, using the guiding questions provided in the Peer Review form.
7. Close and SummarySummarize the project by discussing as a whole class:
• What was easy or hard about choosing what to include in our social media profiles?
• How might what we share online — and what we keep private — help create our public personas?
For more informationVisit the Adobe Education Exchange:
http://edex.adobe.com/adobeforteachersSample projects and templates courtesy Megan Townes.
Adobe Systems Incorporated 345 Park Avenue San Jose, CA 95110-2704 USA www.adobe.com
Adobe and the Adobe logoare either registered trademarks or trademarks of Adobe Systems Incorporated in the United States and/or other countries. All other trademarks are the property of their respective owners.
© 2017 Adobe Systems Incorporated. All rights reserved.
Step 1: Find and select imagesUse search engines to find images related to your person. Here are some suggested places to look:
• Google Images: Use the Tools dropdown to look for images that are licensed for reuse.
• Flickr: Use Advanced Search to set your search criteria.
• Adobe Stock: Use the Filter button to set your search criteria.When searching for images, be sure to:
• Find images that are licensed under Creative Commons for your use, or make note of the source of the image so you can add it to your Works Cited page later.
• Save the images to your working folder, and give them a name you’ll remember so you can find them later.
Step 2: Lay out a rough draft of your collageOpen the Instagram Photo template in Photoshop. Then, place each image in template. Use the Crop tool to straighten, resize, and re-shape your images so they’ll fit in the template. For example, if you’ve chosen an image that you want to be your cover photo, it will need to be a long, skinny rectangle. If you’ve chosen an image that you want to be your profile picture, it will need to be square. Save each image as a PNG so you can use it in your template later, and be sure to give it a name you’ll remember.
Here are some Photoshop tutorial videos that will help you as you work:
• Transform objects in Photoshop
• Using the Crop tool
Step 3: Add your images and text to the template to create your profile.Once your images are properly shaped and sized, you’re ready to add them to your template.
Open the Instagram Profile template in Photoshop and begin placing your images. Play with the layout of your images until you’re happy with the basic layout. You’ll also need to use the Text tool to edit your character’s username, bio, and other text on the page.
Pro Tip: As you’re placing images and editing text in Photoshop, you’ll be adding layers to your design. Make sure you always have the correct layer selected when you’re trying to edit and move things around. It’s a good idea to give your layers names so you can easily tell them apart as you work. You can learn more about layers by watch-ing this tutorial video.
Try these Photoshop tutorial videos to learn more about the different tools you can use to do this:
• Creating, opening, and importing images
• Layer basics
• Using the Text tool
Step 4: Save and export your final collageWhen you’re satisfied with your work, save the Photoshop file to your device. Then, go to “File > Export as” and select PNG to save your final project.
After you’ve identified your character or historical figure and created a quick sketch, follow these steps to create your social media profile:
Technical Tutorial / Social Media Profiles
Technical Tutorial
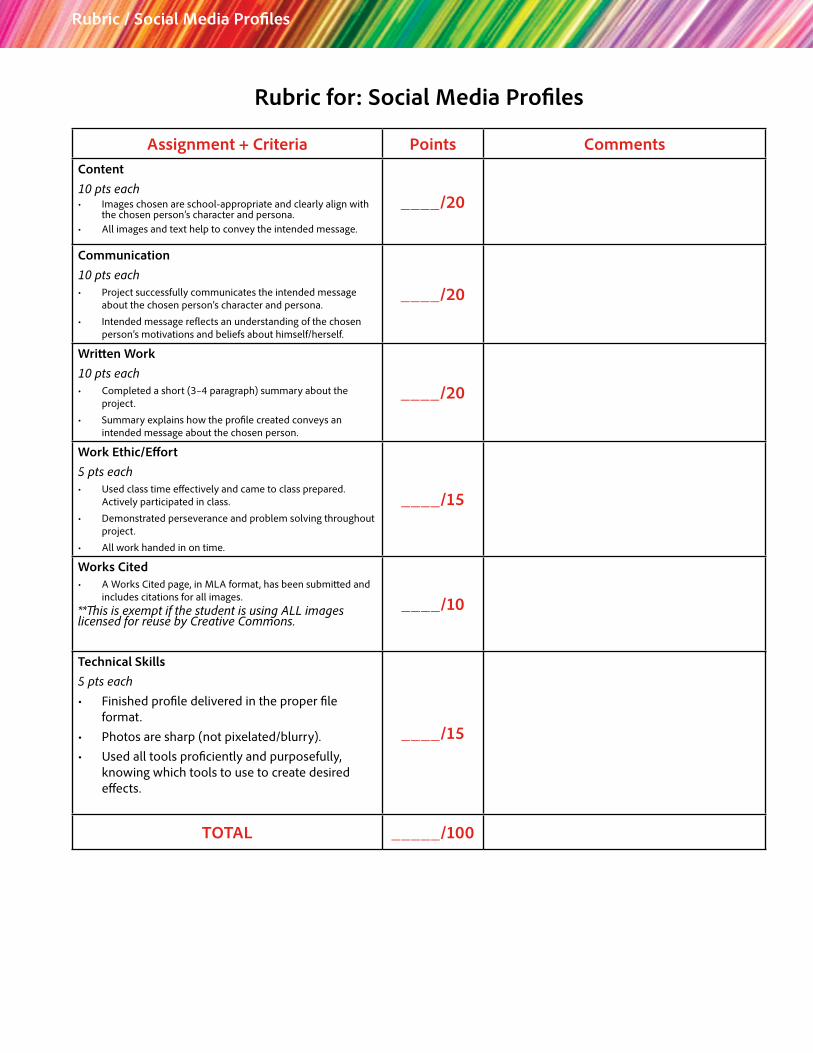
Rubric for: Social Media Profiles
Rubric / Social Media Profiles
Assignment + Criteria Points CommentsContent10 pts each• Images chosen are school-appropriate and clearly align with
the chosen person’s character and persona.• All images and text help to convey the intended message.
____/20
Communication10 pts each• Project successfully communicates the intended message
about the chosen person’s character and persona.
• Intended message reflects an understanding of the chosen person’s motivations and beliefs about himself/herself.
____/20
Written Work10 pts each• Completed a short (3–4 paragraph) summary about the
project.
• Summary explains how the profile created conveys an intended message about the chosen person.
____/20
Work Ethic/Effort5 pts each• Used class time effectively and came to class prepared.
Actively participated in class.
• Demonstrated perseverance and problem solving throughout project.
• All work handed in on time.
____/15
Works Cited• A Works Cited page, in MLA format, has been submitted and
includes citations for all images.**This is exempt if the student is using ALL images licensed for reuse by Creative Commons.
____/10
Technical Skills5 pts each
• Finished profile delivered in the proper file format.
• Photos are sharp (not pixelated/blurry).
• Used all tools proficiently and purposefully, knowing which tools to use to create desired effects.
____/15
TOTAL _____/100
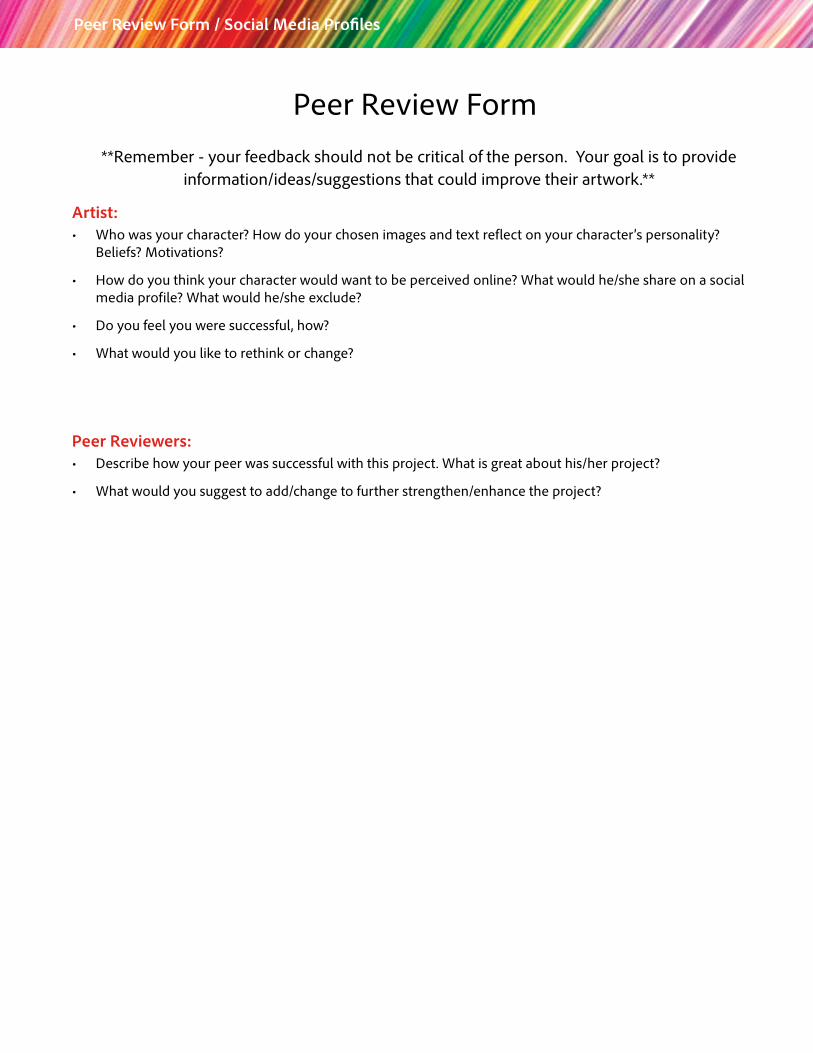
**Remember - your feedback should not be critical of the person. Your goal is to provide information/ideas/suggestions that could improve their artwork.**
Artist: • Who was your character? How do your chosen images and text reflect on your character’s personality?
Beliefs? Motivations?
• How do you think your character would want to be perceived online? What would he/she share on a social media profile? What would he/she exclude?
• Do you feel you were successful, how?
• What would you like to rethink or change?
Peer Reviewers:• Describe how your peer was successful with this project. What is great about his/her project?
• What would you suggest to add/change to further strengthen/enhance the project?
Peer Review Form / Social Media Profiles
Peer Review Form

Sample Projects / Social Media Profiles
Work samples courtesy Megan Townes.

Design Guidelines / Social Media Profiles
Creating a fake social media profile is fun, but the skills you learn are similar to those used by professional web and UX designers when they create wireframes and mock-ups for the websites you use everyday. Here are some tips for creating more professional-looking wireframes:
Start with good source imagesYour wireframe is only as strong as the material you have to work with. As you’re searching for material, look for high-quality images you can easily manipulate. If the images you want to combine are pixelated, too dark, or poorly cropped, spend some time editing them in Photoshop before bringing them into your collage layout. Not sure how? Try these tips for basic photo editing in Photoshop.
Want it to look real? Steal. If you really want to make your wireframe look like a real Instagram or Facebook page, the best thing to do is to copy the basic elements of those pages like the colors, fonts, and labels. Take a screenshot of the page you want to copy on the real website. Then, open that screenshot in Photoshop. You can use the Eyedropper tool to select colors and save them to your Swatches so you can use them later. You can use this technique to figure out which fonts are used. Finally, you can crop the screenshot to just include the top navigation bar or other elements of the page layout you want to include in your fake profile. Now, all you have to do is change the information that pertains to your character.
Use white space to balance your layout.Ever wonder why most websites and apps these days look so plain and simple? Designers use white space — the space between images and text — to reduce visual clutter and make it easier for users to focus on the content that matters. As you’re laying out the images you want to include on your fake social media profile, pay attention to how much space you’re leaving between images and text. Don’t crowd things too close together or allow layers to overlap too much. When in doubt, use the Photoshop Grid feature to make sure everything is even and lined up properly.
Design Guidelines: Wireframes and Mock-Ups