spaun sparos-sat-hd
TRANSCRIPT
58 59TELE-satellite International — The World‘s Largest Digital TV Trade Magazine — 04-05/2012 — www.TELE-satellite.com www.TELE-satellite.com — 04-05/2012 — TELE-satellite International — The World‘s Largest Digital TV Trade Magazine
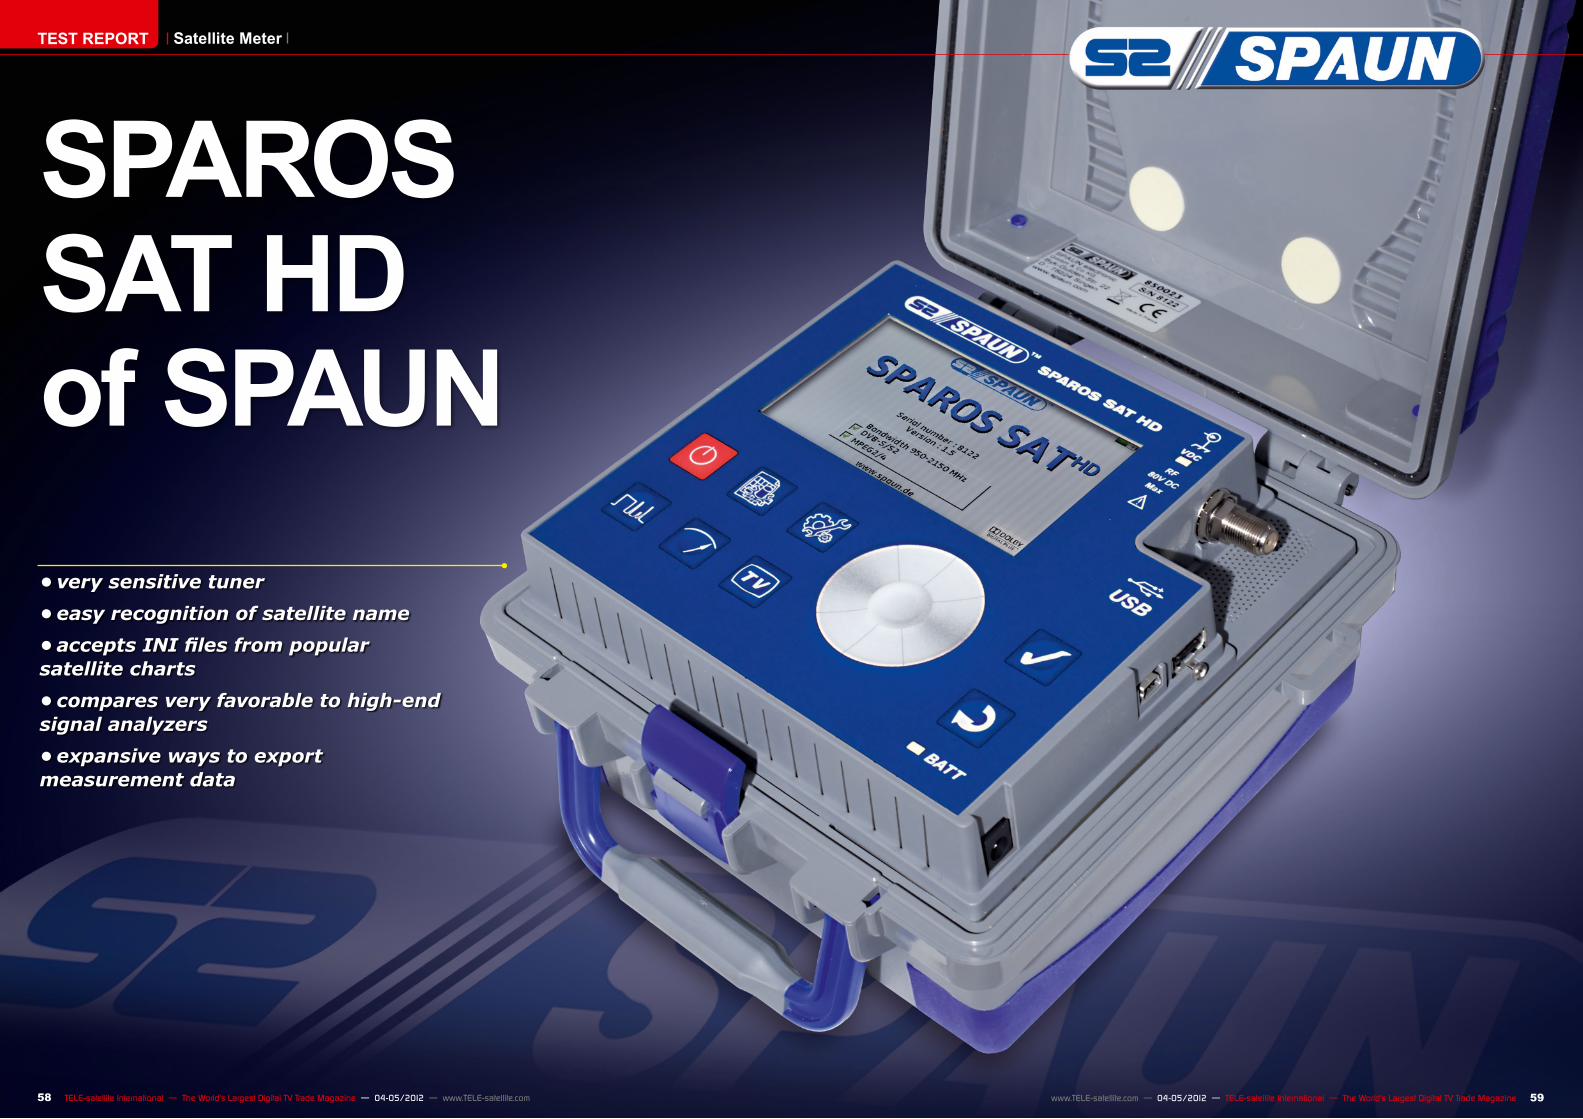
SPAROS SAT HD of SPAUN•verysensitivetuner•easyrecognitionofsatellitename•acceptsINIfilesfrompopularsatellitecharts•comparesveryfavorabletohigh-endsignalanalyzers•expansivewaystoexportmeasurementdata
TEST REPORT Satellite Meter

04-05/2012
60 TELE-satellite International — The World‘s Largest Digital TV Trade Magazine — 04-05/2012 — www.TELE-satellite.com
Uncompromising Performance
TEST REPORT Satellite Meter
The SPAUN SPAROS SAT HD comes in robust plastic enclosure. Thanks to that, the meter will not get broken even if you treat it without big re-spect. The enclosure is very handsome and when you attach a strap included in the kit, you can conveniently hang the analyzer on your neck. When opened, the lid can be used as a shade protecting the display from sunlight. Addition-ally, the internal side of the lid is an excellent place to look for the foiled paper with SPAUN‘s quick start instructions for this model.
SPAROS SAT HD has been equipped with a very clear 4.3” TFT liquid crystal display with a bright backlit. There are 8 buttons and a round “tuning knob”. As you probably guessed already, it is not a mechanical knob but an array of sensors that can detect your clockwise and anticlockwise fin-ger movements. The three buttons to the left of the “knob” in the upper row are: ON/OFF switch, Parameter menu (transponder lists) and Setup menu. The lower row is used to choose analyzer modes: Spectrum, Measurement and TV watch-ing. The remaining two buttons to the right of
www.TELE-satellite.com/TELE-satellite-1205/eng/spaun-sparos.pdf
SPAROS SAT HDVery useful meter for setting up critical
satellite systems

1 6
2 7
3 8
4 9
5 10
11
12
13
14
62 63TELE-satellite International — The World‘s Largest Digital TV Trade Magazine — 04-05/2012 — www.TELE-satellite.com www.TELE-satellite.com — 04-05/2012 — TELE-satellite International — The World‘s Largest Digital TV Trade Magazine
all this is done with a USB memory stick. You can also download the measurement results or screenshots from the meter to the USB stick. In this way, you can process the data later on your PC. The SPAROS SAT HD comes with a USB stick containing the initial configuration files that match those prepro-grammed in the meter. More about it later. As expected, a plug type AC/DC adapter is also included in the SAT HD kit.
So, how should you start using the SPAROS SAT HD? Here is our advice for a sim-ple fixed antenna setup. Once you have mounted your dish on a pole and attached a LNB to its holder, connect the analyzer to the LNB. Af-ter switching the SPAROS SAT HD on, go to Configura-tion menu and change “Sat.remote supply” from Off to On or Auto. The latter set-ting is advised if you do not want to repeat the action every time you switch your analyzer on. The remaining settings in the Configura-tion menu will be probably OK for most users setting a fixed dish in Europe as they are prepared for a universal Ku-Band LNB.
The next step is to switch
the analyzer to spectrum mode (the leftmost button in the bottom row) and change the azimuth and elevation of your dish until you see signal peaks on the display. Fine tune your dish to maximize the peaks. Your antenna is now receiving a satellite but which one? To find it out, press the Spectrum button again. Spectrum disappears and you can see a chart showing signal strength and quality of four transpond-ers of one satellite. Satellite name is shown in the upper part of the window. If your dish is aimed at this satellite, you will see high green qual-ity bars and a merry green smiley icon. If not, the bars indicating signal quality will be low or completely empty and the smiley icon will be sad and red. In such situa-tion, press enter button and use the “knob” to change satellite. Continue until you find out which satellite your dish is presently directed to.
Once you know where your dish is “looking at”, you know if you need to move it eastward or westward. For example, if you want to re-ceive EUROBIRD 2 on 28.2° East and you have just dis-covered with SPAROS SAT HD that your dish is currently
1. Spectrum view2. DVB-S transponder measurement results – first window3. DVB-S transponder measurement results – second window4. DVB-S transponder constellation diagram (QPSK)5. DVB-S2 transponder measurement results – first window6. DVB-S2 transponder measurement results – second window7. DVB-S2 transponder constellation diagram (8PSK)8. MPEG-2 video decoded9. Every FTA channel from the current transponder can be selected for viewing10. No, your antenna is not presently aimed at INTELSAT 10-02 on 1° West; SPAROS SAT HD could not lock to anyone of four trans-ponders from this satellite.11. Correct! Your antenna is directed to HOTBIRD on 13° East. SPAROS managed to lock to all four transponders associated with this satellite. After another button press, the analyzer double chek-ked its diagnosis by comparing information transmitted in the NIT tables of the transponders (see the pop-up in the foreground).12. In this menu, you can configure SPAROS to work with almost any reception system.13. This window is used for setting up meter user interface and managing meter memories and software.14. All transponders associated with a preprogrammed reception setup (e.g. DiSEqC 1.0 switch and four LNBs) are being measured. The results can be stored in the internal memory and later copied to an external USB Flash memory.
the “knob” are: Enter and Escape. Except for the dis-play and the controls, there are two LED indicators: one showing that power is ap-plied to the LNB and the other to indicate that the in-ternal accumulator is being charged.
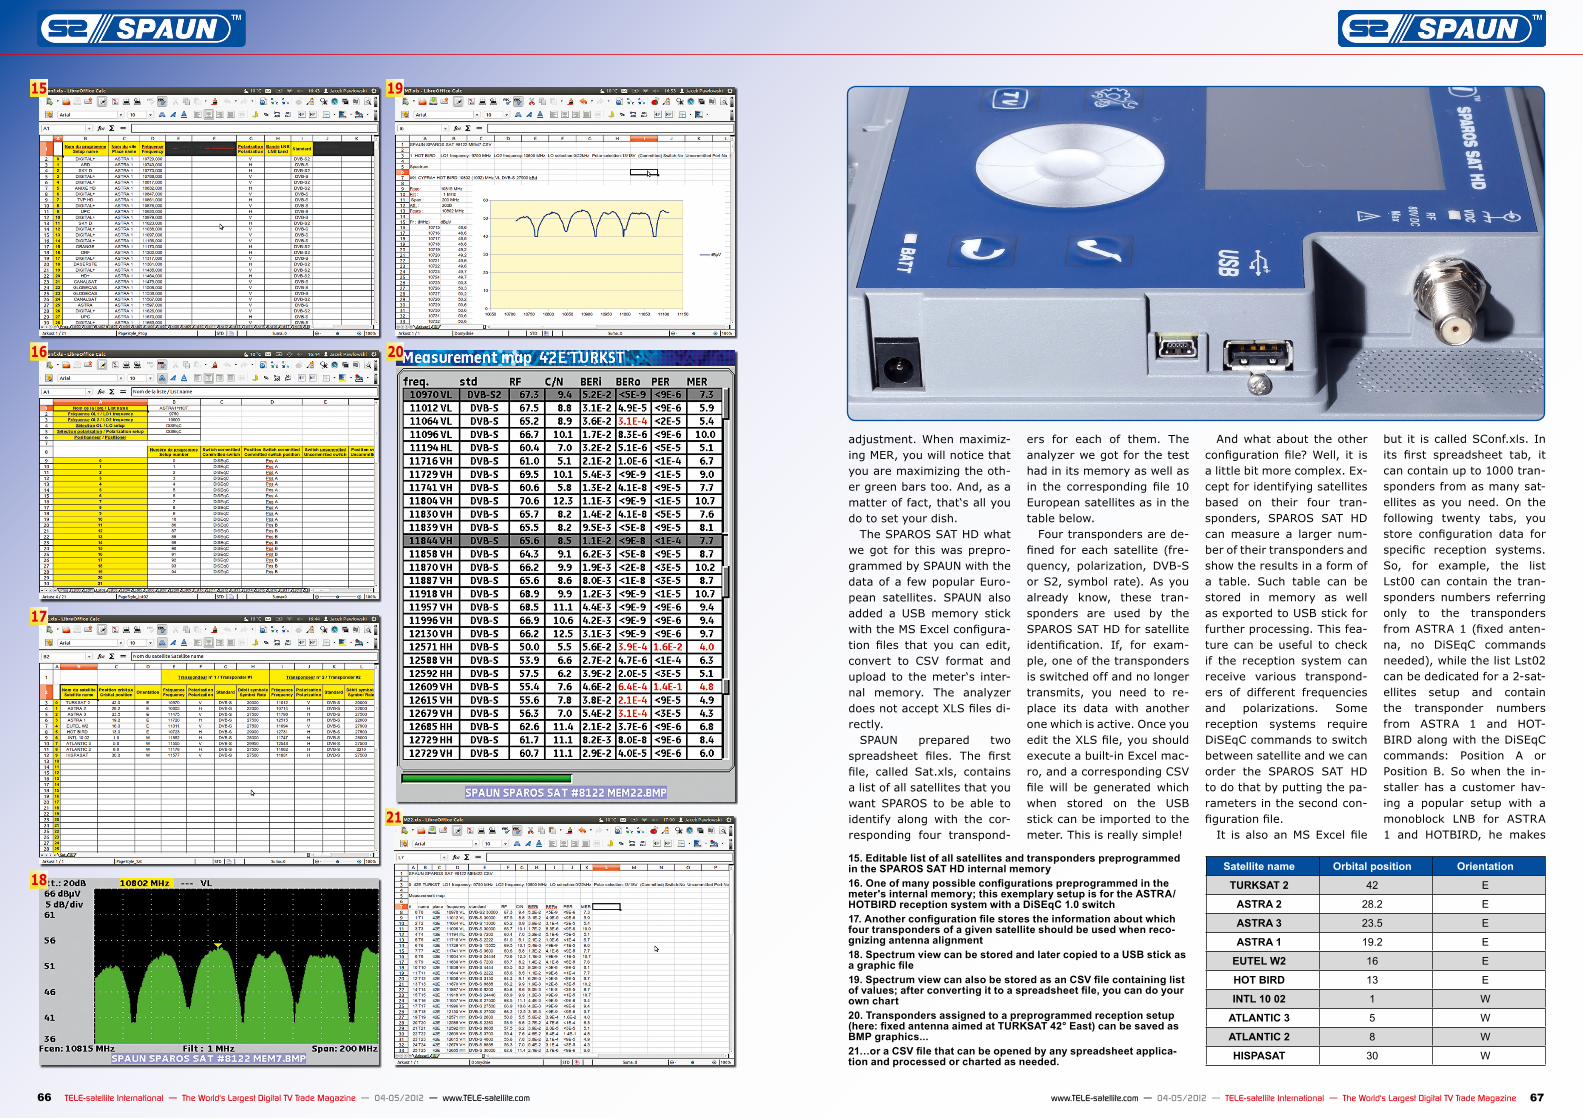
Except for the RF input with
an F type connector, there are: A-type USB port, Mini-B USB port and DC power in-put jack on the right side of the meter. The USB port can be used to upload either new firmware or new configura-tion files (with transponder data and antenna setups) prepared on a PC. Of course,

64 TELE-satellite International — The World‘s Largest Digital TV Trade Magazine — 04-05/2012 — www.TELE-satellite.com
aimed at HOTBIRD 13° East, you know that you should turn it 15 degrees eastward. Switch the analyzer back to spectrum mode (by pressing spectrum button twice) and turn slowly your dish east-ward until you see again sig-nal peaks. Adjust azimuth, elevation and tilt for maxi-mum peak height and check which satellite it is. In this
way, after a short while, you will have your dish aimed at EUROBIRD 2 on 28.2° East.
Does it end the process? Not exactly. We are sure that after spending money on a signal analyzer, you would like to have each of your dishes set up perfect-ly. So, it is time to switch to measurement mode now (Measurement button).
Press Enter key when the word Setup is highlighted at the top your screen. This will activate transponder switch-ing. Now turn the “knob” and find a transponder that gives rather high readings of RF power and C/N ratio. Some installers would start mak-ing the final dish adjustment looking at this screen but we suggest to press Meas-
urement button again and display the next window in which among others, MER is shown (the very bottom line). Modulation Error Ratio is the parameter you should maximize. Usually it is both very sensitive to azimuth, elevation and tilt adjust-ment as well as quite stable. It is our favorite parameter when we fine tune antenna
15
2016
21
17
18
19
Satellite name Orbital position Orientation
TURKSAT 2 42 E
ASTRA 2 28.2 E
ASTRA 3 23.5 E
ASTRA 1 19.2 E
EUTEL W2 16 E
HOT BIRD 13 E
INTL 10 02 1 W
ATLANTIC 3 5 W
ATLANTIC 2 8 W
HISPASAT 30 W
66 67TELE-satellite International — The World‘s Largest Digital TV Trade Magazine — 04-05/2012 — www.TELE-satellite.com www.TELE-satellite.com — 04-05/2012 — TELE-satellite International — The World‘s Largest Digital TV Trade Magazine
15. Editable list of all satellites and transponders preprogrammed in the SPAROS SAT HD internal memory16. One of many possible configurations preprogrammed in the meter's internal memory; this exemplary setup is for the ASTRA/HOTBIRD reception system with a DiSEqC 1.0 switch17. Another configuration file stores the information about which four transponders of a given satellite should be used when reco-gnizing antenna alignment18. Spectrum view can be stored and later copied to a USB stick as a graphic file19. Spectrum view can also be stored as an CSV file containing list of values; after converting it to a spreadsheet file, you can do your own chart20. Transponders assigned to a preprogrammed reception setup (here: fixed antenna aimed at TURKSAT 42° East) can be saved as BMP graphics...21…or a CSV file that can be opened by any spreadsheet applica-tion and processed or charted as needed.
adjustment. When maximiz-ing MER, you will notice that you are maximizing the oth-er green bars too. And, as a matter of fact, that‘s all you do to set your dish.
The SPAROS SAT HD what we got for this was prepro-grammed by SPAUN with the data of a few popular Euro-pean satellites. SPAUN also added a USB memory stick with the MS Excel configura-tion files that you can edit, convert to CSV format and upload to the meter‘s inter-nal memory. The analyzer does not accept XLS files di-rectly.
SPAUN prepared two spreadsheet files. The first file, called Sat.xls, contains a list of all satellites that you want SPAROS to be able to identify along with the cor-responding four transpond-
ers for each of them. The analyzer we got for the test had in its memory as well as in the corresponding file 10 European satellites as in the table below.
Four transponders are de-fined for each satellite (fre-quency, polarization, DVB-S or S2, symbol rate). As you already know, these tran-sponders are used by the SPAROS SAT HD for satellite identification. If, for exam-ple, one of the transponders is switched off and no longer transmits, you need to re-place its data with another one which is active. Once you edit the XLS file, you should execute a built-in Excel mac-ro, and a corresponding CSV file will be generated which when stored on the USB stick can be imported to the meter. This is really simple!
And what about the other configuration file? Well, it is a little bit more complex. Ex-cept for identifying satellites based on their four tran-sponders, SPAROS SAT HD can measure a larger num-ber of their transponders and show the results in a form of a table. Such table can be stored in memory as well as exported to USB stick for further processing. This fea-ture can be useful to check if the reception system can receive various transpond-ers of different frequencies and polarizations. Some reception systems require DiSEqC commands to switch between satellite and we can order the SPAROS SAT HD to do that by putting the pa-rameters in the second con-figuration file.
It is also an MS Excel file
but it is called SConf.xls. In its first spreadsheet tab, it can contain up to 1000 tran-sponders from as many sat-ellites as you need. On the following twenty tabs, you store configuration data for specific reception systems. So, for example, the list Lst00 can contain the tran-sponders numbers referring only to the transponders from ASTRA 1 (fixed anten-na, no DiSEqC commands needed), while the list Lst02 can be dedicated for a 2-sat-ellites setup and contain the transponder numbers from ASTRA 1 and HOT-BIRD along with the DiSEqC commands: Position A or Position B. So when the in-staller has a customer hav-ing a popular setup with a monoblock LNB for ASTRA 1 and HOTBIRD, he makes

68 TELE-satellite International — The World‘s Largest Digital TV Trade Magazine — 04-05/2012 — www.TELE-satellite.com
SPAROS SAT HD measure the system with the use of Lst02 configuration. No need to enter transponders data or DiSEqC commands manu-ally – the analyzer will know what to do to measure the transponders from two sat-ellites. SConf.xls can contain up to 50 transponders in each configuration list (Lst0 through Lst19). Similarly as Sat.xls, SConf.xls is editable and generates a CSV files for SPAROS when an Excel mac-ro is invoked.
But what to do if we want to add more satellites or more transponders – is a manual entry the only option? No! You can download from the Internet INI files containing transponder data for every possible satellite. They are available on the pages with satellite charts like for ex-ample www.satbeams.com. If you follow the instruction in the user guide, you will
learn how to download the INI files and import them to the Excel spreadsheet.
The SPAROS SAT HD can do more than what we de-scribed so far. Except for identifying a satellite based on its four transponders, it can read the NIT table and in this way double check identification. The analyzer can measure all parameters of a particular transponder, show its constellation dia-grams and decode and dis-play video and audio of FTA channels. It can export the measurement results to CSV as well as BMP files. It can even export spectrum views as graphics (BMP) as well as CSV files. Such CSV file when imported to MS Excel can be used for creating your own charts.
At the beginning, we were worried that it would be dif-ficult to operate SAPROS SAT HD because it has few but-
tons. But we discovered that our worries were completely unjustified. Menu structure is very logical and not too deep. And we were especial-ly delighted with the opera-tion of the “tunning knob”. It was fast and precise at the same time. There is really no need for a numerical key-pad with such well designed “knob”.
You can not fully evalu-ate an analyzer if you do not compare it with competitive instruments. So we did it. We chose two high class, multi-purpose analyzers (satellite/terrestrial/cable) with large graphical displays as our references to which we com-pared the performance of the SPAROS SAT HD. TURKSAT satellite on 42° East was our test signal source. We used a 90 cm dish which does not give very strong signal from that satellite at our test lo-cation in Western Poland.
And thanks to that, we dis-covered the strongest point of SPAROS SAT HD. It locked without any problem even to very weak signals and as well as signals with very low symbol rates. Despite being apparently more powerful, its competitors were unable to lock to many signals that SPAROS SAT HD processed smoothly. See the attached charts with MER results. MER zero reading means that the meter was unable to lock. The tuner of SPAROS SAT HD is really brilliant!
When you compare chan-nel power results, you will see that SPAROS SAT HD is quite close to other meters and its results are rather higher than lower than its competitors. The other charts presents MER read-ings. Here you can see how many transponders were receivable for the SPAROS SAT HD but not for the oth-er analyzers (zero result in our chart). Please note, that except for TURKSAT tran-sponders, we also included one strong transponder from ASTRA1 (11436 MHz, verti-cal). With such strong signal, SPAROS measured visibly higher MER what also proves how good and noiseless its tuner is.
Initially, we were con-cerned that the lack of blind-scan might be regarded as a drawback. But when we saw that its competitors having the blindscan feature can not lock to many low SR signals, we changed our mind. Tak-ing transponders data from INI files (instead of trying to blindscan them) can be quite a reasonable approach.
However, there is one thing SPAUN could improve. If it happens that there is a non-receivable transponder on your list, SPAROS will end up with “Sync?” results in the transponder list. Howev-er, it takes a long while be-fore the SAT HD decides that

DATATECHNICAL
Manufacturer SPAUN electronic GmbH & Co. KG, Germany
Web www.spaun.com
E-mail [email protected]
Phone +49-7731-8673-0
Fax +49-7731-8673-17
Model SPAROS SAT HD
Function / and DSS Signal Analyzer
Input frequency 950-2150 MHz
Input power level 40-120dBµV
Spectrum analyzer span values 0, 10 20, 50, 100, 200, 500, 1000, 1200 MHz
Symbol rate 1-45 Ms/sec
Video decoder MPEG2 and MPEG4
DiSEqC 1.0, 1.1, 1.2
Battery operation time ca. 2.5 hours
Dimensions 192 x 200 x 102 mm
Weight 1.5 kg
Jacek PawlowskiTELE-satellite
Test CenterPoland
+
–
70 TELE-satellite International — The World‘s Largest Digital TV Trade Magazine — 04-05/2012 — www.TELE-satellite.com
Extremely useful for demanding installers dealing with DX setups due to its exceptional tuner capable of receiving very weak tran-sponders with low SRVery good operation of the “tunning knob”Brilliant LCDConvenient method of configuration with easily available and up-to-date INI filesPossibility to store and export numerical results as well as graphics, spectrum views and dataThe installer can pre-program the meter for typical installa-tions (like ASTRA1/HOTBIRD) and later execute all the meas-urements with minimal effort
none
Expert Opinion
it is unable to receive such transponder. In our opinion, it tries too long to lock to the signal. Of course, if all tran-sponder are receivable, com-
pleting the measurements of the whole transponder list is quite fast.
The SPAUN SPAROS SAT HD is a powerful satellite
meter, which does a perfect job in aligning dishes. We es-pecially liked its highly sensi-tive tuner, which could lock in to weak signals. An impor-
tant feature, when you are in the process of aligning a dish and keep getting weak signals until you finally found the right focus.