sral library maintenance - srart.org library maintenance the sral library's database is...
TRANSCRIPT

SRAL Library Maintenance
The SRAL library's database is available online at, http://www.srart.org/library/manageLib.php and it requires a ID and password. The ID and password are assigned by Skip Perkins.
The supplies for the maintenance of the library (labels, pens, and tape) are located in Room B in the white cabinet near the sink.
Manage Library
The Manage Data Base section of the database allows the user to make a number of changes to the database. Books/DVDs can be added, modified or removed.
The “Add Book” or “Add DVD” links allows you to add the essential information about the new item:

Categories
The Category that is chosen is essentially the call number and will determine where the book/DVD willbe located in the collection. When the label is printed the call number will be the category and the sequential number within that category. The categories that are currently available (as of 3/20/15) are:
New categories that were recently added are collage, mixed media, and print making. We currently don't have many books in those areas but we plan on obtaining some this year. If needed, other categories could be added at a later date. Currently a large number of books are listed under “technical” and can be moved to other areas.
Keywords
Just like the categories, additional keywords can also be added. For example, if we obtained a book about zentangle or doodle for the Doodle group, we would add that keyword. Users are able to search via a “keyword” on the website. Add keywords to the current collection to enhance searching when it is available.
Note: If a title needs keywords added use the Modify Book or DVD Entry screen.

Modify and Remove Entries
The Modify Screen allows you to search for the record you want to change by call number, title, or author. After entering your search criteria, and choosing the correct item another screen is available to make the changes. This is an opportunity to add new keywords to the item as well as to correct any typos, etc. The category and number can not be changed here. To change the category, the book or DVD has to be removed from the collection first. Add the item as a new title to the collection with the new category and then go to the print section to print the new label and bar code.
Second modify screen after entering the search criteria:
Seaching by call number is fast and not case sensitive
Click here to add to print listCheck boxes to add item to print list
Add date if book is missing
Add keywords
This screen also allows you to add the item to the label or print queue if they are missing or need to be redone. If a book is missing add the date so it is noted as missing or out to an unknown person. Sometimes it is hard to identify the borrower since GVR numbers change when members rent each year. Check with the Membership Chair to locate the owner of an unknown GVR number. They can search it in the Membership database.
Remove Entries
The removal of a book or DVD is self explanatory. The library committee will determine this fall on which books should be removed from the database. Some books/DVDs have been missing for a number of years and their records should be removed. Other books/DVDs may be culled from the collection as time goes on.
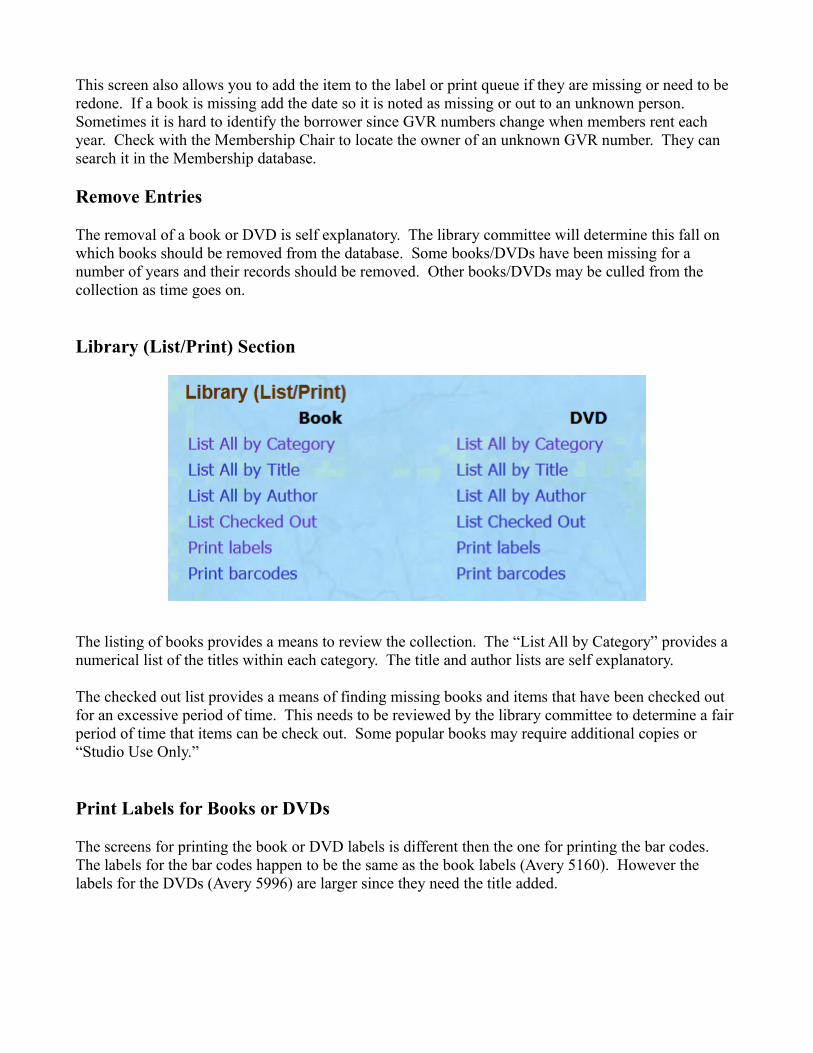
Library (List/Print) Section
The listing of books provides a means to review the collection. The “List All by Category” provides a numerical list of the titles within each category. The title and author lists are self explanatory.
The checked out list provides a means of finding missing books and items that have been checked out for an excessive period of time. This needs to be reviewed by the library committee to determine a fair period of time that items can be check out. Some popular books may require additional copies or “Studio Use Only.”
Print Labels for Books or DVDs
The screens for printing the book or DVD labels is different then the one for printing the bar codes. The labels for the bar codes happen to be the same as the book labels (Avery 5160). However the labels for the DVDs (Avery 5996) are larger since they need the title added.

If you changed the book's or DVD's category you need to print both a new label and bar code.
A list of books or DVDs that need labels appears when the click the “Get List” box:
Labels or bar codes can also be printed from the list of the “Acquired after date” and use the following format, i.e. 1/1/15, for the date. A list of all the books acquired after that date will be displayed and youcan click the items you want to print labels for. See scene below:
Click the “Sel” box for Pa03

In this example the user has chosen to print labels for Pa03. The label paper needs to be inserted in the paper drawer of the printer, face down , with the arrow facing the machine. If some of the labels have already been used, the user can designate how many label spaces to leave blank. On the example below, two labels have already been used, so the user entered “2” in the box.
Then click “Print all Selected” button and all of the requested labels will be printed.
Here is an example of the Pa3 label printed in the third position since the first 2 labels had already beenused. When the “preview” of the printed labels page shows up on the screen, click “Control” and “p” keys for a windows computer, Cmd Shift P for a mac, or right click on the mouse and choose print. The following print screen comes up. Click the “Pages” button so that the label sheet in the printer prints correctly. Then print “OK”.
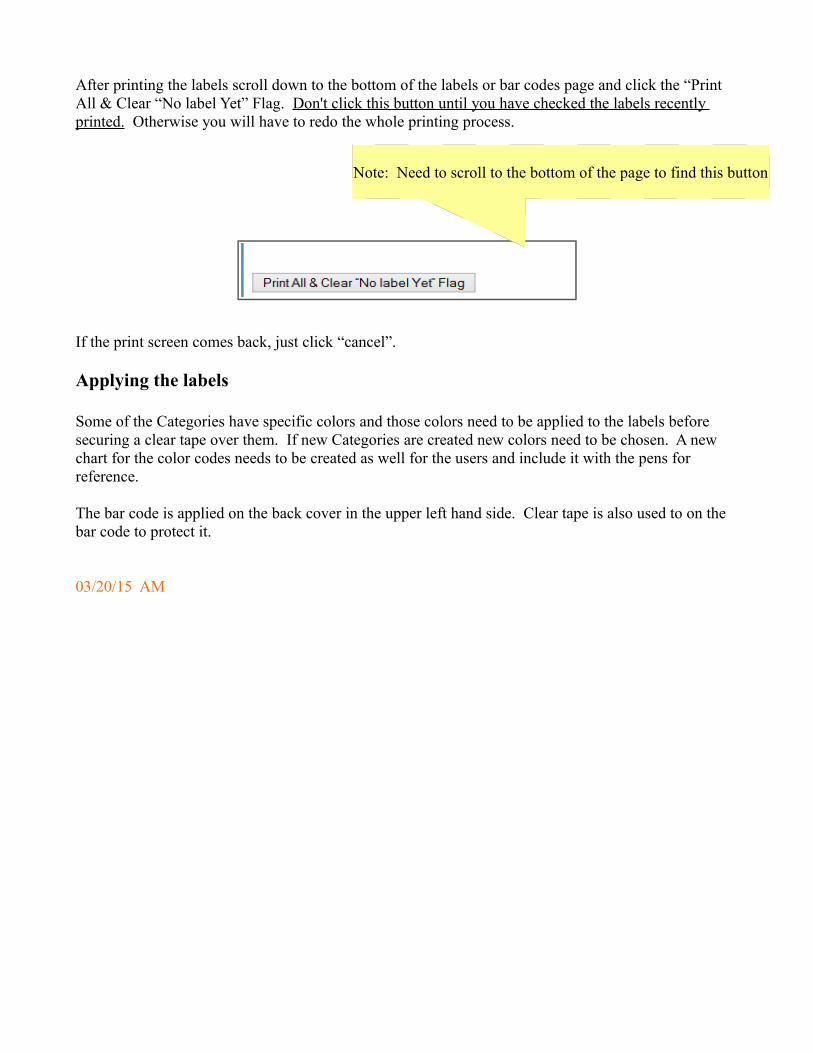
After printing the labels scroll down to the bottom of the labels or bar codes page and click the “Print All & Clear “No label Yet” Flag. Don't click this button until you have checked the labels recently printed. Otherwise you will have to redo the whole printing process.
If the print screen comes back, just click “cancel”.
Applying the labels
Some of the Categories have specific colors and those colors need to be applied to the labels before securing a clear tape over them. If new Categories are created new colors need to be chosen. A new chart for the color codes needs to be created as well for the users and include it with the pens for reference.
The bar code is applied on the back cover in the upper left hand side. Clear tape is also used to on the bar code to protect it.
03/20/15 AM
Note: Need to scroll to the bottom of the page to find this button