starting out with java: from control structures through ... · 12.1 introduction 12.2 creating...
TRANSCRIPT
Starting Out with Java: From Control Structures Through ObjectsSixth Edition
Chapter 12A First Look at GUI
Applications
Copyright © 2016, 2013, 2010 Pearson Education, Inc. All Rights Reserved

Copyright © 2016, 2013, 2010 Pearson Education, Inc. All Rights Reserved
Chapter Topics
12.1 Introduction
12.2 Creating Windows
12.3 Equipping GUI Classes with a main method
12.4 Layout Managers
12.5 Radio Buttons and Check Boxes
12.6 Borders
12.7 Focus on Problem Solving: Extending Classes from JPanel

Copyright © 2016, 2013, 2010 Pearson Education, Inc. All Rights Reserved
12.1 Introduction (1 of 2)
• Many Java application use a graphical user interface or GUI (pronounced “gooey”).
• A GUI is a graphical window or windows that provide interaction with the user.
• GUI’s accept input from:– the keyboard– a mouse.
• A window in a GUI consists of components that:– present data to the user– allow interaction with the application.
Copyright © 2016, 2013, 2010 Pearson Education, Inc. All Rights Reserved
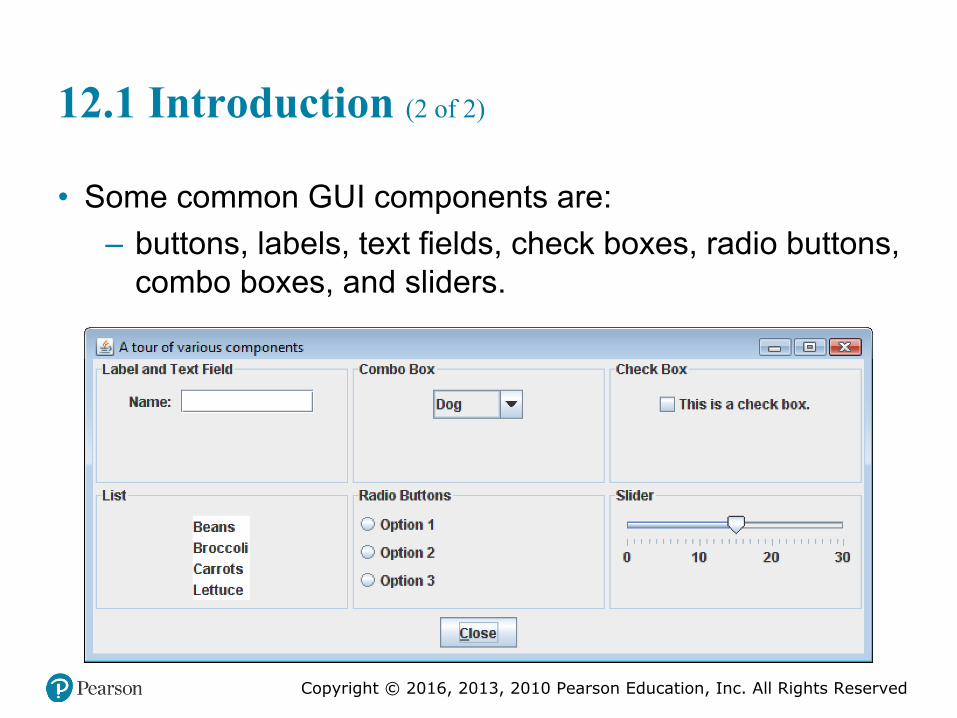
12.1 Introduction (2 of 2)
• Some common GUI components are:– buttons, labels, text fields, check boxes, radio buttons,
combo boxes, and sliders.

Copyright © 2016, 2013, 2010 Pearson Education, Inc. All Rights Reserved
JFC, AWT, Swing
• Java programmers use the Java Foundation Classes (JFC) to create GUI applications.
• The JFC consists of several sets of classes, many of which are beyond the scope of this book.
• The two sets of JFC classes that we focus on are AWT and Swing classes.
• Java is equipped with a set of classes for drawing graphics and creating graphical user interfaces.
• These classes are part of the Abstract Windowing Toolkit (AWT).

Copyright © 2016, 2013, 2010 Pearson Education, Inc. All Rights Reserved
Javax.Swing and Java.Awt
• In an application that uses Swing classes, it is necessary to use the following statement:
– Note the letter x that appears after the word java.
• Some of the AWT classes are used to determine when events, such as the clicking of a mouse, take place in applications.
• In an application that uses an AWT class, it is necessary to use the following statement.
Note that there is no x after java in this package name.

Copyright © 2016, 2013, 2010 Pearson Education, Inc. All Rights Reserved
12.2 Creating Windows (1 of 7)
• Often, applications need one or more windows with various components.
• A window is a container, which is simply a component that holds other components.
• A container that can be displayed as a window is a frame.
• In a Swing application, you create a frame from the JFrameclass.

Copyright © 2016, 2013, 2010 Pearson Education, Inc. All Rights Reserved
12.2 Creating Windows (2 of 7)
• A frame is a basic window that has:– a border around it,– a title bar, and– a set of buttons for:▪ minimizing,▪ maximizing, and▪ closing the window.
• These standard features are sometimes referred to as window decorations.

Copyright © 2016, 2013, 2010 Pearson Education, Inc. All Rights Reserved
12.2 Creating Windows (3 of 7)
• See example: ShowWindow.java

Copyright © 2016, 2013, 2010 Pearson Education, Inc. All Rights Reserved
12.2 Creating Windows (4 of 7)
• The following import statement is needed to use the swing components:
• In the main method, two constants are declared:
• We use these constants later in the program to set the size of the window.
• The window’s size is measured in pixels.
• A pixel (picture element) is one of the small dots that make up a screen display.

Copyright © 2016, 2013, 2010 Pearson Education, Inc. All Rights Reserved
12.2 Creating Windows (5 of 7)
• An instance of the JFrame class needs to be created:
• This statement:– creates a JFrame object in memory and– assigns its address to the window variable.
• The string that is passed to the setTitle method will appear in the window’s title bar when it is displayed.
• A JFrame is initially invisible.

Copyright © 2016, 2013, 2010 Pearson Education, Inc. All Rights Reserved
12.2 Creating Windows (6 of 7)
• To set the size of the window:
• To specify the action to take place when the user clicks on the close button.
• The setDefaultCloseOperation method takes an intargument which specifies the action.
– - causes the window to be hidden from view, but the application does not end.
– The default action is
Copyright © 2016, 2013, 2010 Pearson Education, Inc. All Rights Reserved
12.2 Creating Windows (7 of 7)
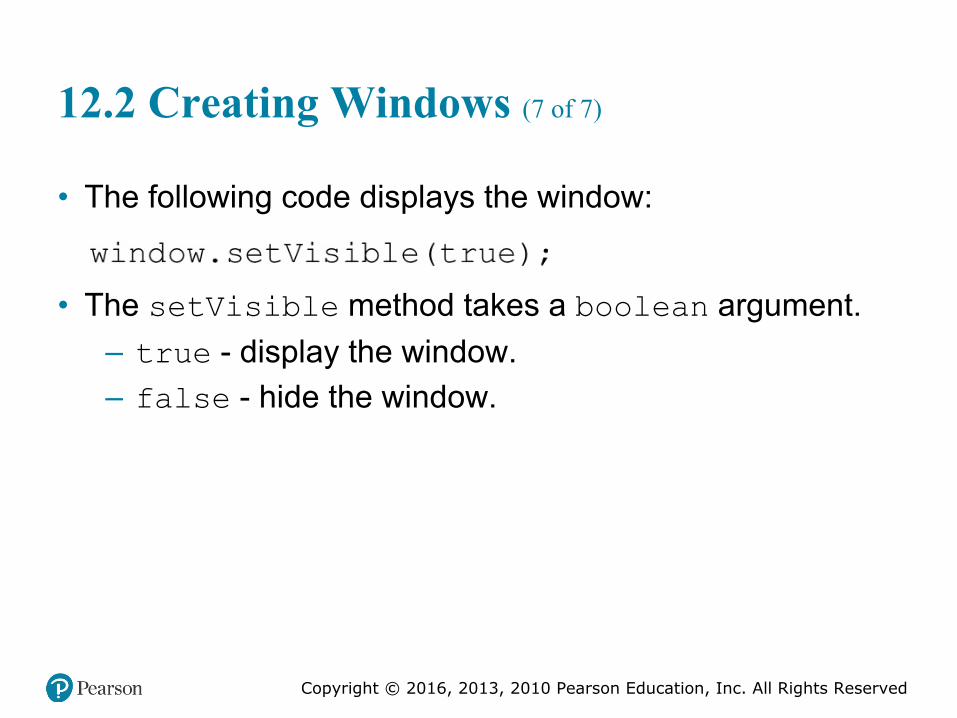
• The following code displays the window:
• The setVisible method takes a boolean argument.– true - display the window.– false - hide the window.
Copyright © 2016, 2013, 2010 Pearson Education, Inc. All Rights Reserved
Adding Components (1 of 5)
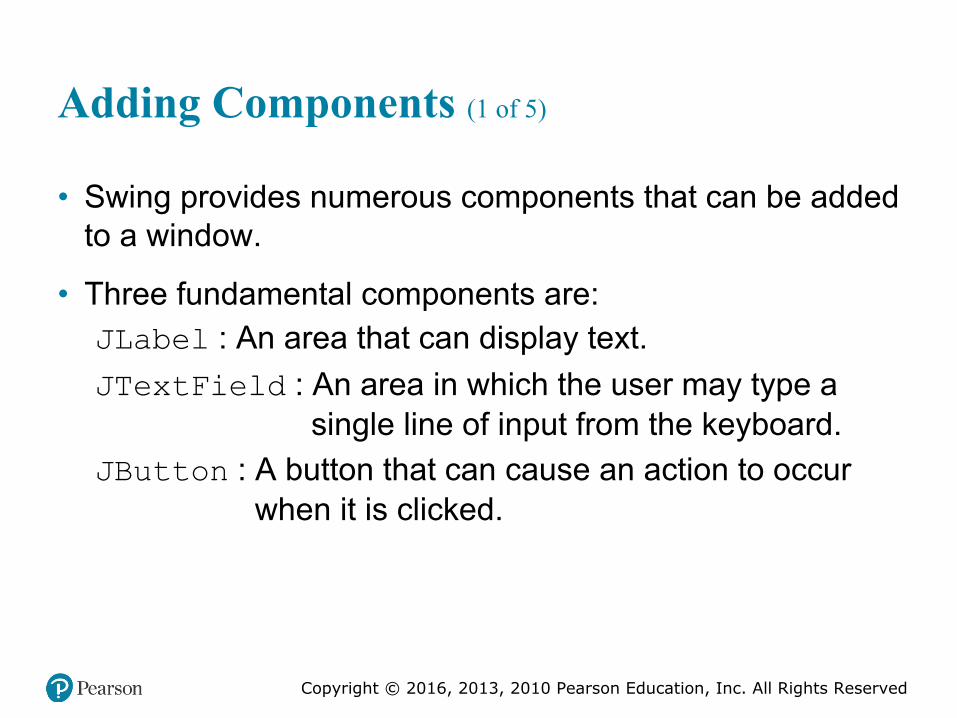
• Swing provides numerous components that can be added to a window.
• Three fundamental components are:JLabel : An area that can display text.JTextField : An area in which the user may type a
single line of input from the keyboard.JButton : A button that can cause an action to occur
when it is clicked.

Copyright © 2016, 2013, 2010 Pearson Education, Inc. All Rights Reserved
Sketch of Kilometer Converter Graphical User Interface

Copyright © 2016, 2013, 2010 Pearson Education, Inc. All Rights Reserved
Adding Components (2 of 5)
• This code declares and instantiates three Swing components.

Copyright © 2016, 2013, 2010 Pearson Education, Inc. All Rights Reserved
Adding Components (3 of 5)
• A content pane is a container that is part of every JFrameobject.
• Every component added to a JFrame must be added to its content pane. You do this with the JFrame class’s add method.
• The content pane is not visible and it does not have a border.
• A panel is also a container that can hold GUI components
Copyright © 2016, 2013, 2010 Pearson Education, Inc. All Rights Reserved
Adding Components (4 of 5)
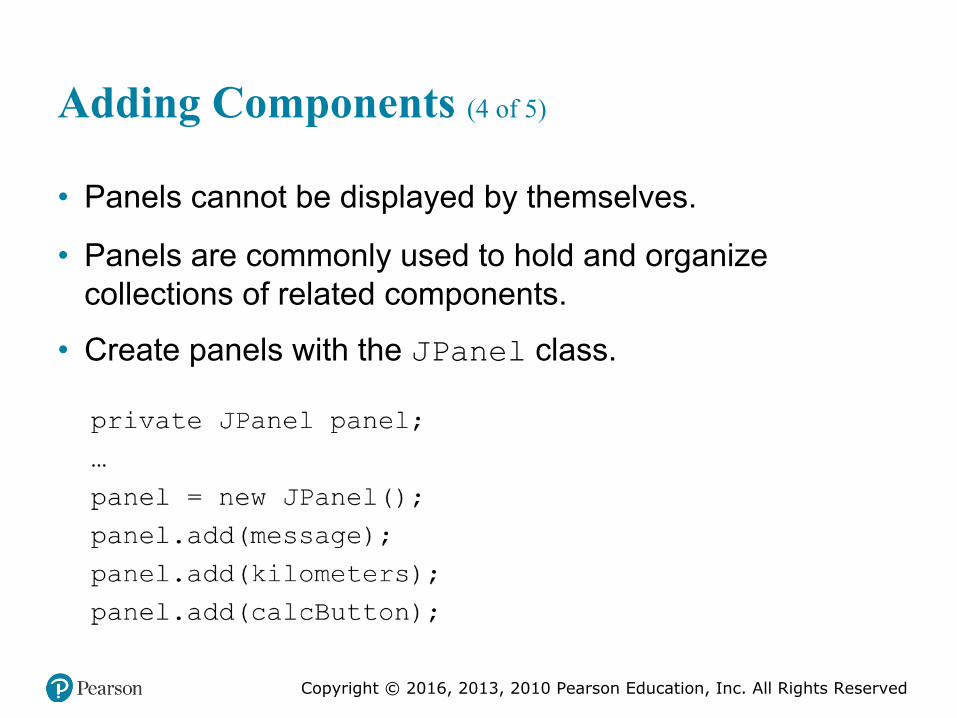
• Panels cannot be displayed by themselves.
• Panels are commonly used to hold and organize collections of related components.
• Create panels with the JPanel class.

Copyright © 2016, 2013, 2010 Pearson Education, Inc. All Rights Reserved
Adding Components (5 of 5)
• Components are typically placed on a panel and then the panel is added to the Jframe’s content pane.
• Examples: KiloConverter.java
Copyright © 2016, 2013, 2010 Pearson Education, Inc. All Rights Reserved
Event Driven Programming
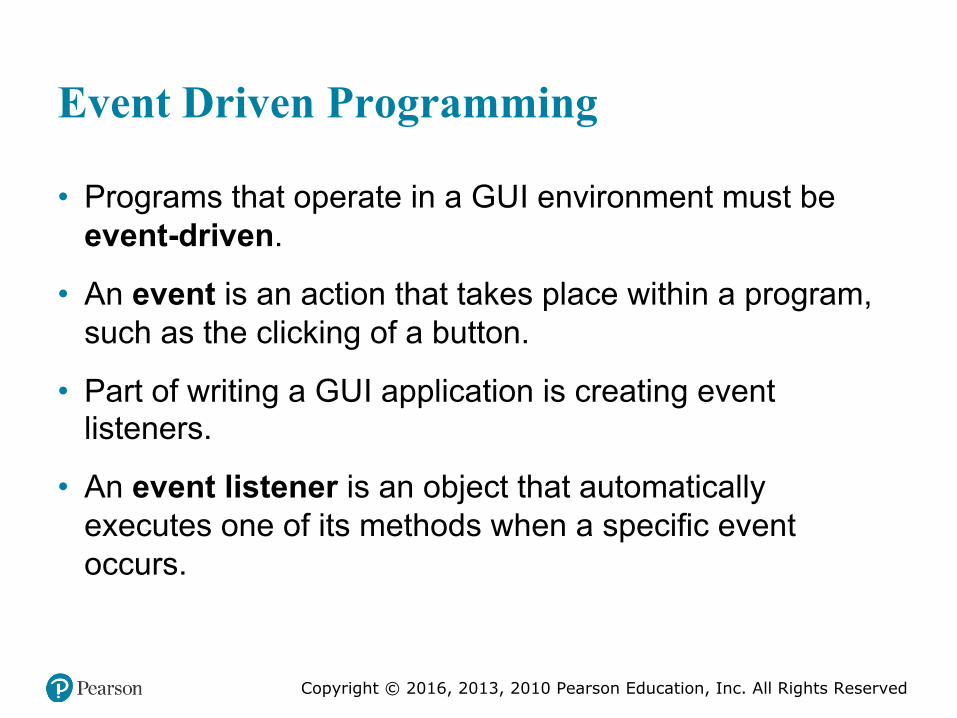
• Programs that operate in a GUI environment must be event-driven.
• An event is an action that takes place within a program, such as the clicking of a button.
• Part of writing a GUI application is creating event listeners.
• An event listener is an object that automatically executes one of its methods when a specific event occurs.
Copyright © 2016, 2013, 2010 Pearson Education, Inc. All Rights Reserved
Handling Action Events (1 of 4)
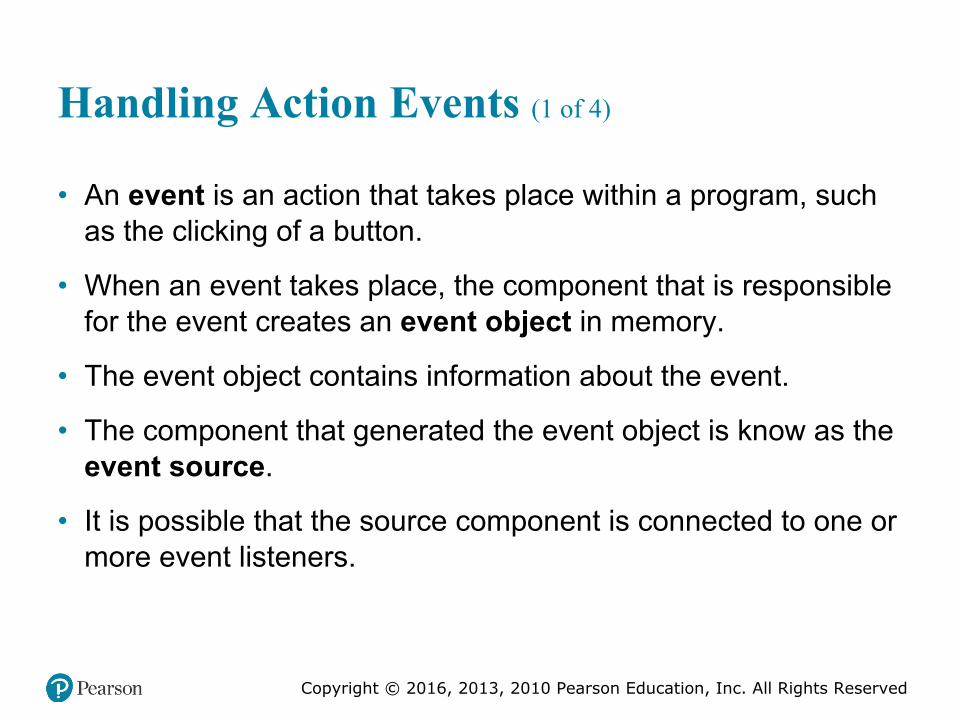
• An event is an action that takes place within a program, such as the clicking of a button.
• When an event takes place, the component that is responsible for the event creates an event object in memory.
• The event object contains information about the event.
• The component that generated the event object is know as the event source.
• It is possible that the source component is connected to one or more event listeners.

Copyright © 2016, 2013, 2010 Pearson Education, Inc. All Rights Reserved
Handling Action Events (2 of 4)
• An event listener is an object that responds to events.
• The source component fires an event which is passed to a method in the event listener.
• Event listener classes are specific to each application.
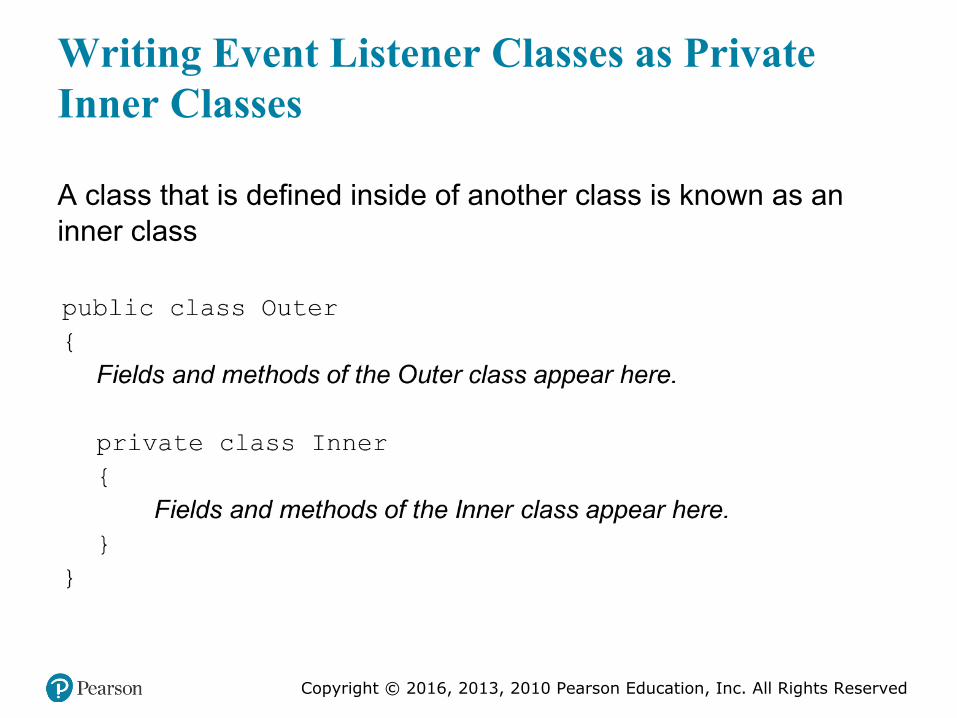
• Event listener classes are commonly written as private inner classes in an application.
Copyright © 2016, 2013, 2010 Pearson Education, Inc. All Rights Reserved
Writing Event Listener Classes as Private Inner Classes
A class that is defined inside of another class is known as an inner class

Copyright © 2016, 2013, 2010 Pearson Education, Inc. All Rights Reserved
Event Listeners Must Implement an Interface
• All event listener classes must implement an interface.
• An interface is something like a class containing one or more method headers.
• When you write a class that implements an interface, you are agreeing that the class will have all of the methods that are specified in the interface.

Copyright © 2016, 2013, 2010 Pearson Education, Inc. All Rights Reserved
Handling Action Events (3 of 4)
• JButton components generate action events, which require an action listener class.
• Action listener classes must meet the following requirements:– It must implement the ActionListener interface.– It must have a method named actionPerformed.
• The actionPerformed method takes an argument of the ActionEvent type.

Copyright © 2016, 2013, 2010 Pearson Education, Inc. All Rights Reserved
Handling Action Events (4 of 4)
When the button is pressed …
The JButton component generates an event object and passes it to the action listener object’s actionPerformed method.
Example: KiloConverter.java

Copyright © 2016, 2013, 2010 Pearson Education, Inc. All Rights Reserved
Registering a Listener
• The process of connecting an event listener object to a component is called registering the event listener.
• JButton components have a method named addActionListener.
• When the user clicks on the source button, the action listener object’s actionPerformed method will be executed.
Copyright © 2016, 2013, 2010 Pearson Education, Inc. All Rights Reserved
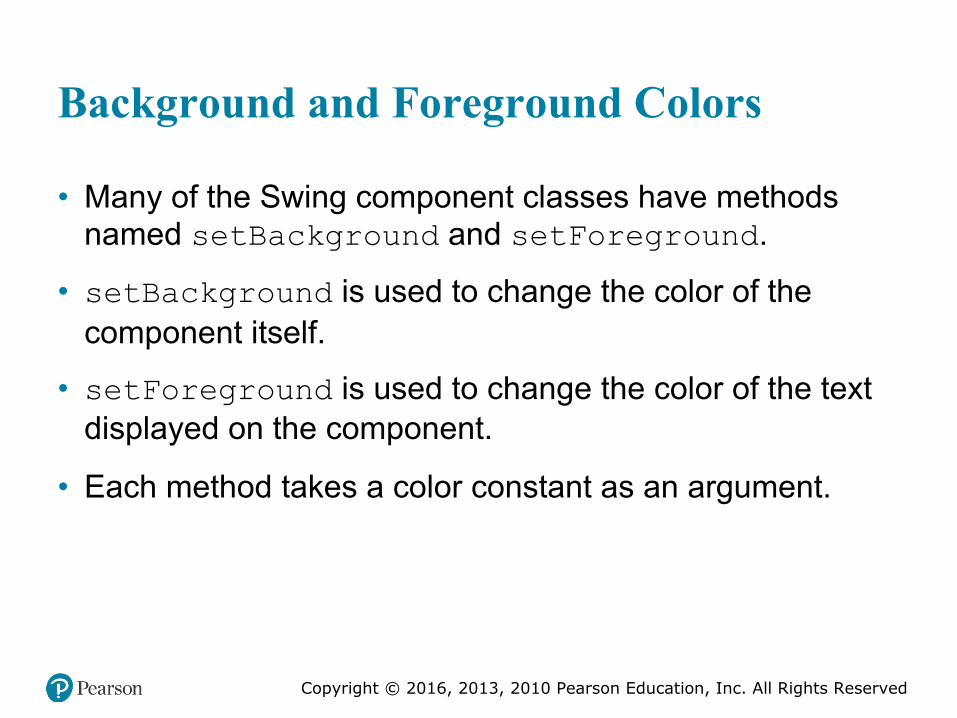
Background and Foreground Colors
• Many of the Swing component classes have methods named setBackground and setForeground.
• setBackground is used to change the color of the component itself.
• setForeground is used to change the color of the text displayed on the component.
• Each method takes a color constant as an argument.
Copyright © 2016, 2013, 2010 Pearson Education, Inc. All Rights Reserved
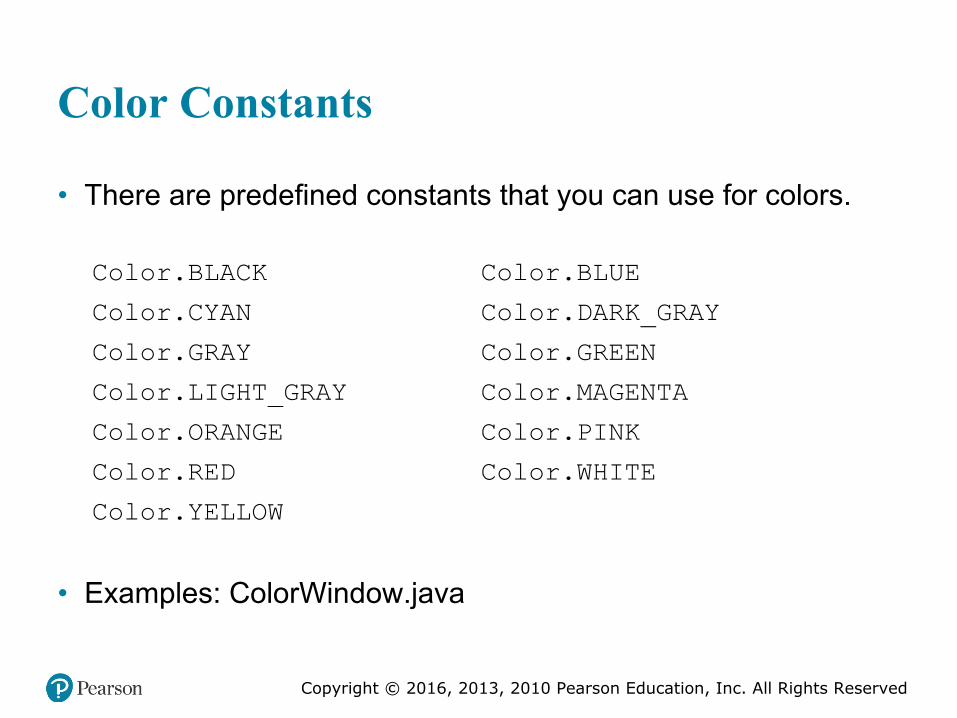
Color Constants
• There are predefined constants that you can use for colors.
Color.BLACK
Color.CYAN
Color.GRAY
Color.LIGHT_GRAY
Color.ORANGE
Color.RED
Color.YELLOW
Color.BLUE
Color.DARK_GRAY
Color.GREEN
Color.MAGENTA
Color.PINK
Color.WHITE
• Examples: ColorWindow.java

Copyright © 2016, 2013, 2010 Pearson Education, Inc. All Rights Reserved
12.4 Layout Managers (1 of 3)
• An important part of designing a GUI application is determining the layout of the components.
• The term layout refers to the positioning and sizing of components.
• In Java, you do not normally specify the exact location of a component within a window.
• A layout manager is an object that:– controls the positions and sizes of components, and– makes adjustments when necessary.

Copyright © 2016, 2013, 2010 Pearson Education, Inc. All Rights Reserved
12.4 Layout Managers (2 of 3)
• The layout manager object and the container work together.
• Java provides several layout managers:– FlowLayout - Arranges components in rows. This is the
default for panels.– BorderLayout - Arranges components in five regions:
▪ North, South, East, West, and Center.▪ This is the default layout manager for a JFrame
object’s content pane.– GridLayout - Arranges components in a grid with rows
and columns.

Copyright © 2016, 2013, 2010 Pearson Education, Inc. All Rights Reserved
12.4 Layout Managers (3 of 3)
• The Container class is one of the base classes that many components are derived from.
• Any component that is derived from the Container class can have a layout manager added to it.
• You add a layout manager to a container by calling the setLayout method.
• In a JFrame constructor you might use:
Copyright © 2016, 2013, 2010 Pearson Education, Inc. All Rights Reserved
Flowlayout Manager (1 of 3)
• FlowLayout is the default layout manager for JPanelobjects.
• Components appear horizontally, from left to right, in the order that they were added. When there is no more room in a row, the next components “flow” to the next row.
• See example: Flowlayout Manager

Copyright © 2016, 2013, 2010 Pearson Education, Inc. All Rights Reserved
Flowlayout Manager (2 of 3)
• The FlowLayout manager allows you to align components:– in the center of each row– along the left or right edges of each row.
• An overloaded constructor allows you to pass:– FlowLayout.CENTER,
– FlowLayout.LEFT, or
– FlowLayout.RIGHT.
• Example:

Copyright © 2016, 2013, 2010 Pearson Education, Inc. All Rights Reserved
Flowlayout Manager (3 of 3)
• FlowLayout inserts a gap of five pixels between components, horizontally and vertically.
• An overloaded FlowLayout constructor allows these to be adjusted.
• The constructor has the following format:
• Example:
Copyright © 2016, 2013, 2010 Pearson Education, Inc. All Rights Reserved
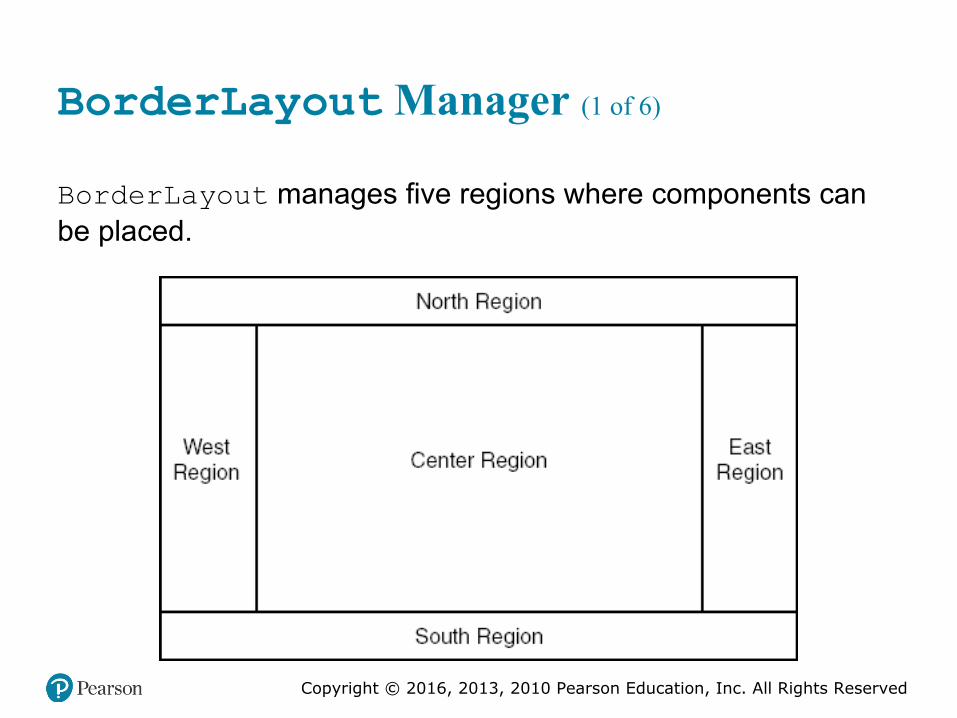
BorderLayout Manager (1 of 6)
BorderLayout manages five regions where components can be placed.

Copyright © 2016, 2013, 2010 Pearson Education, Inc. All Rights Reserved
BorderLayout Manager (2 of 6)
• See example: BorderWindow.java
• A component placed into a container that is managed by a BorderLayout must be placed into one of five regions:
– BorderLayout.NORTH
– BorderLayout.SOUTH
– BorderLayout.EAST
– BorderLayout.WEST
– BorderLayout.CENTER

Copyright © 2016, 2013, 2010 Pearson Education, Inc. All Rights Reserved
BorderLayout Manager (3 of 6)
• Each region can hold only one component at a time.
• When a component is added to a region, it is stretched so it fills up the entire region.
• BorderLayout is the default manager for JFrame objects.
• If you do not pass a second argument to the add method, the component will be added to the center region.

Copyright © 2016, 2013, 2010 Pearson Education, Inc. All Rights Reserved
BorderLayout Manager (4 of 6)
• Normally the size of a button is just large enough to accommodate the text that it displays
• The buttons displayed in BorderLayout region will not retain their normal size.
• The components are stretched to fill all of the space in their regions.

Copyright © 2016, 2013, 2010 Pearson Education, Inc. All Rights Reserved
BorderLayout Manager (5 of 6)
• If the user resizes the window, the sizes of the components will be changed as well.
• BorderLayout manager resizes components:– placed in the north or south regions may be resized
horizontally so it fills up the entire region,– placed in the east or west regions may be resized
vertically so it fills up the entire region.– A component that is placed in the center region may
be resized both horizontally and vertically so it fills up the entire region.

Copyright © 2016, 2013, 2010 Pearson Education, Inc. All Rights Reserved
BorderLayout Manager (6 of 6)
• By default there is no gap between the regions.
• An overloaded BorderLayout constructor allows horizontal and vertical gaps to be specified (in pixels).
• The constructor has the following format
• Example:
Copyright © 2016, 2013, 2010 Pearson Education, Inc. All Rights Reserved
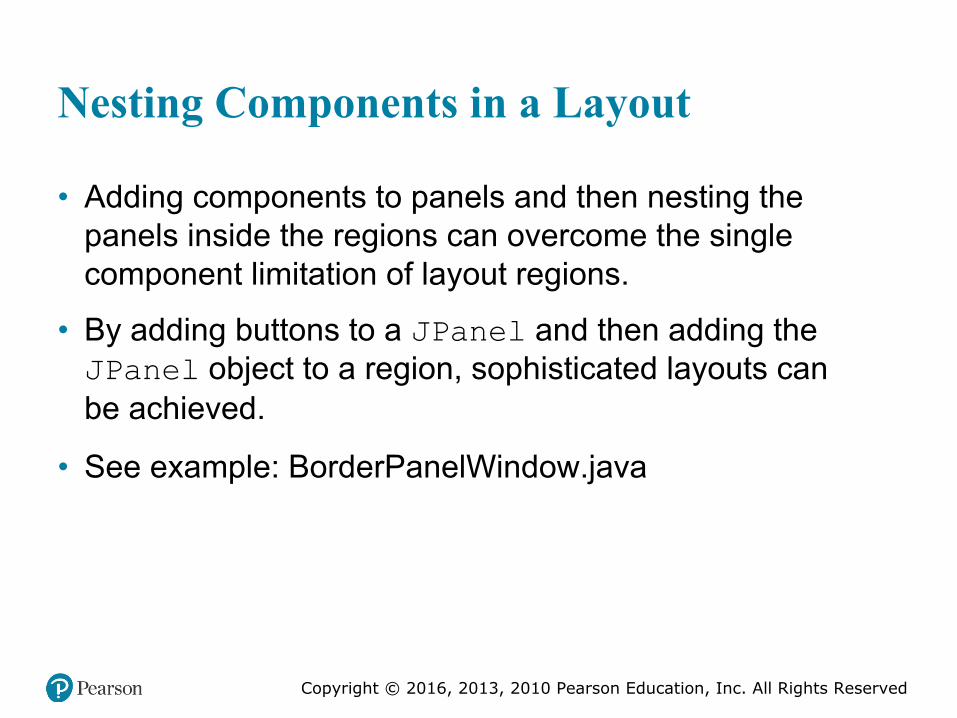
Nesting Components in a Layout
• Adding components to panels and then nesting the panels inside the regions can overcome the single component limitation of layout regions.
• By adding buttons to a JPanel and then adding the JPanel object to a region, sophisticated layouts can be achieved.
• See example: BorderPanelWindow.java

Copyright © 2016, 2013, 2010 Pearson Education, Inc. All Rights Reserved
GridLayout Manager (1 of 4)
GridLayout creates a grid with rows and columns, much like a spreadsheet. A container that is managed by a GridLayout object is divided into equally sized cells.

Copyright © 2016, 2013, 2010 Pearson Education, Inc. All Rights Reserved
GridLayout Manager (2 of 4)
• GridLayout manager follows some simple rules:– Each cell can hold only one component.– All of the cells are the size of the largest component
placed within the layout.– A component that is placed in a cell is automatically
resized to fill up any extra space.
• You pass the number of rows and columns as arguments to the GridLayout constructor.
Copyright © 2016, 2013, 2010 Pearson Education, Inc. All Rights Reserved
GridLayout Manager (3 of 4)
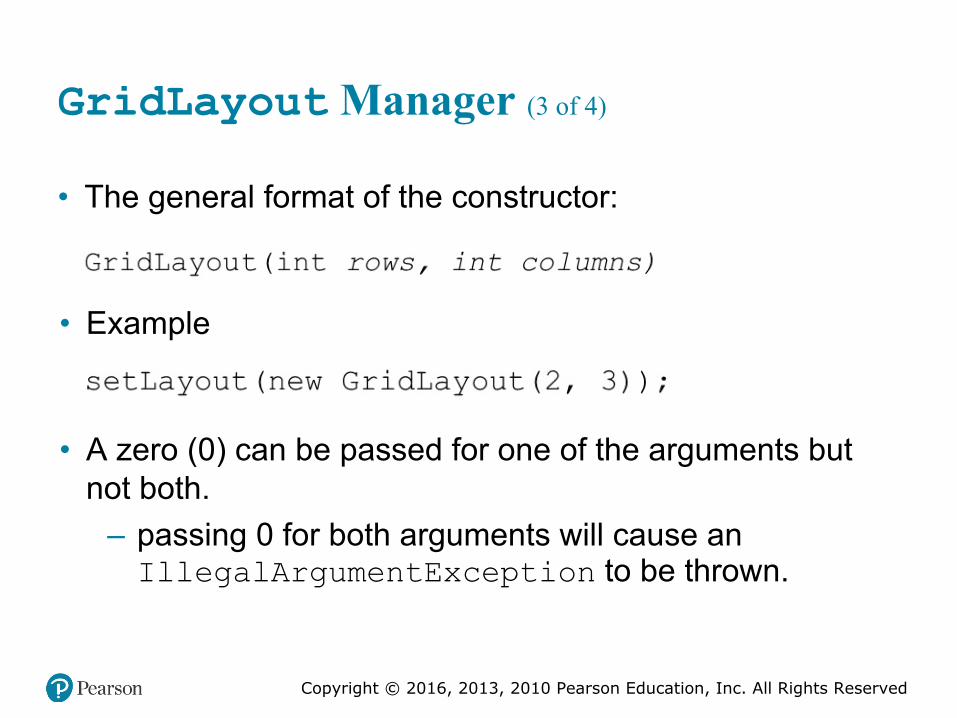
• The general format of the constructor:
• Example
• A zero (0) can be passed for one of the arguments but not both.
– passing 0 for both arguments will cause an IllegalArgumentException to be thrown.

Copyright © 2016, 2013, 2010 Pearson Education, Inc. All Rights Reserved
GridLayout Manager (4 of 4)
• Components are added to a GridLayout in the following order (for a 5×5 grid):
1 2 3 4 5
6 7 8 9 10
11 12 13 14 15
16 17 18 19 20
21 22 23 24 25
Example: GridWindow.java
GridLayout also accepts nested components:
Example: GridPanelWindow.java
Copyright © 2016, 2013, 2010 Pearson Education, Inc. All Rights Reserved
12.5 Radio Buttons
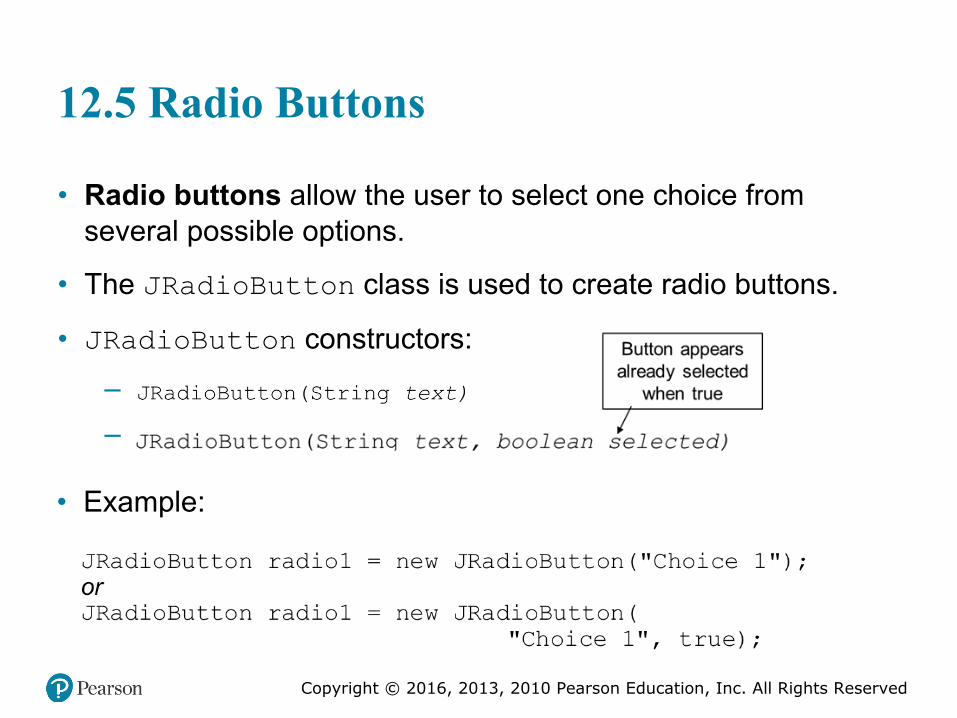
• Radio buttons allow the user to select one choice from several possible options.
• The JRadioButton class is used to create radio buttons.
• JRadioButton constructors:––
• Example:

Copyright © 2016, 2013, 2010 Pearson Education, Inc. All Rights Reserved
Button Groups (1 of 3)
• Radio buttons normally are grouped together.
• In a radio button group only one of the radio buttons in the group may be selected at any time.
• Clicking on a radio button selects it and automatically deselects any other radio button in the same group.
• An instance of the ButtonGroup class is a used to group radio buttons

Copyright © 2016, 2013, 2010 Pearson Education, Inc. All Rights Reserved
Button Groups (2 of 3)
• The ButtonGroup object creates the mutually exclusive relationship between the radio buttons that it contains.

Copyright © 2016, 2013, 2010 Pearson Education, Inc. All Rights Reserved
Button Groups (3 of 3)
• ButtonGroup objects are not containers like JPanel objects, or content frames.
• If you wish to add the radio buttons to a panel or a content frame, you must add them individually.
Copyright © 2016, 2013, 2010 Pearson Education, Inc. All Rights Reserved
Radio Button Events
• JRadioButton objects generate an action event when they are clicked.
• To respond to an action event, you must write an action listener class, just like a JButton event handler.
• See example: MetricConverter.java

Copyright © 2016, 2013, 2010 Pearson Education, Inc. All Rights Reserved
Determining Selected Radio Buttons
• The JRadioButton class’s isSelected method returns a boolean value indicating if the radio button is selected.

Copyright © 2016, 2013, 2010 Pearson Education, Inc. All Rights Reserved
Selecting a Radio Button in Code
• It is also possible to select a radio button in code with the JRadioButton class’s doClick method.
• When the method is called, the radio button is selected just as if the user had clicked on it.
• As a result, an action event is generated.

Copyright © 2016, 2013, 2010 Pearson Education, Inc. All Rights Reserved
12.5 Check Boxes (1 of 2)
• A check box appears as a small box with a label appearing next to it.
• Like radio buttons, check boxes may be selected or deselected at run time.
• When a check box is selected, a small check mark appears inside the box.
• Check boxes are often displayed in groups but they are not usually grouped in a ButtonGroup.
Copyright © 2016, 2013, 2010 Pearson Education, Inc. All Rights Reserved
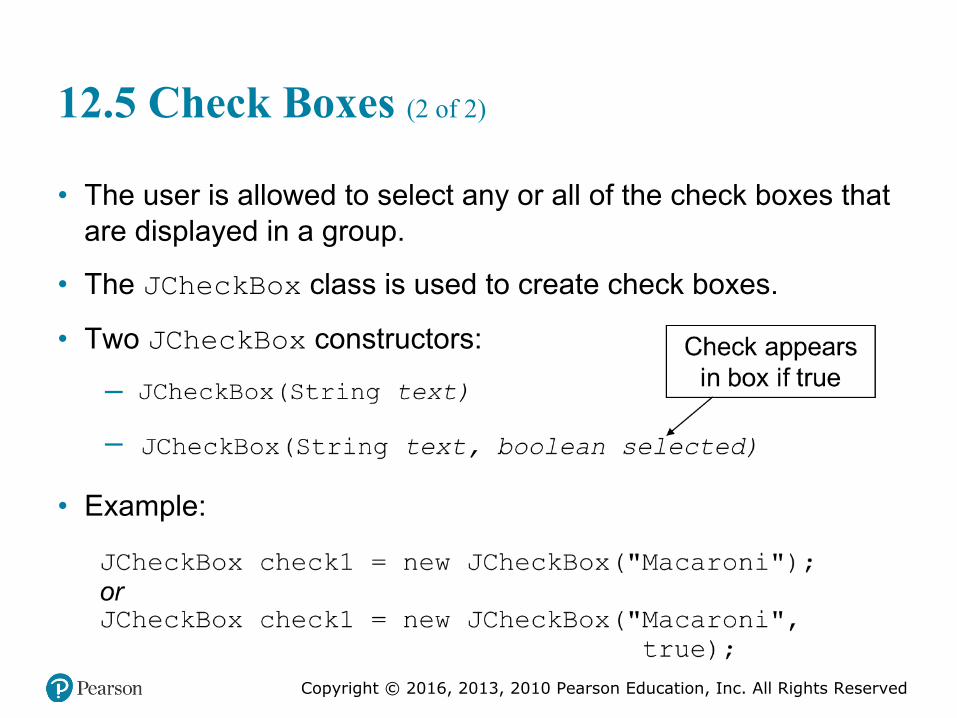
12.5 Check Boxes (2 of 2)
• The user is allowed to select any or all of the check boxes that are displayed in a group.
• The JCheckBox class is used to create check boxes.
• Two JCheckBox constructors:
––
• Example:
Copyright © 2016, 2013, 2010 Pearson Education, Inc. All Rights Reserved
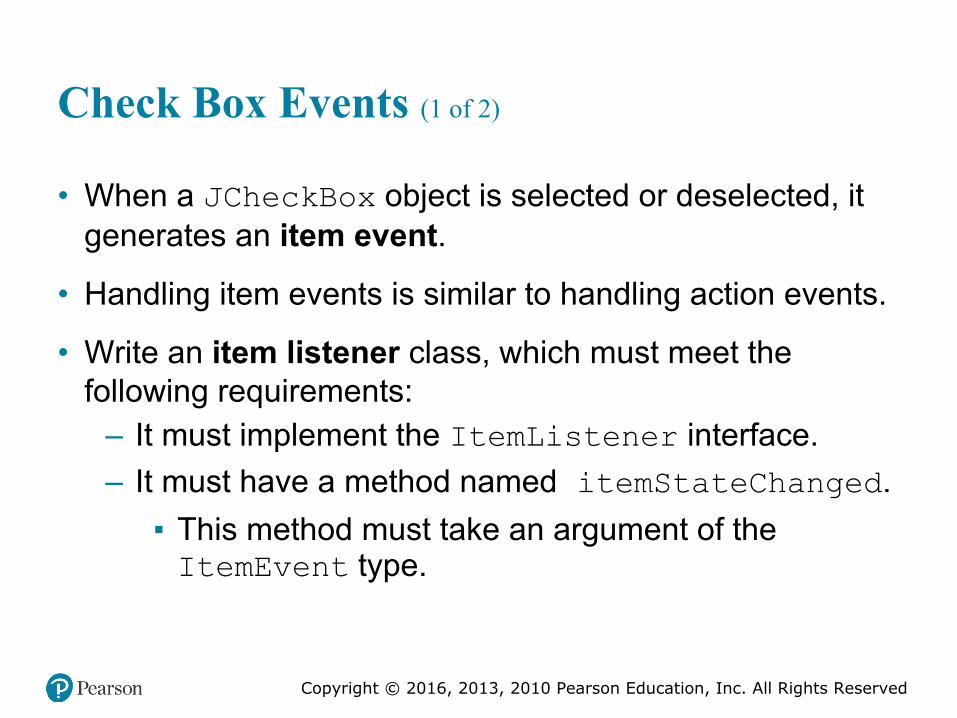
Check Box Events (1 of 2)
• When a JCheckBox object is selected or deselected, it generates an item event.
• Handling item events is similar to handling action events.
• Write an item listener class, which must meet the following requirements:
– It must implement the ItemListener interface.– It must have a method named itemStateChanged.▪ This method must take an argument of the ItemEvent type.

Copyright © 2016, 2013, 2010 Pearson Education, Inc. All Rights Reserved
Check Box Events (2 of 2)
• Create an object of the class
• Register the item listener object with the JCheckBox component.
• On an event, the itemStateChanged method of the item listener object is automatically run
– The event object is passed in as an argument.

Copyright © 2016, 2013, 2010 Pearson Education, Inc. All Rights Reserved
Determining Selected Check Boxes
• The isSelected method will determine whether a JCheckBox component is selected.
• The method returns a boolean value.
• See example: ColorCheckBoxWindow.java

Copyright © 2016, 2013, 2010 Pearson Education, Inc. All Rights Reserved
Selecting Check Boxes in Code
• It is possible to select check boxes in code with the JCheckBox class’s doClick method.
• When the method is called, the check box is selected just as if the user had clicked on it.
• As a result, an item event is generated.

Copyright © 2016, 2013, 2010 Pearson Education, Inc. All Rights Reserved
12.6 Borders (1 of 2)
• Windows have a more organized look if related components are grouped inside borders.
• You can add a border to any component that is derived from the JComponent class.
– Any component derived from JComponent inherits a method named setBorder
Copyright © 2016, 2013, 2010 Pearson Education, Inc. All Rights Reserved
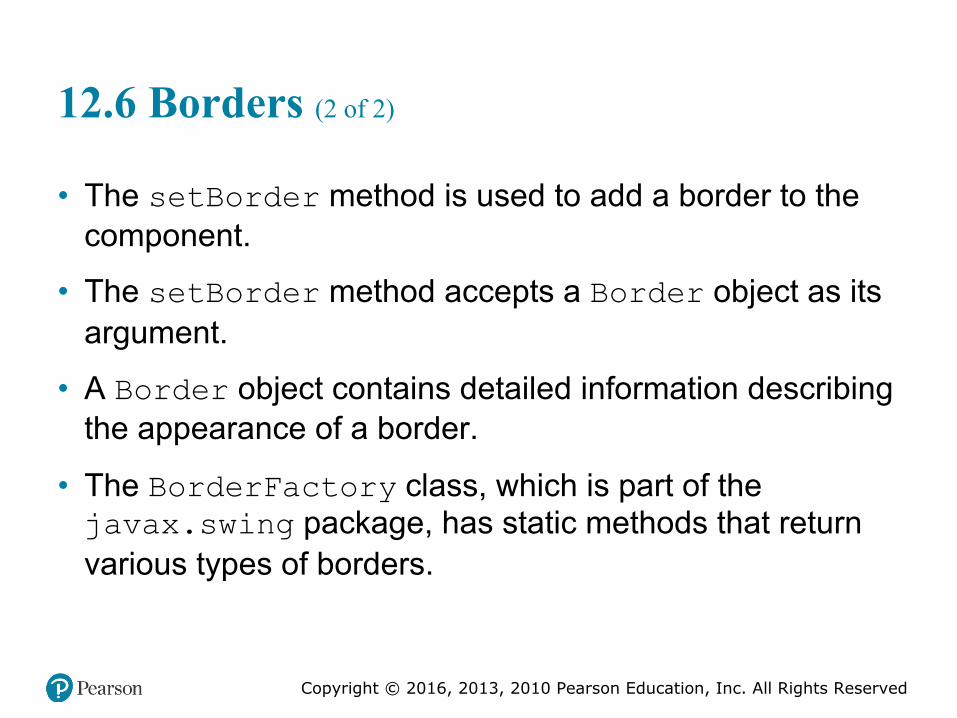
12.6 Borders (2 of 2)
• The setBorder method is used to add a border to the component.
• The setBorder method accepts a Border object as its argument.
• A Border object contains detailed information describing the appearance of a border.
• The BorderFactory class, which is part of the javax.swing package, has static methods that return various types of borders.
Copyright © 2016, 2013, 2010 Pearson Education, Inc. All Rights Reserved
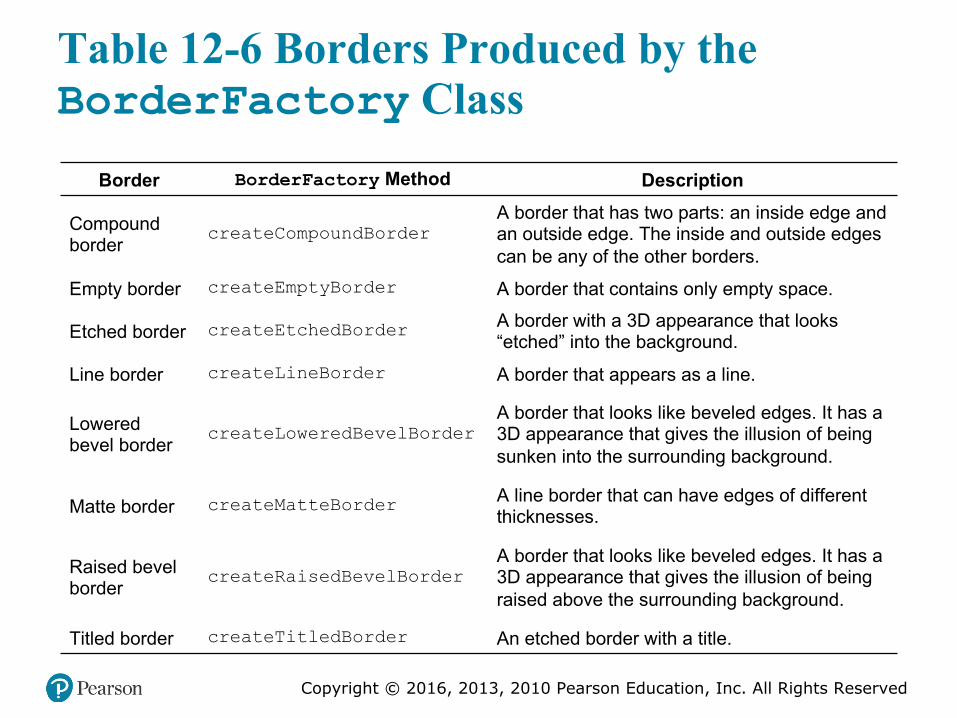
Table 12-6 Borders Produced by the BorderFactory Class
Border BorderFactory Method Description
Compound border
createCompoundBorderA border that has two parts: an inside edge and an outside edge. The inside and outside edges can be any of the other borders.
Empty border createEmptyBorder A border that contains only empty space.
Etched border createEtchedBorder A border with a 3D appearance that looks “etched” into the background.
Line border createLineBorder A border that appears as a line.
Lowered bevel border
createLoweredBevelBorderA border that looks like beveled edges. It has a 3D appearance that gives the illusion of being sunken into the surrounding background.
Matte border createMatteBorder A line border that can have edges of different thicknesses.
Raised bevel border
createRaisedBevelBorderA border that looks like beveled edges. It has a 3D appearance that gives the illusion of being raised above the surrounding background.
Titled border createTitledBorder An etched border with a title.

Copyright © 2016, 2013, 2010 Pearson Education, Inc. All Rights Reserved
Copyright