street art/graffiti self-portraits · pdf filestreet art/graffiti self-portraits. ... one area...
TRANSCRIPT

STREET ART/GRAFFITI SELF-PORTRAITS
Aimee Carmella
A high school unit plan focusing on how visual artists use images, symbols, and words to convey meaning.

Background/IntentWith a background in both creative design and art education, I find that I draw on my strengths as a designer when I create lesson plans. Developing a lesson that is worthy of my student’s time and creative energy is paramount. I want the student’s end result – the work of art created or simply their process of experimentation – to be meaningful and worthwhile.
I treat my work as a designer in the same manner. I want to make meaning with what I create. I solve problems to get to where I need to be with a design I develop. Formulating lesson plans becomes a puzzle that I need to organize and design so that the message reads clearly and resonates with what I am trying to express.
When I design lessons to use in the classroom, I begin with a complex idea and break it down into lessons that scaffold upon one another. I feel that since students will be picking up several skills (i.e., how to correctly photograph another student’s portrait, how to use Photoshop to alter an image, etc.), I want each lesson to be self-contained, having the strength to stand on its own. There should be a clear point to each lesson that is achievable so that students are set up for success. Designing a series of lessons in such a way that they can build knowledge and skill and work toward the larger goals that time to attain.
I try to design a lesson that will draw students in because of the materials used or the concepts or techniques presented. This establishes a hook that allows for the rigid walls of the classroom to dissolve and creates a designed environment where creativity can thrive and students can develop a passion for what they are learning.

Street Art/Graffiti Self-portraitsDesigned by Aimee Carmella
Essential QuestionsWhen does art become vandalism? When does vandalism become art?What makes an image so powerful?
Unit Grade Levels 9th - 12th Grades
Time Span3 - 90 minute lessons with one additional hour-long work period if needed.
OverviewIn this unit, students will familarize themselves with street art/graffiti - style art culture, the artists such as Banksy, Keith Haring, and Basquiat who were/are known for their street art, and will discuss the implications of making this controversial art. Students will look at political campaign posters of the past (Obama Hope poster), as well as war propaganda images and discuss power of image. Students will develop an understanding of how visual artists use symbols and words to convey meaning. Building on this knowledge, students will photograph each other in “headshot” style and edit photographs in Photoshop to create high contrast black and white images that will be printed and traced onto acetate and stencilled onto a canvas. They will add layers to their canvas via additional stencils, and words or a slogan that they identify with which positively demonstrates environmental, political, or social relevency.
Maine StudentLearning Results
Lesson 1 Lesson 2 Lesson 3
A1- Artist’s Purpose (9-12)A3 - Media Tools Tech. & Processes (9-12)B1 - Media Skills (9-12)D1 - Aesthetics & Crit. (9-12)E2 - Arts & Other Disciplines (9-12)E5 - Interpersonal Skills (9-12)D1 - Aesthetics & Criticism (9-12)
Evidence of Performance
Ability to question why an image can be powerful. Ability to discuss differences between vandalism and street art.
Understands what a slogan is/ represents. Ability to manipu-late a photograph in photoshop.
Ability to work with layers of pattern and media in design, responds thoughtfully to most note written critique.
A2 - Elem. of Art & Princ. Des. (9-12)A3 - Media Tools Tech. & Processes (9-12)B1 - Media Skills (9-12)B3 - Making Meaning (9-12)
A1 - Artist’s Purpose (9-12)A2 - Elem. of Art & Princ. Des. (9-12)A3 - Media Tools Tech. & Proc. (9-12) B1 - Media Skills (9-12)B2 - Composition SkillsB3 - Making Meaning (9-12)C1 - Appl. of Creative Proc. (9-12)D1 - Aesthetics & Criticism (9-12)

Street Art/Graffiti Background - Lesson 1What makes an image so powerful?
Provoking QuestionsWhat is Graffiti/Street Art?What makes an image so powerful?What is the difference between a graffiti wall and a mural?What does simplification do to an image?
Lesson Objectives+ Students will examine environmental, historical and social factors that influence graffiti artists / political cam-paign designers and their work.+ Students will take headshots of one another using knowledge of composition and lighting and save image virtually to be used for next class.
Materials+ Computers (1 per student or can be shared in small groups)+ Digital Camera, tripod (optional) - 1 per group of two students + Photoshop or other photo editing software+ Projector for projection of slideshow images (visual provocations)+ (Optional) hats or scarves
Vocabulary+ Graffiti+ Street Art+ High Contrast+ Headshot+ Self-portrait
Visual ProvocationsExamples of local graffiti art if possible, Banksy, Christo, Basquiat, Keith Haring, Political Posters.
Instruction1. Begin class with a slide show. First image: (Banksy) Is this art? (Yes - why? No - why?) Have students brainstorm why art is public or private. Ask: what kinds of art are public? Sculpture? Large-scale art such as murals? Advertisements? Graffiti? Show slide examples such as Christo’s fabric installation pieces, Keith Haring’s subway art, and Banksy’s guerilla art? What influences these artists? How do you think they decide what to create? (Important historical issues, current events, environmental issues, pop cul-ture references, etc.) How about political campaign art? We see examples like Obama’s “Hope” campaign poster. Why do you think this poster was important? (Creates a brand, well composed, unique design, easy “1 word slogan” to remember.) Here, this poster becomes a symbol - something that we will remem-ber and that stands for something.
2. We are going to be creating our own posters that take from what we are studying in this class that will be composed of a self portrait that we will modify in Photoshop to create a high-contrast image and even-tually layer into a graffiti’d poster. Today we will work on taking a headshot of one another, and next class we will start working on creating stencils to use on our poster from the headshot and other media.
3. Instruct students how to use camera (DSLR) to take pictures. If possible, have every camera set up on a tripod. Go through steps about avoiding backlighting if there are windows. Have students take 4 or 5 different shots that they will then upload to their personal drive and let them know that next class they will choose one of those shots. Students can wear hat and/or scarf to create some visual interest. Discuss composition and go over rule of thirds. Let them know that they will be creating high contrast black and white images from these photos.
+ Lowbrow art+ Highbrow art+ Guerilla art+ Propaganda+ Visual Expression

4. By end of class, students should have uploaded all images to their drive and if time allows, decide which image they will choose for their self-portrait.
5. Before class time is over, quickly go over what will happen next class: a. Going over how to modify your portrait in Photoshop b. Using Threshold, Cutout filters in Photoshop c. Printing an 11”x17” image d. Going over how to trace image onto acetate using a lightbox.
6. Homework prompt will be given out upon dismissal from classroom to be returned next class.
Clean UpCameras turned off, placed in camera bags. Tripods folded and put away. Computers logged off.
Assessments+ Students will have each produced a viable headshot. + Homework prompt provided to students (see attached).
Modifications+ Teacher can take photos of students if there is a lack of cameras. + Students can bring in a photo of themselves if they prefer after class time.
Instructional Resourceshttp://www.brainpickings.org/index.php/2012/06/04/presidential-campaign-posters/http://www.graffiti.org/faq/lessonplan_1.htmlhttp://www.businessinsider.com/banksy-art-2014-10?op=1http://frubilledkunst.dk/
Technology+ Computers + Photoshop+ Digital-SLR cameras

Visual Provocations
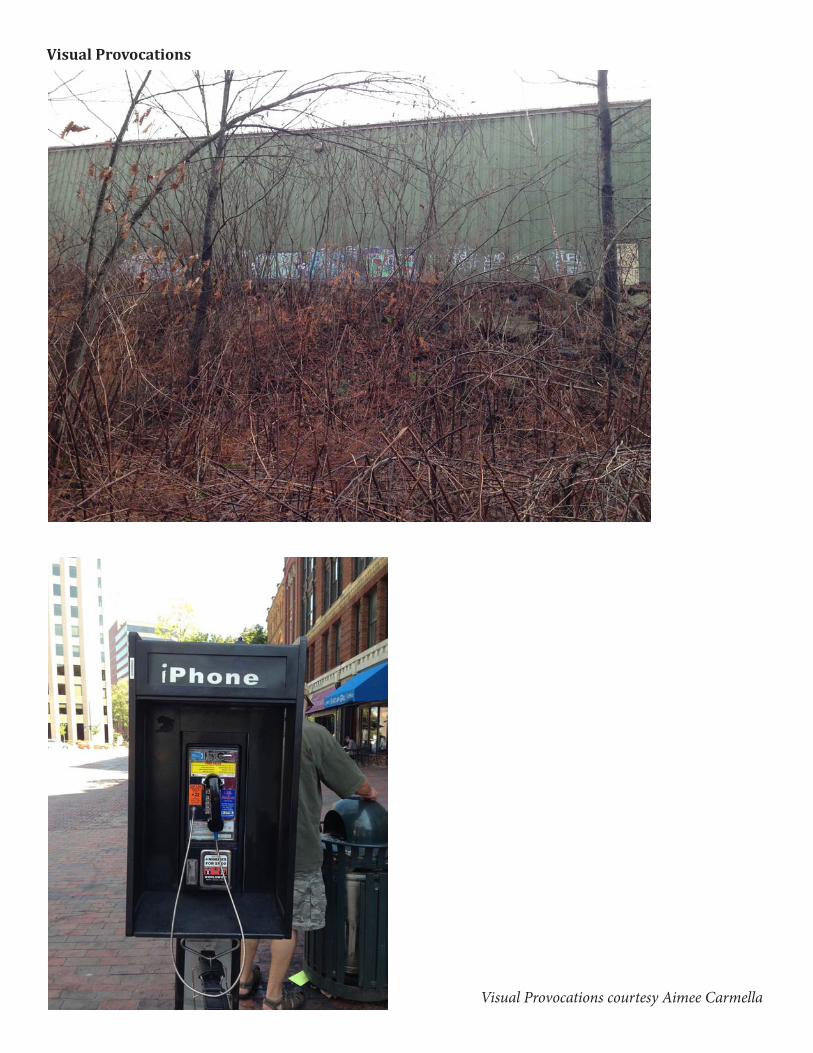
Visual Provocations
Visual Provocations courtesy Aimee Carmella
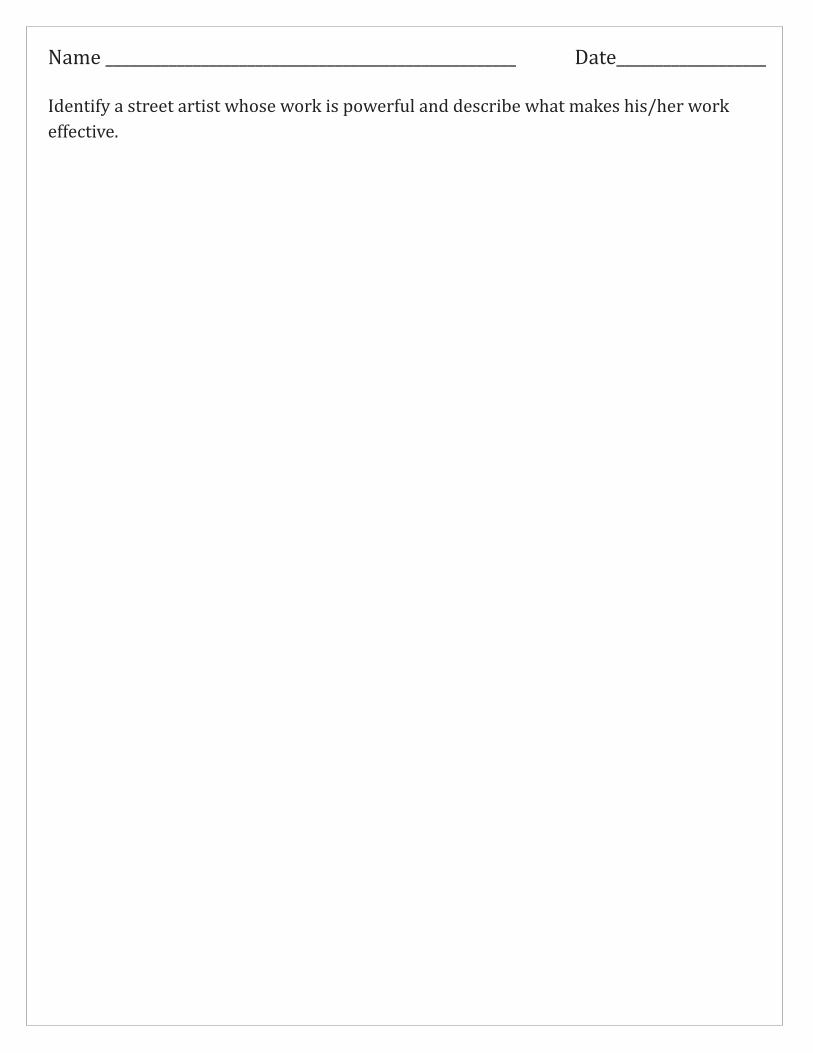
Name ____________________________________________________ Date___________________
Identify a street artist whose work is powerful and describe what makes his/her work effective.

Street Art/Graffiti Background - Lesson 2What makes an image so powerful?
Provoking QuestionsWhen we use technology to replicate an image over and over again, does the image’s value diminish?When we use technology to replicate an image over and over again, does it then become original to the recreator? Why create a slogan?
ObjectivesThe learner will understand and demonstrate the use of filters in Photoshop.The learner will understand the concept of slogan and develop one to use in their self portrait.
Materials+ Computers (1 per student or can be shared in small groups)+ Photoshop or other photo editing software+ Light Box+ Acetate or stencil paper
+ X-acto knife with a cutting surface+ Permanent marker for tracing onto acetate+ 11”x17” Printer paper + Large sheet of paper for demo steps
Vocabulary + Posterize+ Contrast+ High Contrast+ Negative Space+ Positive Space+ Self-portrait
Visual Provocation Teacher example during demo (see attached screenshots)
Instruction1. Collect exit slips from last class. All students should be sitting where they can view photoshop demonstration (in front of LED projector). Teacher instructs that they will be creating high-contrast versions of their self portraits that they took during last class. Teacher shows them the steps (which are also written on a large paper in easily viewed location in classroom) to creating their own high-contrast portrait. Students are encouraged to take their time with figuring out how they want their portraits to look. The threshold/posterize/blur amounts can be tweaked on an individual basis. Tip: It should be emphasized that the negative-spaces that compose the features in the self portrait need to stay intact, and there shouldn’t be any small “islands” of white details. These areas will not be successfully transferred during the stencilling process since they have no connector to larger black areas. (See example piece - very simplified areas of black/white, no real tiny details. One area of portrait had to be improvised with creation of a “bridge” from face to neck, whitespace to whitespace - see visual provocation.)
2. Students are released to go to their computers, open up Photoshop, locate their self portrait, and start moving down the steps necessary to create their high-contrast portraits.
3. When completed, students can crop their images (retaining DPI) so that any unnecessary background is no longer visible. Images should be renamed (to differentiate from original image) and saved as high-quality JPEG.
Instructional Resourceshttp://www.instructables.com/id/Turn-a-Photo-into-a-Stencil/?lang=dehttp://www.frubilledkunst.dk/moderne-selvportraetter/

4. As soon as images save, students can then print portraits onto 11”x17” ledger paper.
5. A quick demo of the next stage can occur when students are starting to print their portraits. Show students that when they have a printed portrait, they should next take a piece of acetate (cut to size so that their entire portrait can fit onto the sheet) and bring portraits and acetate to a lightbox or their desks. Using a permanent black marker, they should trace the black as an outline onto the acetate. They should mark each solid black region with an “x” so they know what areas should be cut out (black) and which should stay in tact (clear).
6. Demonstrate that once student completes the tracing stage, they can move on to cutting black outlined areas out with x-acto knife and removing the black areas from the stencil.
7. If time allows, students can consider choosing a slogan or word that positively represents them. Handout will be distributed to each student during this time (or before the end of the class, so they can begin thinking about a slogan or word for next time) with a quick discussion of what a slogan is. (“What are some examples? Just Do It?” (Nike)) Students can be given the option to use a font (like “Stencil” in Photoshop, or another slab-type font face, in a large font size of at least 72 points) or can hand-draw and paint the word/slogan. Students may print slogan out onto tagboard/oaktag if time allows.
create or becreated
Clean Up: Computers logged off, light tables turned off, x-acto knives safely returned to storage area.
Assessments:+ Students should have completed printing out a high-contrast portrait by following steps described by teacher and listed on the board.
+ Students will be evaluated using formative observations during discussion time by: - making references to vocabulary - making connections of technique to the message
+ Slogan handout to be completed with brainstorming ideas.
Modifications:+ Students can work in teams to help one another in Photoshop. + Students can come up with a word or words instead of a slogan to use in their work.
Technology:+ Computers + Photoshop+ Light table (optional)
Visual Provocations:
Example of 72pt. Stencil font

Original Image
Final image after cropping.
Step 1 - Image >Adjustments>Posterize
Step 4 - Image>Adjustments>Posterize
Step 2 - Image >Adjustments>ThresholdStep 3 - Filters>Blur>Gaussian Blur
Visual Provocations

What is a slogan?
slo·gan noun slō-gən
: a word or phrase that is easy to remember and is used by a group or business to attract attention
: a war cry especially of a Scottish clan
: a brief attention-getting phrase used in advertising or promotion
- Merriam-Webster Online Dictionary
Use the space below to brainstorm a slogan to incorporate into your self-portrait. It should be no more than four words long: shorter is more effective.
Remember, you will be either hand-writing/painting this slogan onto your posterboard or stencilling it onto the surface.
If you need a jumpstart, research brands online and what their slogans are. But remember - yours must be original!

Street Art/Graffiti Background - Lesson 3What makes an image so powerful?
Provoking QuestionsHow do layers in artwork create complexity?How do I create a center of interest?How do I unify my artwork?
ObjectivesThe learner will demonstrate how layers work together in the creation of their self portrait. The learner will demonstrate in their portrait how a successful composition is based upon analysis of individual elements of design brought together with careful thought and consideration of the elements and principles of design.
Materials+ Mixed media supplies (corregated cardboard, bubble wrap (unpopped), oaktag, plastic rollers with raised patterns, anything that has interesting negative/positive space to make marks and will stand up to paint and reuse).+ Scissors/X-Acto knife+ Chipboard, Bristol board, Railroad board, or corregated cardboard sized 22”x28” or similar.+ Brayers, Stencil brushes, mushroom brushes+ Acrylic paint (Tempera can be subbed in.) Folk Art type metallic paints work nicely.+ Fan / Hair dryer for speeding up drying.+ Scrap Cardboard
Vocabulary + Focal Point+ Contrast+ High Contrast+ Negative Space+ Positive Space
Visual Provocation Teacher example during demo (see attached screenshots)
+ Unity/Unification+ Center of Interest+ Balance+ Composition
Instruction1. Begin class with a brief check - in. On a sheet of paper the teacher keeps each students name and progress in chart form (see below). Teacher will quickly speak to individual students to assess progress and ascertain which students need to focus their attention on which stage of the project.
NameCatherine SmithJason BigleyEvan WilliamsSamantha Wiles
Printed ImagesYesYesYesYes
Created StencilNoYesNoYes
Ready to PaintNo YesNoYes

2. All students will watch a quick (less than 10 minute) demo. Teacher will have materials (listed in materials section) at demo table. She will show how to build up layers of texture, negative, positive areas, repetition, balance, etc. to create a composition. She will stress how using too much paint so thick will delay creating time so just use enough or use a hair dryer/fan to dry slower drying areas. (If they are using cardboard as their canvas, both sides may need to be primed with paint to prevent curling. - This should be done in advance if possible.) Teacher will instruct students to paint on their portraits with a sponge roller or mushroom brush toward the end. They will be encouraged to layer on top of their portraits but to maintain the integrity of the image so it will not be lost.
3. Students who are ready to begin are free to experiment with layering the paint and pattern. Two work classes will be provided so that students can experiment both on test sheets of scrap cardboard (if necessary, before commiting layers permanently to their final canvas).
Clean Up x-acto knives put away, brushes washed and put away, drawings set to dry on rack, stencils/rollers/etc. can be washed and put away in storage.
Assessments+ Teacher will evaluate progress at beginning of class.
+ Students will have two class periods to complete their finished pieces of work, which is to be assessed in a self-critique:
Individual Critique:Ask students to write an essay response to the following prompt:
What were you trying to accomplish with your self-portrait and how did the techniques and media you chose allow your artistic vision to emerge?
Modifications+ Students can practice on scrap cardboard to test paint application before working on their final canvas.+ Students can work smaller or larger depending on their comfort level.

Visual Provocations
