study guide commercial photography technology 1 2012-2013
TRANSCRIPT
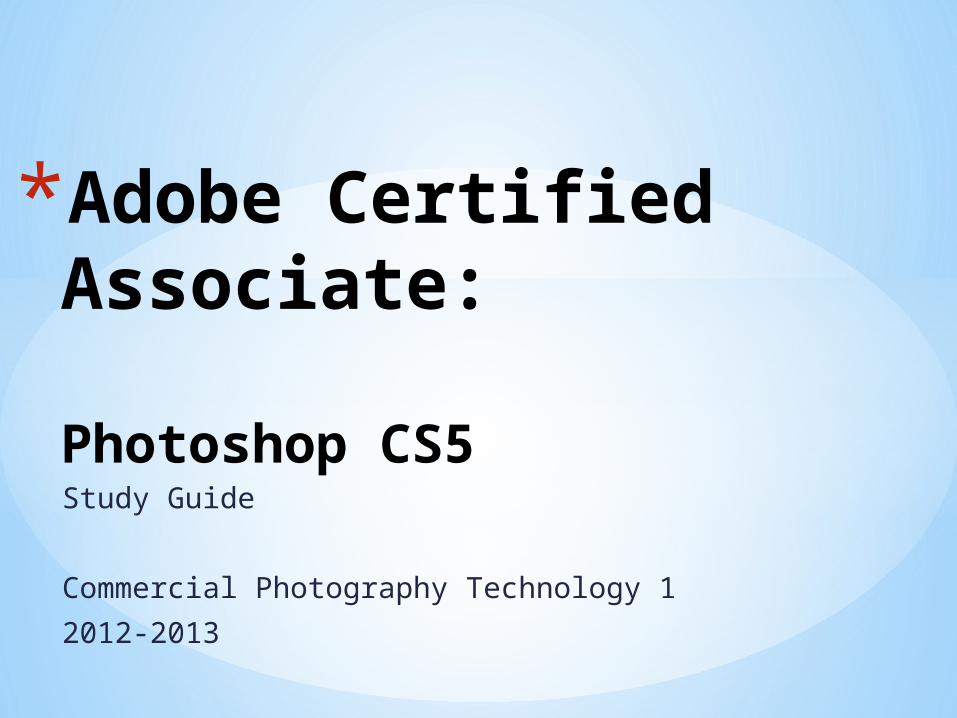
Study Guide
Commercial Photography Technology 1
2012-2013
*Adobe Certified Associate:
Photoshop CS5
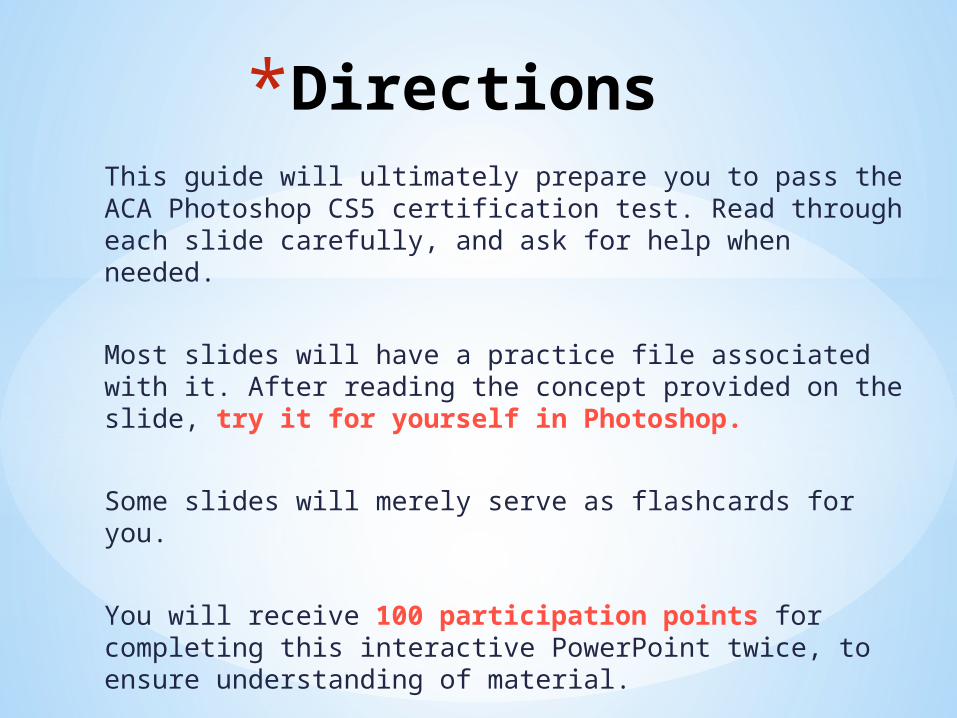
*DirectionsThis guide will ultimately prepare you to pass the ACA Photoshop CS5 certification test. Read through each slide carefully, and ask for help when needed.
Most slides will have a practice file associated with it. After reading the concept provided on the slide, try it for yourself in Photoshop.
Some slides will merely serve as flashcards for you.
You will receive 100 participation points for completing this interactive PowerPoint twice, to ensure understanding of material.
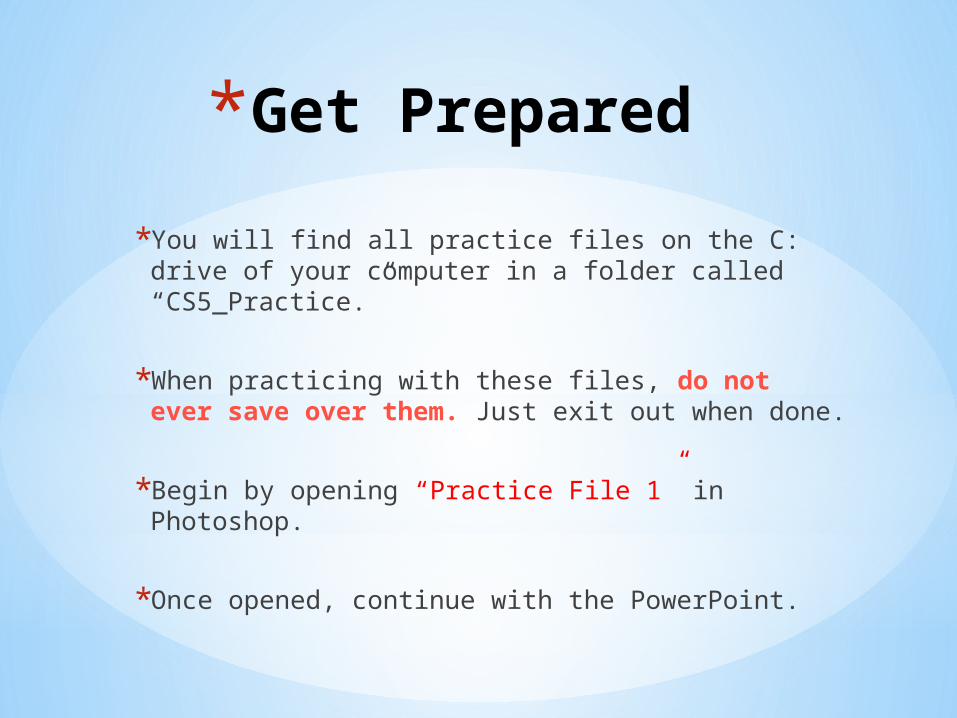
*Get Prepared
*You will find all practice files on the C: drive of your computer in a folder called “CS5_Practice.”
*When practicing with these files, do not ever save over them. Just exit out when done.
*Begin by opening “Practice File 1” in Photoshop.
*Once opened, continue with the PowerPoint.
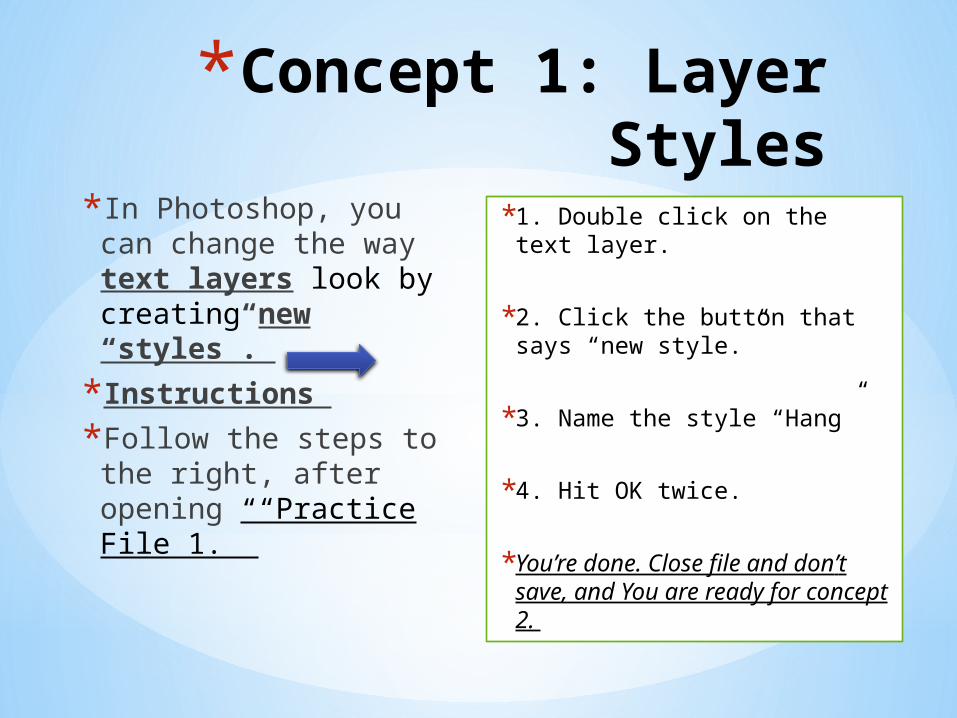
*Concept 1: Layer Styles
*In Photoshop, you can change the way text layers look by creating new “styles”.
*Instructions
*Follow the steps to the right, after opening “Practice File 1.”
*1. Double click on the text layer.
*2. Click the button that says “new style.”
*3. Name the style “Hang”
*4. Hit OK twice.
*You’re done. Close file and don’t save, and You are ready for concept 2.
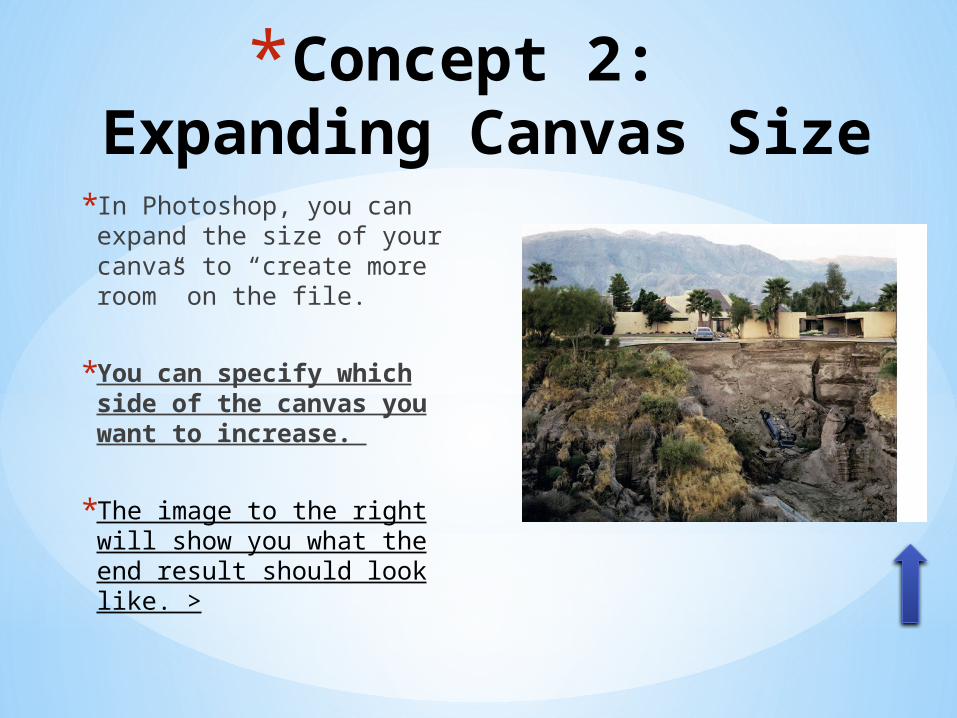
*Concept 2: Expanding Canvas Size*In Photoshop, you can
expand the size of your canvas to “create more room” on the file.
*You can specify which side of the canvas you want to increase.
*The image to the right will show you what the end result should look like. >
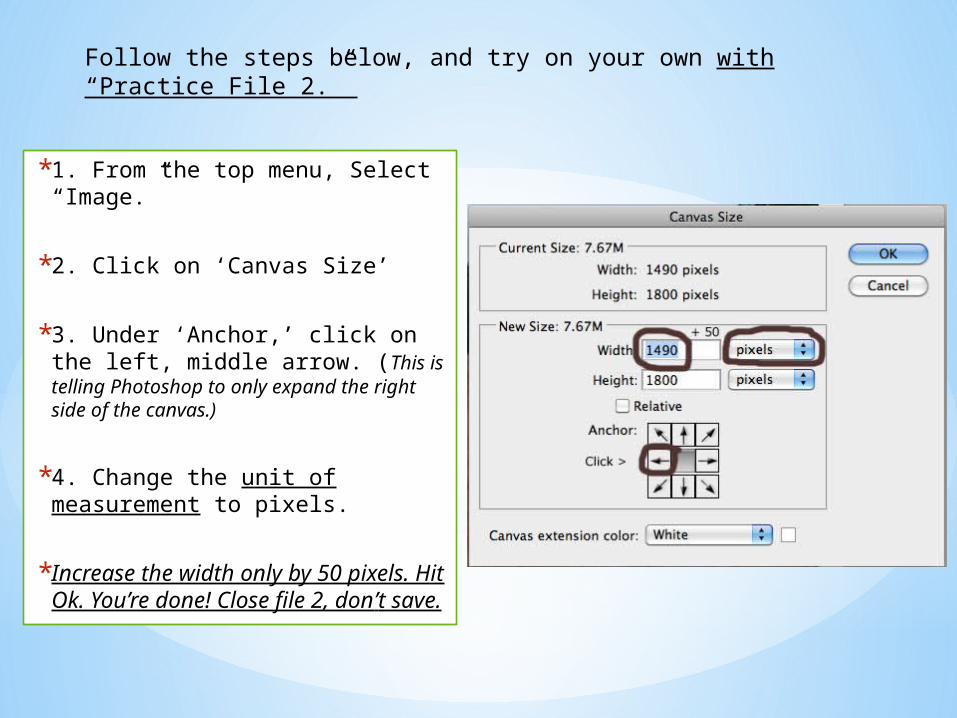
*1. From the top menu, Select “Image.”
*2. Click on ‘Canvas Size’
*3. Under ‘Anchor,’ click on the left, middle arrow. (This is telling Photoshop to only expand the right side of the canvas.)
*4. Change the unit of measurement to pixels.
* Increase the width only by 50 pixels. Hit Ok. You’re done! Close file 2, don’t save.
Follow the steps below, and try on your own with “Practice File 2.”

*Quiz YourselfSee if you can complete the following questions in Photoshop without looking for help. If you need to refer back to the PowerPoint, continue practicing until you no longer need it.
1. Open Practice File 1 and 2.
2. Create a new style named “Hang” from the text layer “Hanging” on Practice File 1.
2. Expand only the right side of the canvas by 50 pixels on Practice File 2.
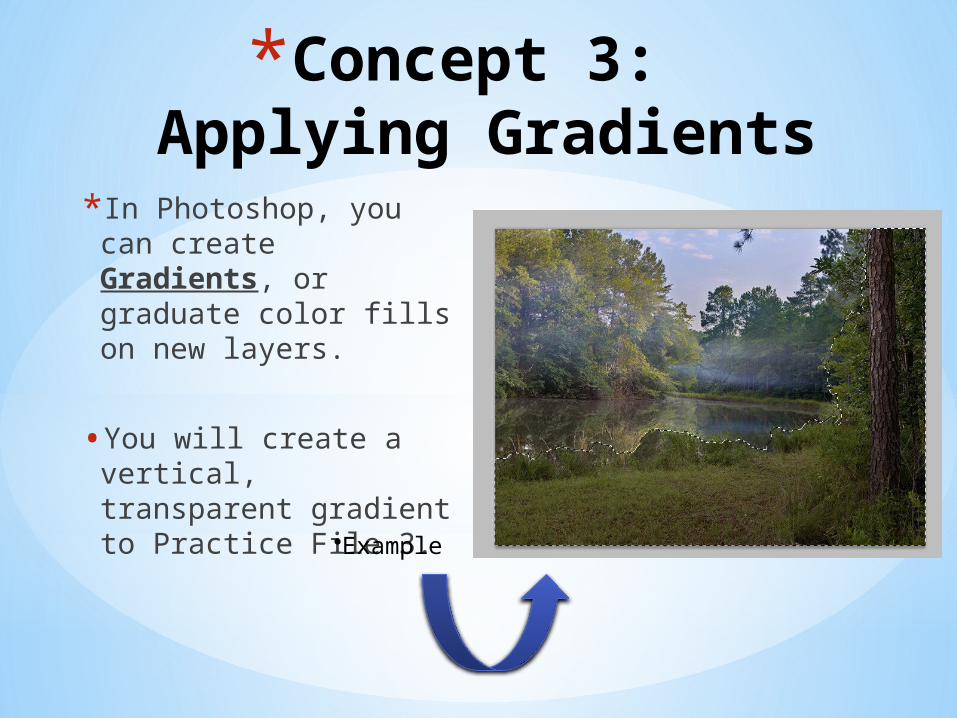
*Concept 3: Applying Gradients
*In Photoshop, you can create Gradients, or graduate color fills on new layers.
•You will create a vertical, transparent gradient to Practice File 3.
•Example
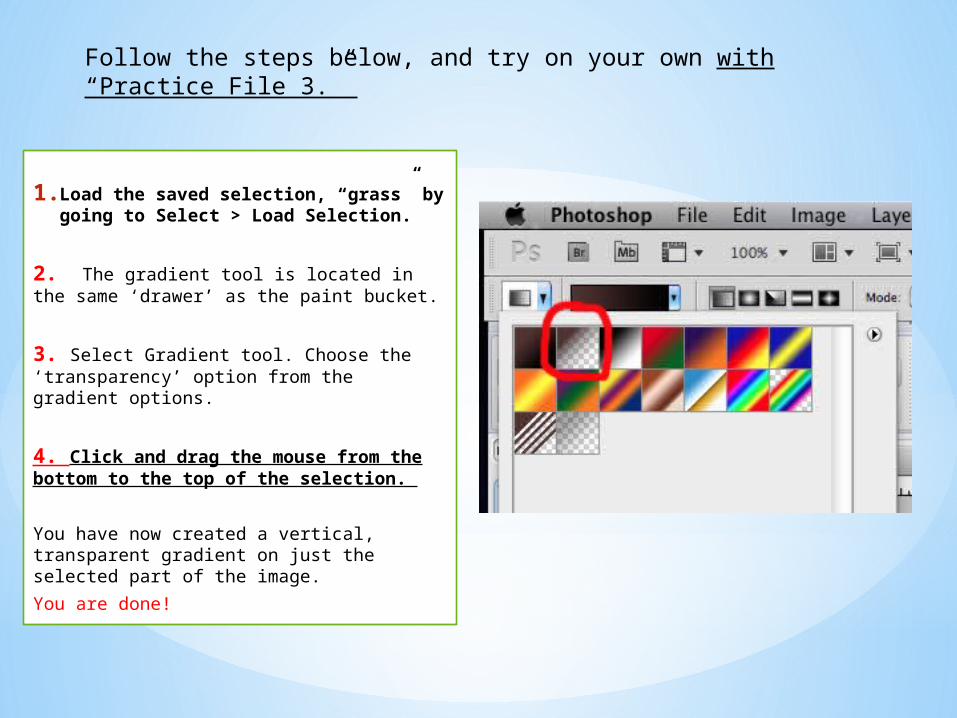
1. Load the saved selection, “grass” by going to Select > Load Selection.
2. The gradient tool is located in the same ‘drawer’ as the paint bucket.
3. Select Gradient tool. Choose the ‘transparency’ option from the gradient options.
4. Click and drag the mouse from the bottom to the top of the selection.
You have now created a vertical, transparent gradient on just the selected part of the image.
You are done!
Follow the steps below, and try on your own with “Practice File 3.”
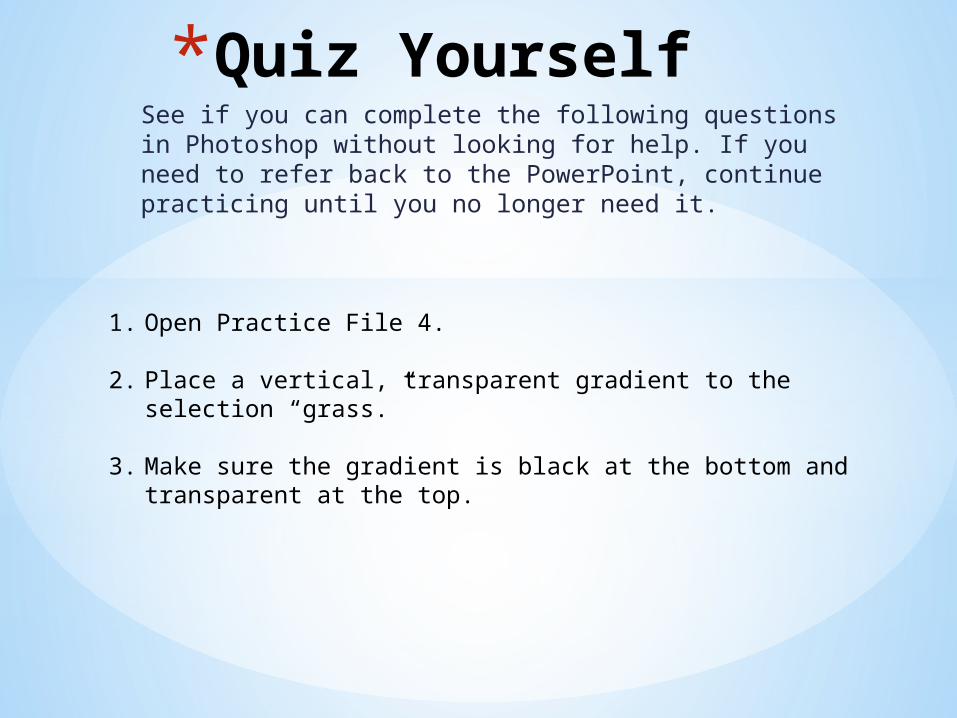
*Quiz YourselfSee if you can complete the following questions in Photoshop without looking for help. If you need to refer back to the PowerPoint, continue practicing until you no longer need it.
1. Open Practice File 4.
2. Place a vertical, transparent gradient to the selection “grass.”
3. Make sure the gradient is black at the bottom and transparent at the top.
*Flashcard Section
*The next couple of slides will serve as flashcards for you.
•Do research or ask questions if the slides do not make sense.
•Read and review the following 6 slides.
•They cover principles of design, project plans, and communication.
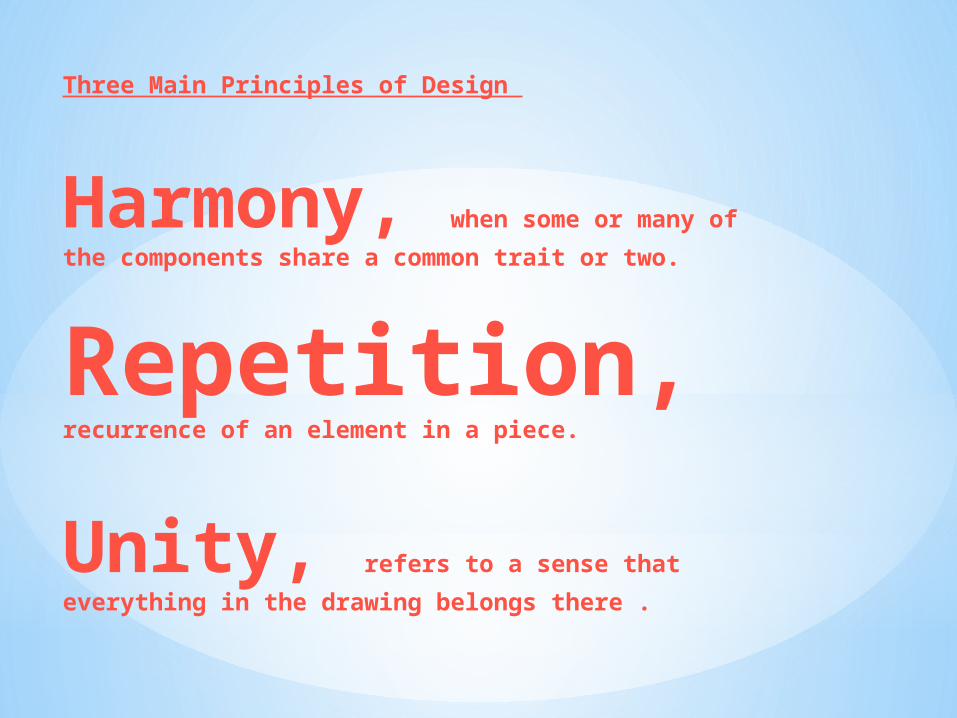
Three Main Principles of Design
Harmony, when some or many
of the components share a common trait or two.
Repetition, recurrence of an element in a piece.
Unity, refers to a sense that everything
in the drawing belongs there .
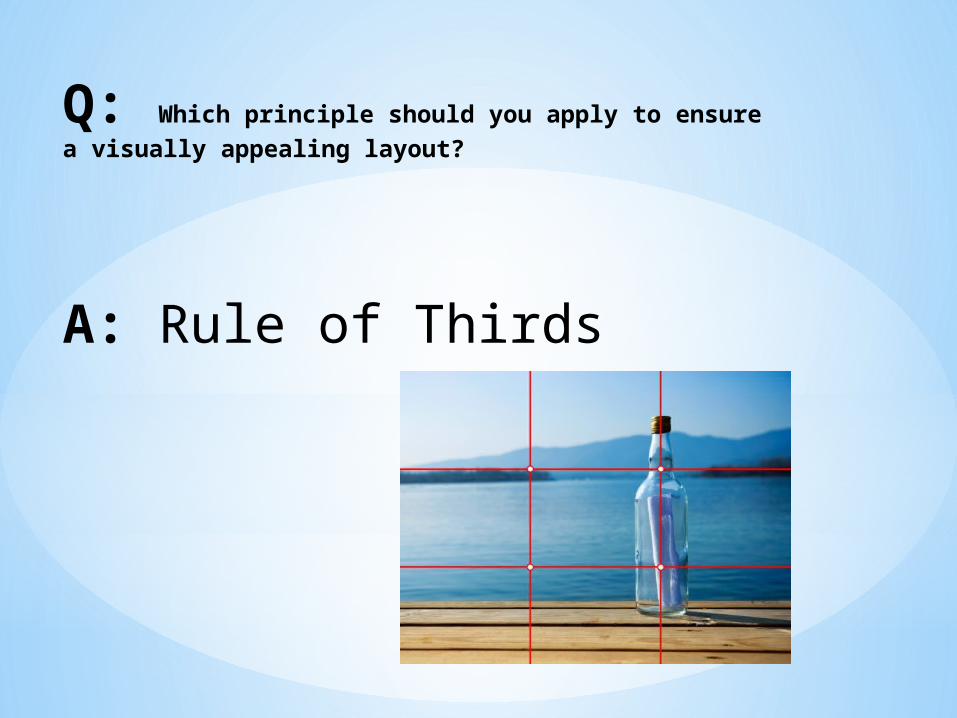
Q: Which principle should you apply to ensure a visually appealing layout?
A: Rule of Thirds
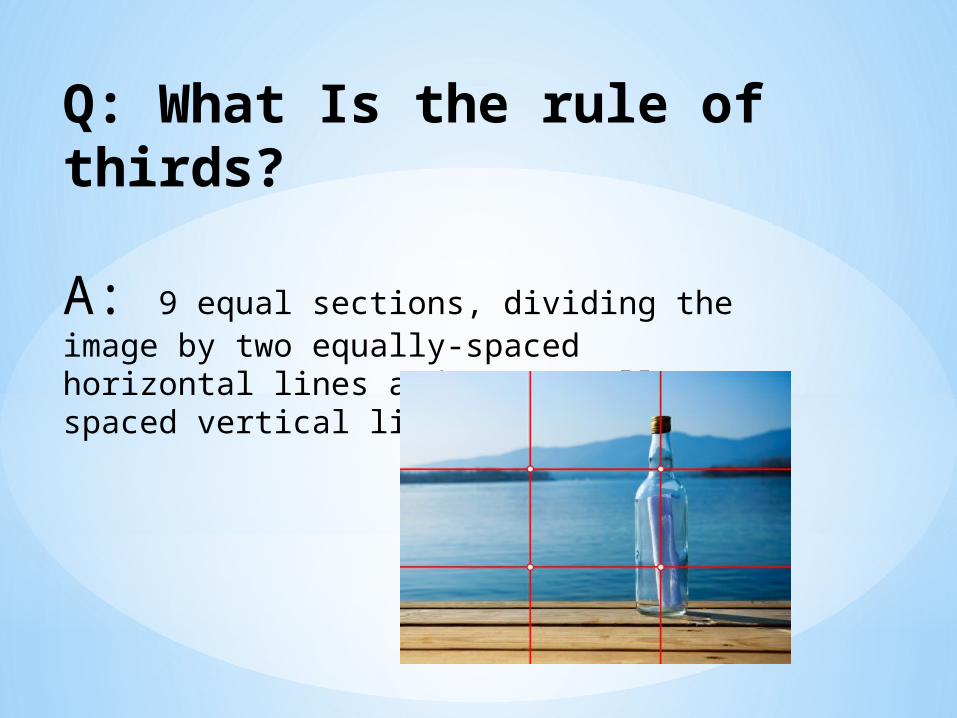
Q: What Is the rule of thirds? A: 9 equal sections, dividing the image by two equally-spaced horizontal lines and two equally spaced vertical lines.
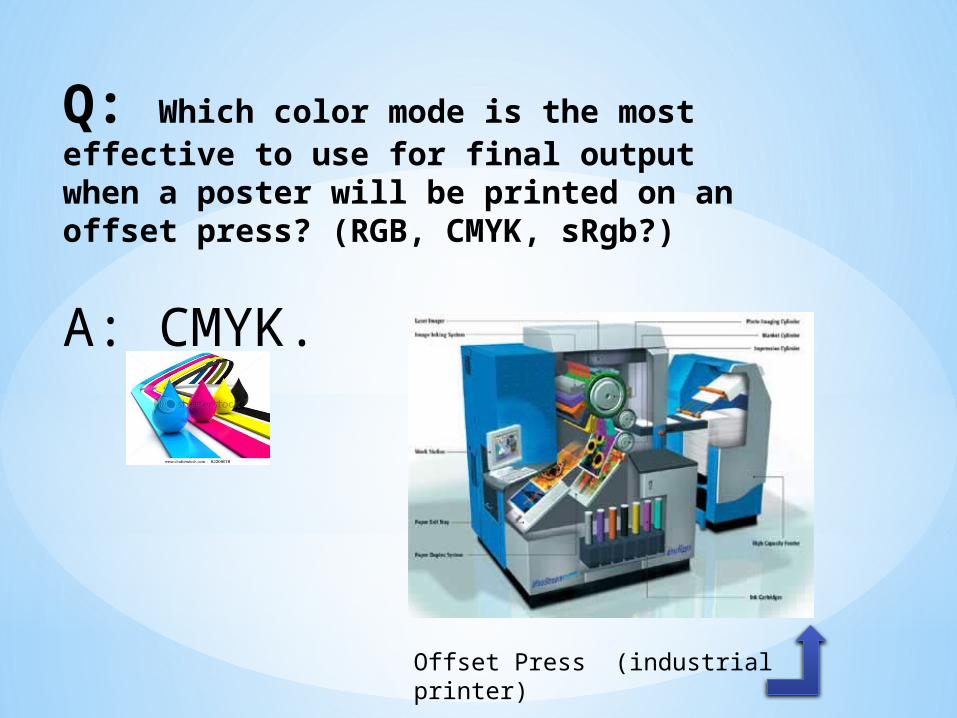
Q: Which color mode is the most effective to use for final output when a poster will be printed on an offset press? (RGB, CMYK, sRgb?)
A: CMYK.
Offset Press (industrial printer)
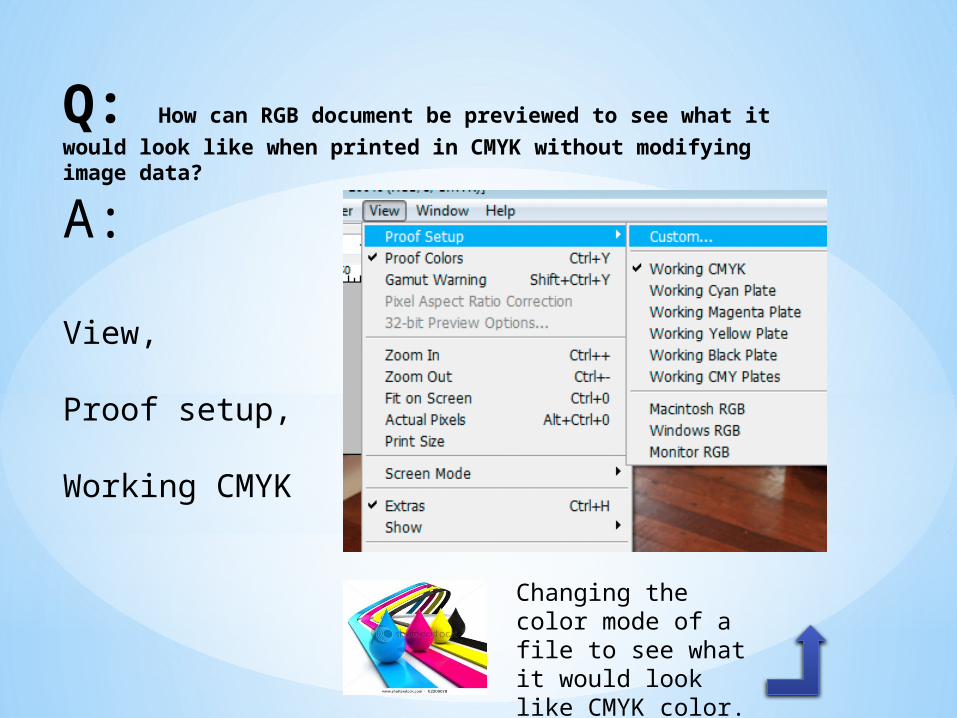
Q: How can RGB document be previewed to see what it
would look like when printed in CMYK without modifying image data?
A:
View,
Proof setup,
Working CMYK
Changing the color mode of a file to see what it would look like CMYK color.

Q: Which file provides the data for an image in an
unprocessed form?
A: Camera Raw