the building of a quick airplane! - imageeventphotos.imageevent.com/qdf_files/quickiefiles/the...
TRANSCRIPT

The Building of A Quick Airplane!
Hi I'm Mike, I fly a Quickie Q- 200 that I built in my garage in NE St. Pete, Florida. The airplane took me 1500 hours and 18 months to build. If this seems like a long time to you then you won't like this… I think I'm the fastest person to ever build one. I spent at least 3 hours a day and most of the weekend building it over that 18 months. The first flight was in July 1985, seems like a long time ago. People often ask me how hard it is to build an airplane. Its not hard, its monotonous. Lots of little easy to do jobs, very little that requires extraordinary skill. I now have almost 1000 hours of flying time on the airplane. This is equivalent to going around the world 7 times, not bad for a little fiberglass and glue airplane. At the time I finished the plane it was one of the fastest airplanes flying at 200 MPH. Today the homebuilt airplanes are going 350+ MPH but the cost of these new planes is out of sight (around $400,000). I have around $18,000 invested in it and even today no airplane or kit airplane in this performance class comes close to that price. It's been a great economical aircraft. The wife and I have traveled from Florida to the Bahamas (many times), Wisconsin, New Hampshire, New York (circled the Statue of Liberty), and every restaurant airport in Florida (almost).
There are hundreds of these airplanes flying and thousands of kits sold, ooh that’s right, only about 1 of 10 kits sold ever fly's. Another sobering fact about airplane kits. Anyway, if the dream is there you will find a way to finish your airplane, I did, so can you.
This web site will take you chronologically through the construction of what was (18 years ago) the most efficient 2 place airplane ever designed. The same 100hp Continental Aircraft engine that pulls a Cessna 150 along at 95 mph pulls this machine at 207mph. 800mile range, 2 place side by side seating, space for luggage, quite a design for the early 80's. Gee its 2003 and this plane is still the most efficient 2 place airplane ever designed. So sit back, click the next page number you desire at the bottom of each page and enjoy… The Building Of A quick Airplane!

Pix taken in LAL (Lakeland) August 1985
Pix taken at PIE May15 2003
Dec 1983 The start.
Here is a picture of the pre-molded parts as they came from Quickie Aircraft Corporation. I had purchased the pre- molded canopy option, there really were no other options as I remember. I paid a dealer (Clio Crop Care) $9,000.00 for this pile of glue, fiberglass and foam blocks

Had to build a super flat, level 4'x 12' table which will be used for all the jigging, etc.
Fuselage Jigging, seatback in place, cutouts for luggage door.

Rear shell bulkhead being glassed in place.

Jan 1984
You can see the fuselage shells are joined at the cut line. Instrument panel temporarily in place.
Feb 1984
Engine arrived, 0 time rebuild by an A&P mechanic.

Mar 1984
Duane Newville helped me cut the foam with a hotwire cutter. We cut foam for three airplanes, one was mine, Dwayne sold his to a bloke in England, Terry (the other) I think his kit went to England also.

Elevators were jigged on the flat, level table. Everything needed to be checked carefully for alignment before being glassed.
Note the cutout for the main wing in the fuselage shell. These are the elevators being jigged and glassed.

A spare bedroom is nice for storage of parts you want to keep clean and dry.
Another view of that spare bedroom.

April 1994
The main wing core has been prepaired for glassing. It took two of us working fast to do the layup before the epoxy hardens. My wife was the official epoxy mixer, and we used it as fast as she mixed it!
Another view of the main wing core.
One layup side completed, waiting to cure the epoxy.

Second layup completed

The main wing is done! And it looks great. Note the firewall and mag box work is now in process.


May 1984
The canard wings spar was glassed in the center and prepped for attachment to the wing cores.
The first layup on the canard. Because the canard has the carbon fiber spar it doesn't use the many layers of glass that was used in the main wing. It was much easier to glass.

Another view.


June 1984
The slot cores mounted per plans on the canard wing.

A good view of the canard carbon fiber spar and the slot core being attached. The tube out the end is the brake line.
July 1984
View of the elevator being fitted in place. The larger tube is the Pitot line for the airspeed indicator.

The elevator hinges are fit in place along with the control tubes. In the background you can see the vertical fin is installed in the rear shell and the motor mount is fit to the engine prior to installation.

Outermost of the three elevator hinges. The foam block down the wing covers and protects the pitot tube.

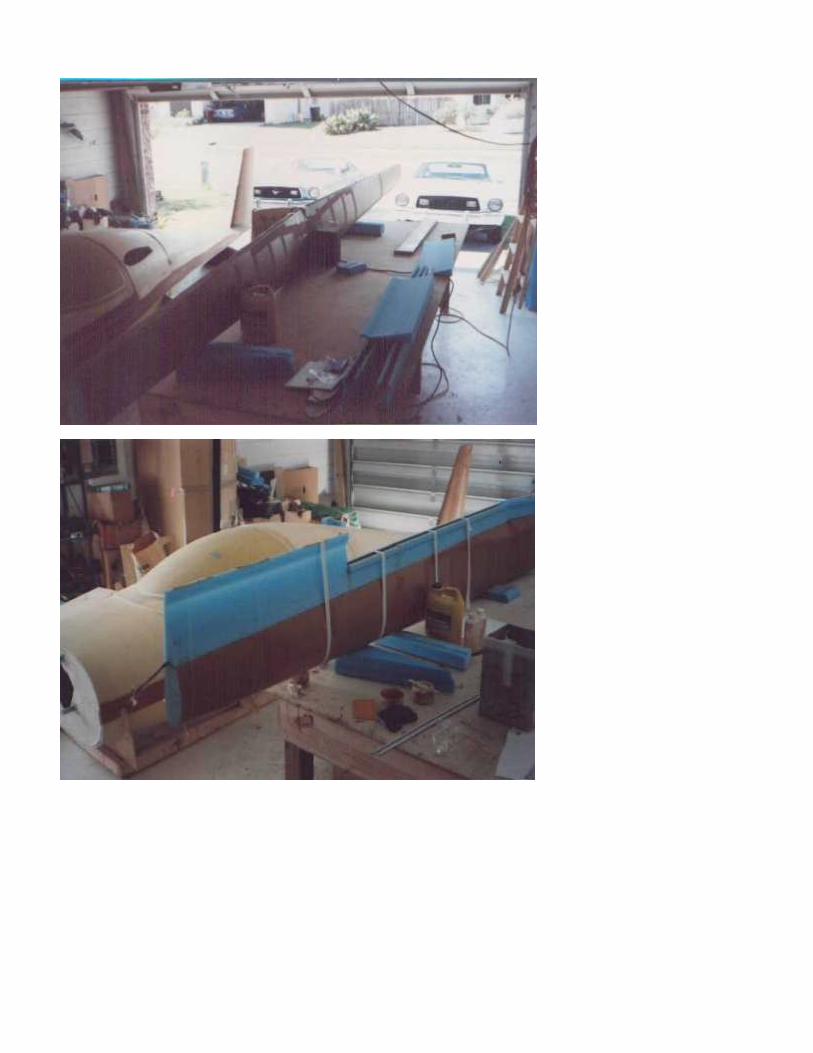
Canard basically ready for installation. Note the fill/prep for paint work has been done up to a few inches prior to the fuselage joint. Ever try to sand the bottom of a
Time to build the wheel pants. As you can see, the wheel is fit in place. I used the small tire option for less drag

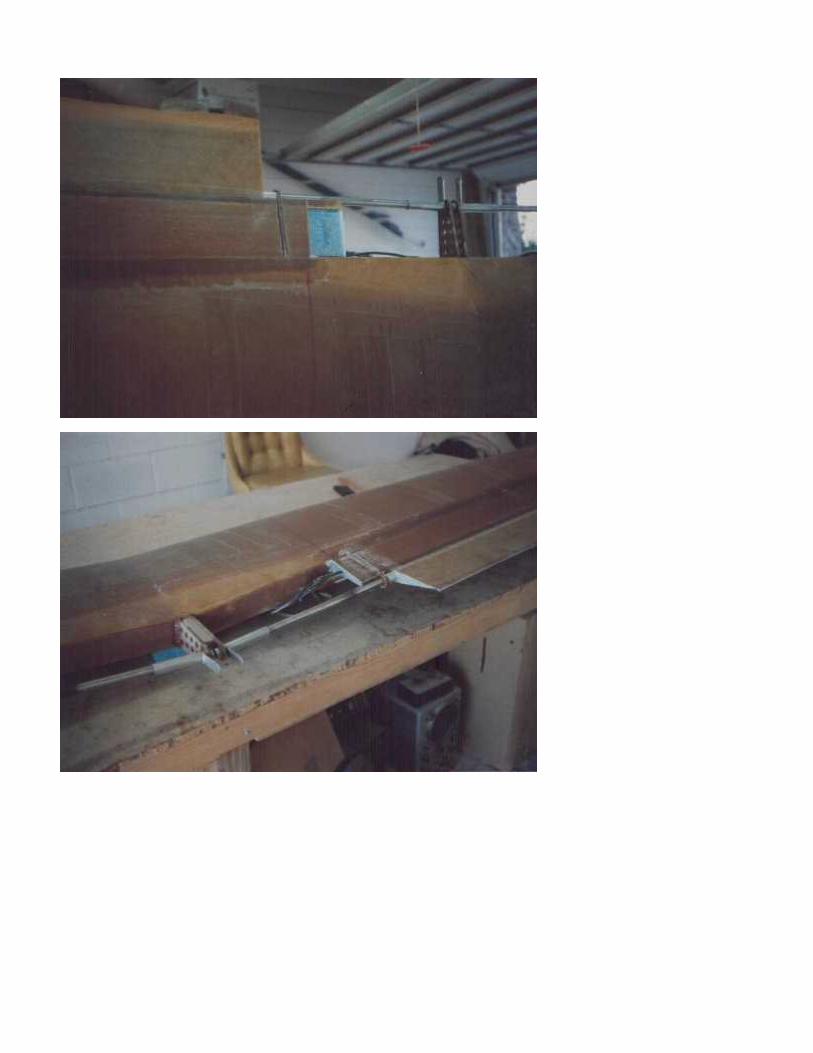
Starting from the square shape they slowly get rounded for that streamlined shape.
Still working on the wheel pants.
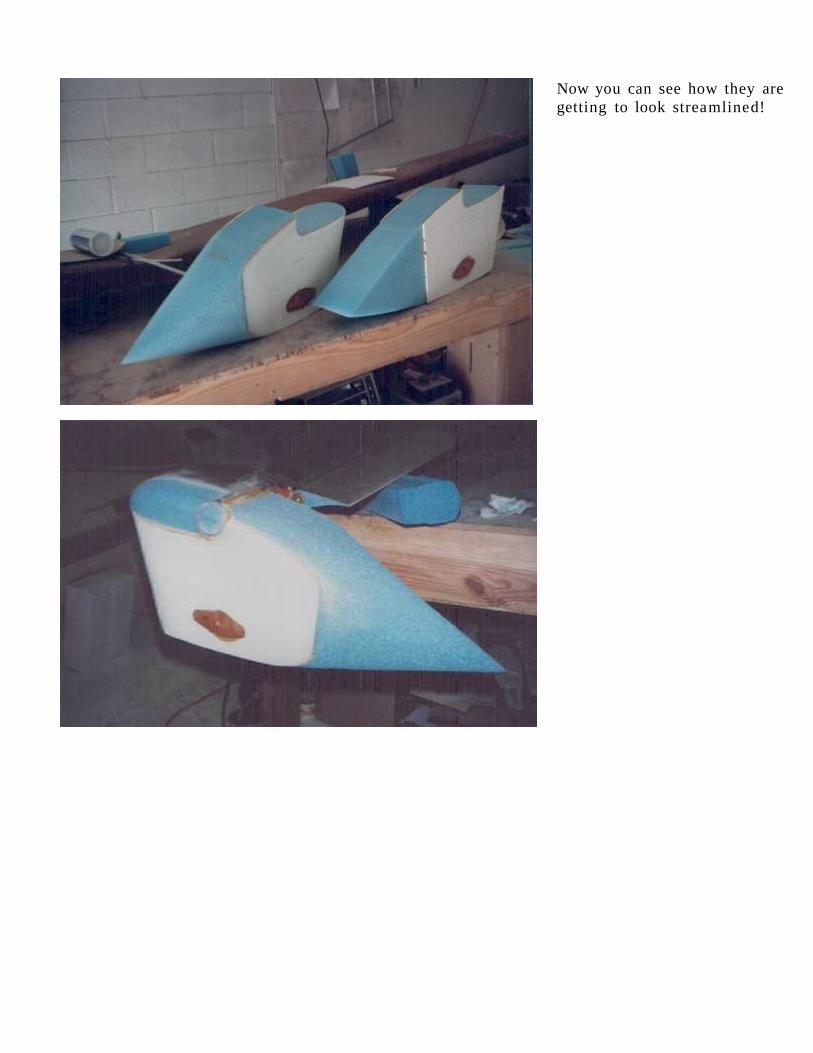
Now you can see how they are getting to look streamlined!


Fitting the wheel pants to the canard. Notice the pitot tube and the fully rigged elevator hinges.
Working on the canopy hinge and fitting. This was the scary part, to cut a big hole for the canopy to fit in. I had purchased the pre built canopy option but it did need to be trimmed to size. Note the bubble level on the front of the fuselage shell. The fuselage came as 4 parts and needed to be joined top & bottom, front and back, not easy to trim to size.

The vertical tail and the rear fuselage shell where its going.
Some of my pictures are fading out and changing colors after 15 years. This is part of the reason why I wrote these WEB pages.
Initial fitting of the fuselage, looks pretty fast already!

Another angle on the same subject.
And the tail goes in. Note the rudder hinge in place and the hole for the tail spring. The engine is on its roll around stand and is mounted to the firewall.

Slowly all the pieces go together.
The rear bulkhead and fuselage top are fit in place.

The rear bulkhead is glassed in place
The canard is glassed in place.

The top fuselage shell is glassed in place.
The firewall was fitted to the engine before the firewall was installed.

The firewall is fit in place and glued.
Another view of the firewall installation.

The corner is rounded and layers of fiberglass cloth are used to strengthen the firewall attach. We don't want our engine falling off!

The rear tail spring and tail wheel assembly is fit in place. The distance from the tail wheel to the ground is critical, that’s why the spring makes a noticeable drop downward.
Brake caliper cover in the forming. Look ma, its on the wheels, only 50% of the work left!

The header tank looking down into the tank.(actually the tank was installed prior to the firewall.)

The seat belt and brake master cylinder are installed.
The passenger side seat belt and fuel filler are installed.

The center console takes shape.
The control stick is hooked up, stuff starting to appear.
Another center console shot.

A shot showing that the header tank was installed prior to the firewall.
Fuel filler and passenger arm rest.

Another interior shot.
Working on the instrument panel layout.

Cutting the instrument panel holes.
Wow, its starting to look like an airplane!

Look at that, all most all done, not.
Back to looking like a mess. I could assemble the front and rear shell without the engine in the garage or I could put the engine on the front shell without the rear shell attached. The pain of

building an airplane in your garage!
Time for the engine work. Don't drop it.

Engine with prop extension going on… It fits!

Cowling trimmed and fitted in place, really getting exciting now.
Another view but you can also see work being done on the wing tips.

Now for the fun part, filling, sanding, filling, sanding, filling, sanding, filling, sanding, filling, sanding, filling, sanding, filling, sanding, filling, sanding, filling, sanding, filling, sanding, filling, sanding, filling, sanding, filling, sanding, filling, sanding, filling, sanding, filling, sanding, filling, sanding, filling, sanding, filling,… all by hand because machines will tear through the fiberglass too easy.
Still getting ready for painting.

Pretty close to painting.
Starting to turn gray.

Turning more gray.
Prepped with ultraviolet blocking dark gray primer.

The vertical tail all prepped for paint.

The cowling prepped and ready to paint.
Getting close now.

A tight fit in the two car garage. When we were looking for a house I gave the list of things we wanted, # 1 was a big garage. The realtor never did figure out why that was so important. This garage was about 3' higher ceiling than normal. Next time I'll look for a three car garage!
The plane is sitting on paint cans so that we can shoot paint on the bottom wing surface. What's it weigh? Completed with engine, battery ,… its 640 lbs so at this state its probably 200lbs ?
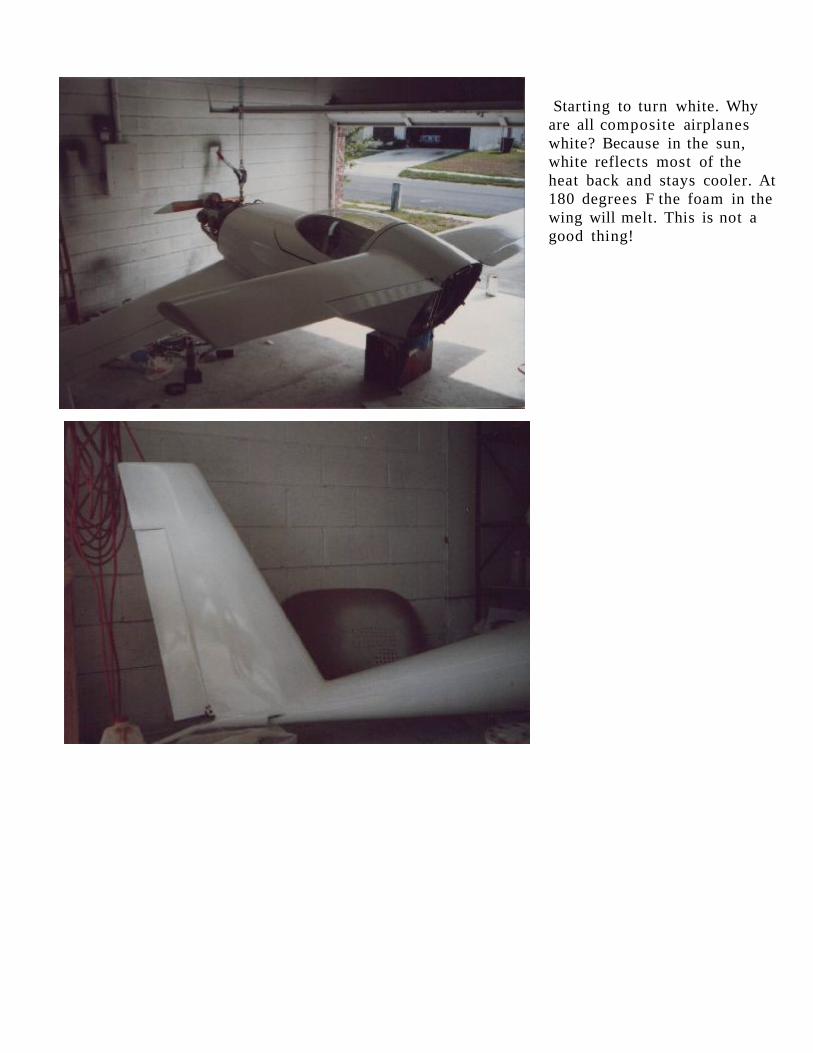
Starting to turn white. Why are all composite airplanes white? Because in the sun, white reflects most of the heat back and stays cooler. At 180 degrees F the foam in the wing will melt. This is not a good thing!
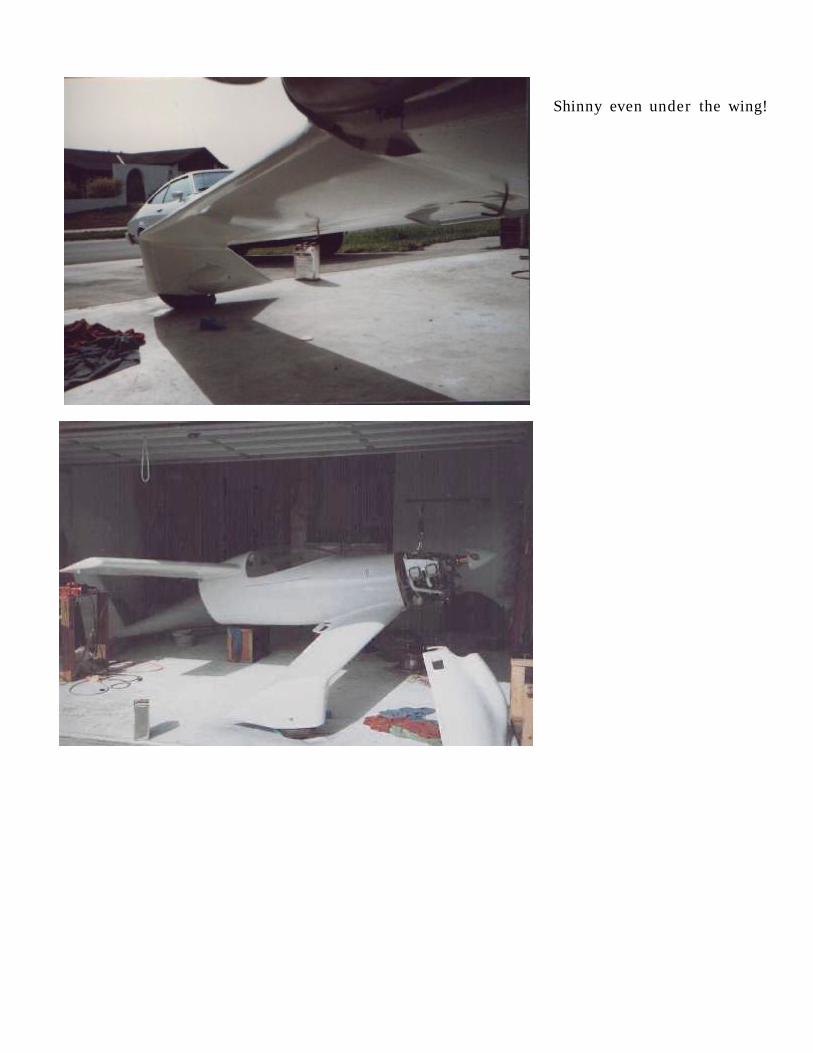
Shinny even under the wing!

Pretty clean looking wheel pants.
Engine, Prop nearly ready for a test run.

Continental 0- 200A, rebuilt, 0- timeWarnkee Prop
Engine cooling baffles going on.

Carb heat box, ducting in place.
Rubber added to engine baffles. The white coating on the exhaust pipes fell off with a few hours of flight.

A good view of the exhaust stack.
Got a couple of wires to figure out where they go. Two power buses, intercom, navcom, gyro's, panel lights, more instruments, cht, egt, rpm,… Where does it end?

Thank goodness I'm an electronic engineer. Hope I can figure this out! I got the panel switches, wire ties, other similar stuff at a trade show, the teflon wire from junk at work.
First time the entire airplane was fit together. Previous to this the engine and no tail was on, or the tail and no engine.
Looking Good!
We tailored the airplane up to Brooksville Airport. 7000'x200' wide runways, very low traffic.
That’s my wife Liz staring at the airplane and Bill Buston on the left. Bill let George teach me tail dragging in

Bills 1940 Porterfield, his love. Thanks Bill for being so supportive.
This was the last time the Q-Bird was on the trailer.
From here it completed about 5 hours test flight time and was moved to SPG, Albert Whitted Airport in downtown St. Pete. The next pages have in air pictures of the home airport.
There is George Read on the left. George did the test flying of this bird. I picked him cause if it has wings on it George can fly it. George helped me get checked out in tail draggers and he sill remembers when this green kid walked into the EAA chapter 47 meeting one evening in 1984 and announced he was going to build a Quickie Q- 200. They laughed! Well maybe giggled a little. Throughout the building process the members of EAA chapter 47 were a part of my life. I don't think you can build an airplane without this kind of support. I don't think we'd have these airplanes except for the work of the EAA national. Thanks guys.
EAA
. http: / /www.eaa
.org
check them out!
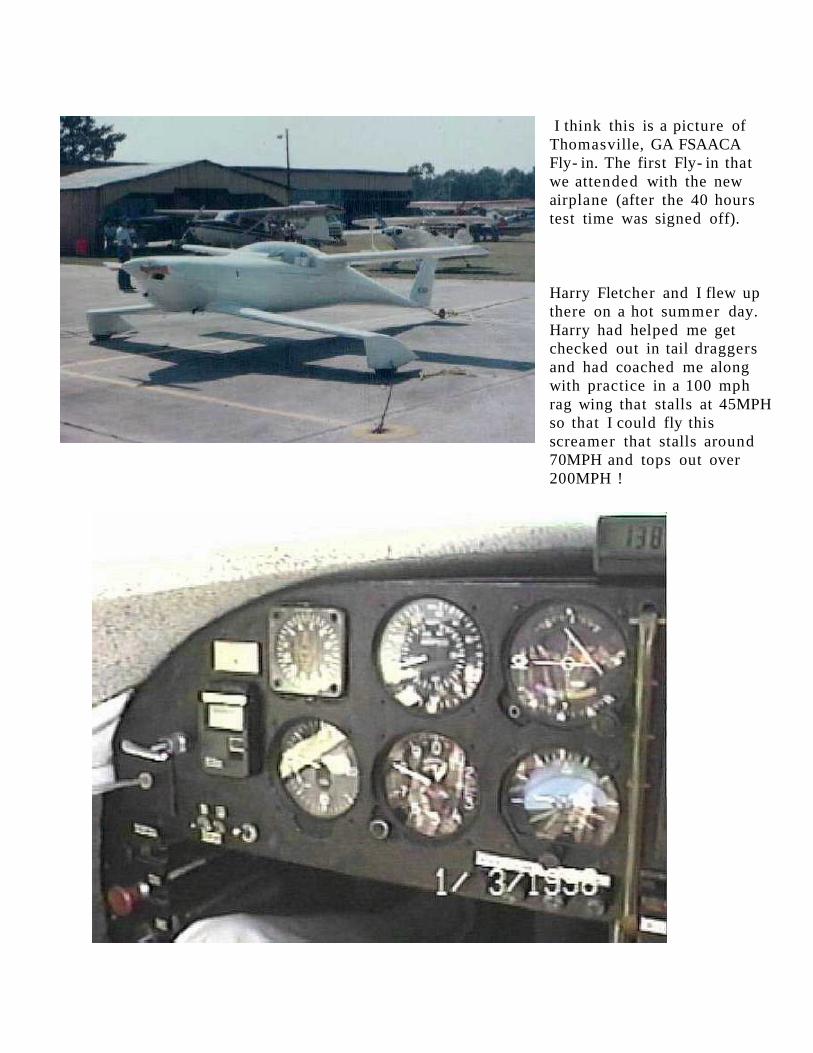
I think this is a picture of Thomasville, GA FSAACA Fly- in. The first Fly- in that we attended with the new airplane (after the 40 hours test time was signed off).
Harry Fletcher and I flew up there on a hot summer day. Harry had helped me get checked out in tail draggers and had coached me along with practice in a 100 mph rag wing that stalls at 45MPH so that I could fly this screamer that stalls around 70MPH and tops out over 200MPH !

Albert Whitted Airport (the aircraft carrier). 18/36 is 2800' long so each landing in the Q- 200 had to be right. The approach needs to be 85mph light, 90mph heavy. Add 1000 feet to your landing roll for every 5mph your over that.
With 1600' being my best landing, coming in at 95 means I'm going to get wet!

Try and guess where this long runway is. Hint, its in Florida and you need to watch out for alligators crawling out onto the hot concrete.

Well here's another shot of the Space Shuttle Landing strip. That’s right, we got cleared into the restricted area and made a buzz down the LONG LONG runway. Pretty cool !
14 years later and 900 hours flying time, she still looks good…but she's going to get painted this year.

The End.For now, check back every once in a while cause I'm adding more text and flying pictures.This is a bad picture of Tampa bay looking North from about 800 feet up.
This is a bad picture of PIE, St Pete / Clearwater international airport. Its been my home airport for about 5 years now. 8500' runway so I don't have to be perfect on each landing! Now I just
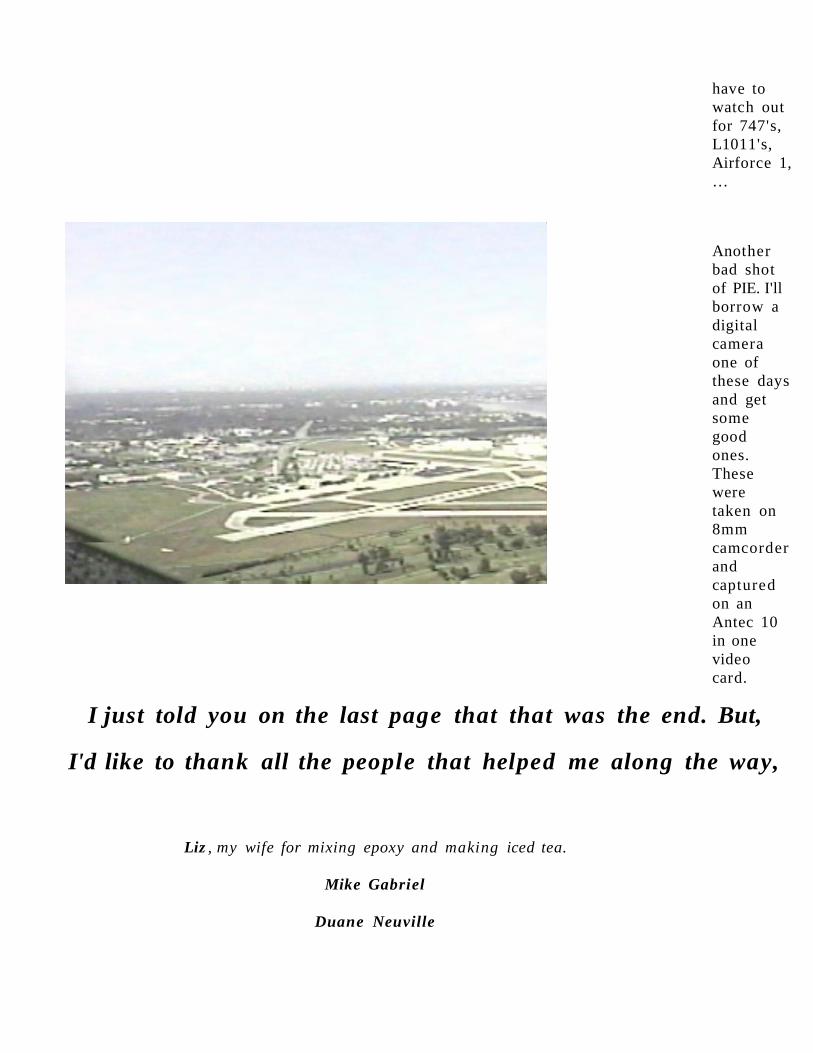
have to watch out for 747's, L1011's, Airforce 1, …
Another bad shot of PIE. I'll borrow a digital camera one of these days and get some good ones.These were taken on 8mm camcorder and captured on an Antec 10 in one video card.
I just told you on the last page that that was the end. But,
I'd like to thank all the people that helped me along the way,
Liz , my wife for mixing epoxy and making iced tea.
Mike Gabriel
Duane Neuville

Bill Buston
George Read
Harry Fletcher
Hank Palmer
Terry Hansen
Carl Bourne
Jim Magee
EAA Chapter 47
EAA National
Sun N Fun
Aircraft Spruce
Gene Shenan (designer)
Jim Masal (QBA newsletter)