twisted earringswire & jewelry making tutorial series...
TRANSCRIPT
TWISTED EARRINGSWIRE & JEWELRY MAKING TUTORIAL SERIES T163
COPYRIGHT
Copyrights DIY Beading Club 2013
Published By DIY Beading Club
INTRODUCTION
Play with your wires, twist and twist and make a pair twisted earrings!This tutorial does not need any special technique. You are just playing with wires as you twist and create vine-like wires or branches. The design is unlimited. You can use any size and type of beads and twist as many times as you like, making the
branches longer or shorter. As you twist you will see its form and you can adjust if needed.
The tutorial is catered for beginners or anyone who loves to learn this basic wirework technique. It has in-depth instructions and ultra-clear, close-up photos at each step.
Additionally, you can ask me question you have on the tutorial. No more getting stuck and frustrated on a confusing or just plain inaccurate pattern.
MATERIALS AND TOOLS NEEDED:
Materials NeededA some seed beads any sizeB 12 x 0.6cm in diameter Rondelle crystalsC 2 x 1cm in diameter Rondelle crystalsD 2 x 1.5cm in length tear drop beads2pcs 50 inches x 0.3mm (28ga) copper wire2 jump rings2 ear wires
Tools NeededWire CutterRound Nose pliersFlat Nose pliers
STEP BY STEP INSTRUCTIONS
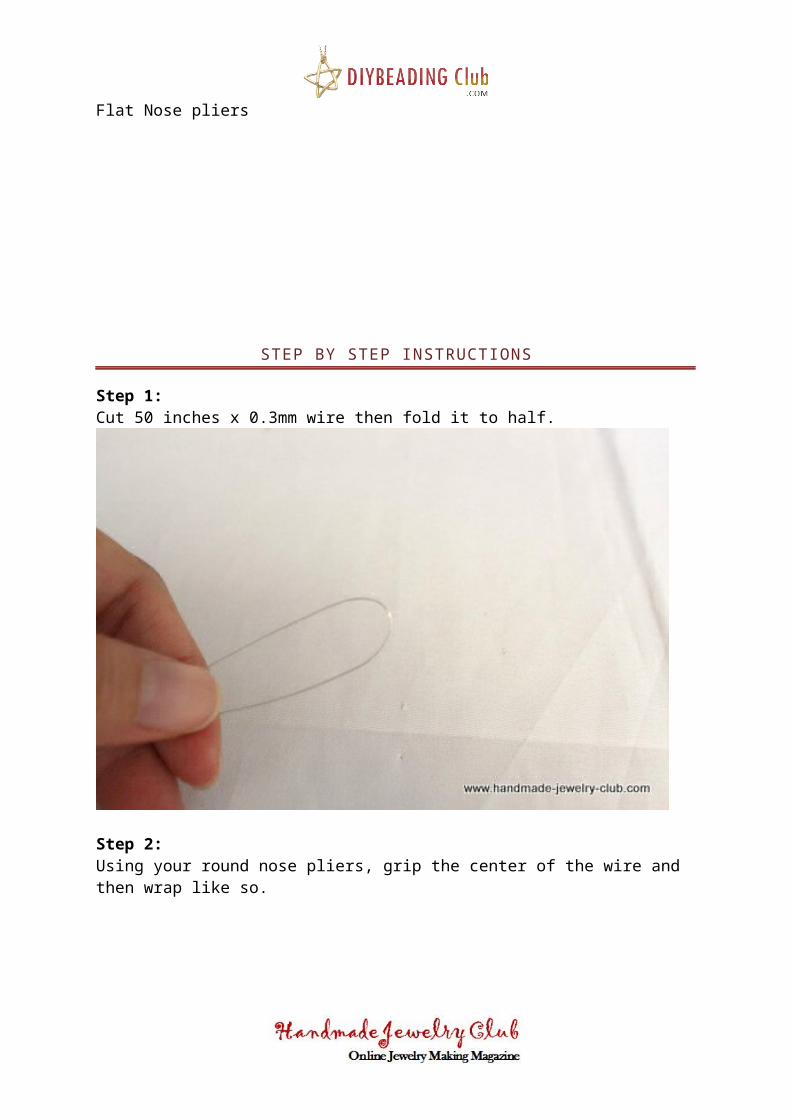
Step 1:Cut 50 inches x 0.3mm wire then fold it to half.
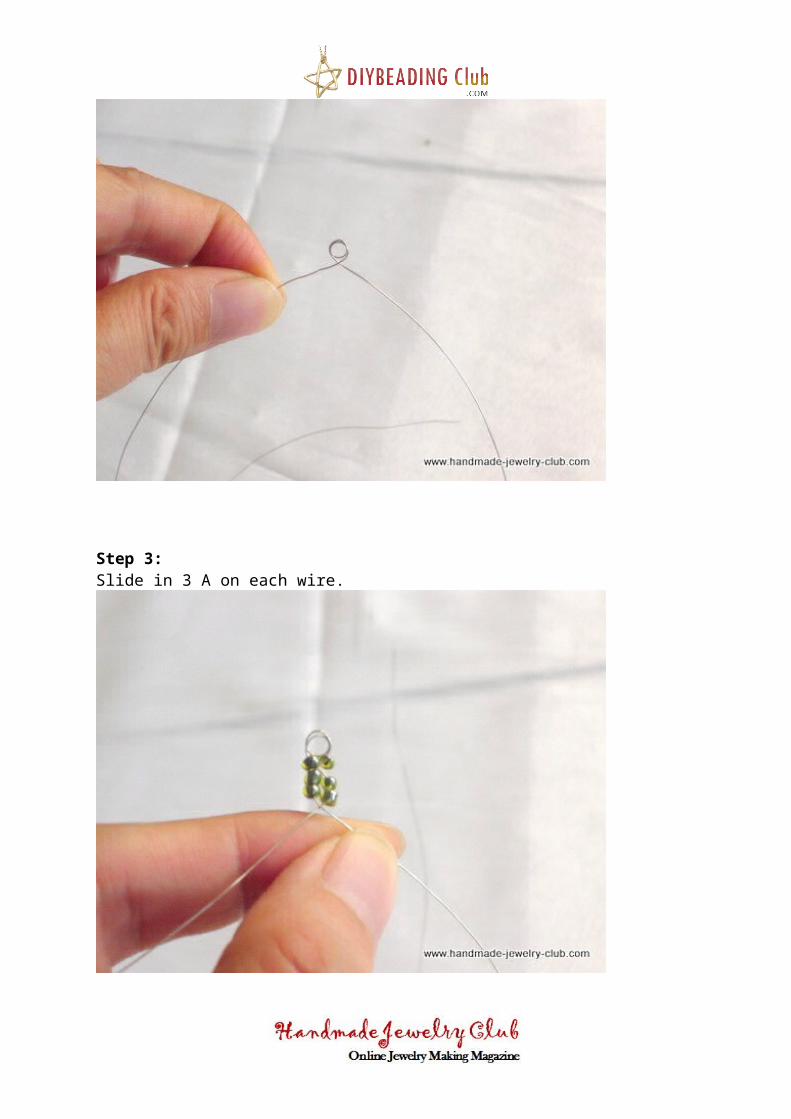
Step 2: Using your round nose pliers, grip the center of the wire and then wrap like so.
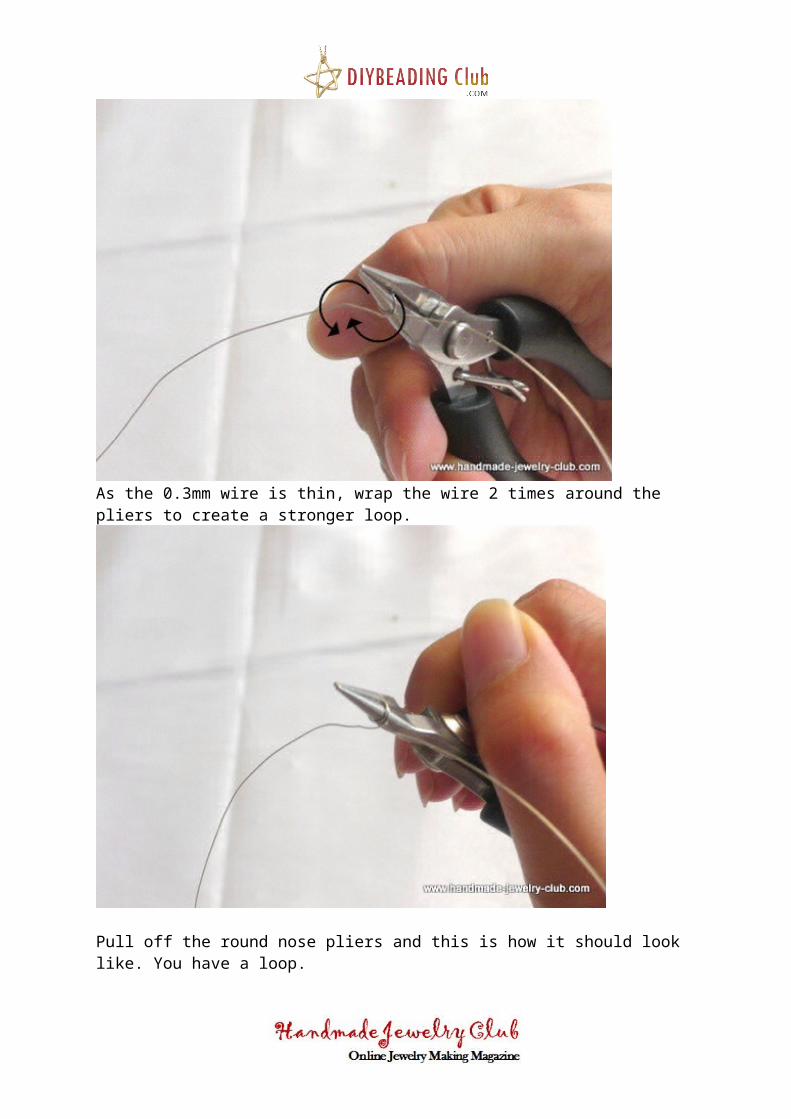
As the 0.3mm wire is thin, wrap the wire 2 times around the pliers to create a stronger loop.
Pull off the round nose pliers and this is how it should look like. You have a loop.
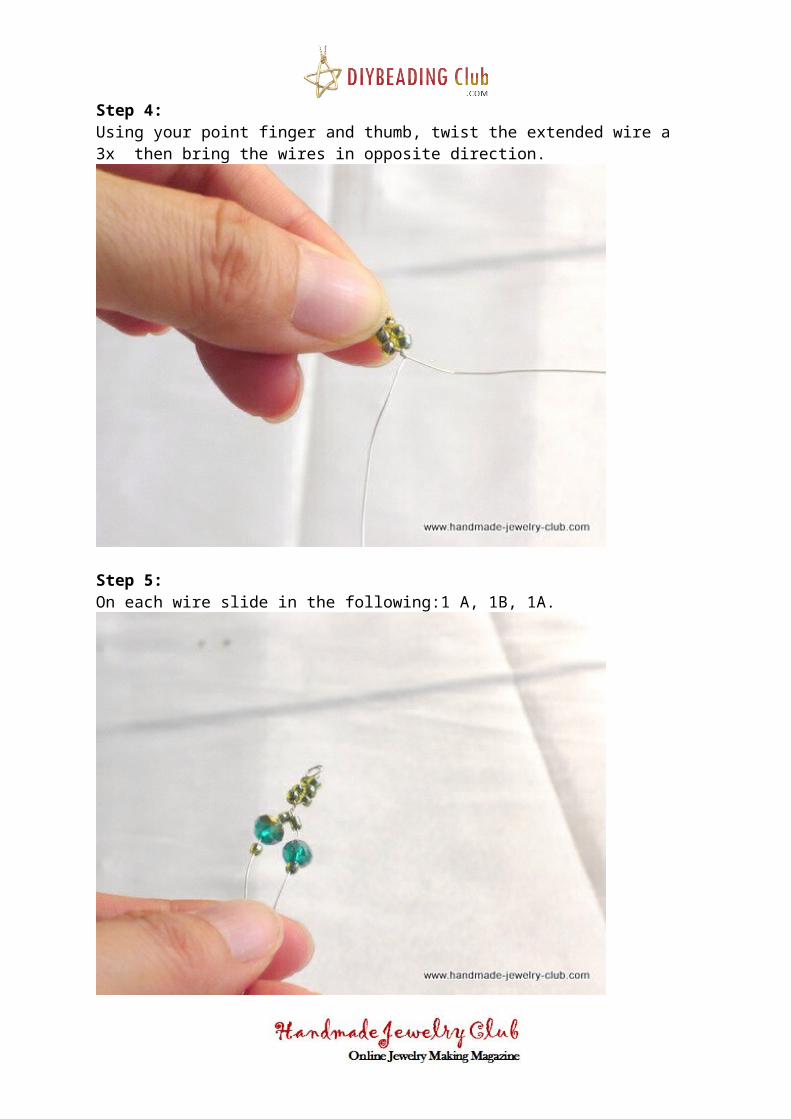
Step 3: Slide in 3 A on each wire.
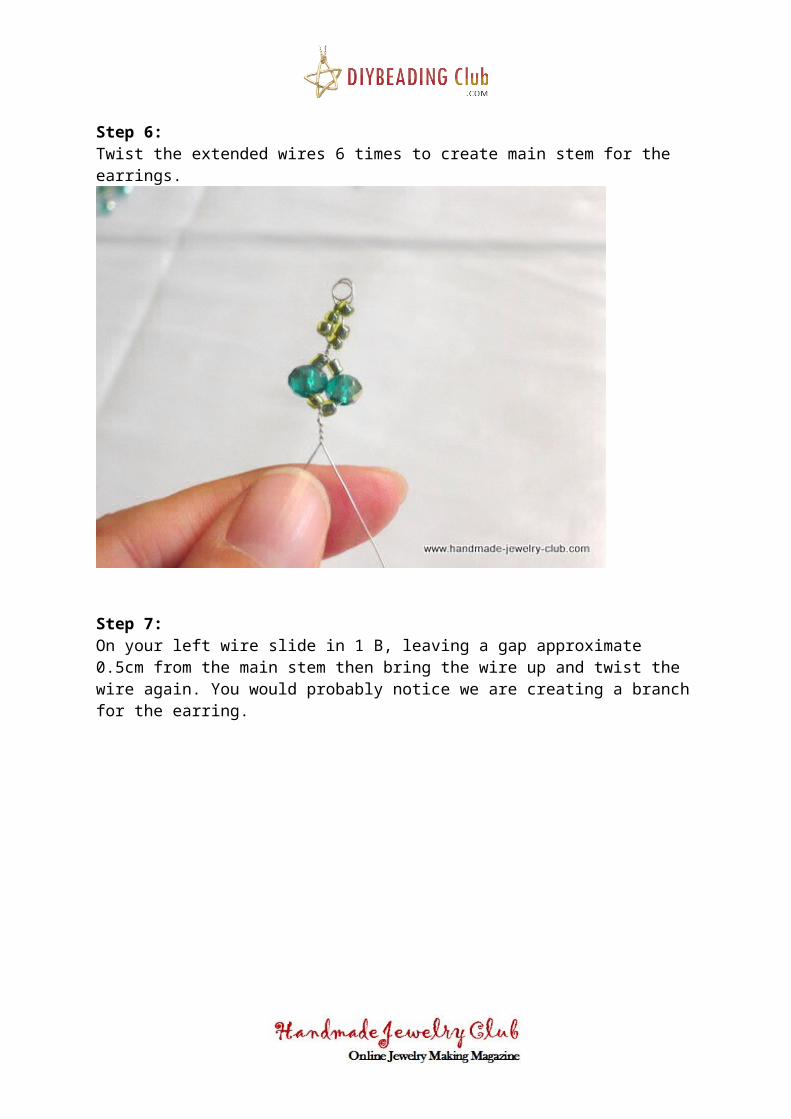
Step 4:Using your point finger and thumb, twist the extended wire a 3x then bring the wires in opposite direction.
Step 5:On each wire slide in the following:1 A, 1B, 1A.
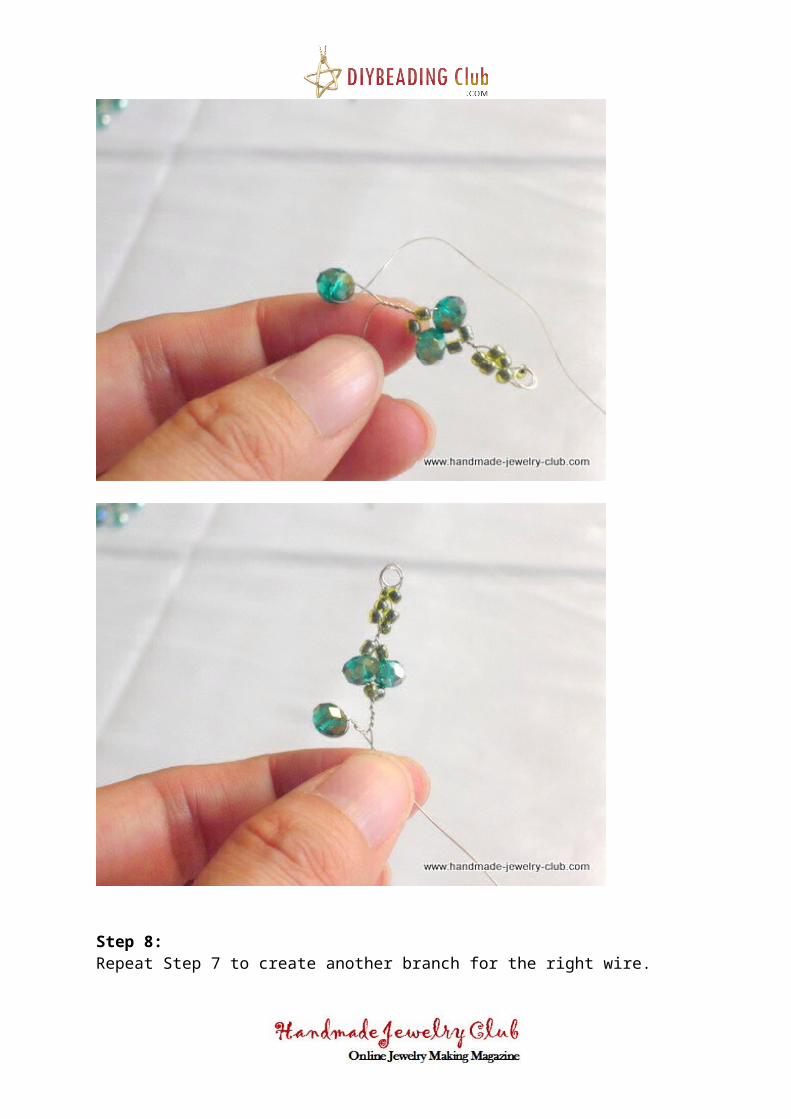
Step 6:Twist the extended wires 6 times to create main stem for the earrings.
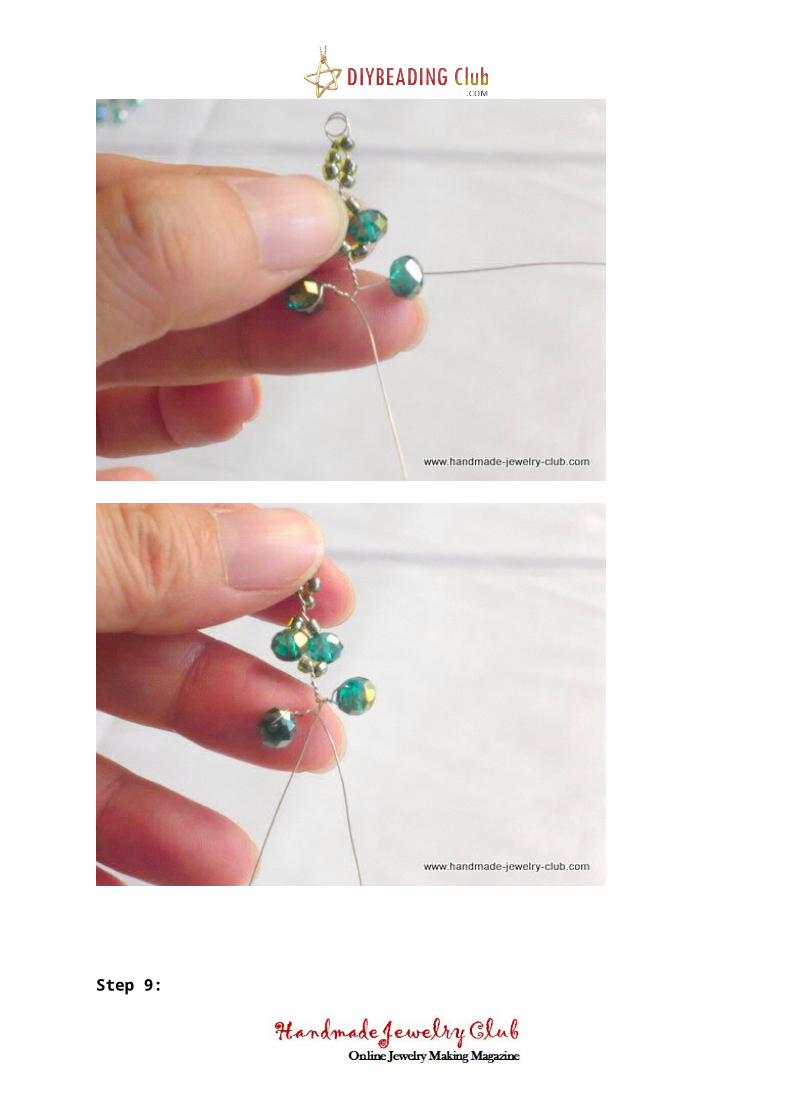
Step 7:On your left wire slide in 1 B, leaving a gap approximate 0.5cm from the main stem then bring the wire up and twist the wire again. You would probably notice we are creating a branch for the earring.
Step 8:Repeat Step 7 to create another branch for the right wire.
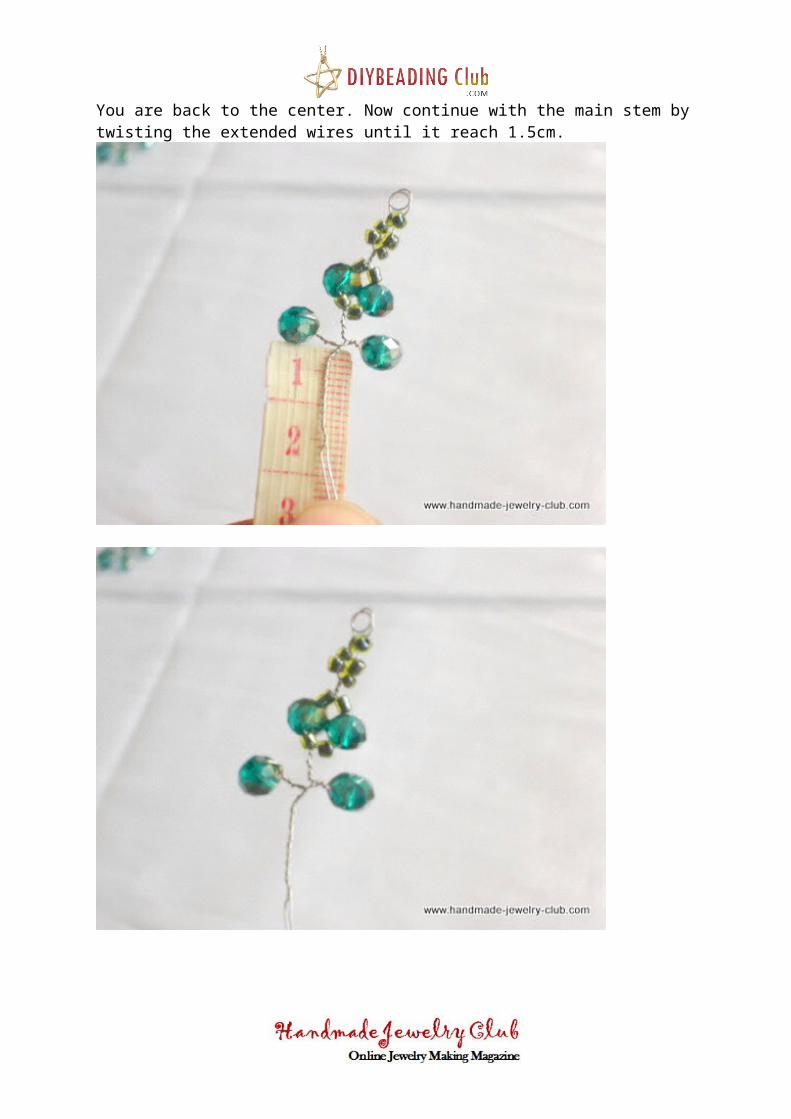
Step 9:You are back to the center. Now continue with the main stem by twisting the extended wires until it reach 1.5cm.
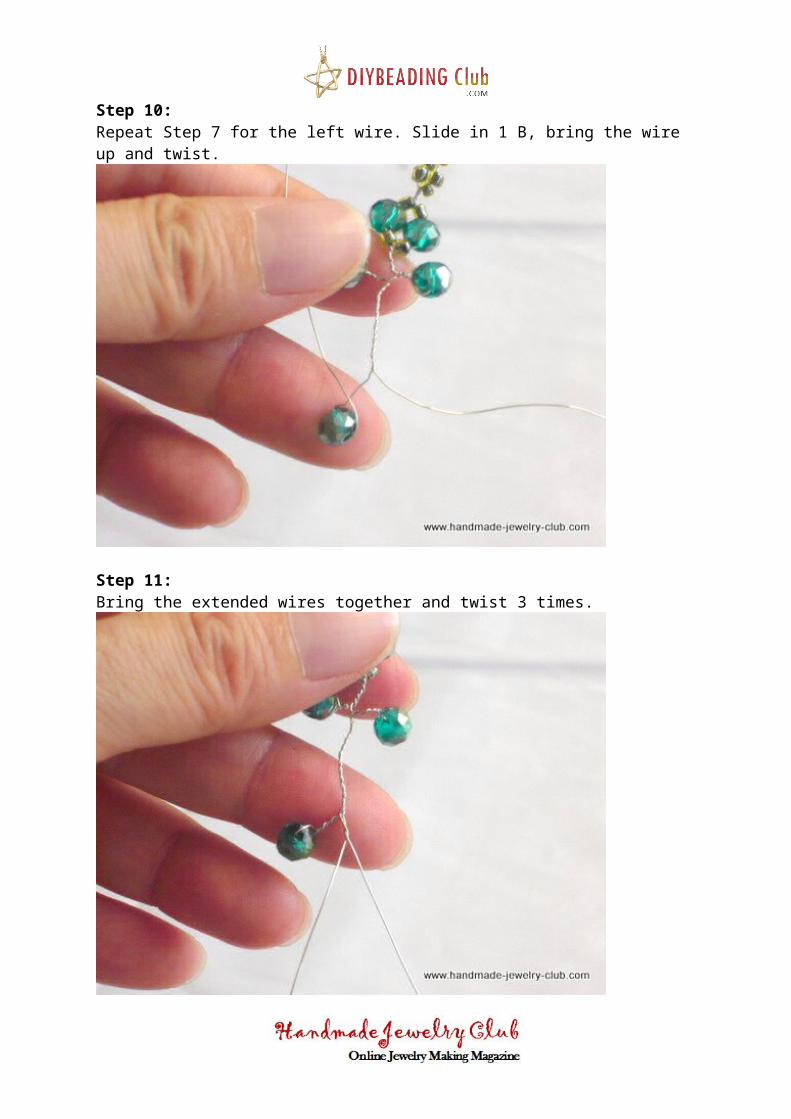
Step 10:Repeat Step 7 for the left wire. Slide in 1 B, bring the wire up and twist.
Step 11:Bring the extended wires together and twist 3 times.
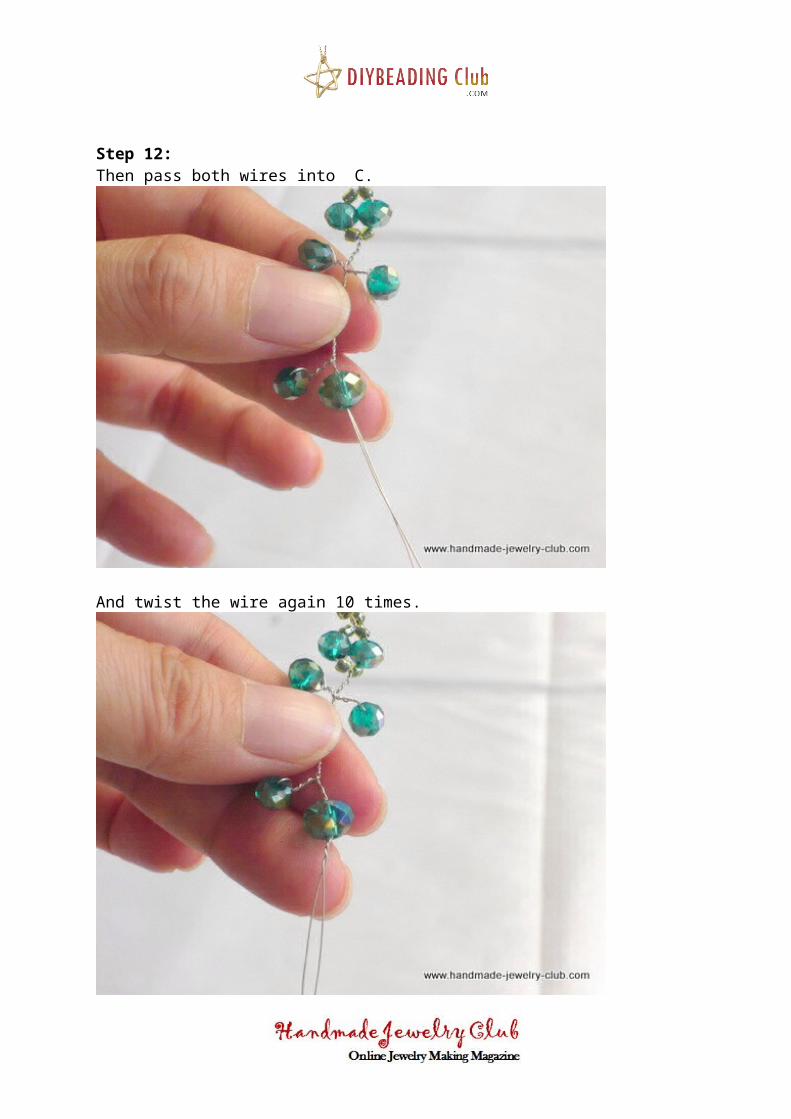
Step 12:Then pass both wires into C.
And twist the wire again 10 times.
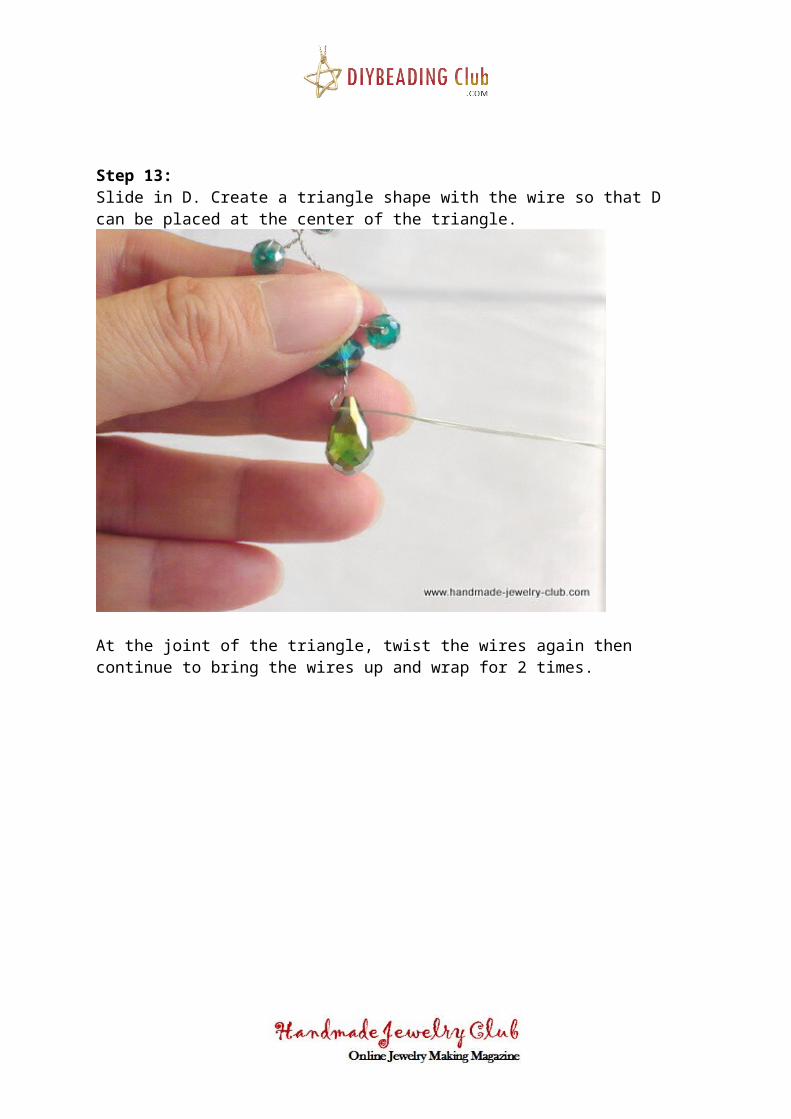
Step 13:Slide in D. Create a triangle shape with the wire so that D can be placed at the center of the triangle.
At the joint of the triangle, twist the wires again then continue to bring the wires up and wrap for 2 times.
Step 14:Continue to twist the extended wires and bring the wire up, wrapping onto the wire just above C at least 2x.
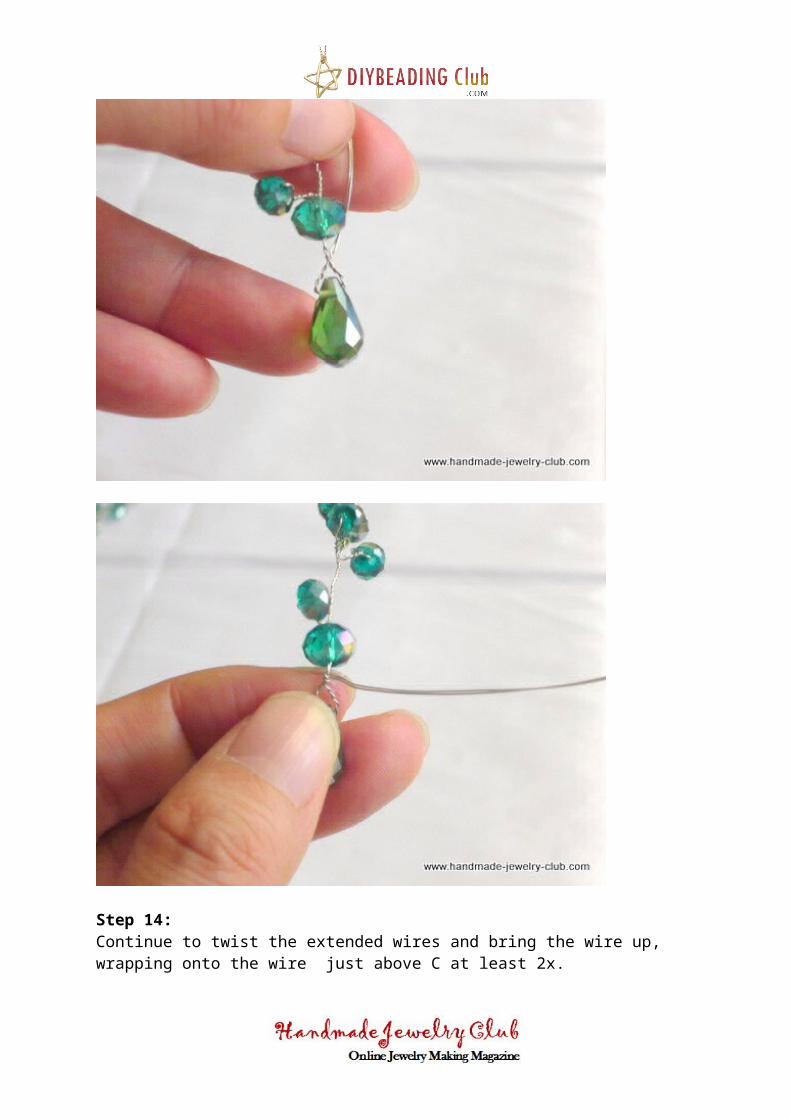
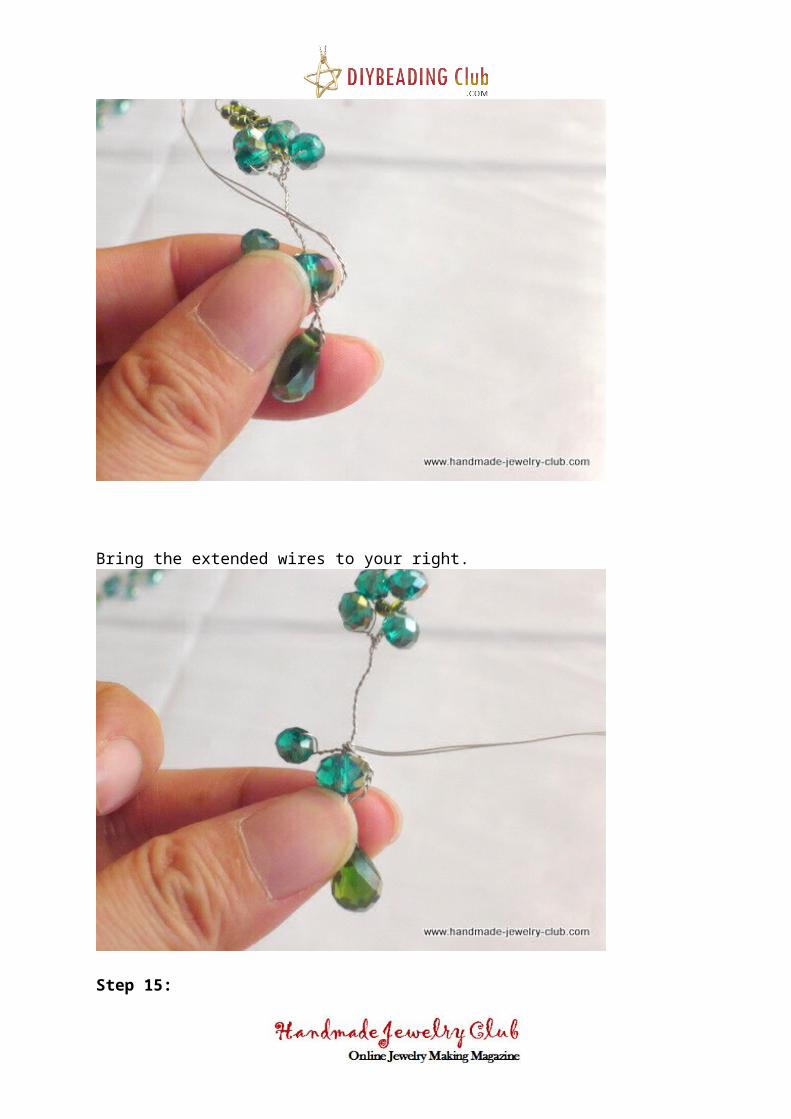
Bring the extended wires to your right.
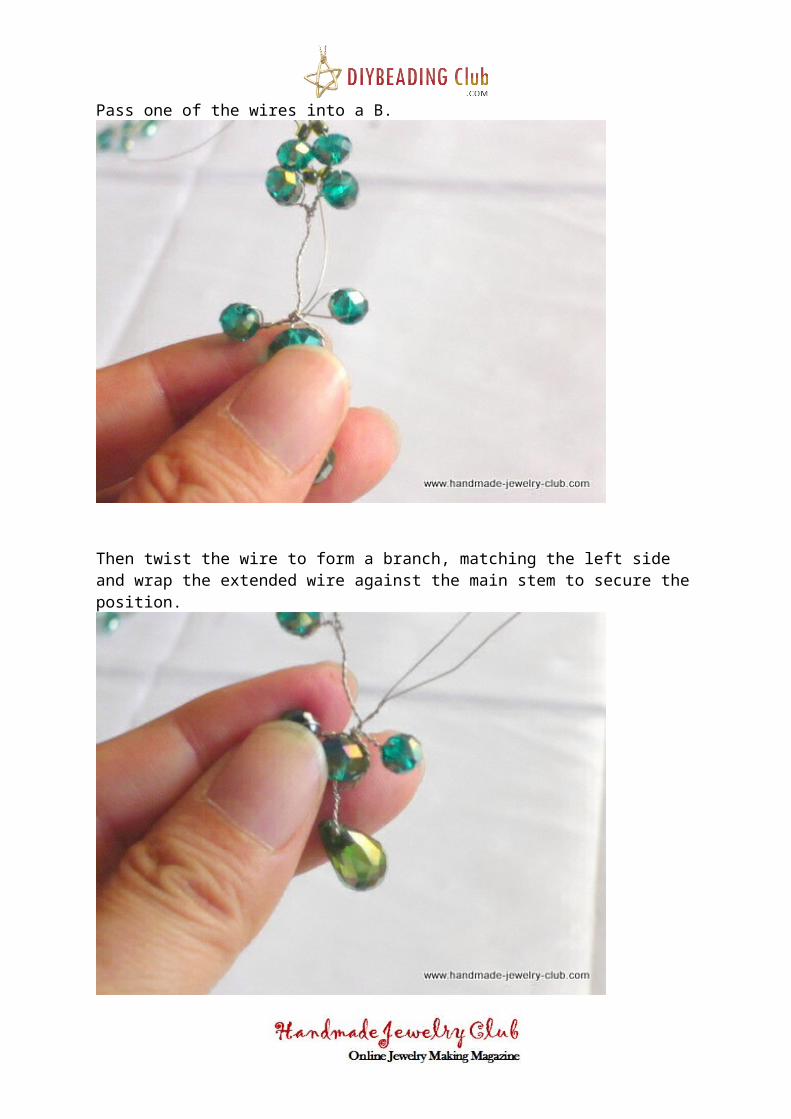
Step 15:Pass one of the wires into a B.
Then twist the wire to form a branch, matching the left side and wrap the extended wire against the main stem to secure the position.
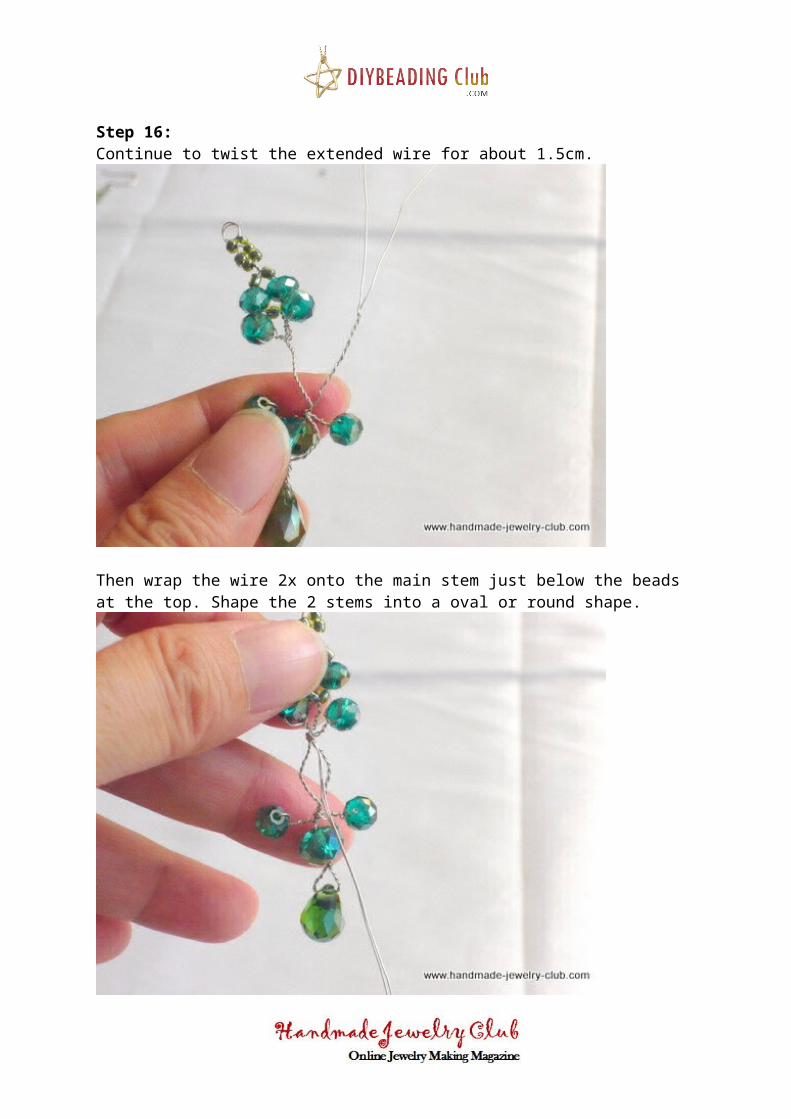
Step 16:Continue to twist the extended wire for about 1.5cm.
Then wrap the wire 2x onto the main stem just below the beads at the top. Shape the 2 stems into a oval or round shape.
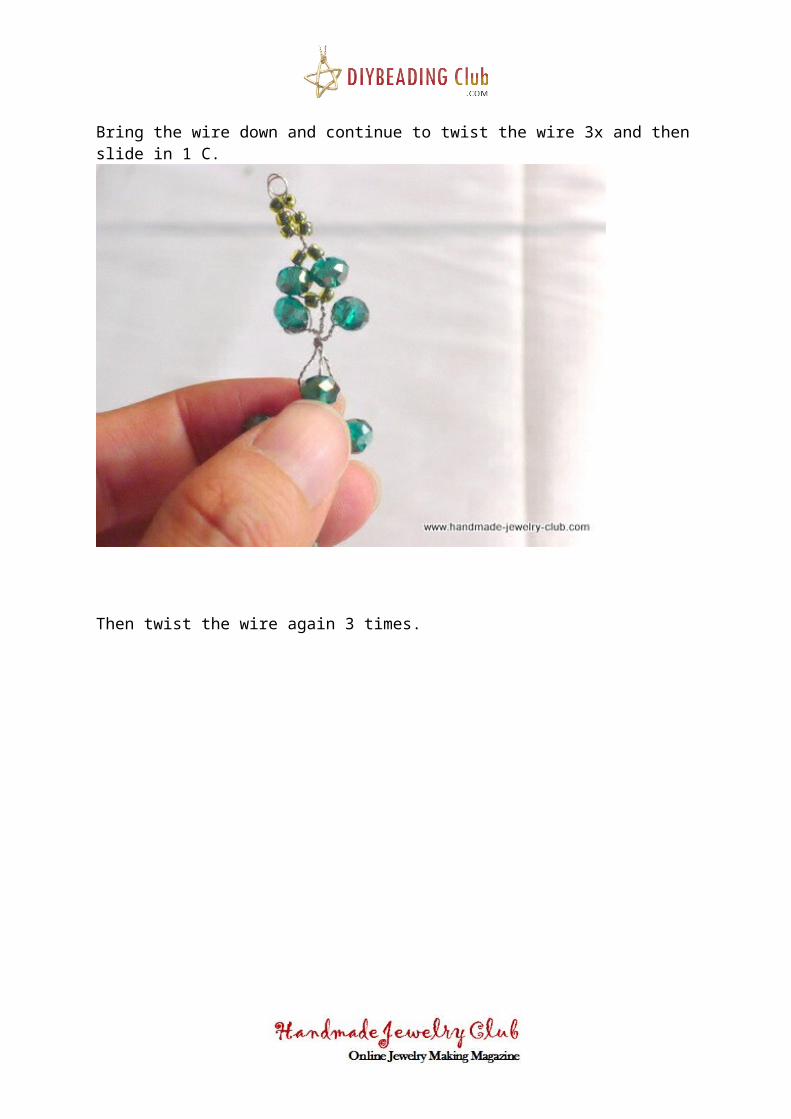
Bring the wire down and continue to twist the wire 3x and then slide in 1 C.
Then twist the wire again 3 times.
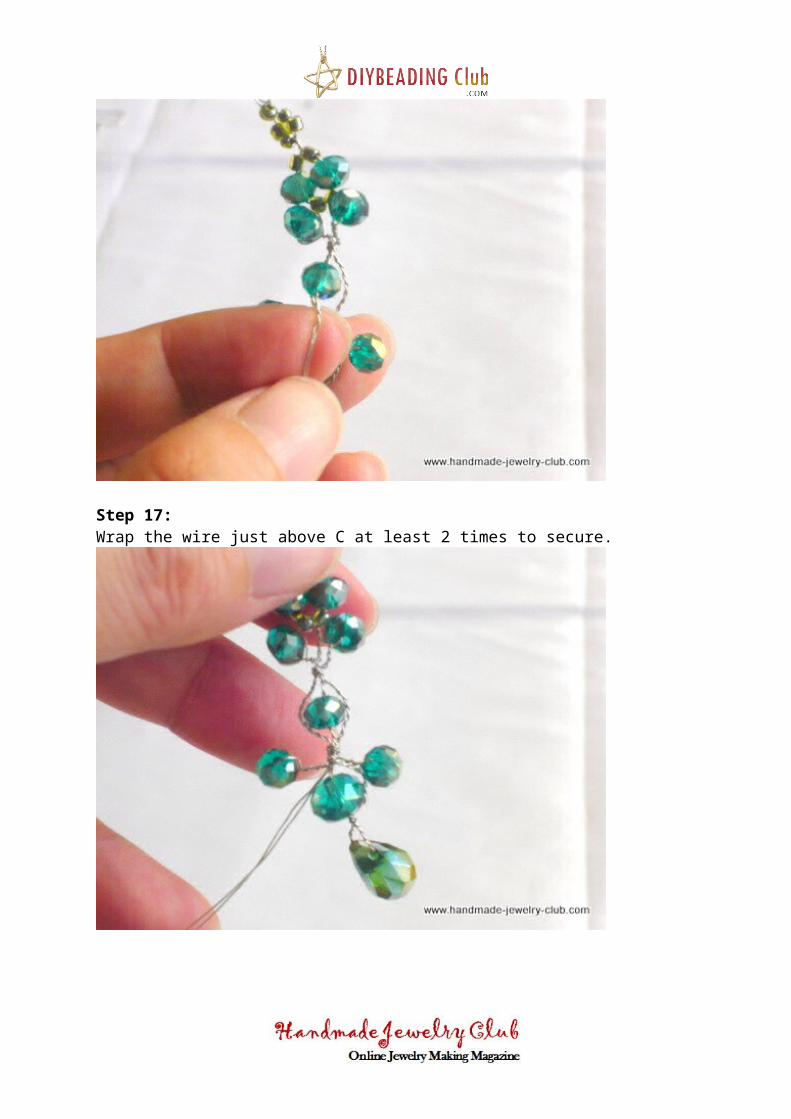
Step 17:Wrap the wire just above C at least 2 times to secure.
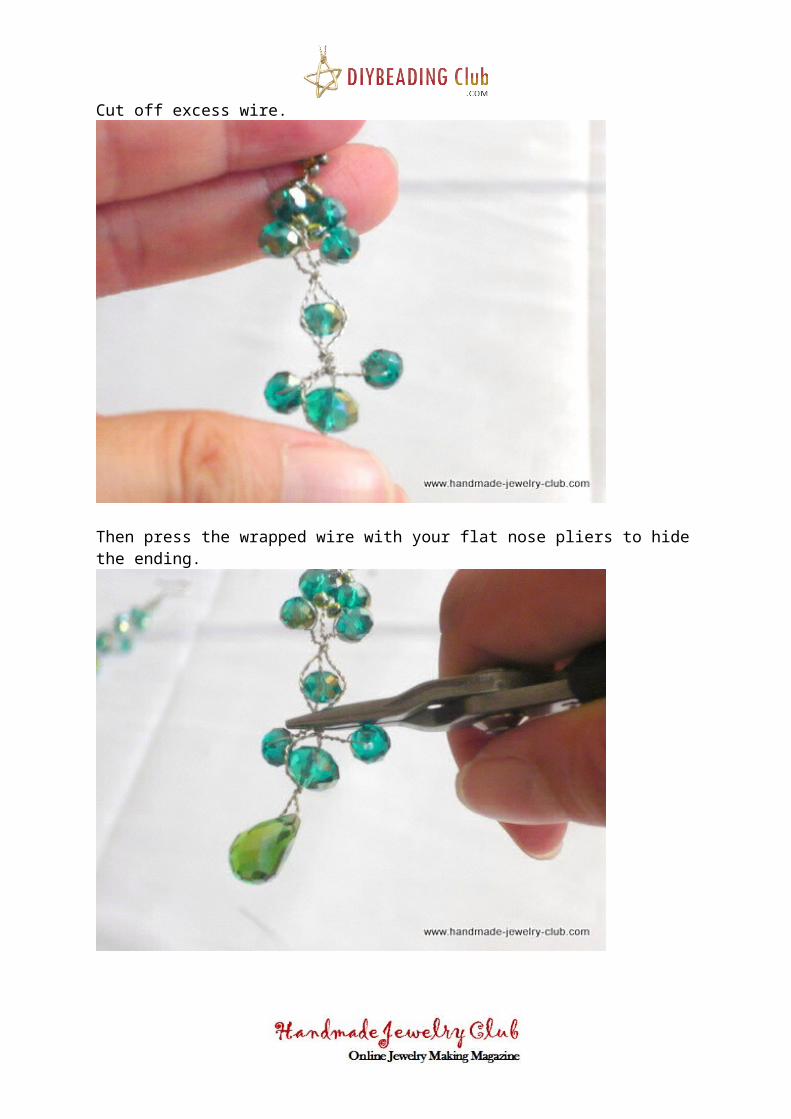
Cut off excess wire.
Then press the wrapped wire with your flat nose pliers to hide the ending.
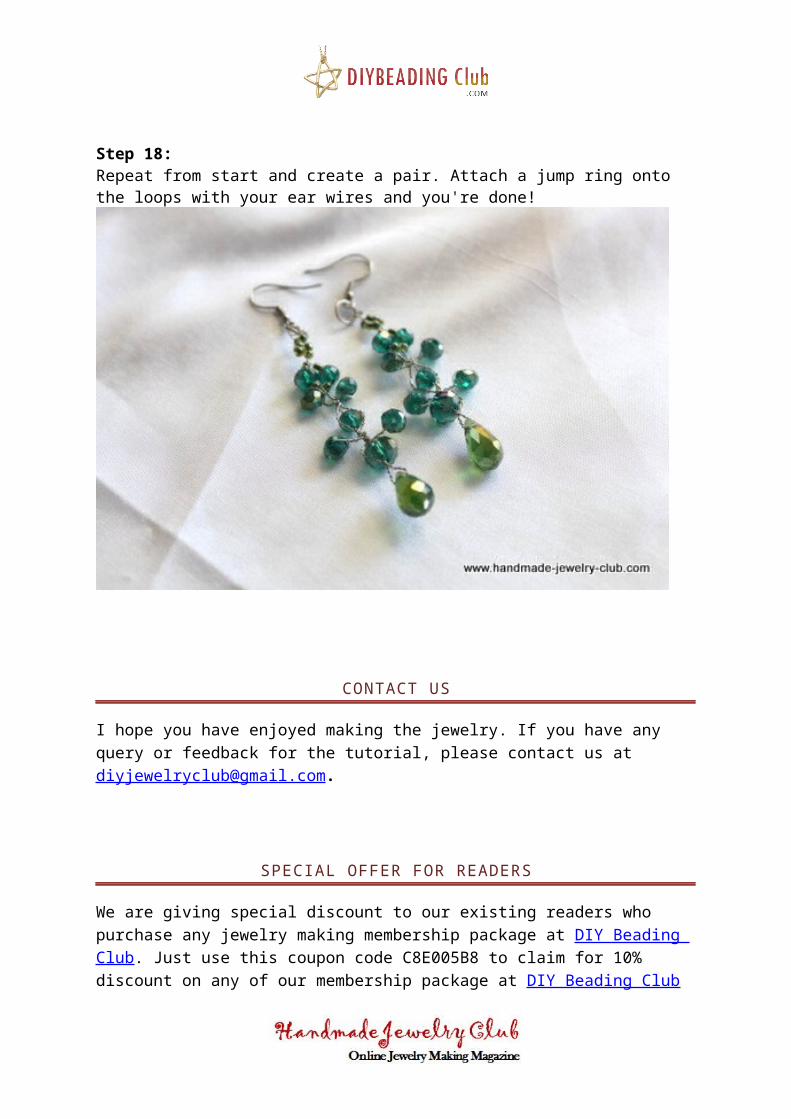
Step 18:Repeat from start and create a pair. Attach a jump ring onto the loops with your ear wires and you're done!
CONTACT US
I hope you have enjoyed making the jewelry. If you have any query or feedback for the tutorial, please contact us at [email protected].
SPECIAL OFFER FOR READERS
We are giving special discount to our existing readers who purchase any jewelry making membership package at DIY Beading Club. Just use this coupon code C8E005B8 to claim for 10% discount on any of our membership package at DIY Beading Club
ABOUT THE AUTHOR
Started as a hobby, I have then addicted into sharing my knowledge through tutorial writing. I publish my knowledge and research through my websites. I also work with other jewelry artists to develop tutorials and publish their works. I hope you will browse through all our creations and hope you will like them.
Do join me at
Browse our monthly lessons plan at www.diybeadingclub.com: