unit project #3 introduction day 2 day 3 day 4 day 5 day 6 day 7 day 8
TRANSCRIPT

UNIT PROJECT #3
INTRODUCTION
Day 2
Day 3
Day 4
Day 5
Day 6
Day 7
Day 8

OBJECTIVE
• THE STUDENT WILL BE ABLE TO SAFELY USE THE CORRECT TOOLS AND COMPLETE THE PROJECT PER THE GIVEN SHOP DRAWINGS
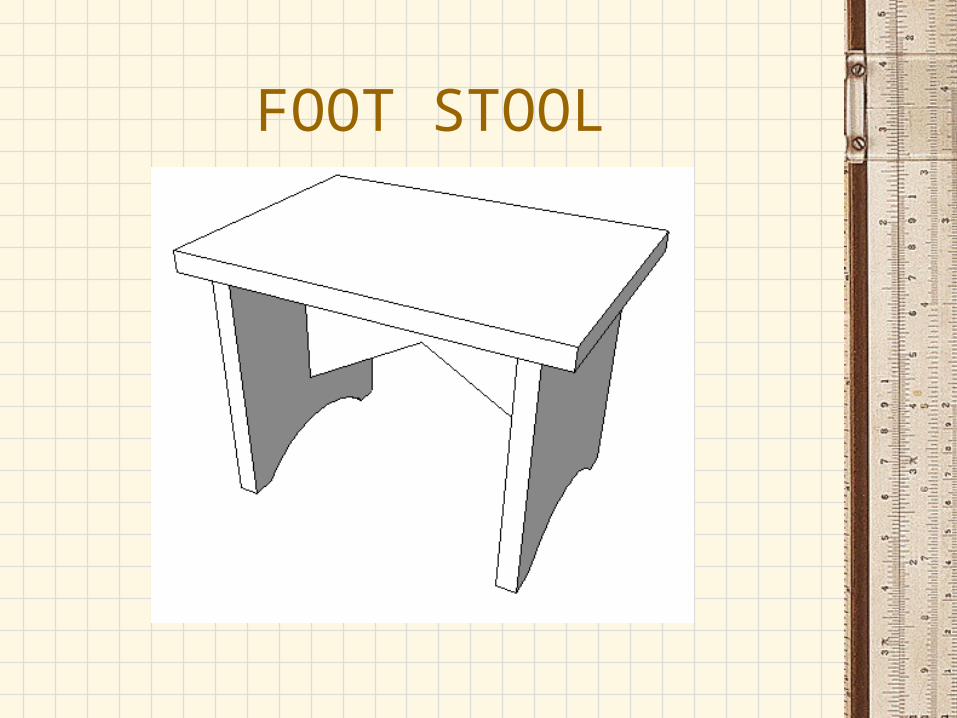
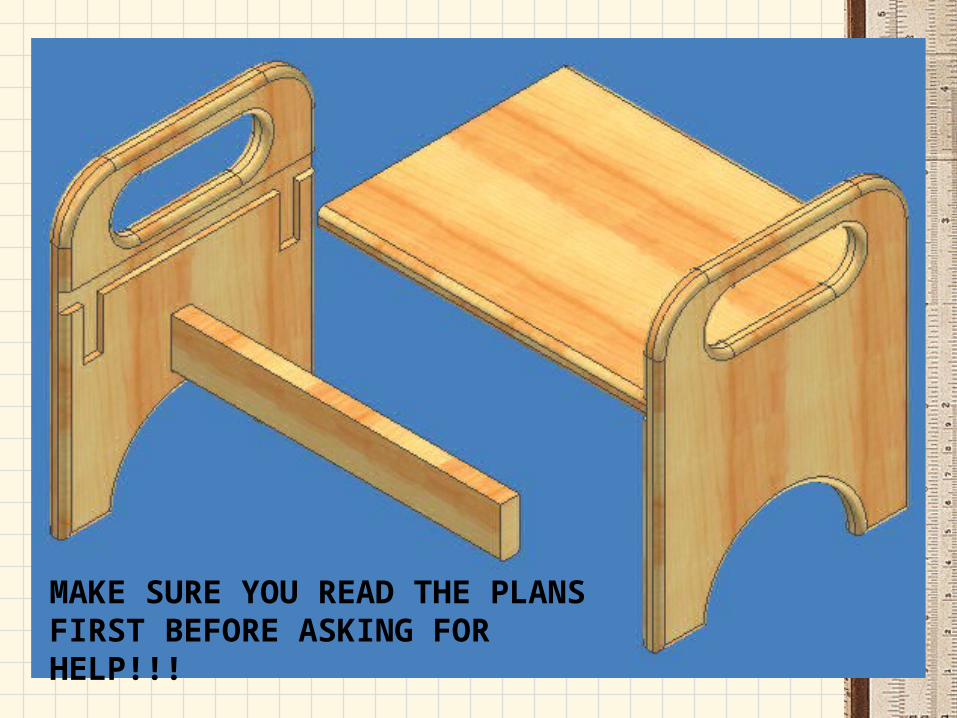
FOOT STOOL

SKILLS NEEDED
• MEASURING AND PLANNING• STOCK SELECTION• JOINTING AND PLANING ROUGH LUMBER• CUTTING AND RIPPING• SANDING• GLUING UP• ASSEMBLY• FINISHING

TOOLS NEEDED
• JOINTER• SURFACE PLANER• MITER BOX• TABLESAW• BANDSAW• SCROLL SAW• RANDOM ORBIT SANDER• DUAL ACTION SANDER• BELT SANDER• HAMMER• NAIL SET

SHOP DRAWINGS
• PICK UP THE SHOP DRAWINGS AND ALL PROJECT PAPERWORK
• REVIEW SHOP DRAWINGS
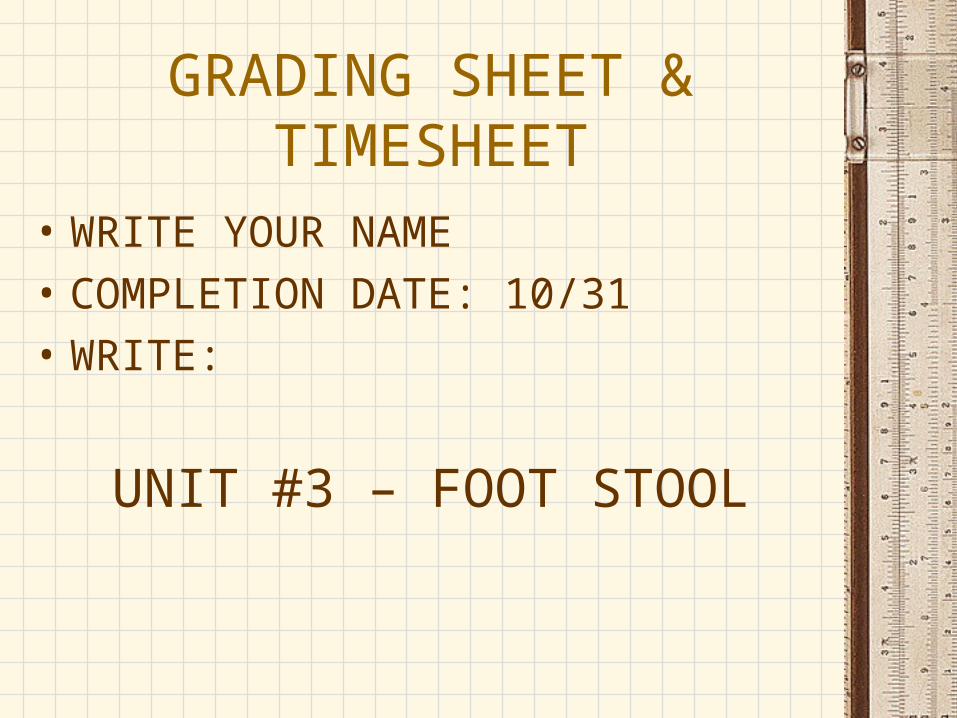
GRADING SHEET & TIMESHEET
• WRITE YOUR NAME
• COMPLETION DATE: 10/31
• WRITE:
UNIT #3 – FOOT STOOL
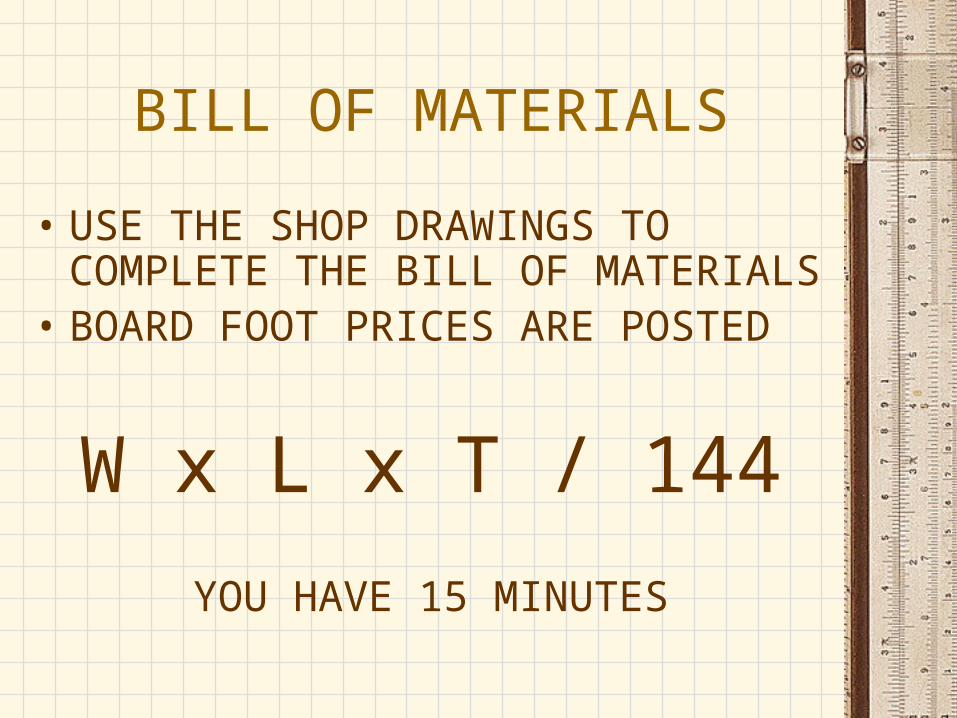
BILL OF MATERIALS
• USE THE SHOP DRAWINGS TO COMPLETE THE BILL OF MATERIALS
• BOARD FOOT PRICES ARE POSTED
W x L x T / 144
YOU HAVE 15 MINUTES

15 MINUTE TIMER
15 MINUTES LEFT14 MINUTES LEFT13 MINUTES LEFT12 MINUTES LEFT11 MINUTES LEFT10 MINUTES LEFT 9 MINUTES LEFT 8 MINUTES LEFT 7 MINUTES LEFT 6 MINUTES LEFT 5 MINUTES LEFT 4 MINUTES LEFT 3 MINUTES LEFT 2 MINUTES LEFT 1 MINUTES LEFT TIME IS UP!!!!

PROCEDURE SHEET
• MUST BE COMPLETED!!!!
• EACH STEP MUST BE INITIALED BY ME BEFORE YOU PROCEDE TO THE NEXT STEP

SID
E
SID
E
TO
P
6” x
12”
5” X
10”
JTTJTT
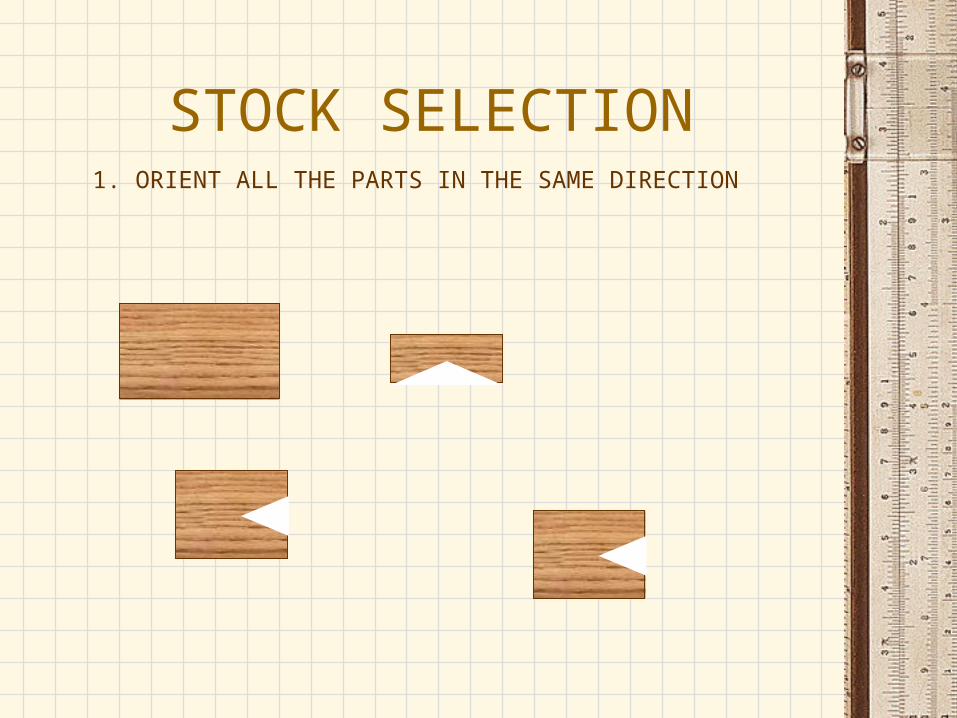
STOCK SELECTION1. ORIENT ALL THE PARTS IN THE SAME DIRECTION

STOCK SELECTION1. ORIENT ALL THE PARTS IN THE SAME DIRECTION
2. ALIGN ONE EDGE OF ALL THE PARTS

STOCK SELECTION1. ORIENT ALL THE PARTS IN THE SAME DIRECTION
2. ALIGN ONE EDGE OF ALL THE PARTS
3. LEAVE SPACE FOR BLADE KERFS

STOCK SELECTION1. ORIENT ALL THE PARTS IN THE SAME DIRECTION
2. ALIGN ONE EDGE OF ALL THE PARTS
3. LEAVE SPACE FOR BLADE KERFS4. FIGURE OUT LARGEST PIECE OF ROUGH LUMBER NEEDED5. LEAVE EXTRA FOR JOINTING, PLANING, AND RIPPING
WIDTH
LENGTH

STOCK SELECTION1. ORIENT ALL THE PARTS IN THE SAME DIRECTION
2. ALIGN ONE EDGE OF ALL THE PARTS
3. LEAVE SPACE FOR BLADE KERFS4. FIGURE OUT LARGEST PIECE OF ROUGH LUMBER NEEDED5. LEAVE EXTRA FOR JOINTING, PLANING, AND RIPPING
WIDTH
LENGTH
YOU WILL HAVE FIFTEEN MINUTES TO…
•SELECT YOUR STOCK
•CUT IT TO ROUGH LENGTH
•COMPLETE PROCEDURE SHEET AND HAVE IT INITIALED BY ME

15 MINUTE TIMER
15 MINUTES LEFT14 MINUTES LEFT13 MINUTES LEFT12 MINUTES LEFT11 MINUTES LEFT10 MINUTES LEFT 9 MINUTES LEFT 8 MINUTES LEFT 7 MINUTES LEFT 6 MINUTES LEFT 5 MINUTES LEFT 4 MINUTES LEFT 3 MINUTES LEFT 2 MINUTES LEFT 1 MINUTES LEFT TIME IS UP!!!!
YOU WILL HAVE FIFTEEN MINUTES TO…
•SELECT YOUR STOCK
•CUT IT TO ROUGH LENGTH
•COMPLETE PROCEDURE SHEET AND HAVE IT INITIALED BY ME

PROCEDURE SHEET
• CONTINUE WORKING ON PROJECT USING EACH STEP ON THE PROCEDURE SHEET:– EACH STEP MUST BE INITIALED BY ME
BEFORE CONTINUING TO THE NEXT STEP

Day Two
Planing and Gluing

Yesterday
• Selected Stock
• Jointed one face and one adjacent edge
• Began Planing to rough thickness

Today
• Finish Planing to Rough Thickness – 7/8”
• Glue up both boards to create one board that is wider than 10”– Glue– Water Bucket and Rag– 2 or 3 pipe or bar clamps

SID
ES
XS
2
ST
EP
RA
ILS
X 2
JTTJTT
7/8”

Day Three
Planing and Cutting to Finished Dimensions

Yesterday
• Selected Stock
• Jointed one face and one adjacent edge
• Finished planing to ROUGH THICKNESS
• Glued up BOTH pieces

Today
Finish Gluing up both boards to create one board that is 11” to 16” or so wide– Glue– Water Bucket and Rag– 2 or 3 pipe or bar clamps
• Unclamp and Plane boards to final thickness – ¾”• Cut to Final Dimensions
– Square up one end BEFORE you do ANY measuring

SID
ES
XS
2
ST
EP
RA
ILS
X 2
JTTJTTJTTJTT

Day Four
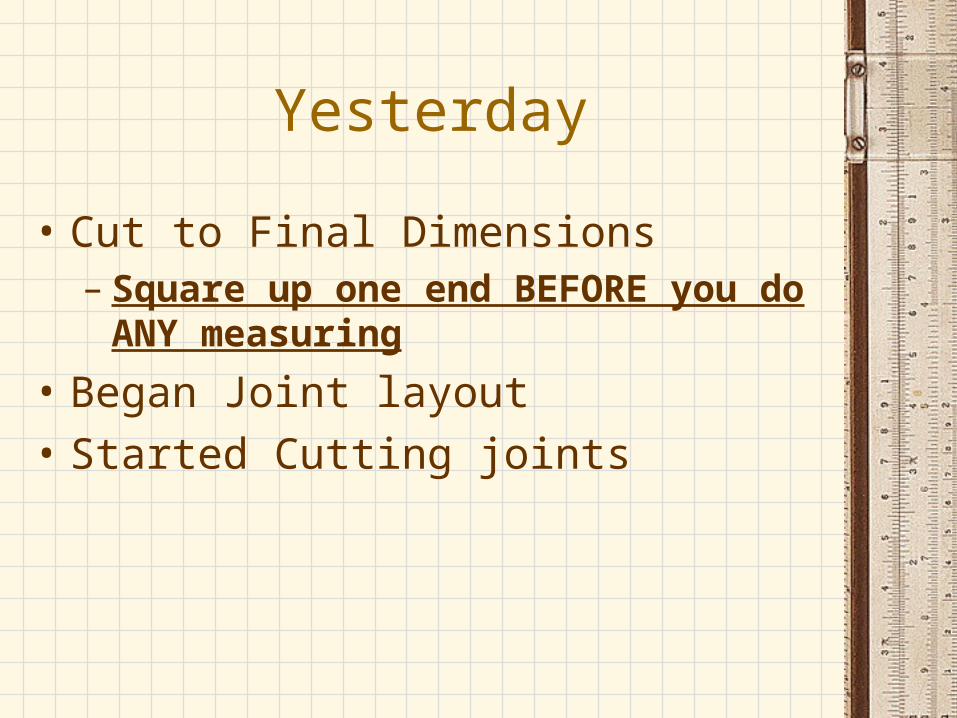
Cutting to Finished Dimensions
Joint Layout

Yesterday
• Finished planing to ROUGH THICKNESS
• Glued up BOTH pieces
• Planed to Final Thickness – ¾”
• Began cutting to FINAL Dimensios

Today
• Unclamp and Plane boards to final thickness – ¾”• Joint 1 edge square, straight and true• Cut to Final Dimensions
– Square up one end BEFORE you do ANY measuring
• Begin Joint layout• Start Cutting joints

SID
ES
XS
2
ST
EP
RA
ILS
X 2
JTTJTTJTTJTTJTTJTTJTT

Day Five
Cutting
Joints and Irregular shapes

Yesterday
• Finished planing to ROUGH THICKNESS• Glued up BOTH pieces• Planed to Final Thickness – ¾”• Cut to Final Dimensions
– Square up one end BEFORE you do ANY measuring
• Begin Joint layout• Start Cutting joints

Today
• Finish laying out Joints• Finish laying out Irregular Shapes• Cut Dado on Tablesaw• Chisel Mortise for Rails• Cut Irregular Shapes LAST
– Drill holes for handle• Connect the holes to create handle
• Use Belt/Disc and OSS to sand shapes

MAKE SURE YOU READ THE PLANS FIRST BEFORE ASKING FOR HELP!!!

SID
ES
XS
2
ST
EP
RA
ILS
X 2
JTTJTTJTTJTTJTTJTTJTT

Day Six
Cutting Handle and Sanding
Yesterday
• Cut to Final Dimensions– Square up one end BEFORE you do ANY
measuring
• Began Joint layout
• Started Cutting joints

Today
• Finish laying out Joints• Finish laying out Irregular Shapes• Cut Dado on Tablesaw• Cut Irregular Shapes
– Drill holes for handle• Connect the holes to create handle with JIGSAW
• Chisel Mortise for Rails• Use Belt/Disc and OSS to sand shapes

MAKE SURE YOU READ THE PLANS FIRST BEFORE ASKING FOR HELP!!!

SID
ES
XS
2
ST
EP
RA
ILS
X 2
JTTJTTJTTJTTJTTJTTJTTJTT
JTT

Day Seven
Sanding and Routing

Yesterday
• Began Joint layout
• Started Cutting joints
• Began cutting mortises with chisels
• Started Sanding curved pieces
• Started sanding project at 80 grit

Today
• Cut Dado on Tablesaw• Chisel Mortise for Rails• Cut Irregular Shapes LAST
– Drill holes for handle• Connect the holes to create handle with JIGSAW
• Use Belt/Disc and OSS to sand shapes• Sand all pieces with 80grit
– DO NOT SAND ANY EDGE THAT WILL CONNECT TO ANOTHER PIECE OF WOOD
• Use ROUTER to create a round-over on edges
MAKE SURE YOU READ THE PLANS FIRST BEFORE ASKING FOR HELP!!!

SID
ES
XS
2
ST
EP
RA
ILS
X 2
JTTJTTJTTJTTJTTJTTJTTJTT
JTTJTT

Day Eight
Sanding and Routing

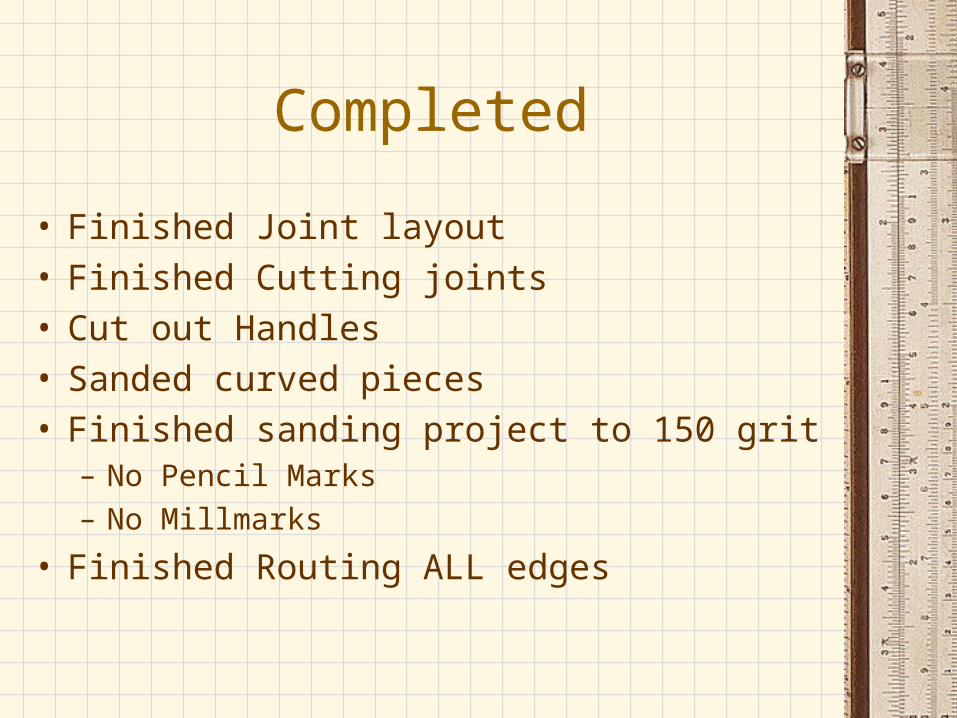
Completed
• Finished Joint layout
• Finished Cutting joints
• Cut out Handles
• Sanded curved pieces
• Started sanding project at 80 grit
• Began Routing Sides and Step

Today
• Finish Using Belt/Disc and OSS to sand shapes• Sand all pieces STARTINNG WITH 80GRIT UP
AND THEN UP TO 120GRIT– DO NOT SAND ANY EDGE THAT WILL
CONNECT TO ANOTHER PIECE OF WOOD
• Use ROUTER to create a round-over on edges• Dry Assemble and ADJUST measurements• DO NOT TOUCH ANY GLUE UNTIL YOU
HAVE MY PERMISSION

MAKE SURE YOU READ THE PLANS FIRST BEFORE ASKING FOR HELP!!!

SID
ES
XS
2
ST
EP
RA
ILS
X 2
JTTJTTJTTJTTJTTJTTJTTJTT
JTTJTT
JTTJTT

Day Ten ish
Dry Assembly & Assembly
Completed
• Finished Joint layout• Finished Cutting joints• Cut out Handles• Sanded curved pieces• Finished sanding project to 150 grit
– No Pencil Marks
– No Millmarks
• Finished Routing ALL edges

Today
• Dry Assemble and ADJUST measurements– Sides Parallel and Square
• Need to Measure
– All Joints are TIGHT• No GAPS
• DO NOT TOUCH ANY GLUE UNTIL YOU HAVE MY PERMISSION

MAKE SURE YOU READ THE PLANS FIRST BEFORE ASKING FOR HELP!!!

SID
ES
XS
2
ST
EP
RA
ILS
X 2
JTTJTTJTTJTTJTTJTTJTTJTT
JTTJTT
JTTJTT