use thinning shears...8lult thinning shears come in various forms. some are offset. this is...
TRANSCRIPT
© MHD Productions Ltd
USE THINNING SHEARS
Page 1
Overview
Technical Skills
Skill Level
This tutorial guides you through the use of thinning shears on a variety of shapes and textures.
Beginning
Angles - Basic Principles Of Design - Beveled - Blades - Blunt Cutting - Clippers - Density - Design Construction - Diffuse - Elevation - Ergonomics - Finger Rest - Graduation - Hair Quality - Internal Shape - Lighten - Movement - Offset - Perimeter Outline - Razors - Rubber Inserts - Screw - Soften - Taper - Technique - Tension - Texture - Thinning Shears
© MHD Productions Ltd
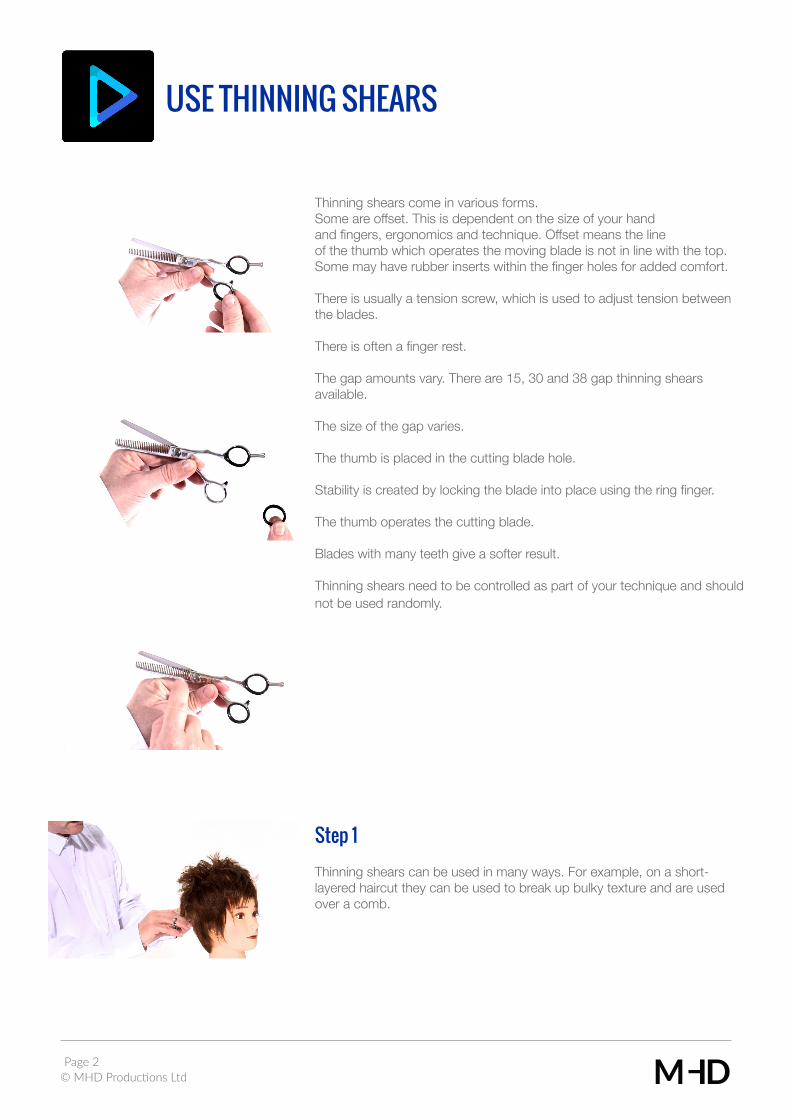
Thinning shears come in various forms.Some are offset. This is dependent on the size of your hand and fingers, ergonomics and technique. Offset means the line of the thumb which operates the moving blade is not in line with the top. Some may have rubber inserts within the finger holes for added comfort.
There is usually a tension screw, which is used to adjust tension between the blades.
There is often a finger rest.
The gap amounts vary. There are 15, 30 and 38 gap thinning shears available.
The size of the gap varies.
The thumb is placed in the cutting blade hole.
Stability is created by locking the blade into place using the ring finger.
The thumb operates the cutting blade.
Blades with many teeth give a softer result.
Thinning shears need to be controlled as part of your technique and should not be used randomly.
Step 1Thinning shears can be used in many ways. For example, on a short-layered haircut they can be used to break up bulky texture and are used over a comb.
USE THINNING SHEARS
Page 2
© MHD Productions Ltd
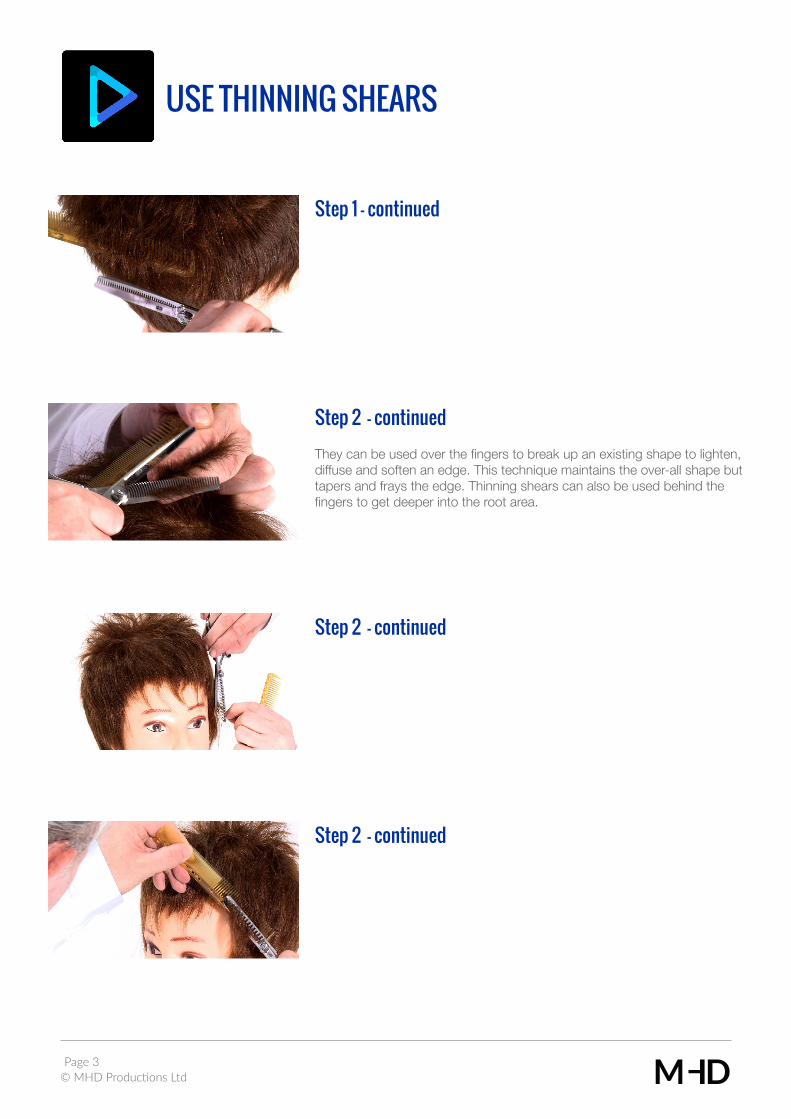
Step 1 - continued
Step 2 - continuedThey can be used over the fingers to break up an existing shape to lighten, diffuse and soften an edge. This technique maintains the over-all shape but tapers and frays the edge. Thinning shears can also be used behind the fingers to get deeper into the root area.
Step 2 - continued
Step 2 - continued
USE THINNING SHEARS
Page 3
© MHD Productions Ltd
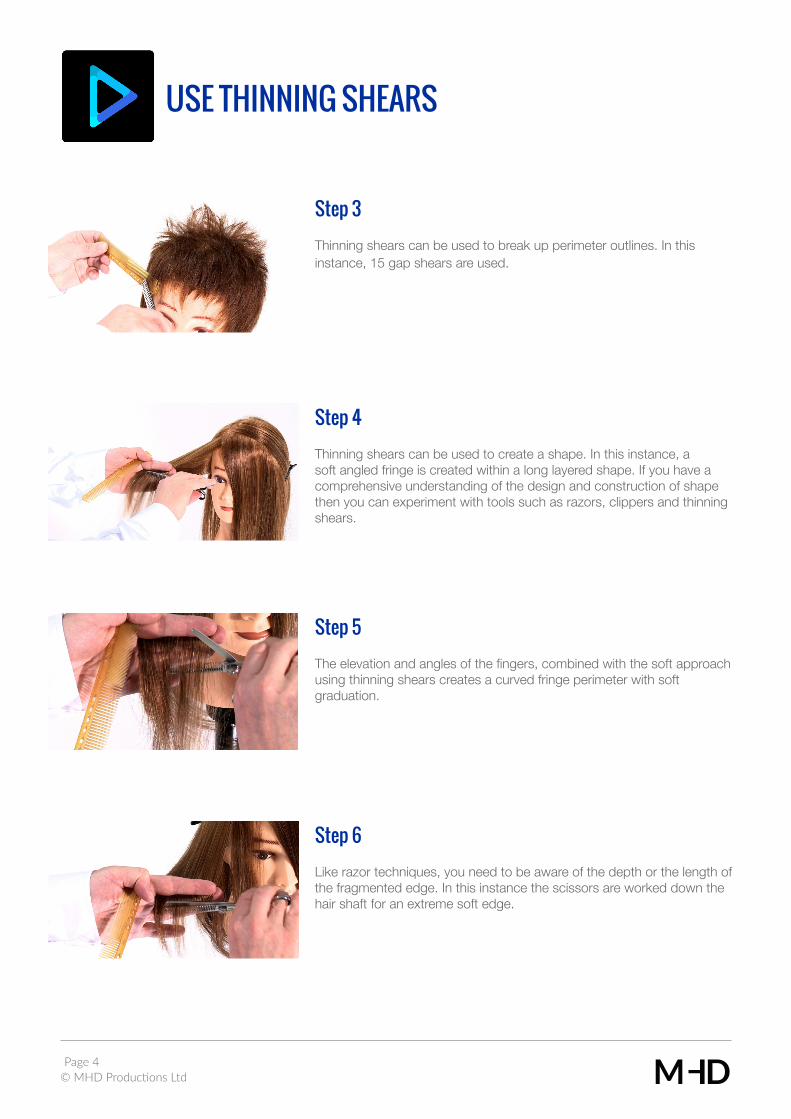
Step 3Thinning shears can be used to break up perimeter outlines. In this instance, 15 gap shears are used.
Step 4 Thinning shears can be used to create a shape. In this instance, a soft angled fringe is created within a long layered shape. If you have a comprehensive understanding of the design and construction of shape then you can experiment with tools such as razors, clippers and thinning shears.
Step 5 The elevation and angles of the fingers, combined with the soft approach using thinning shears creates a curved fringe perimeter with soft graduation.
Step 6Like razor techniques, you need to be aware of the depth or the length of the fragmented edge. In this instance the scissors are worked down the hair shaft for an extreme soft edge.
USE THINNING SHEARS
Page 4
© MHD Productions Ltd
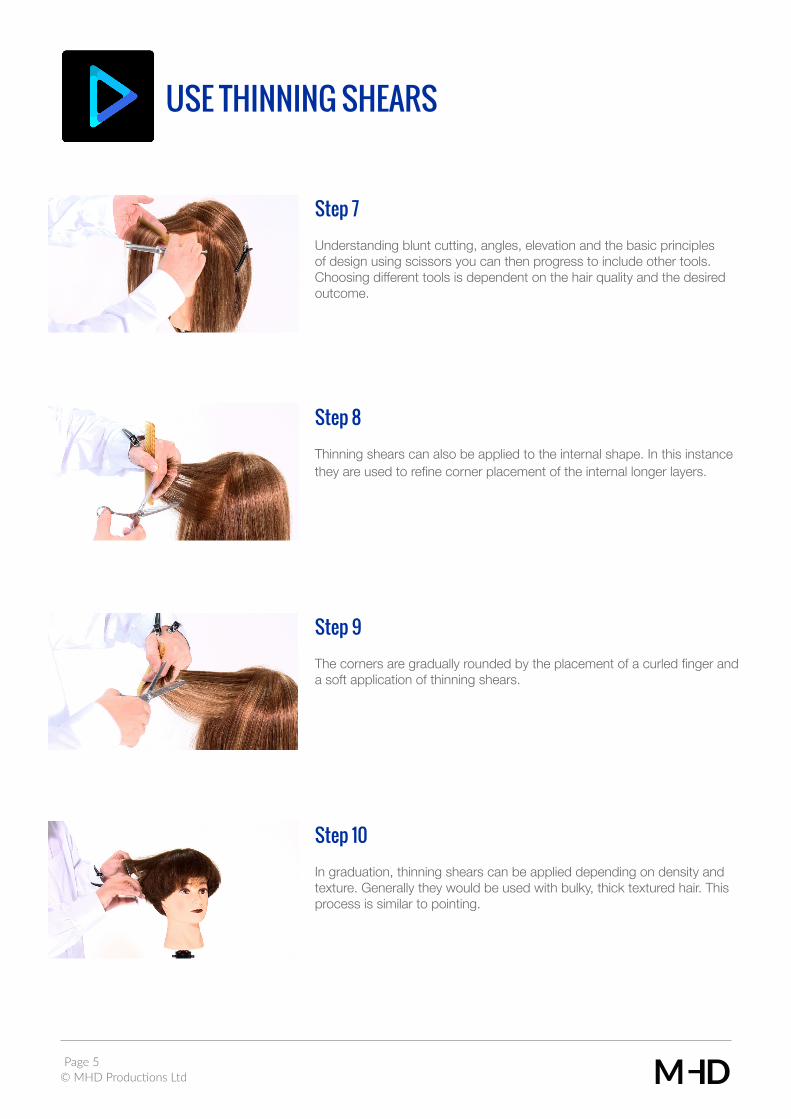
Step 7Understanding blunt cutting, angles, elevation and the basic principles of design using scissors you can then progress to include other tools. Choosing different tools is dependent on the hair quality and the desired outcome.
Step 8Thinning shears can also be applied to the internal shape. In this instance they are used to refine corner placement of the internal longer layers.
Step 9The corners are gradually rounded by the placement of a curled finger and a soft application of thinning shears.
Step 10In graduation, thinning shears can be applied depending on density and texture. Generally they would be used with bulky, thick textured hair. This process is similar to pointing.
USE THINNING SHEARS
Page 5
© MHD Productions Ltd
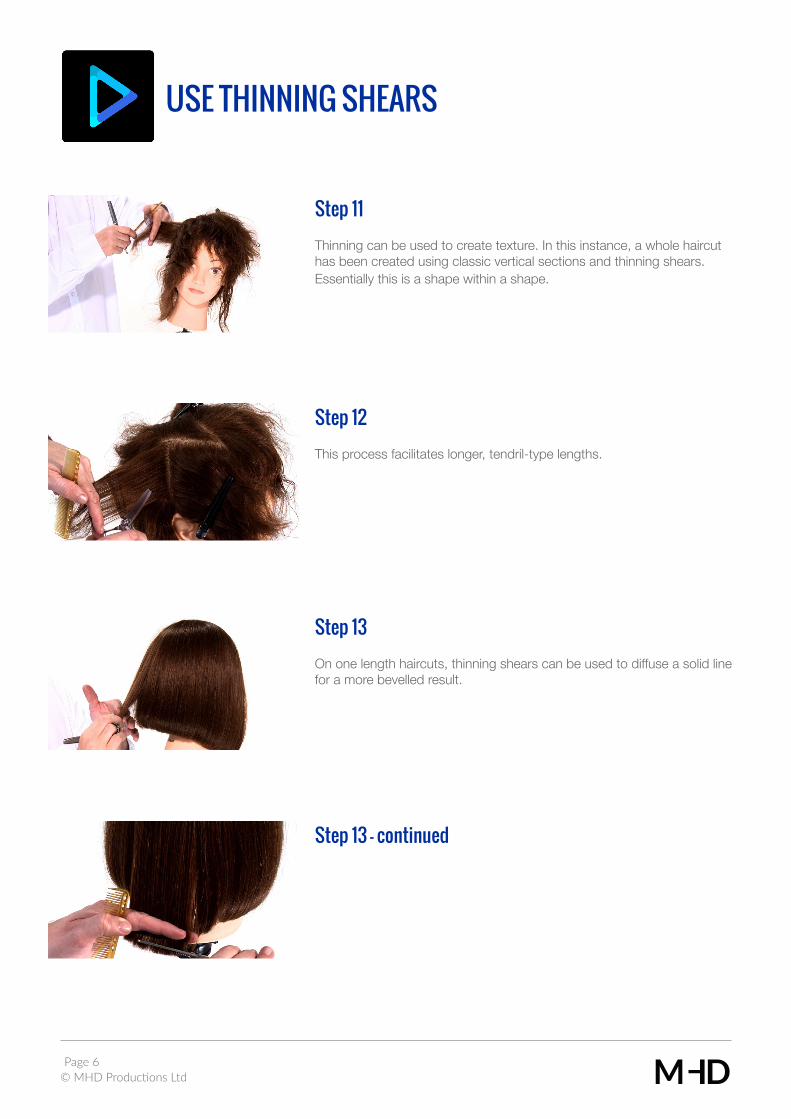
Step 11Thinning can be used to create texture. In this instance, a whole haircut has been created using classic vertical sections and thinning shears. Essentially this is a shape within a shape.
Step 12This process facilitates longer, tendril-type lengths.
Step 13On one length haircuts, thinning shears can be used to diffuse a solid line for a more bevelled result.
Step 13 - continued
USE THINNING SHEARS
Page 6
© MHD Productions Ltd
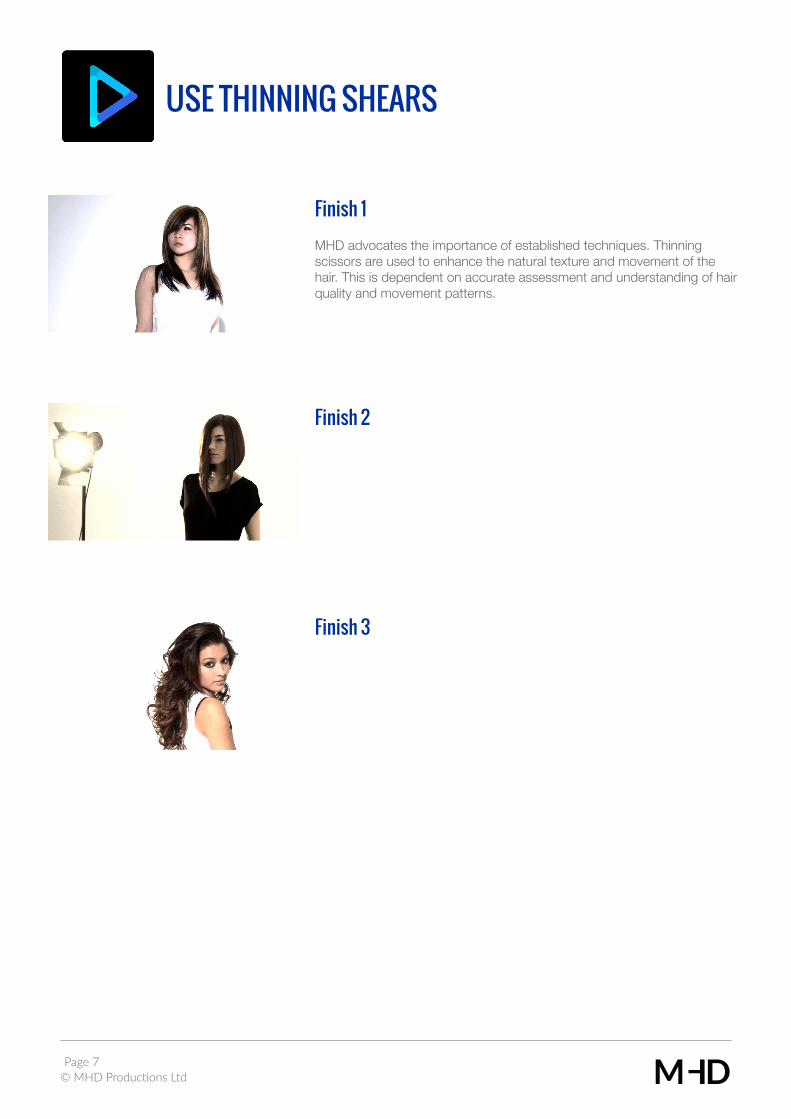
Finish 1MHD advocates the importance of established techniques. Thinning scissors are used to enhance the natural texture and movement of the hair. This is dependent on accurate assessment and understanding of hair quality and movement patterns.
Finish 2
Finish 3
USE THINNING SHEARS
Page 7