week 1 curriculum - playflagfootball.com · football with the quarterback under center. ... have...
TRANSCRIPT
Week 1 Practice PlanThis is a basic guide for your first week of practice. Feel free to modify however you see fit.
You will have an hour and fifteen minutes for your first and only full practice of the season. It will go by quickly, and there are a number of basic skills to teach during this time. This is also the only real time you will have to assess your players and their skill levels performing various tasks.
Introductions (5 - 10 minutes)Take a few minutes to get to know your team. A good exercise is form a circle, and go around the circle having each child introduce themselves, and provide some basic information (like which school they go to, who their favorite NFL team is, who their favorite NFL player is, etc).
Let your team know a little about yourself. This is also a good opportunity to let your parents know that there are lots of opportunities for them to help with the team, and that you welcome their participation.
We will have masking tape and markers available at each field. Feel free to write each playerʼs name on a piece of masking tape and have them affix it to the front of their jersey.
Warm-Ups (5 - 10 minutes)Have your players go for a brief jog in an orderly fashion, stressing that itʼs not a race, and they should run at an easy pace. When they are finished, have them circle up and go through 8-10 basic stretches, such as touching their toes, quad stretches (flamingos), butterfly stretch, arm circles, et cetera. Have your team help identify stretches to do.
Snapping the Ball (10 minutes)Each play begins with a snap, so this is an important skill to master. Begin by demonstrating the proper technique involved in snapping the football with the quarterback under center.
Proper technique begins with the center grasping the ball in a similar fashion to which he would grasp the ball to throw a pass. The centerʼs feet should be slightly more than shoulder with apart, and his knees should be bent.
The center executes the snap on the quarterbackʼs signal (set - hike, or whatever cadence you choose). The snap is performed by lifting the ball back towards the
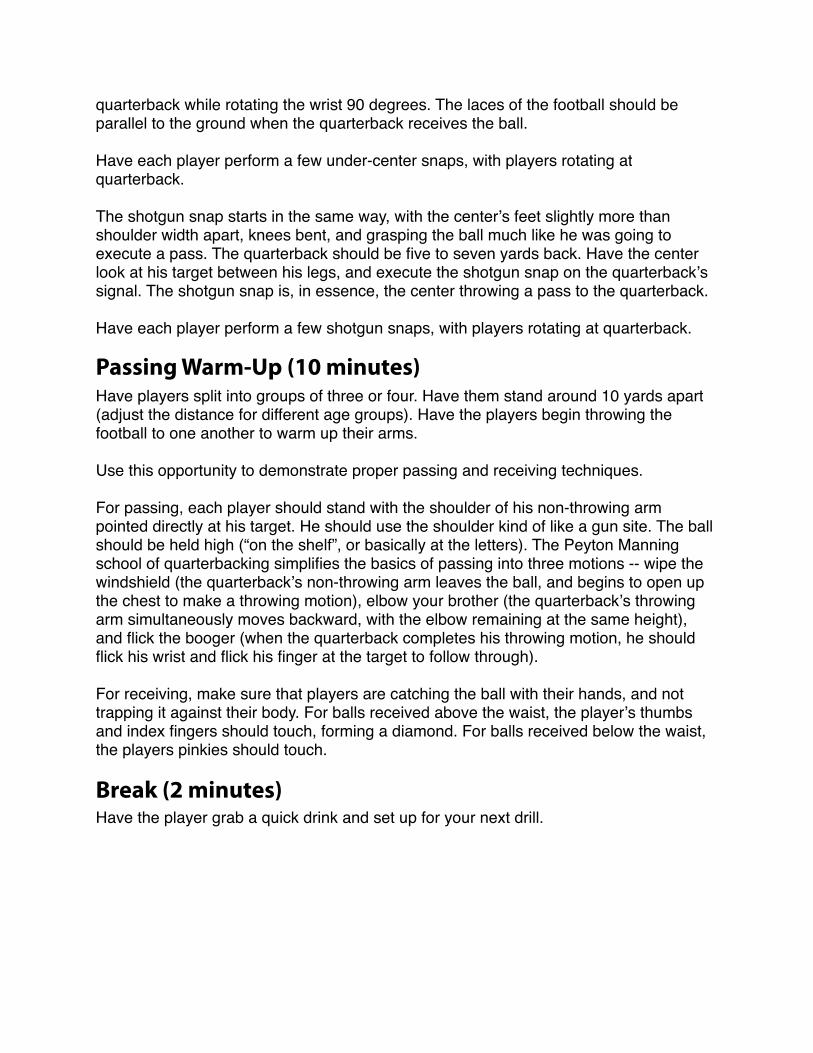
quarterback while rotating the wrist 90 degrees. The laces of the football should be parallel to the ground when the quarterback receives the ball.
Have each player perform a few under-center snaps, with players rotating at quarterback.
The shotgun snap starts in the same way, with the centerʼs feet slightly more than shoulder width apart, knees bent, and grasping the ball much like he was going to execute a pass. The quarterback should be five to seven yards back. Have the center look at his target between his legs, and execute the shotgun snap on the quarterbackʼs signal. The shotgun snap is, in essence, the center throwing a pass to the quarterback.
Have each player perform a few shotgun snaps, with players rotating at quarterback.
Passing Warm-Up (10 minutes)Have players split into groups of three or four. Have them stand around 10 yards apart (adjust the distance for different age groups). Have the players begin throwing the football to one another to warm up their arms.
Use this opportunity to demonstrate proper passing and receiving techniques.
For passing, each player should stand with the shoulder of his non-throwing arm pointed directly at his target. He should use the shoulder kind of like a gun site. The ball should be held high (“on the shelf”, or basically at the letters). The Peyton Manning school of quarterbacking simplifies the basics of passing into three motions -- wipe the windshield (the quarterbackʼs non-throwing arm leaves the ball, and begins to open up the chest to make a throwing motion), elbow your brother (the quarterbackʼs throwing arm simultaneously moves backward, with the elbow remaining at the same height), and flick the booger (when the quarterback completes his throwing motion, he should flick his wrist and flick his finger at the target to follow through).
For receiving, make sure that players are catching the ball with their hands, and not trapping it against their body. For balls received above the waist, the playerʼs thumbs and index fingers should touch, forming a diamond. For balls received below the waist, the players pinkies should touch.
Break (2 minutes)Have the player grab a quick drink and set up for your next drill.

Basic Route Running (10 minutes)Set up two lines for receivers to run routes, and two separate lines for quarterbacks to throw passes. You should have just two quarterbacks, and should rotate quarterbacks during the drill.
The receivers should run through four separate routes: the seven-yard out, seven-yard curl, go-route, and the slant.
Seven Yard OutReceivers run seven yards up the field, turning out at a 90 degree angle at seven yards. Receivers should use the opposite foot to make their cut -- for example, if the pattern calls for an out pattern to the left, the receiver should cut off of his right foot, and vice-versa.
Seven Yard CurlReceivers work seven yards up the field and turn quickly. Receivers should place their hands out in front of them to create as much space between themselves and a defensive players. Make sure receivers STOP at seven yards, and do not continue to drift down field.
Go RouteAs the name implies, a go route is simply having the receiver run straight up the field, The quarterback should release the ball when the receiver is around seven yards down the field.
SlantReceivers should take two steps up field and then break at a 45 degree angle. Again, receivers should use their off-foot to make their cut.
Defensive Back Technique (10 minutes)The StanceStart out by teaching proper stance mechanics.
Defensive backs should stand in a manner that will enable to backpedal easily. Their feet should be staggered with a heel-to-toe relationship, no wider than shoulder width apart. They should be bent at the waist and knees, tail up and shoulders down. Arms should be relaxed, hanging from the sides.
The BackpedalPlayers should try and remain low to the ground during their backpedal to enable easy change of direction. Shoulders should be over the thighs, with feet slightly shoulder width apart. Mechanics should be similar to running forward, but in reverse. Players should reach back with each step, pulling their bodies over their feet as when running forward.
Breaking on the BallHave players line up in the same manner as in the basic route running drills. On the snap, have the players backpedal. Call out “break”, and have the defender break forward. When the defender breaks forward, throw the ball to the defender.
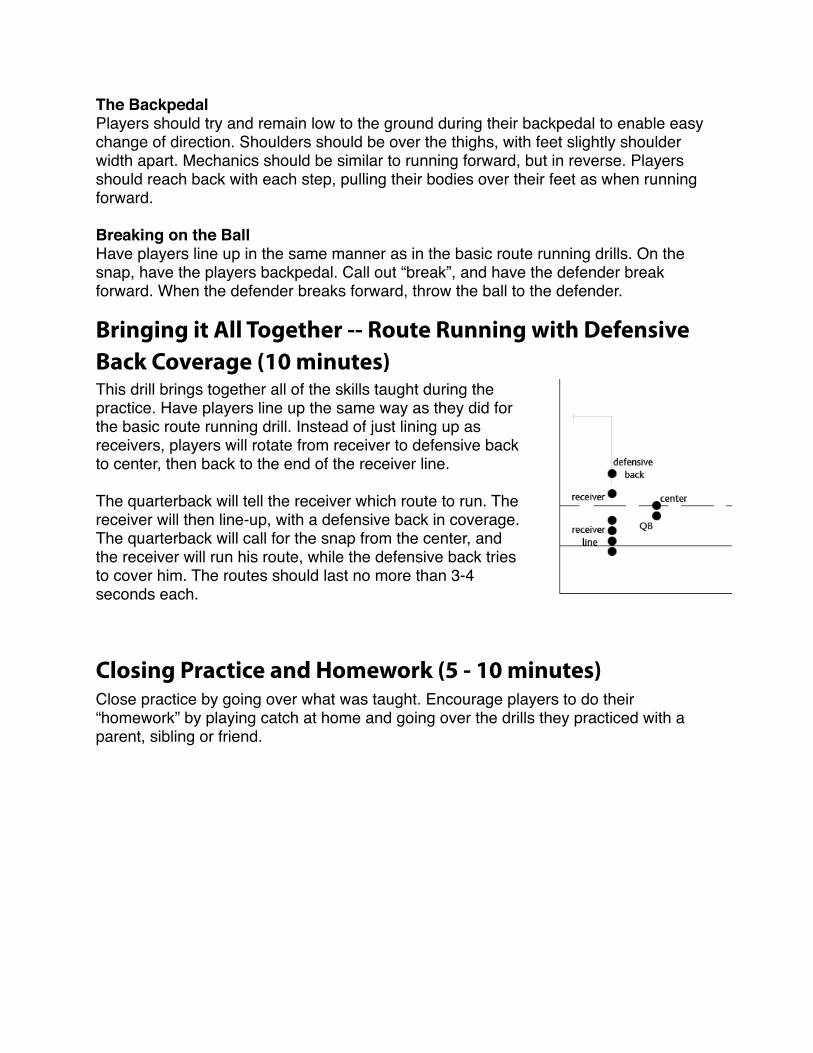
Bringing it All Together -- Route Running with Defensive Back Coverage (10 minutes)This drill brings together all of the skills taught during the practice. Have players line up the same way as they did for the basic route running drill. Instead of just lining up as receivers, players will rotate from receiver to defensive back to center, then back to the end of the receiver line.
The quarterback will tell the receiver which route to run. The receiver will then line-up, with a defensive back in coverage. The quarterback will call for the snap from the center, and the receiver will run his route, while the defensive back tries to cover him. The routes should last no more than 3-4 seconds each.
Closing Practice and Homework (5 - 10 minutes)Close practice by going over what was taught. Encourage players to do their “homework” by playing catch at home and going over the drills they practiced with a parent, sibling or friend.