welcome to the mirc & noname script tutorial created by buzz & jet 1/31
TRANSCRIPT

Welcome to the MIRC & Welcome to the MIRC & NoName Script TutorialNoName Script Tutorial
Created by Buzz & Jet
http://sharpclan.net 1/31

Download & Installation
• First, download two applications called ‘mIRC’ and ‘NoNameScript’ from these links:
• mIRC• NoName Script• Then install mIRC, and finally install
NoNameScript in the mIRC folder
2/31

ConfigurationMIRC Setup
• To startup the application, run mIRC.exe• I made screenshots of every part you need to go
through, my advice is to duplicate these settings, and leave some default, I’ll tell some things that are usefull to know but most things speak for themselves
• You’ll probably get the following screen on startup, if not, click the tab ‘tools’ @ the toolbar, and then ‘options’
3/31

Configuration MIRC Setup
• Your Full name and Email adress can be fake or not, do as you like
• Your nickname will be visible to everyone, the alternative nickname is for the occasion you get disconnected, just write something similar
4/31

ConfigurationMIRC Setup
• Make the IRC network selected is Quakenet, and the IRC server is Quakenet: Random server
5/31

Configuration MIRC Setup• In the perform part,
you can add servers you want to open @ startup. Make sure the network you are using is Quakenet
6/31

ConfigurationMIRC Setup
• The local Host and IP address boxes will be automatically filled
7/31

ConfigurationMIRC Setup
• No real special things here, maybe some thing to check/uncheck but I think this was configured automatically
8/31

ConfigurationMIRC Setup
• Hmm not real special things here either.
9/31

ConfigurationMIRC Setup
• Same..
10/31

ConfigurationMIRC Setup• Here you can configure
that your name is highlighted when somebody calls for you, or a part of your name.
11/31
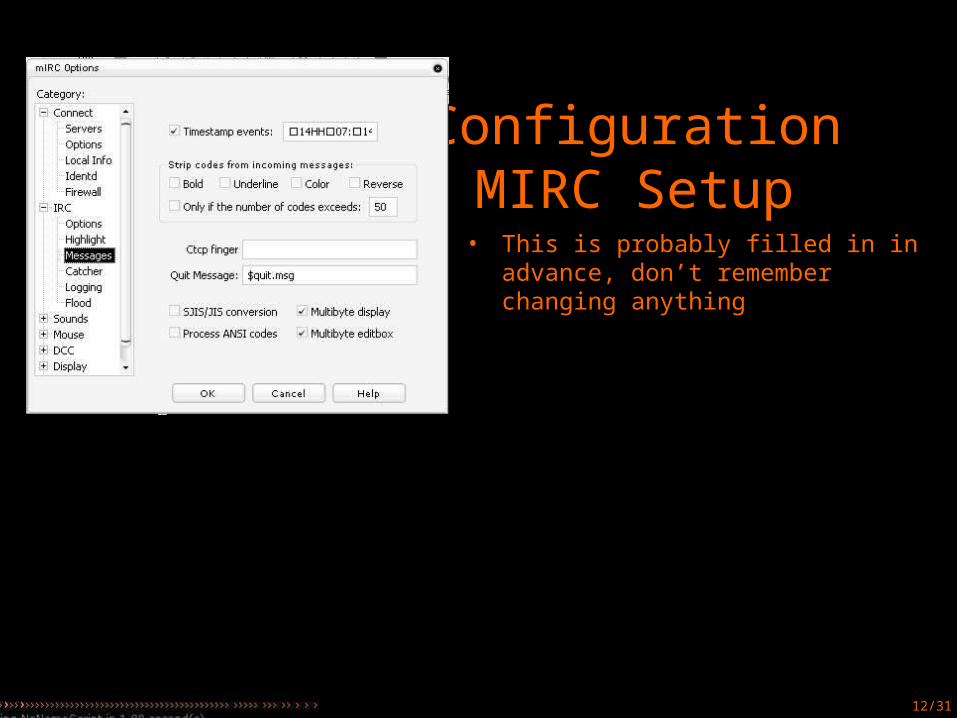
ConfigurationMIRC Setup• This is probably filled in in
advance, don’t remember changing anything
12/31
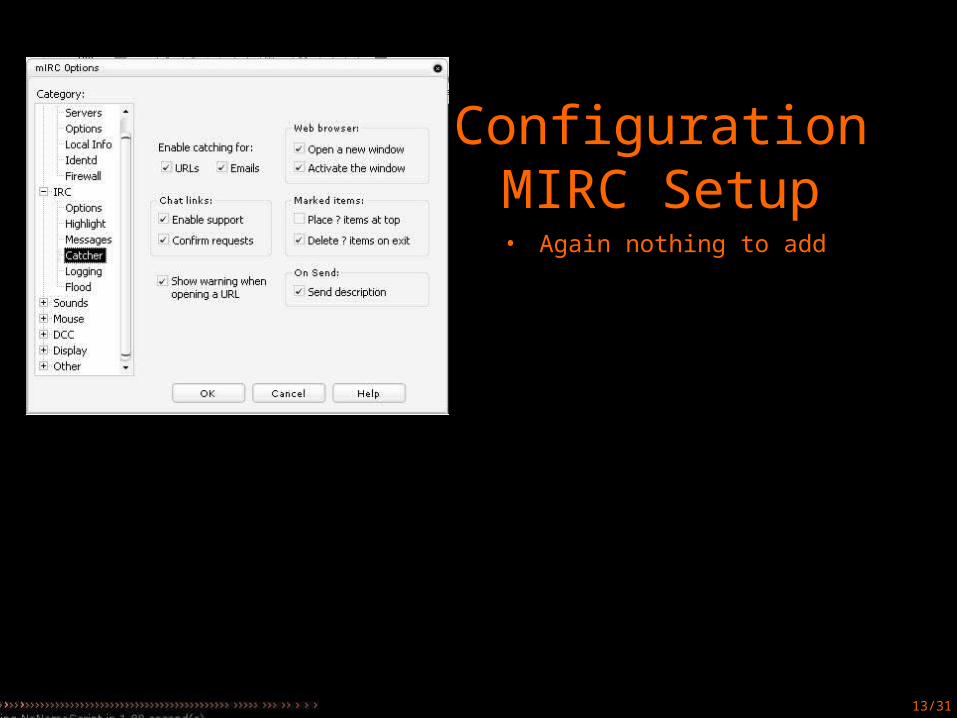
ConfigurationMIRC Setup• Again nothing to add
13/31

ConfigurationMIRC Setup• Guess this speaks for itself
14/31
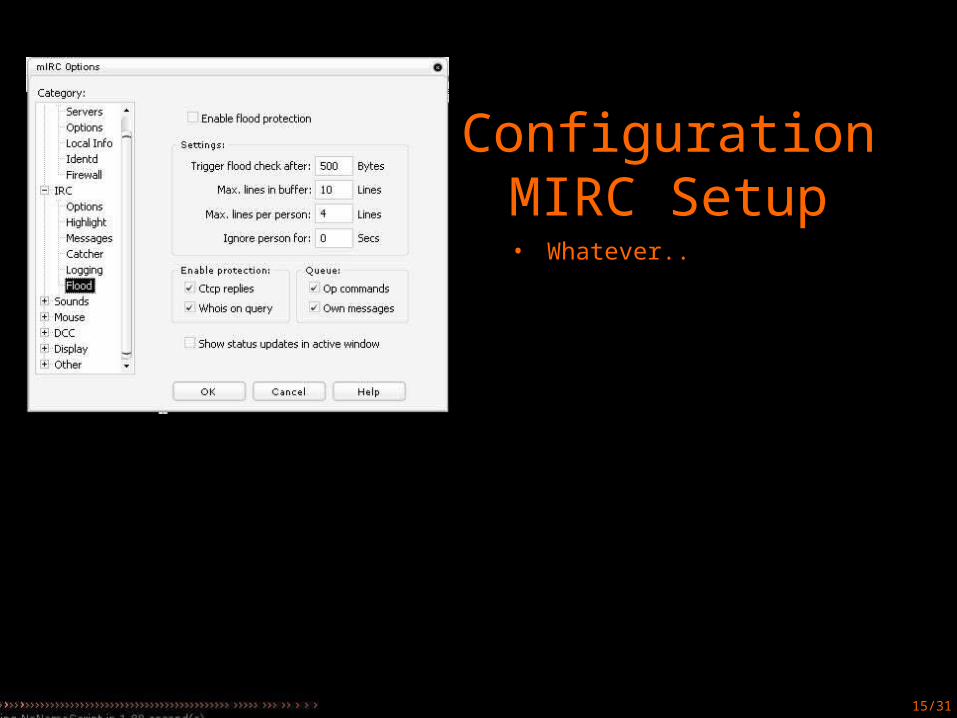
ConfigurationMIRC Setup• Whatever..
15/31

ConfigurationMIRC Setup• Do what you want, I don’t like
sounds
16/31

ConfigurationMIRC Setup• Again
17/31
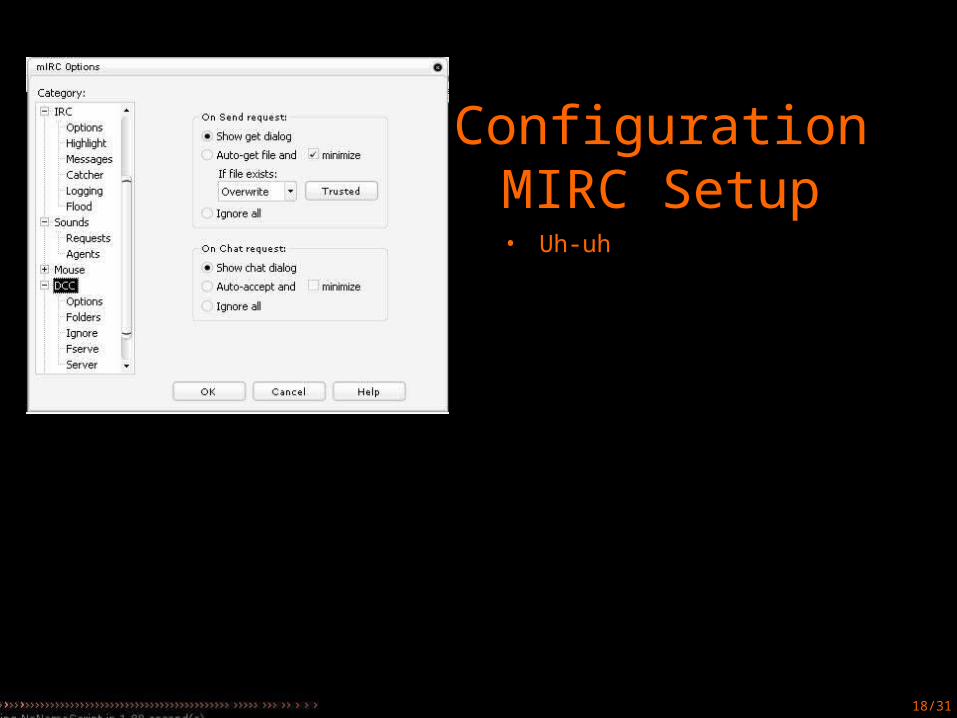
ConfigurationMIRC Setup• Uh-uh
18/31

ConfigurationMIRC Setup• Hrm..
19/31

ConfigurationMIRC Setup• Pressing on the Tray
option opens the window where you can minimize mIRC in the tray
• This concludes the configuring of MIRC Setup. There are probably other things you can configure, but these are the most important settings.
• Just press ok and ok again to go on with the second part 20/31

ConfigurationNoNameScript Setup
• Now on to the second part of this tutorial, configuring NoNameScript
• At the toolbar above, press NoNameScript, then click on setup. Here you’ll find the NoNameScript options
21/31
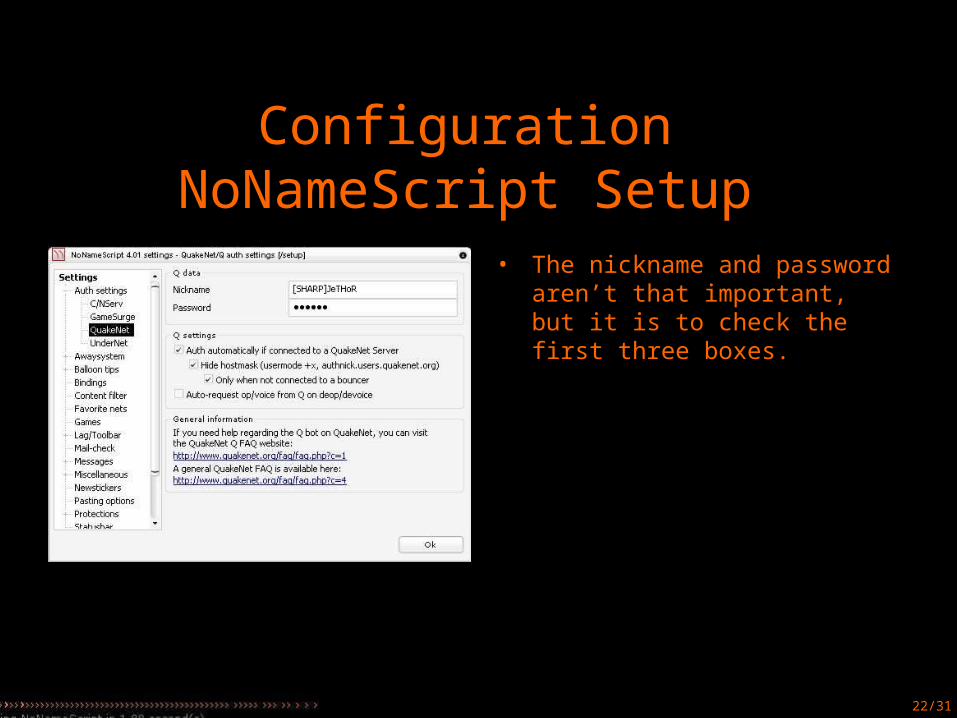
ConfigurationNoNameScript Setup
• The nickname and password aren’t that important, but it is to check the first three boxes.
22/31

ConfigurationNoNameScript Setup
• These are the settings for the away settings, I don’t use it but it’s a useful way of telling other people that you aren’t here
23/31

ConfigurationNoNameScript Setup
• Hmm..
24/31

ConfigurationNoNameScript Setup
• With these option, if you leave a channel or exit IRC a message appears. I don’t use it because in some channels it’s not allowed, or at least not appreciated but Buzz does
25/31

ConfigurationNoNameScript Setup
• Misc. options, dunno what the defaults settings are, but that way, it works perfectly
26/31

ConfigurationNoNameScript Setup
• Some other stuff..• Okay this was the last step in
the NoNameScript configuration. You can now press ‘Ok’
• Finally there are a couple of options we will discuss in the next slide
27/31

Other options
• In the upper toolbar press the tab ‘NoNameScript’, and then click Themes. Here you can configure and customize countless of themes to meet your demands
• Finally, now I guess we have discussed the most important functions, let’s login !
• For that see the next slide
28/31
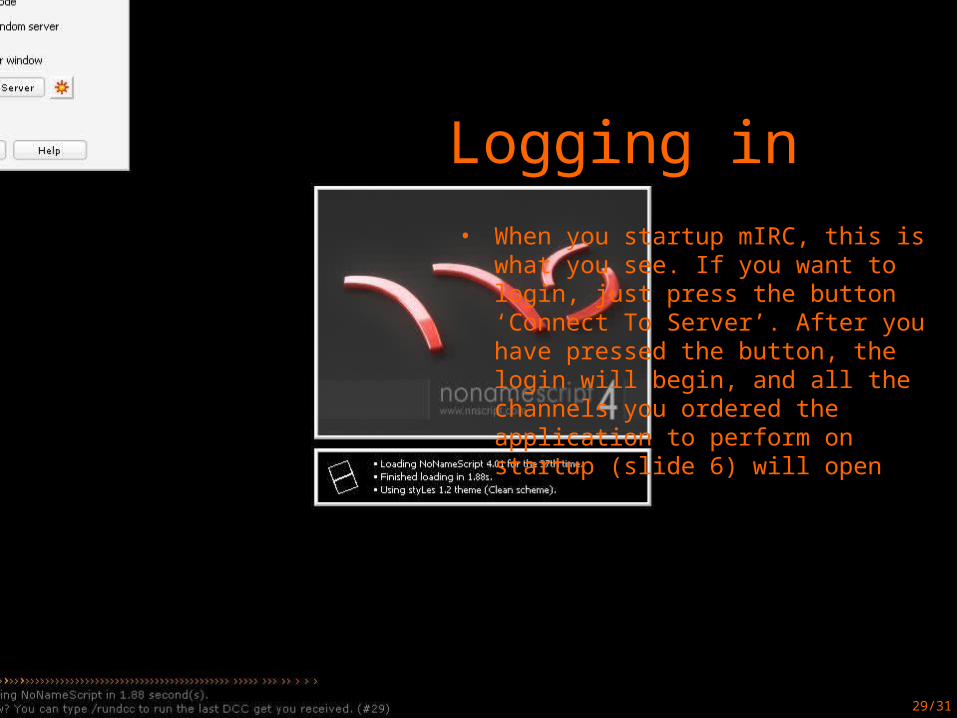
Logging in• When you startup mIRC, this is what
you see. If you want to login, just press the button ‘Connect To Server’. After you have pressed the button, the login will begin, and all the channels you ordered the application to perform on startup (slide 6) will open
29/31

Logged in and ready to go !
• Above, You see all the channels you are connected to, the grey icons mean that there is no activity, purple means there is a conversation of some sort, blue means something happened like a login or kick and orange is when you’ve been highlighted
• At the right, you see the current members of this channel. You’ll notice that some have a ‘@’ and some have a ‘+’ in front of their name. This indicates which user mode the user has, for example ‘@’ means that you are an operator and have the possibility to kick someone.
• This concludes this tutorial, except for one step which is discussed in the next slide
30/31

Registering
• You only need to register for MIRC, which is an easy process, but just ask one of the admins.
• Now this really Is the end of the tutorial. I hope you didn’t have any difficulties when running through this tutorial. If so maybe you would be so kind as to report that to me?
Thanks in advance and hope to see you soon !
31/31