wintv-hvr-4000 - hauppauge uk· cyberlink powercinema 4.7 1.contents of the wintv-hvr ... you can...
TRANSCRIPT
Page 1 Page 2 Page 3 Page 4
WinTV-HVR-4000Quick Installation Guide for Windows XP
© 2006 Hauppauge Computer Works · QI-WNTV-HVR4000CYBER-V1.0-ENG · 2006/10/26
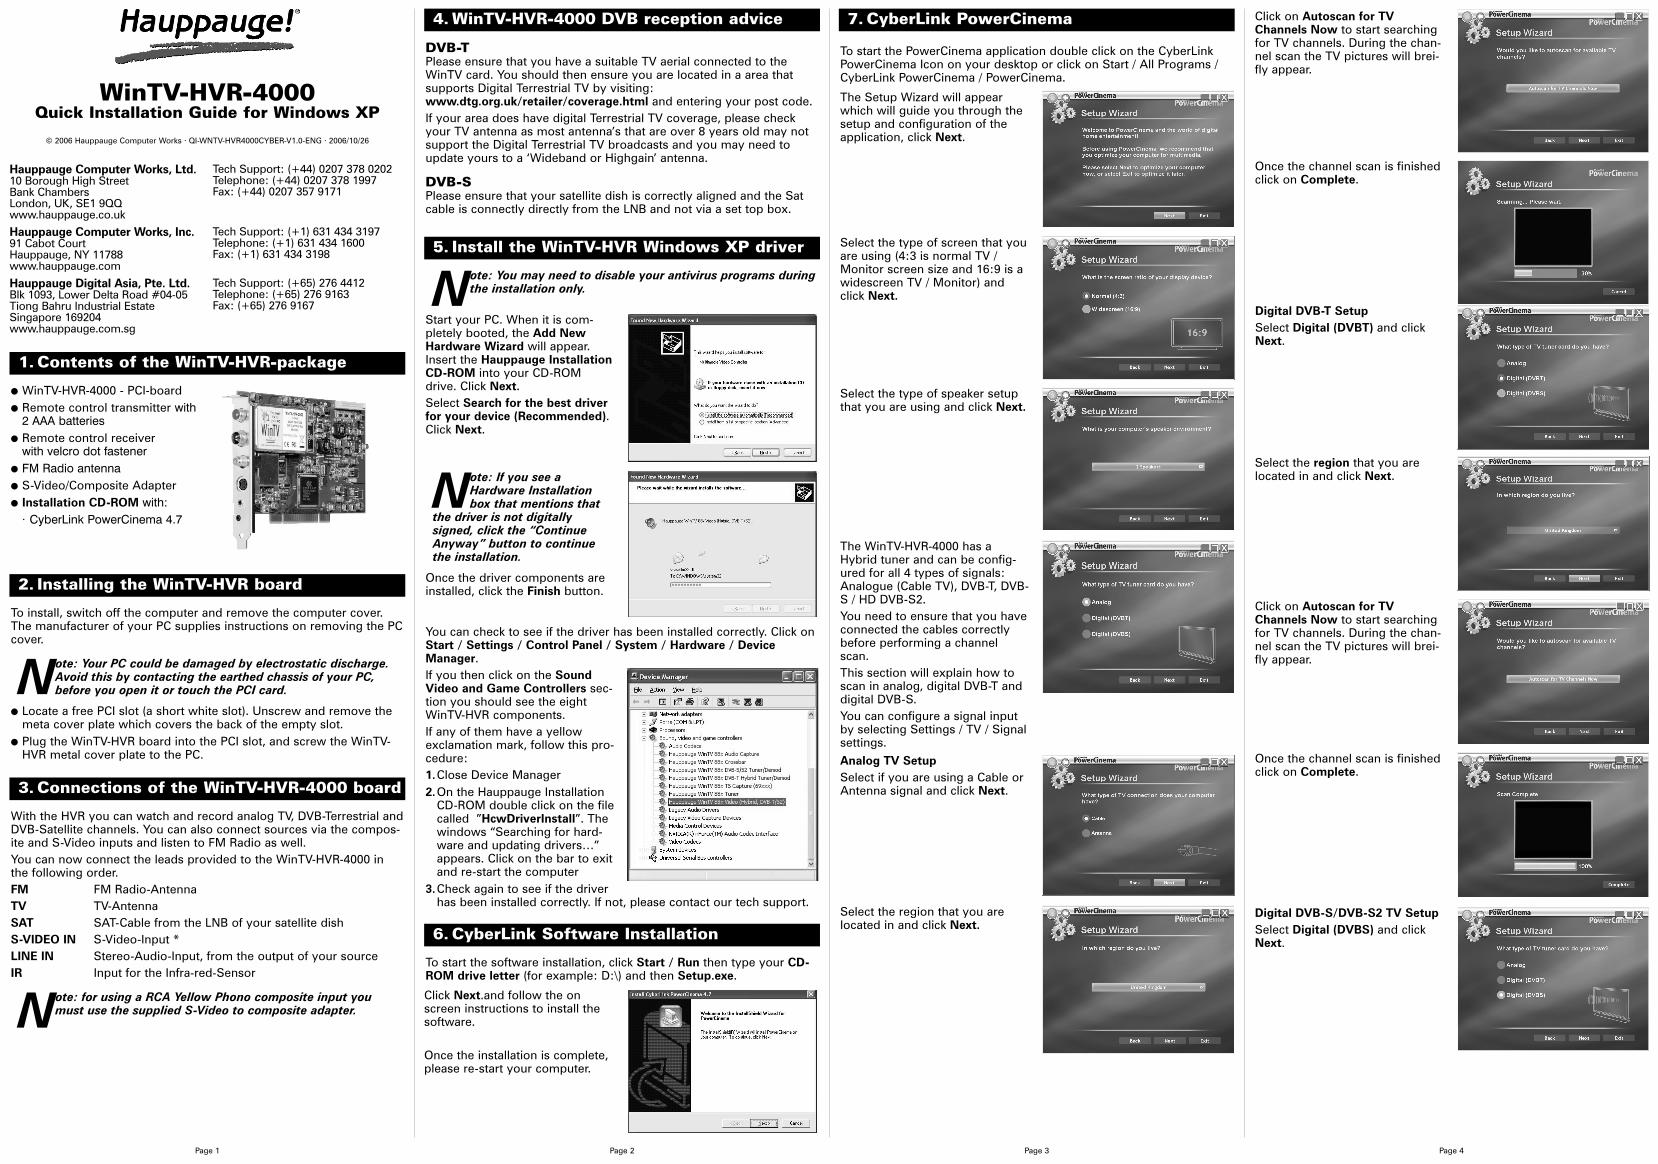
● WinTV-HVR-4000 - PCI-board● Remote control transmitter with
2 AAA batteries ● Remote control receiver
with velcro dot fastener● FM Radio antenna● S-Video/Composite Adapter● Installation CD-ROM with:
· CyberLink PowerCinema 4.7
1. Contents of the WinTV-HVR-package
Hauppauge Computer Works, Ltd.10 Borough High StreetBank ChambersLondon, UK, SE1 9QQwww.hauppauge.co.uk
Tech Support: (+44) 0207 378 0202Telephone: (+44) 0207 378 1997Fax: (+44) 0207 357 9171
Hauppauge Computer Works, Inc.91 Cabot CourtHauppauge, NY 11788www.hauppauge.com
Tech Support: (+1) 631 434 3197Telephone: (+1) 631 434 1600Fax: (+1) 631 434 3198
Hauppauge Digital Asia, Pte. Ltd.Blk 1093, Lower Delta Road #04-05Tiong Bahru Industrial EstateSingapore 169204www.hauppauge.com.sg
Tech Support: (+65) 276 4412Telephone: (+65) 276 9163Fax: (+65) 276 9167
To install, switch off the computer and remove the computer cover.The manufacturer of your PC supplies instructions on removing the PCcover.
Note: Your PC could be damaged by electrostatic discharge.Avoid this by contacting the earthed chassis of your PC,before you open it or touch the PCI card.
● Locate a free PCI slot (a short white slot). Unscrew and remove themeta cover plate which covers the back of the empty slot.
● Plug the WinTV-HVR board into the PCI slot, and screw the WinTV-HVR metal cover plate to the PC.
2. Installing the WinTV-HVR board
With the HVR you can watch and record analog TV, DVB-Terrestrial andDVB-Satellite channels. You can also connect sources via the compos-ite and S-Video inputs and listen to FM Radio as well.You can now connect the leads provided to the WinTV-HVR-4000 inthe following order.FM FM Radio-AntennaTV TV-AntennaSAT SAT-Cable from the LNB of your satellite dishS-VIDEO IN S-Video-Input *LINE IN Stereo-Audio-Input, from the output of your sourceIR Input for the Infra-red-Sensor
Note: for using a RCA Yellow Phono composite input youmust use the supplied S-Video to composite adapter.
3. Connections of the WinTV-HVR-4000 board
DVB-TPlease ensure that you have a suitable TV aerial connected to theWinTV card. You should then ensure you are located in a area thatsupports Digital Terrestrial TV by visiting:www.dtg.org.uk/retailer/coverage.html and entering your post code.If your area does have digital Terrestrial TV coverage, please checkyour TV antenna as most antenna’s that are over 8 years old may notsupport the Digital Terrestrial TV broadcasts and you may need toupdate yours to a ‘Wideband or Highgain’ antenna.
DVB-SPlease ensure that your satellite dish is correctly aligned and the Satcable is connectly directly from the LNB and not via a set top box.
4. WinTV-HVR-4000 DVB reception advice
You can check to see if the driver has been installed correctly. Click onStart / Settings / Control Panel / System / Hardware / DeviceManager.If you then click on the SoundVideo and Game Controllers sec-tion you should see the eightWinTV-HVR components. If any of them have a yellowexclamation mark, follow this pro-cedure:1.Close Device Manager2.On the Hauppauge Installation
CD-ROM double click on the filecalled ”HcwDriverInstall”. Thewindows “Searching for hard-ware and updating drivers…”appears. Click on the bar to exitand re-start the computer
3.Check again to see if the driverhas been installed correctly. If not, please contact our tech support.
Note: You may need to disable your antivirus programs duringthe installation only.
5. Install the WinTV-HVR Windows XP driver
Start your PC. When it is com-pletely booted, the Add NewHardware Wizard will appear.Insert the Hauppauge InstallationCD-ROM into your CD-ROMdrive. Click Next.Select Search for the best driverfor your device (Recommended).Click Next.
Note: If you see aHardware Installationbox that mentions that
the driver is not digitallysigned, click the “ContinueAnyway” button to continuethe installation.
Once the driver components areinstalled, click the Finish button.
To start the software installation, click Start / Run then type your CD-ROM drive letter (for example: D:\) and then Setup.exe.
6. CyberLink Software Installation
Click Next.and follow the onscreen instructions to install thesoftware.
Once the installation is complete,please re-start your computer.
Select the type of speaker setupthat you are using and click Next.
To start the PowerCinema application double click on the CyberLinkPowerCinema Icon on your desktop or click on Start / All Programs /CyberLink PowerCinema / PowerCinema.
The WinTV-HVR-4000 has aHybrid tuner and can be config-ured for all 4 types of signals:Analogue (Cable TV), DVB-T, DVB-S / HD DVB-S2.You need to ensure that you haveconnected the cables correctlybefore performing a channelscan.This section will explain how toscan in analog, digital DVB-T anddigital DVB-S.You can configure a signal inputby selecting Settings / TV / Signalsettings.
The Setup Wizard will appearwhich will guide you through thesetup and configuration of theapplication, click Next.
Select the type of screen that youare using (4:3 is normal TV /Monitor screen size and 16:9 is awidescreen TV / Monitor) andclick Next.
7. CyberLink PowerCinema
Analog TV SetupSelect if you are using a Cable orAntenna signal and click Next.
Select the region that you arelocated in and click Next.
Click on Autoscan for TVChannels Now to start searchingfor TV channels. During the chan-nel scan the TV pictures will brei-fly appear.
Once the channel scan is finishedclick on Complete.
Digital DVB-T SetupSelect Digital (DVBT) and clickNext.
Select the region that you arelocated in and click Next.
Click on Autoscan for TVChannels Now to start searchingfor TV channels. During the chan-nel scan the TV pictures will brei-fly appear.
Once the channel scan is finishedclick on Complete.
Digital DVB-S/DVB-S2 TV SetupSelect Digital (DVBS) and clickNext.
Page 5 Page 6 Page 7 Page 8
Select the region that you arelocated in and click Next.
Select the numer of satellites thatyou are using. In most situationsthere will only be 1 satellite posi-tion, as your satellite dish willonly have 1 LNB.
Select the satellite that your dishis pointing to from the satellitelist. In the United Kingdom the 2most common satellite positionsare:Astra 2A, 2B, 2D (E28)Astra 1C, 1E, 1F, 1G, 1H, 2C (E19)For a SKY satellite dish positionselect the Astra 2A, 2B, 2D(E28) and select Next.
Click on Autoscan for TVChannels Now to start searchingfor TV channels. During the chan-nel scan the TV pictures willbriefly appear.
Once the channel scan is finishedclick on Complete.
Electronic Program GuideThe EPG shows you what’s on TVfor up to 2 weeks in advance.You can use the EPG to shedulerecordings while you are not sit-ting at the PC.
Click on more information aboutEPG.
There are 2 options for recievingthe EPG data:Using a pay service epgData.comUsing a free service NexTViewSelect the NexTView option andclick Next.
Select the folder on your comput-er where the TV recordings willbe stored.
When the searching is finishedclick on Complete.
The setup wizard is now com-plete, click Next to finish.
You can search for FM Radio sta-tions.
When the scanning is finishedclick on Complete.
Select the folder on your comput-er where the FM Radio recordingswill be stored.
You can search for music that isalready stored on your computerwhich will add it to a play list.
The remote control software is installed automatically during theinstallation of the WinTV applications.You will see the WinTV Remote icon in the Device Tray. The installa-tion will add a shortcut to IR.EXE to the Startup group, so that IR.EXEis loaded every time after Windows has booted.If you need to restart the remote control, select Restart IR from theStart \ All Program Files \ WinTV directory.Please ensure the following before trying to use this option:1. Infrared Remote control - Has batteries inserted2. Infrared-Receiver, is fully connected to the IR socket of the WinTV-Card 3. Infrared software is started - The IR icon is on the start barTo start the PowerCinema press the GO button. Use the scroll up anddown button to select PowerCinema and press OK to select.
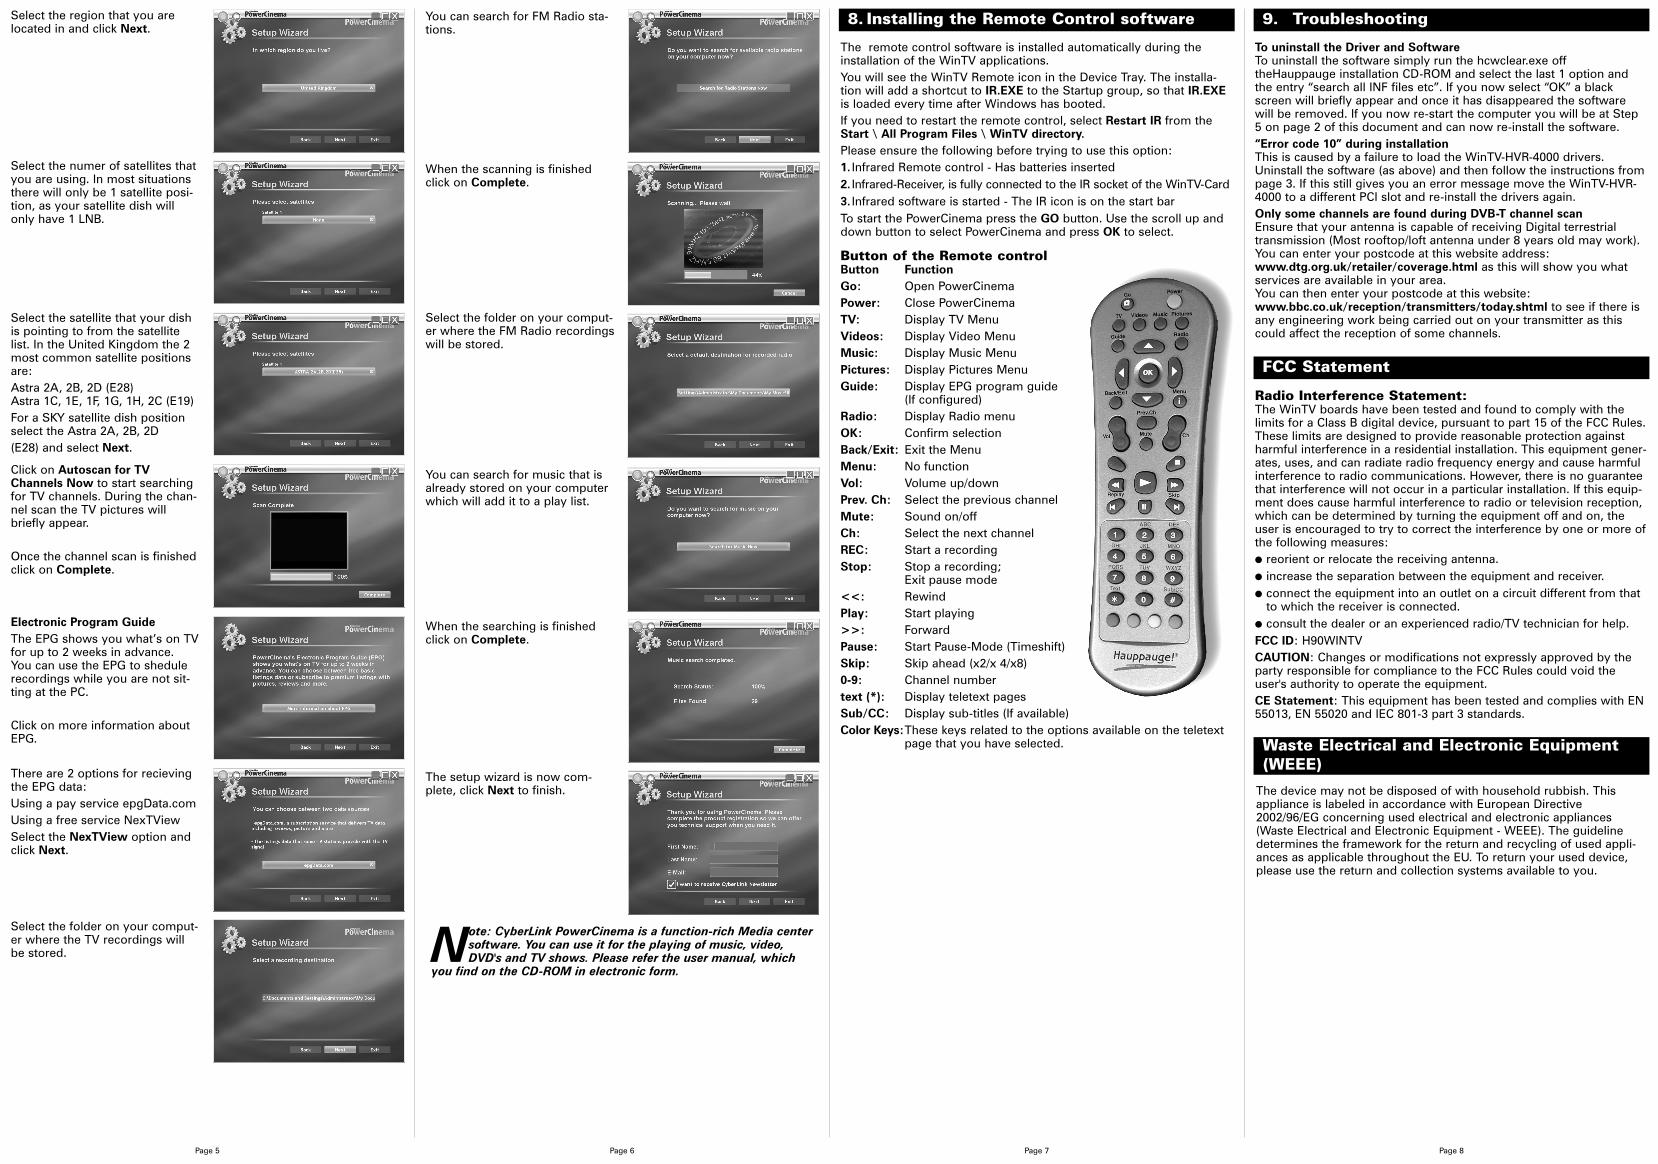
Button of the Remote controlButton FunctionGo: Open PowerCinemaPower: Close PowerCinemaTV: Display TV MenuVideos: Display Video MenuMusic: Display Music MenuPictures: Display Pictures MenuGuide: Display EPG program guide
(If configured)Radio: Display Radio menuOK: Confirm selectionBack/Exit: Exit the MenuMenu: No functionVol: Volume up/downPrev. Ch: Select the previous channelMute: Sound on/offCh: Select the next channelREC: Start a recordingStop: Stop a recording;
Exit pause mode<<: RewindPlay: Start playing>>: ForwardPause: Start Pause-Mode (Timeshift)Skip: Skip ahead (x2/x 4/x8)0-9: Channel numbertext (*): Display teletext pagesSub/CC: Display sub-titles (If available)Color Keys:These keys related to the options available on the teletext
page that you have selected.
8. Installing the Remote Control software
To uninstall the Driver and SoftwareTo uninstall the software simply run the hcwclear.exe offtheHauppauge installation CD-ROM and select the last 1 option andthe entry “search all INF files etc”. If you now select “OK” a blackscreen will briefly appear and once it has disappeared the softwarewill be removed. If you now re-start the computer you will be at Step5 on page 2 of this document and can now re-install the software.“Error code 10” during installationThis is caused by a failure to load the WinTV-HVR-4000 drivers.Uninstall the software (as above) and then follow the instructions frompage 3. If this still gives you an error message move the WinTV-HVR-4000 to a different PCI slot and re-install the drivers again.Only some channels are found during DVB-T channel scanEnsure that your antenna is capable of receiving Digital terrestrialtransmission (Most rooftop/loft antenna under 8 years old may work).You can enter your postcode at this website address:www.dtg.org.uk/retailer/coverage.html as this will show you whatservices are available in your area.You can then enter your postcode at this website:www.bbc.co.uk/reception/transmitters/today.shtml to see if there isany engineering work being carried out on your transmitter as thiscould affect the reception of some channels.
9. Troubleshooting
Radio Interference Statement:The WinTV boards have been tested and found to comply with thelimits for a Class B digital device, pursuant to part 15 of the FCC Rules.These limits are designed to provide reasonable protection againstharmful interference in a residential installation. This equipment gener-ates, uses, and can radiate radio frequency energy and cause harmfulinterference to radio communications. However, there is no guaranteethat interference will not occur in a particular installation. If this equip-ment does cause harmful interference to radio or television reception,which can be determined by turning the equipment off and on, theuser is encouraged to try to correct the interference by one or more ofthe following measures:● reorient or relocate the receiving antenna.● increase the separation between the equipment and receiver.● connect the equipment into an outlet on a circuit different from that
to which the receiver is connected.● consult the dealer or an experienced radio/TV technician for help.FCC ID: H90WINTVCAUTION: Changes or modifications not expressly approved by theparty responsible for compliance to the FCC Rules could void theuser's authority to operate the equipment.CE Statement: This equipment has been tested and complies with EN55013, EN 55020 and IEC 801-3 part 3 standards.
FCC Statement
The device may not be disposed of with household rubbish. Thisappliance is labeled in accordance with European Directive2002/96/EG concerning used electrical and electronic appliances(Waste Electrical and Electronic Equipment - WEEE). The guidelinedetermines the framework for the return and recycling of used appli-ances as applicable throughout the EU. To return your used device,please use the return and collection systems available to you.
Waste Electrical and Electronic Equipment(WEEE)
Note: CyberLink PowerCinema is a function-rich Media centersoftware. You can use it for the playing of music, video,DVD's and TV shows. Please refer the user manual, which
you find on the CD-ROM in electronic form.