zoomax snow 7 hd handheld video magnifier - press and hold the power button for 2 seconds while the...
TRANSCRIPT
1
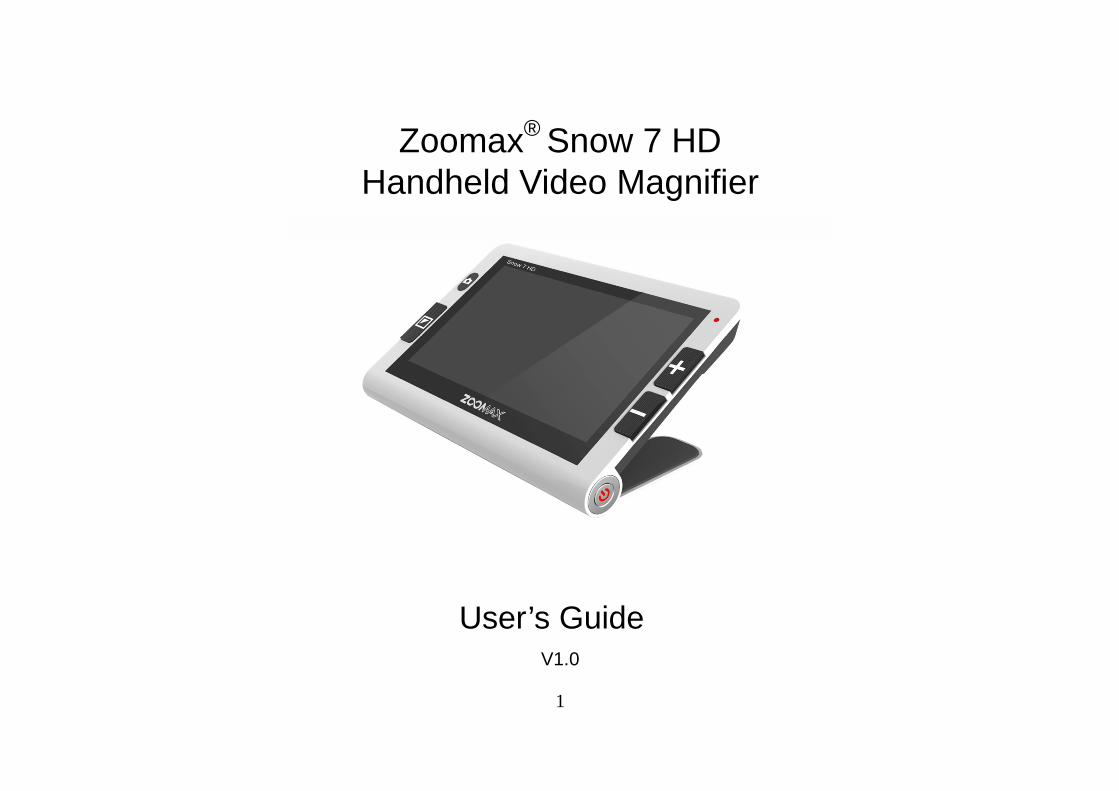
Zoomax® Snow 7 HD Handheld Video Magnifier
User’s Guide V1.0
2
Zoomax Technology, Inc., Qianyun Road Qingpu Area Shanghai, China. 200120,Shanghai, China. 200120 Copyright© 2013 Zoomax Technology, Inc., All Rights Reserved. Zoomax ® is a trademark of Zoomax Technology, Inc. in the United States and other countries. Information in this document is subject to change without notice. No part of this publication may be reproduced or transmitted in any form or by any means electronic or mechanical, for any purpose, without the express written permission of Zoomax. If you have any question or suggestion concerning the use of this product, please contact your distributor or Zoomax by e-mail [email protected].
To search the knowledge base, visit www.zoomax.co and choose the relative link.

3
Dear Customer,
Thank you very much for choosing Snow 7 HD !
Ergonomic, compact and real easy-use----that is ZOOMAX Snow 7 HD.
1. 7-inch high contrast LCD: Provide you extremely comfortable and crisp image that you would
never compromise your desire to read newspaper, price tags, and magazines or view your
favorite photos.
2. 480g (16.93 ounces): truly light weight makes it reasonable for you to use it everywhere, at home
or on the go.
3. Writing stand: Ergonomic design let you writing greeting card or signing name on bills quickly.
Now, just start you fantastic reading and writing experience freely with SNOW 7 HD !
4
Content
Accessories......................................................…………………………………..............................1
Compositions…………………………….………………………………..………………………………2
Operation………………………………………………..…………………….……………….……….....4
Charge the battery…………………………….…………………………………………..………....4
Turn on/off……………………………………….………….…………………………………….…..5
Adjust magnification……………….………..……………..…………………………….…………..6
Select color mode………………………………………….…………………..…………..….……..7
Freeze……………………………………….………..……………………….…………………….10
Writing instruction …………………………………..…………..……………….……….………....11
Turn on/off the sound…………………………………………………………………………….....11
Turn on/off the LED lights ……………………………………………………………………....…13
Adjust the screen brightness………………………………………………………………..……..14
5
Connect to TV/PC…………………………………………………………………………….……14
Power saving function………...………………………………………………………….…….…15
Setting memory function………………………………………………………..………………...15
Close/Far view function……………………………………………………………..…..……......16
Select the system……………………………………………………………………..……….…..16
Troubleshooting…………………………………………….…………………..……..…………....18
Safety…………………………………………………………………………………………….......20
Technical specifications……….………………………………………………………….………….21
Appendix: Snow 7 HD Feedback………………….………………………………….,……………23
1
Accessories
ZOOMAX Snow 7 HD package contains the followings:
1. Snow 7 HD video magnifier
2. Protective pouch
3. User’s guide
4. HDMI cable

2
Compositions
Power Indicator
7-inch LCD Screen
Zoom In Button
Zoom Out Button
Color Mode Button
Power Button
Freeze Button
Stand

3
HDMI Port
USB Port
Far/Close View Switch Button
Power Input Port

4
Operation
Charge the battery
- The battery MUST be fully charged prior to FIRST using SNOW 7 HD.
- Connect the supplied power adapter to the Power Input Port, and then plug the other end of
Power Adapter into power outlet. The Power Indicator is red while charging.
- When the battery is fully charged, the Power Indicator turns off.

5
- If the Battery Indicator on the screen has no bars and flashes, the battery is low and should
be charged.
- Charging the battery takes approximately 4~6 hours. A fully charged Snow 7 HD can be
continuously used for 4~6 hours.
Turn on/off
Power Button
6
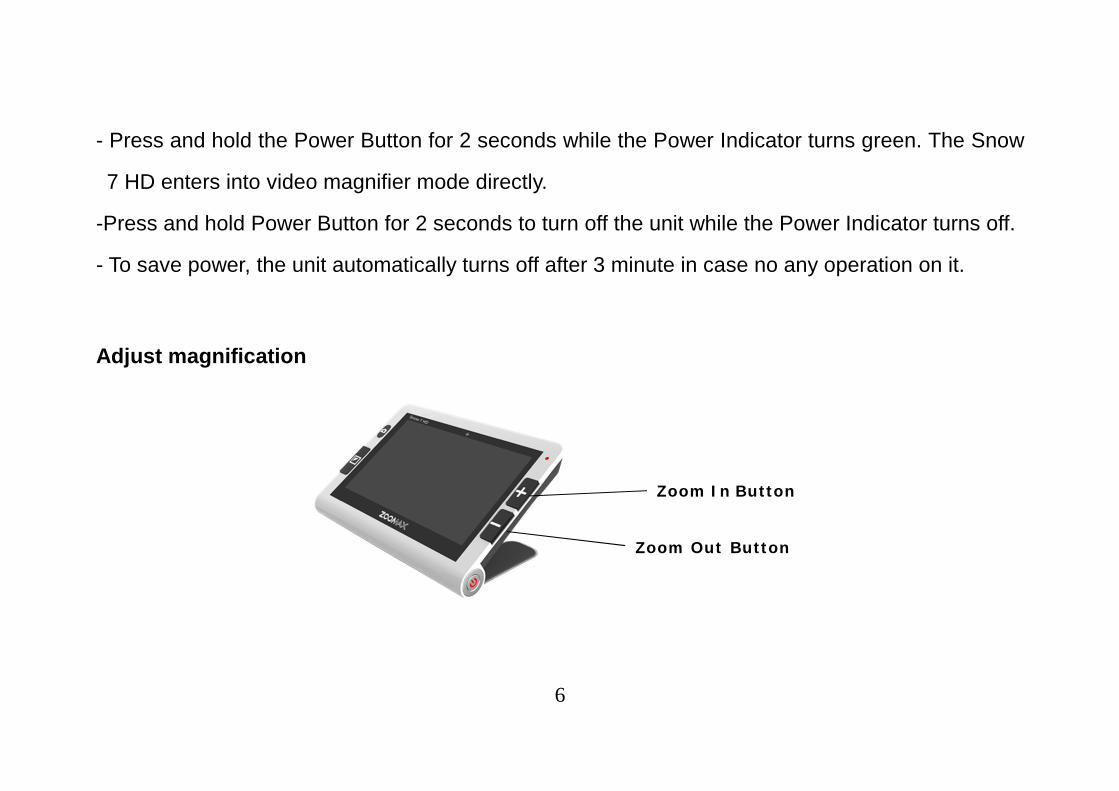
- Press and hold the Power Button for 2 seconds while the Power Indicator turns green. The Snow
7 HD enters into video magnifier mode directly.
-Press and hold Power Button for 2 seconds to turn off the unit while the Power Indicator turns off.
- To save power, the unit automatically turns off after 3 minute in case no any operation on it.
Adjust magnification
Zoom In Button
Zoom Out Button

7
- Press the “+” button to zoom in; press the “-” to zoom out.
- If place the Snow 7 HD horizontally on material (as shown in diagram), the magnification ratio is
2.2X ~ 16X.
- Lift the unit off the reading material will decrease the magnification of the viewed material.
Connect the unit to TV screen can increase the magnification of the viewed material.
Select color mode
Color Mode Button

8
1. Normal mode
Press Color Mode Button in the Normal mode, then 12 high contrast color modes below can be
your selection:
- Full color
- Grey mode
- High contrast white text on black background mode
- High contrast black text on white background mode
- High contrast white text on blue background mode
- High contrast blue text on white background mode
- High contrast yellow text on black background mode
- High contrast black text on yellow background mode
- High contrast blue text on yellow background mode
- High contrast yellow text on blue background mode
9
- High contrast green text on black background mode
- High contrast black text on green background mode
2.Favorite mode
- In the any contrast color mode, long press Color Mode Button for 2 seconds. After one Beep, it
enters into Favorite mode. Only 3 color modes are for selection then, including full color, the
favorite contrast color you choose and its reverse color mode (such as white on blue & blue on
white).
- If the unite enters into Favorite mode from full color or grey mode, then the 3 favorite color modes
will be full color, white on black and black on white.
- To exit from the Favorite mode, long press the Color Mode Button for 2 seconds until you hear
beep.

10
Freeze
Press Freeze Button to capture image or letters.
- Place the Snow 7 HD over the viewed material. (Please keep the viewed material on flat).
- Press Freeze Button.
- Take the unit closer to look at the image. The image can be zoomed in/out or changed color mode.
- Press Freeze Button again to unfreeze.
Freeze Button

11
Writing instruction
- Open the stand
- Write under the camera
Stand
12
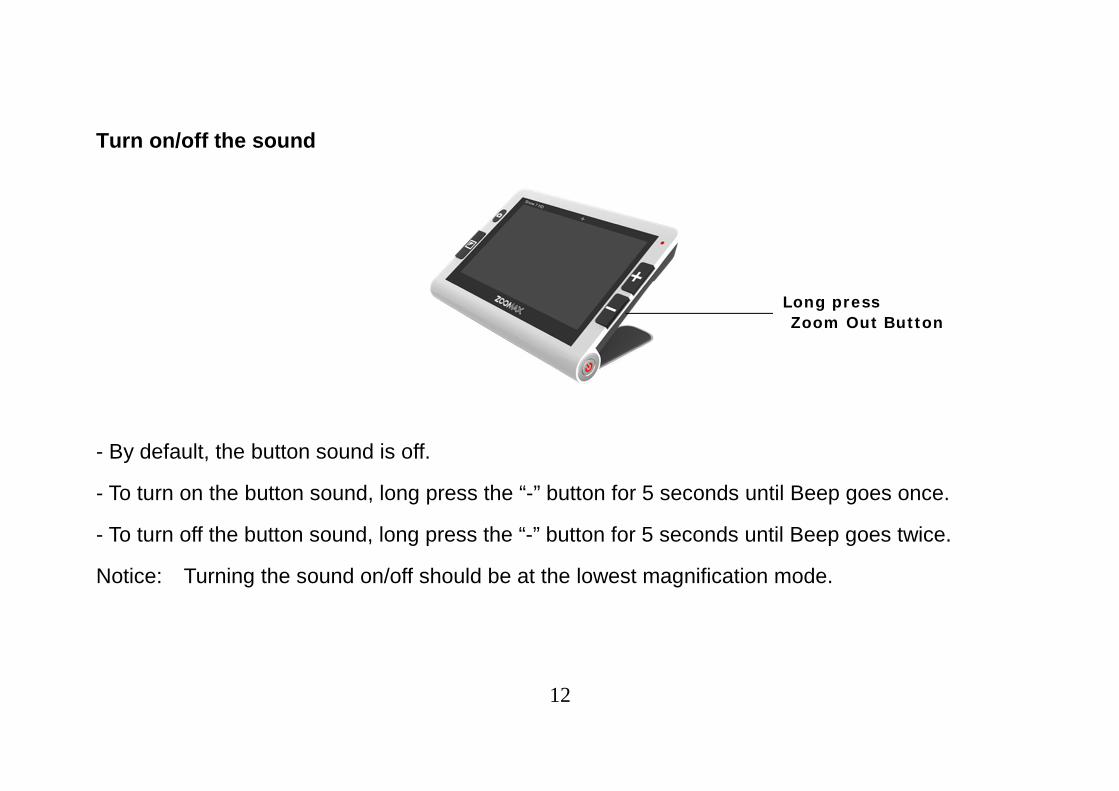
Turn on/off the sound
- By default, the button sound is off.
- To turn on the button sound, long press the “-” button for 5 seconds until Beep goes once.
- To turn off the button sound, long press the “-” button for 5 seconds until Beep goes twice.
Notice: Turning the sound on/off should be at the lowest magnification mode.
Long press Zoom Out Button
13
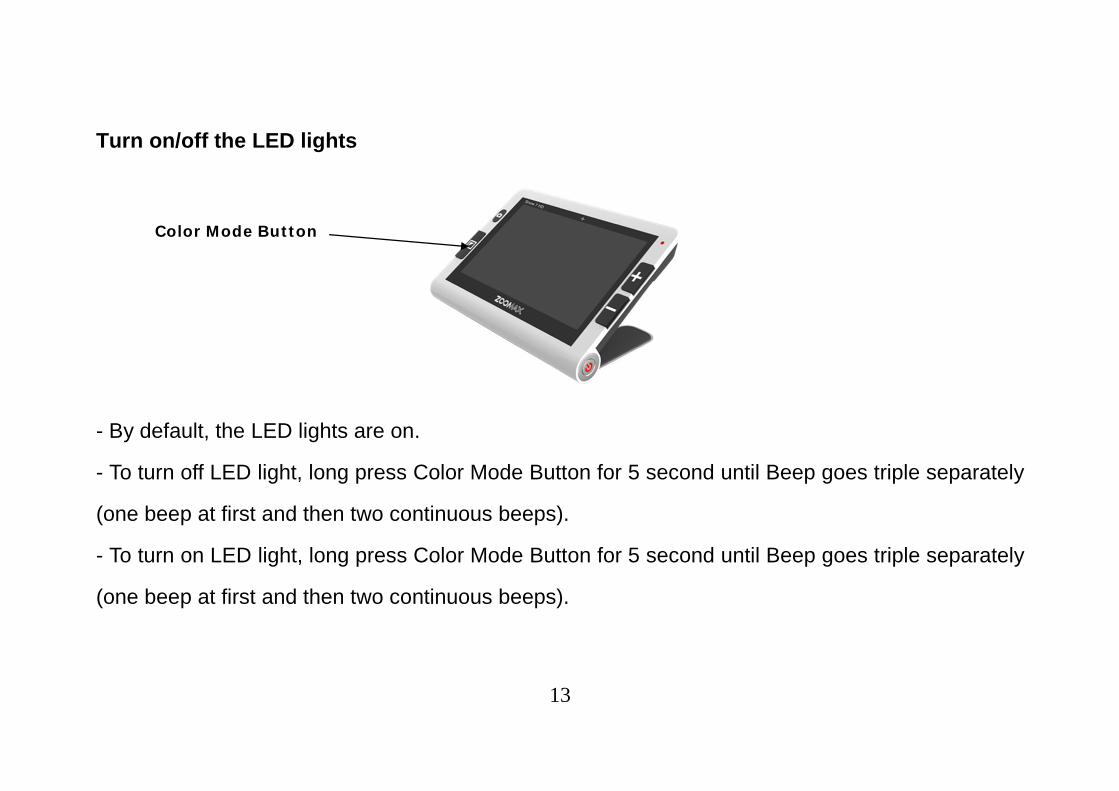
Turn on/off the LED lights
- By default, the LED lights are on.
- To turn off LED light, long press Color Mode Button for 5 second until Beep goes triple separately
(one beep at first and then two continuous beeps).
- To turn on LED light, long press Color Mode Button for 5 second until Beep goes triple separately
(one beep at first and then two continuous beeps).
Color Mode Button
14
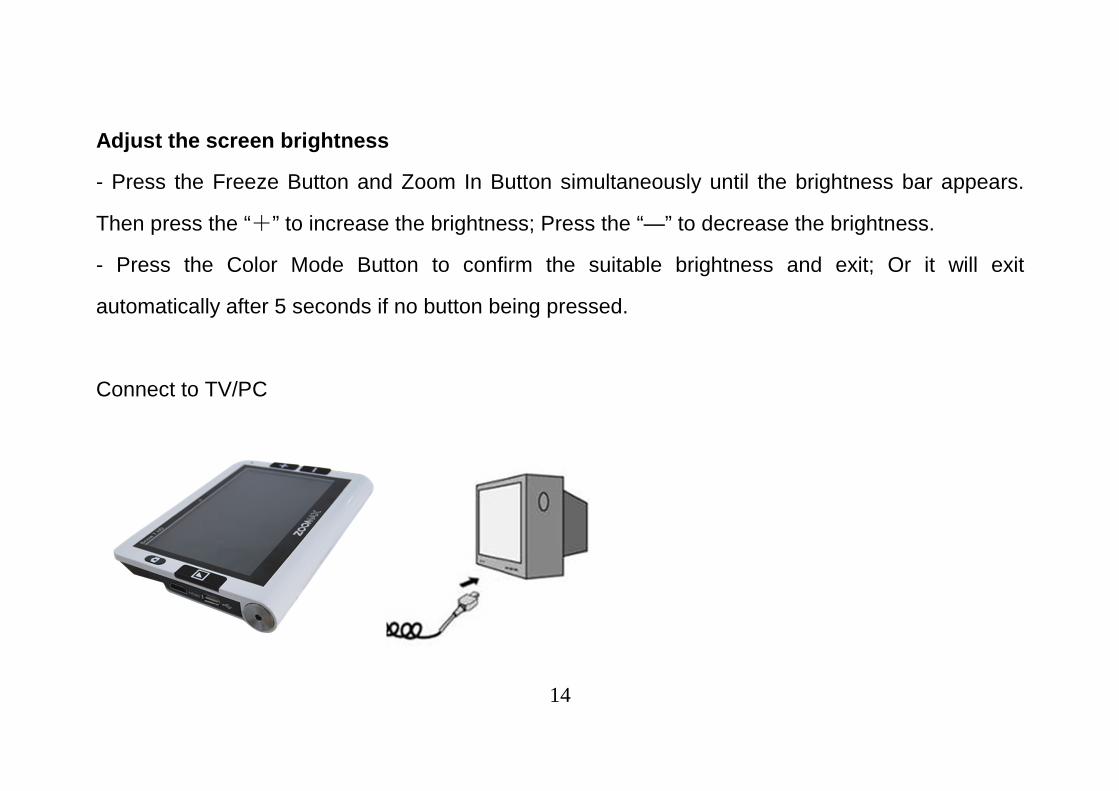
Adjust the screen brightness
- Press the Freeze Button and Zoom In Button simultaneously until the brightness bar appears.
Then press the “+” to increase the brightness; Press the “—” to decrease the brightness.
- Press the Color Mode Button to confirm the suitable brightness and exit; Or it will exit
automatically after 5 seconds if no button being pressed.
Connect to TV/PC
15
- Plug HDMI cable into the Snow 7 HD and TV/PC. Then, the screen of Snow 7 HD will turn off
automatically and switch to HDMI output mode.
Power saving function
- In magnifier mode, the unit turns off automatically after 3 minutes if no any operation on it.
Setting memory function
- When you turn off the SNOW 7 HD, the most recent settings will be saved automatically (e.g. color
mode, magnification, video output format, button beeps, brightness, favorite mode, normal
mode) .So you can easily use the memorized settings while power on the unit again.
16
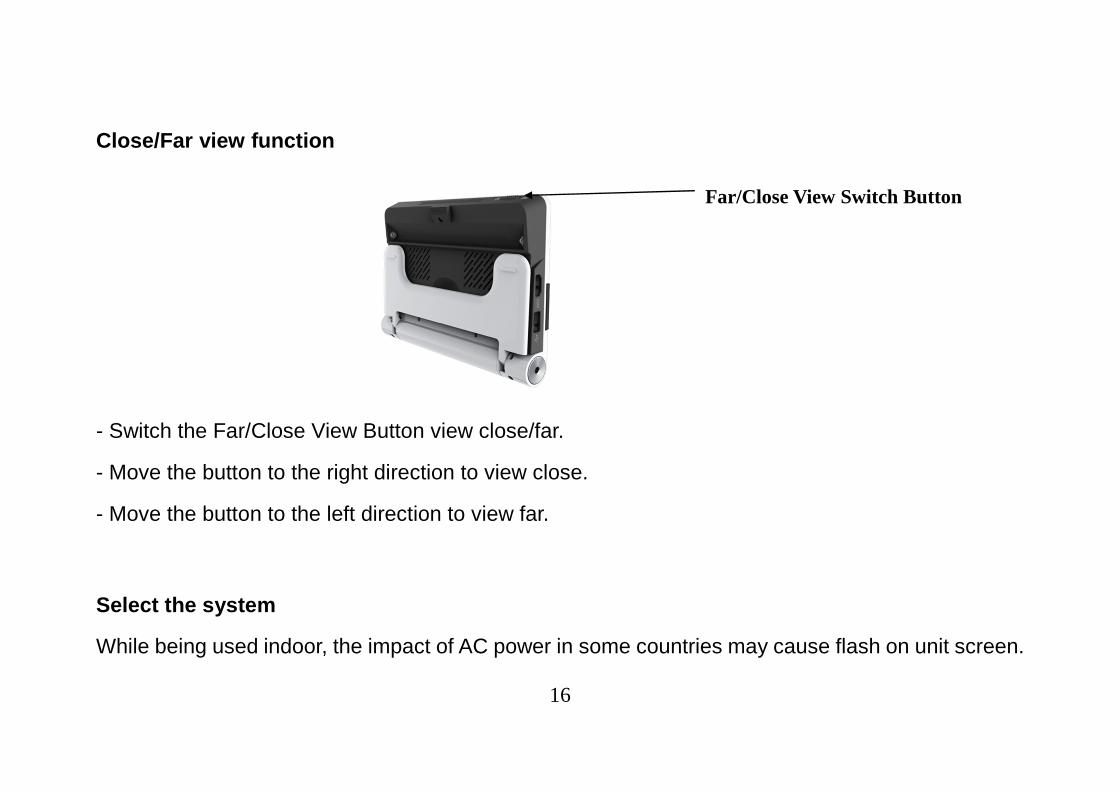
Close/Far view function
- Switch the Far/Close View Button view close/far.
- Move the button to the right direction to view close.
- Move the button to the left direction to view far.
Select the system
While being used indoor, the impact of AC power in some countries may cause flash on unit screen.
Far/Close View Switch Button

17
It can be solved by selecting suitable system.
- Long press Freeze Button for 3 seconds to enter into PAL / NTSC system selection. Press “+” and
“-” to cycle systems and confirm the suitable system by pressing Color Mode Button. The system
setting will be saved and memorized. So you don’t need to set it again any more for your next use.
18
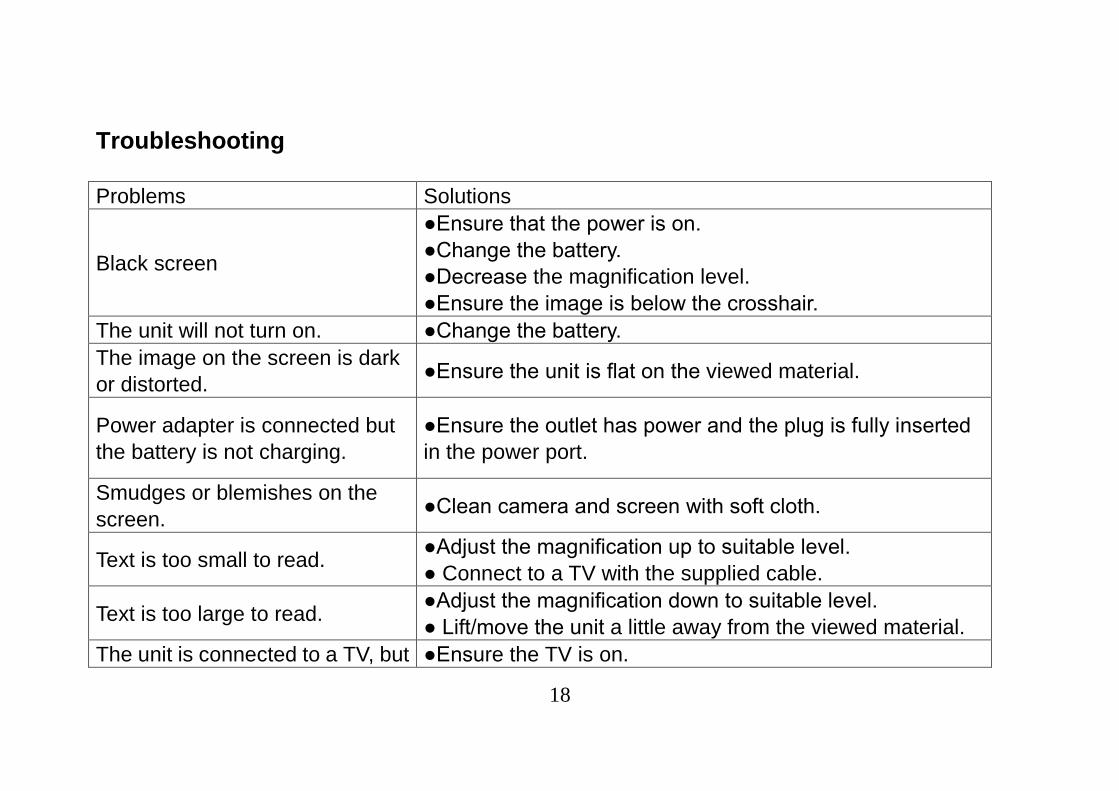
Troubleshooting
Problems Solutions
Black screen
●Ensure that the power is on. ●Change the battery. ●Decrease the magnification level. ●Ensure the image is below the crosshair.
The unit will not turn on. ●Change the battery. The image on the screen is dark or distorted.
●Ensure the unit is flat on the viewed material.
Power adapter is connected but the battery is not charging.
●Ensure the outlet has power and the plug is fully inserted in the power port.
Smudges or blemishes on the screen.
●Clean camera and screen with soft cloth.
Text is too small to read. ●Adjust the magnification up to suitable level. ● Connect to a TV with the supplied cable.
Text is too large to read. ●Adjust the magnification down to suitable level. ● Lift/move the unit a little away from the viewed material.
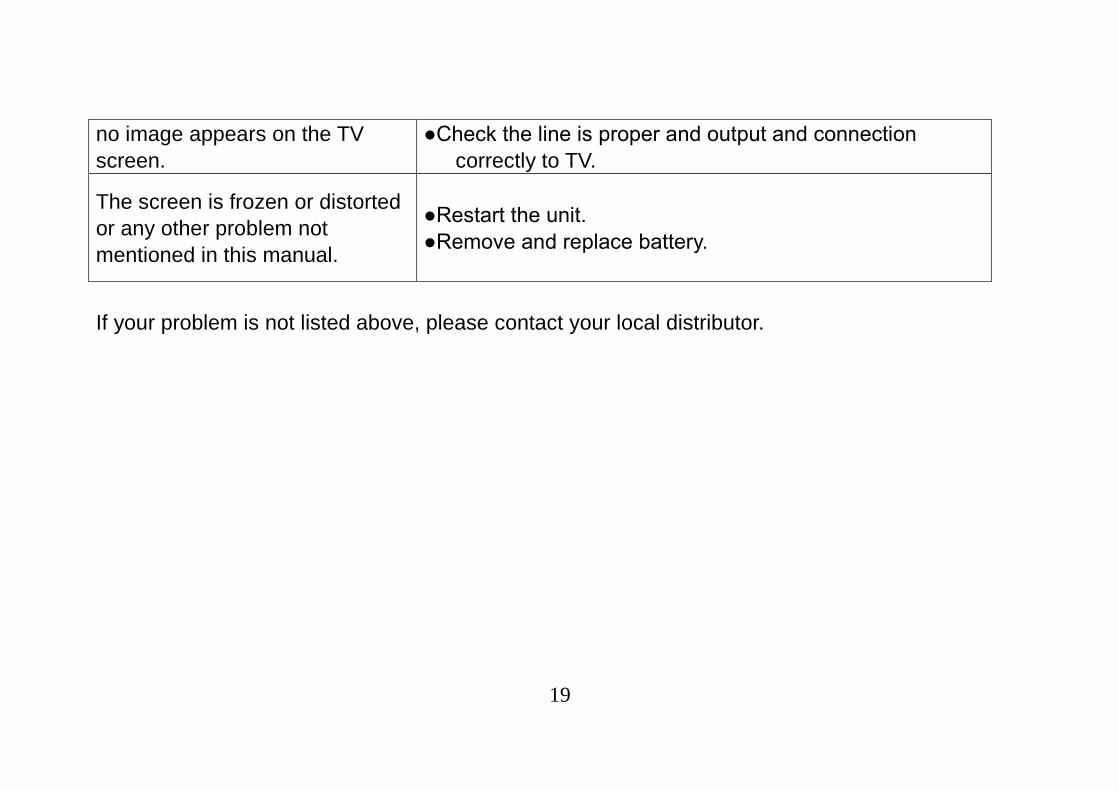
The unit is connected to a TV, but ●Ensure the TV is on.
19
no image appears on the TV screen.
●Check the line is proper and output and connection correctly to TV.
The screen is frozen or distorted or any other problem not mentioned in this manual.
●Restart the unit. ●Remove and replace battery.
If your problem is not listed above, please contact your local distributor.
20
Safety
To keep your video magnifier in a good condition, please read the following safety instructions carefully:
- Do not use your video magnifier to excessive heat or direct sunlight to avoid the risk of fire.
- Keep your video magnifier away from wet areas, rain, fluids and chemicals.
-Do not use your video magnifier around inadequately shielded medical devices.
- Always use your video magnifier in an environment where the temperature is between 10°C and 40°C
(50 and 104F).
- Do not attempt to repair your video magnifier or open its case. This will void the warranty. If necessary,
contact your distributor to service this equipment.
- Always unplug your unit before cleaning. Use only a damp, soft, lint-free cloth. Do not use alcohol
solvents or other cleaning agents.
- Use only the supplied power adapter to charge the battery as other adapters may damage the unit.
21
Technical specifications
1. Magnification: 2.2X ~ 16X (optical and digital)
2. High contrast color modes: 12 modes (3 favorite color modes)
- Full color - Grey mode
- White text on black background mode - Black text on white background mode
- White text on blue background mode - Blue text on white background mode
- Yellow text on black background mode - Black text on yellow background mode
- Blue text on yellow background mode - Yellow text on blue background mode
- Green text on black background mode - Black text on green background mode
3. Screen: 7-inch TFT
4. Camera: Auto focus; 500 pixels
5. Continuous magnification: Select the suitable magnification
6. Viewing distance: 6.5cm ~ 500cm
22
7. Functions: Freeze image; Switch color mode; Zoom in/out
8. Save the settings after power off
9. Save power: The Snow 7 HD will turn off after 3 minutes if no operation
10. Connect to TV/PC
11. Power adapter: Input: 110—240V; Output: 5V/2.5A; Power: 2.5A
12. Continuous use: 4 hours
13. Charging time: 4 ~5 hours
14. Total weight: 480g (include battery)/16.93 ounces
15. Dimension: 195mm*139.5mm*25mm
23
Appendix: Snow 7 HD Feedback