benefits administration manager -...
TRANSCRIPT

Benefits Administration Manager
Created on 5/17/2018 8:56:00 PM

Training Guide
Table of ContentsBenefits Administration Manager..................................................................................1
Maintain Designee Eligibility.......................................................................................2Run the Participation Process....................................................................................9Run the Temporal Process........................................................................................15Record Continuing Benefit Payment........................................................................27Update Benefits Group..............................................................................................32
Page i

Training Guide
Benefits Administration Manager
Page 1

Training Guide
Maintain Designee EligibilityLearning Objective: In this topic, you will learn how to maintain designee eligibility.
Some benefit plans require that dependents covered under the plan meet certain eligibility criteria in order to receive coverage. For those plans that require dependents to be under a certain age, you need to run the Maintain Designee Eligibility batch process to determine when a dependent becomes ineligible for benefits coverage based on an age change.
This change in age is called aging out of a benefit.
Upon completion of this topic you will be able to:
Maintain designee eligibility
Procedure
This topic will cover:
- Maintaining designee eligibility
Estimated time to complete this topic is: 3 minutes
Page 2

Training Guide
Step Action1. Click the Submit Processes and Reports link.
Step Action2. The Submit a New Request window displays.
The Single Request option is selected by default.
To submit a new request, click the OK button.
3. The Submit Request window displays.
To search for a request, click the Name button.
Page 3

Training Guide
Step Action4. The Reports list of values (LOV) displays.
You can scroll down through all of the reports to find the report you want to use.
Or, you can search for the specific report. In this example, search for a specific report.
Before the percent sign (%), click in the Find field.
5. Enter all or a portion of the report name into the Find field.
In this example, enter "Maintain Designee Eligibility".
6. To execute the search, click the Find button.
7. Since it is the only report with that name, the report name is populated in the Run this Request section.
The Parameters window displays.
Add or change specific parameters for your report.
The Effective Date and the Validate fields are pre-populated.
Click in the Validate field.
8. The Effective Date defaults to today's date. Accept the default for this example.
Click the Validate LOV button.
9. The Validate list of values (LOV) displays.
Select the "Commit - Database will be updated" option, which is highlighted by default.
To select this option, click the OK button.
Page 4

Training Guide
Step Action10. You could select additional parameters (i.e. Person Name) to narrow your
search. Or, you can run the report with the parameters you selected.
To run the report with the selected parameters, click the OK button.
11. The Parameters field is updated.
To run this report, click the Submit button.
12. A Decision window displays.
Depending on how many reports you run each day, you might want to make note of the Request ID number since it may be useful when viewing all of your requests.
To run only this request, click the No button.
13. Click the View menu.
14. Click the Requests list item.
15. The Find Requests window displays.
To find your requests, click the Find button.
16. The Requests window displays.
The Phase and Status of your report display in the first row in their respective columns.
Depending on the size of your report,you may need to press the Refresh Data button to update the status of your report.
Page 5

Training Guide
Step Action17. Click the Refresh Data button.
18. Some reports spawn additional processes and/or reports associated with the request you submitted.
Click the Refresh Data button.
19. Once your report is finished, the Phase will be, "Completed" and the Status will be, "Normal".
Notice how four reports and two sub-processes were generated due to running the original request.
20. Select the row for the Dependent Eligibility Summary Report.
Click in the Dependent Eligibility Summary Report field.
21. To see the output of your report, click the View Output button.
Page 6

Training Guide
Step Action22. The Maintain Designee Eligibility Activity Summary report displays.
The Process details and the Execution Parameters display at the top of the report.
Scroll down to see the rest of the report.
Click the Scrollbar.
Page 7

Training Guide
Step Action23. The Processing Summary results display near the bottom of the report.
Click the Close button.
Page 8

Training Guide
Step Action24. To close the report, click the Close current tab button.
25. This topic covered:
- Maintaining designee eligibility
End of Procedure.
Page 9

Training Guide
Run the Participation ProcessLearning Objective: In this topic, you will learn how to run the Participation process.
Note: This process will be scheduled to run nightly. This topic demonstrates how to run the process manually.
The Participation batch process uses your plan design to determine eligibility and enrollment information for the persons and benefit plans that you select. When you run the batch process, the system performs the following actions:
It determines how system-triggered life events impact a person's eligibility, electability, enrollment, de-enrollment, activity rates and coverage.
It creates related person life events based on these system-triggered life events. It determines when automatic enrollment is appropriate for benefits, and then
automatically enrolls those eligible persons. It de-enrolls participants who lose their eligibility in programs, plans or options and
cancels any of their related current enrollment events.
When the system encounters multiple active life events, it processes the one with the earliest effective date first. A person can have more than one potential life event at a time, but only one active life event at any point in time.
The Participation process produces a user log file that details what operations took place and what database objects the system updated.
Note: You can process a potential life event for an individual employee using the Process Event button in the Person Life Events window, Potential Life Events tab. You can also process an individual's active life event from the Desktop Activities list in the Benefits Service Center window.
Upon completion of this topic you will be able to:
Run the Participation process
Procedure
This topic will cover:
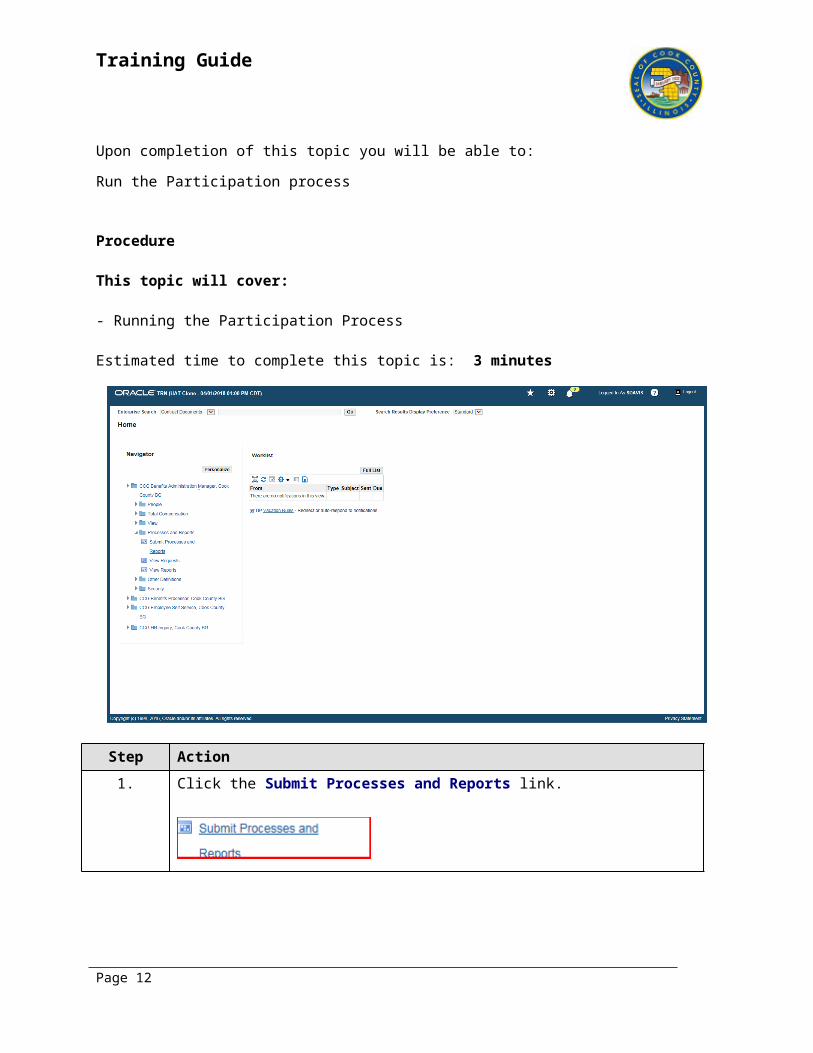
- Running the Participation Process
Estimated time to complete this topic is: 3 minutes
Page 10

Training Guide
Step Action1. Click the Submit Processes and Reports link.
Page 11
Training Guide
Step Action2. The Submit a New Request window displays.
To run a Single Request, click the OK button.
3. The Submit Request window displays.
Click in the Name field.
4. If you know all or a portion of the report or process name, you can enter that into the Name field.
In this example, enter "Participation".
5. Pressing the Tab key on your keyboard will activate the list of values containing the word, "Participation" in the beginning of the report title.
Press the [Tab] key.
6. The Reports list of values displays. Select the appropriate report.
In this example, click the Participation Process: Life Event list item.
7. Click the OK button.
Page 12

Training Guide
Step Action8. The Parameters window displays.
Fields in yellow highlight are required fields: Effective Date; Detect Temporal Events; Validate; Plans not in Programs; Only Programs. These fields must have a value entered in order to run the report.
The Effective Date field defaults to today's date.
9. Click in the Detect Temporal Events field.
10. Enter event(s) into the Detect Temporal Events field.
In this example, enter "None".
11. Click in the Validate field.
12. Enter the appropriate value into the Validate field.
In this example, enter "Commit - Database will be updated".
13. To utilize the selected parameters, click the OK button.
14. Selected parameters are displayed in the Parameters field on the Submit Request window.
Click the Submit button.
15. A Decision window displays.
Note: You may want to note the Request ID for the request you submitted.
To run any other requests, click the Yes button.
In this example, click the No button.
Page 13

Training Guide
Step Action16. The Navigator window displays.
Click the View menu.
17. Click the Requests list item.
18. The Find Requests window displays.
Selecting the Find button will find all requests that you submitted within the last 7 days.
In this example, click the Find button.
19. The Requests window displays.
Running the Participation Process: Life Event process spawns multiple processes beyond the original request.
Scroll up to see the report outputs.
Click the Scrollbar.
20. Two reports are displayed. One is sorted by person and one is sorted by error type.
Click in the row for the Participation Error Detail Report field.
21. To see the output for this report, click the View Output button.
22. The Participation Process: Life Event Error by Person report displays in a new browser window.
Page 14

Training Guide
Step Action23. Close the window to return to the Requests page.
Click the Java icon at the bottom of the browser window.
24. This topic covered:
- Running the Participation ProcessEnd of Procedure.
Page 15

Training Guide
Run the Temporal ProcessLearning Objective: In this topic, you will learn how to run the Temporal process.
Note: This process is scheduled to automatically run monthly
The Temporal process determines temporal life events based on the derived factors of compensation level, percent of full-time employment, hours worked in period, age, length of service, and combination age and length of service. Note: Life events created by the temporal process must be processed in life event mode.
Upon completion of this topic you will be able to:
Run the Temporal process
Procedure
This topic will cover:
- Running the Temporal Process
Estimated time to complete this topic is: 3 minutes
Page 16

Training Guide
Step Action1. Click the Submit Processes and Reports link.
Step Action2. The Submit a New Request window is displayed.
To submit a single request, click the OK button.
3. The Submit Request window is displayed.
If you know all or a portion of the report or process name, you can enter that into the Name field.
In this example, enter "Participation Process: Temporal".4. Pressing the Tab key on your keyboard will activate the list of values containing
the words, "Participation Process: Temporal" in the beginning of the report title.
Press the [Tab] key.
Page 17

Training Guide
Step Action5. The Parameters window displays.
Fields in yellow highlight are required fields: Effective Date; Detect Temporal Events; Validate; Plans not in Programs; Only Programs. These fields must have a value entered in order to run the report.
The Effective Date field defaults to today's date.
6. You can either change the Effective Date or let it default to today's date. In this example, accept the default date.
Click in the Detect Temporal Events field.
7. Enter the appropriate event information into the Detect Temporal Events field.
In this example, enter "Became Ineligible, Enrollment Period and Voluntary End".
8. Press [Tab].9. Click the Validate List of Values button.
10. The Validate window displays.
Click the Commit - Database will be updated list item.
11. Click the OK button.
12. To utilize the selected parameters, click the OK button.
13. Click the Submit button.
Page 18

Training Guide
Step Action14. A Decision window displays.
Note: You may want to note the Request ID for the request you submitted.
To run any other requests, click the Yes button.
In this example, click the No button.
15. The Navigator window displays.
Click the View menu.
16. Click the Requests menu.
17. The Find Requests window displays.
Selecting the Find button will find all requests that you submitted within the last 7 days.
In this example, click the Find button.
18. The Requests window displays.
Running the Participation Process: Temporal process will spawn multiple processes beyond the original request.
Click in the Request Name field.
19. Clicking the Refresh button will update the Phase and Status fields.
Click the Refresh Data button.
Page 19

Training Guide
Step Action20. When all of the processes have a status of "Completed", you can then view the
output for selected items.
Scroll down to see more items.
Click the Scrollbar.21. Click in the Request Name field.
22. To see the output for this report, click the View Output button.
Step Action23. The Participation Process: Temporal Process Log displays in a new browser
window.
To return to the Requests window, click the Close Tab button.
Page 20

Training Guide
Step Action24. Click the Java object.
Page 21

Training Guide
Step Action25. Click in the Participation Summary Report field.
26. Click the View Output button.
Step Action27. The Participation Process: Temporal Activity Summary window displays.
Scroll down to see more of the report.
Click the Scrollbar.28. Scroll down to see the rest of the report.
Click the Scrollbar.
Page 22

Training Guide
Step Action29. Click the Close Tab button.
Page 23

Training Guide
Step Action30. Click the Java object.
Step Action31. Click in the Participation Error Detail Report field.
32. Click the View Output button.
Page 24

Training Guide
Step Action33. The Participation Process: Temporal Error by Error Type report displays.
To see more of the report, scroll down.
Click the Scrollbar.
Page 25

Training Guide
Step Action34. Click the Close Tab button.
Page 26

Training Guide
Step Action35. Click the Java object.
36. This topic covered:
- Running the Temporal ProcessEnd of Procedure.
Page 27

Training Guide
Record Continuing Benefit PaymentLearning Objective: In this topic, you will learn how to record a continuing benefit payment.
This is normally an interface that runs from Accounts Receivable to Advanced Benefits and Advanced Benefits to Accounts Receivable. The process demonstrated in this example is to manually enter payments.
Upon completion of this topic you will be able to:
Record a continuing benefit payment
Procedure
This topic will cover:
- Recording a continuing benefit payment
Estimated time to complete this topic is: 2 minutes
Page 28

Training Guide
Step Action1. Click the Record Continuing Benefits Payment link.
Step Action2. The Record Continuing Benefits Payment window displays.
A Decision window also displays.
Click the Yes button to change the effective date, if necessary. Otherwise, click the No button.
In this example, click the No button.
3. The Find Person window displays.
Click in the Full Name field.
Page 29

Training Guide
Step Action4. Enter the last name of the employee into the Full Name field.
In this example, enter "acosta".
5. To activate the List of Values (LOV), press the [Tab] key on your keyboard.
6. The list of people with the last name of, "Acosta" displays.
Select the person.
Click the Acosta, Noel cell.
7. Click the OK button.
8. The person's name and employee number are populated.
Click the Find button.
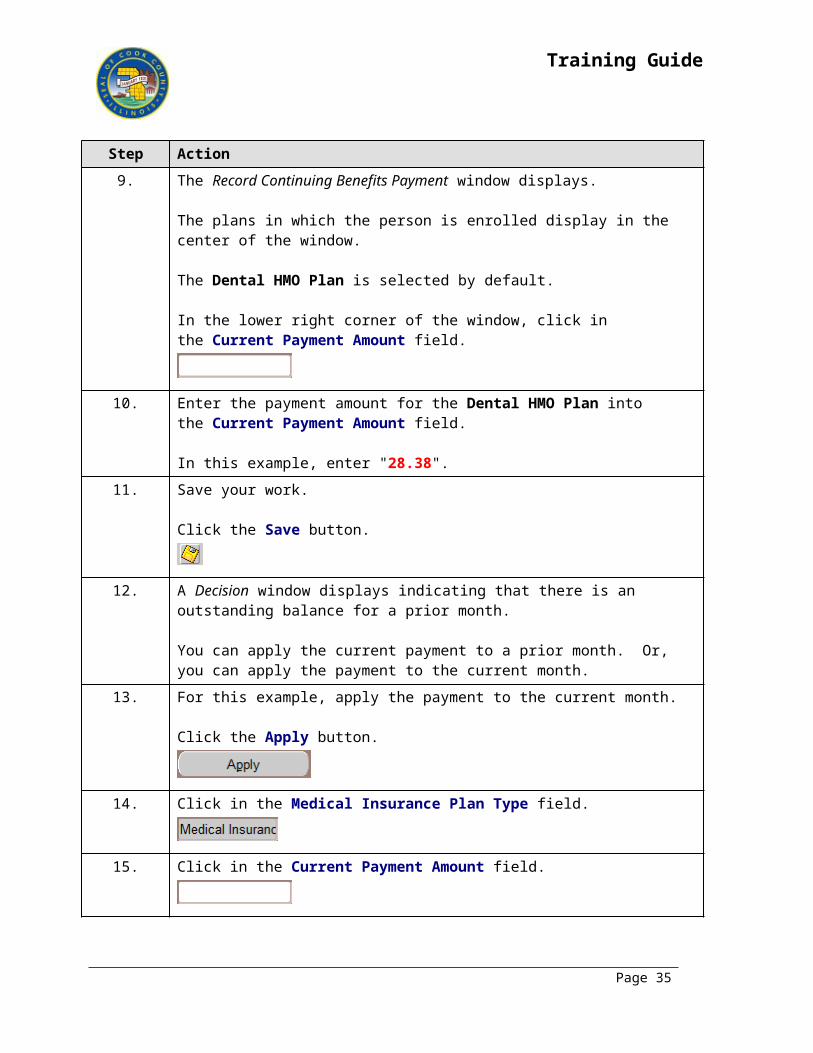
9. The Record Continuing Benefits Payment window displays.
The plans in which the person is enrolled display in the center of the window.
The Dental HMO Plan is selected by default.
In the lower right corner of the window, click in the Current Payment Amount field.
10. Enter the payment amount for the Dental HMO Plan into the Current Payment Amount field.
In this example, enter "28.38".
11. Save your work.
Click the Save button.
Page 30

Training Guide
Step Action12. A Decision window displays indicating that there is an outstanding balance for a
prior month.
You can apply the current payment to a prior month. Or, you can apply the payment to the current month.
13. For this example, apply the payment to the current month.
Click the Apply button.
14. Click in the Medical Insurance Plan Type field.
15. Click in the Current Payment Amount field.
16. Enter the payment amount for the Medical HMO Plan into the Current Payment Amount field.
In this example, enter "1660.77".
17. Click the Save button.
18. For this example, apply the payment to the current month.
Click the Apply button.
19. Click in the Vision Insurance Plan Type field.
20. Click in the Current Payment Amount field.
21. Enter the payment amount for the Medical HMO Plan into the Current Payment Amount field.
In this example, enter "14.95".
22. Click the Save button.
Page 31

Training Guide
Step Action23. For this example, apply the payment to the current month.
Click the Apply button.
24. Once you have entered the benefit payments and saved your work, close the Record Continuing Benefits Payment window.
Click the Close button.
25. This topic covered:
- Recording a continuing benefit paymentEnd of Procedure.
Page 32

Training Guide
Update Benefits GroupLearning Objective: In this topic, you will learn how to update the benefits group.
Upon completion of this topic you will be able to:
Update the benefits group
Procedure
This topic will cover:
- Updating benefits group
Estimated time to complete this topic is: 2 minutes
Step Action1. Click the Enter and Maintain link.
Page 33

Training Guide
Step Action2. The People form displays.
A Decision window is displayed.
Click the Yes button to change the effective date, if necessary. Otherwise, click the No button.
In this example, click the Yes button.
3. The Alter Effective Date window is displayed.
Enter the effective date into the Effective Date field.
In this example, enter "03-JAN-2018".
4. Click the OK button.
5. The Find Person window is displayed.
Enter the last name of the employee into the Full Name field.
In this example, enter "boop".
Page 34
Training Guide
Step Action6. Pressing the tab key will display a list of values of persons with "Boop" as their
last name.
Press [Tab].7. The only person with the last name of, "Boop" is displayed.
Click the Find button.
8. The person's detailed information is displayed in the People form,
Click the Benefits tab.
9. In the Benefit Group field,Click the Benefit Group List of Values (LOV) button.
10. The Benefit Group field is populated with the only choice.
A Choose an option window is displayed.
Click the Update button.
11. The Benefit Group is updated.
Save your work.
Click the Save button.
12. This topic covered:
- Updating benefits groupEnd of Procedure.
Page 35