business mobile quick reference guideusing the mobile deposit feature in city business. simply use...
TRANSCRIPT

i Business Mobile BankingQuick Reference Guide
Rev. 08/2017
BUSINESS MOBILE BANKING Quick Reference Guide

iQuick Reference Guide
Table of Contents
Business Mobile Banking 1Downloading the App 1Requirements 1
Log On 1View Account Balances and Transaction History 2Transfer Internal Funds 2Initiate ACH Transfers 3
Receive Approval Alerts 4Approve or Reject Fund, ACH and Wire Transfers 5Mobile Deposit 5Make a Mobile Deposit 5View Mobile Deposit History 6Bill Pay 7Submit Bill Payments 7Pay eBills 7Approve or Reject Bill and eBill Payments 8View Bill Payment History 8Log Off 9
Initiate Wire Transfers (future use) 4
1Quick Reference Guide
Business Mobile Banking City Business gives you the ability to access your business accounts and perform a variety of banking functions from the convenience of a mobile device. Using City Business, you can:
View account balances and transaction history
Transfer internal funds
Initiate ACH transfers
Receive alerts for pending approvals
Approve or reject funds and ACH transfers
Make mobile deposits
View mobile deposit history
Submit bill payments or pay eBills
Approve or reject bill and eBill payments
View bill payment history
Downloading the App You can download City Business directly from either the Apple App Store or Google Play, depending on your mobile device's operating platform (search "First City Mobile Business").
Requirements If you wish to use City Business, you must be a registered Business Online Banking user and have an iPhone or Google Android device with a data service plan or Wi-Fi access. Once enrolled, you can use your mobile device to accomplish the tasks listed above.
Log On You may log on to City Business using security challenge questions or a security token.
Challenge Questions
When logging on to City Business using security challenge questions already established in Business Online Banking, the system automatically registers the device after the you successfully answer the questions. At this time, the system collects unique metrics about the device to establish a "trusted relationship" between the device and the system. Along with the entry of a password, the system uses these metrics to identify devices during future log ons, ensuring that you are an authorized user logging on from a trusted device. The system follows this process every time that you log on to Business Mobile Banking with a new, "untrusted" device.
To log on to City Business with challenge questions
1. Launch the app on the device.
2. Enter the User ID and tap Continue
Initiate Wire transfers (future use)

2Quick Reference Guide
Note: To save your User ID to the app so the system remembers it during future log ons, tap Save ID before tapping Continue .
3. Enter the answer to the security question and tap Continue.
4. .
Security Token
Logging on to Business Mobile Banking with a security token involves two-factor authentication:
The first factor is the User ID, which verifies that you are authorized to access a particular account.
1.
The second factor is the numeric eight-digit, one- time password that displays on the security token, plus the four-digit PIN established during token enablement. You must enter token information during each log on, as the password continually changes.
2.
To log on to Business Mobile Banking with a security token
1. Launch the app on the device.
2. Enter the User ID and tap Continue .
3. Enter the numeric eight-digit, one-time password plus the four-digit PIN.
4. Verify that the four-digit site key that the app displays on the log on screen is the same as the site key that the security token displays.
5. If the Terms and Conditions appear, review them and then tap I accept .
View Account Balances and Transaction History You can view balances and transaction histories for business accounts using City Business. The transaction history available in City Business is the same history that is available in Business Online Banking, which may include images of checks and other types of items, such as deposit tickets.
To view business account balances and transaction history with check images
1. Log on to the app.
2. Tap Accounts . The Accounts screen appears with balances of all accounts accessible in City Business.
Note: The Current balance includes posted transactions. The Anticipated Available balance includes posted and pending transactions.
3. Tap the account for which you want to view the transaction history. The account transaction history appears.
Transactions with a check mark highlighted in green in the upper-right corner have been successfully posted to the account.
Transactions with a clock highlighted in orange in the upper-right corner are pending and have not yet posted to the account.
4. To view images of cleared checks, tap . . The front view of the check displays in a pop-up frame. Tap to toggle between the front view and back view of the check.
5. If desired, tap the down arrow button and select a filter to filter the transaction history by All Transactions, Posted, or Pending.
Transfer Internal Funds Transferring internal funds in Business Mobile Banking uses the same internal funds templates that you already have available in Business Online Banking.
If the Terms and Conditions appear, review them and then tap I accept .
1. Log on to the app.
2. Tap Transfer.
3. If the Transfers screen appears, tap Internal Transfers.
To transfer funds

3Quick Reference Guide
4. Tap Template and select a transfer template.
Note: If you set up From and To accounts in the template, the app displays those accounts with their current and anticipated available balances. The account can be changed if a ">" displays next to the account details.
5. Tap From and select the donor account from which to withdraw funds.
6. Tap To and select the recipient account to receive the funds.
7. Tap Amount and specify the amount you want to transfer.
8. Tap Note and enter a note regarding the transfer, if desired.
9. Tap Transfer.
10. Verify transfer details and tap Confirm .
11. Complete the security challenge, if the system presents it, and then tap Continue .
Note: If the system does not require a user to approve the transfer, the system moves the funds between accounts. If the system does require approval, the system adds the transfer to the list of funds transfers awaiting approval. The system also displays a notification on the device's home screen for any user configured to receive approval alerts for fund transfers.
12. Tap My Banking to return to the main menu, or tap Another Transfer to return to the Transfers screen and initiate another funds transfer.
Initiate ACH Transfers You may initiate single-item automated clearing house (ACH) transfers directly from Business Mobile Banking using the same ACH transfer templates that you already have available in Business Online Banking.
Note:
You must have appropriate permissions to access ACH transfer functionality.
To initiate an ACH transfer
1. Log on to the app.
2. Tap Transfer .
3. Tap ACH Transfer.
4. Tap Template and select a transfer template.
5. If needed, tap Amount to modify the transfer amount. By default, the amount specified in the template you selected in the previous step appears in the Amount field.
6. If needed, tap Date and select an available date from the calendar. By default, the system selects the first available business date.
7. Tap Note to add a comment or note regarding the transfer (optional).
8. Tap Transfer.
9. Verify the transfer details and then tap Confirm .
10. Complete the security challenge, if the system presents it, and then tap Done . The system submits the transfer for final verification and processing, and then displays the Successfully Submitted screen.
Note:
If the transfer requires approval, the system adds the transfer to the list of ACH transfers awaiting approval. The system also displays a notification on the device's home screen for any user configured to receive approval alerts for ACH transfers.
11. Tap My Banking to return to the Transfers screen and initiate another funds transfer, or tap Another Transfer to return to the main menu.

4Quick Reference Guide
Receive Approval Alerts When fund transfers, ACH, and wire transfers are in need of review, you may receive a push notification on your device notifying you of these tasks. A push notification is similar to a text message alert, but only requires an internet connection and not an active phone number. Where the notifications appear on your device depends upon the device and its setup.
You can configure alerts per device, not per account. Therefore, when multiple people have access to the same business accounts through Business Mobile Banking, each person can designate which alerts they would like to receive on their device. However, if two people share a device, only one may configure Business Mobile Banking approval alerts. By default, all alerts are set to off.
To begin receiving approval alerts
1. Log on to the app.
2. Tap Approvals to display the Approvals screen.
3. Tap Set Alerts to display the Alerts screen.
4. Tap the toggle switch to turn it green for each type of approval for which you wish to receive alerts. Options are:
• Fund Transfer
• ACH Transfer
Note: If the "Push Alerts are set up for another user message" appears, tap Leave the existing alerts to cancel your changes and maintain the other device user's alert settings, or tap Set me up to override the other device user's alert settings.
• Wire Transfer (future use)
Initiate Wire Transfers (future use)
You may initiate single-item wire transfers directly from Business Mobile Banking using the same wire transfer templates that you already have available in Business Online Banking.
Note:
To initiate a wire transfer
1. Log on to the app.
2. Tap Transfer.
3. Tap Wire Transfer.
4. Tap Template and select a transfer template.
5. If needed, tap Amount to modify the transfer amount. By default, the amount specified in the template you selected in the previous step appears in the Amount field.
Note: The system automatically populates the Date field with the first available business date. You cannot change the date, as we do not support future-dated wire transfers at this time.
6. Tap Transfer.
7. Verify the transfer details and then tap Confirm.
8. Complete the security challenge, if the system presents it, and then tap Done. The system submits the transfer for final verification and processing, and then displays the Successfully Submitted screen.
Note: If the transfer requires approval, the system adds the transfer to the list of wire transfers awaiting approval. The system also displays a notification on the device's home screen for any user configured to receive approval alerts for wire transfers.
You must have appropriate permissions to access wire transfer functionality.
9. Tap My Banking to return to the Transfers screen and initiate another funds transfer, or tap Another Transfer to return to the main menu.
5Quick Reference Guide
Mobile Deposit You may submit check deposits anywhere, anytime using the Mobile Deposit feature in City Business. Simply use the camera on your device to take pictures of the front and back of a check and then submit the images electronically to First City Bank for processing, clearing, settlement, and posting. When capturing check images, visual brackets provide a guide for centering the check. The system analyzes each check image for quality upon submission; if the image does not pass quality inspections, it immediately notifies you so that you may recapture the check image. After you successfully submit a mobile deposit, First City Bank conducts an in-depth deposit review. If your deposit fails the review, First City Bank rejects the deposit and may contact you regarding the reasons for the rejection. You can cancel a mobile deposit transaction at any time during the Mobile Deposit workflow. However, once you submit the transaction, you cannot cancel it.
Requirements
If you wish to use Mobile Deposit, you must enroll in Business Mobile Banking and have an Apple or Google Android device with a working camera. You must also also contact us by telephone, email or click on the "Activate Business Mobile Deposit" button our website to ensure proper access to the Deposit option.
Make a Mobile Deposit Use this procedure to deposit a check into a business account using Business Mobile Banking. After submitting your check deposit, keep the paper check for at least 15 days after the system successfully posts the funds to the account. You may only include one check in each deposit.
To make a check deposit
1. Log on to the app.
2. Tap Deposit.
3. Tap New Deposit.
4. Tap Account and select the account into which you want to deposit funds.
5. Tap Amount and enter the amount of the check.
6. Tap Front Image.
7. Take a picture of the front of the check, then tap Use Photo to submit the image or Retake to take a new picture.
8. Tap Back Image.
9. Take a picture of the back of the check, then tap Use Photo to submit the image or Retake to take a new picture.
10. Tap Deposit.
11. Verify deposit details and tap Confirm .
Approve or Reject Fund, ACH and Wire Transfers You may need to review and approve pending internal fund, ACH, and wire transfers initiated through Business Online Banking or Business Mobile Banking in order for the system to complete them. You can review and approve these transfers directly in Business Mobile Banking.
Note: If multiple users attempt to review the same ACH transfer at the same time, from either Business Mobile Banking or Business Online Banking, the first decision (approve or reject) that the system receives on the transfer takes precedence.
To make decisions on transfers
1. Log on to the app.
2. Tap Approvals to display the Approvals screen.
3. Tap the type of transfer you wish to review.
4. Tap the transfer on which you wish to make a decision.
5. Tap Approve to approve a transfer, or Disapprove to reject the transfer.
12. If the system presents you with a security question, enter the answer to the question and tap Continue . The Deposit Pending screen appears.
Note: It may take up to two business days for the check to clear and the system to post the funds to the account.
First City Bank may contact you by email regarding rejected deposits.

6Quick Reference Guide
13. Tap My Banking to return to the main menu, or tap Another Deposit to return to the New Deposit page and initiate another check deposit.
View Mobile Deposit History A 30-day history of mobile check deposits into business accounts is available in Business Mobile Banking, along with front and back images of the checks that you have submitted.
To view deposit history
1. Log on to the app.
2. Tap Deposit.
3. Tap Deposit History. The Deposit History screen appears.
4. Tap a deposit to view its details, as well as the front and back images of the check.
An X highlighted in red in the upper-right corner indicates that the deposit failed and the system did not post the funds to the account.
First City Bank rejected the deposit for reasons beyond the initial tests for clarity, duplication, deposit accuracy, and deposit amount. You should take the physical check to the bank and deposit it in person.
First City Bank may contact you by email regarding rejected deposits.
A check mark highlighted in green in the upper-right corner indicates that the system has accepted the deposit. The deposit has been, or is in the process of being posted to your account.
A clock highlighted in orange in the upper-right corner indicates that the deposit is pending; check images have passed all the initial tests for clarity, duplication, deposit accuracy, and the deposit amount is within the check deposit limits established by First City Bank. First City Bank is currently reviewing the deposit.
Note:
The status indicated on the Deposit History and Details screens is that of the submitted check image. It does not reflect the posting status of the check to your account. To confirm that the deposit was successfully posted to your account, you must check the account transaction history.

7Quick Reference Guide
Bill Pay Bill Pay is a payment solution that automates single or multiple payments to any biller. The system stores payments submitted on processing days (Monday through Friday) in a queue for billers to select and begin processing at their specified cutoff time.
Note: End of day cutoff times for bill pay submission vary by biller.
When submitting a bill payment on a non-processing day or after the cutoff time on Friday, you must change the Pay Date to a processing day. If you choose a non-processing day as the Pay Date, the system displays an error. You cannot submit bill payments to addresses in foreign countries.
Submit Bill Payments If you have completed the necessary set-up to pay billers in Business Online Banking, you may access and pay any biller from directly within City Business.
To submit a bill payment
1. Log on to the app.
2. Tap Payments.
3. Tap Make a Payment to display a list of billers.
4. Tap on a biller without the icon to display the Pay screen.
If displays to the left of the biller's name, an eBill is available.
5. Tap From and select the account to debit for payment.
6. Tap Amount to display the Amount screen.
7. Enter the amount you wish to pay and tap Done.
8. Tap Pay Date to display the Pay Date screen with a calendar.
9. Tap the date on which you wish to submit the payment.
10. Tap Check No and enter a check number, if desired.
11. Tap Note and enter a comments regarding the payments, if desired.
12. Tap Pay to display the Confirm Payment screen.
13. Tap Confirm to display the Payment Submitted screen.
14. Tap My Banking to return to the main menu, or tap Another Payment to return to the list of billers and make another bill payment.
Pay eBills If you have completed the necessary setup to pay billers within Business Online Banking, you may access and pay any outstanding eBills from directly within City Business.
To submit an eBill payment
1. Log on to the app.
2. Tap Payments.
3. Tap Make a Payment to display a list of billers.
4. Tap X Unpaid Bills (X = the number of bills requiring payment) to display only billers with an available eBill.
Note:
If displays to the left of the biller's name, an eBill is available.
5. Tap an eBill.
6. Tap Pay Custom Amount , Pay Minimum , or Pay Amount Due in accordance with the amount you wish to pay, to display the Pay screen.
7. Tap From and select the account to debit for the the payment.
8. If paying a custom amount, tap Amount to display the Amount screen, enter the amount you wish to pay, and tap Done .
9. Accept the default Pay Date, which is equal to the ebill Due Date. Or, tap Pay Date to display the Pay Date screen with a calendar, and select the date on which you wish to submit the payment.
Note:
8Quick Reference Guide
10. Tap Check No and enter a check number, if desired.
11. Tap Note and enter a comment regarding the payment, if desired.
12. Tap Pay to display the Confirm Payment screen.
13. Tap Confirm to display the Payment Submitted screen.
14. Tap My Banking to return to the main menu, or tap Another Payment to return to the list of billers and pay another eBill.
Approve or Reject Bill and eBill Payments You may need to review and approve pending bill and eBill payments that you or other users initiated through Business Online Banking and Business Mobile Banking in order for the system to send them to the biller. You can provide your approval using City Business.
To make decisions on bill payments
1. Log on to the app.
2. Tap Approvals.
3. Tap Bill Payments to display the Bill Payments screen.
4. Tap the payment on which you wish to make a decision.
5. Review the payment details.
6. Tap Approve to approve the bill payment, or Disapprove to reject the bill payment.
7. Tap Confirm to confirm the approval or disapproval.
View Bill Payment History A history of all bill payments that you and other users have submitted through both Business Online Banking and Business Mobile Banking is available for viewing in City Business. This history includes all payments that the system has processed in the last 45 days, as well as any payment scheduled for processing in the next 365 days.
To view the bill payment history
1. Log on to the app.
2. Tap Payments.
3. Tap Payment History to display a list of payments.
4. Tap a payment to view its details.
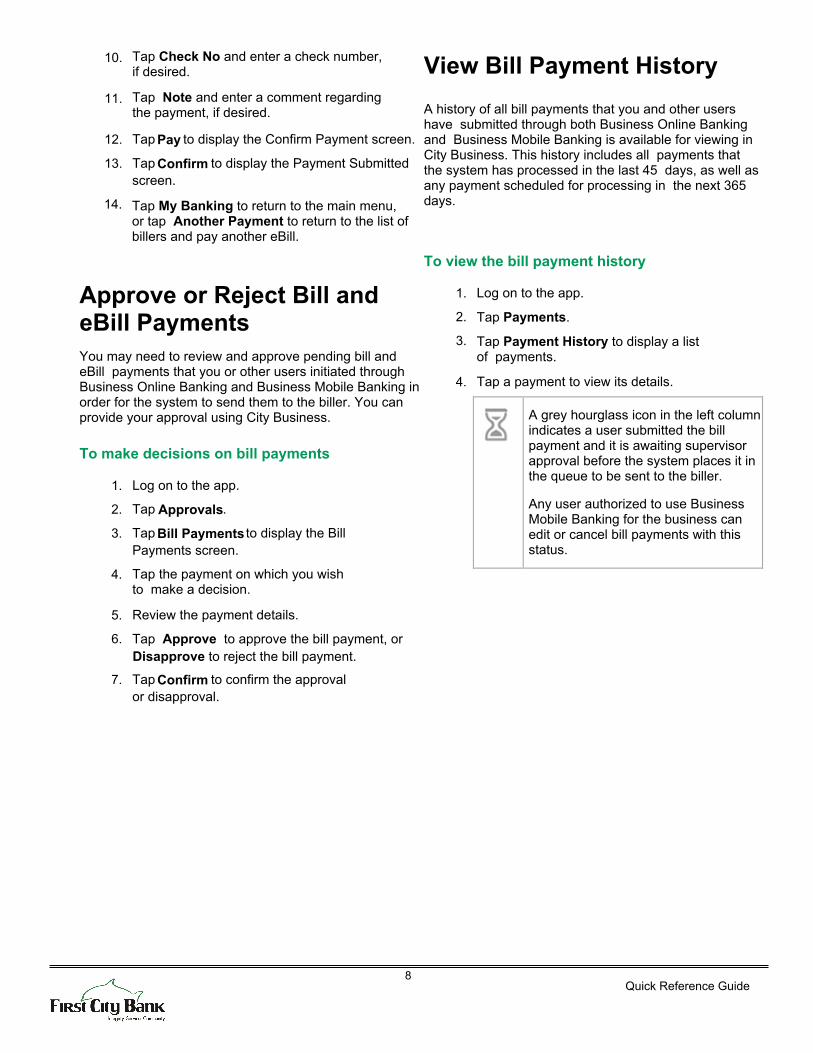
A grey hourglass icon in the left column indicates a user submitted the bill payment and it is awaiting supervisor approval before the system places it in the queue to be sent to the biller.
Any user authorized to use Business Mobile Banking for the business can edit or cancel bill payments with this status.
9Quick Reference Guide
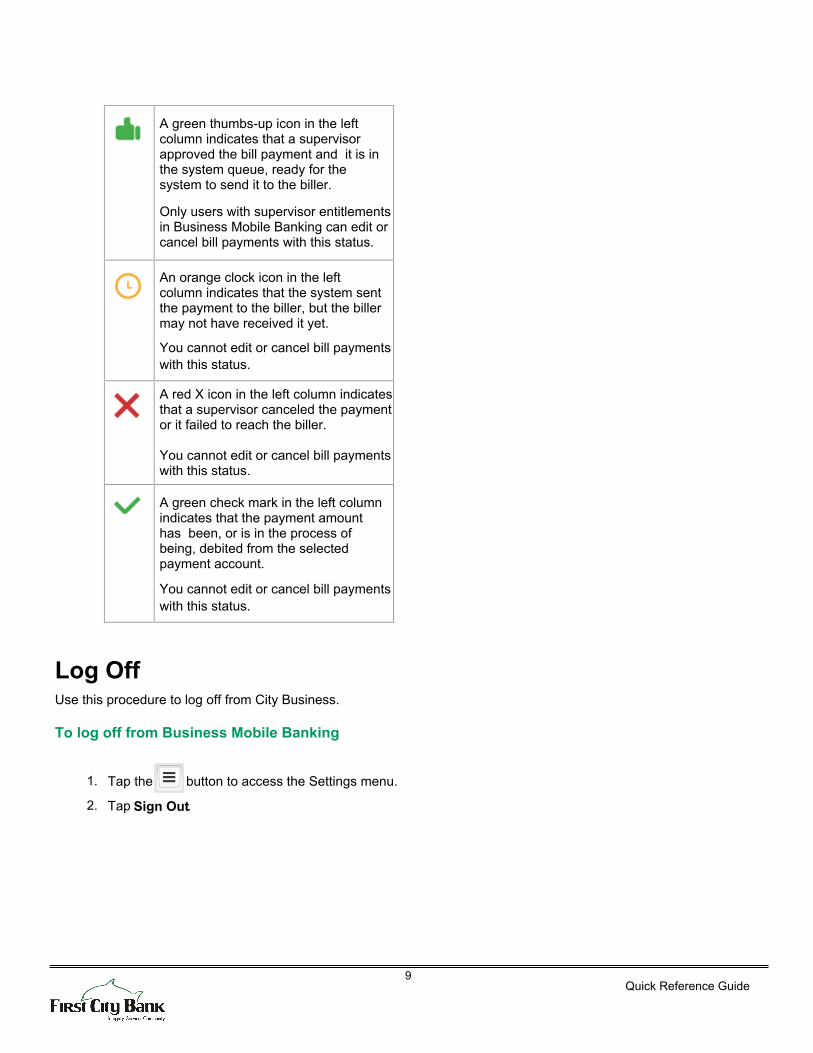
A green thumbs-up icon in the left column indicates that a supervisor approved the bill payment and it is in the system queue, ready for the system to send it to the biller.
Only users with supervisor entitlements in Business Mobile Banking can edit or cancel bill payments with this status.
An orange clock icon in the left column indicates that the system sent the payment to the biller, but the biller may not have received it yet.
You cannot edit or cancel bill payments with this status.
A red X icon in the left column indicates that a supervisor canceled the payment or it failed to reach the biller. You cannot edit or cancel bill payments with this status.
A green check mark in the left column indicates that the payment amount has been, or is in the process of being, debited from the selected payment account.
You cannot edit or cancel bill payments with this status.
Log Off Use this procedure to log off from City Business.
To log off from Business Mobile Banking
1. Tap the button to access the Settings menu.
2. Tap Sign Out.

10Quick Reference Guide
Member FDIC
No warranties, either express or implied, are granted or extended by this document. © 2016 Fiserv, Inc. or its affiliates. All rights reserved. This work is confidential and its use is strictly limited. Use is permitted only in accordance with the
terms of the agreement under which it was furnished. Any other use, duplication, or dissemination without the prior written consent of Fiserv, Inc. or its affiliates is strictly prohibited. The information contained herein is subject to change
without notice. Except as specified by the agreement under which the materials are furnished, Fiserv, Inc. and its affiliates do not accept any liabilities with respect to the information contained herein and are not responsible for any
direct, indirect, special, consequential or exemplary damages resulting from the use of this information.
Questions? Contact our Customer Care Center at 850-244-5151.