cohesive networks support docs: vns3 configuration for centurylink cloud
TRANSCRIPT

© 2016
CenturyLink Cloud ConfigurationCenturyLink Setup for VNS3 2016

© 2016
Table of Contents
2
Introduction 3
CenturyLink Cloud Deployment Setup 9
VNS3 Configuration Document Links 14

© 2016
Requirements
3
© 2016
Requirements
4
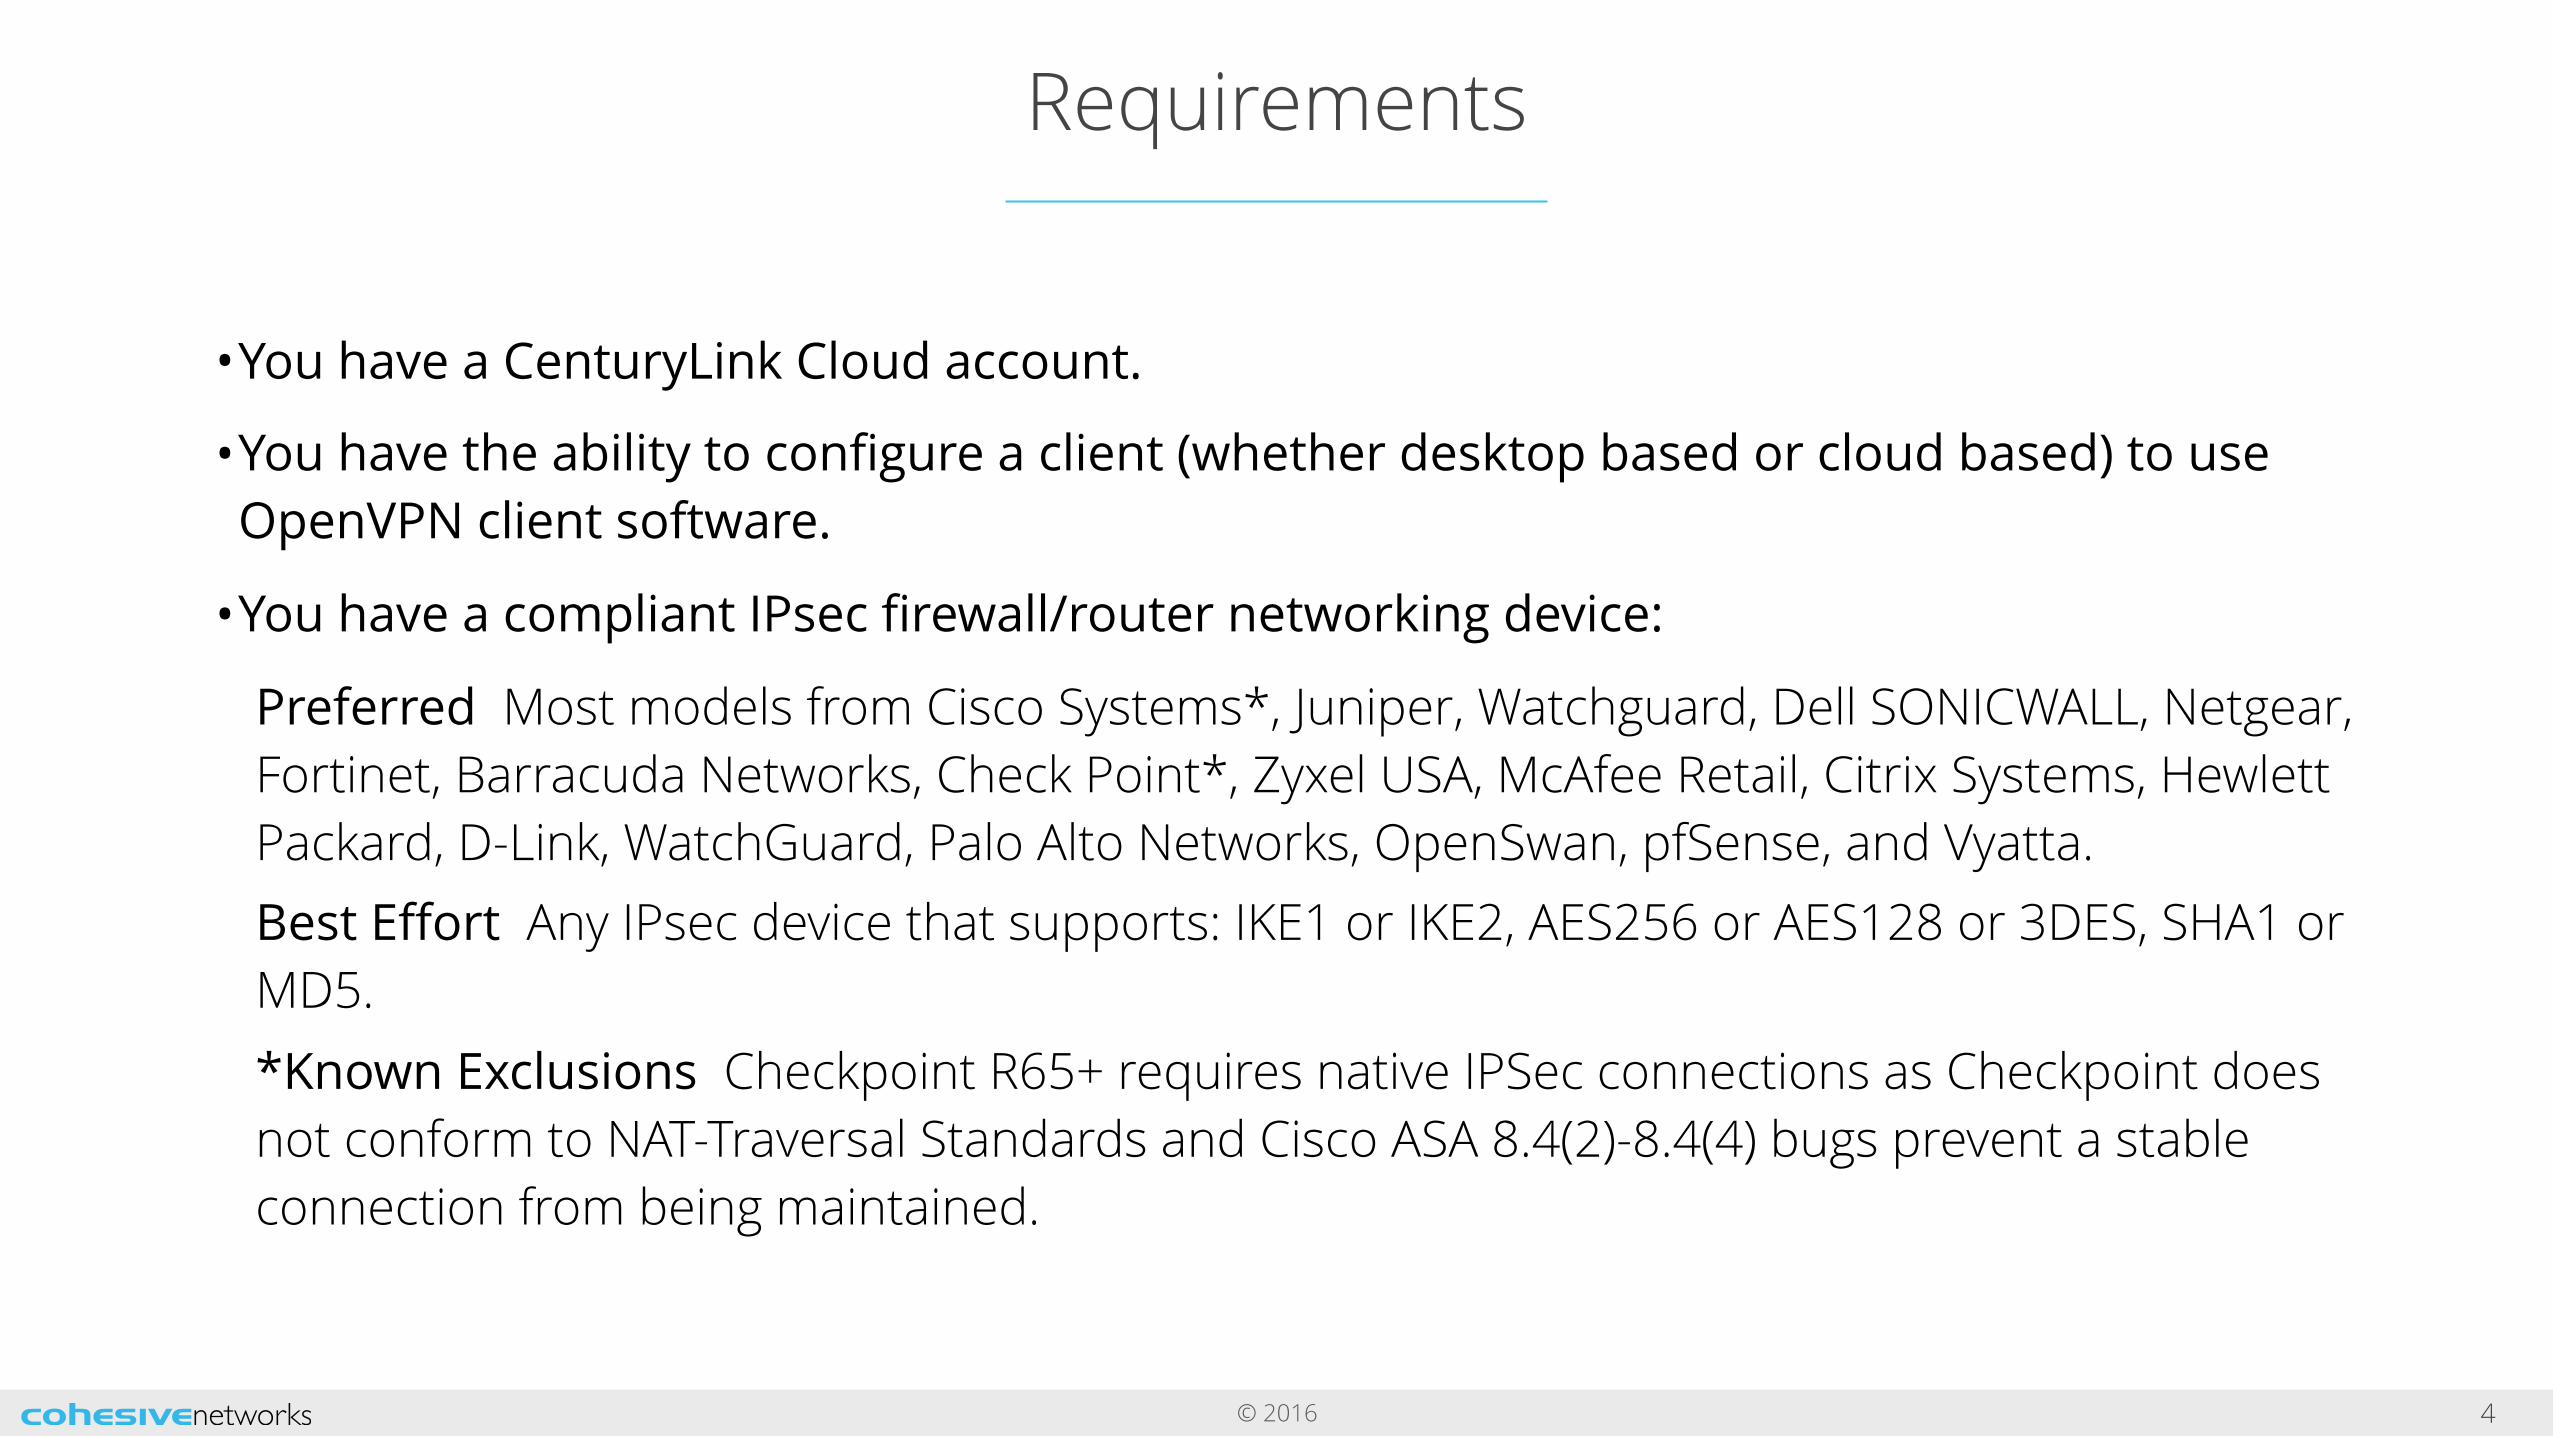
•You have a CenturyLink Cloud account.
•You have the ability to configure a client (whether desktop based or cloud based) to use OpenVPN client software.
•You have a compliant IPsec firewall/router networking device:
Preferred Most models from Cisco Systems*, Juniper, Watchguard, Dell SONICWALL, Netgear, Fortinet, Barracuda Networks, Check Point*, Zyxel USA, McAfee Retail, Citrix Systems, Hewlett Packard, D-Link, WatchGuard, Palo Alto Networks, OpenSwan, pfSense, and Vyatta. Best Effort Any IPsec device that supports: IKE1 or IKE2, AES256 or AES128 or 3DES, SHA1 or MD5. *Known Exclusions Checkpoint R65+ requires native IPSec connections as Checkpoint does not conform to NAT-Traversal Standards and Cisco ASA 8.4(2)-8.4(4) bugs prevent a stable connection from being maintained.
© 2016
Getting Help with VNS3
5
This guide covers a generic VNS3 setup in CenturyLink Cloud. If you need specific help with project planning, POCs, or audits, contact our professional services team via [email protected] for details.
This guide uses Cisco’s Adaptive Security Device Controller UI. Setting up your IPsec Extranet device may have a different user experience than what is shown here. All the information entered in this guide will be same regardless of your UI or cmd line setup.
Please review the VNS3 Support Plans and Contacts before sending support inquiries.

© 2016
Firewall Considerations
6
VNS3 Controller instances use the following TCP and UDP ports.
• UDP port 1194 For client VPN connections; must be accessible from all servers that will join VNS3 topology as clients.
• UDP 1195-1203*For tunnels between Controller peers; must be accessible from all peers in a given topology.
• TCP port 8000 HTTPS admin interface; must be accessible from hosts where you will want to obtain runtime status or configure peering, also needs to be open to and from the Controllers at least for the peering process, and needs to be accessible when downloading credentials for installation on overlay network clients.
• UDP port 500UDP port 500 is used the phase 1 or IKE (Internet Key Exchange) component of an IPsec VPN connection.
• UDP port 4500 or Protocol 50 (ESP)Protocol 50 is used for phase 2 or ESP (Encapsulated Security Payload) component of an IPsec VPN connection only when negotiating with native IPsec. UDP port 4500 is used for the phase 2 or ESP (Encapsulated Security Payload) component of an IPsec VPN connection when using NAT-Traversal Encapsulation.
*VNS3:vpn and VNS3:net Lite Edition will not require UDP ports 1195-1197 access as it is not licensed for Controller Peering. ** Some public cloud providers require IPsec connections to use NAT-Traversal encapsulation on UDP port 4500

© 2016
Sizing Considerations
7
Image Size and Architecture
VNS3 Controller Images are available as 64bit images to allow the greatest flexibility for your use-case. We recommend Controller instances be launched with at least 512MB of RAM. Smaller sizes are supported but the performance will depend on the use-case.
Clientpack Key Size
VNS3 Controllers currently generate 1024 bit keys for connecting the clients to the overlay network via the “clientpacks”. Smaller or larger encryption keys can be provided upon request (from 64 bit to 2048 bit). Future releases of VNS3 will provide the user control over key size and cipher during initialization and configuration.

© 2016
Remote Support
8
Note that TCP 22 (ssh) is not required for normal operations.
Each VNS3 Controller is running a restricted SSH daemon, with access limited only to Cohesive for debugging purposes controlled by the user via the Remote Support toggle and key exchange generation.
In the event Cohesive needs to observe runtime state of a VNS3 Controller in response to a tech support request, we will ask you to open Security Group access to SSH from our support IP range and Enable Remote Support via the Web UI.
Cohesive will send you an encrypted passphrase to generate a private key used by Cohesive Support staff to access your Controller. Access to the restricted SSH daemon is completely controlled by the user. Once the support ticket has been closed you can disable remote support access and invalidate the access key.

© 2016
CenturyLink Cloud Deployment Setup
9

© 2016
CLC: Select VNS3 Blueprint & and Build
10
Login to your CenturyLink Cloud (CLC) account and go to the Blueprints Library listed in the top green menu bar.
In the Blueprint Library select the edition of VNS3 you wish to use.
On the next page click on deploy blueprint.
On the Deploy page enter a password, and select DNS names for the server. NOTE: Here you can select HYPERSCALE under Server Type to allow CLC to scale your VNS3 server up and down as demands change.
Give your targeted VNS3 instance a name.
Click on next step.
Look for 8/8 steps to finish.

© 2016
Request VNS3 be deployed in CLC
11
Open a service task request ticket via email to [email protected] with the following details. You will need to edit some of the information below.
EMAIL SUBJECT: Custom Image Import Request for Ecosystem Partner Template
CLC Support Team, Please open a Service Task to implement a Cohesive Networks Partner Template in accordance with this CenturyLink Policy (https://t3n.zendesk.com/hc/en-us/articles/204538645) and the following requirements below.
Please import the Ecosystem Partner Template image file referenced below to my CenturyLink Cloud Account:
Import CenturyLink Ecosystem Partner Source Image: “Cohesive Networks VNS3 virtual appliance”
My CenturyLink Cloud Account Alias: ####
Data Center to import image to: ###
(Optional) Group to import Server to: #####
Server Name to import image as: ##########
VLAN in the account to add the Server to: ########
Additional Information to add Partner Template to Network:
Interface=eth0
VLAN_free_IP=#.#.#.#
VLAN_net_mask=#.#.#.#
VLAN_gateway=#.#.#.#
DNS_servers=#.#.#.#
Please let me know if you have any questions or issues. Kindly send me a reply once the work has been completed.
Thank you very much, Your_Name_Here

© 2016
Request VNS3 be deployed in CLC: email [email protected]
12
EMAIL SUBJECT: Custom Image Import Request for Ecosystem Partner Template
CLC Support Team, Please open a Service Task to implement a Cohesive Networks Partner Template in accordance with this CenturyLink Policy (https://t3n.zendesk.com/hc/en-us/articles/204538645) and the following requirements below. Please import the Ecosystem Partner Template image file referenced below to my CenturyLink Cloud Account:
Import CenturyLink Ecosystem Partner Source Image: “Cohesive Networks VNS3 virtual appliance” My CenturyLink Cloud Account Alias: #### Data Center to import image to: ### (Optional) Group to import Server to: ##### Server Name to import image as: ########## VLAN in the account to add the Server to: ######## Additional Information to add Partner Template to Network:
Interface=eth0 VLAN_free_IP=#.#.#.# VLAN_net_mask=#.#.#.# VLAN_gateway=#.#.#.# DNS_servers=#.#.#.#

© 2016
CLC Configuration: Public IP Access
13
Once your VNS3 image has been built, go to the Dashboard. Locate the server name you just built and select that server.
Then click on the add public IP button.
Click custom Port, to add the following required inbound hypervisor firewall access rules:
• TCP port 8000
• UDP port 1194
• UDP 1195-1197
• UDP port 500, and possibly UDP port 4500
When finished, you will find the Public IP is now listed on the on the server page.

© 2016
VNS3 Controller Log in
14
Login to the VNS3 Web UI - https://<Controller IP>:8000
Default username: vnscubed Default password: vnscubed
Reset your passwords:
• Reset the Web UI Password - Even though the instance id is unlikely to be “guessed”, please change it for security purposes.
• NOTE: Your VNS3 Controller answers to API calls on the same port 8000 as the web interface runs on. Ideally make a separate password for the API usage against the Controller.
• Reset the API Password - Even though the instance id is unlikely to be “guessed”, please change it for security purposes, again making it a different password than the web interface is probably best.
NOTE: Cohesive does not have any key access or remote access to your VNS3 Controllers unless provided by you. If you forget these passwords we cannot recover them for you.

© 2016
VNS3 Configuration Document Links
15

© 2016
VNS3 Configuration Document Links
16
VNS3 Product Resources - Documentation | Add-ons
VNS3 Configuration Instructions Instructions and screenshots for configuring a VNS3 Controller in a single or multiple Controller topology. Specific steps include, initializing a new Controller, generating clientpack keys, setting up peering, building IPsec tunnels, and connecting client servers to the Overlay Network.
VNS3 Administration Document Covers the administration and operation of a configured VNS3 Controller. Additional detail is provided around the VNS3 Firewall, all administration menu items, upgrade licenses, other routes and SNMP traps.
VNS3 Docker InstructionsExplains the value of the VNS3 3.5 Docker integration and covers uploading, allocating and exporting application containers.
VNS3 Troubleshooting Troubleshooting document that provides explanation issues that are more commonly experienced with VNS3.