disclaimer - automated trading · disclaimer trading and ... •this course will introduce...
TRANSCRIPT
1

2
DISCLAIMERTrading and investing often involves a very high degree of risk. Past results are not indicative of future returns and financial instruments can go down as well as up resulting in you receiving less than you invested. Do not assume that any recommendations, insights, charts, theories, or philosophies will ensure profitable investment. Spread betting and CFD’s carry a high risk to your capital, can be very volatile and prices may move rapidly against you. Only speculate with money you can afford to lose as you may lose more than your original deposit. Spread betting may not be suitable for all customers, so ensure you fully understand the risks involved and seek independent advice if necessary
Past performance and any examples or testimonials cited is no indication or guarantee of anticipated future results. Individual results will vary and cannot be guaranteed.
3

Introduction
• MetaTrader 4 is a trading platform
developed by MetaQuotes Software
for online trading in the forex, CFD and
futures markets.
4
Introduction
• MT4, as it is commonly known, provides
tools and resources that allow traders
to analyse price, place and manage
trades, and employ automated
trading techniques.
5

Introduction
• This course will introduce MT4's
automated trading, strategy testing
and optimization features.
• The MT4 platform supports automated
trading, or system trading.
6
Introduction
• Automated trading involves developing
an objective set of rules for trade entries
and exits, and programming the rules in
the platform's proprietary language
(MQL4) so that the platform can handle
all of the associated analytical and
trading processes.
7
Introduction
• Perhaps the biggest advantage of
automated trading is the ability to
remove some of the emotion from
trading.
8
Introduction
• Since these systems can trade
completely mechanically based on
the predetermined rules of a trading
plan, dealing with losses or second-
guessing a trade entry will not affect
system performance.
9
Introduction
• Another significant advantage to
trade automation is that the
trades are automatically executed
with extremely fast reaction times.
10

Introduction
• An automated trading system must
clearly identify buy, sell, stop-loss and
profit-target rules.
11

Introduction
• In other words, the system must identify
the conditions under which a trade will
be initiated (whether a long or a short
trade), when the trade should be
closed at a loss, and when the trade
should be closed at a profit.
12
Introduction
• The various benefits of automated
trading make it a helpful tool for
traders.
• So let’s get started!
13

Course OverviewExpert Advisor
• Setup
• Launch
• Shutdown
Strategy Testing
• Setup
• Results
Expert Optimization
• Setup
• Results
Practical
• Each section will be followed by practical application
14

15
Expert AdvisorsExpert Advisors• Expert Advisors (experts or EA) are programs in
the terminal that have been developed in MetaQuotes Language 4 (MQL4) and used for automation of analytical and trading processes.
• They perform prompt technical analysis of price data and manage trading activities based of signals received.
16
Expert Advisors
• The entire routine work of technical
analysis and trading can be given to
experts.
• An expert can perform analytical and
trading operations for any symbols or
periods.
17
Expert Advisors
Working with experts:
• Before using experts, they first have to be set up.
• Working parameters common for all experts are set in the client terminal settings. Each expert can also have its own settings.
18
Expert Advisors
Working with experts:
• To launch an expert, it first needs to be
placed into the chart. After the first
tick, the expert will start executing.
• An expert advisor is shut down after it
has been removed from the chart.
19

20

Expert Advisor - Setup
Setup• Before you can use experts, they need to
be set up. Working parameters common for all experts are defined in the client terminal settings window.
• This window can be opened by the "Tools — Options" menu command or by pressing Ctrl+O.
21
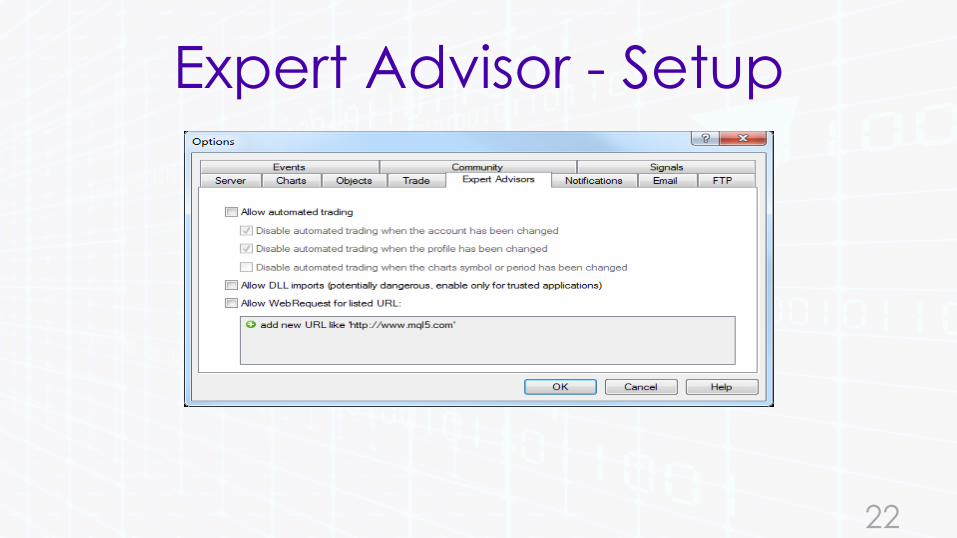
Expert Advisor - Setup
22

Expert Advisor - Setup
• To set up expert
parameters, select
the "Expert Advisors"
tab.
• The following
settings are
available in it:
23
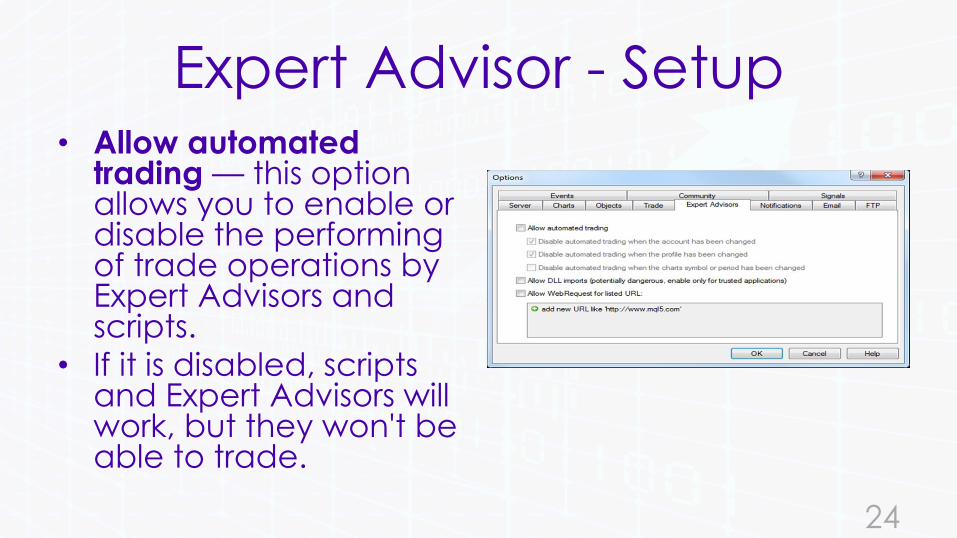
Expert Advisor - Setup• Allow automated
trading — this option allows you to enable or disable the performing of trade operations by Expert Advisors and scripts.
• If it is disabled, scripts and Expert Advisors will work, but they won't be able to trade.
24
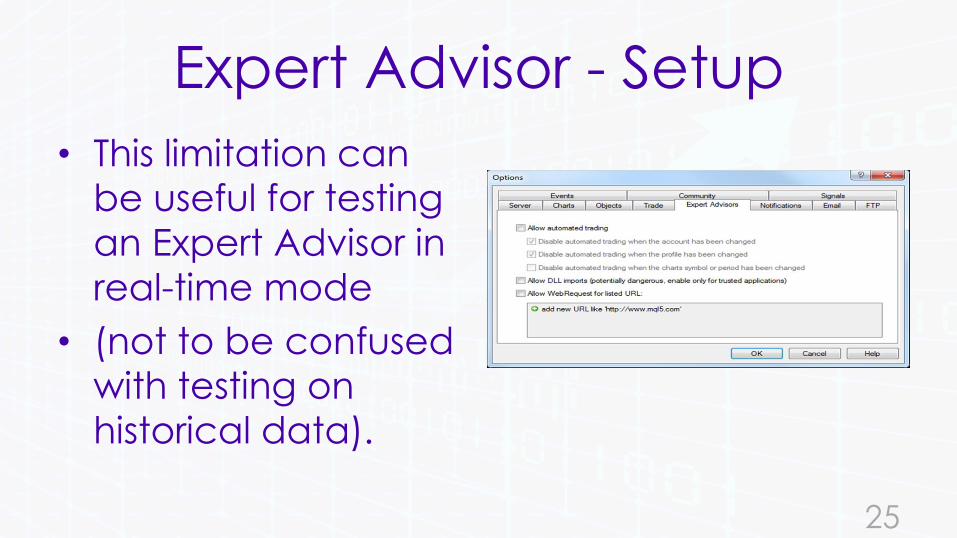
Expert Advisor - Setup
• This limitation can
be useful for testing
an Expert Advisor in
real-time mode
• (not to be confused
with testing on
historical data).
25
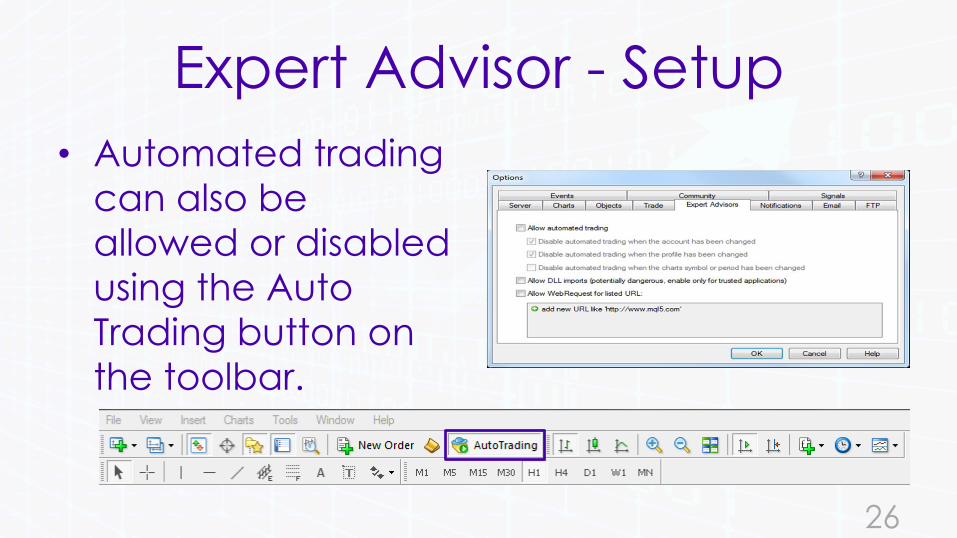
Expert Advisor - Setup
• Automated trading
can also be
allowed or disabled
using the Auto
Trading button on
the toolbar.
26
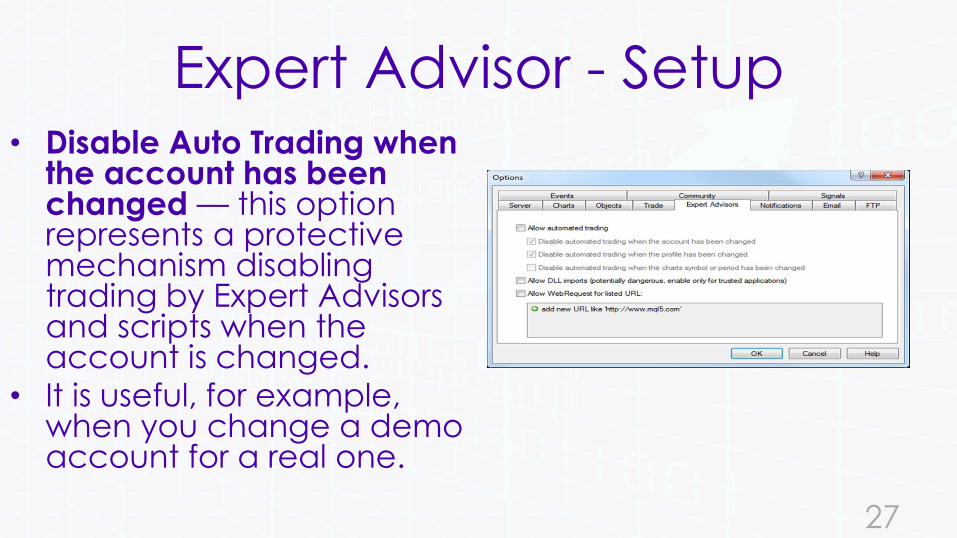
Expert Advisor - Setup• Disable Auto Trading when
the account has been changed — this option represents a protective mechanism disabling trading by Expert Advisors and scripts when the account is changed.
• It is useful, for example, when you change a demo account for a real one.
27
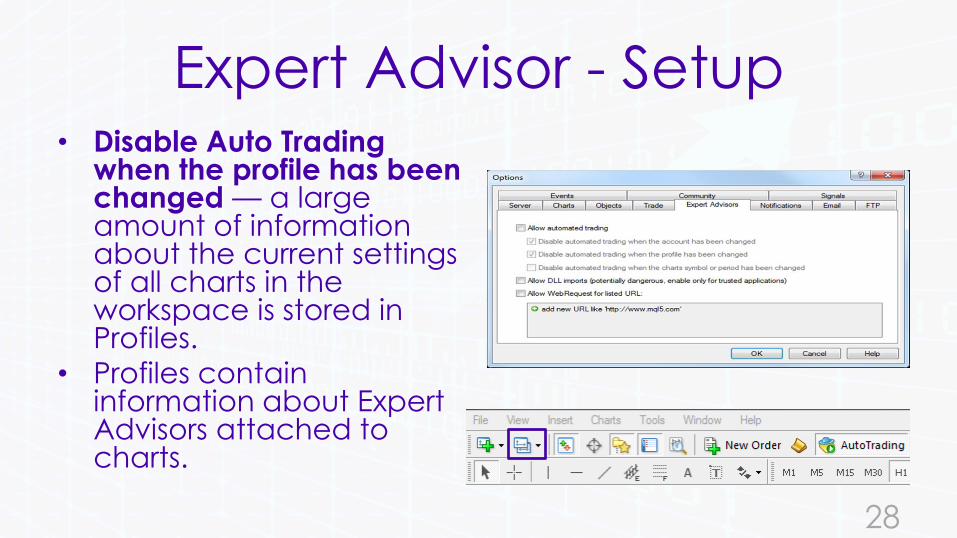
Expert Advisor - Setup• Disable Auto Trading
when the profile has been changed — a large amount of information about the current settings of all charts in the workspace is stored in Profiles.
• Profiles contain information about Expert Advisors attached to charts.
28
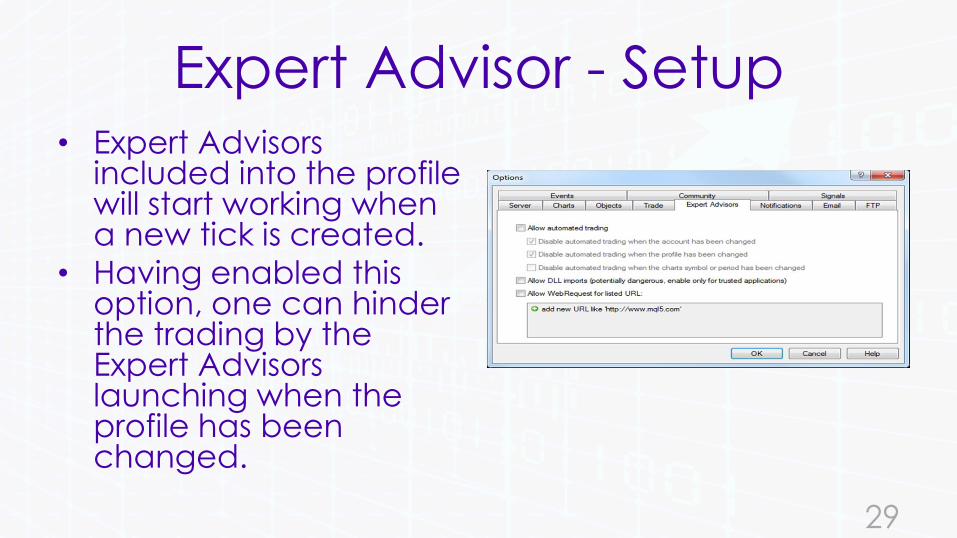
Expert Advisor - Setup• Expert Advisors
included into the profile will start working when a new tick is created.
• Having enabled this option, one can hinder the trading by the Expert Advisors launching when the profile has been changed.
29
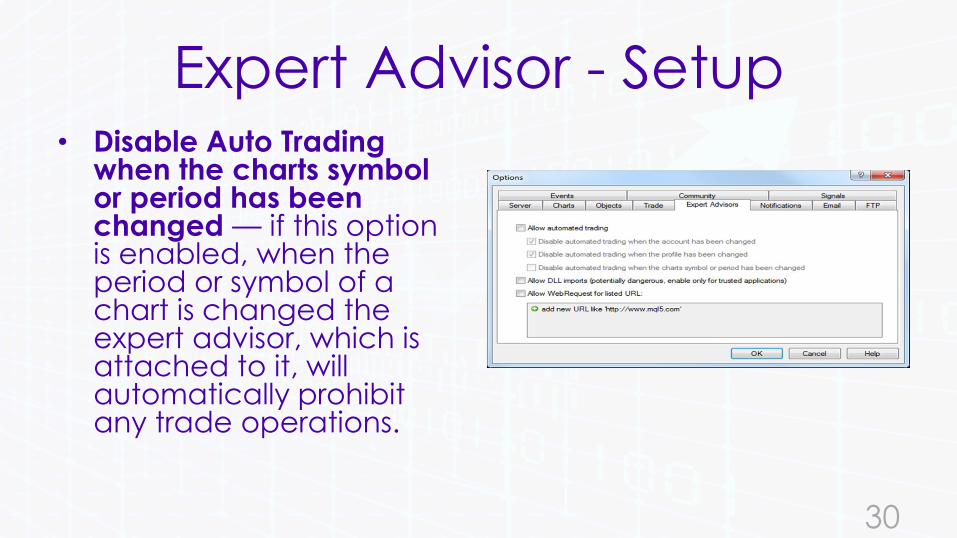
Expert Advisor - Setup• Disable Auto Trading
when the charts symbol or period has been changed — if this option is enabled, when the period or symbol of a chart is changed the expert advisor, which is attached to it, will automatically prohibit any trade operations.
30
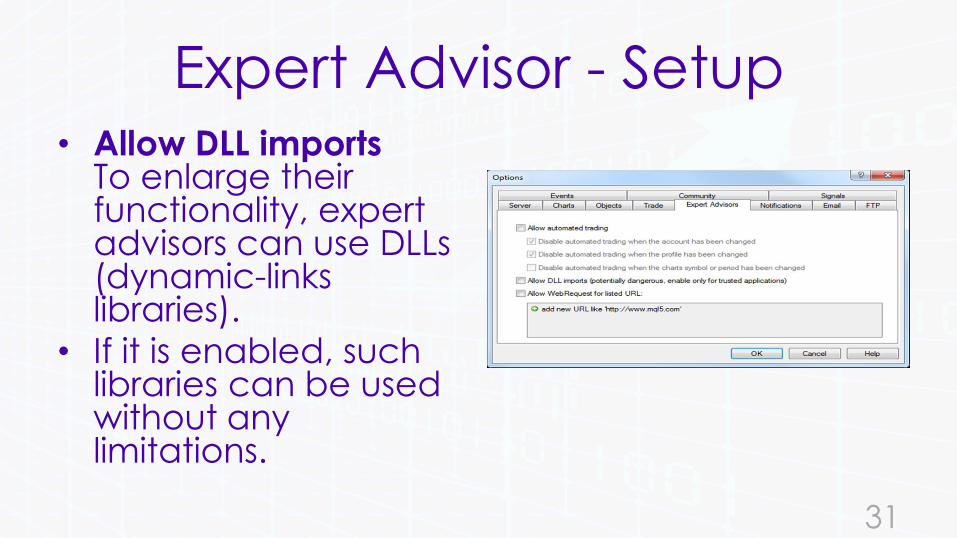
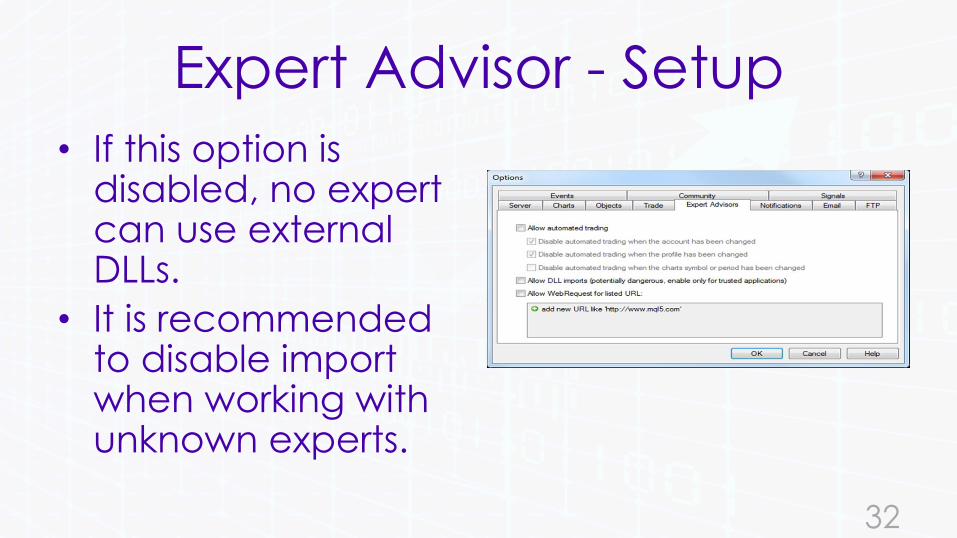
Expert Advisor - Setup• Allow DLL imports
To enlarge their functionality, expert advisors can use DLLs (dynamic-links libraries).
• If it is enabled, such libraries can be used without any limitations.
31
Expert Advisor - Setup
• If this option is disabled, no expert can use external DLLs.
• It is recommended to disable import when working with unknown experts.
32
Expert Advisor - Setup
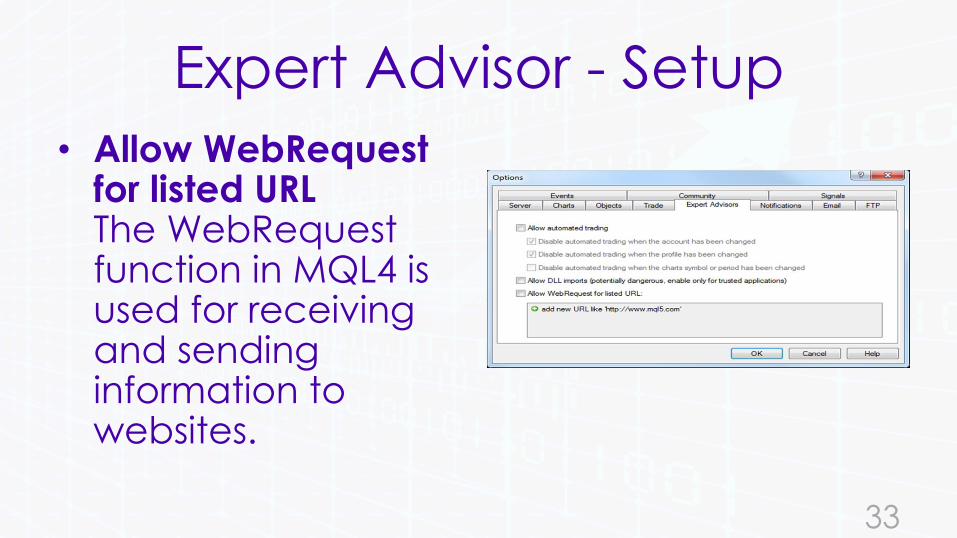
• Allow WebRequestfor listed URLThe WebRequestfunction in MQL4 is used for receiving and sending information to websites.
33

Expert Advisor - Setup• To allow an MQL4
application to send such requests, enable this option and manually specify the URLs of trusted websites.
• For security reasons, the option is disabled on default.
34

35

36
Launch
• After general parameters have been
set up, experts can be launched.
• To do so, it is enough just to attach the
expert to the chart.
37
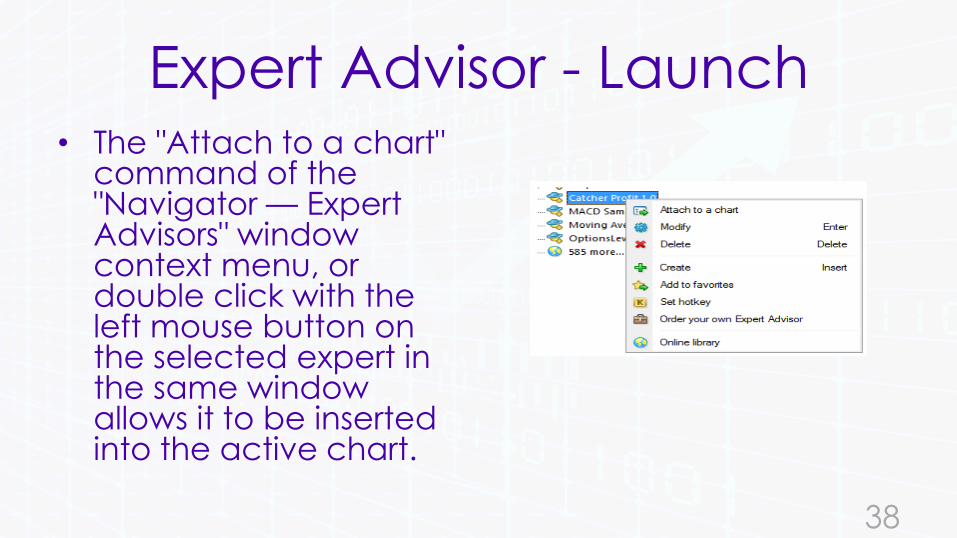
Expert Advisor - Launch• The "Attach to a chart"
command of the "Navigator — Expert Advisors" window context menu, or double click with the left mouse button on the selected expert in the same window allows it to be inserted into the active chart.
38
Expert Advisor - Launch
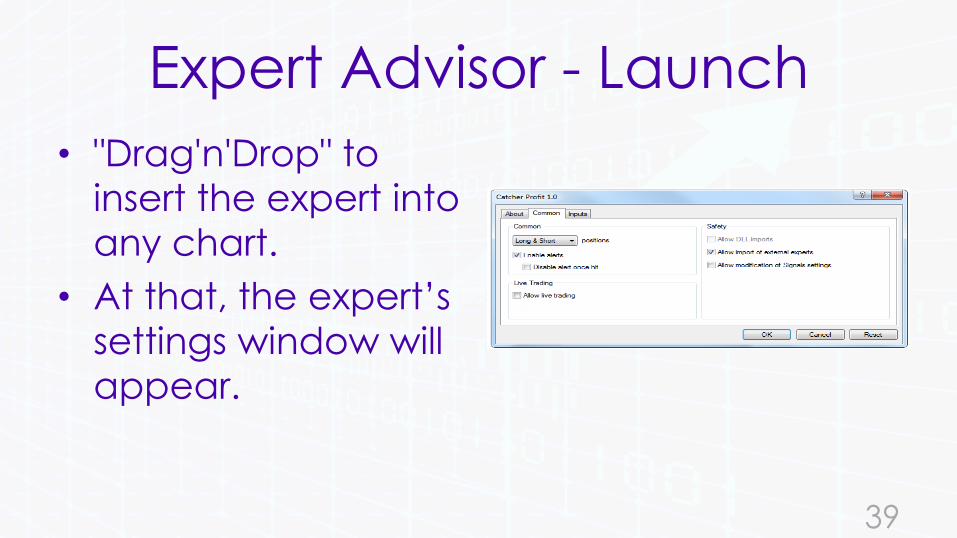
• "Drag'n'Drop" to
insert the expert into
any chart.
• At that, the expert’s
settings window will
appear.
39

Expert Advisor - LaunchIn the "Common" tab, it is possible to:
• Positions — select the direction of position opening:
• Long & Short — in both directions;
• Only Long — only for buying;
• Only Short — only for selling.
40

Expert Advisor - Launch• Enable alerts —
enable/disable the expert to alert;
• Disable alert once hit —disable alerts after the first alert has been given;
• Allow live trading —enable/disable live trading;
41
Expert Advisor - Launch
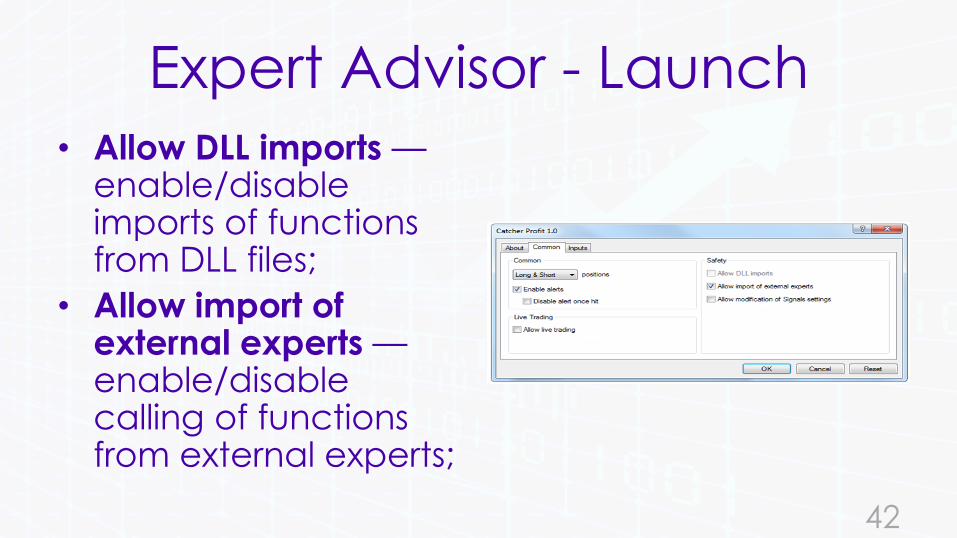
• Allow DLL imports —enable/disable imports of functions from DLL files;
• Allow import of external experts —enable/disable calling of functions from external experts;
42
Expert Advisor - Launch
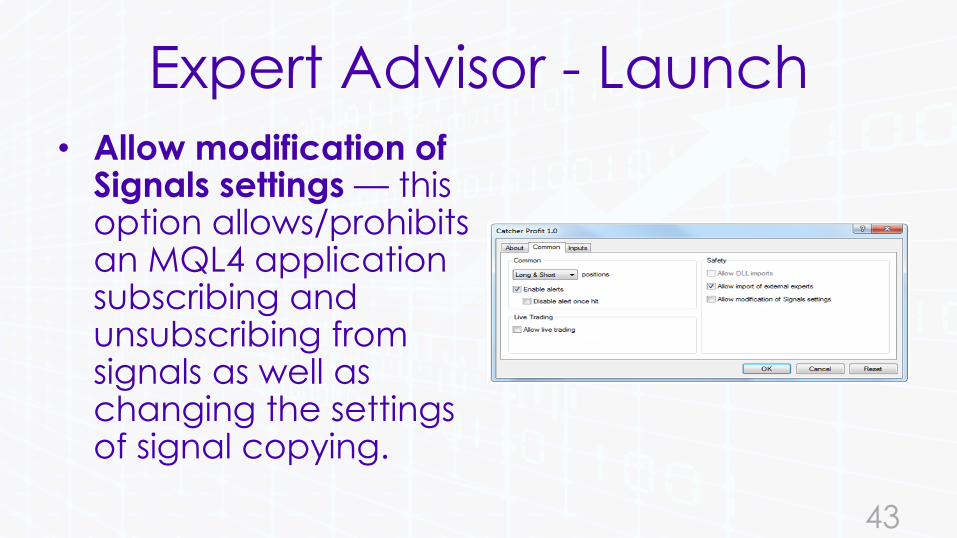
• Allow modification of Signals settings — this option allows/prohibits an MQL4 application subscribing and unsubscribing from signals as well as changing the settings of signal copying.
43
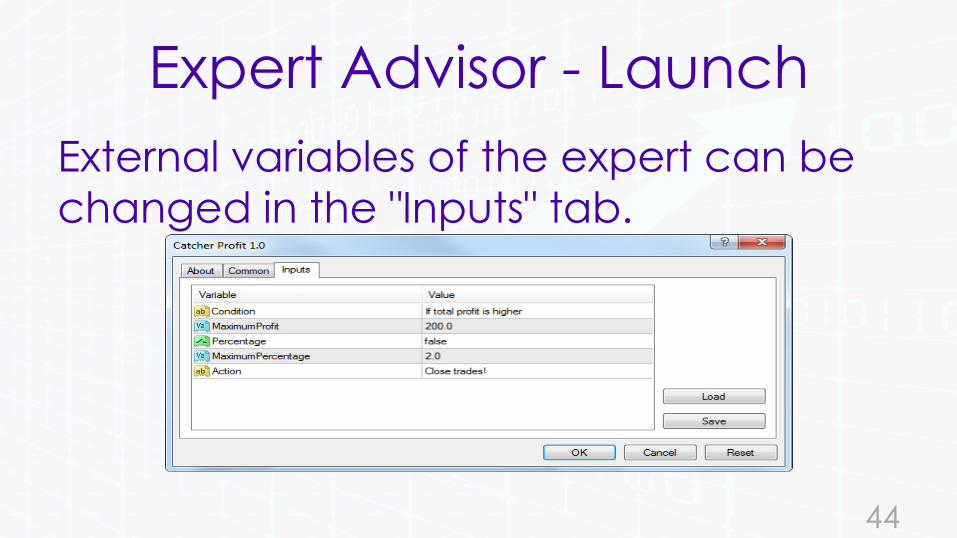
Expert Advisor - Launch
External variables of the expert can be
changed in the "Inputs" tab.
44

Expert Advisor - Launch
• These are the expert’s variables.
• To save an input, double-click with the left mouse button on its value and write the new one.
45
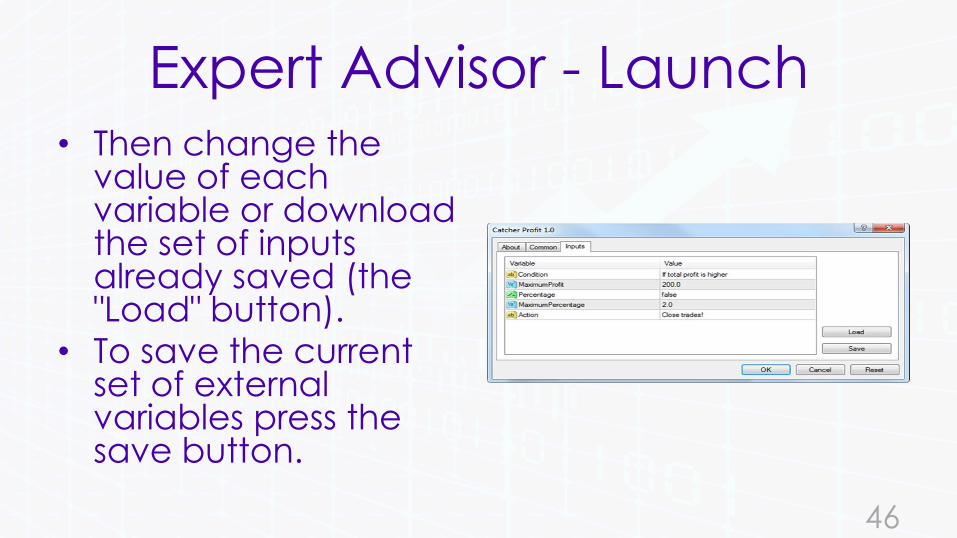
Expert Advisor - Launch• Then change the
value of each variable or download the set of inputs already saved (the "Load" button).
• To save the current set of external variables press the save button.
46
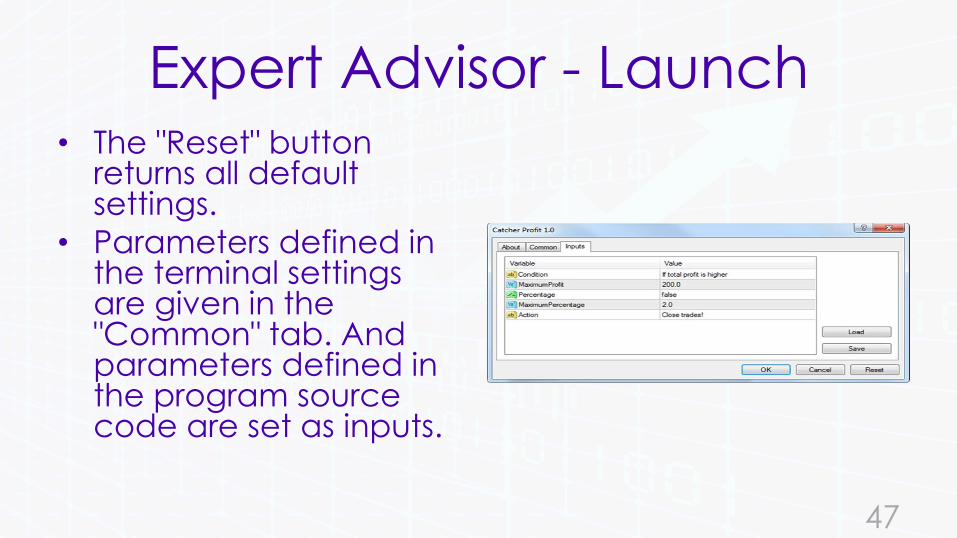
Expert Advisor - Launch• The "Reset" button
returns all default settings.
• Parameters defined in the terminal settings are given in the "Common" tab. And parameters defined in the program source code are set as inputs.
47
Expert Advisor - Launch
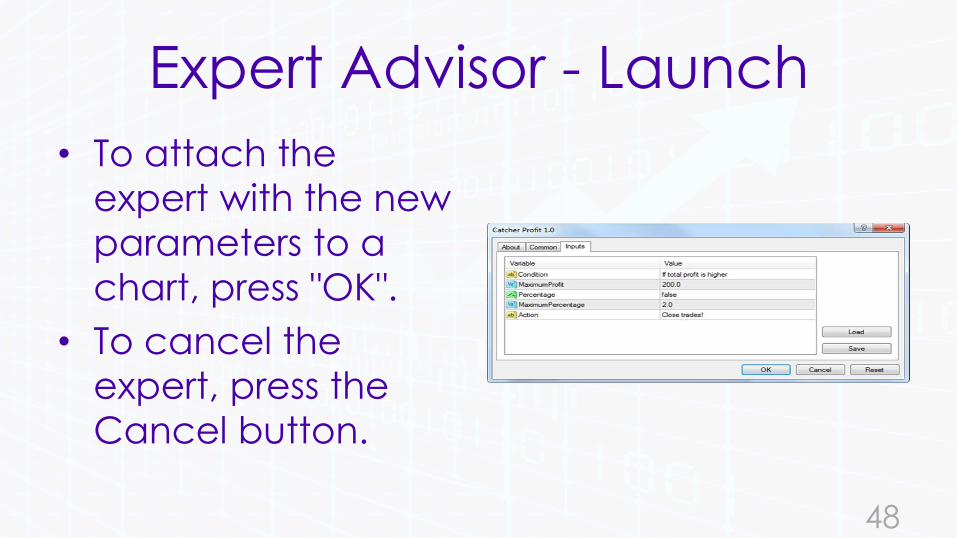
• To attach the
expert with the new
parameters to a
chart, press "OK".
• To cancel the
expert, press the
Cancel button.
48

Expert Advisor - Launch
After an expert has been set up, it will be initialized, after the first tick.
An expert is attached if its name and a smiley can be seen in the upper right corner of the chart.
If live trading is disabled in the expert settings, a sad face will appear instead of the smiley.
A dagger means that all experts are disabled.
49
Expert Advisor - Launch
Attention: Only one expert can be
attached to a chart.
• If another expert is imposed, the
previous one will be deleted from the
chart.
50

51

52
Expert Advisors - Shutdown
Shutdown
• To shut down an expert, it has to be
removed from the chart.
• Experts must been deinitialised before
being shut down.
53
Expert Advisors - Shutdown
• To remove an expert from the chart,
right click on the chart, "Expert Advisors
— Remove"
• Or attach another expert to the same
chart.
54
Expert Advisors - Shutdown
Attention:• at client terminal shutdown, all experts
are shut down, too;• at chart closing, the expert attached to
this chart will be shut down;• at the inserting of another expert, the
previous one will be removed after confirmation;
55
Expert Advisors - Shutdown
• deletion of the expert from the "Navigator" window does not shut down the expert of the same name placed in the chart;
• disabling of experts in the client terminal settings does not provide complete disabling of experts. This option stops launching of the start function of each expert, but will continue to run.
56

57

58

Strategy Testing
Strategy Testing
• The terminal allows not only the writing of expert advisors, but also the testing of them before use.
• This useful function allows the effectiveness of the trading system to be tested on historical data.
59
Strategy Testing
• Testing allows automated trading with the full knowledge about the expert’s performance under different market conditions.
• The special “Strategy Tester" window was built into the terminal for this purpose.
• Using this window, can optimize expert inputs, as well.
60

61

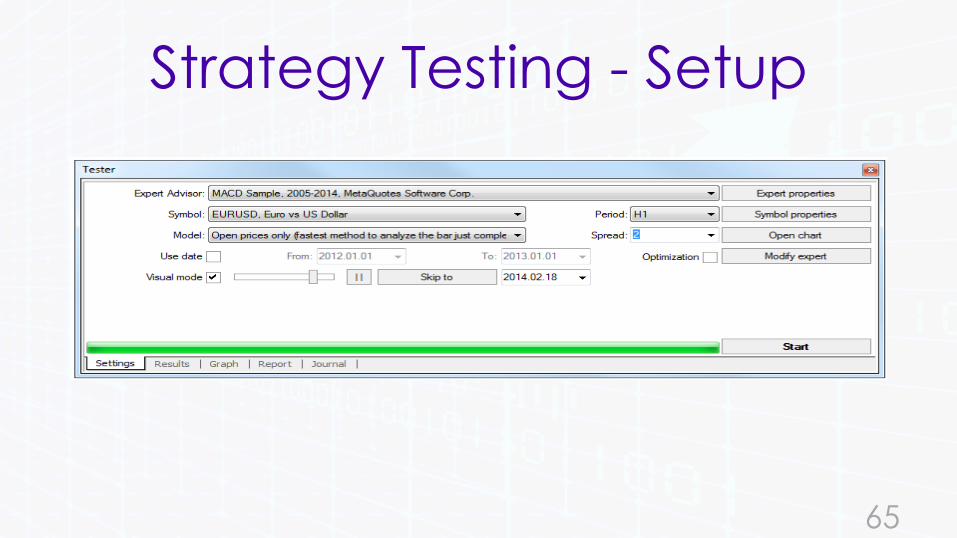
Strategy Testing - Setup
Setup• Before starting to test expert advisors, the
following parameters need chosen:
• select an expert and set up its inputs
• select a symbol and its period
• select one of three modelling methods
• set the testing time range (optional)
62
Strategy Testing - Setup
• To test and optimize experts, a special
"Tester" window is used in the terminal.
• All above parameters are set in the
"Settings" tab of this window.
63
Strategy Testing - Setup
An Expert Advisor and Its Parameters
• Select an expert to be tested in the "Tester — Expert Advisor" field.
• Only those experts that are available in the client terminal can be selected here.
• To be selected, they must be compiled and located in the EXPERTS folder.
64
Strategy Testing - Setup
65
Strategy Testing - Setup
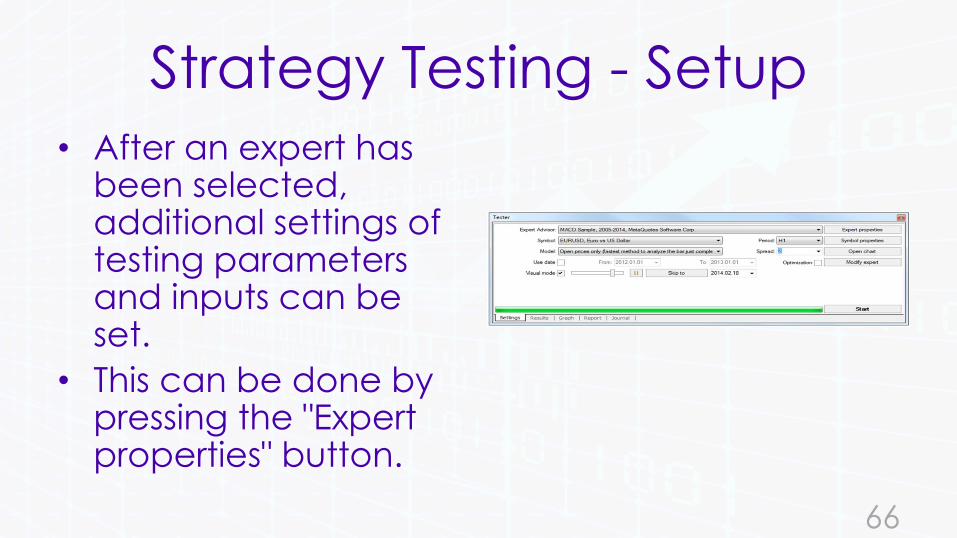
• After an expert has been selected, additional settings of testing parameters and inputs can be set.
• This can be done by pressing the "Expert properties" button.
66
Strategy Testing - Setup
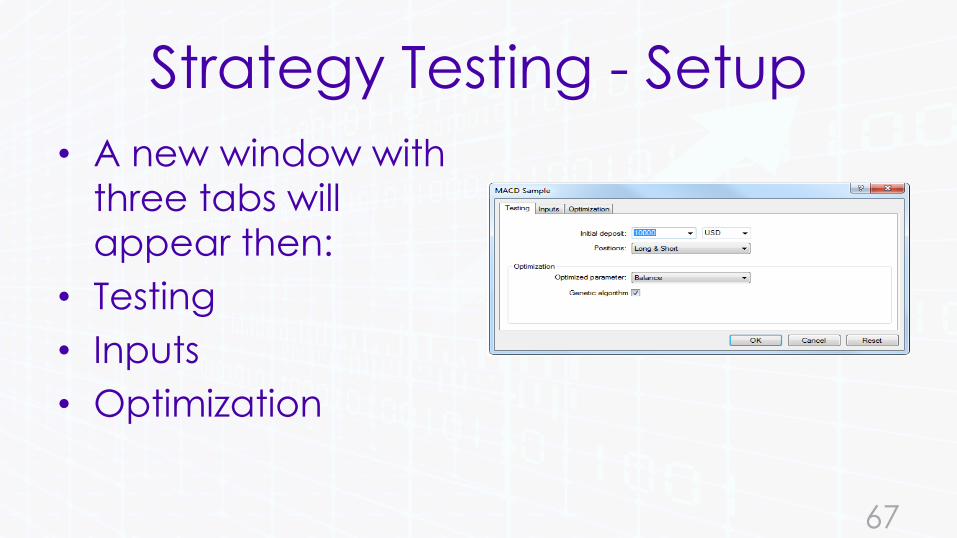
• A new window with
three tabs will
appear then:
• Testing
• Inputs
• Optimization
67
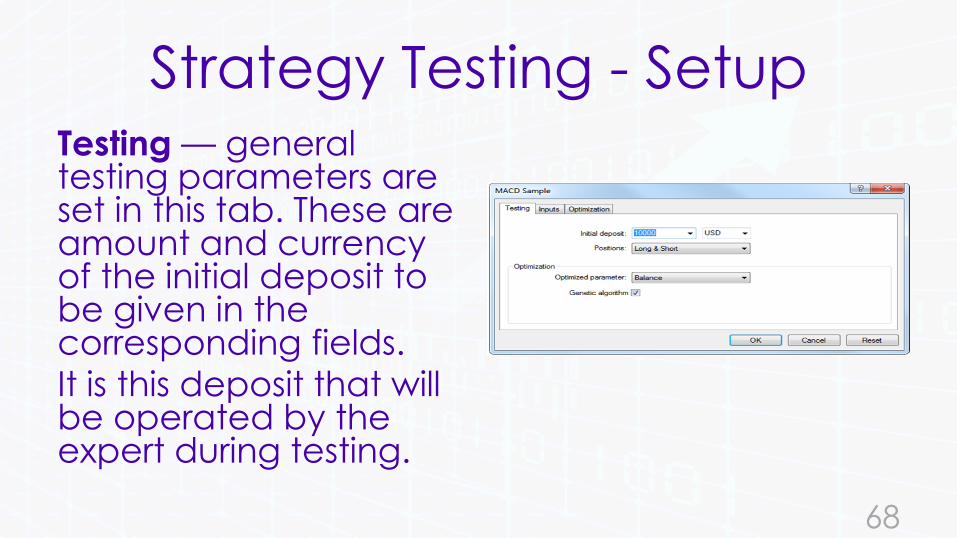
Strategy Testing - SetupTesting — general testing parameters are set in this tab. These are amount and currency of the initial deposit to be given in the corresponding fields.
It is this deposit that will be operated by the expert during testing.
68
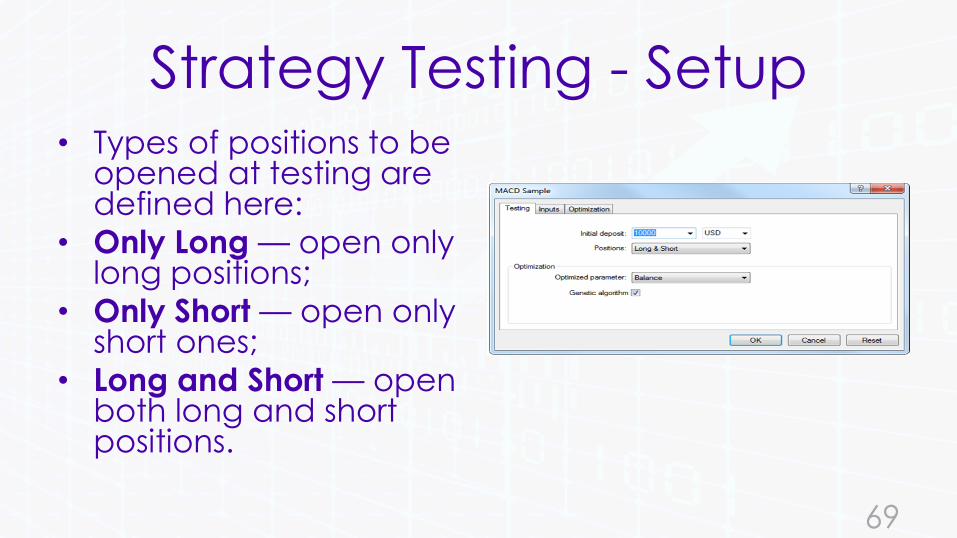
Strategy Testing - Setup• Types of positions to be
opened at testing are defined here:
• Only Long — open only long positions;
• Only Short — open only short ones;
• Long and Short — open both long and short positions.
69
Strategy Testing - Setup
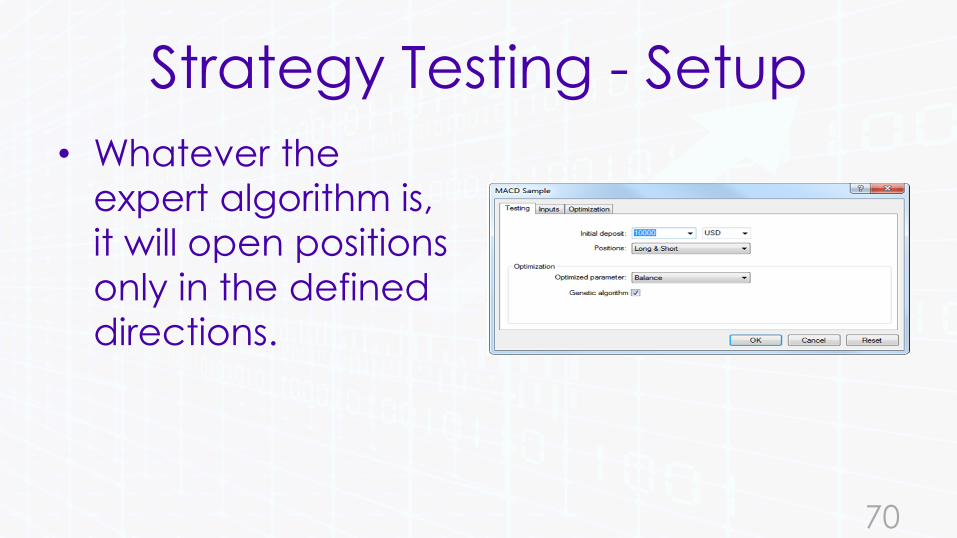
• Whatever the
expert algorithm is,
it will open positions
only in the defined
directions.
70

Strategy Testing - SetupInclude an optimization genetic algorithm and select a parameter to be optimized (maximization by the balance value, the profit factor, expected payoff, or minimization by the maximal drawdown value or drawdown percent).
71

Strategy Testing - Setup
Inputs — the list of all
inputs is given here as
a table.
• Inputs are variables
that influence the
expert operation.
72
Strategy Testing - Setup
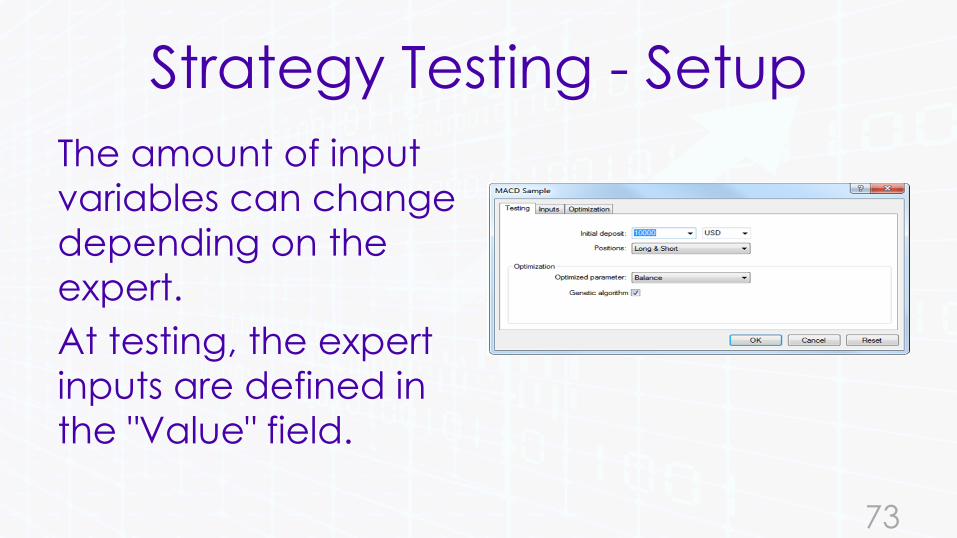
The amount of input
variables can change
depending on the
expert.
At testing, the expert
inputs are defined in
the "Value" field.
73
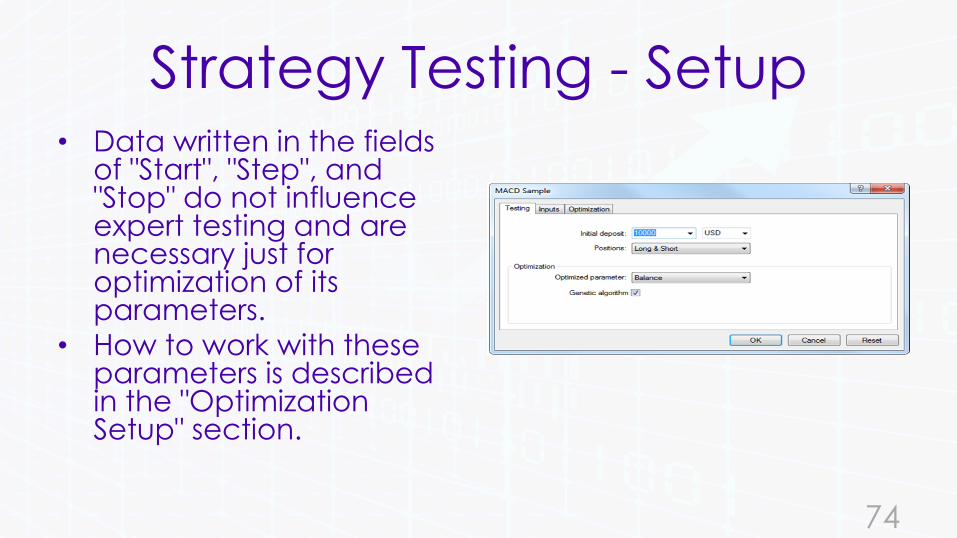
Strategy Testing - Setup• Data written in the fields
of "Start", "Step", and "Stop" do not influence expert testing and are necessary just for optimization of its parameters.
• How to work with these parameters is described in the "Optimization Setup" section.
74
Strategy Testing - Setup
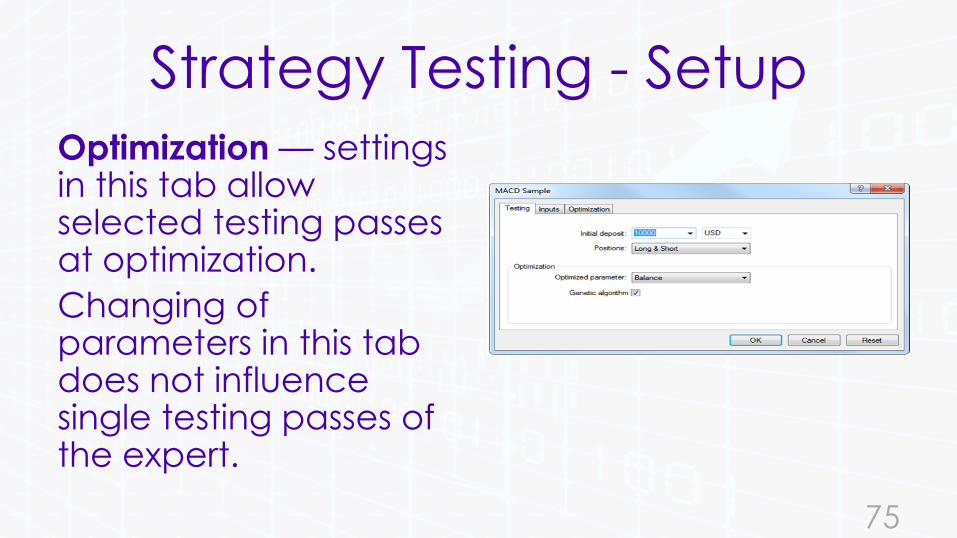
Optimization — settings in this tab allow selected testing passes at optimization.
Changing of parameters in this tab does not influence single testing passes of the expert.
75

Strategy Testing - Visualization
Testing Visualization
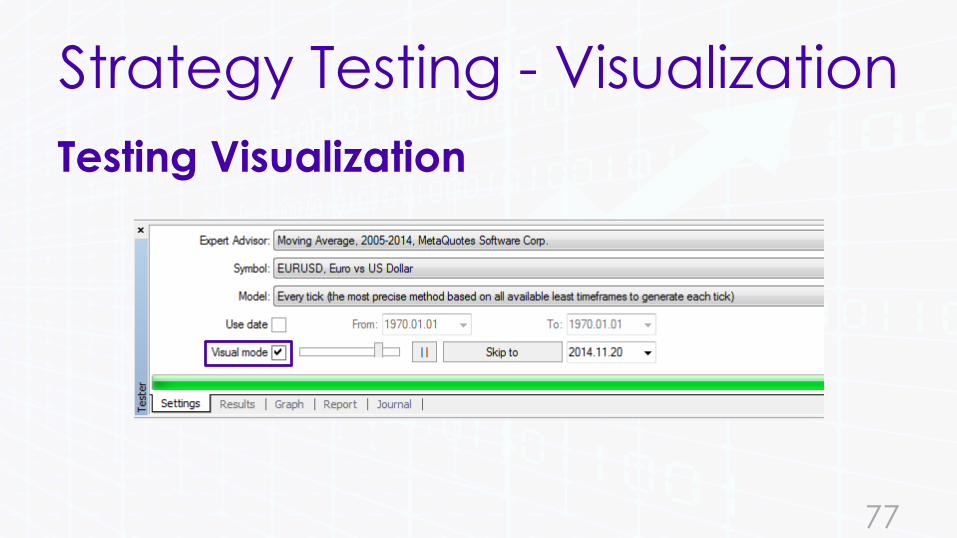
• If the ""Visualization“ is flagged, after
the "Start" button has been clicked,
the chart will be opened
automatically, on which the modelled
tick sequence will be played.
76
Strategy Testing - Visualization
Testing Visualization
77
Strategy Testing - Visualization
• The playback speed can be
regulated. The playback can be
suspended by clicking the "||" button.
• The repeated click on this button
resumes play of the modelled ticks.
78
Strategy Testing - Visualization
• Pressing of F12 causes the appearance of the next tick even in the suspension mode.
• Visualization can be skipped up to a certain date. After the desired date is set and the "Skip to" button is clicked, visualizing will stop and then resume after the tester reaches the defined date.
79

80

81

Strategy Testing - Results
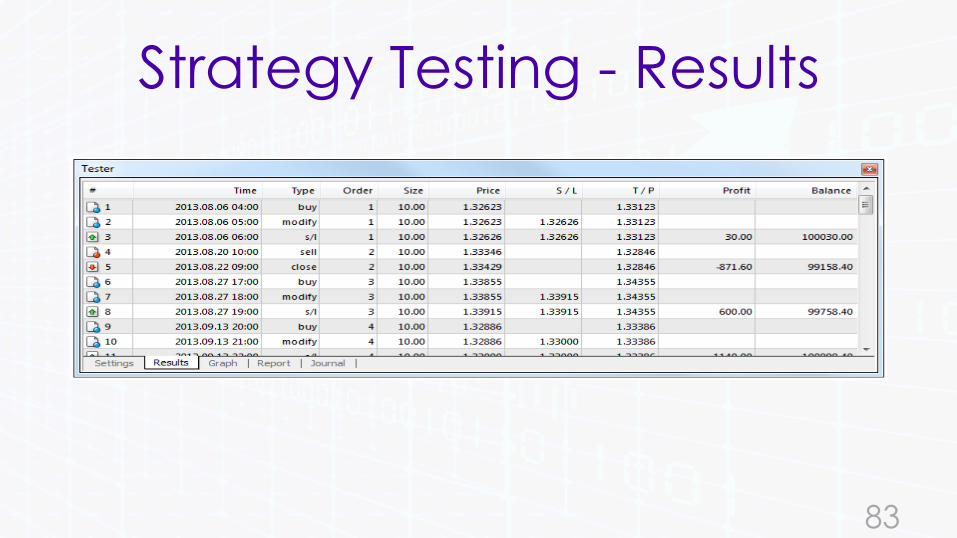
Results
• After the testing has been completed,
the results can be see in the tabs of
"Results", "Graph", "Report", and
"Journal".
82
Strategy Testing - Results
83

Strategy Testing - ResultsInformation about all trade operations performed is given in this tab as a table:
# — the trade operation sequence number;
Time — time at which the operation was performed;
84
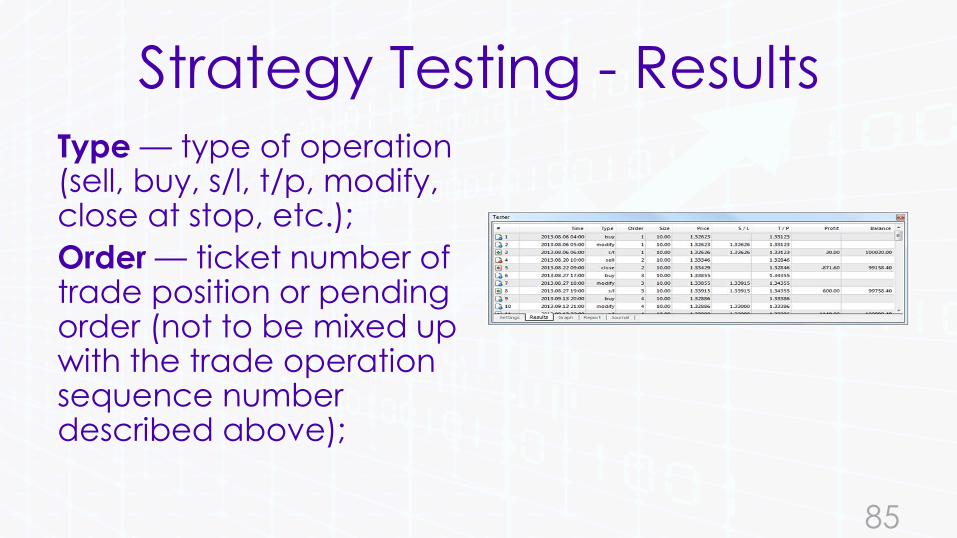
Strategy Testing - ResultsType — type of operation (sell, buy, s/l, t/p, modify, close at stop, etc.);
Order — ticket number of trade position or pending order (not to be mixed up with the trade operation sequence number described above);
85
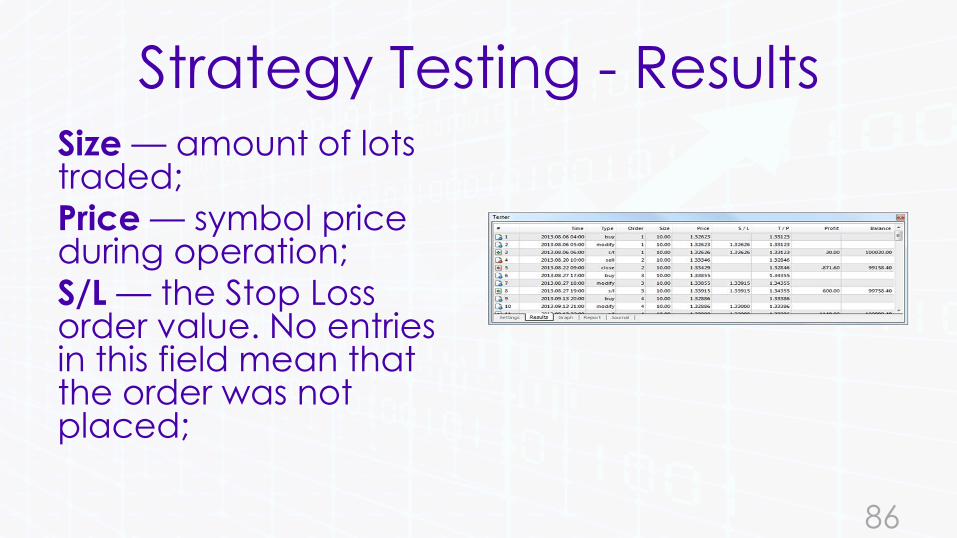
Strategy Testing - ResultsSize — amount of lots traded;
Price — symbol price during operation;
S/L — the Stop Loss order value. No entries in this field mean that the order was not placed;
86

Strategy Testing - Results
T/P — the Take Profit order value. No entries in this field mean that the order was not placed;
Profit — profit/loss. The profit/loss value is entered only at closing of positions;
87
Strategy Testing - Results
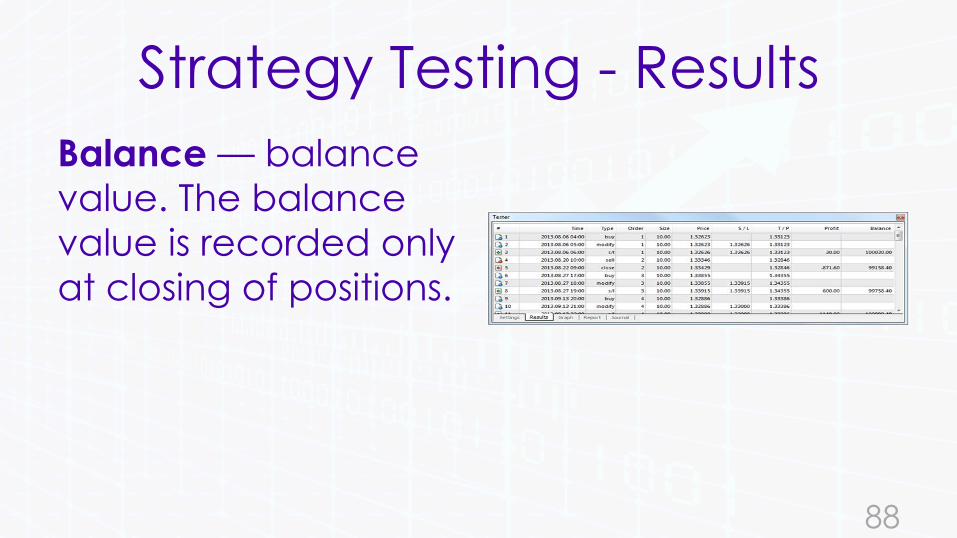
Balance — balance
value. The balance
value is recorded only
at closing of positions.
88

Strategy Testing - Results
• Clicking with the left mouse button on any column header, will sort all entries in the table in increasing or decreasing order.
• Using the "Copy" context menu command or pressing Ctrl+C, the selected lines of results can be copied to the clipboard for further use in other applications.
89

Strategy Testing - Results
• If no line has been selected, the entire
table will be copied to the clipboard. To
copy the entire table to the clipboard,
chose the "Copy All" command.
• The report of results can be saved in the
hard disk as an HTML file. To do so, press
"Save as Report".
90

Strategy Testing - Results
Graph
91
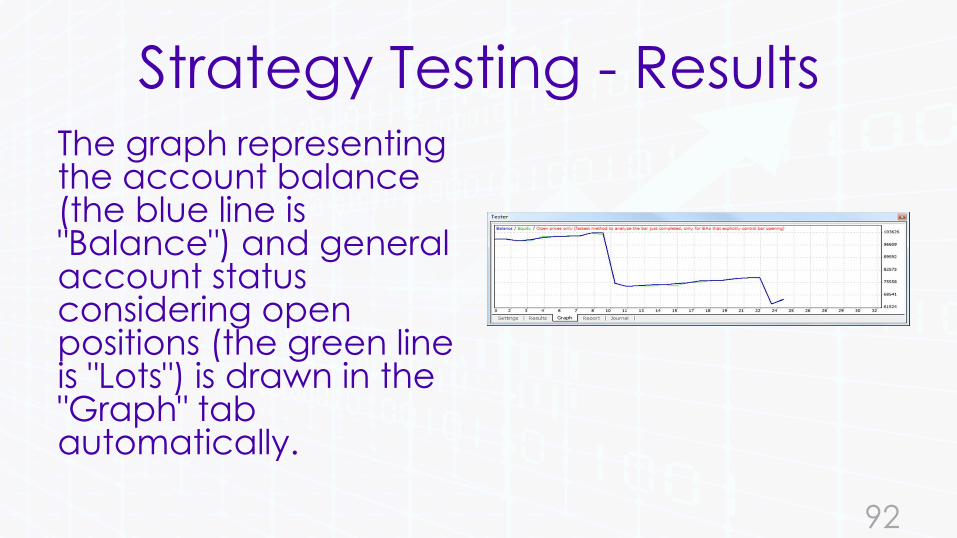
Strategy Testing - ResultsThe graph representing the account balance (the blue line is "Balance") and general account status considering open positions (the green line is "Lots") is drawn in the "Graph" tab automatically.
92
Strategy Testing - Results
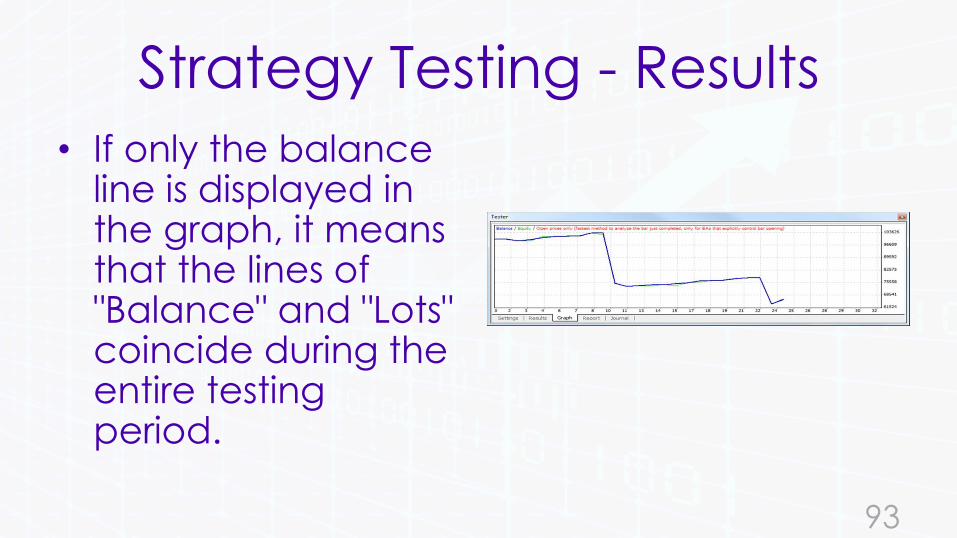
• If only the balance line is displayed in the graph, it means that the lines of "Balance" and "Lots" coincide during the entire testing period.
93

Strategy Testing - Results
• Graph allows changes in trading results during testing.
• If lot sizes were changed during testing, the chart of lot size changes will be shown in the bottom of the graph.
94

Strategy Testing - Results
• A double click with the left mouse button on any point in the graph will switch to the "Results" button, the corresponding line being selected.
95
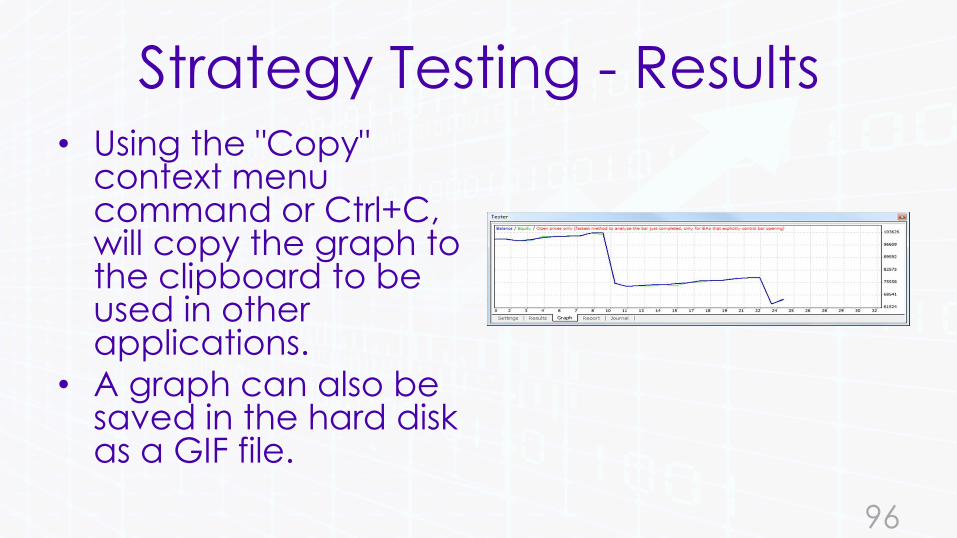
Strategy Testing - Results• Using the "Copy"
context menu command or Ctrl+C, will copy the graph to the clipboard to be used in other applications.
• A graph can also be saved in the hard disk as a GIF file.
96
Strategy Testing - Results
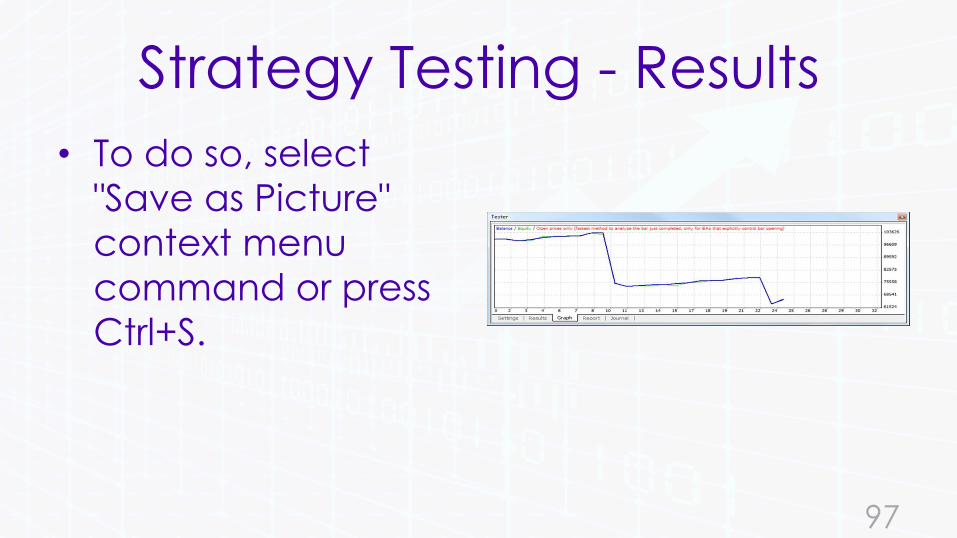
• To do so, select
"Save as Picture"
context menu
command or press
Ctrl+S.
97
Strategy Testing - Results
Report
98
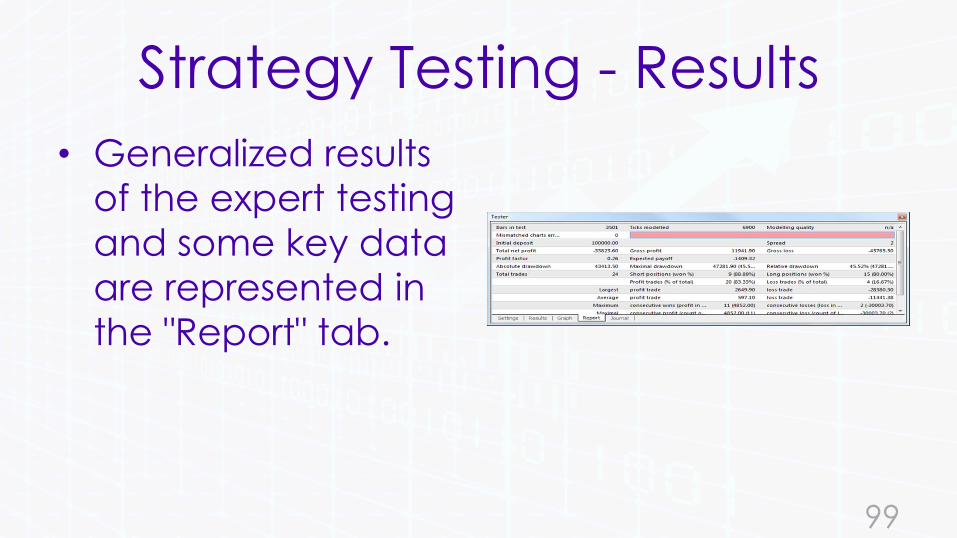
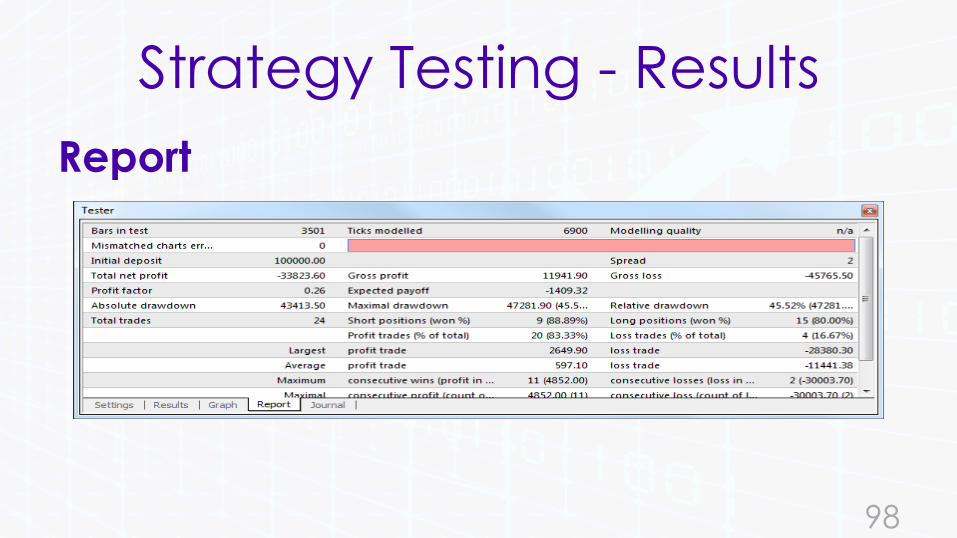
Strategy Testing - Results
• Generalized results
of the expert testing
and some key data
are represented in
the "Report" tab.
99
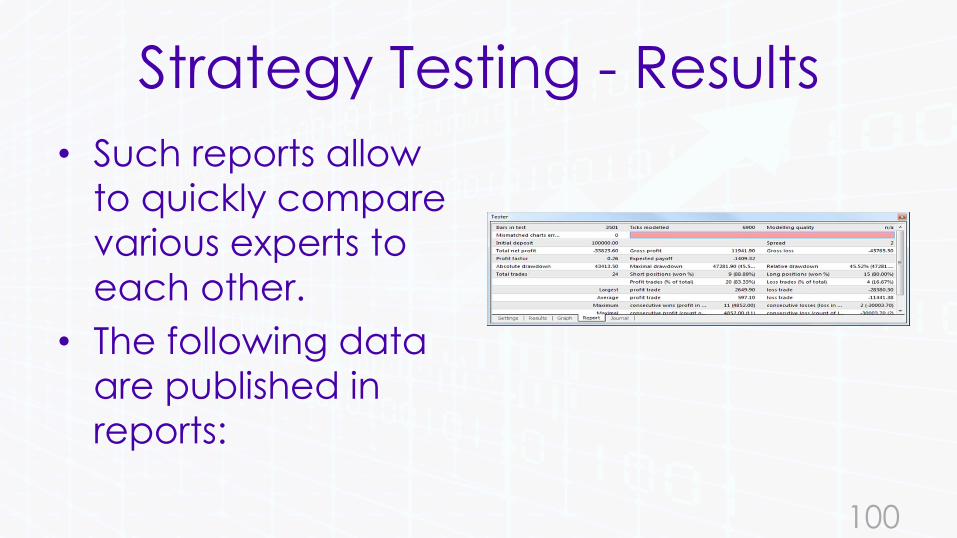
Strategy Testing - Results
• Such reports allow
to quickly compare
various experts to
each other.
• The following data
are published in
reports:
100
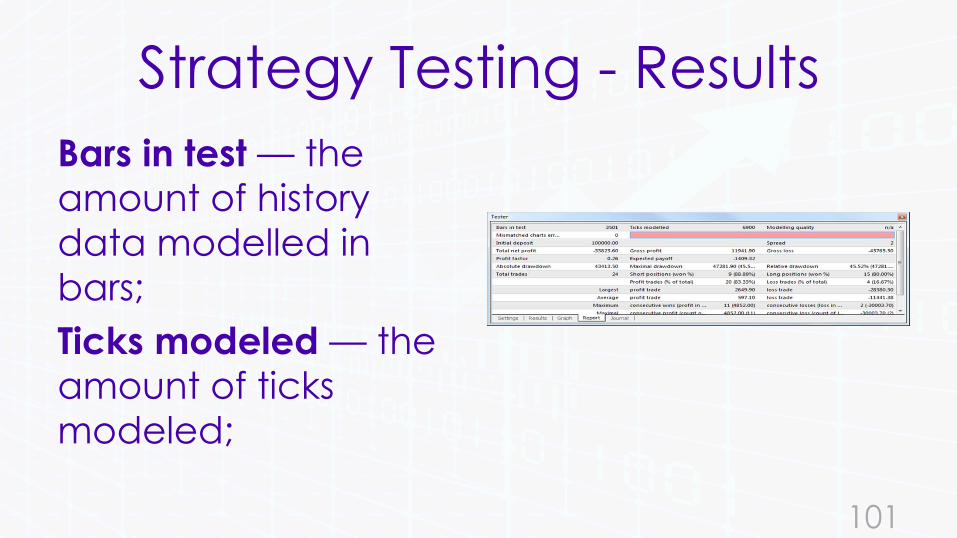
Strategy Testing - Results
Bars in test — the
amount of history
data modelled in
bars;
Ticks modeled — the
amount of ticks
modeled;
101
Strategy Testing - Results
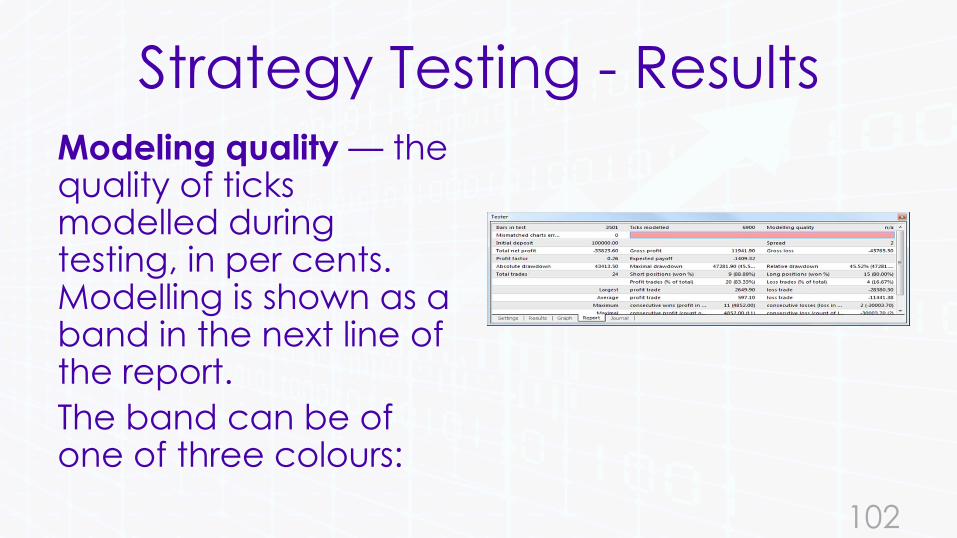
Modeling quality — the quality of ticks modelled during testing, in per cents. Modelling is shown as a band in the next line of the report.
The band can be of one of three colours:
102
Strategy Testing - Results
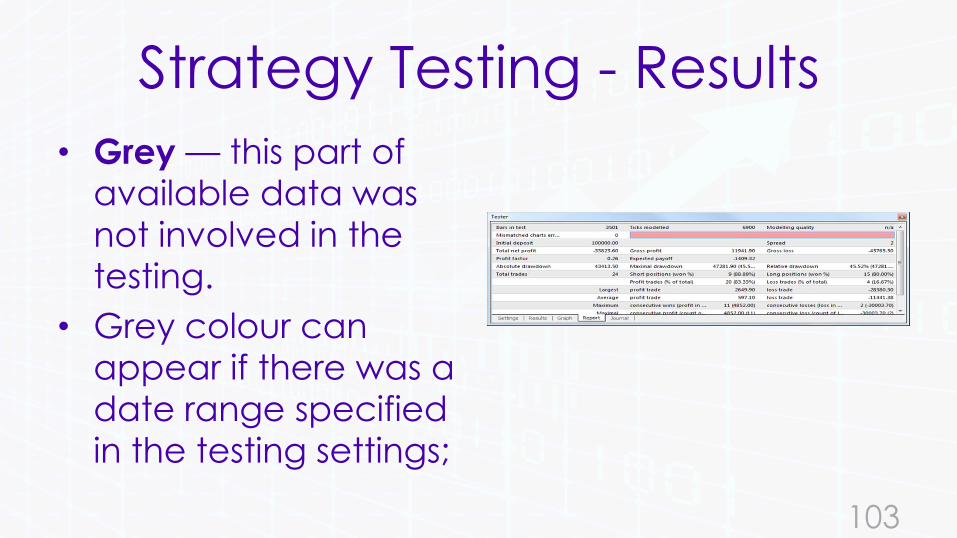
• Grey — this part of
available data was
not involved in the
testing.
• Grey colour can
appear if there was a
date range specified
in the testing settings;
103
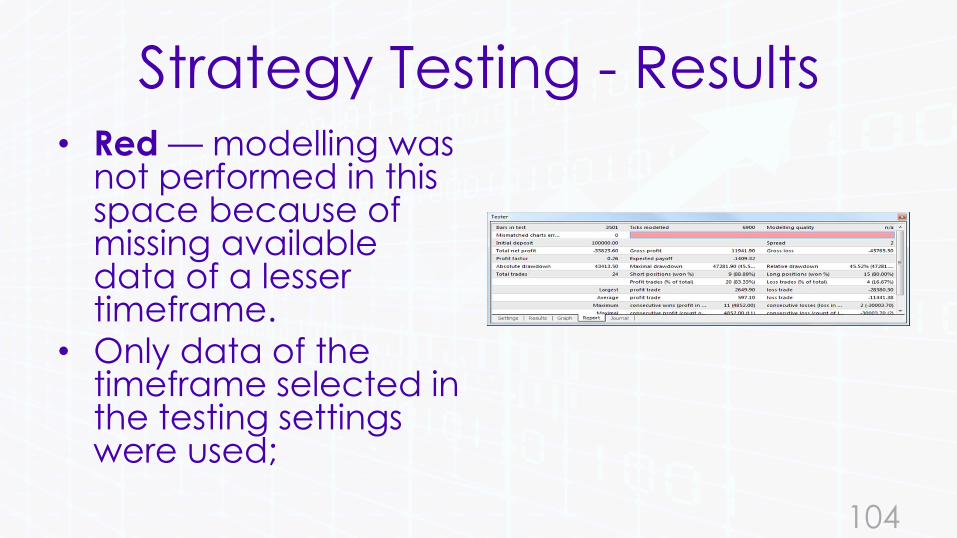
Strategy Testing - Results• Red — modelling was
not performed in this space because of missing available data of a lesser timeframe.
• Only data of the timeframe selected in the testing settings were used;
104
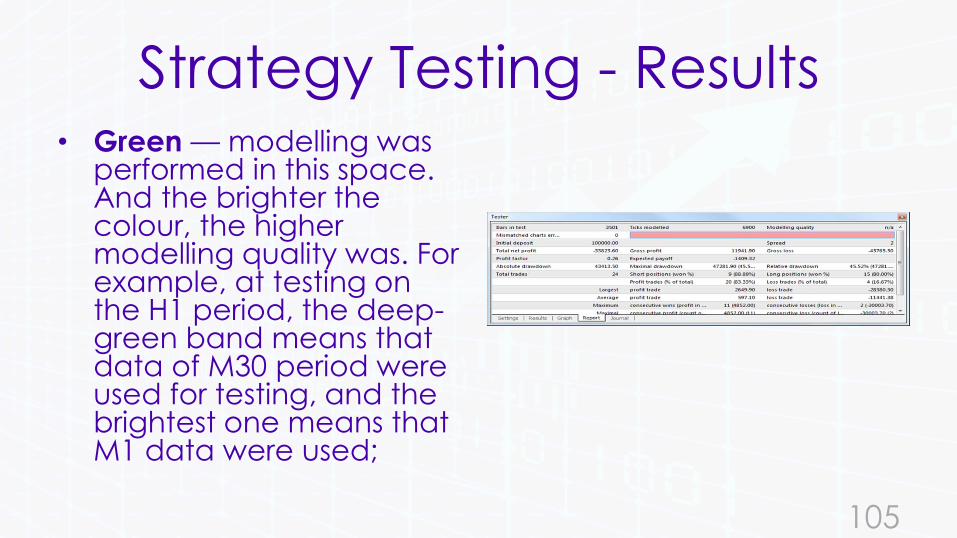
Strategy Testing - Results• Green — modelling was
performed in this space. And the brighter the colour, the higher modelling quality was. For example, at testing on the H1 period, the deep-green band means that data of M30 period were used for testing, and the brightest one means that M1 data were used;
105
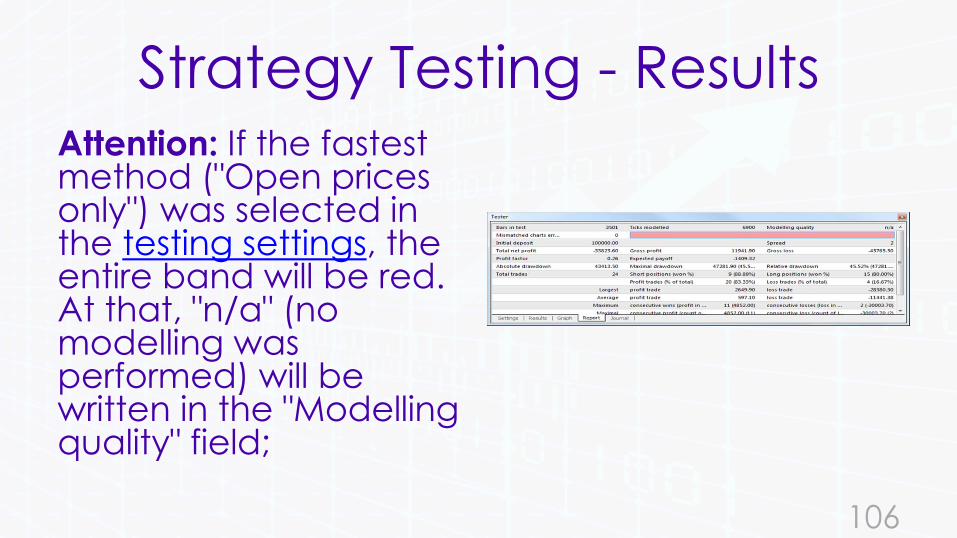
Strategy Testing - ResultsAttention: If the fastest method ("Open prices only") was selected in the testing settings, the entire band will be red. At that, "n/a" (no modelling was performed) will be written in the "Modelling quality" field;
106
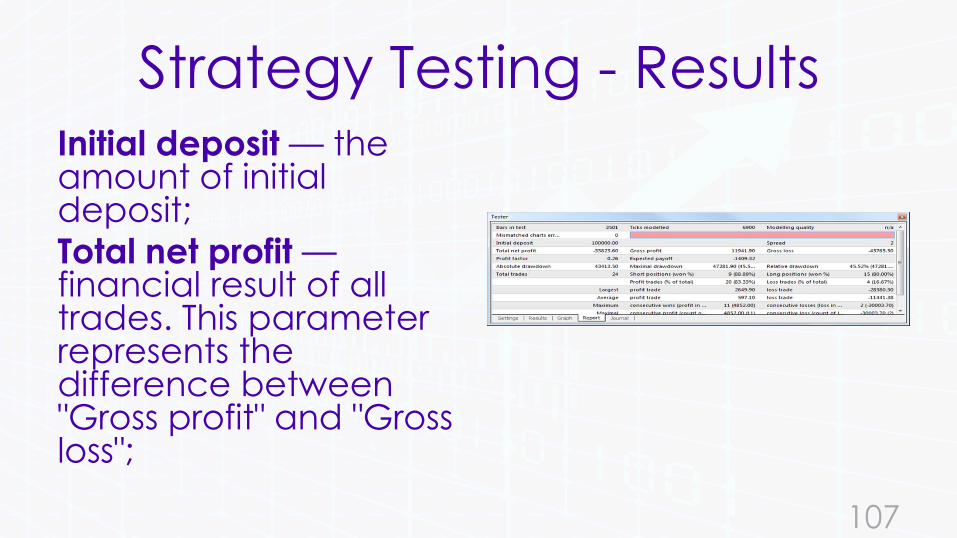
Strategy Testing - ResultsInitial deposit — the amount of initial deposit;
Total net profit —financial result of all trades. This parameter represents the difference between "Gross profit" and "Gross loss";
107
Strategy Testing - Results
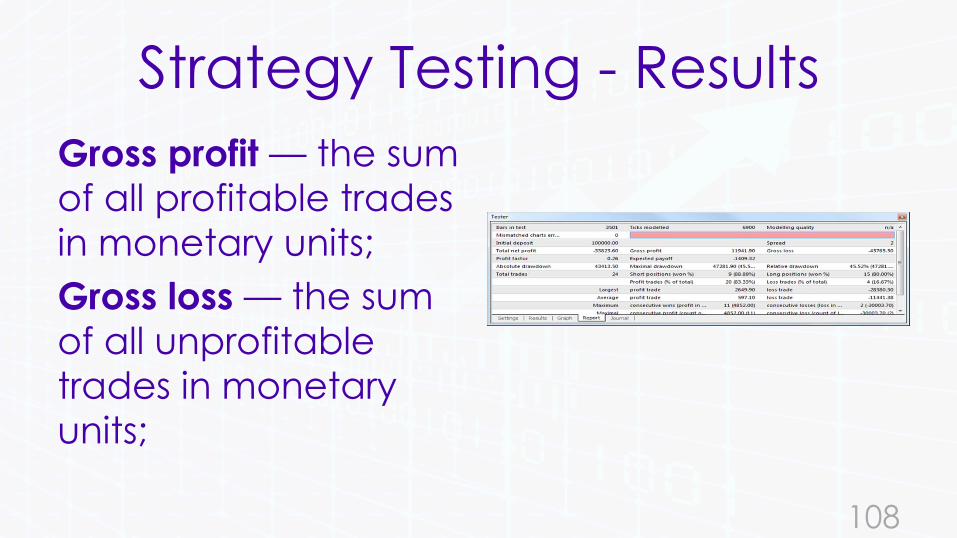
Gross profit — the sum
of all profitable trades
in monetary units;
Gross loss — the sum
of all unprofitable
trades in monetary
units;
108
Strategy Testing - Results
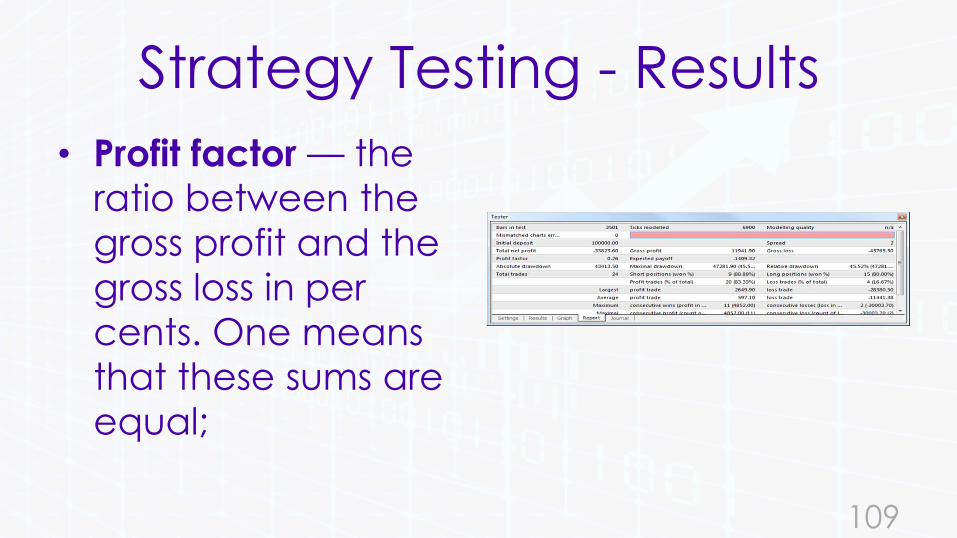
• Profit factor — the
ratio between the
gross profit and the
gross loss in per
cents. One means
that these sums are
equal;
109
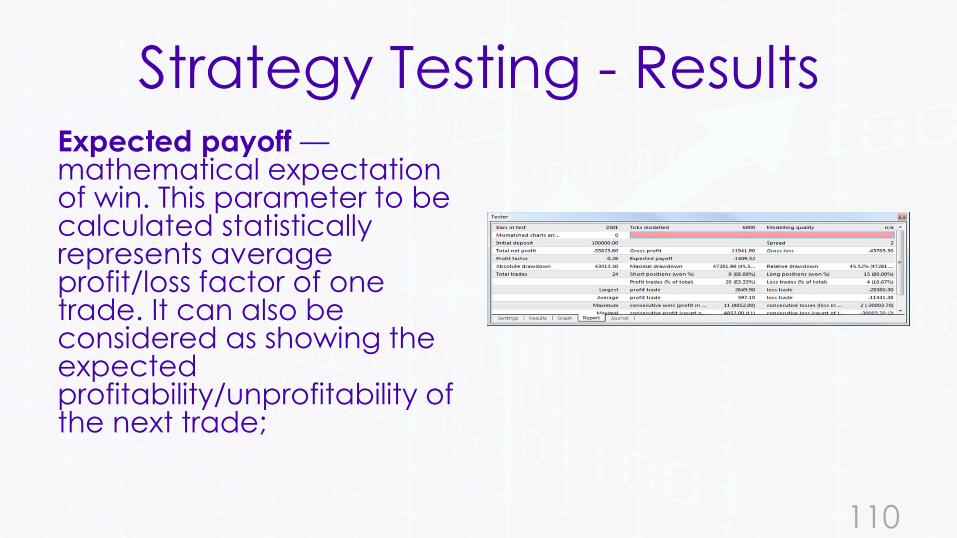
Strategy Testing - ResultsExpected payoff —mathematical expectation of win. This parameter to be calculated statistically represents average profit/loss factor of one trade. It can also be considered as showing the expected profitability/unprofitability of the next trade;
110
Strategy Testing - Results
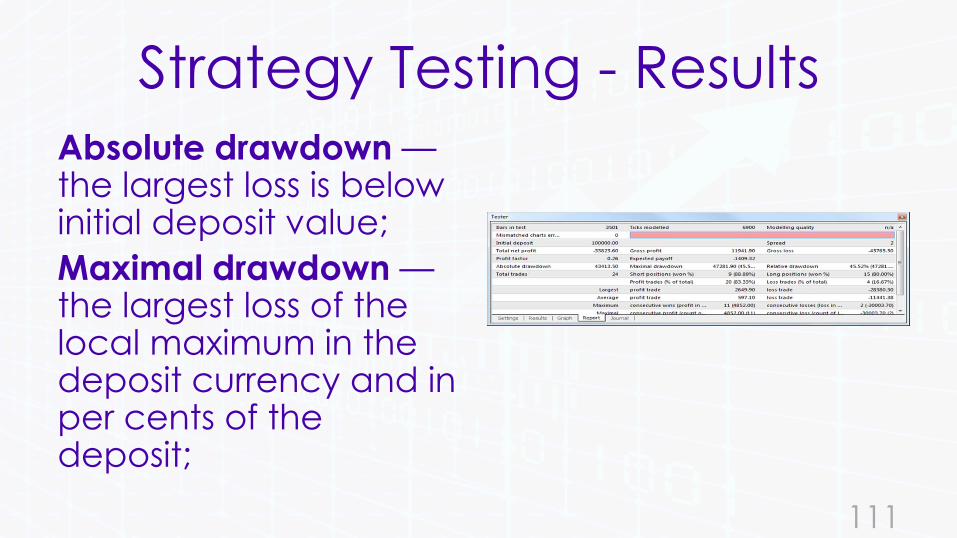
Absolute drawdown —the largest loss is below initial deposit value;
Maximal drawdown —the largest loss of the local maximum in the deposit currency and in per cents of the deposit;
111
Strategy Testing - Results
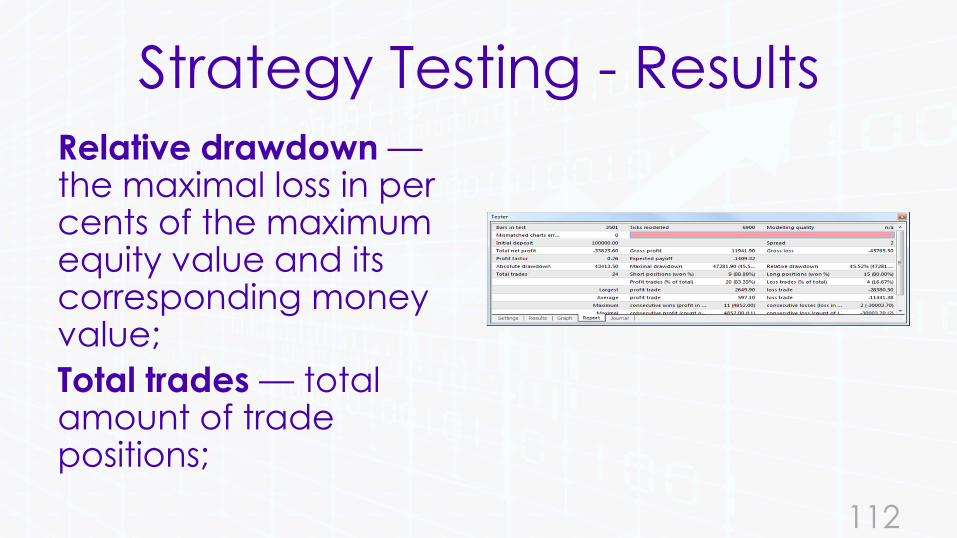
Relative drawdown —the maximal loss in per cents of the maximum equity value and its corresponding money value;
Total trades — total amount of trade positions;
112

Strategy Testing - Results
Short positions (won %)
— amount of short
positions and the profit
percentage thereof;
Long positions (won %)
— amount of long
positions and the profit
percentage thereof;
113
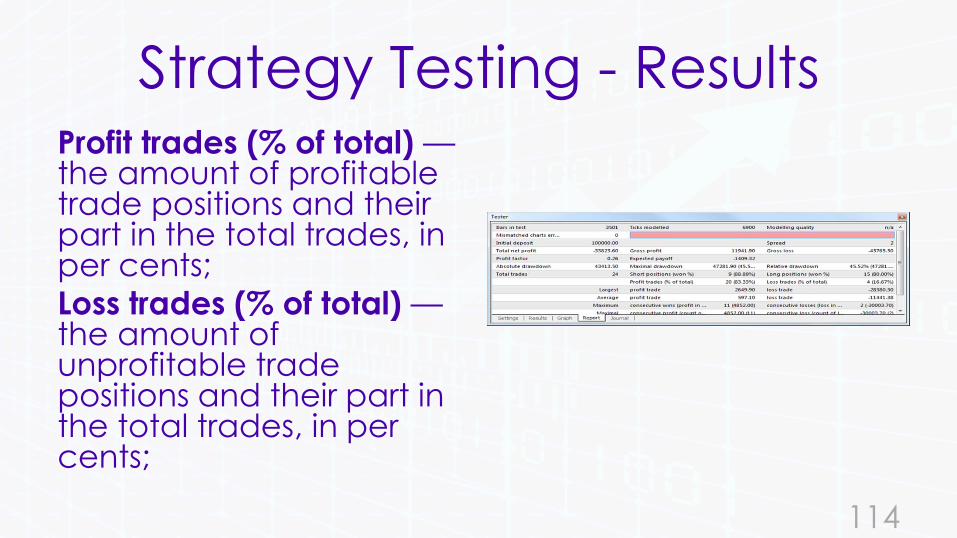
Strategy Testing - ResultsProfit trades (% of total) —the amount of profitable trade positions and their part in the total trades, in per cents;
Loss trades (% of total) —the amount of unprofitable trade positions and their part in the total trades, in per cents;
114

Strategy Testing - Results
Largest profit trade —the largest profit among all profitable positions;
Largest loss trade —the largest loss among all unprofitable positions;
115
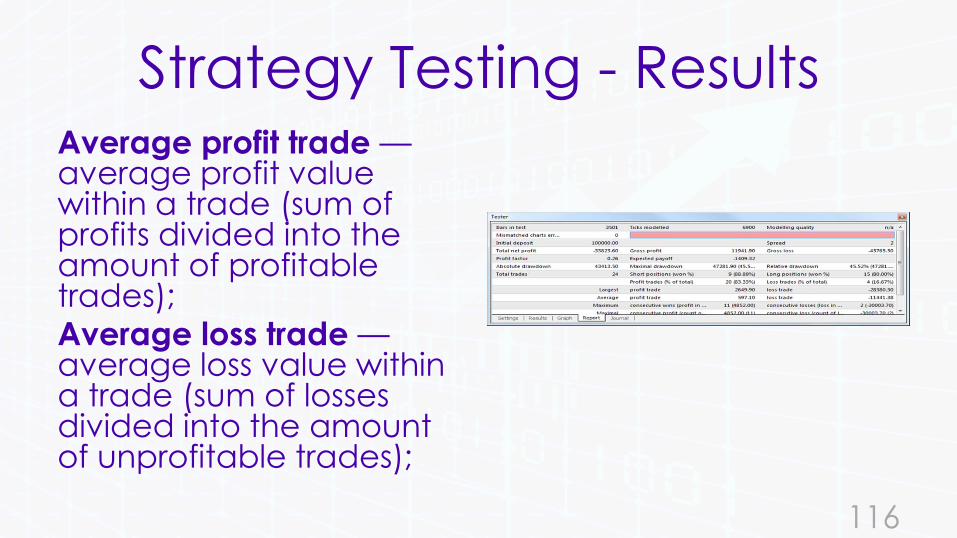
Strategy Testing - ResultsAverage profit trade —average profit value within a trade (sum of profits divided into the amount of profitable trades);
Average loss trade —average loss value within a trade (sum of losses divided into the amount of unprofitable trades);
116
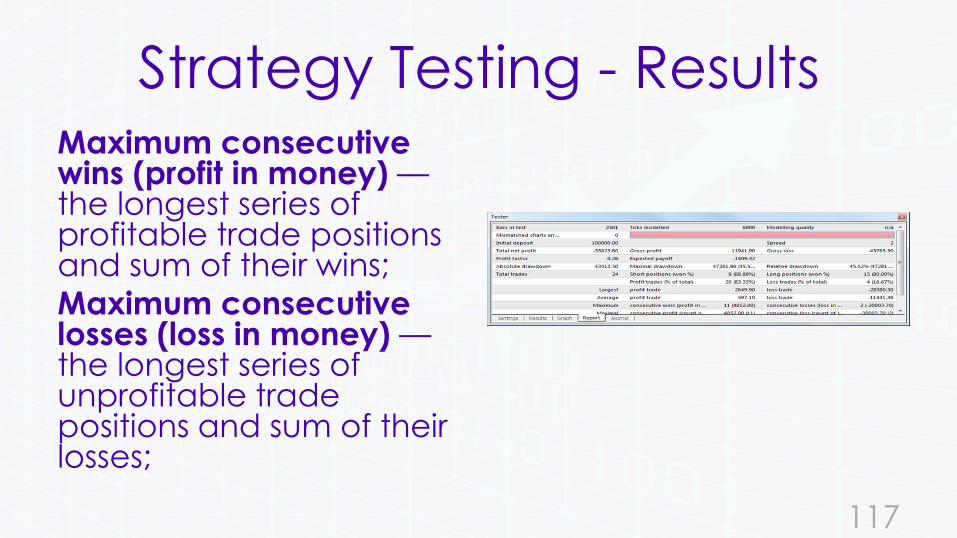
Strategy Testing - ResultsMaximum consecutive wins (profit in money) —the longest series of profitable trade positions and sum of their wins;
Maximum consecutive losses (loss in money) —the longest series of unprofitable trade positions and sum of their losses;
117
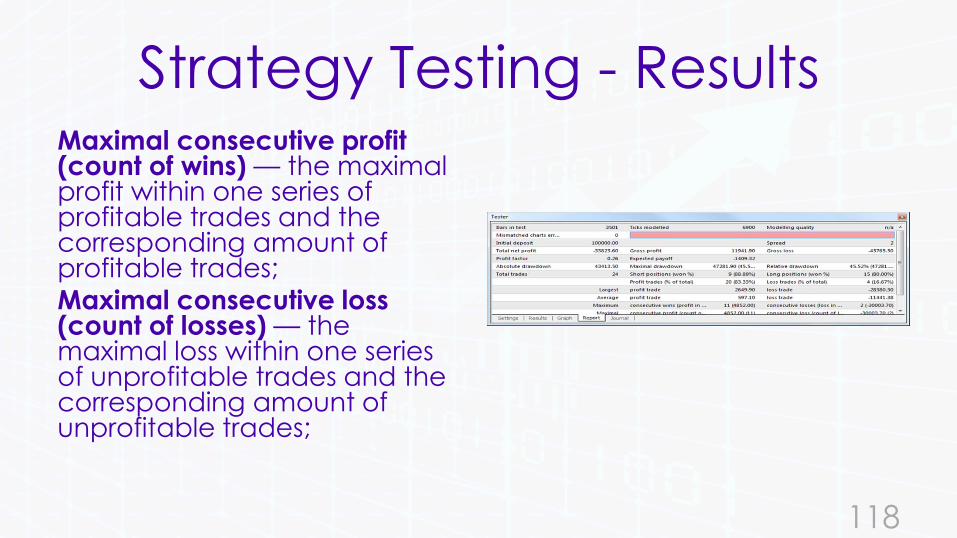
Strategy Testing - ResultsMaximal consecutive profit (count of wins) — the maximal profit within one series of profitable trades and the corresponding amount of profitable trades;
Maximal consecutive loss (count of losses) — the maximal loss within one series of unprofitable trades and the corresponding amount of unprofitable trades;
118

Strategy Testing - ResultsAverage consecutive wins — average amount of profitable positions in consecutive profitable series;
Average consecutive loss — average amount of unprofitable positions in consecutive unprofitable series.
119
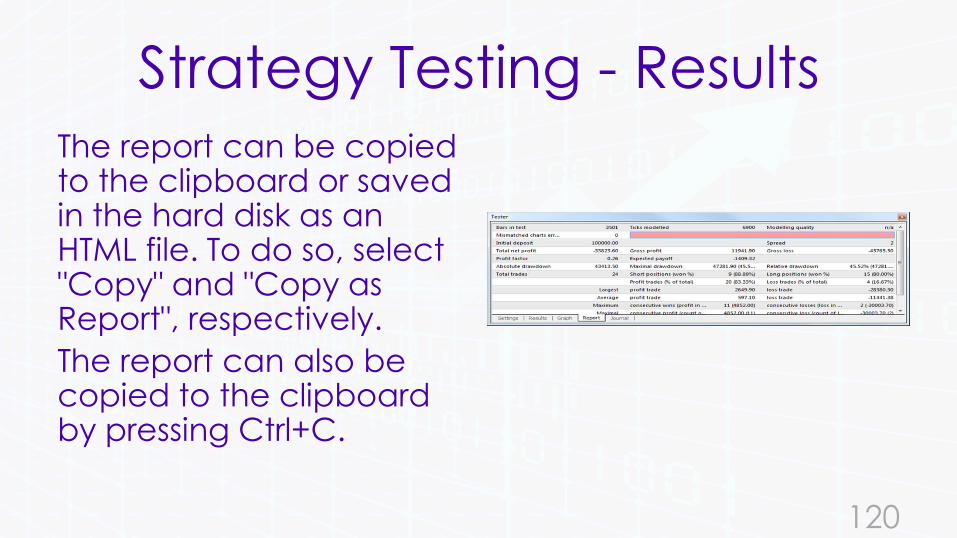
Strategy Testing - ResultsThe report can be copied to the clipboard or saved in the hard disk as an HTML file. To do so, select "Copy" and "Copy as Report", respectively.
The report can also be copied to the clipboard by pressing Ctrl+C.
120

Strategy Testing - Results
Journal
121
Strategy Testing - Results
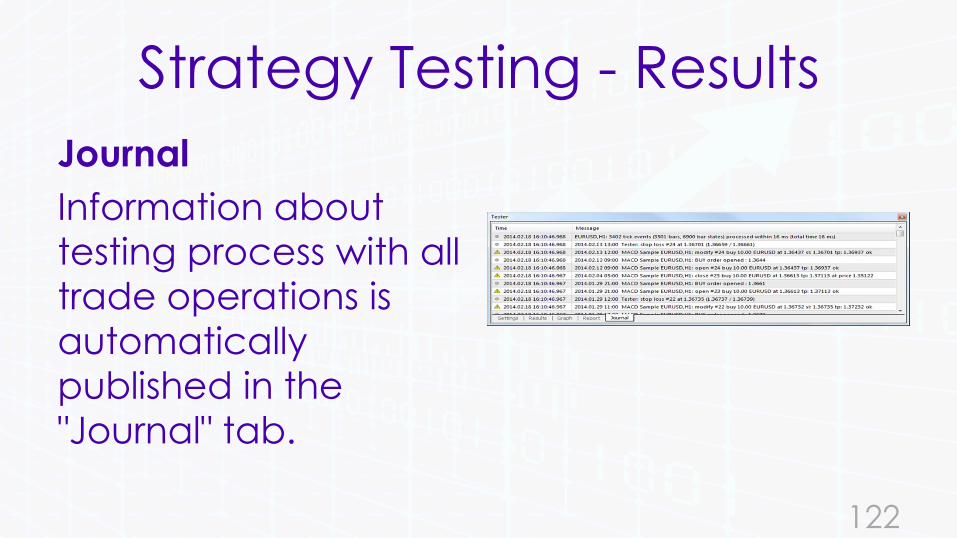
Journal
Information about
testing process with all
trade operations is
automatically
published in the
"Journal" tab.
122
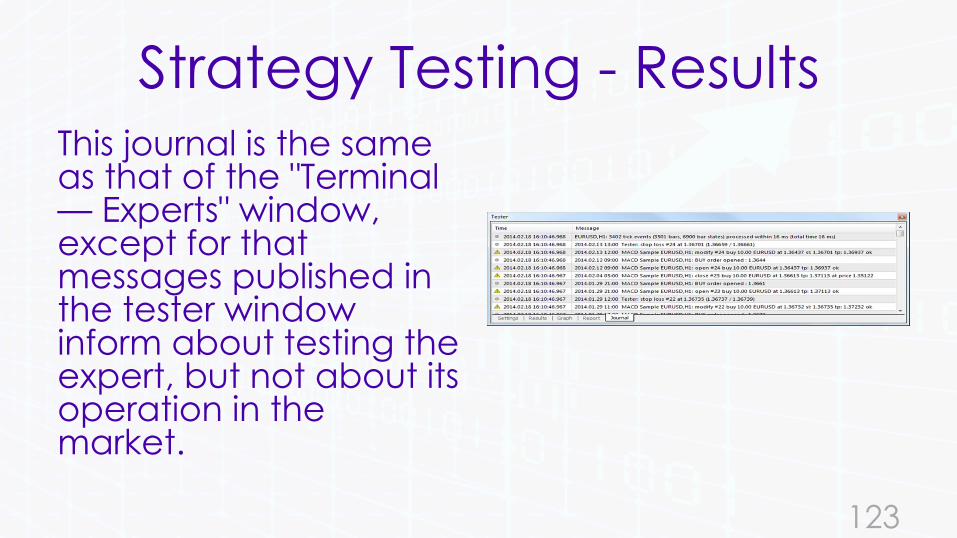
Strategy Testing - ResultsThis journal is the same as that of the "Terminal — Experts" window, except for that messages published in the tester window inform about testing the expert, but not about its operation in the market.
123
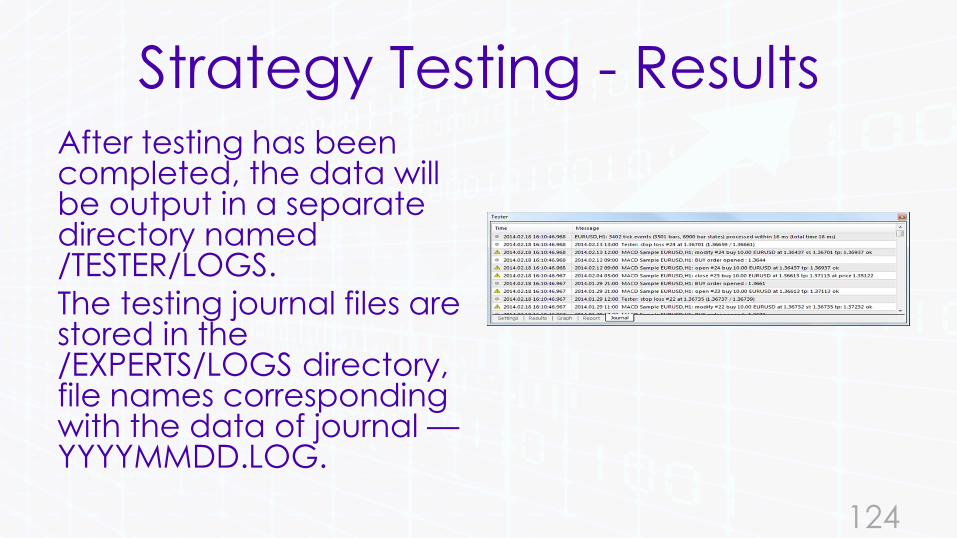
Strategy Testing - ResultsAfter testing has been completed, the data will be output in a separate directory named /TESTER/LOGS.
The testing journal files are stored in the /EXPERTS/LOGS directory, file names corresponding with the data of journal —YYYYMMDD.LOG.
124

Strategy Testing - Results
• The following
commands can be
execute from the
context menu of this
tab:
125

Strategy Testing - Results
126
Open — open the folder with the log files of the journal. Besides that, when this command is executed, all current journal records are saved to log files.
Strategy Testing - Results
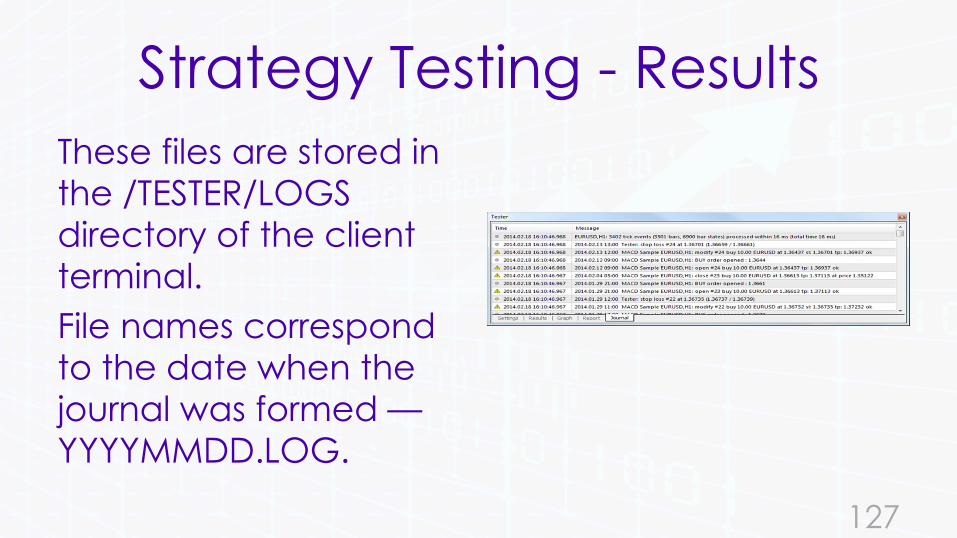
These files are stored in
the /TESTER/LOGS
directory of the client
terminal.
File names correspond
to the date when the
journal was formed —
YYYYMMDD.LOG.
127
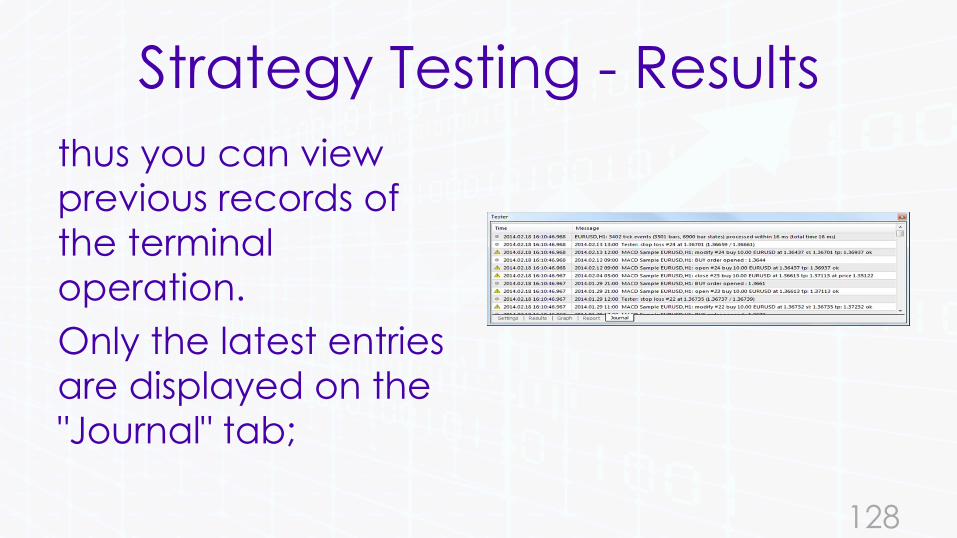
Strategy Testing - Results
thus you can view
previous records of
the terminal
operation.
Only the latest entries
are displayed on the
"Journal" tab;
128

Strategy Testing - Results
Copy — Copy the line
with the information
to the clipboard for
further use in other
applications;
129
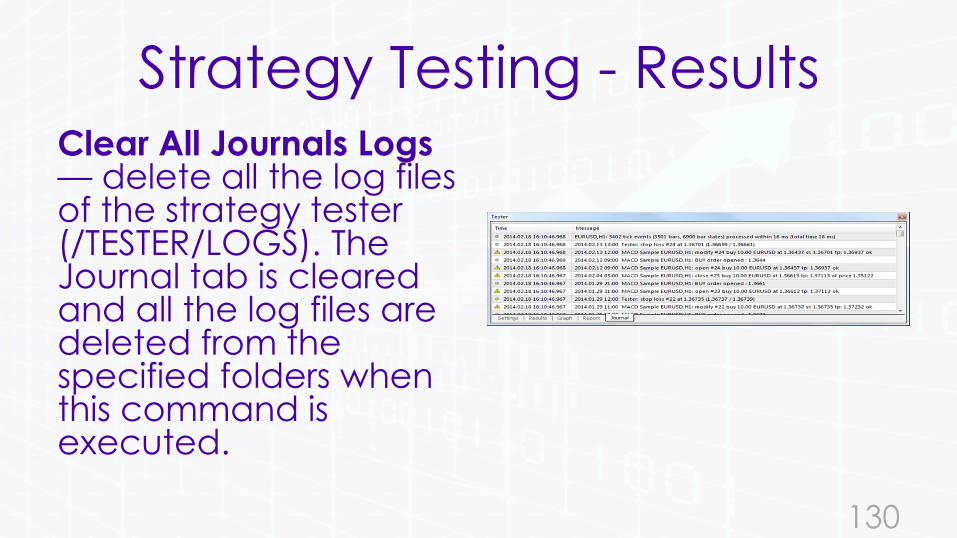
Strategy Testing - ResultsClear All Journals Logs— delete all the log files of the strategy tester (/TESTER/LOGS). The Journal tab is cleared and all the log files are deleted from the specified folders when this command is executed.
130
Strategy Testing - Results
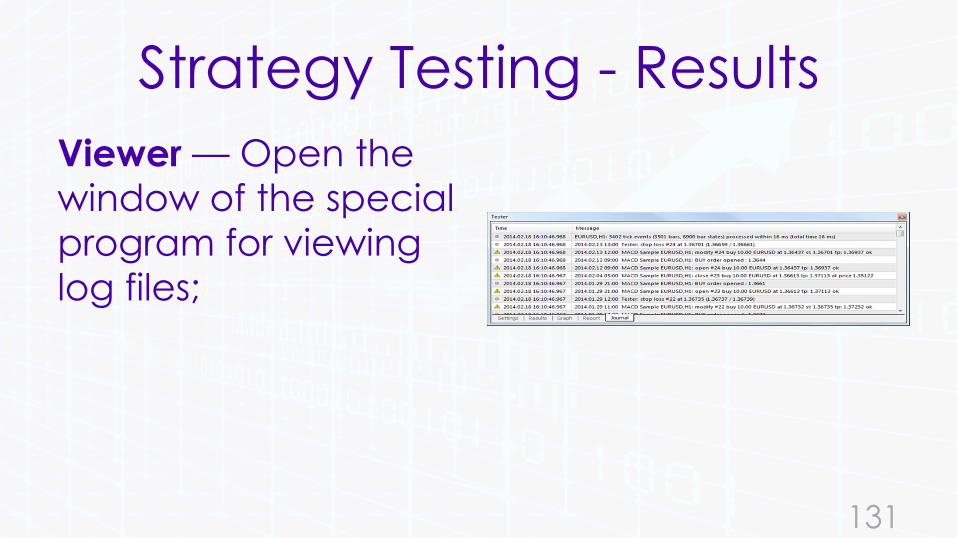
Viewer — Open the
window of the special
program for viewing
log files;
131
Strategy Testing - Results
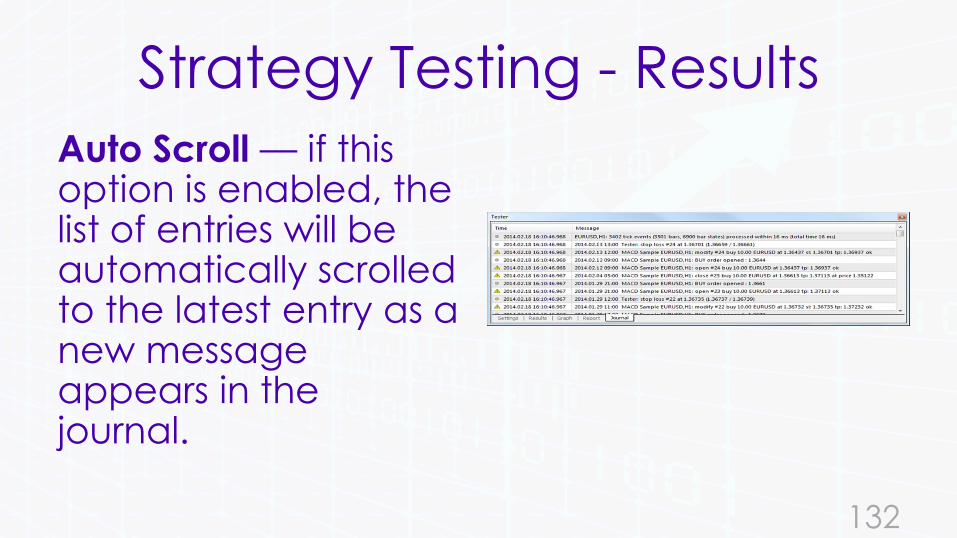
Auto Scroll — if this option is enabled, the list of entries will be automatically scrolled to the latest entry as a new message appears in the journal.
132
Strategy Testing - Results
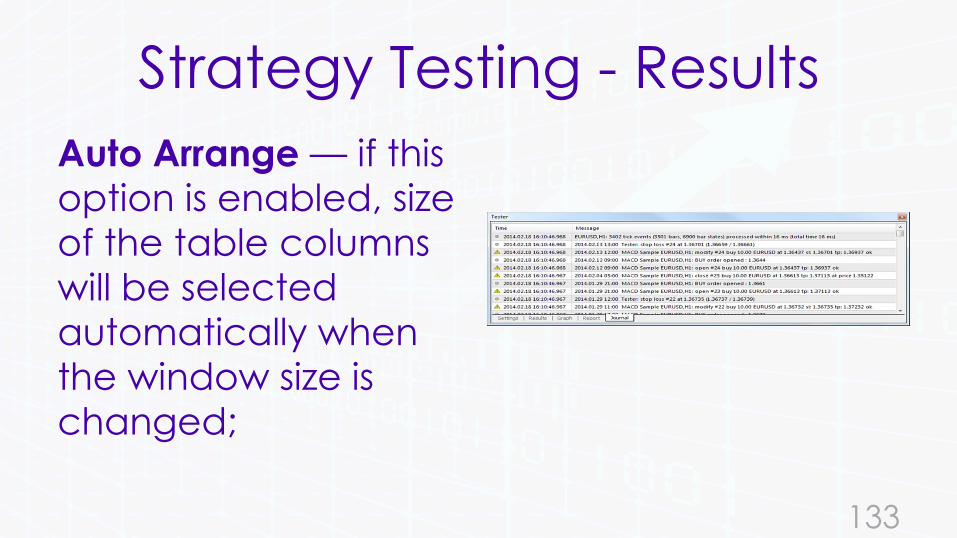
Auto Arrange — if this
option is enabled, size
of the table columns
will be selected
automatically when
the window size is
changed;
133
Strategy Testing - Results
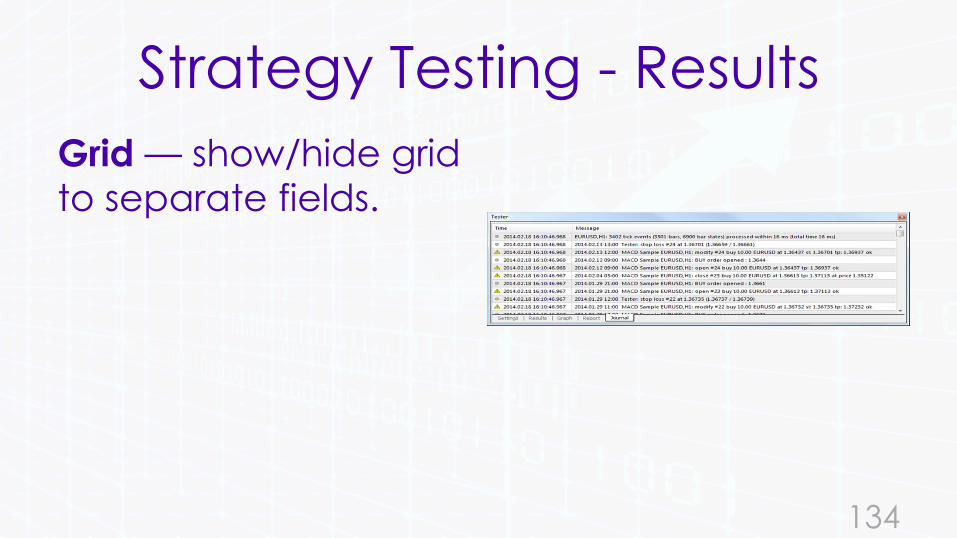
Grid — show/hide grid
to separate fields.
134

135

136
Expert Optimization
• Optimization represents successive
passes of the same expert advisor with
different inputs on the same data.
• Such parameters can be sorted out so
the expert efficiency will be maximum.
137
Expert Optimization
• Terminal possesses some built-in means
that allow the automation of this
process.
• To optimize an expert, flag the option
of the same name in the "Tester"
window and press the "Start" button.
138
139
Expert Optimization - Setup
Setup
• Before beginning to optimize expert
parameters, They first need to be
setup:
140
Expert Optimization - Setup
• select an expert and its inputs
• select a symbol and its timeframe
• select one of three bar modeling
methods
• set up the time span for optimization
(optional)
141
Expert Optimization - Setup
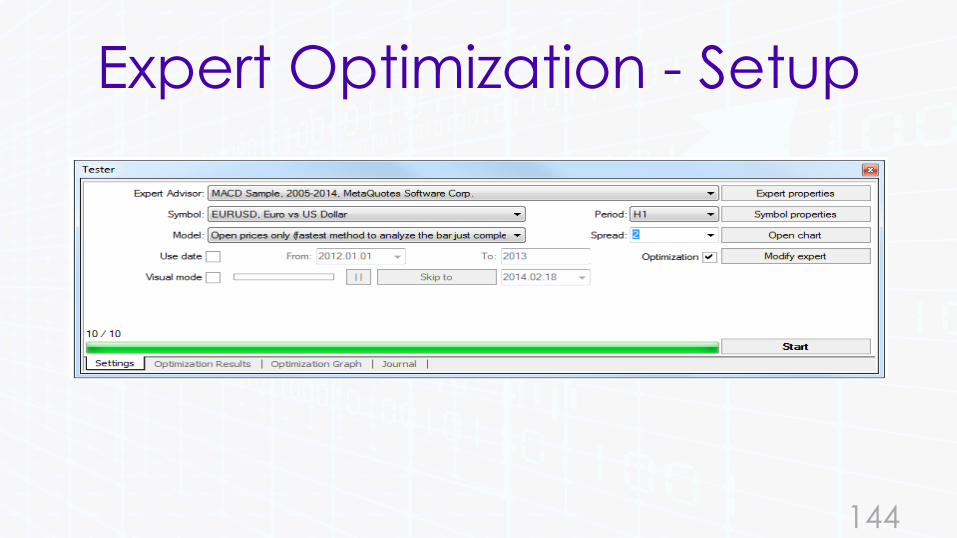
• A special window named "Tester" is
used for testing and optimization of
experts in the terminal.
• All settings listed above can be made
in the "Settings" tab of this window.
142
Expert Optimization - Setup
Expert Advisor and Its Parameters
• Select the expert and the parameters which should be optimized in the "Tester — Experts" window.
• Not any expert file can be selected in this field, but only those that are available in the client terminal. For this, they must be compiled and placed in the /EXPERTS folder.
143
Expert Optimization - Setup
144
Expert Optimization - Setup
• After the expert has been selected,
make an additional setup and set the
inputs.
• This can be done by pressing the
"Expert properties" button.
145

Expert Optimization - SetupAt that, a new window containing the
following three tabs will appear:
146

Expert Optimization - Setup
Testing• General optimization parameters are set
in this tab.
• They include the initial deposit amount and currency to be specified in the corresponding fields.
• It is this deposit that will be operated by the expert during optimization.
147
Expert Optimization - Setup
• Types of positions to be opened are
selected in this tab, as well: Only Long,
Only Short, or Long and Short.
• Whatever expert algorithm is used, it
will open positions only in the directions
defined here.
148
Expert Optimization - Setup
• Turn on the genetic algorithm of
optimization here.
• Detailed information about "Genetic
algorithms: Mathematics" is beyond
the scope of this course.
149
Expert Optimization - Setup
• An optimized parameter is a certain factor, whose value defines the quality of a tested set of parameters.
• The higher the value of the optimization criterion is, the better the testing result with the given set of parameters is considered to be.
• The following parameter are available for optimization:
150
Expert Optimization - Setup
Balance — the highest value of the
balance;
Profit Factor — the highest value of the
profit factor;
Expected Payoff — the highest value of
the expected payoff;
151
Expert Optimization - Setup
Maximal Drawdown — the lowest value of the maximal drawdown;
Drawdown Percent — the lowest value of the relative drawdown (in percentage terms);
Custom — the optimization criterion here is the value of the OnTester function in the Expert Advisor. This parameter allows using any custom value for the optimization of the Expert Advisor.
152
Expert Optimization - SetupInputs• All inputs are listed here as a table. Inputs are
variables that influence the expert operation and can be changed directly from the client terminal.
• For these parameters to be changed, there is no need to change the expert code. The amount of inputs can vary depending of experts.
153
Expert Optimization - Setup
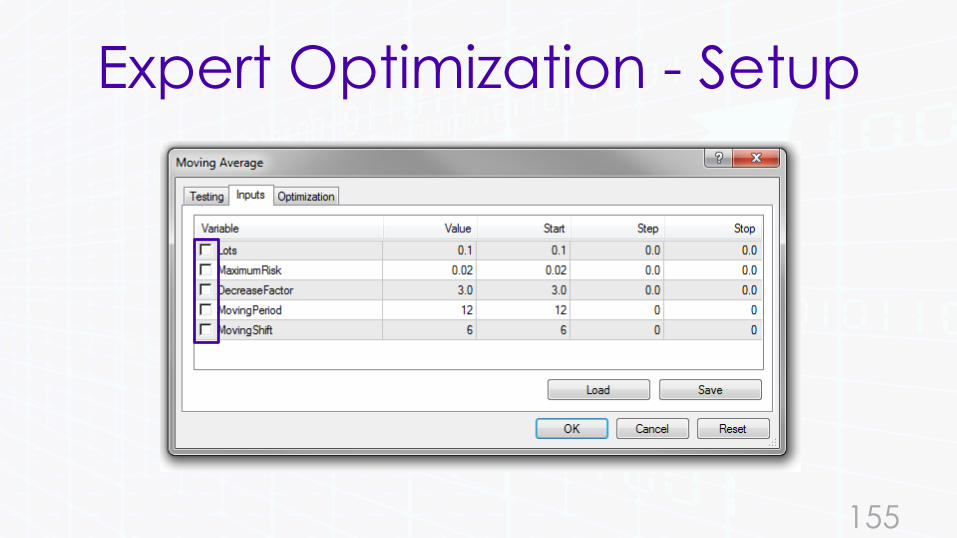
• At optimization, the expert inputs are set in the fields of "Start", "Step", and "Stop". Initial values, change interval, and final values of external variables will be set in these fields, respectively.
• There are checkboxes to the left of variable names that include the parameter into the optimization process.
154
Expert Optimization - Setup
155
Expert Optimization - Setup
• If a variable is not checked in this checkbox, it will not be involved in optimization.
• Its value will not be changed within the optimization process, and the parameter given in the "Value" field will be written here.
156
Expert Optimization - Setup
• The amount of expert passes depends
on these parameters directly.
• Data written in the "Value" field do not
influence the expert optimization and
are necessary only for its testing.
157

Expert Optimization - Setup
• The set of inputs already saved before (including those given in the fields of "Start", "Step", and "Stop") can be downloaded.
• This can be done by pressing the "Load" button and having selected the preliminarily saved set of parameters.
158

Expert Optimization - Setup
• The current set of external variables
can be saved by pressing the, “Save”
button.
159

Expert Optimization - Setup
Optmization• Optimization — this tab allows to manage
limitations during optimization.
• If any of conditions is met during a separate pass, this pass of the expert will be interrupted.
• Optimization will continue with the next pass.
160

Expert Optimization - Setup
161
Expert Optimization - Setup
• To enable a limit in condition, one has to flag it in the checkbox to the left of it.
• Double click with the left mouse button in the "Value" field can be used to change the existing parameter.
• Limiting parameters are:
162

Expert Optimization - Setup
Balance minimum — the smallest
balance value in the deposit currency;
Profit maximum — the largest profit in
the deposit currency;
Minimal margin level % — the lowest
margin level in per cents;
163
Expert Optimization - Setup
Maximal drawdown % — the largest drawdown in per cents;
Consecutive loss — the largest loss within a series. Loss series is a number of consecutive loss trades;
Consecutive loss trades — the largest amount of loss trades within a series
164

Expert Optimization - Setup
Consecutive win — the largest total profit within a series. Profitable series is a number of consecutive profitable trades;
Consecutive win trades — the largest amount of profitable trades within a series.
165

166

167
Expert Optimization - Results
Optimization Results
• After optimization has been
completed, its results can be viewed in
the "Optimization Results" and
"Optimization Graph“ tabs.
168
Expert Optimization - Results
169
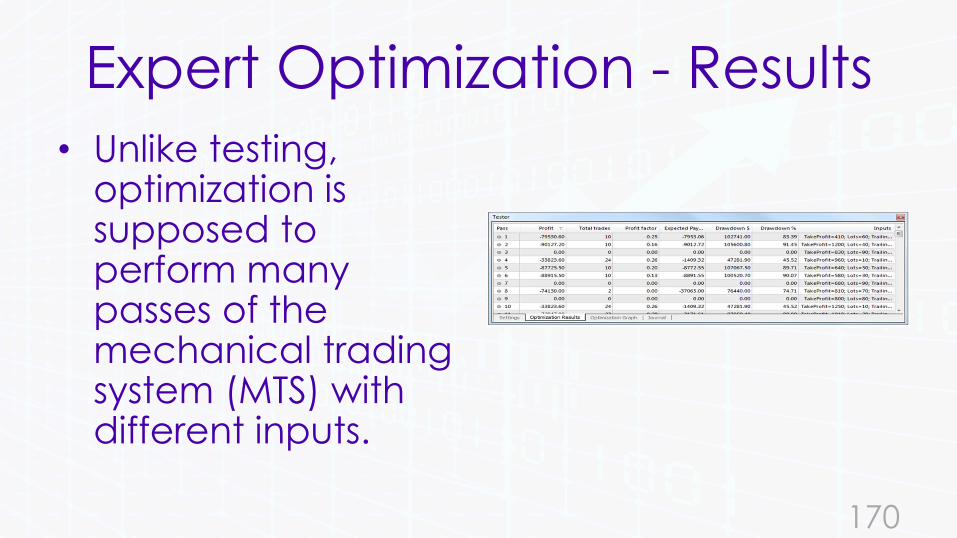
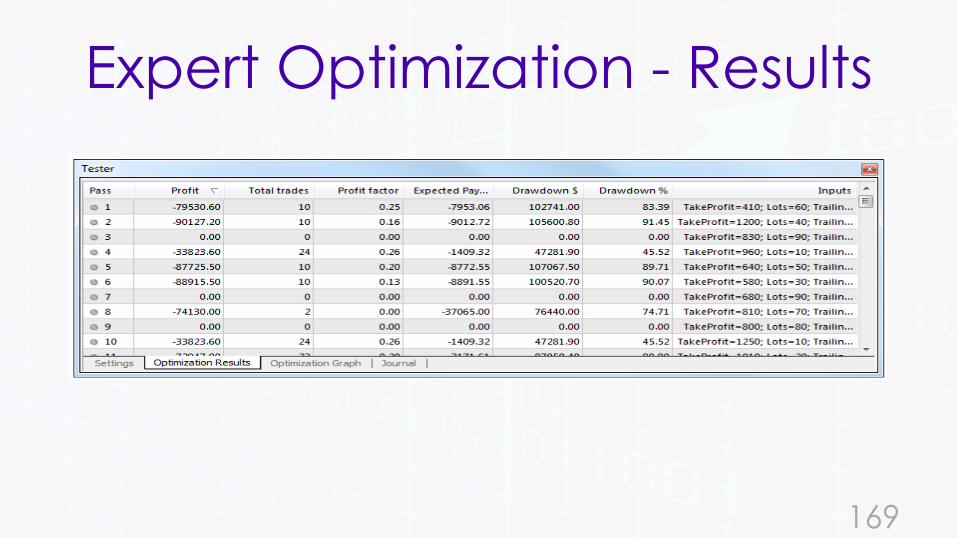
Expert Optimization - Results
• Unlike testing, optimization is supposed to perform many passes of the mechanical trading system (MTS) with different inputs.
170

Expert Optimization - Results
• This is aimed at
determining which
expert parameters
produce the
greatest efficiency.
171
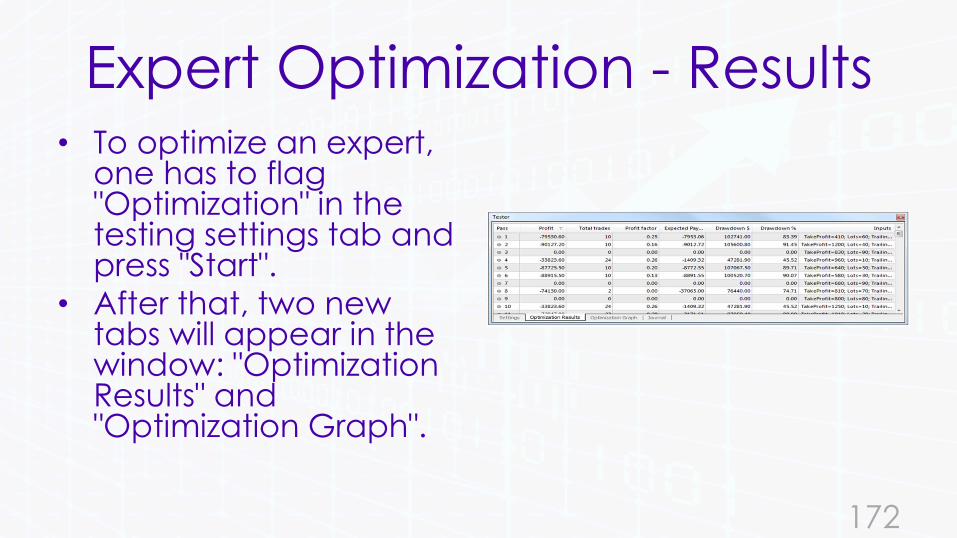
Expert Optimization - Results• To optimize an expert,
one has to flag "Optimization" in the testing settings tab and press "Start".
• After that, two new tabs will appear in the window: "Optimization Results" and "Optimization Graph".
172
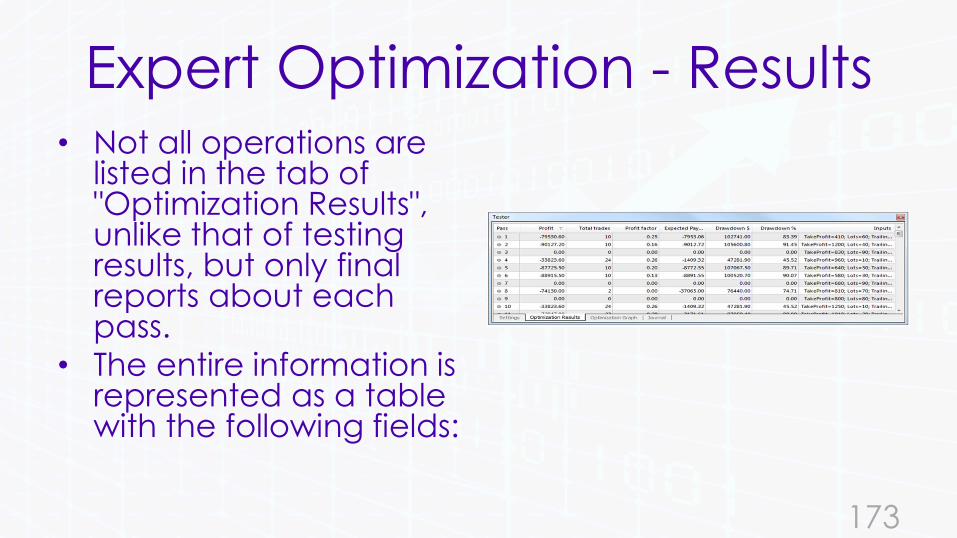
Expert Optimization - Results• Not all operations are
listed in the tab of "Optimization Results", unlike that of testing results, but only final reports about each pass.
• The entire information is represented as a table with the following fields:
173
Expert Optimization - Results
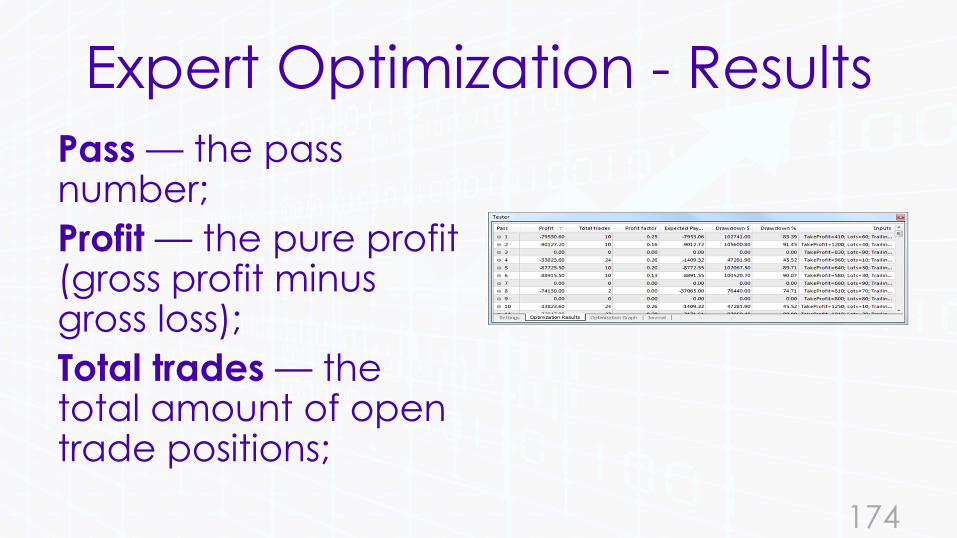
Pass — the pass number;
Profit — the pure profit (gross profit minus gross loss);
Total trades — the total amount of open trade positions;
174
Expert Optimization - Results
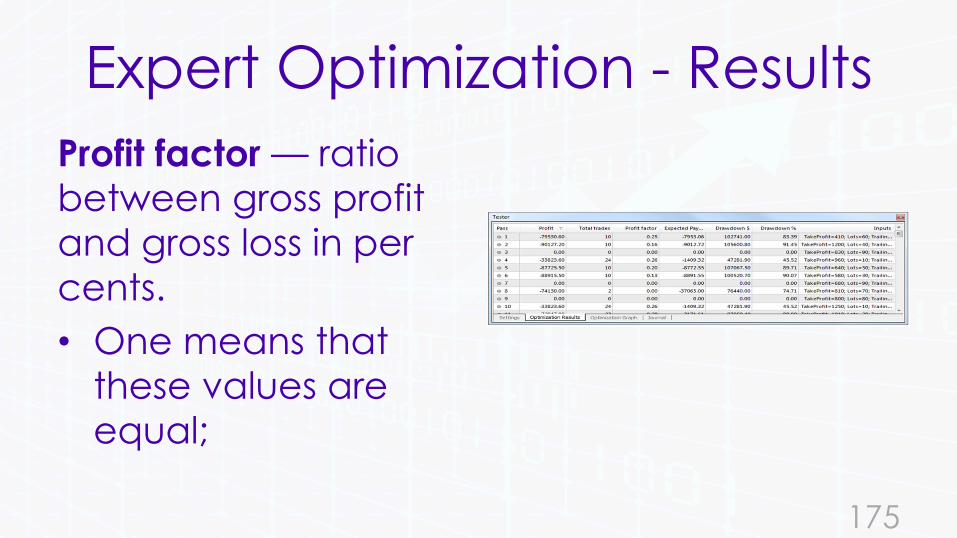
Profit factor — ratio
between gross profit
and gross loss in per
cents.
• One means that
these values are
equal;
175

Expert Optimization - ResultsExpected payoff —mathematical expectation of win. This value to be calculated statistically represents the average profit/loss factor of one trade.
• It can also be considered to represent the expected profit/loss factor of the next trade;
176
Expert Optimization - Results
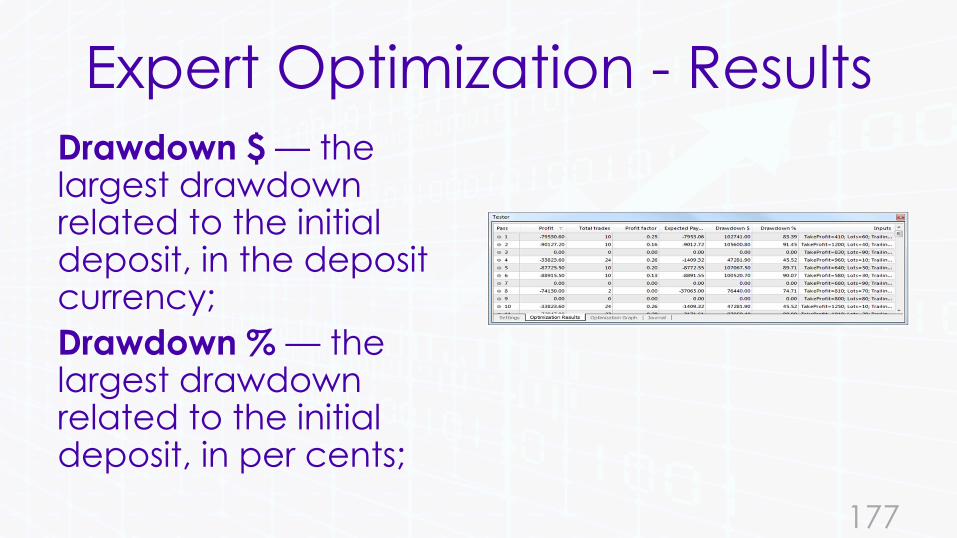
Drawdown $ — the largest drawdown related to the initial deposit, in the deposit currency;
Drawdown % — the largest drawdown related to the initial deposit, in per cents;
177

Expert Optimization - Results
Inputs — changeable
values of inputs at
each pass.
178
Expert Optimization - Results
• Having clicked with the left mouse
button on any column header, all
records in the table are sorted in
increasing or decreasing order.
179
Expert Optimization - Results
• At execution of the "Set Input
Parameters" context menu command,
the data of the selected pass will be
written as the expert basic inputs
(expert properties window, "Inputs"
tab).
180
Expert Optimization - Results
• At that, it will be switched to the "Settings" tab, and the optimization will be disabled. Having pressed the "Start" button, one can start to test the expert with the selected inputs.
• Double click with the left mouse button on the pass line in the Optimization Results tab allows to do the same.
181
Expert Optimization - Results
• Using the "Copy“ command or Ctrl+C, the selected results lines will be copied to the clipboard for further use in other applications.
• If no lines have been selected, the entire table will be copied to the clipboard. To do the same, select the "Copy All" command.
182
Expert Optimization - Results
• The report about optimization results
can be saved on the hard disk as an
HTML file.
• To do so, select "Copy As Report".
• Other context menu commands allow
to set up representation of results:
183
Expert Optimization - Results
Skip Useless Results — show/hide the
results of unprofitable passes;
Show Input Parameters — show/hide the
"Inputs" column;
184
Expert Optimization - Results
Auto Arrange — arrange the column sizes automatically when the window size has been changed.The same action can be done by pressing A;
Grid — show/hide grid to separate the columns.The same actions can be done by pressing of G.
185
Expert Optimization - Results
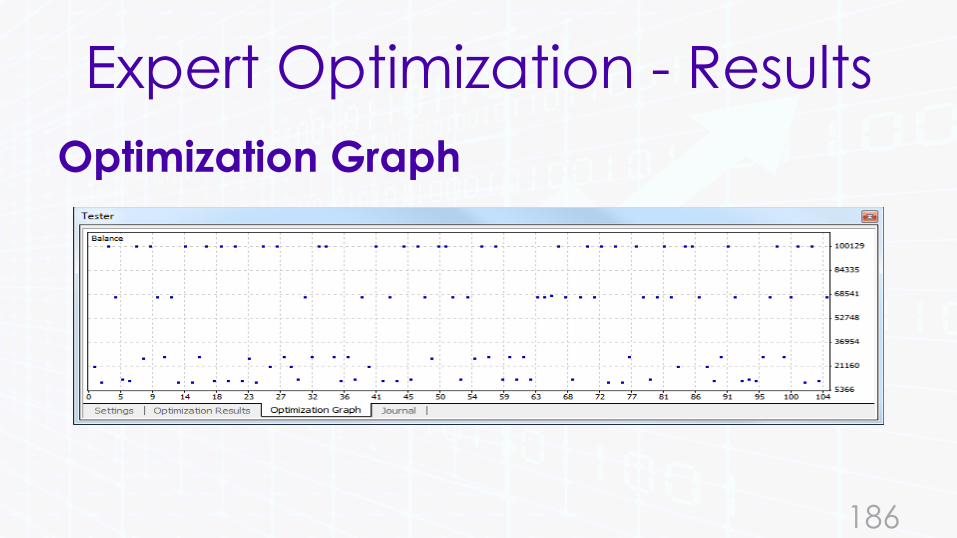
Optimization Graph
186
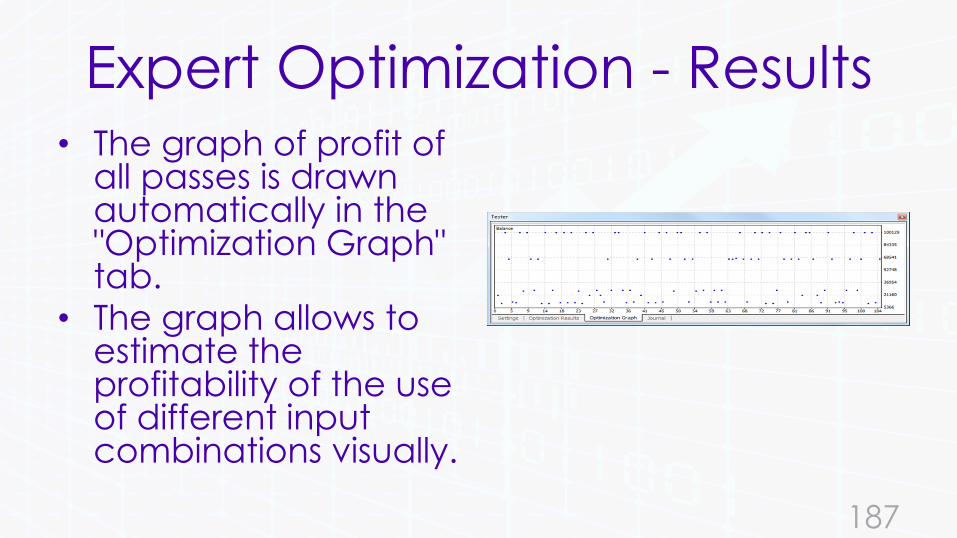
Expert Optimization - Results• The graph of profit of
all passes is drawn automatically in the "Optimization Graph" tab.
• The graph allows to estimate the profitability of the use of different input combinations visually.
187

Expert Optimization - Results
• The graph representing the amount of profitable (green colour) and unprofitable (red colour) trades at each pass is given in the bottom of the window, as well.
188
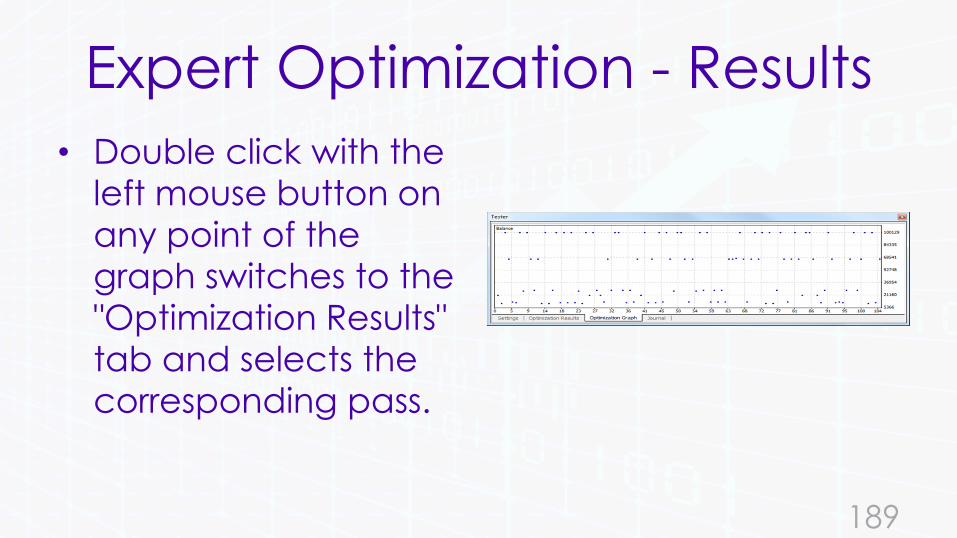
Expert Optimization - Results
• Double click with the
left mouse button on
any point of the
graph switches to the
"Optimization Results"
tab and selects the
corresponding pass.
189
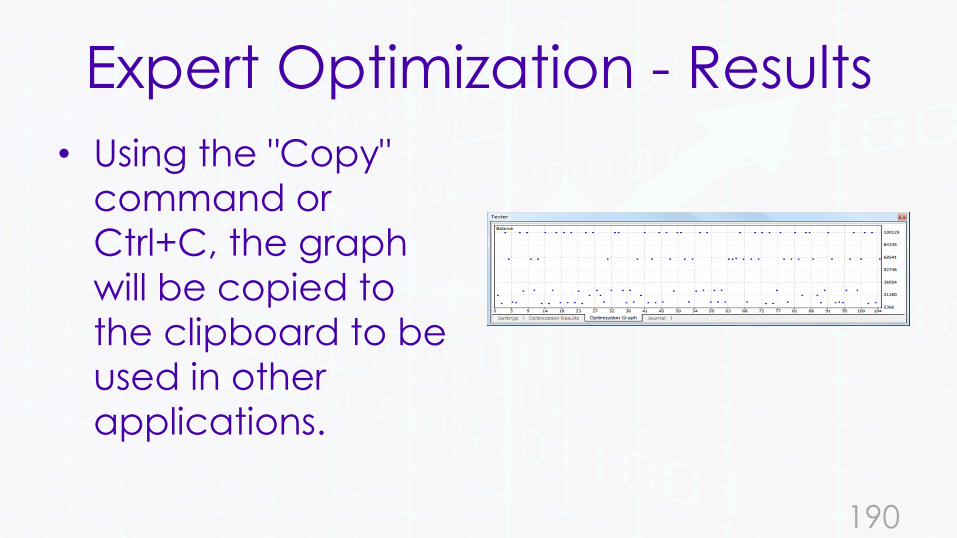
Expert Optimization - Results
• Using the "Copy"
command or
Ctrl+C, the graph
will be copied to
the clipboard to be
used in other
applications.
190
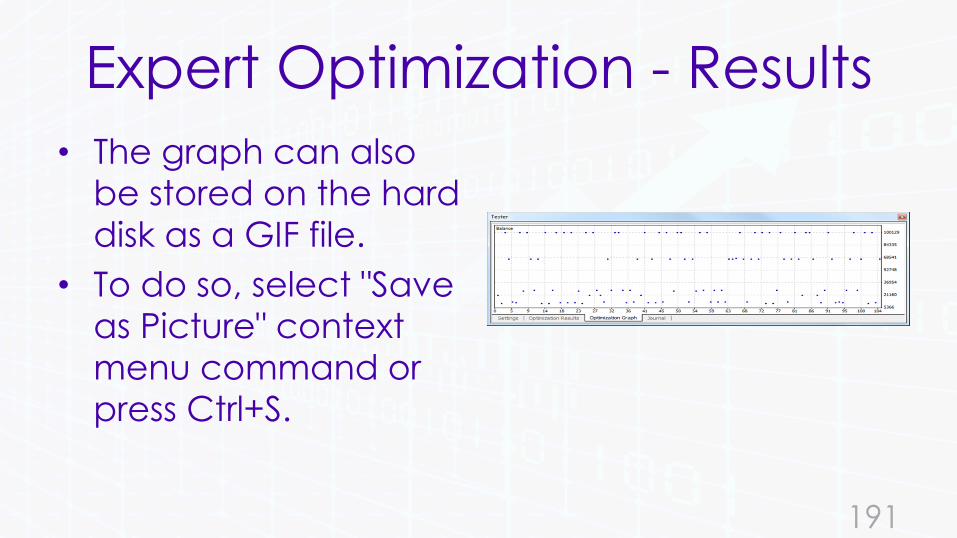
Expert Optimization - Results
• The graph can also
be stored on the hard
disk as a GIF file.
• To do so, select "Save
as Picture" context
menu command or
press Ctrl+S.
191

192

193
194
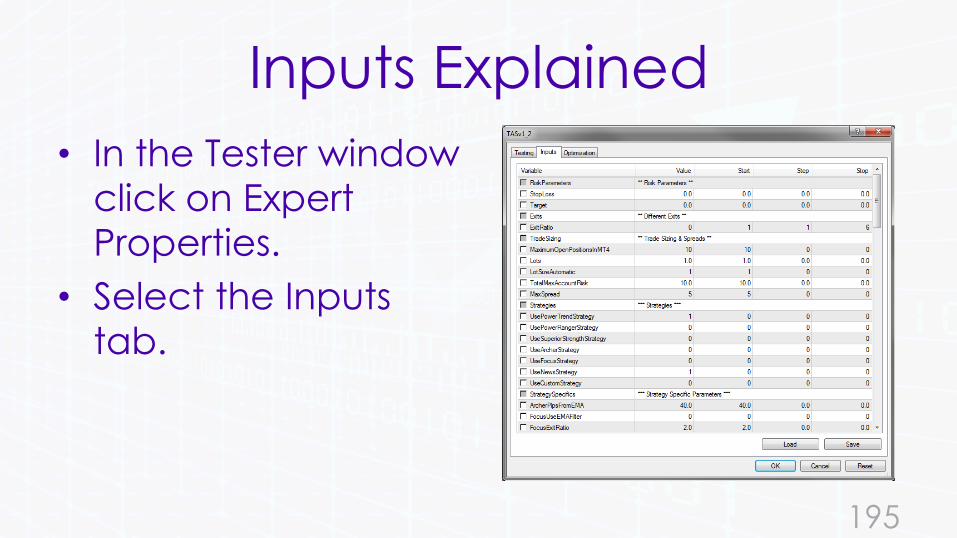
Inputs Explained
• In the Tester window
click on Expert
Properties.
• Select the Inputs
tab.
195
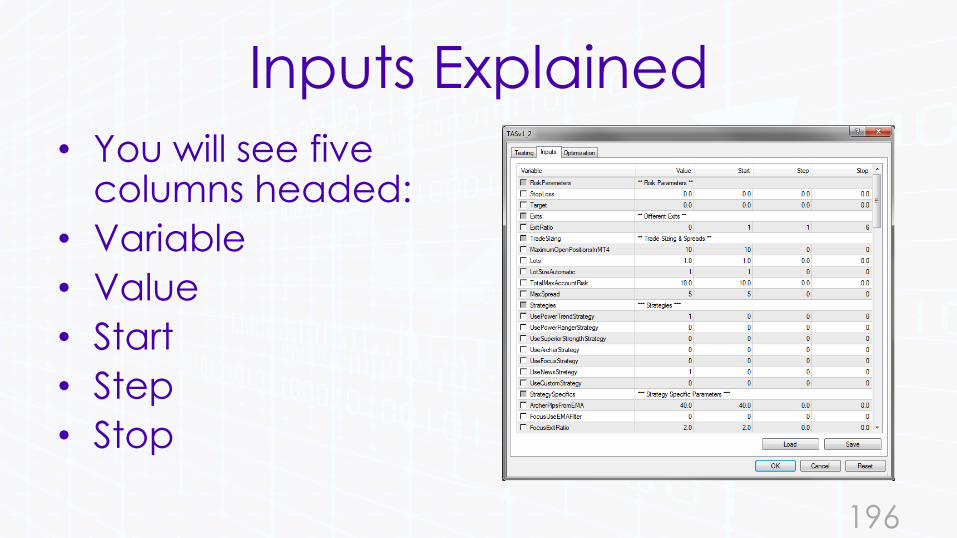
Inputs Explained
• You will see five columns headed:
• Variable
• Value
• Start
• Step
• Stop
196

Inputs Explained
• Each variable has a
square next to it.
• When the square is
ticked.
• This means the
variable is selected
for optimisation.
197
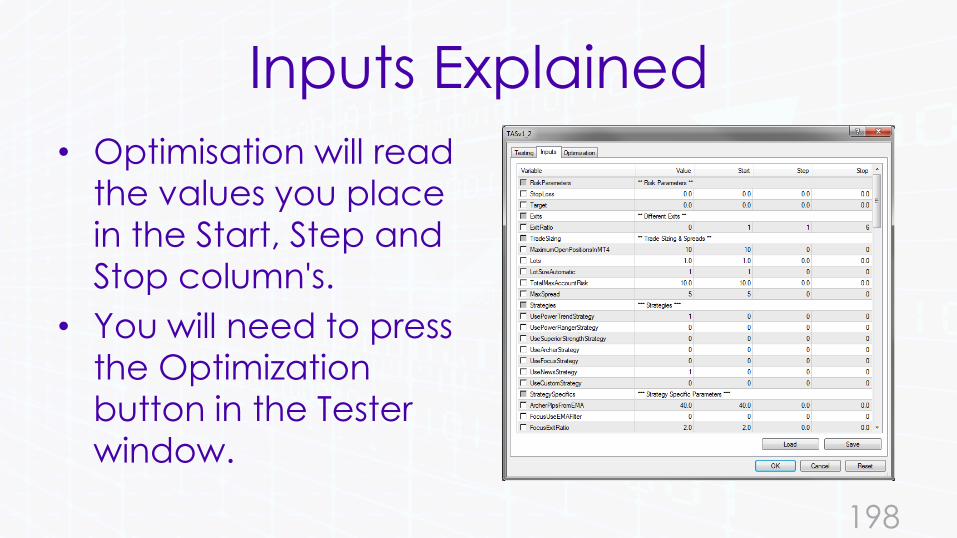
Inputs Explained
• Optimisation will read
the values you place
in the Start, Step and
Stop column's.
• You will need to press
the Optimization
button in the Tester
window.
198
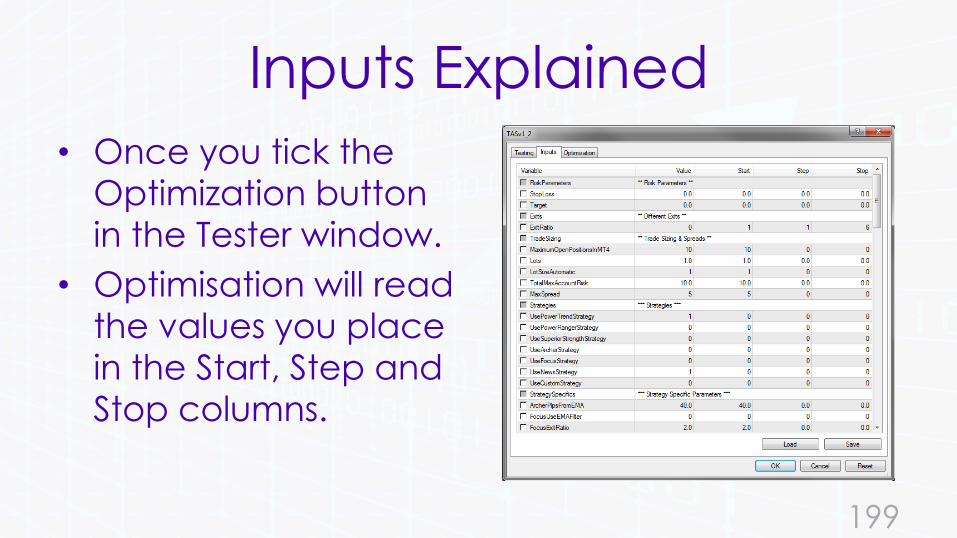
Inputs Explained
• Once you tick the
Optimization button
in the Tester window.
• Optimisation will read
the values you place
in the Start, Step and
Stop columns.
199

Inputs Explained
• Entries placed in the
Value column will
used by the
Strategy Tester.
• As long as the
Optimization button
is unticked.
200

Inputs Explained
• Lets take a closer
look at what each
input variable does.
201

202

Risk Parameters
• StopLoss – If set to 0,
the stop loss is the
previous bar’s low (if
going long) or the
previous bar’s high
(if going short).
203
Risk Parameters
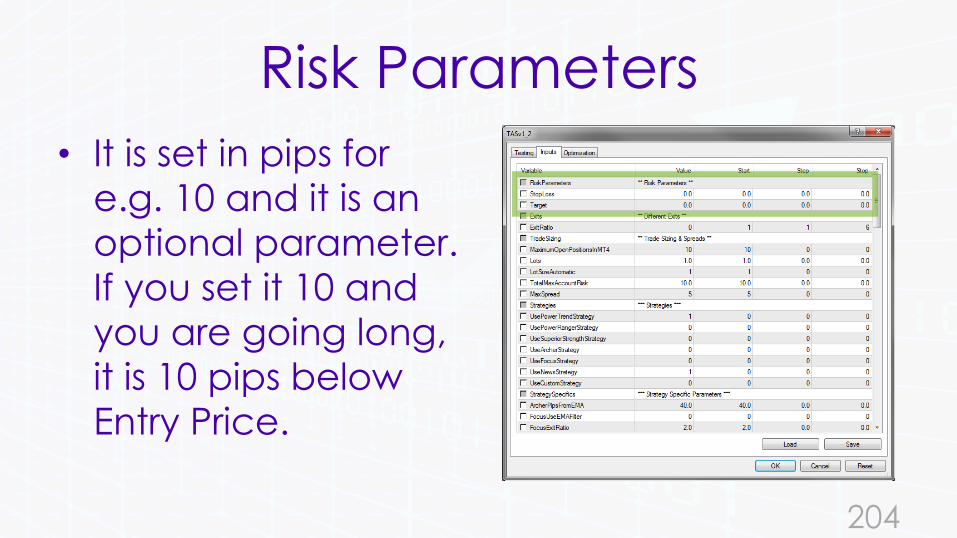
• It is set in pips for
e.g. 10 and it is an
optional parameter.
If you set it 10 and
you are going long,
it is 10 pips below
Entry Price.
204
Risk Parameters
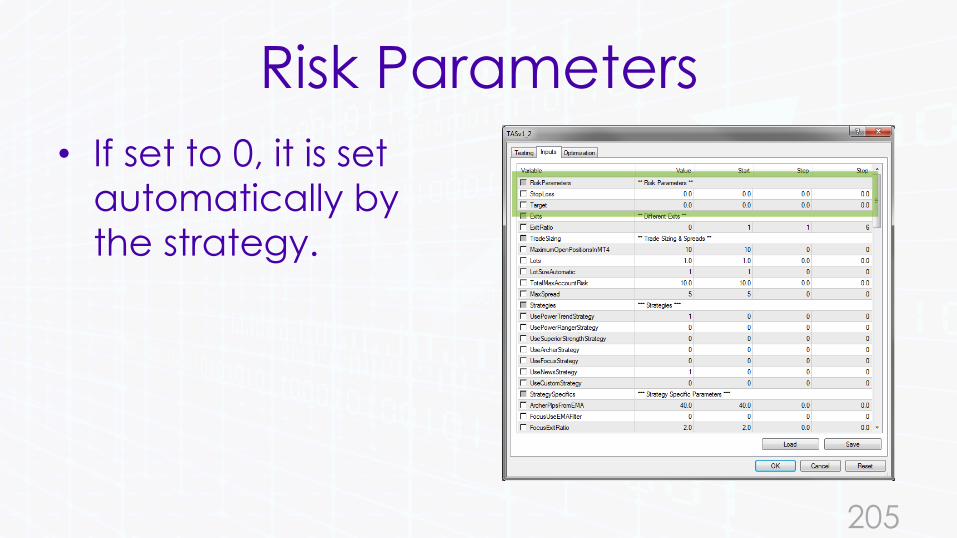
• If set to 0, it is set
automatically by
the strategy.
205

Risk Parameters
• Target – If set to 0, it
will use the
strategy’s target for
example with
PowerTrend, the
trade will exit when
the EMAs crossever.
206
Risk Parameters
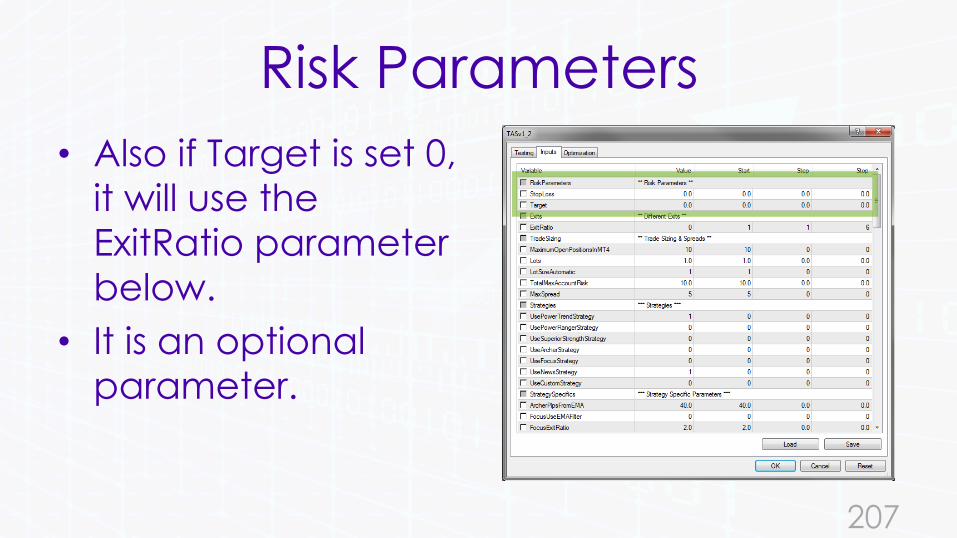
• Also if Target is set 0,
it will use the
ExitRatio parameter
below.
• It is an optional
parameter.
207
Risk Parameters
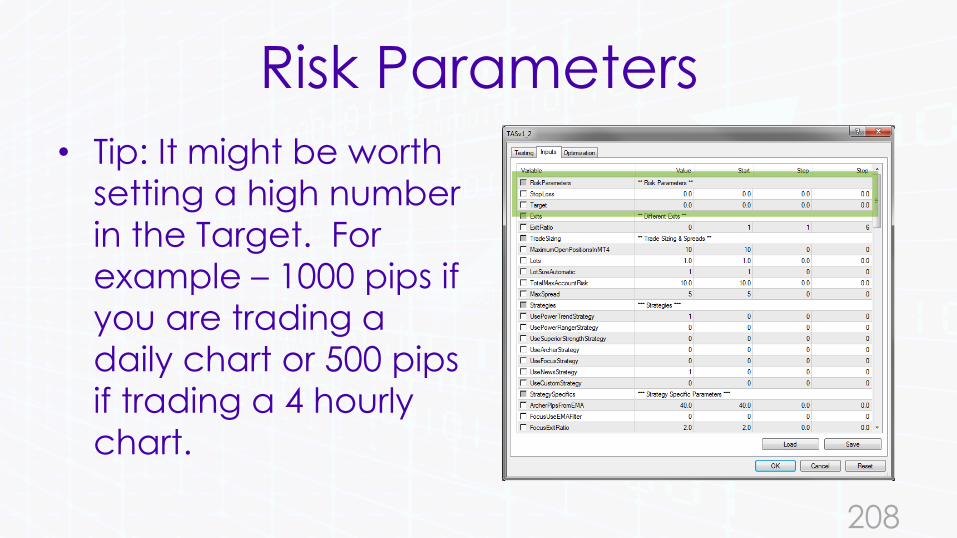
• Tip: It might be worth
setting a high number
in the Target. For
example – 1000 pips if
you are trading a
daily chart or 500 pips
if trading a 4 hourly
chart.
208
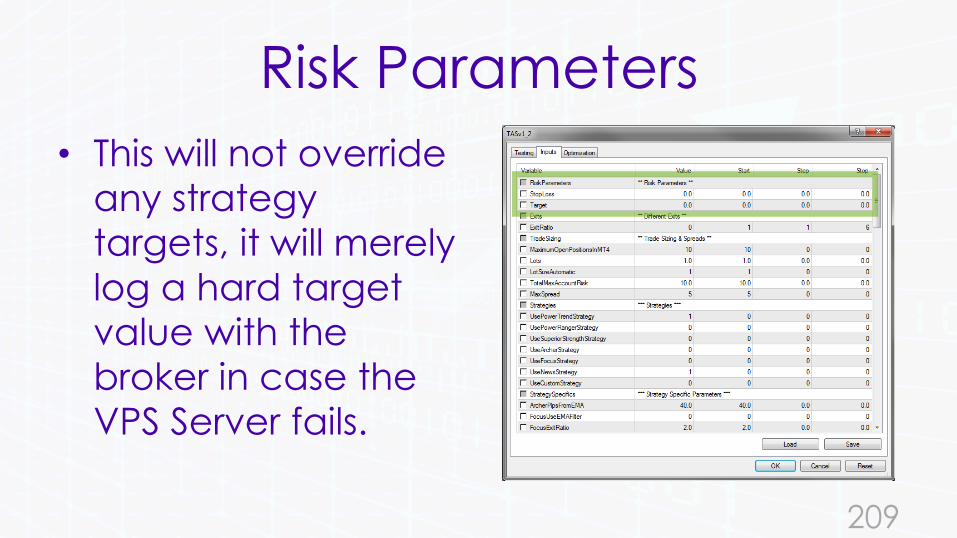
Risk Parameters
• This will not override
any strategy
targets, it will merely
log a hard target
value with the
broker in case the
VPS Server fails.
209
210
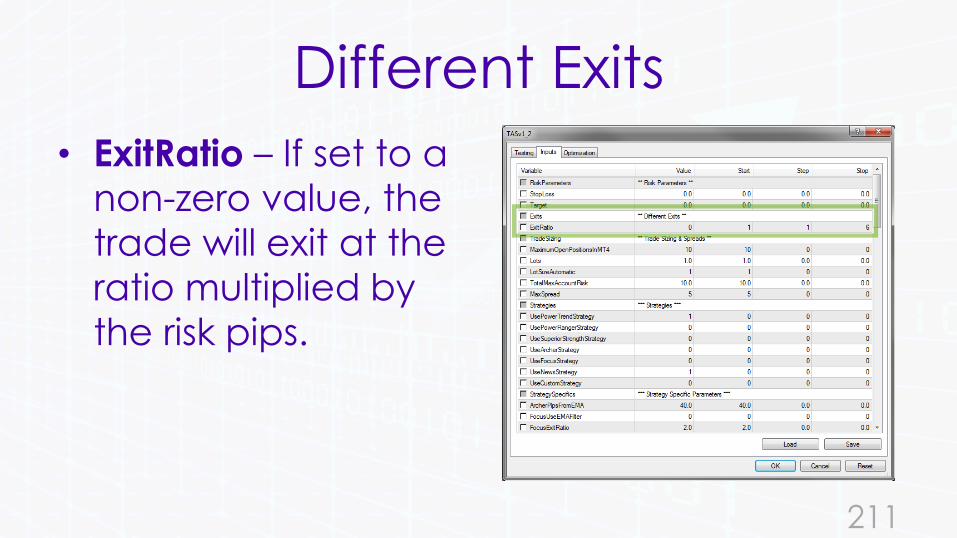
Different Exits
• ExitRatio – If set to a
non-zero value, the
trade will exit at the
ratio multiplied by
the risk pips.
211

Different Exits
• For example, if the
ExitRatio is set to 4.
• Then if your risk is 20
pips, the trade will
exit when a profit of
80 pips has been
made.
212
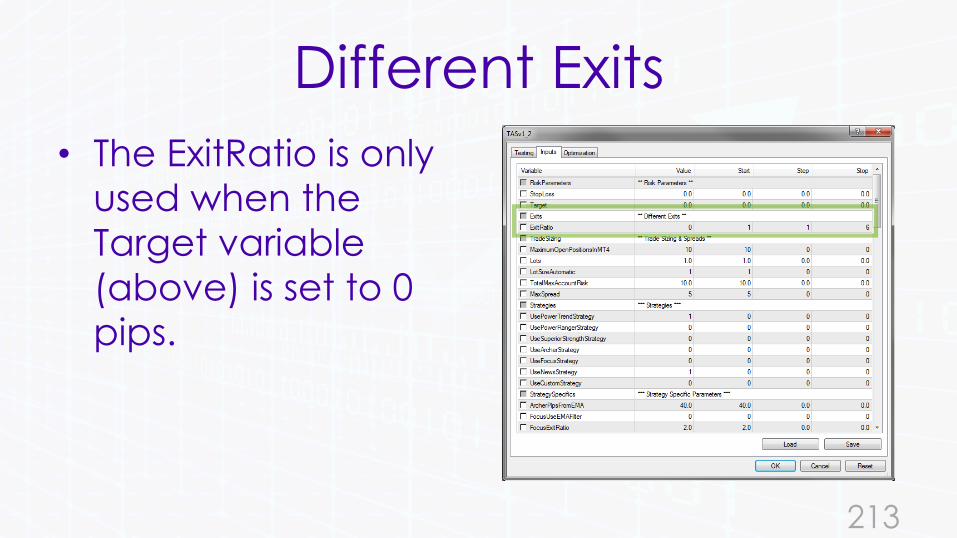
Different Exits
• The ExitRatio is only
used when the
Target variable
(above) is set to 0
pips.
213

214

Trade Sizing & Spreads• MaximumOpenPositi
onsInMT4 – The EA will check how many open positions you have in your MT4 account and make sure you only have this number as your maximum permissible trades.
215
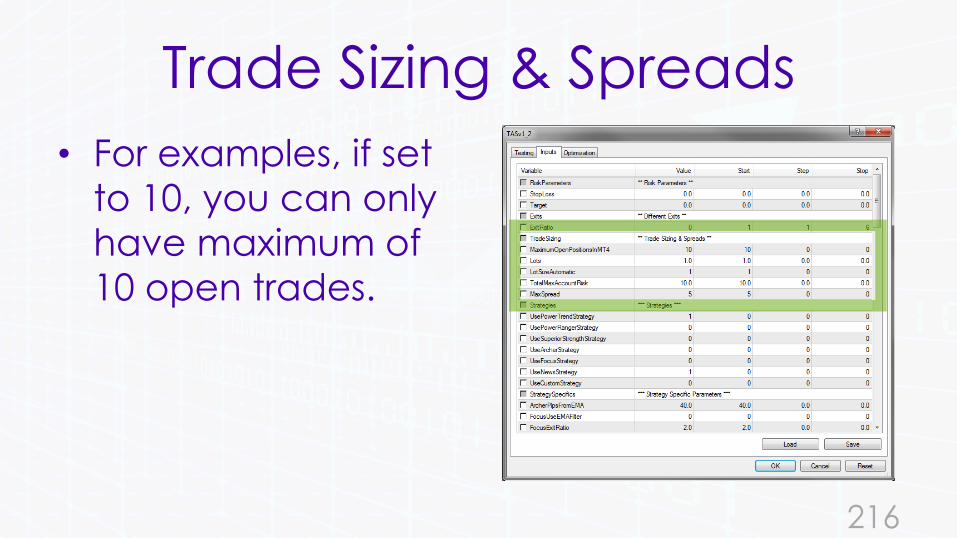
Trade Sizing & Spreads
• For examples, if set
to 10, you can only
have maximum of
10 open trades.
216
Trade Sizing & Spreads
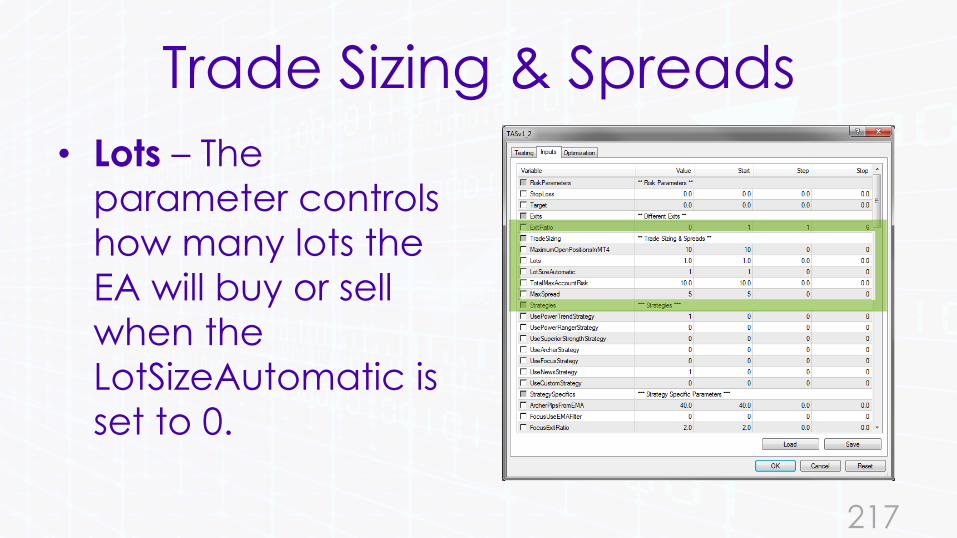
• Lots – The
parameter controls
how many lots the
EA will buy or sell
when the
LotSizeAutomatic is
set to 0.
217
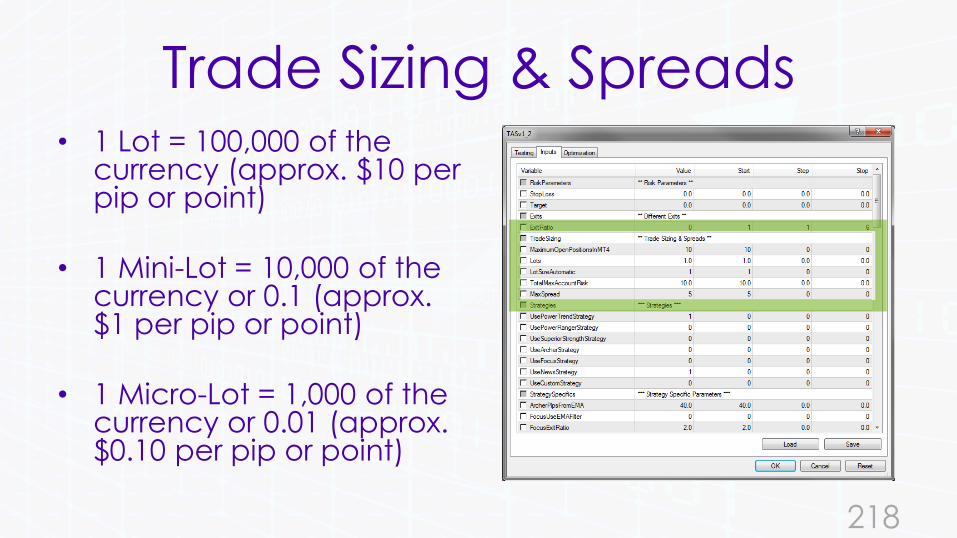
Trade Sizing & Spreads• 1 Lot = 100,000 of the
currency (approx. $10 per pip or point)
• 1 Mini-Lot = 10,000 of the currency or 0.1 (approx. $1 per pip or point)
• 1 Micro-Lot = 1,000 of the currency or 0.01 (approx. $0.10 per pip or point)
218

Trade Sizing & Spreads
• LotSizeAutomatic –1 = On, 0 = Off
• If set to 1, the EA will automatically calculate how many lots/mini-lots/micro-lots to buy/sell per trade.
219

Trade Sizing & Spreads
• If set to 1, the EA will ensure that the number of lots/mini-lots/micro-lots bought or sold is within your risk parameter for e.g. 1% risk.
220
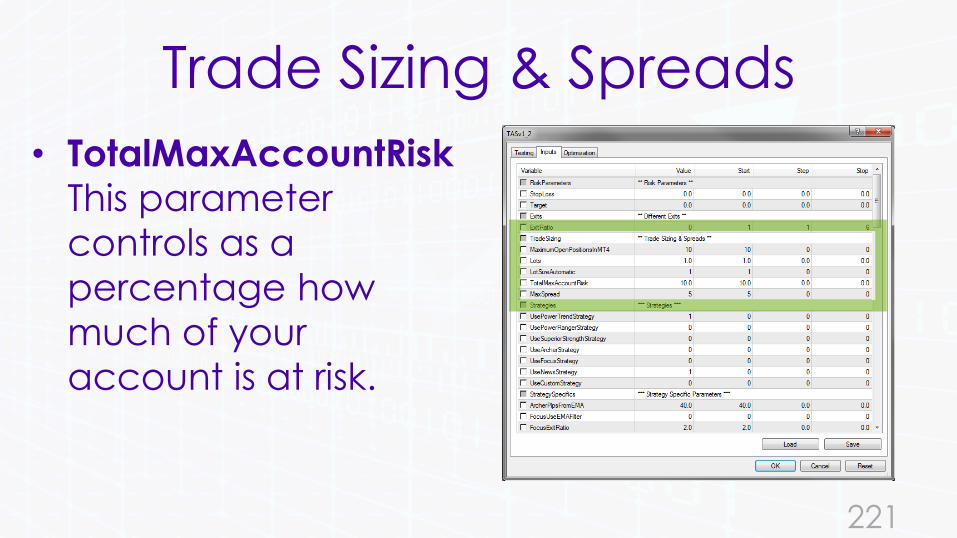
Trade Sizing & Spreads
• TotalMaxAccountRisk
This parameter
controls as a
percentage how
much of your
account is at risk.
221
Trade Sizing & Spreads
• If you set to 10, that
means that you
want to risk live in
the market, a
maximum of 10
percent of your
account balance.
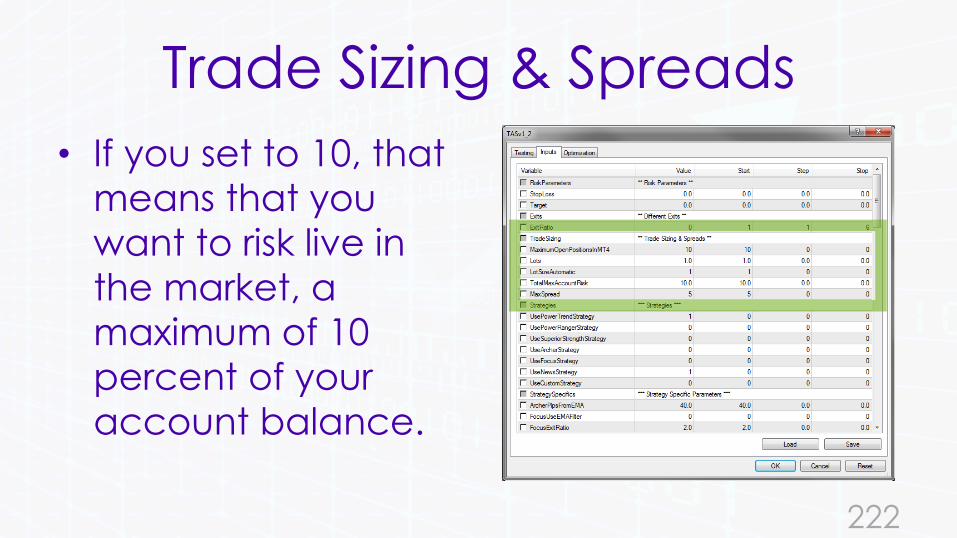
222

Trade Sizing & Spreads• This parameter is set in
conjunction with the MaximumOpenPositionsInMT4 parameter.
• If you set MaximumOpenPositionsInMT4 to 10 and TotalMaxAccountRiskto 5 , then the EA will risk 0.5 percent per trade.
223

Trade Sizing & Spreads• MaxSpread – This
parameter tells the EA what is the maximum spread permissible for each trade.
• If set to 5, the EA will not take a trade if the current spread is more than 5.
224

225

Strategies
• NOTE: Only set ONE of the following strategies to 1at any time.
• You cannot run two strategies on one chart at the same time.
226
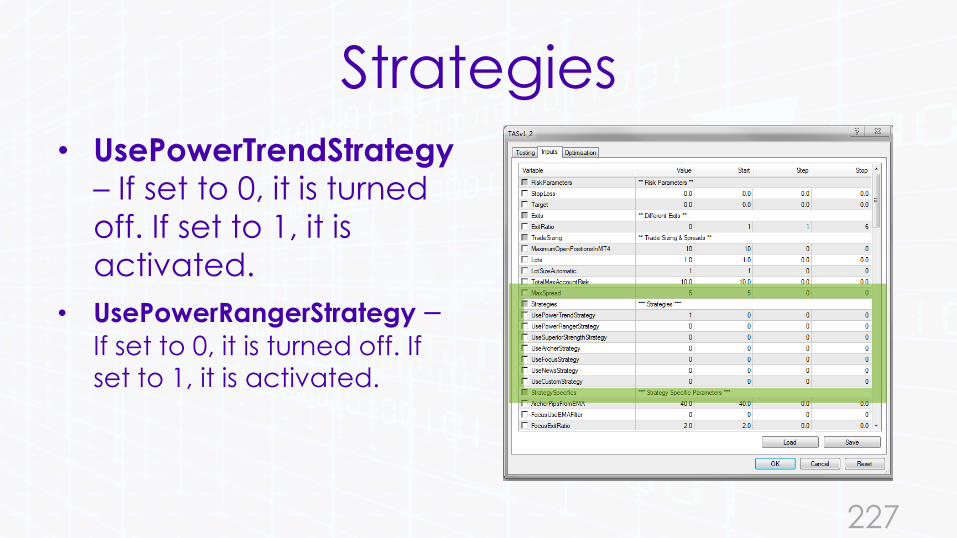
Strategies
• UsePowerTrendStrategy
– If set to 0, it is turned
off. If set to 1, it is
activated.
• UsePowerRangerStrategy –If set to 0, it is turned off. If
set to 1, it is activated.
227
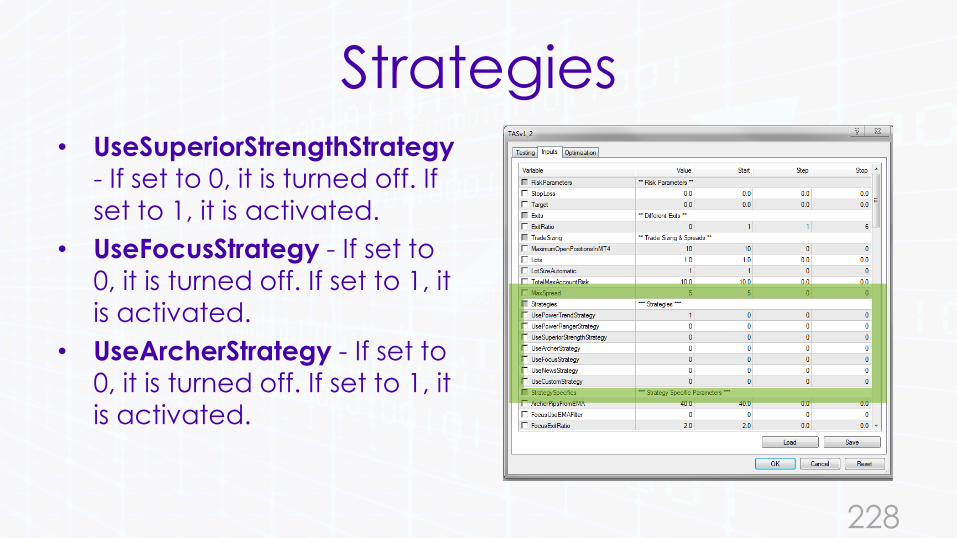
Strategies• UseSuperiorStrengthStrategy
- If set to 0, it is turned off. If
set to 1, it is activated.
• UseFocusStrategy - If set to
0, it is turned off. If set to 1, it
is activated.
• UseArcherStrategy - If set to
0, it is turned off. If set to 1, it
is activated.
228
Strategies
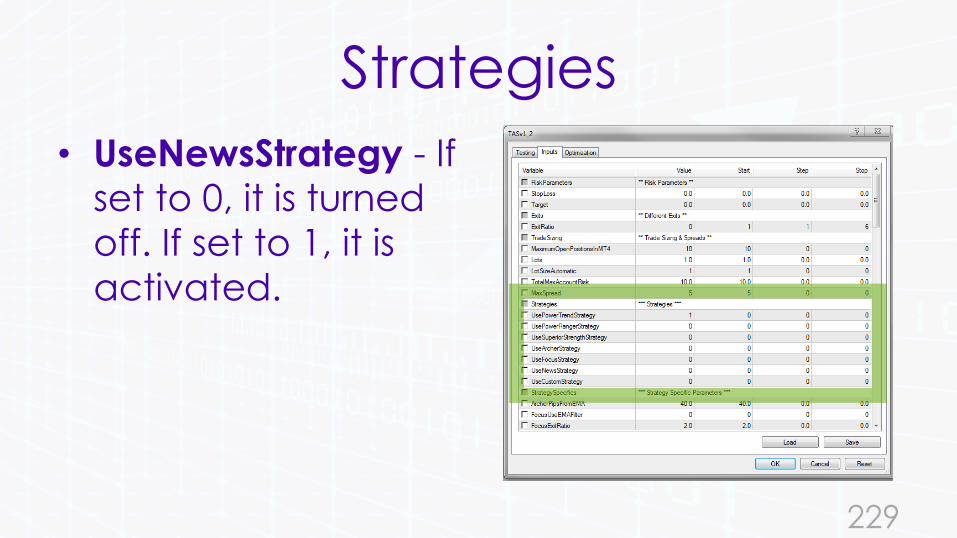
• UseNewsStrategy - If
set to 0, it is turned
off. If set to 1, it is
activated.
229
Strategies
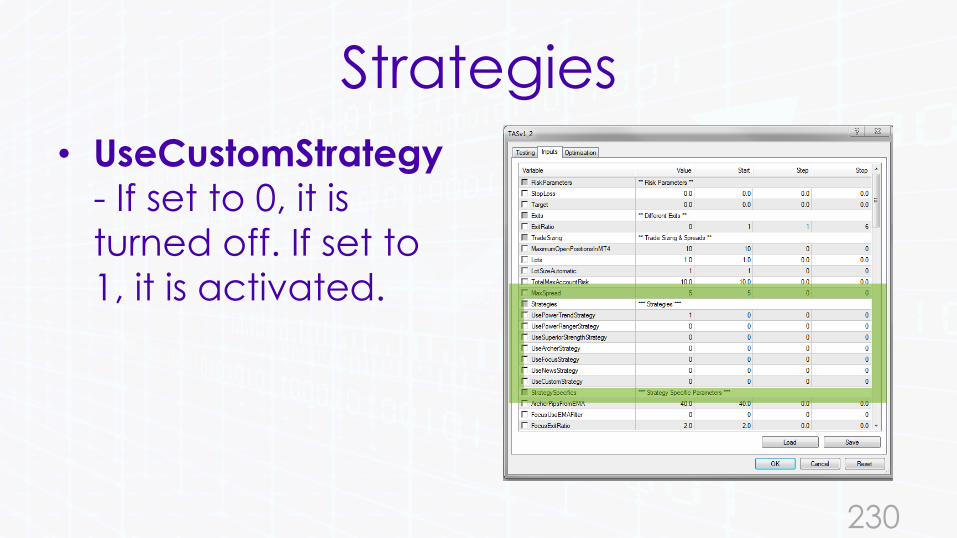
• UseCustomStrategy
- If set to 0, it is
turned off. If set to
1, it is activated.
230

231
Strategy Specific Parameters
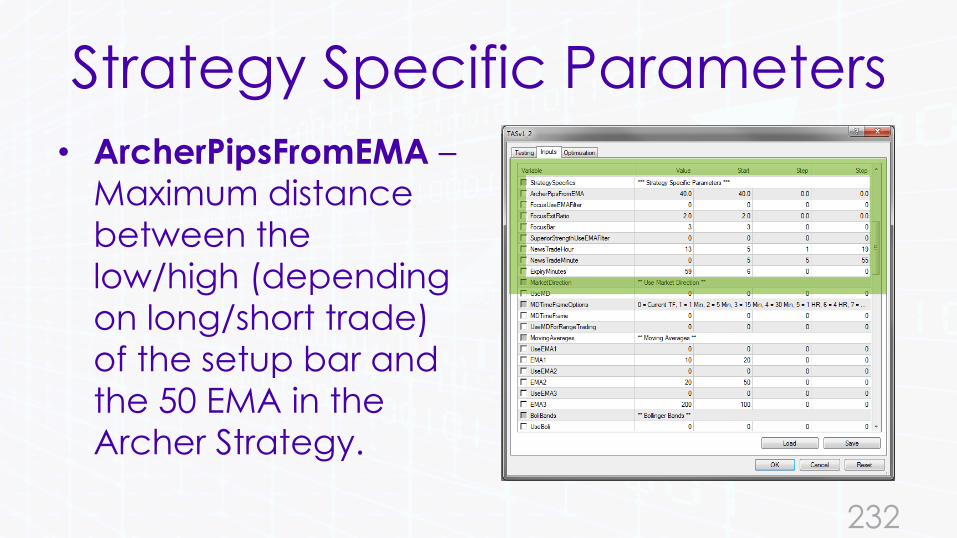
• ArcherPipsFromEMA –
Maximum distance
between the
low/high (depending
on long/short trade)
of the setup bar and
the 50 EMA in the
Archer Strategy.
232

Strategy Specific Parameters
• FocusUseEMAFilter –
Use an EMA filter for
the focus strategy.
• If set to 1, use an EMA
to decide the
direction. If set to 0,
do not use an EMA to
decide the direction.
233
Strategy Specific Parameters
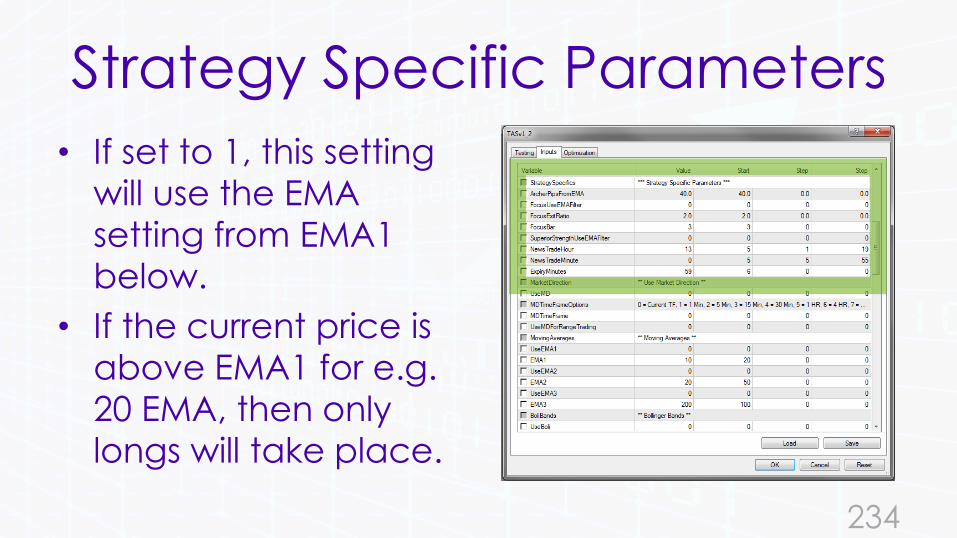
• If set to 1, this setting
will use the EMA
setting from EMA1
below.
• If the current price is
above EMA1 for e.g.
20 EMA, then only
longs will take place.
234

Strategy Specific Parameters
• If the current price is
below EMA1 for e.g.
20 EMA, then only
shorts will take
place.
235
Strategy Specific Parameters
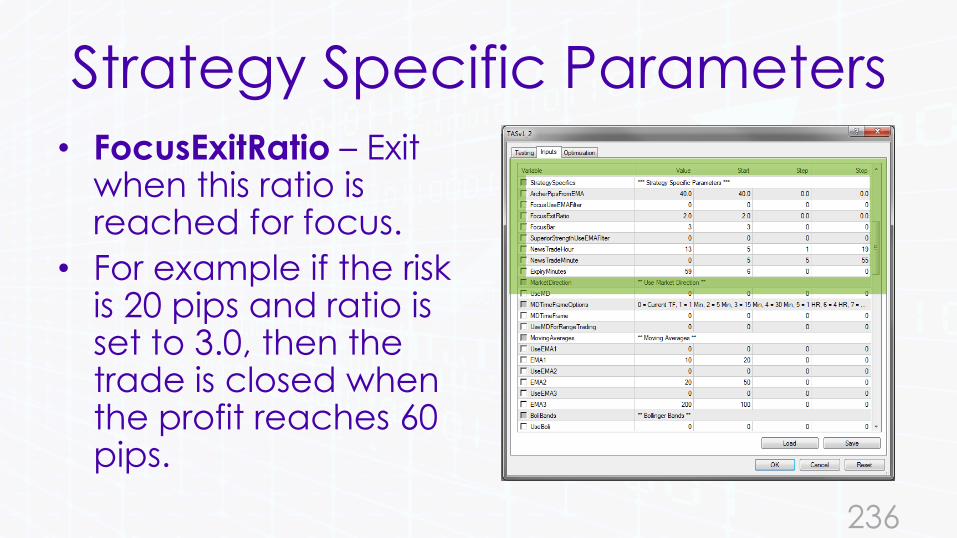
• FocusExitRatio – Exit when this ratio is reached for focus.
• For example if the risk is 20 pips and ratio is set to 3.0, then the trade is closed when the profit reaches 60 pips.
236
Strategy Specific Parameters
• FocusBar – This is the bar on which the focus trade is based.
• Bars are numbered from right to left.
• So bar 1 is closest to current open bar.
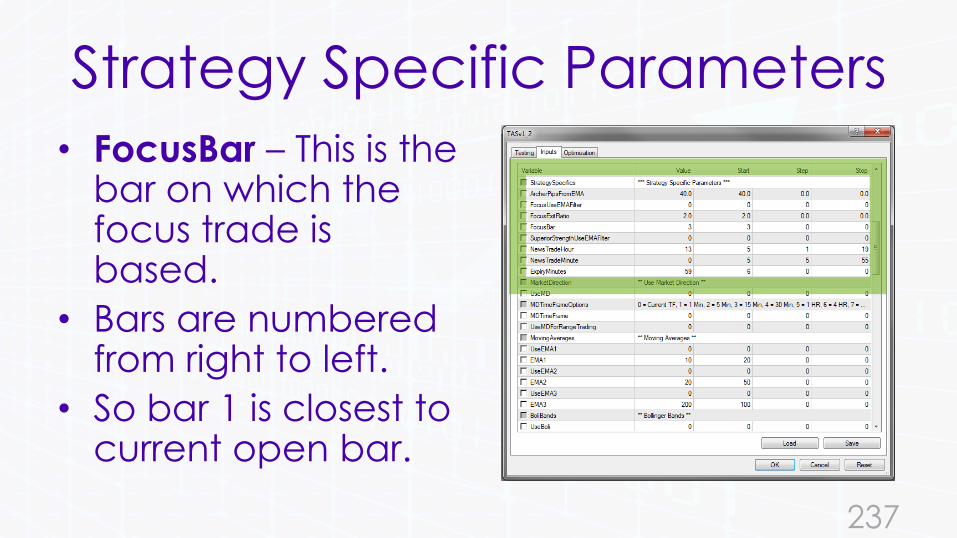
237

Strategy Specific Parameters
• SuperiorStrengthEMAFilter – If set to 1, the
EMA set in EMA1 is
used to ensure that
only long trades are
taken when the
current price action is
above EMA1.
238

Strategy Specific Parameters
• Only take short
trades when the
current price action
is below EMA1.
• If set to 0, ignore this
filter and take all
trades.
239

Strategy Specific Parameters
• NewsTradeHour,
NewsTradeMinute -
These parameters
are only used when
UseNewsStrategy is
set to 1.
240
Strategy Specific Parameters
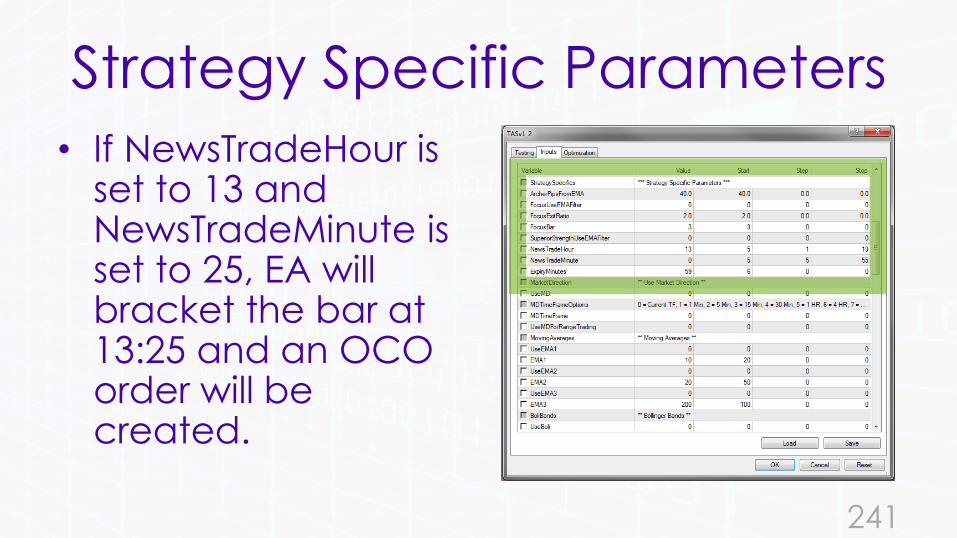
• If NewsTradeHour is set to 13 and NewsTradeMinute is set to 25, EA will bracket the bar at 13:25 and an OCO order will be created.
241
Strategy Specific Parameters
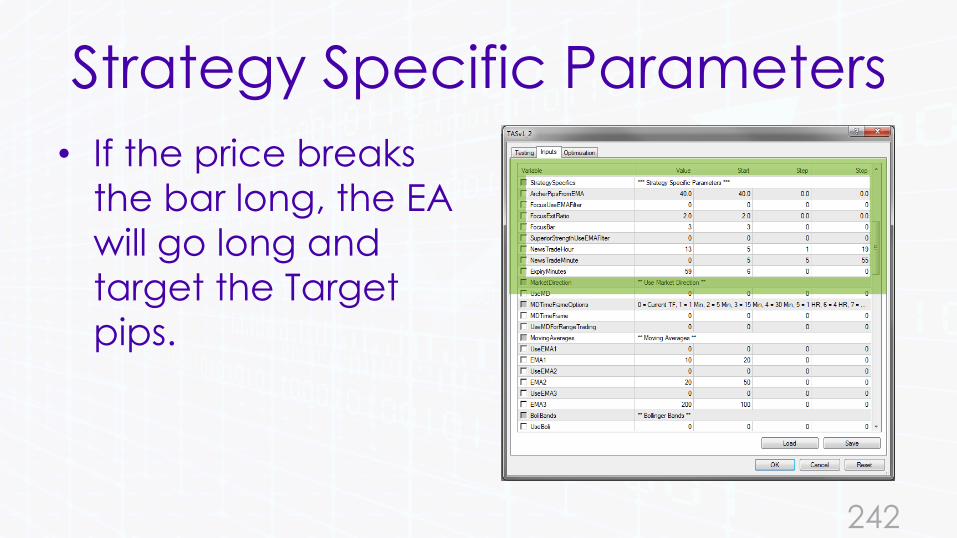
• If the price breaks
the bar long, the EA
will go long and
target the Target
pips.
242

Strategy Specific Parameters
• The stop loss is set to
the high/low of the
previous bar.
• Alternatively, if set,
the parameter
StopLoss is used.
243

Strategy Specific Parameters
• ExpiryMinutes – The
trade is cancelled if
not triggered after x
number of minutes.
244
Strategy Specific Parameters
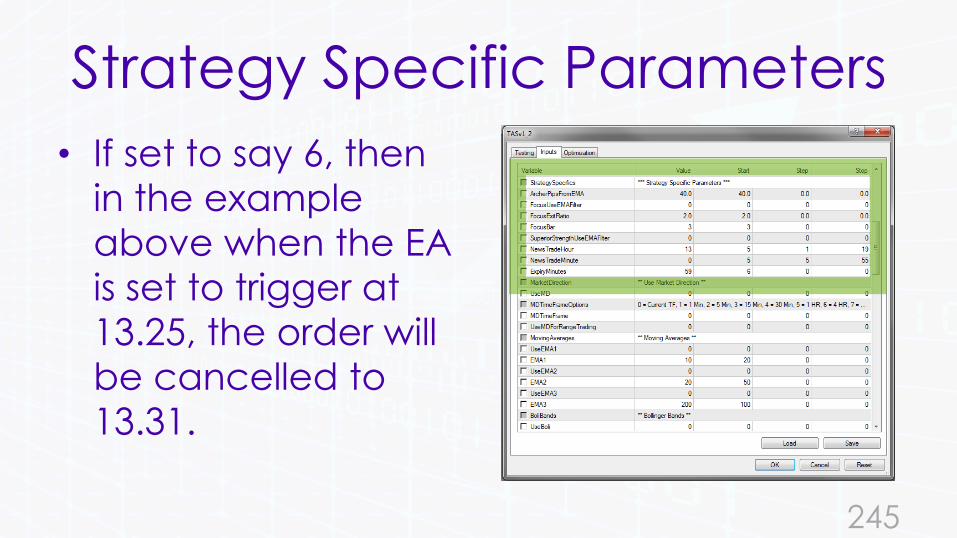
• If set to say 6, then
in the example
above when the EA
is set to trigger at
13.25, the order will
be cancelled to
13.31.
245

246

Market Direction
• UseMD – If set to 1, the Market Direction filter is applied to the current active strategy.
• If set to 0, it is disabled.
247
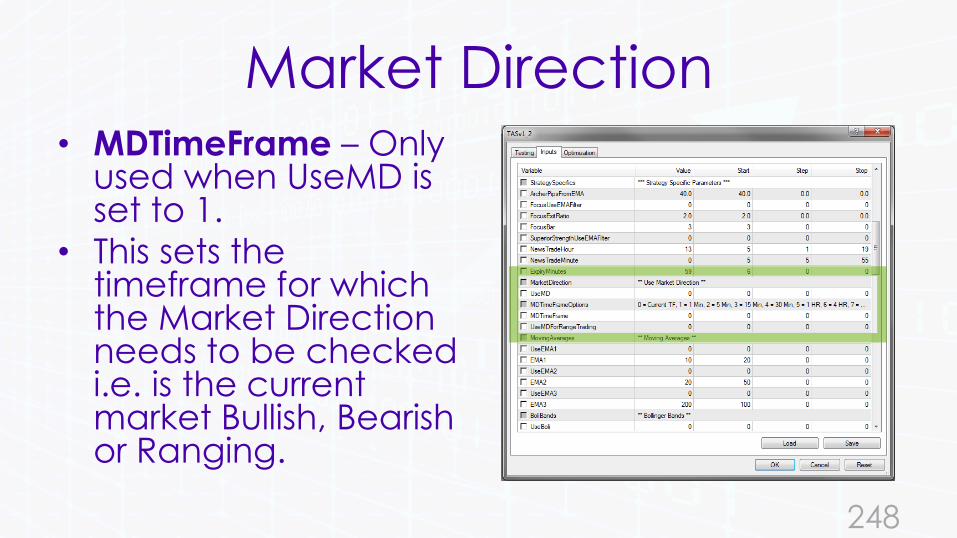
Market Direction• MDTimeFrame – Only
used when UseMD is set to 1.
• This sets the timeframe for which the Market Direction needs to be checked i.e. is the current market Bullish, Bearish or Ranging.
248
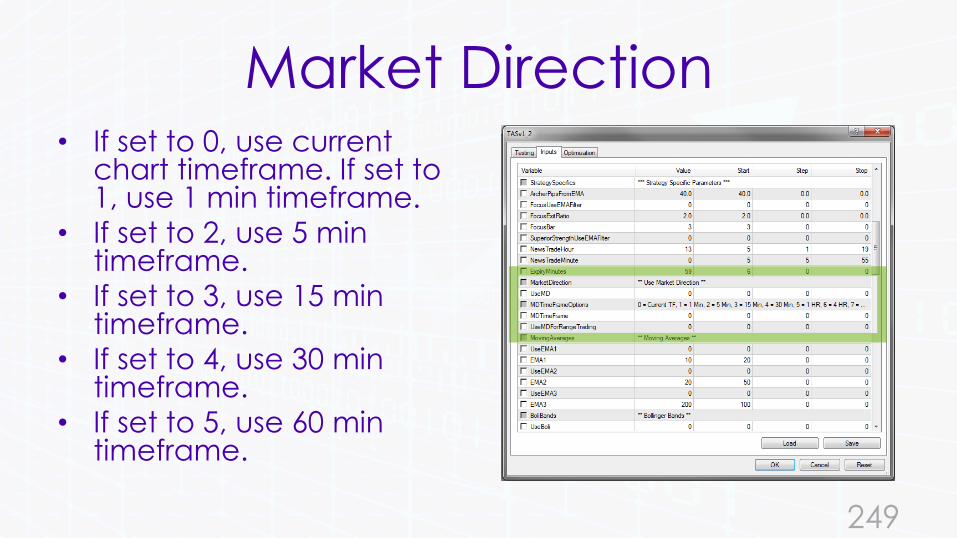
Market Direction• If set to 0, use current
chart timeframe. If set to 1, use 1 min timeframe.
• If set to 2, use 5 min timeframe.
• If set to 3, use 15 min timeframe.
• If set to 4, use 30 min timeframe.
• If set to 5, use 60 min timeframe.
249
Market Direction
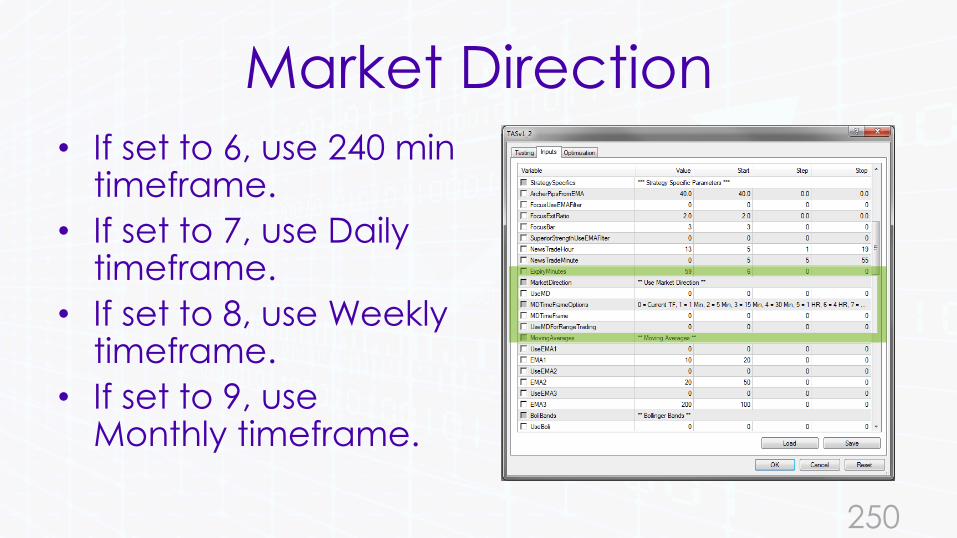
• If set to 6, use 240 min timeframe.
• If set to 7, use Daily timeframe.
• If set to 8, use Weekly timeframe.
• If set to 9, use Monthly timeframe.
250
Market Direction
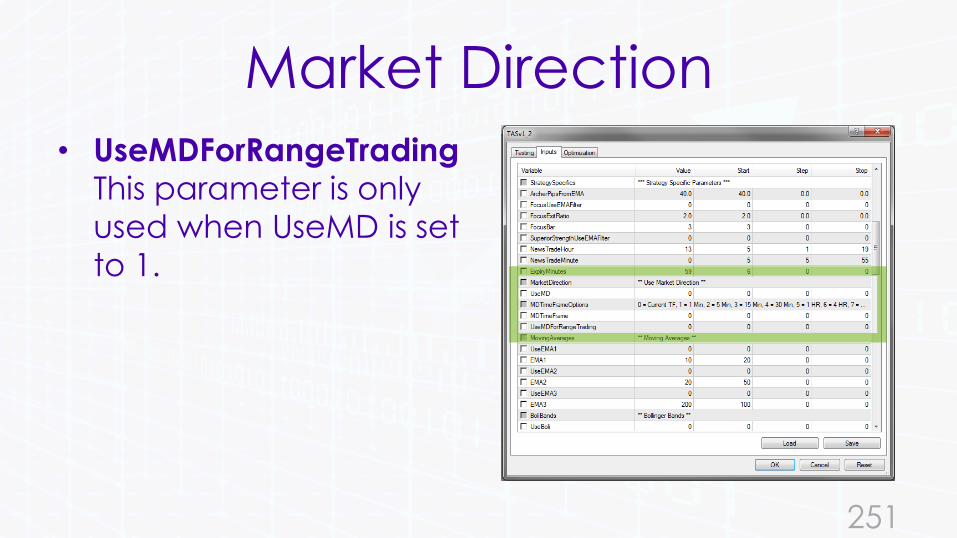
• UseMDForRangeTrading
This parameter is only
used when UseMD is set
to 1.
251
252
Moving Averages
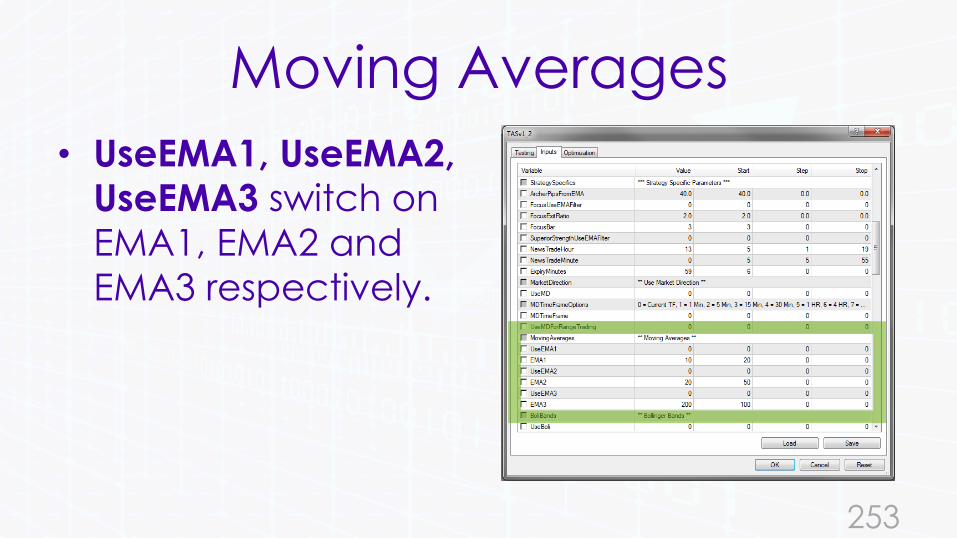
• UseEMA1, UseEMA2, UseEMA3 switch on
EMA1, EMA2 and
EMA3 respectively.
253

Moving Averages
• UseEMA1, UseEMA2, UseEMA3 are NOT required to be set to 1 when PowerTrend, Archer, Focus or SuperiorStrengthstrategies are used.
254
Moving Averages
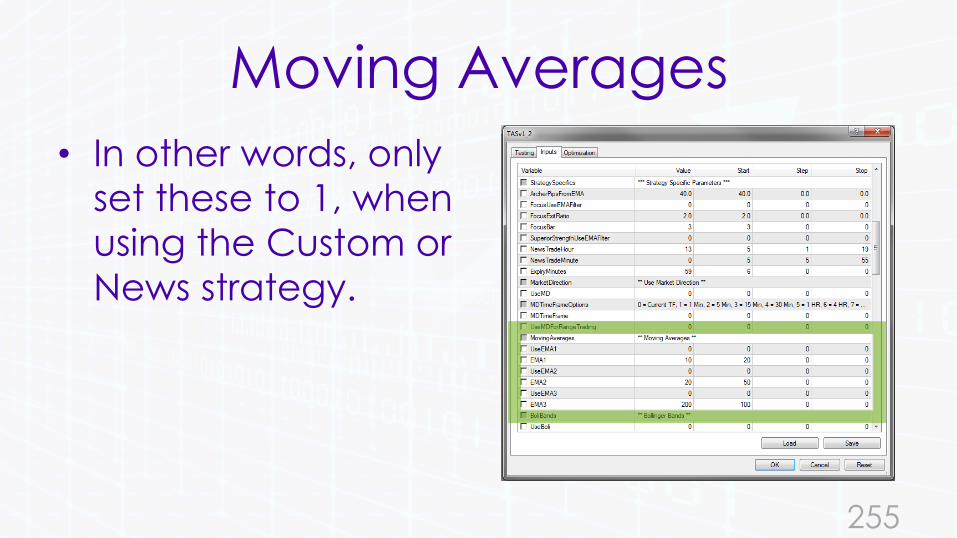
• In other words, only
set these to 1, when
using the Custom or
News strategy.
255
Moving Averages
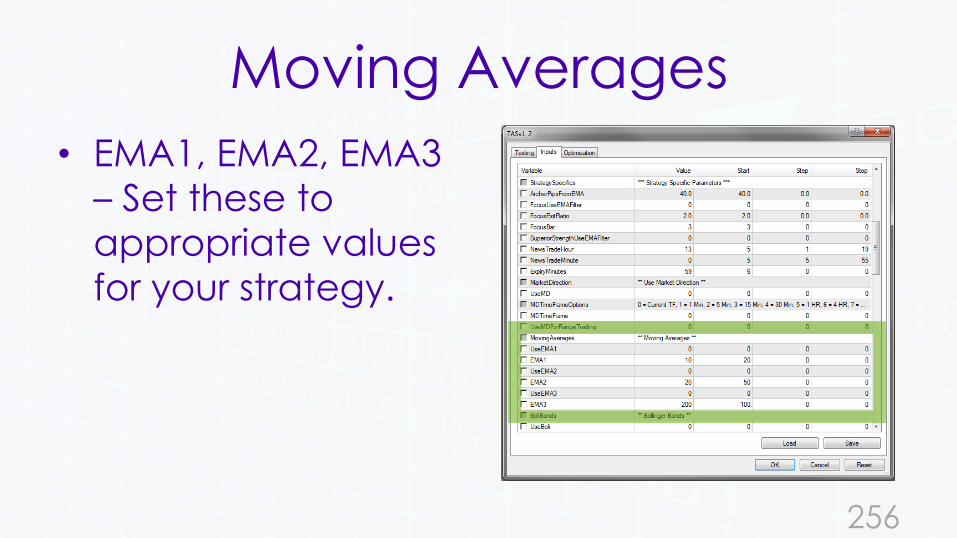
• EMA1, EMA2, EMA3
– Set these to
appropriate values
for your strategy.
256

257
Bollinger Bands
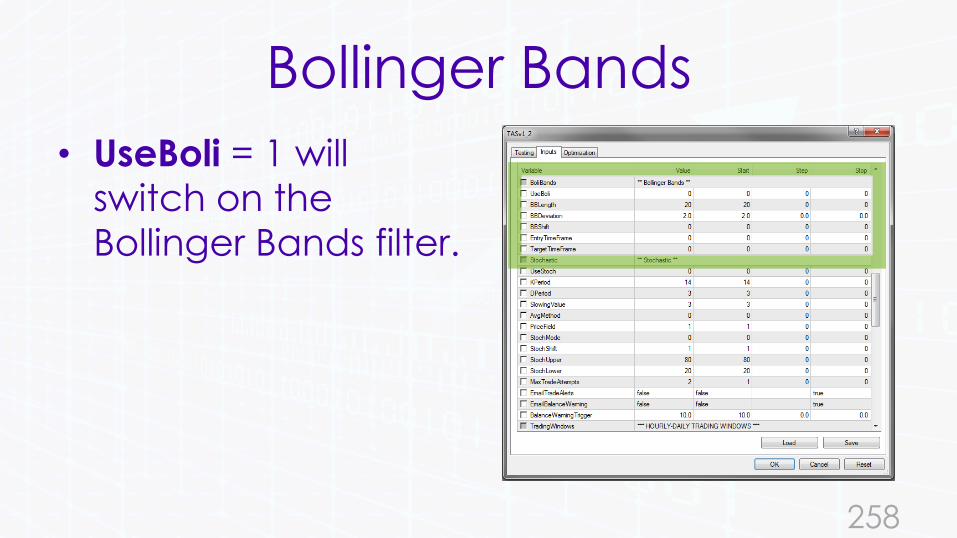
• UseBoli = 1 will
switch on the
Bollinger Bands filter.
258

Bollinger Bands
• BBLength,
BBDeviation, BBShift– These are
standard indicator
parameters.
259
Bollinger Bands
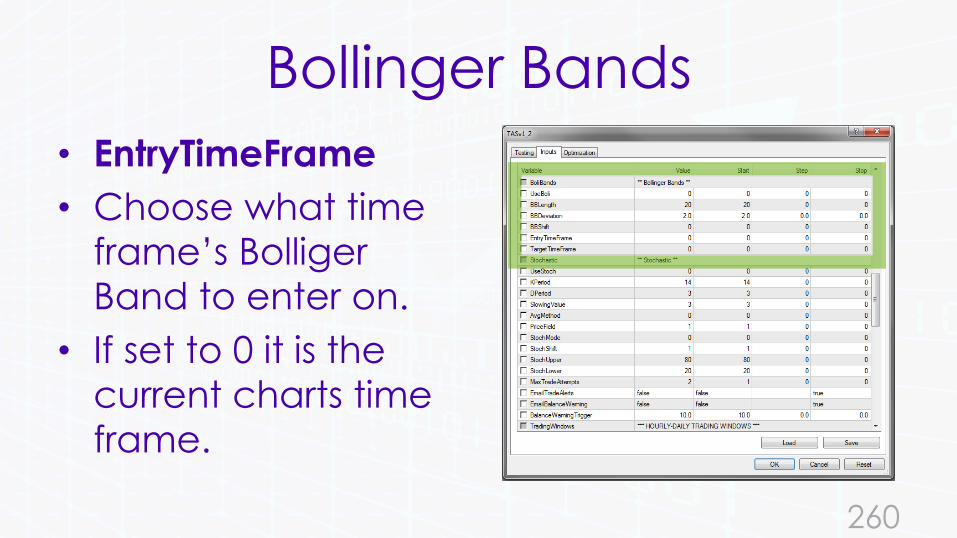
• EntryTimeFrame
• Choose what time
frame’s Bolliger
Band to enter on.
• If set to 0 it is the
current charts time
frame.
260
Bollinger Bands
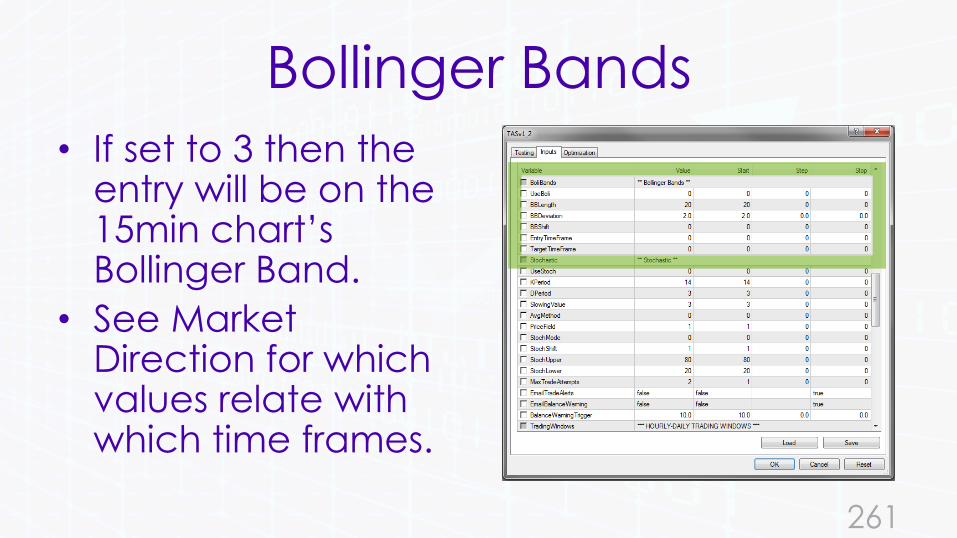
• If set to 3 then the entry will be on the 15min chart’s Bollinger Band.
• See Market Direction for which values relate with which time frames.
261
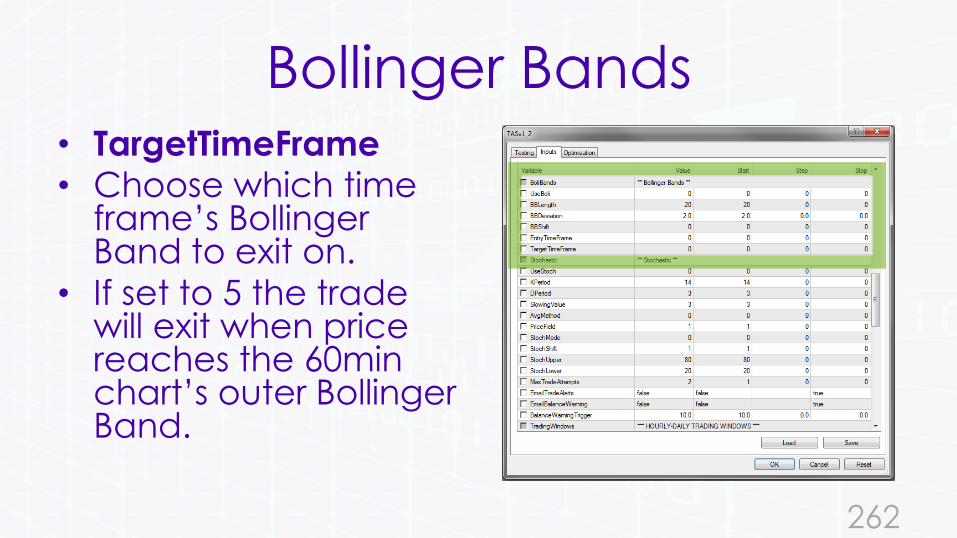
Bollinger Bands• TargetTimeFrame• Choose which time
frame’s Bollinger Band to exit on.
• If set to 5 the trade will exit when price reaches the 60min chart’s outer Bollinger Band.
262
Bollinger Bands
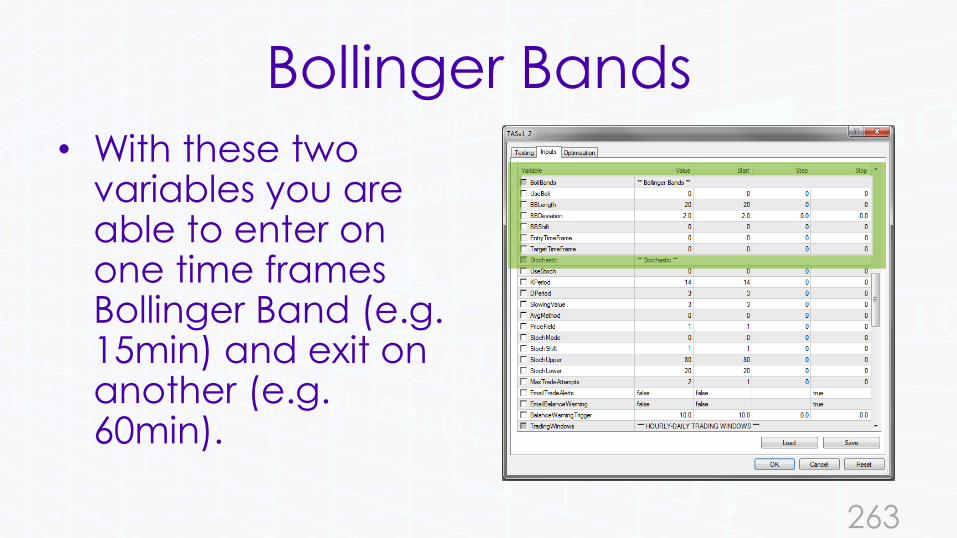
• With these two variables you are able to enter on one time frames Bollinger Band (e.g. 15min) and exit on another (e.g. 60min).
263

264
Stochastic
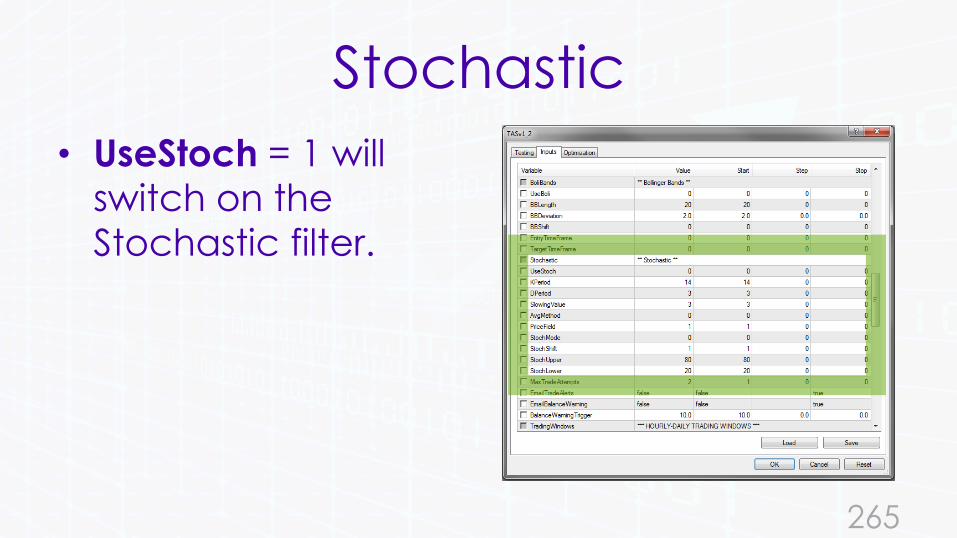
• UseStoch = 1 will
switch on the
Stochastic filter.
265

Stochastic
• All other Stochastic
settings are
standard indicator
parameters.
266
267
Max Trade Attempts
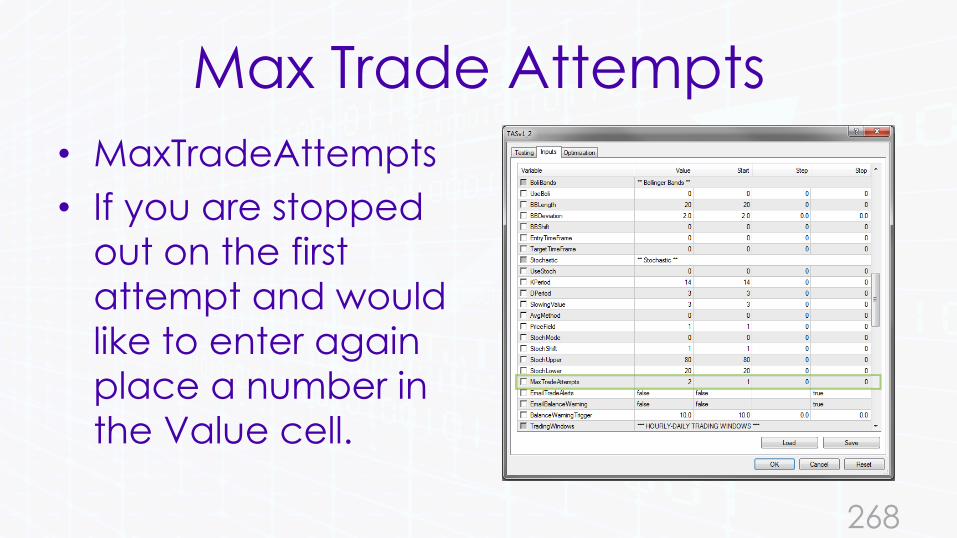
• MaxTradeAttempts
• If you are stopped
out on the first
attempt and would
like to enter again
place a number in
the Value cell.
268
Max Trade Attempts
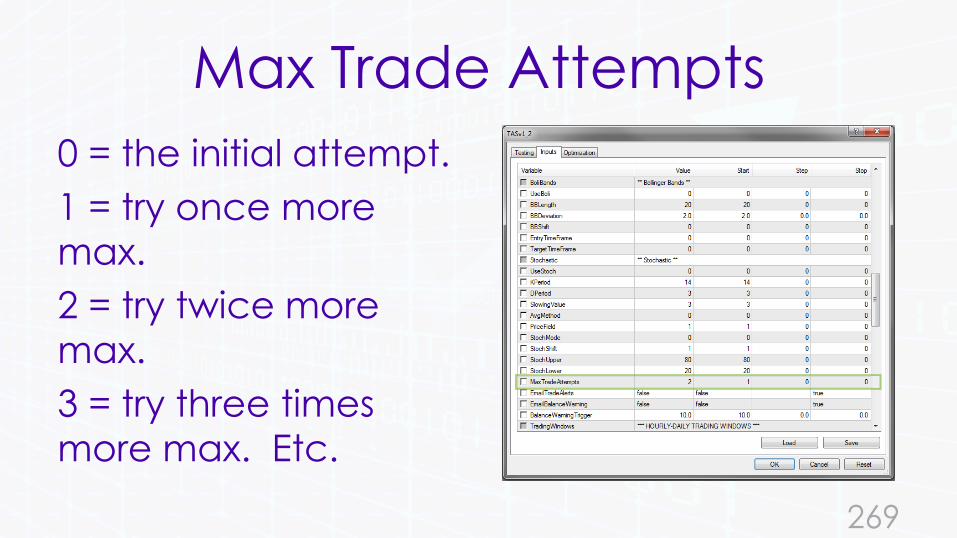
0 = the initial attempt.
1 = try once more
max.
2 = try twice more
max.
3 = try three times
more max. Etc.
269

270
Email Trade Alerts
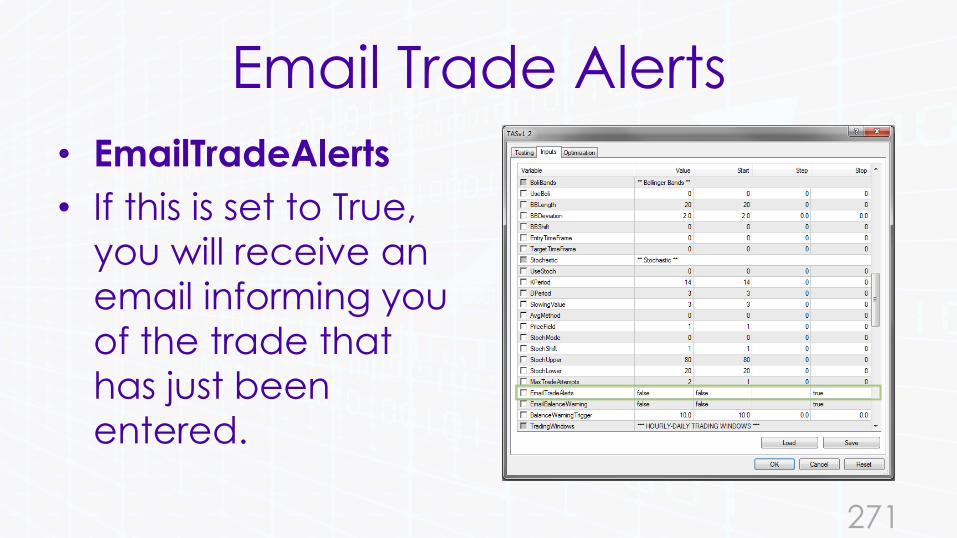
• EmailTradeAlerts
• If this is set to True,
you will receive an
email informing you
of the trade that
has just been
entered.
271

272
Balance Warning
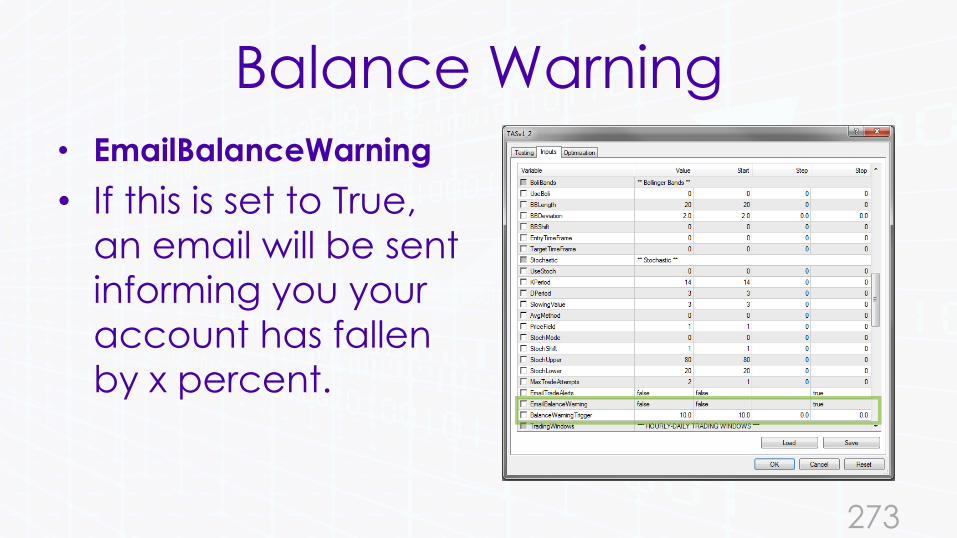
• EmailBalanceWarning
• If this is set to True,
an email will be sent
informing you your
account has fallen
by x percent.
273

Balance Warning
• BalanceWarningTrigger
• In the value cell set the
percentage amount
your account needs to
decrease by before an
email is sent to you.
274
Balance Warning
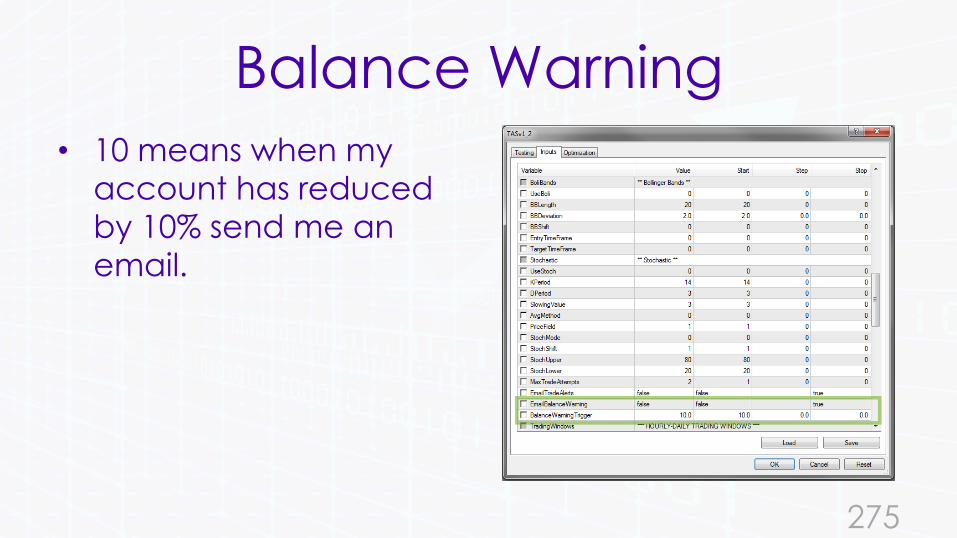
• 10 means when my
account has reduced
by 10% send me an
email.
275

276
Hourly – Daily Trading Windows
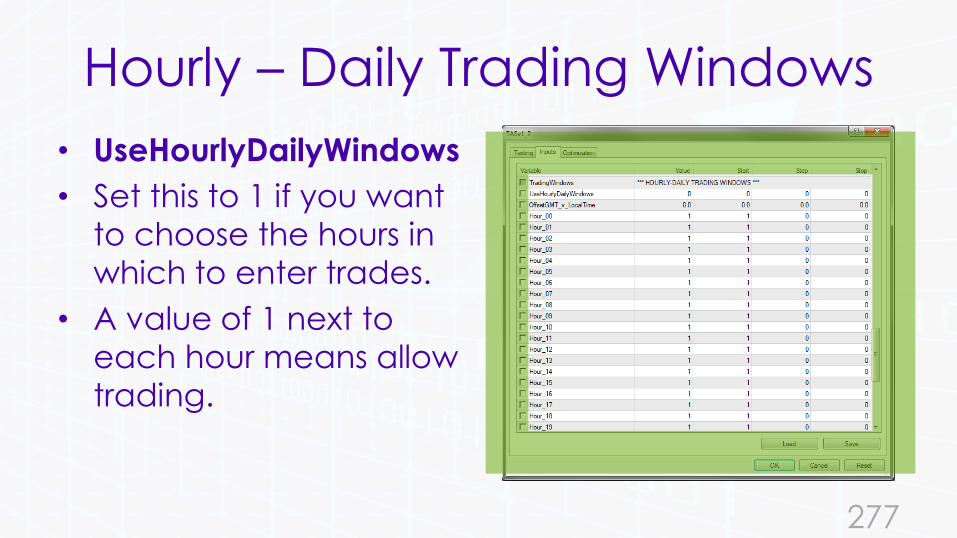
• UseHourlyDailyWindows
• Set this to 1 if you want
to choose the hours in
which to enter trades.
• A value of 1 next to
each hour means allow
trading.
277
Hourly – Daily Trading Windows
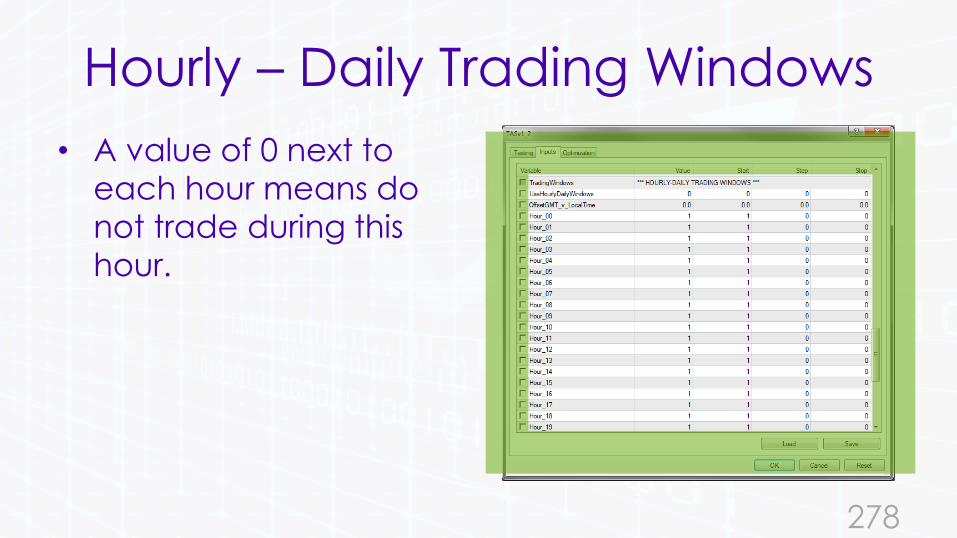
• A value of 0 next to
each hour means do
not trade during this
hour.
278
Hourly – Daily Trading Windows
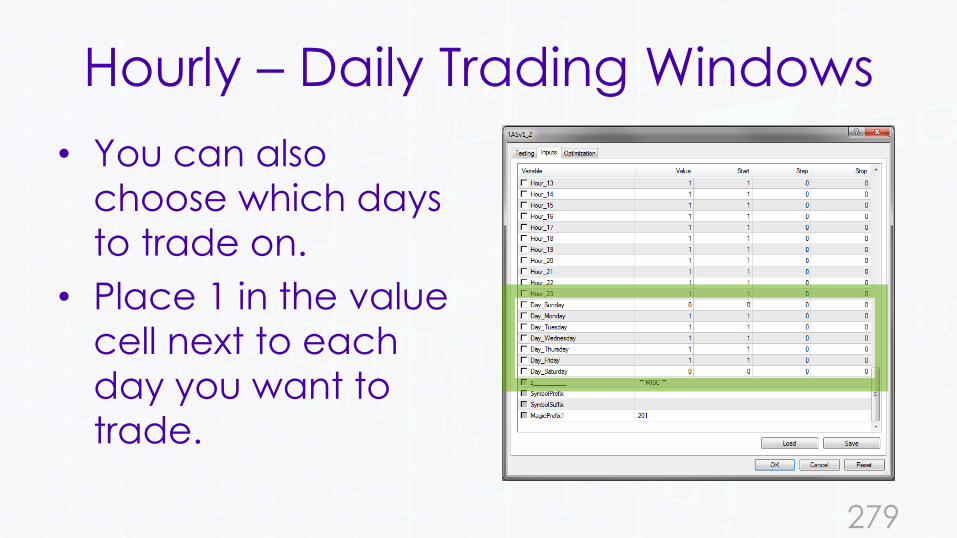
• You can also
choose which days
to trade on.
• Place 1 in the value
cell next to each
day you want to
trade.
279
Hourly – Daily Trading Windows
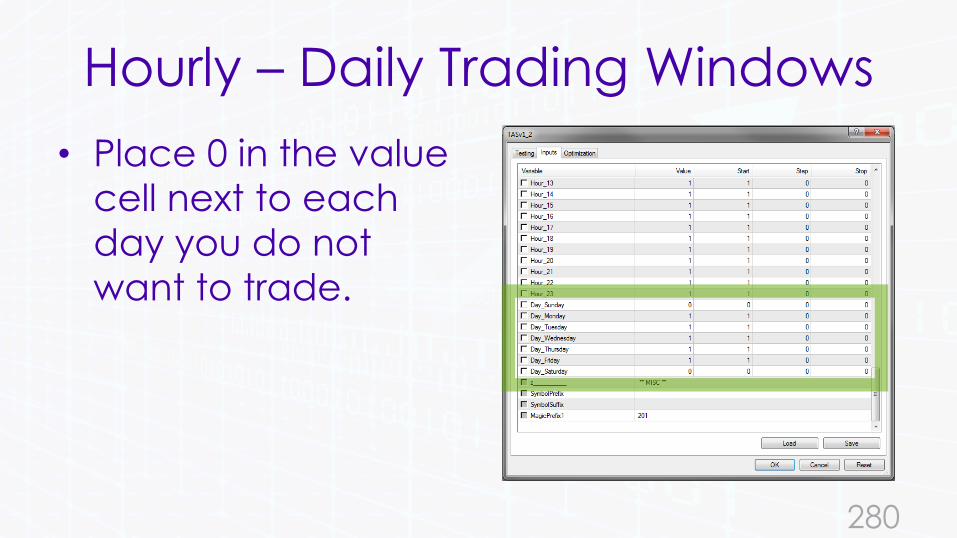
• Place 0 in the value
cell next to each
day you do not
want to trade.
280

281
Activation
• Go to Tools -> Options
• In the Expert Advisors tab, tick the
“Allow WebRequest for listed URL” and
add the following URL:
• http://www.automated-
trading.com.au/
282