hms installation procedure
TRANSCRIPT

Prescription Writing and Hospital
Management Software
Step by step
Installation Procedure
Dr.Javed Iqbal
M.B.,B.S M.R.C.G.P.[Intl]

Download HMS zip package from homepage of www.pkdoctors.com

Unzip package file

Files in the package
• 1- HMS_EVALUATION SETUP FILE(Main Program setup file)• Jamil Nastaliq font(Urdu font for doses and instructions)• Urdu Phonetic keyboard(To type Urdu data in program
fields)• AccessImagine(Plugin to capture pictures direct on
Registration or prescription forms)• Supporting file for MS Access(To enable right click options
in program)• Databank(Central databank to which all users will link for
data sharing)• Readit.txt(Short instructions for installation.

Installation sequence
• 1.If MS Access is not running on your windows, you need to install MS Access Runtime 2007. Download from this link
http://www.microsoft.com/en-us/download/confirmation.aspx?id=4438
2- Install all files one by one.
3- Copy “Databank folder and put it in a folder which you will share over the local network.
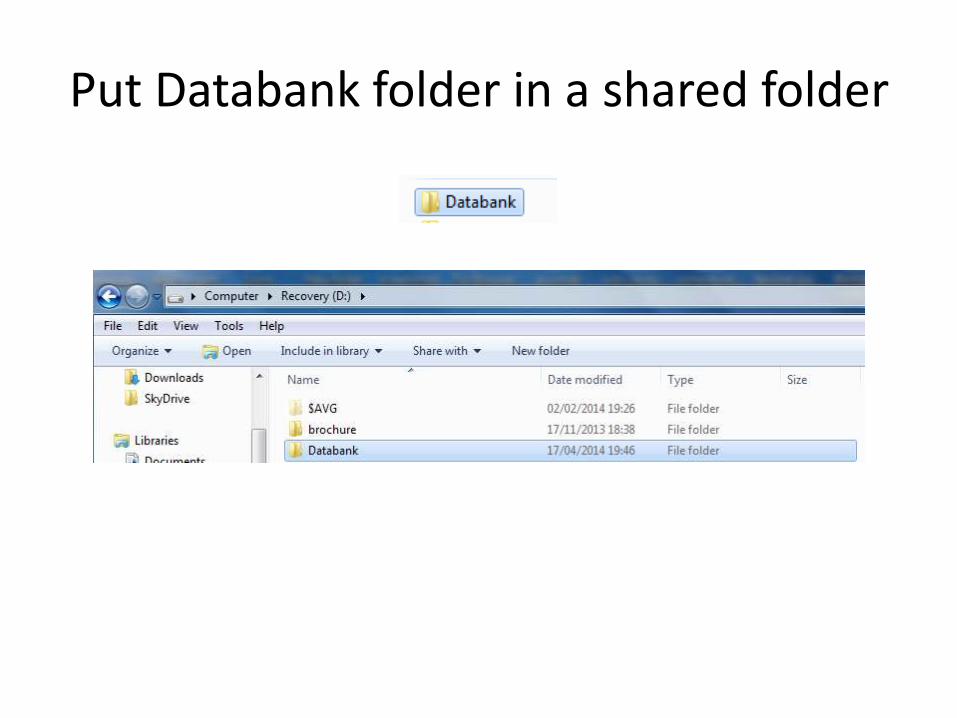
Put Databank folder in a shared folder

Run HMS_EVALUATION Setup File

Accept the agreement

Click on “browse” to select Program Files folder

Select Program Files Folder

Click Next

Click “Yes” and then “Next”
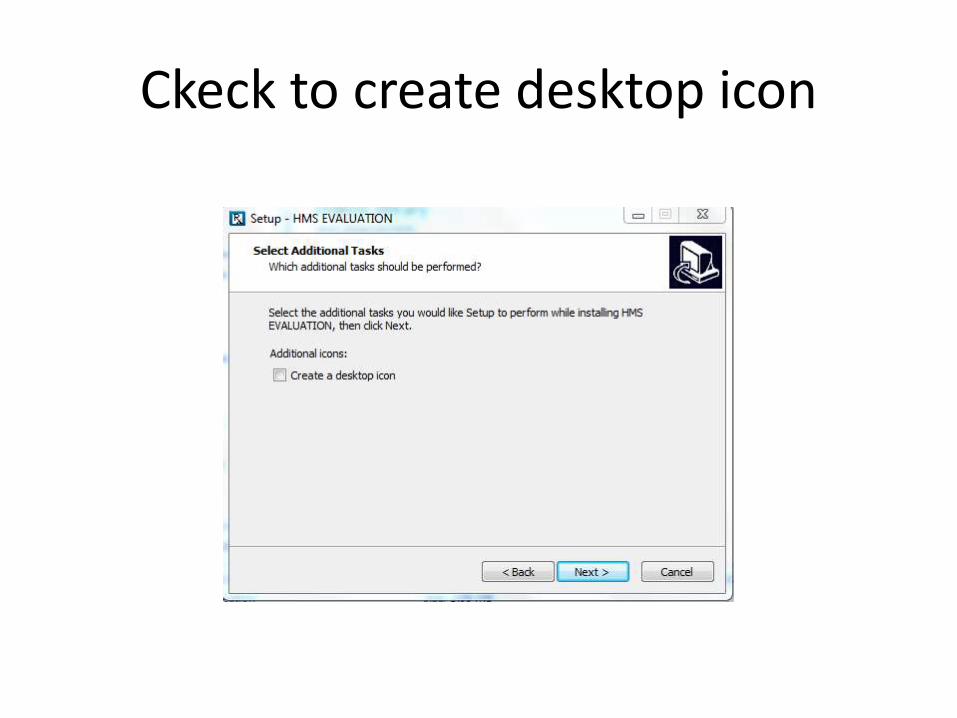
Ckeck to create desktop icon

After selecting checkbox click on “Next”
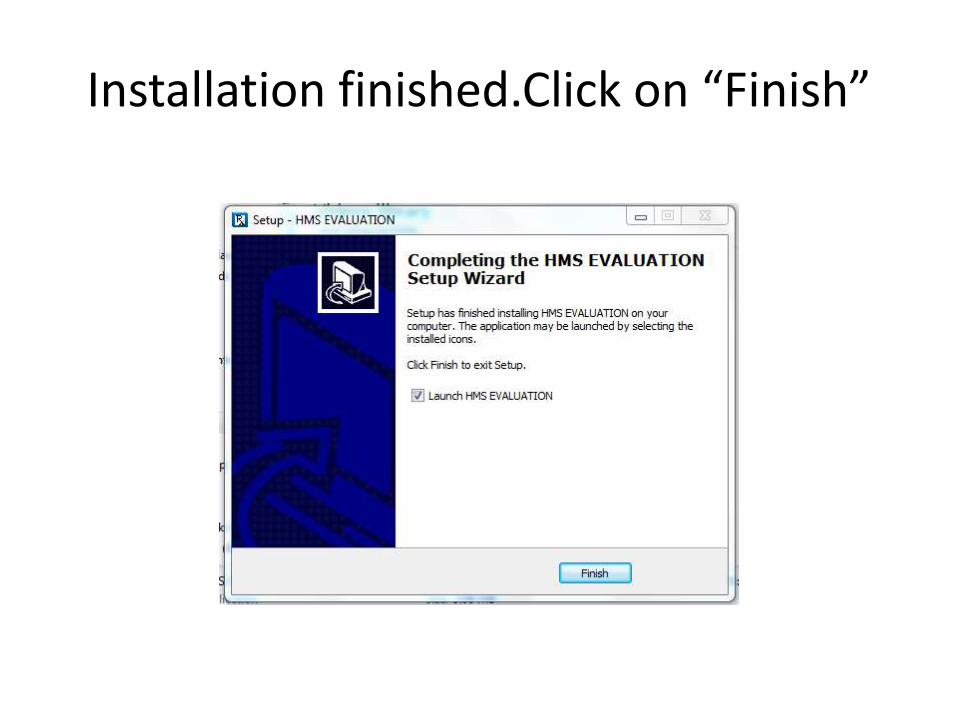
Installation finished.Click on “Finish”

A message prompts that you are not linked to any databank.Click on “Ok”

A new message appears.Click on “Yes”

A window opens to navigate to your databank.
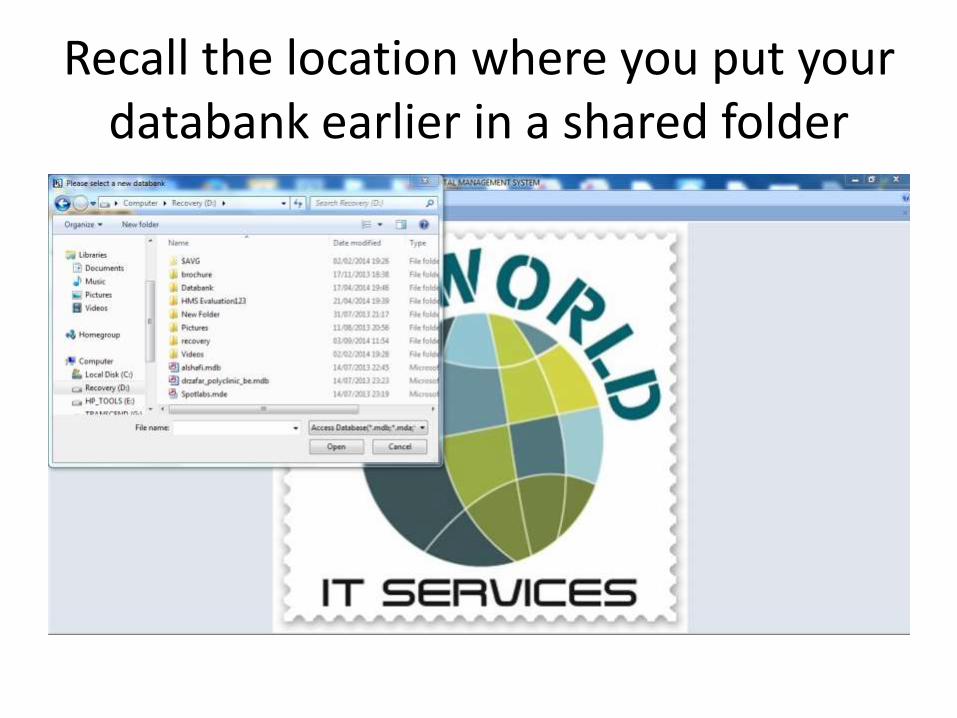
Recall the location where you put your databank earlier in a shared folder

Select Databank Folder and open it

Nothing shown in the folder.Click on “Access Database....” near “Open
Button”

Now you can see Databank File in the folder.Select it and click on “Open”

You get message that all tables have been reconnected successfully.Click on
“Ok”

Close the program.

Now open the program from desktop icon

A login form appears.Select or type “Admin” in pink box.Enter password
“admin” and click on “login”

Click on “Go Ahead”

Program opens.Installation is complete.Navigate to desired menu.