injuries to permanent teeth. clinical features, diagnosis
TRANSCRIPT

Injuries to permanent teeth. Clinical features, diagnosis and treatment
Epidemiology in permanent dentition:
In the permanent dentition, the most accident-prone time is between 8 and 10 years of age.
Boys appear to sustain injuries to permanent teeth twice as often as girls.
Falls during play account for most injuries to young permanent teeth.
In the teenage years, automobile accidents cause a significant number of dental injuries
Dental injuries usually affect one or two of the anterior teeth, and especially the maxillary central incisors
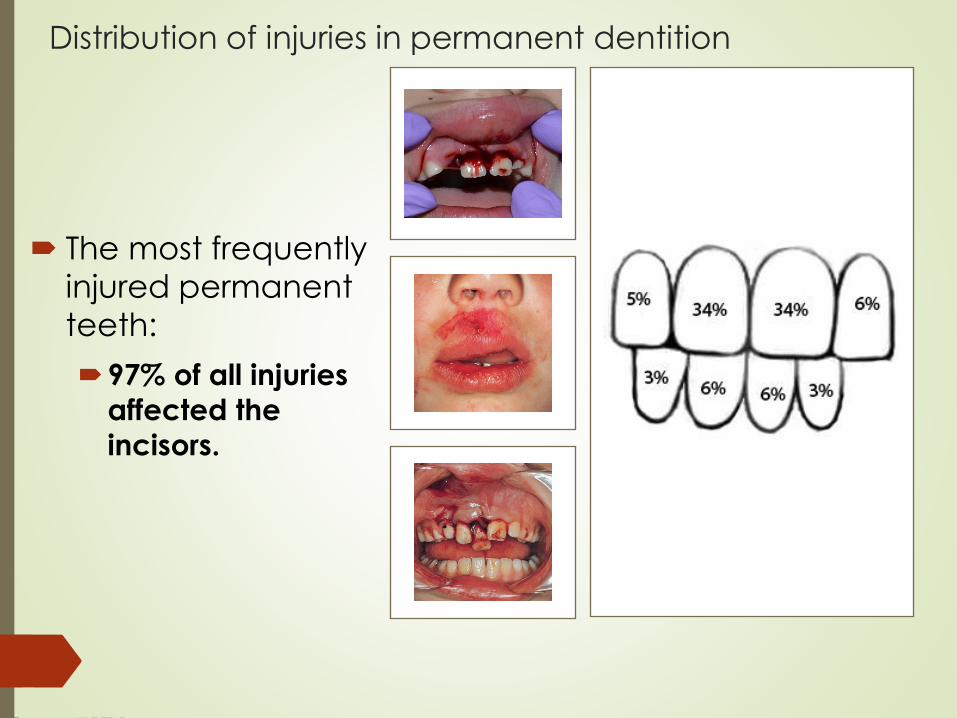
Distribution of injuries in permanent dentition
The most frequently
injured permanent
teeth:
97% of all injuries
affected the
incisors.
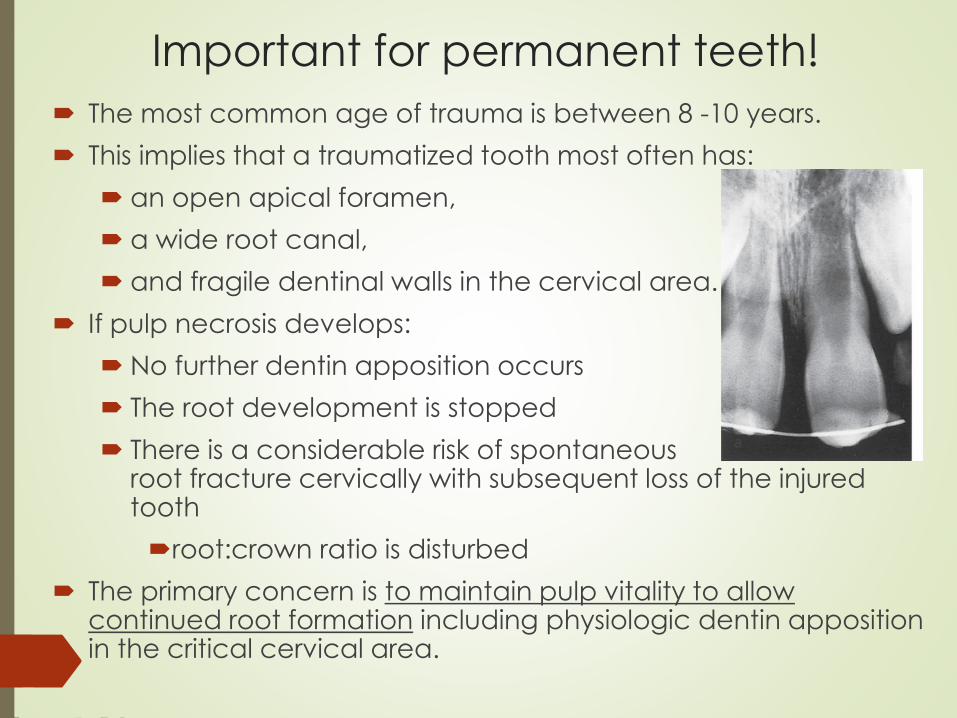
Important for permanent teeth!
The most common age of trauma is between 8 -10 years.
This implies that a traumatized tooth most often has:
an open apical foramen,
a wide root canal,
and fragile dentinal walls in the cervical area.
If pulp necrosis develops:
No further dentin apposition occurs
The root development is stopped
There is a considerable risk of spontaneous root fracture cervically with subsequent loss of the injured tooth
root:crown ratio is disturbed
The primary concern is to maintain pulp vitality to allow continued root formation including physiologic dentin apposition in the critical cervical area.
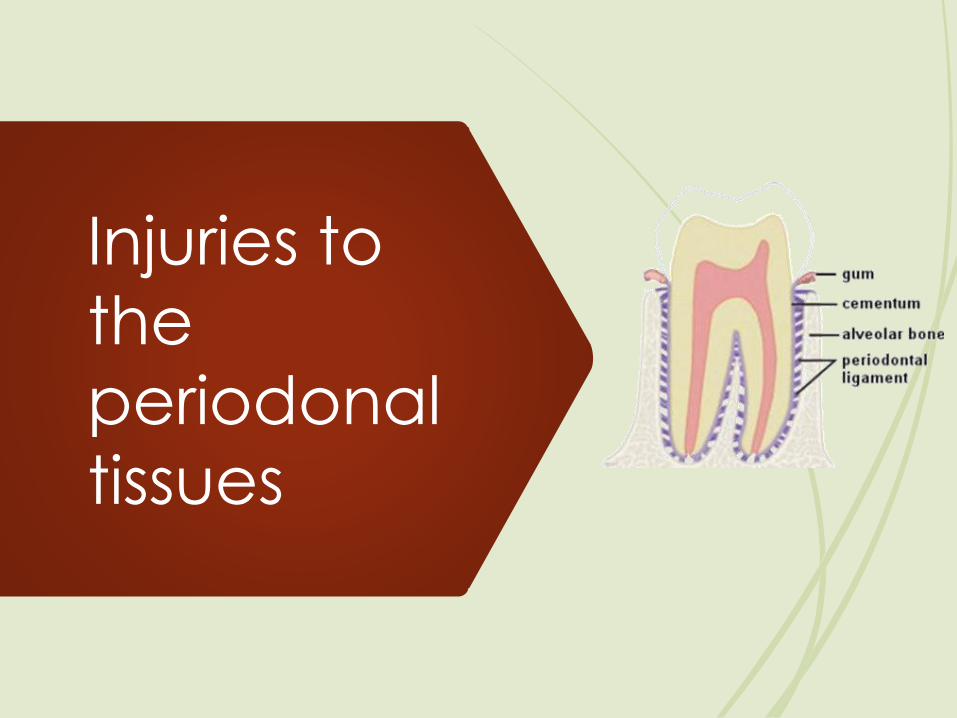
Injuries to
the
periodonal
tissues
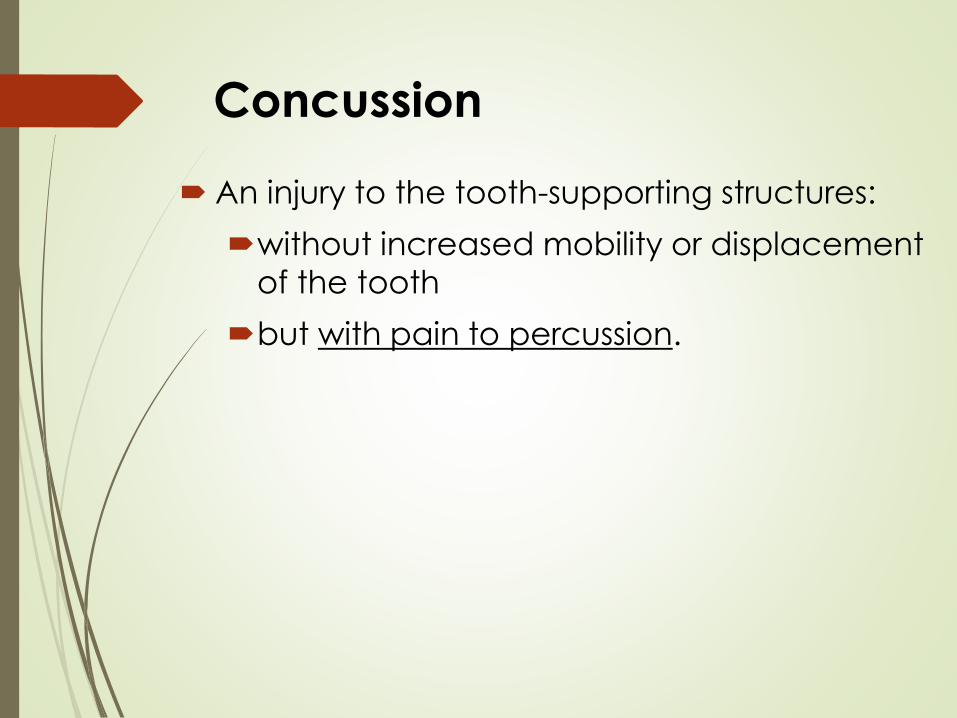
Concussion
An injury to the tooth-supporting structures:
without increased mobility or displacement
of the tooth
but with pain to percussion.

Concussion:
The neurovascular supply is usually intact
In a few areas bleeding edema
In most areas the periodontal ligament is
without damage
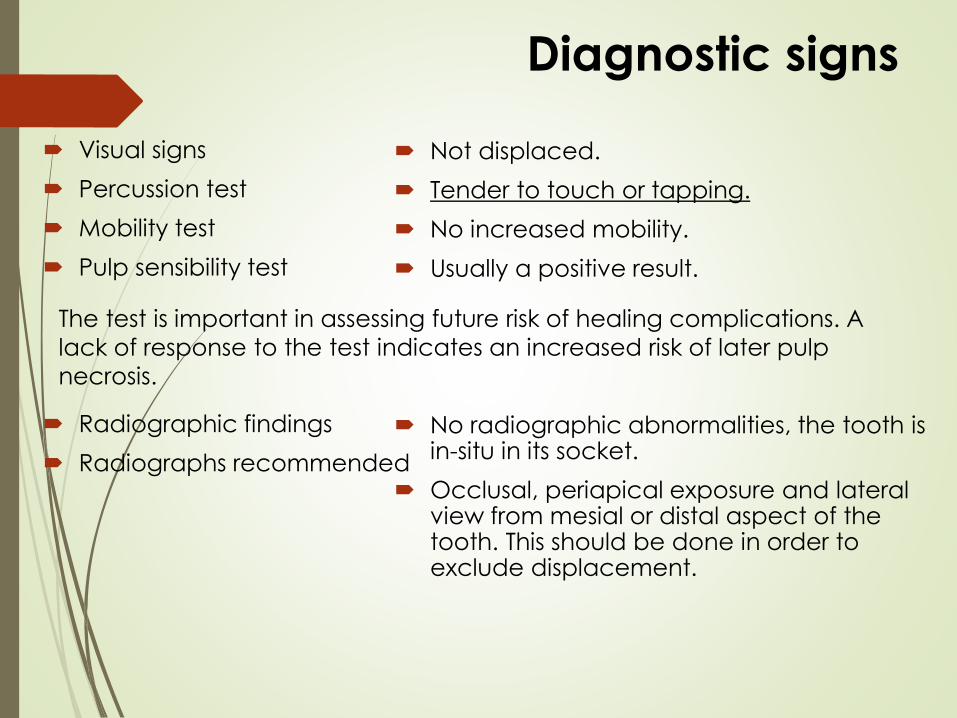
Diagnostic signs
Visual signs
Percussion test
Mobility test
Pulp sensibility test
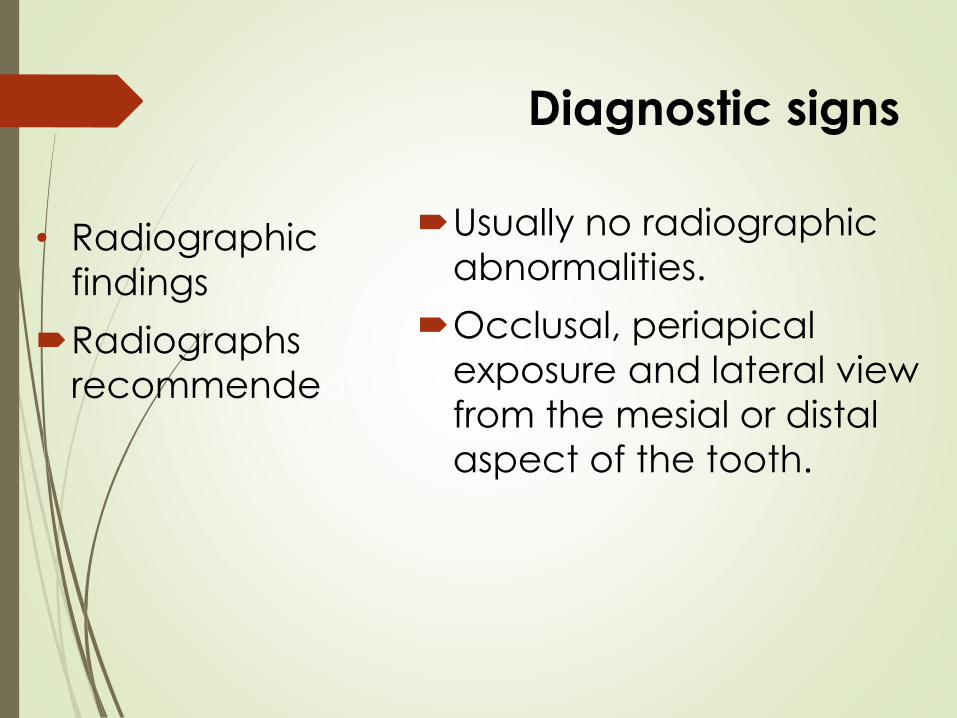
Radiographic findings
Radiographs recommended
Not displaced.
Tender to touch or tapping.
No increased mobility.
Usually a positive result.
No radiographic abnormalities, the tooth is in-situ in its socket.
Occlusal, periapical exposure and lateral view from mesial or distal aspect of the tooth. This should be done in order to exclude displacement.
The test is important in assessing future risk of healing complications. A
lack of response to the test indicates an increased risk of later pulp
necrosis.
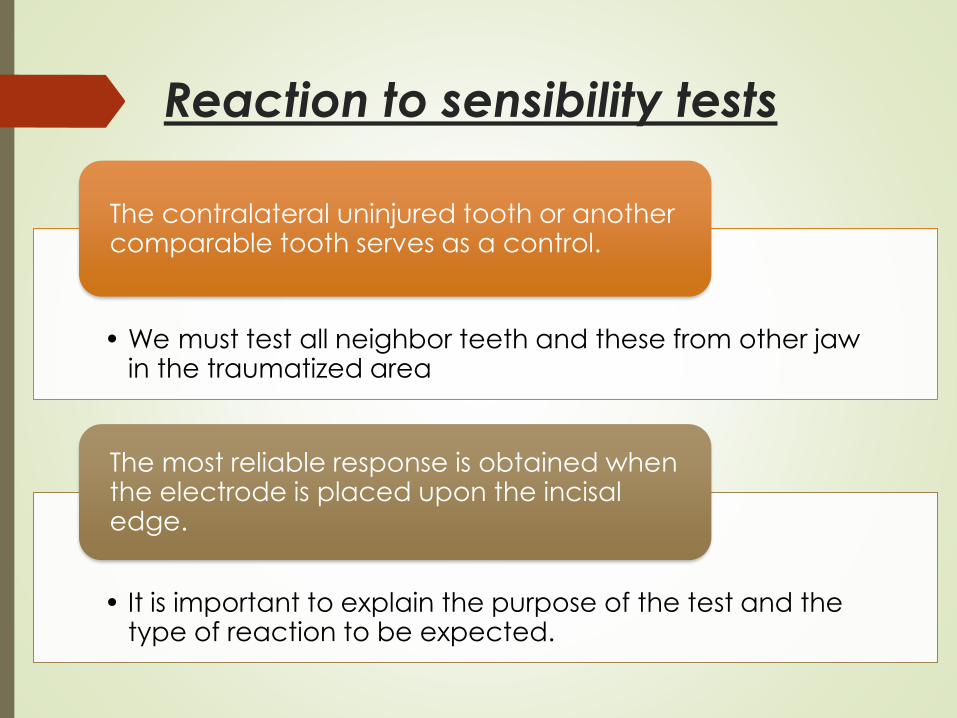
Reaction to sensibility tests
• We must test all neighbor teeth and these from other jaw in the traumatized area
The contralateral uninjured tooth or another comparable tooth serves as a control.
• It is important to explain the purpose of the test and the type of reaction to be expected.
The most reliable response is obtained when the electrode is placed upon the incisaledge.
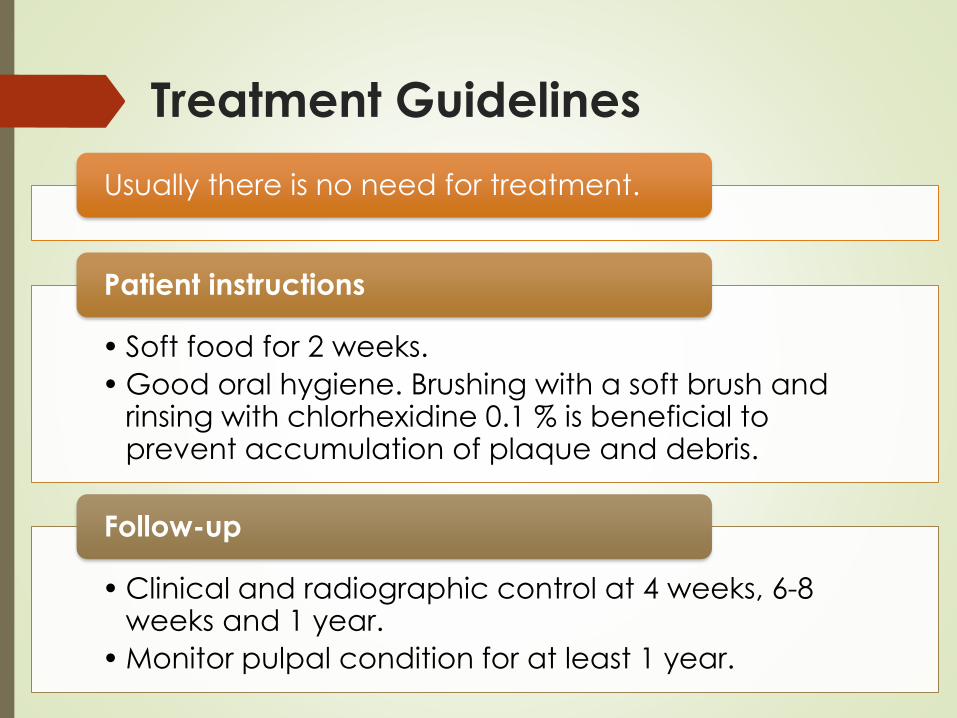
Treatment Guidelines
Usually there is no need for treatment.
• Soft food for 2 weeks.
• Good oral hygiene. Brushing with a soft brush and rinsing with chlorhexidine 0.1 % is beneficial to prevent accumulation of plaque and debris.
Patient instructions
• Clinical and radiographic control at 4 weeks, 6-8 weeks and 1 year.
• Monitor pulpal condition for at least 1 year.
Follow-up
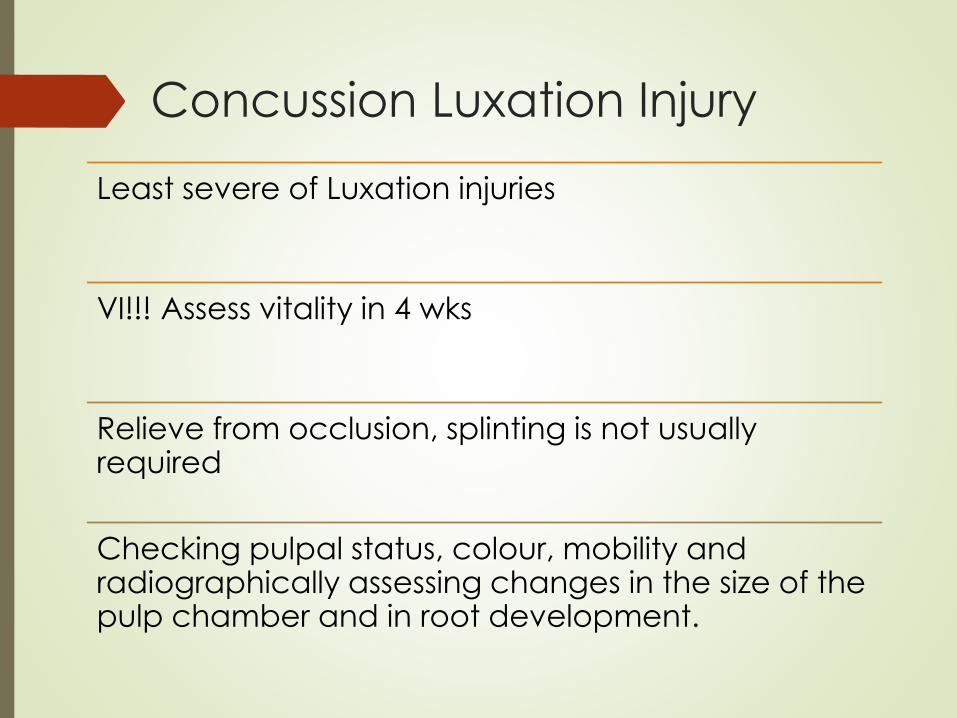
Concussion Luxation Injury
Least severe of Luxation injuries
VI!!! Assess vitality in 4 wks
Relieve from occlusion, splinting is not usually required
Checking pulpal status, colour, mobility and radiographically assessing changes in the size of the pulp chamber and in root development.
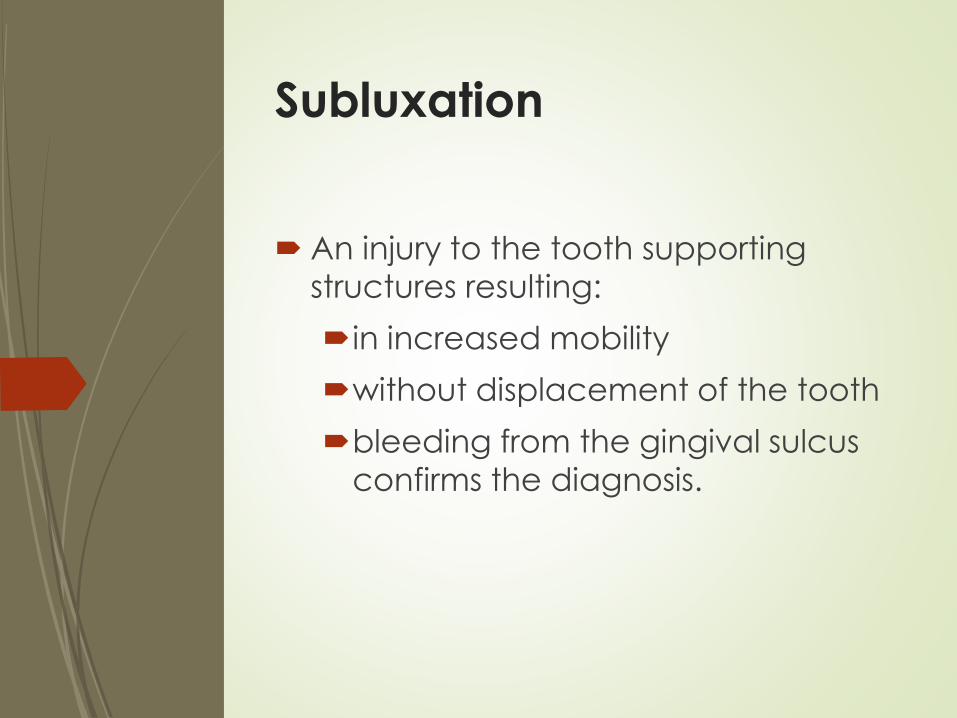
Subluxation
An injury to the tooth supporting
structures resulting:
in increased mobility
without displacement of the tooth
bleeding from the gingival sulcus
confirms the diagnosis.
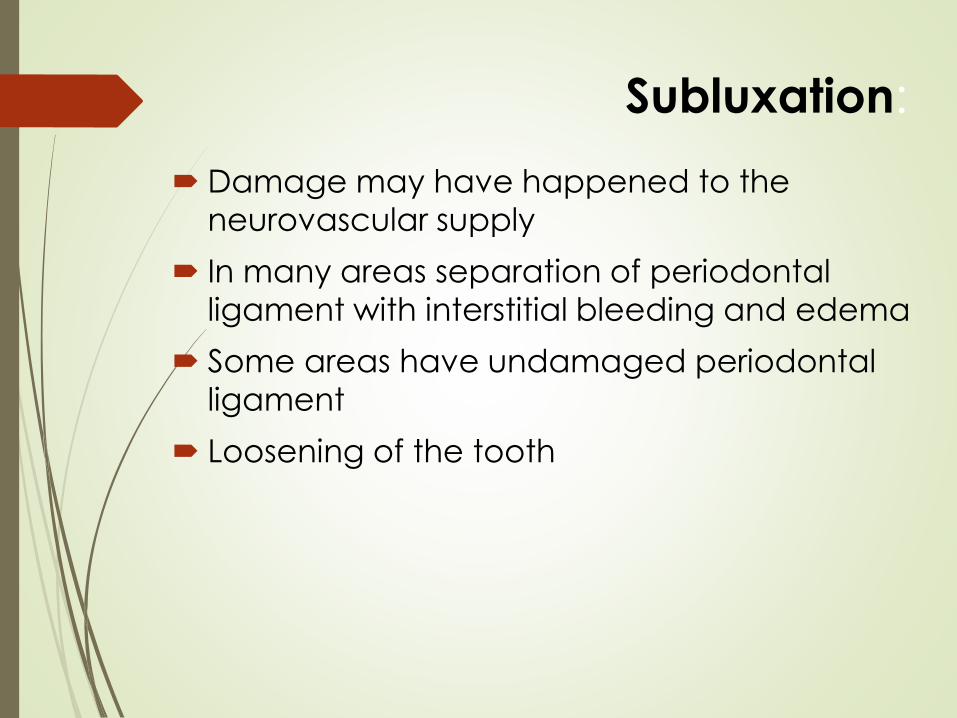
Subluxation:
Damage may have happened to the
neurovascular supply
In many areas separation of periodontal
ligament with interstitial bleeding and edema
Some areas have undamaged periodontal
ligament
Loosening of the tooth
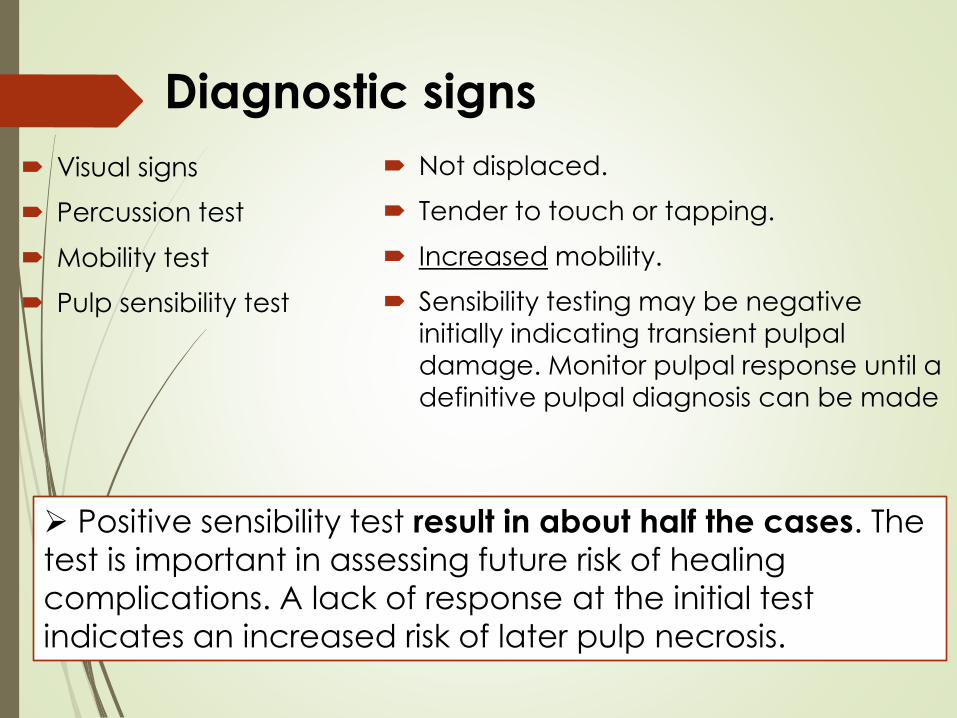
Diagnostic signs
Visual signs
Percussion test
Mobility test
Pulp sensibility test
Not displaced.
Tender to touch or tapping.
Increased mobility.
Sensibility testing may be negative
initially indicating transient pulpaldamage. Monitor pulpal response until a
definitive pulpal diagnosis can be made
➢ Positive sensibility test result in about half the cases. The
test is important in assessing future risk of healing
complications. A lack of response at the initial test
indicates an increased risk of later pulp necrosis.
Diagnostic signs
• Radiographic
findings
Radiographs
recommended
Usually no radiographic
abnormalities.
Occlusal, periapical
exposure and lateral view
from the mesial or distal
aspect of the tooth.
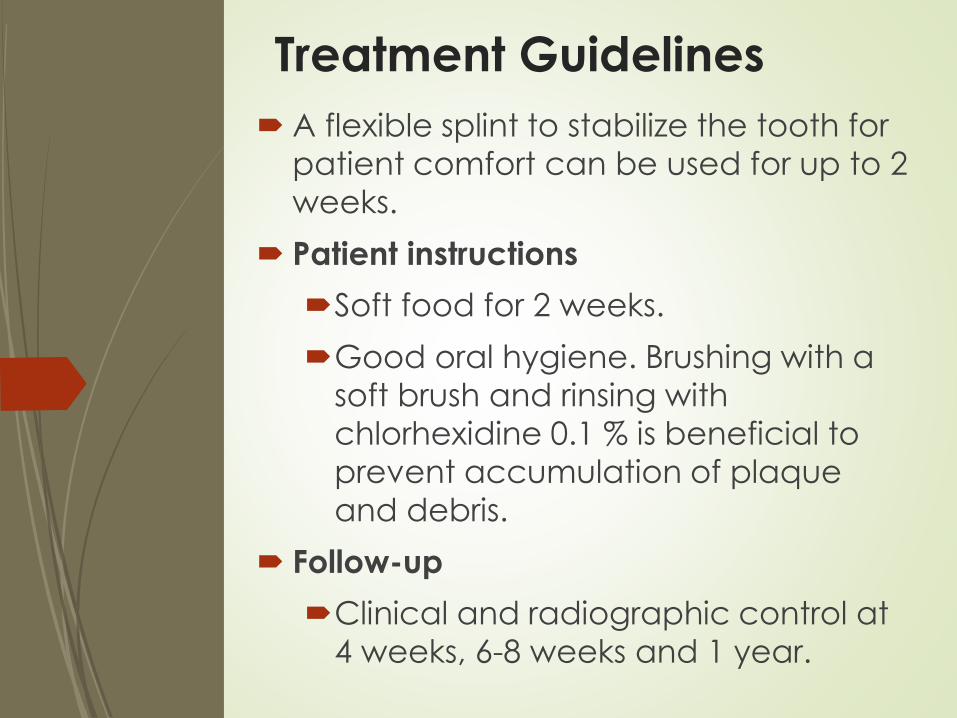
Treatment Guidelines
A flexible splint to stabilize the tooth for
patient comfort can be used for up to 2
weeks.
Patient instructions
Soft food for 2 weeks.
Good oral hygiene. Brushing with a
soft brush and rinsing with
chlorhexidine 0.1 % is beneficial to
prevent accumulation of plaque
and debris.
Follow-up
Clinical and radiographic control at
4 weeks, 6-8 weeks and 1 year.
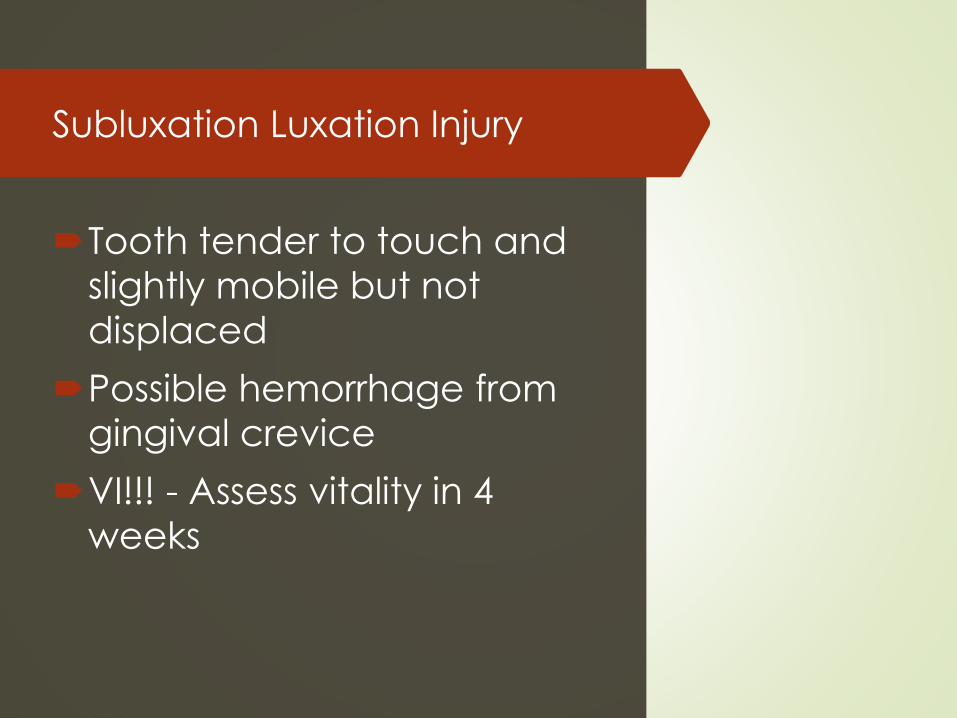
Subluxation Luxation Injury
Tooth tender to touch and
slightly mobile but not
displaced
Possible hemorrhage from
gingival crevice
VI!!! - Assess vitality in 4
weeks

Partial, axial displacement of the tooth out of its
socket
Partial or total separation of the periodontal
ligament resulting in loosening and displacement
of the tooth
The tooth appears elongated and is extremely
mobile.
There is also bleeding from the gingival sulcus
Extrusion
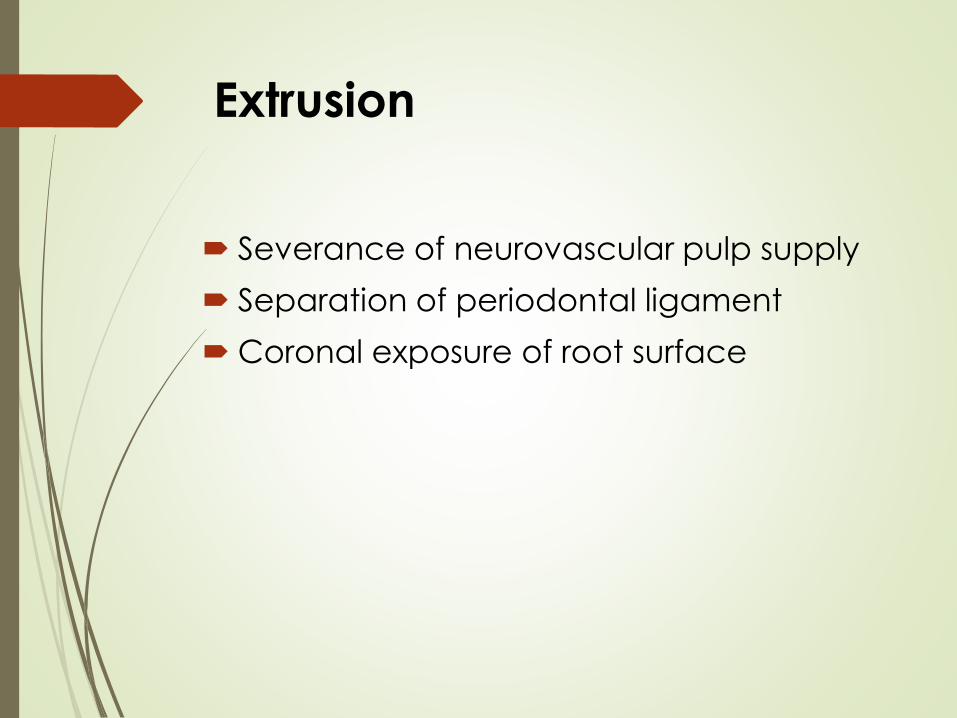
Extrusion
Severance of neurovascular pulp supply
Separation of periodontal ligament
Coronal exposure of root surface
Diagnostic signs
Visual signs
Percussion test
Mobility test
Pulp sensibility test
Appears elongated.
Tender.
Excessively mobile.
Usually lack of response except for
teeth with minor displacements.
The test is important in assessing risk
of healing complications. A
positive result to the initial test
indicates a reduced risk of later
pulp necrosis.
In immature, not fully developed teeth, pulpal
revascularization usually occurs.
Diagnostic signs
• Radiographic findings
Radiographs
recommended
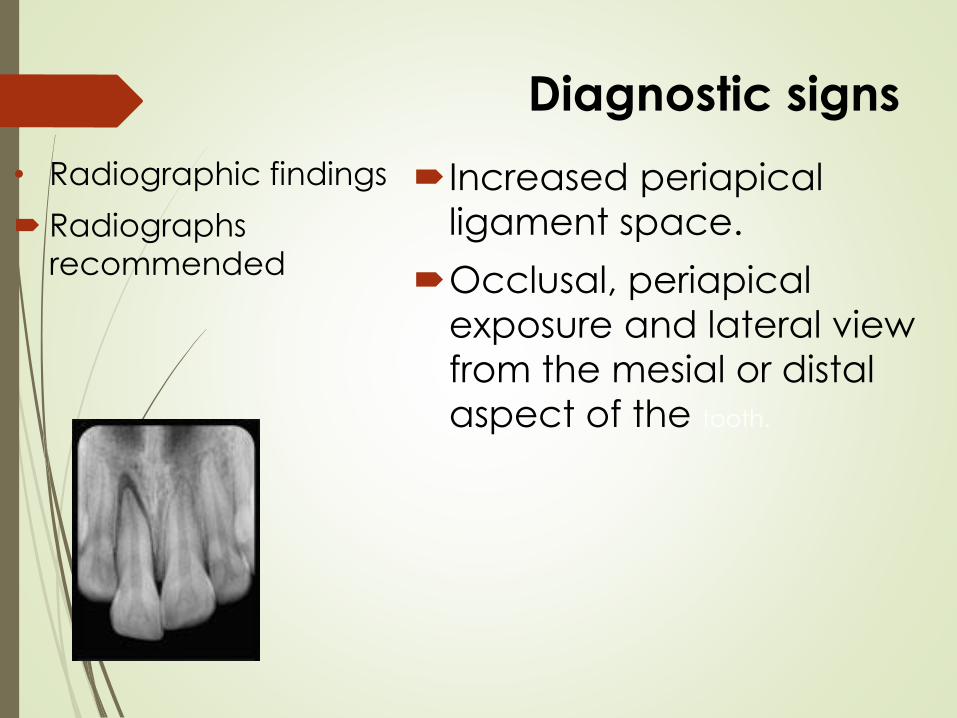
Increased periapical
ligament space.
Occlusal, periapical
exposure and lateral view
from the mesial or distal
aspect of the tooth.
Treatment
The exposed root surface of the displaced tooth is cleansed with saline before repositioning.
Reposition the tooth by gently re-inserting it into the tooth socket with axial digital pressure (local anesthesia is usually not necessary).
Stabilize the tooth for 2 weeks using a flexible splint.
Monitoring the pulpal condition is essential to diagnose associated root resorption.
TreatmentPatient instructions
Soft food for 2 weeks.
Good oral hygiene. Brushing with a soft brush and rinsing with chlorhexidine 0.1 % is beneficial to prevent accumulation of plaque and debris.
Follow-up
Clinical and radiographic control and splint removal after 2 weeks.
Clinical and radiographic control at 4 weeks, 6-8 weeks, 6 months, and 1 year.
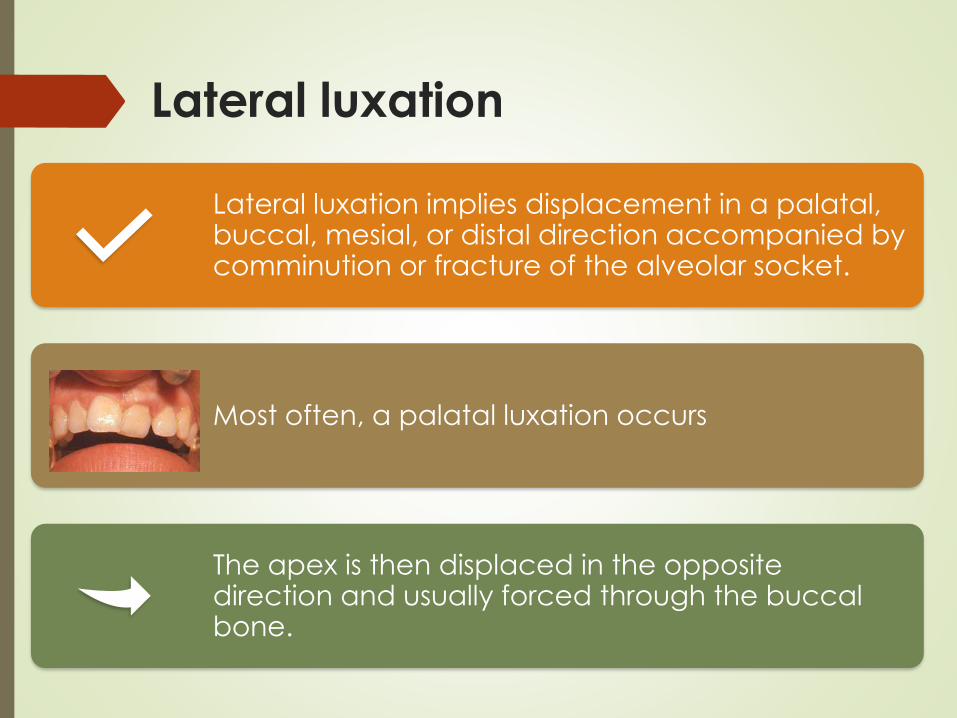
Lateral luxation
Lateral luxation implies displacement in a palatal, buccal, mesial, or distal direction accompanied by comminution or fracture of the alveolar socket.
Most often, a palatal luxation occurs
The apex is then displaced in the opposite direction and usually forced through the buccal bone.
Lateral luxation
Severance of neurovascular pulp supply
Entrapment of apex
Fracture of labial bone plate
Severance of periodontal ligament
Compression of periodontal ligament
Lateral luxation
Consider the need for local
anesthesia.
Reposition the tooth gently with
finger pressure on the incisal
edge.
Check the position
radiographically.
Stabilize the tooth with a flexible
splint.
Maintain the splint for 2 - 4
weeks.
Lateral luxation – in a palatal direction
Administer local anesthesia.
Palpate the vestibular sulcus, and localize the displaced root apex. Apply firm, digital pressure in an incisal direction and move the tooth back through the fenestration into the socket.
Reposition the tooth back to its original position by axial pressure.
Reposition fractured bone with finger pressure.
Take a radiograph to verify correct position.
Stabilize the tooth with a flexible splint.
Maintain the splint for a minimum of 4 weeks.
Take a radiograph after about 4 weeks. If there are signs of marginal bone breakdown, the splint is maintained for another 3–4 weeks.
Lateral luxation
Monitoring the pulpal condition is essential to diagnose root resorption.
VI!!! Assess vitality in 4 weeks
If the pulp becomes necrotic, root canal treatment is indicated to prevent infection related root resorption.
Patient instructions
Soft food for 1 week.
Good oral hygiene.
Follow-up
Clinical and radiographic control after 2 weeks.
Clinical and radiographic control and splint removal after 4 weeks.
Clinical and radiographic control at 6-8 weeks, 6 months, 1 year and yearly for 5 years.
Intrusion - Intrusive luxation
Displacement of the tooth into the alveolar bone.
This injury is accompanied by
comminution or fracture of the alveolar
socket.
Disruption of neurovascular pulp supply
Contusion of the periodontal ligament
and alveolar bone
Laceration of the periodontal ligament
Disruption of marginal gingival seal
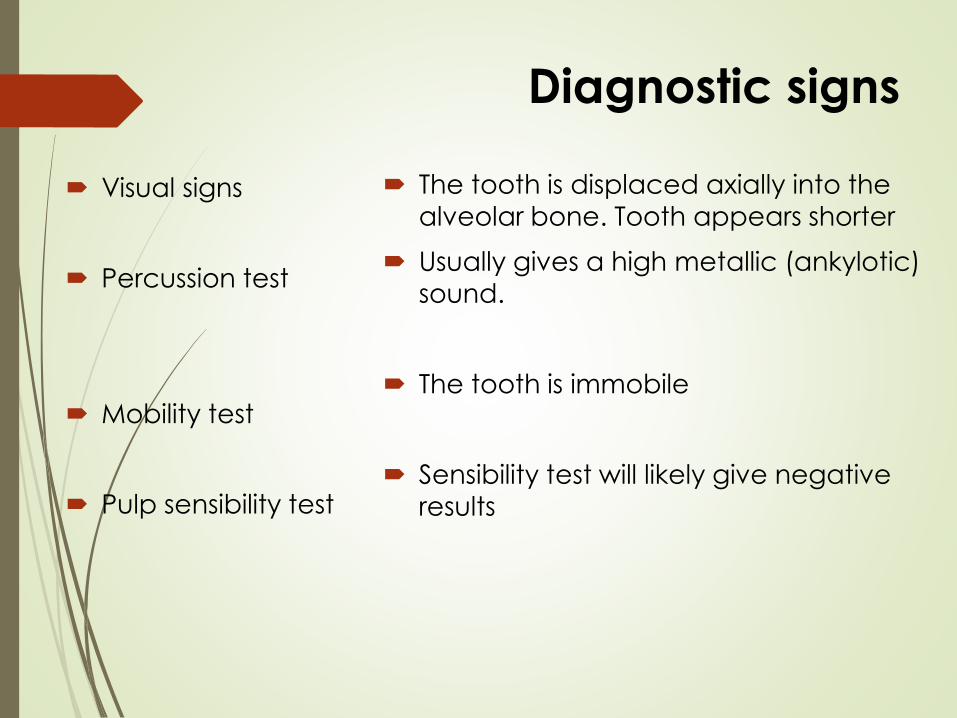
Diagnostic signs
Visual signs
Percussion test
Mobility test
Pulp sensibility test
The tooth is displaced axially into the
alveolar bone. Tooth appears shorter
Usually gives a high metallic (ankylotic)
sound.
The tooth is immobile
Sensibility test will likely give negative
results
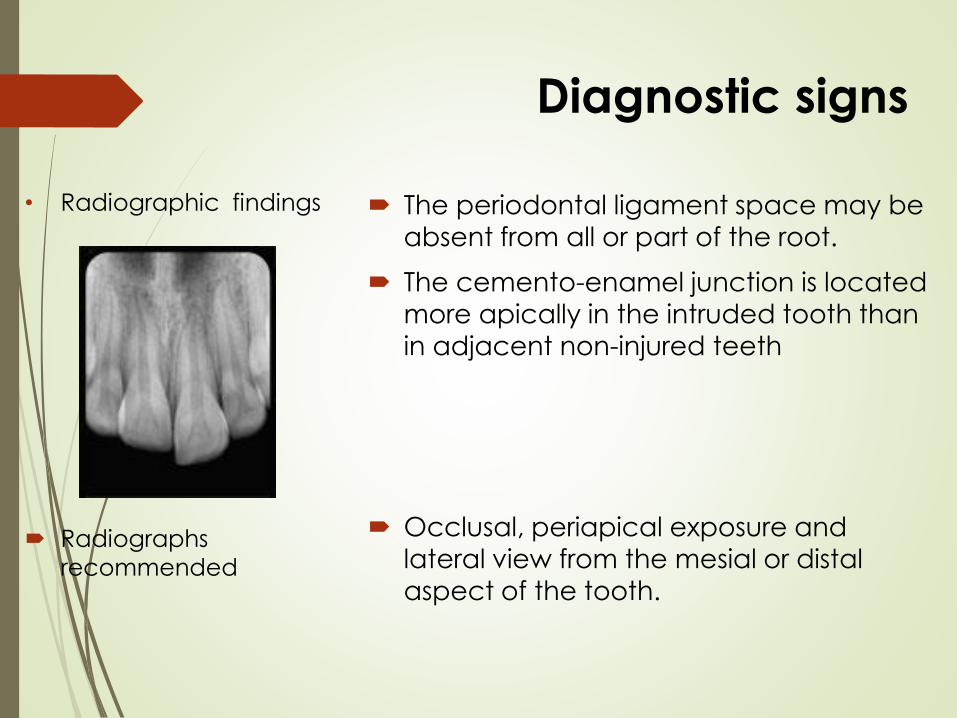
Diagnostic signs
• Radiographic findings
Radiographs
recommended
The periodontal ligament space may be
absent from all or part of the root.
The cemento-enamel junction is located
more apically in the intruded tooth than
in adjacent non-injured teeth
Occlusal, periapical exposure and
lateral view from the mesial or distal
aspect of the tooth.
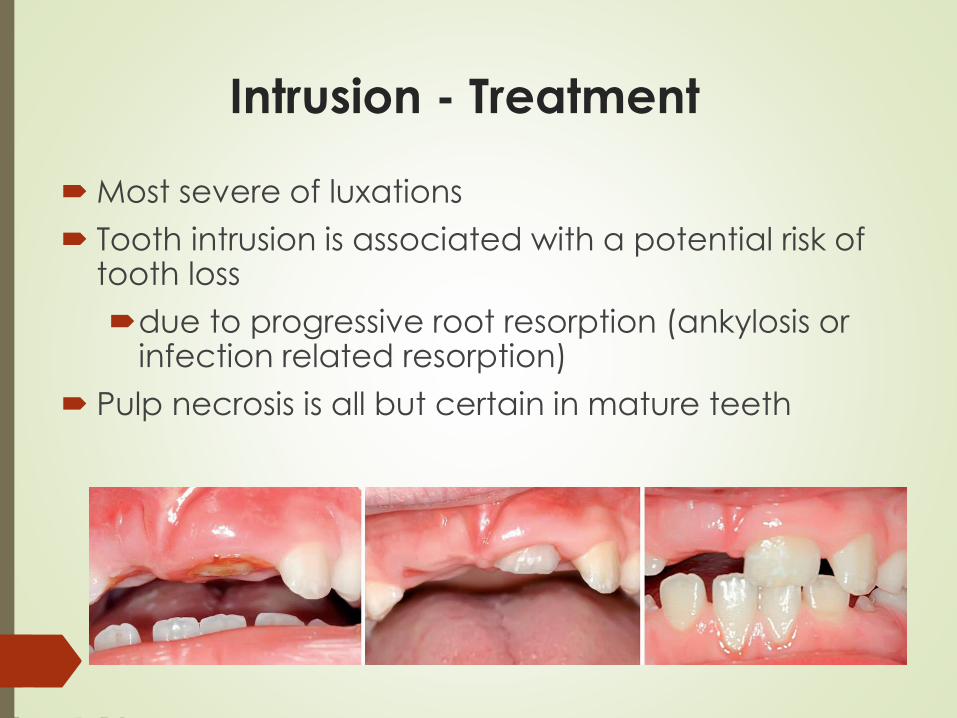
Intrusion - Treatment
Most severe of luxations
Tooth intrusion is associated with a potential risk of tooth loss
due to progressive root resorption (ankylosis or infection related resorption)
Pulp necrosis is all but certain in mature teeth
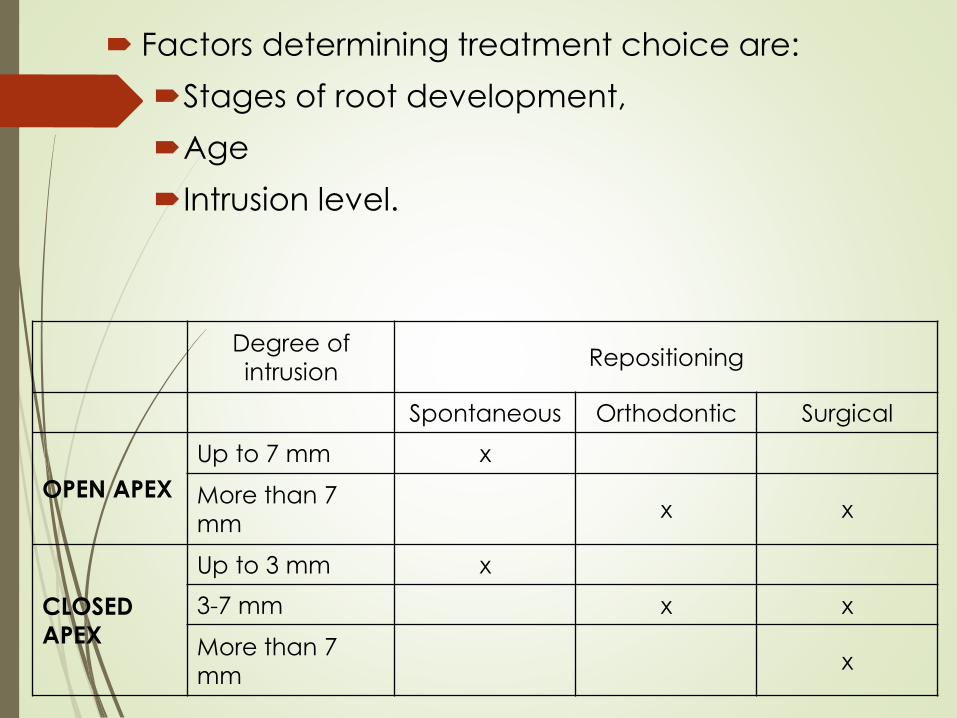
Factors determining treatment choice are:
Stages of root development,
Age
Intrusion level.
Degree of
intrusionRepositioning
Spontaneous Orthodontic Surgical
OPEN APEX
Up to 7 mm x
More than 7
mmx x
CLOSED
APEX
Up to 3 mm x
3-7 mm x x
More than 7
mmx
Treatment
Patient instructions
Soft food for 1 week.
Good oral hygiene.
Follow-up
Control after 2 weeks.
Control after 4 weeks, 6-8 weeks, 6 months, 1 year and yearly for 5 years
In all LUXATION and especially INTRUSIONinjuries, the apical neurovascular bundle and attachment apparatus will be affected to some degree>>>loss of vitality & internal/external resorption
Treatment:
Common for all treatments
Endodontic treatment can prevent the
necrotic pulp from initiating infection-
related root resorption.
This treatment should be considered in all
cases with completed root formation
where the chance of pulp
revascularization is unlikely.
Endodontic therapy should preferably be
initiated within 3-4 weeks post-trauma.
A temporary filling with calcium
hydroxide is recommended.
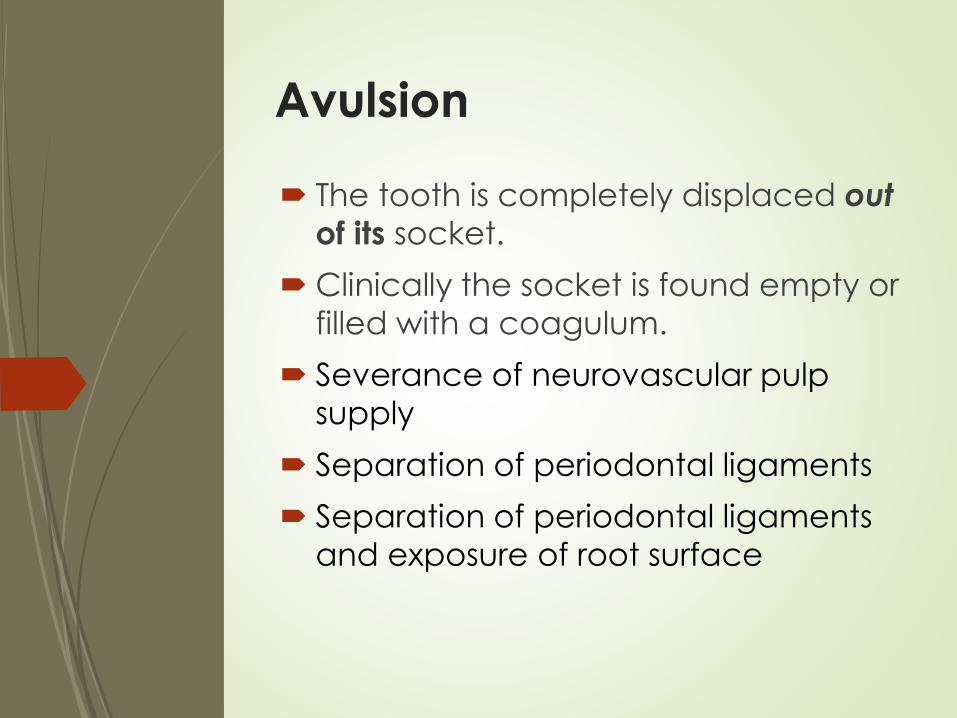
Avulsion
The tooth is completely displaced out
of its socket.
Clinically the socket is found empty or
filled with a coagulum.
Severance of neurovascular pulp
supply
Separation of periodontal ligaments
Separation of periodontal ligaments
and exposure of root surface
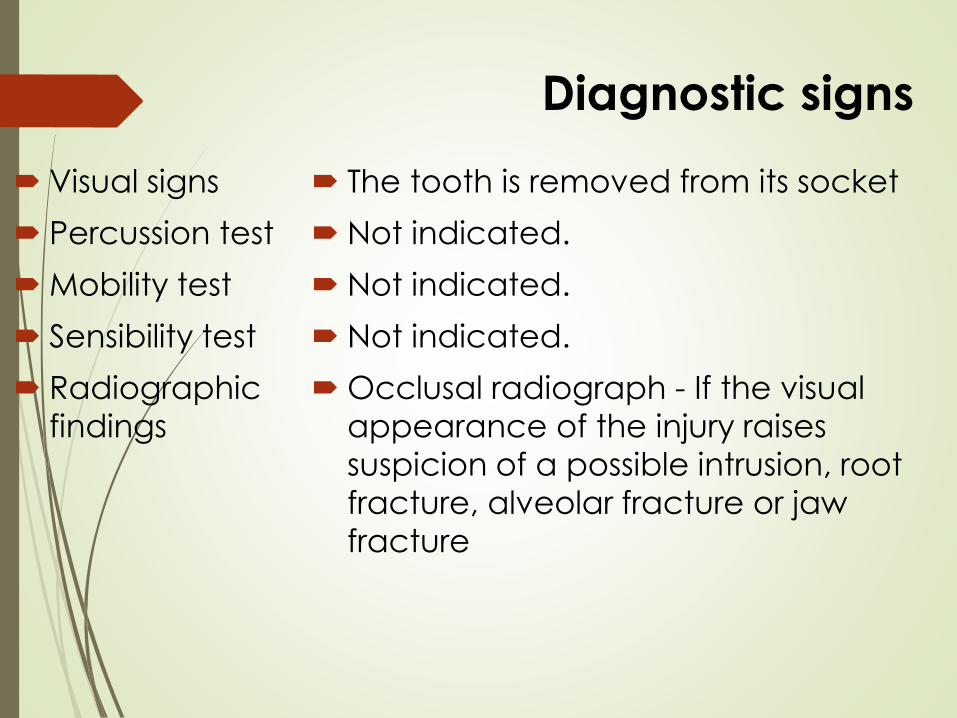
Diagnostic signs
Visual signs
Percussion test
Mobility test
Sensibility test
Radiographic
findings
The tooth is removed from its socket
Not indicated.
Not indicated.
Not indicated.
Occlusal radiograph - If the visual
appearance of the injury raises
suspicion of a possible intrusion, root
fracture, alveolar fracture or jaw
fracture
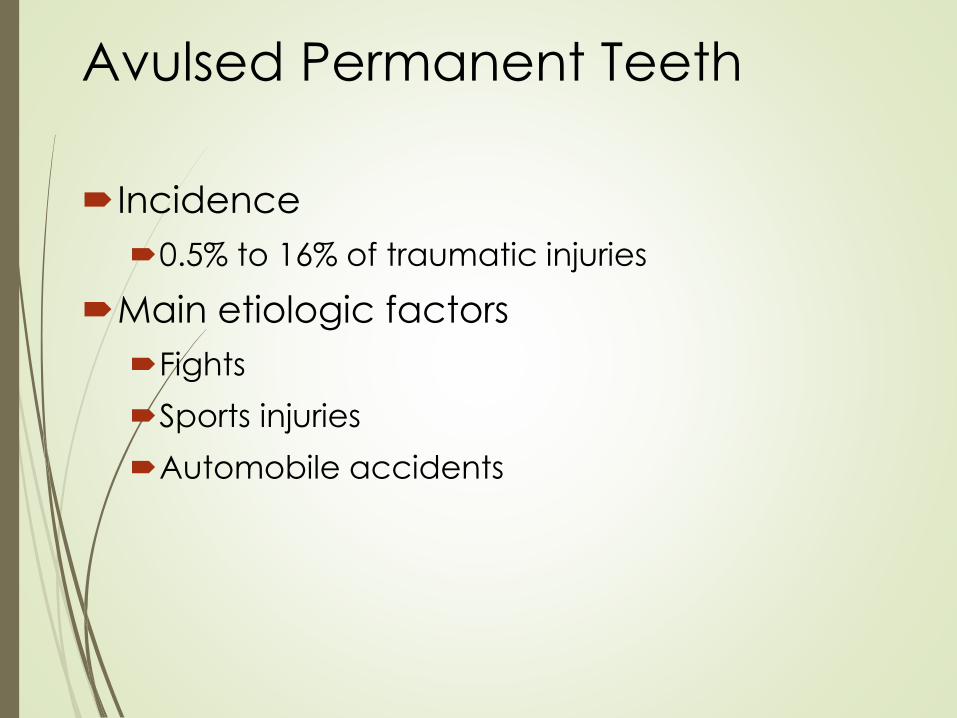
Avulsed Permanent Teeth
Incidence
0.5% to 16% of traumatic injuries
Main etiologic factors
Fights
Sports injuries
Automobile accidents
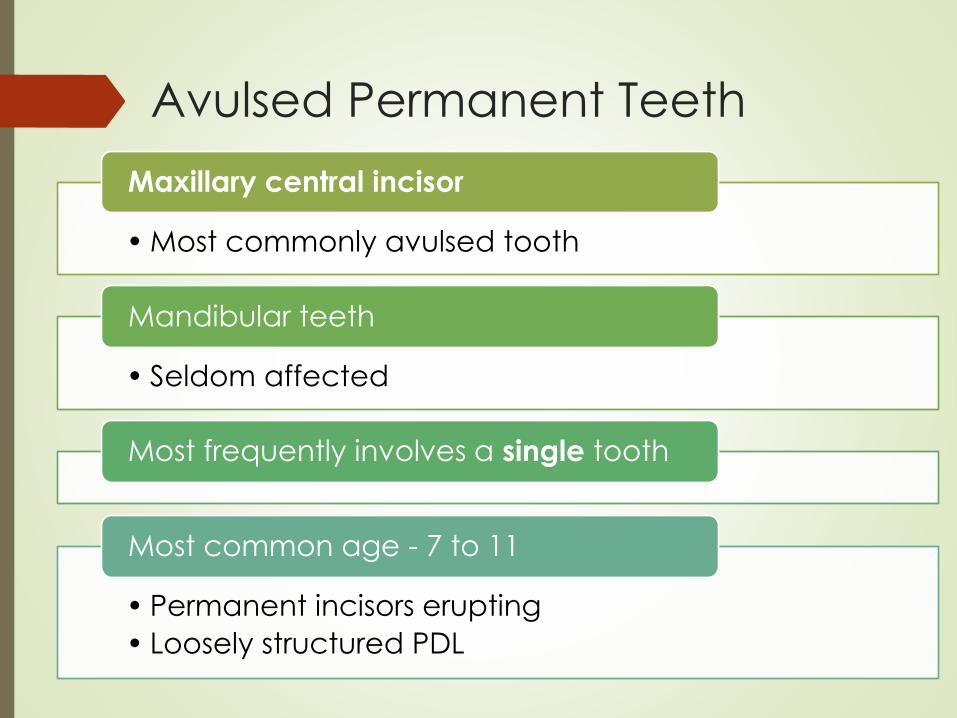
Avulsed Permanent Teeth
• Most commonly avulsed tooth
Maxillary central incisor
• Seldom affected
Mandibular teeth
Most frequently involves a single tooth
• Permanent incisors erupting
• Loosely structured PDL
Most common age - 7 to 11
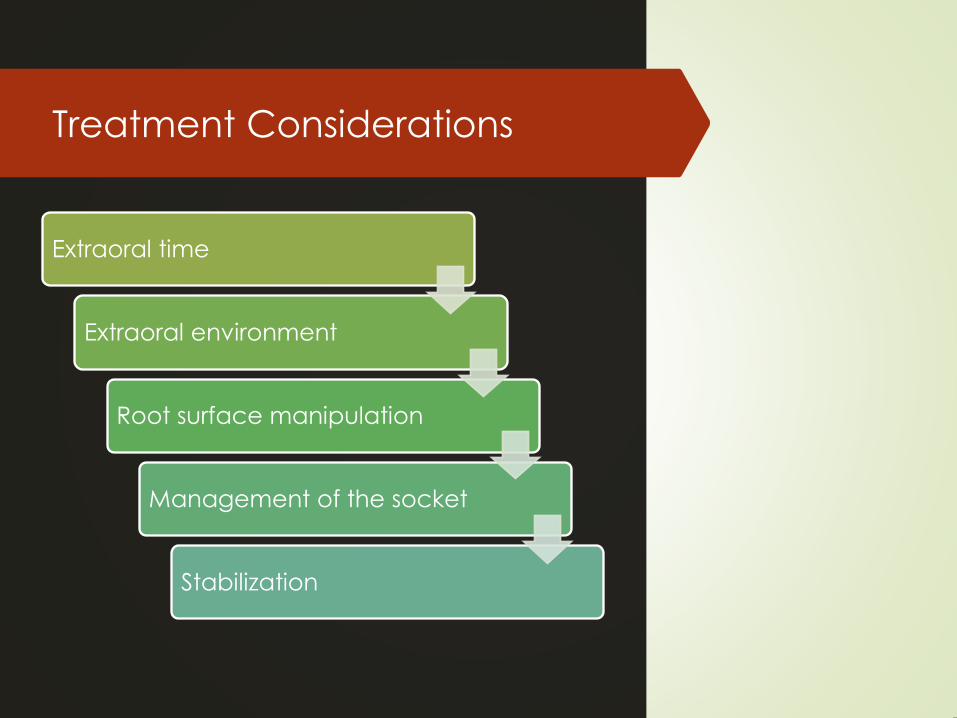
Treatment Considerations
Extraoral time
Extraoral environment
Root surface manipulation
Management of the socket
Stabilization
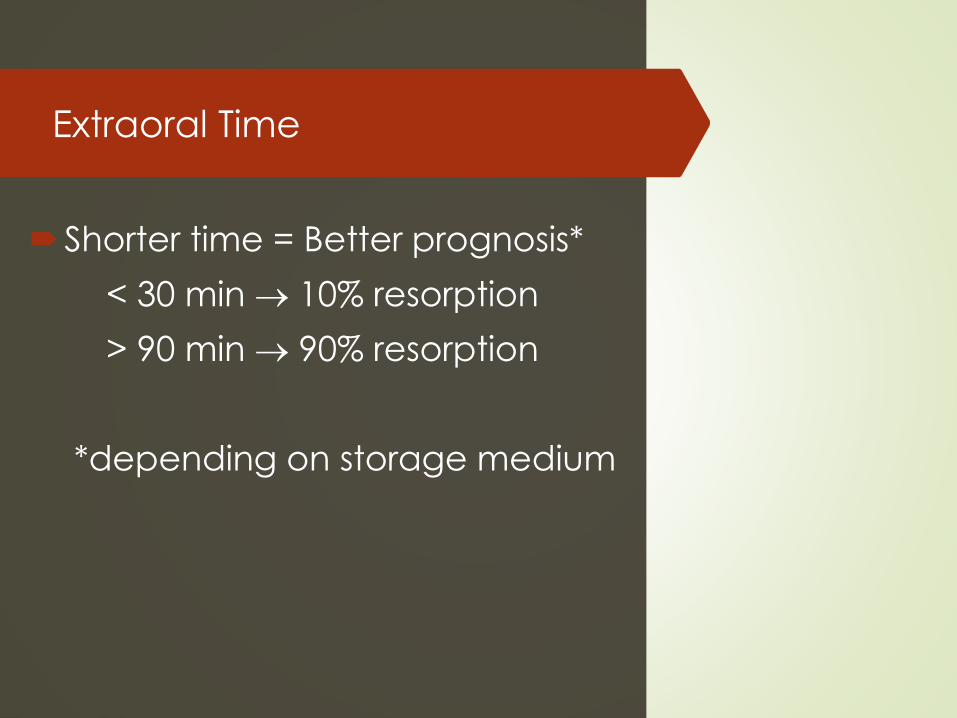
Extraoral Time
Shorter time = Better prognosis*
< 30 min → 10% resorption
> 90 min → 90% resorption
*depending on storage medium
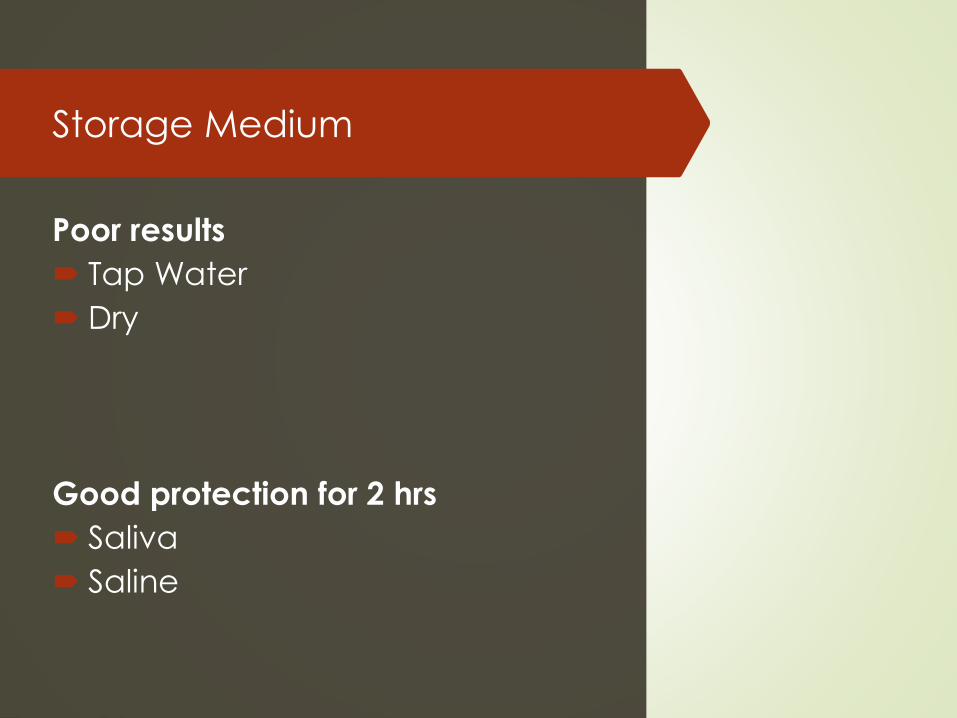
Storage Medium
Poor results
Tap Water
Dry
Good protection for 2 hrs
Saliva
Saline
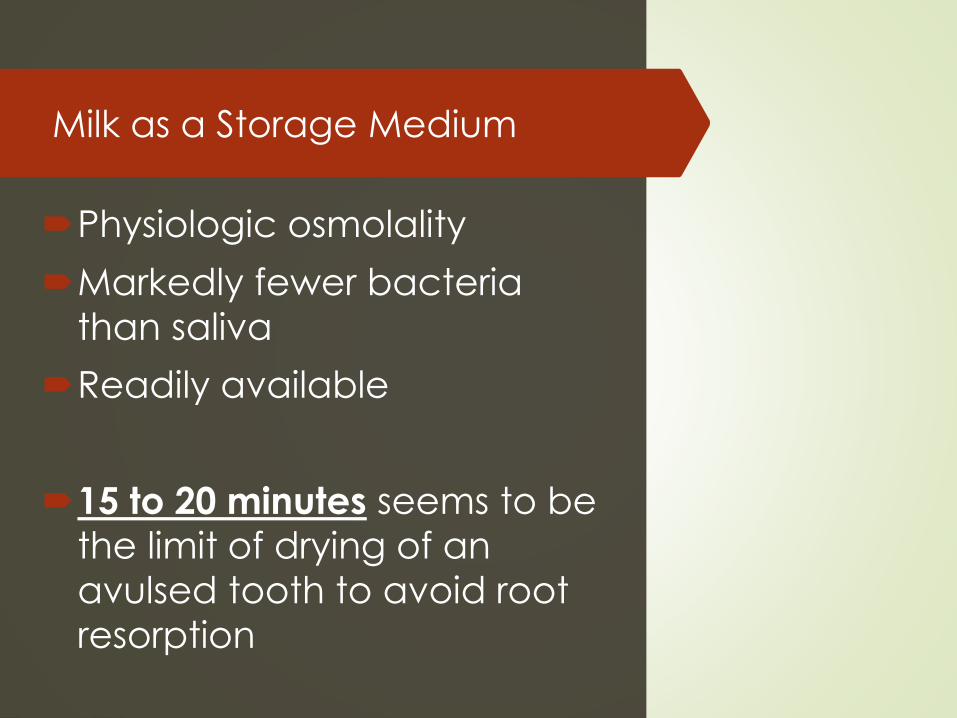
Milk as a Storage Medium
Physiologic osmolality
Markedly fewer bacteria
than saliva
Readily available
15 to 20 minutes seems to be
the limit of drying of an
avulsed tooth to avoid root
resorption
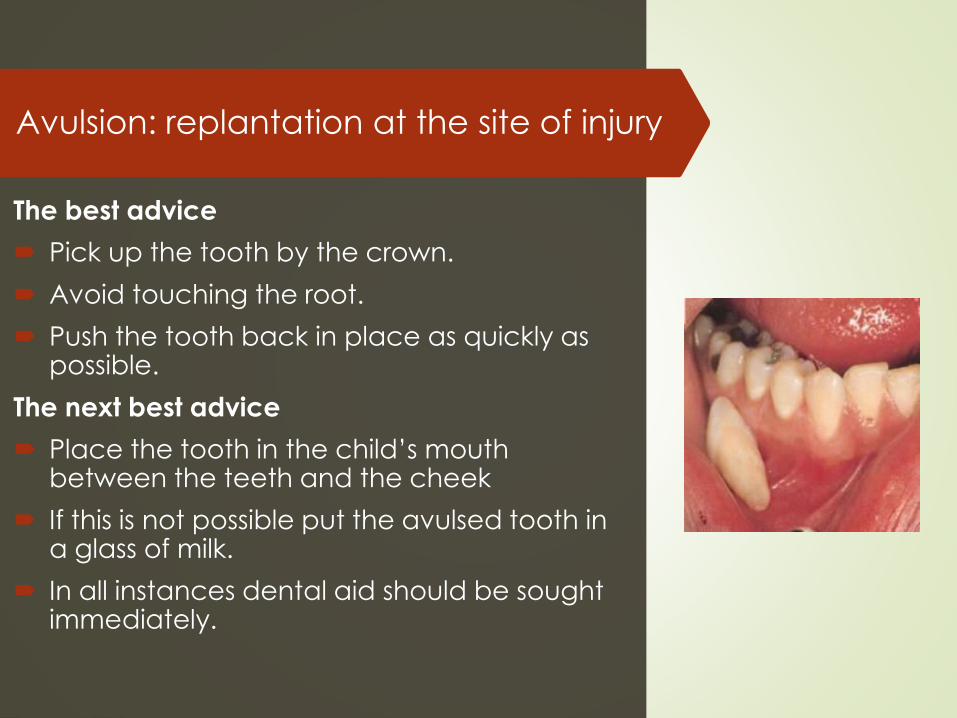
Avulsion: replantation at the site of injury
The best advice
Pick up the tooth by the crown.
Avoid touching the root.
Push the tooth back in place as quickly as possible.
The next best advice
Place the tooth in the child’s mouth between the teeth and the cheek
If this is not possible put the avulsed tooth in a glass of milk.
In all instances dental aid should be sought immediately.
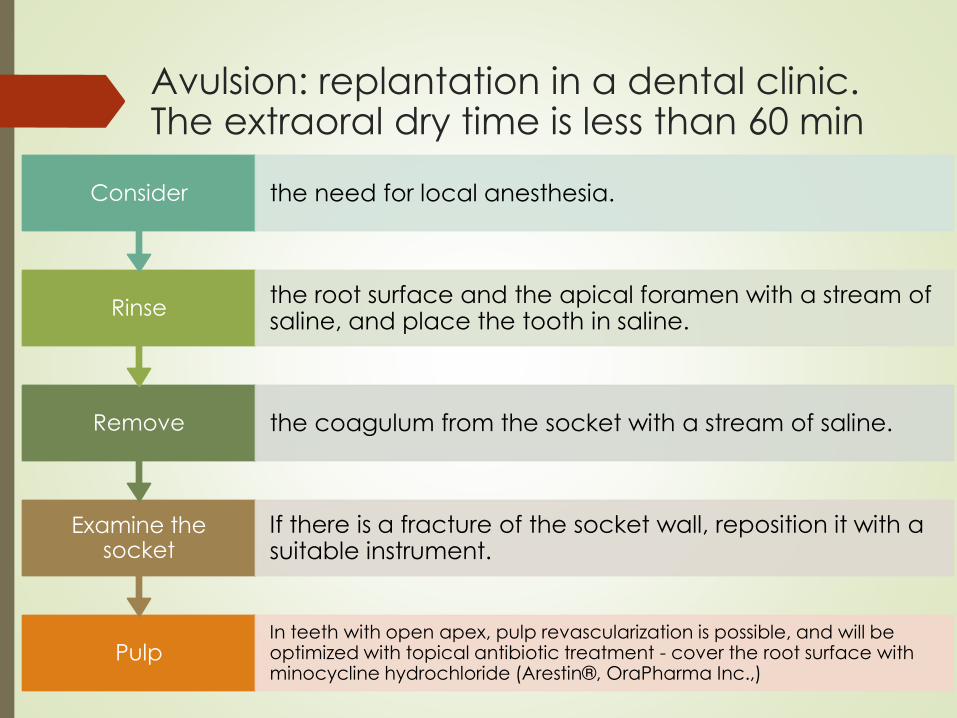
Avulsion: replantation in a dental clinic. The extraoral dry time is less than 60 min
PulpIn teeth with open apex, pulp revascularization is possible, and will be optimized with topical antibiotic treatment - cover the root surface with minocycline hydrochloride (Arestin®, OraPharma Inc.,)
Examine the socket
If there is a fracture of the socket wall, reposition it with a suitable instrument.
Remove the coagulum from the socket with a stream of saline.
Rinsethe root surface and the apical foramen with a stream of saline, and place the tooth in saline.
Consider the need for local anesthesia.
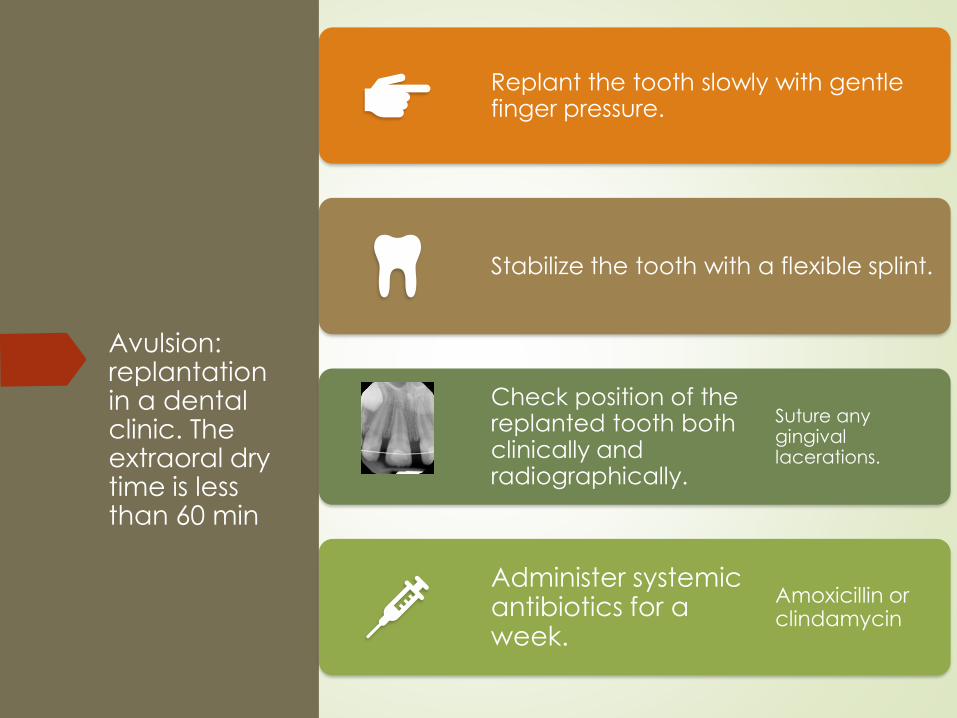
Avulsion: replantation in a dental clinic. The extraoral dry time is less than 60 min
Replant the tooth slowly with gentle finger pressure.
Stabilize the tooth with a flexible splint.
Check position of the replanted tooth both clinically and radiographically.
Suture any gingival lacerations.
Administer systemic antibiotics for a week.
Amoxicillin or clindamycin
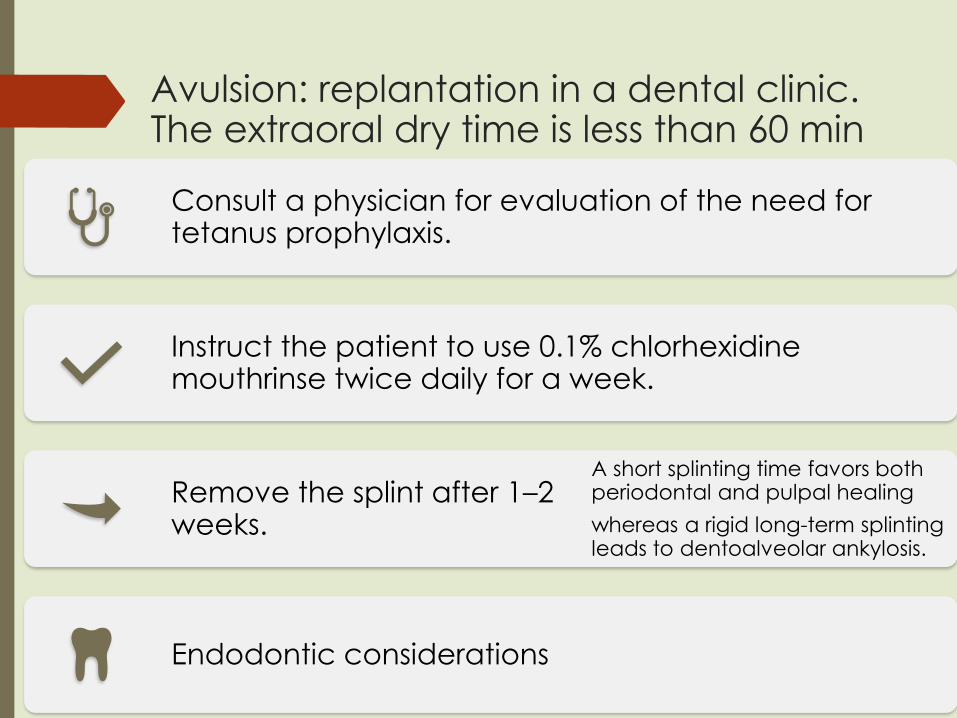
Avulsion: replantation in a dental clinic. The extraoral dry time is less than 60 min
Consult a physician for evaluation of the need for tetanus prophylaxis.
Instruct the patient to use 0.1% chlorhexidine mouthrinse twice daily for a week.
Remove the splint after 1–2 weeks.
A short splinting time favors both periodontal and pulpal healing
whereas a rigid long-term splinting leads to dentoalveolar ankylosis.
Endodontic considerations
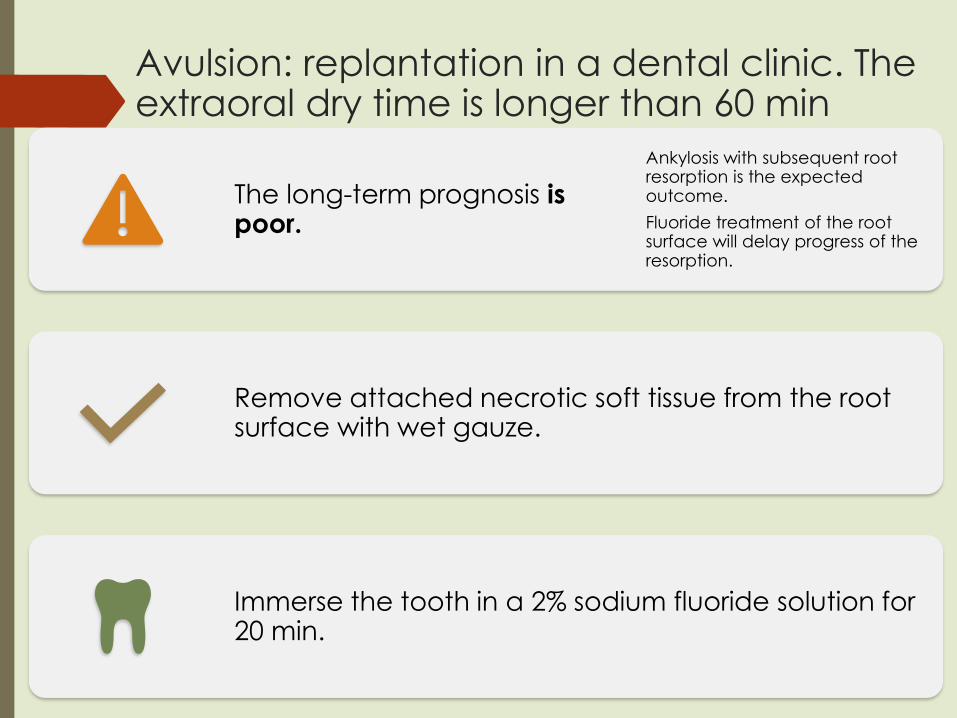
Avulsion: replantation in a dental clinic. The extraoral dry time is longer than 60 min
The long-term prognosis is poor.
Ankylosis with subsequent root resorption is the expected outcome.
Fluoride treatment of the root surface will delay progress of the resorption.
Remove attached necrotic soft tissue from the root surface with wet gauze.
Immerse the tooth in a 2% sodium fluoride solution for 20 min.
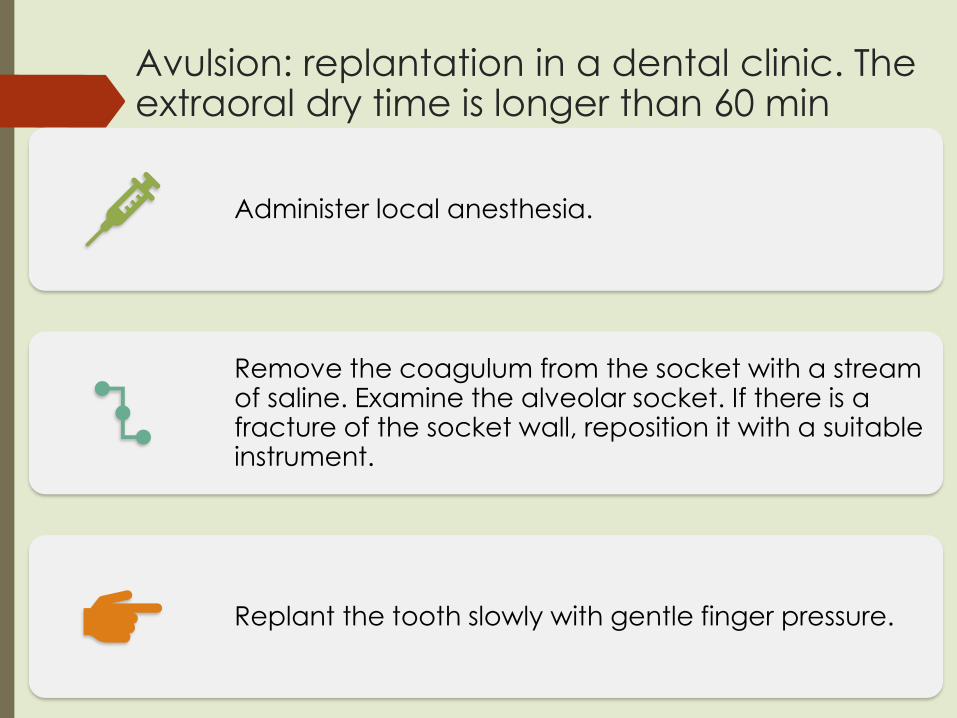
Avulsion: replantation in a dental clinic. The extraoral dry time is longer than 60 min
Administer local anesthesia.
Remove the coagulum from the socket with a stream of saline. Examine the alveolar socket. If there is a fracture of the socket wall, reposition it with a suitable instrument.
Replant the tooth slowly with gentle finger pressure.
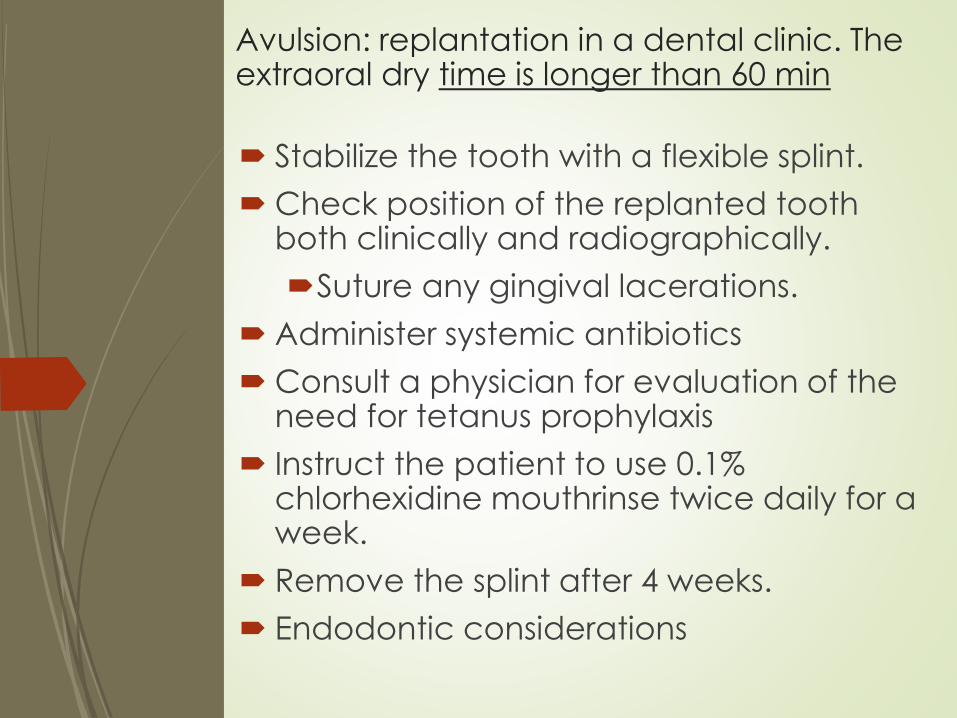
Avulsion: replantation in a dental clinic. The extraoral dry time is longer than 60 min
Stabilize the tooth with a flexible splint.
Check position of the replanted tooth both clinically and radiographically.
Suture any gingival lacerations.
Administer systemic antibiotics
Consult a physician for evaluation of the need for tetanus prophylaxis
Instruct the patient to use 0.1% chlorhexidine mouthrinse twice daily for a week.
Remove the splint after 4 weeks.
Endodontic considerations
Endodontic treatment
Mature root apex
Endodontic treatment should always be
started after 7–10 days and prior to removal of
the splint.
The canal is filled temporarily with calcium
hydroxide paste.
The root canal filling should be completed
after 6–12 months.
Endodontic treatment
Immature root apex
In teeth with a wide-open apical foramen, revascularization of the pulp may occur and endodontic treatment is postponed.
These teeth must be followed closely.
With definite signs of necrosis such as apical radiolucency and/or external inflammatory root resorption, endodontic treatment should be started immediately.
It is recommend that a replanted tooth with incomplete root formation is examined radiographically every second week until:
pulp necrosis is confirmed
or continued root formation is evident
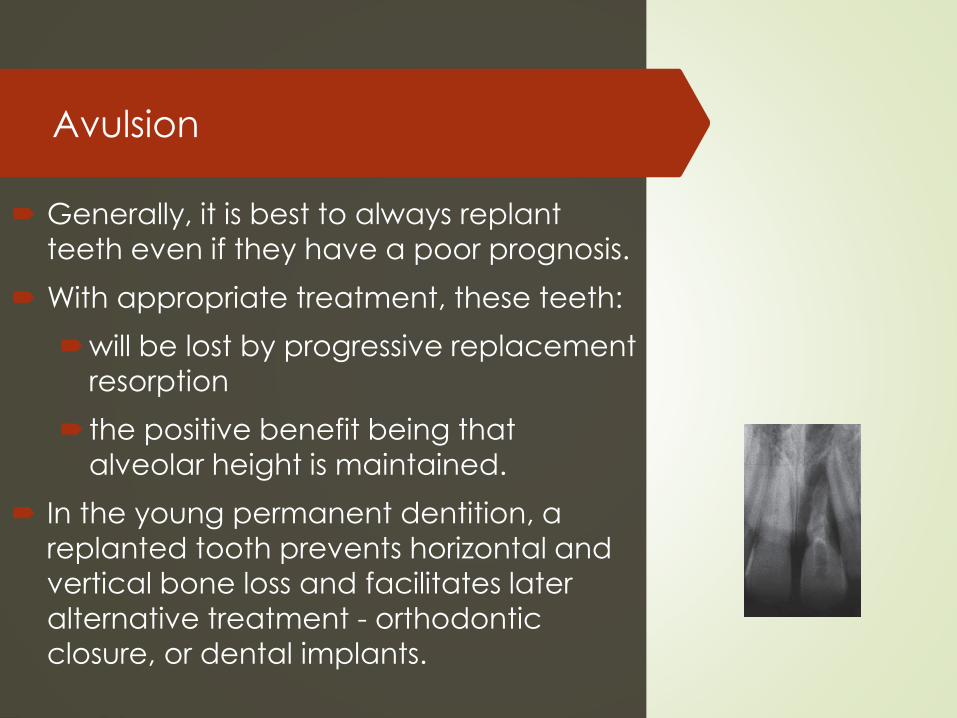
Avulsion
Generally, it is best to always replant
teeth even if they have a poor prognosis.
With appropriate treatment, these teeth:
will be lost by progressive replacement
resorption
the positive benefit being that
alveolar height is maintained.
In the young permanent dentition, a
replanted tooth prevents horizontal and
vertical bone loss and facilitates later
alternative treatment - orthodontic
closure, or dental implants.

Injuries to
hard dental
tissues and
pulp
Important!!!
It is most important to
diagnose concomitant
periodontal injuries, since the
risk of complications to crown
fractures is significantly
increased with an additional
luxation injury!
Enamel infraction
▪ An incomplete fracture
(crack) of the enamel
without loss of tooth
structure.
▪ Fracture lines in enamel
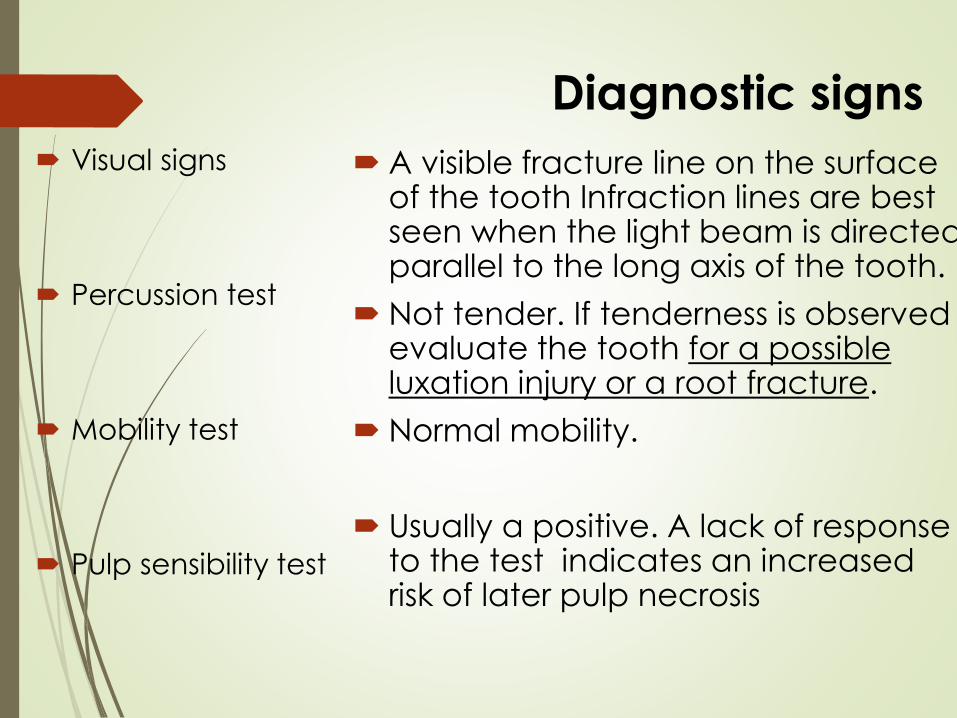
Diagnostic signs
Visual signs
Percussion test
Mobility test
Pulp sensibility test
A visible fracture line on the surface of the tooth Infraction lines are best seen when the light beam is directed parallel to the long axis of the tooth.
Not tender. If tenderness is observed evaluate the tooth for a possible luxation injury or a root fracture.
Normal mobility.
Usually a positive. A lack of response to the test indicates an increased risk of later pulp necrosis
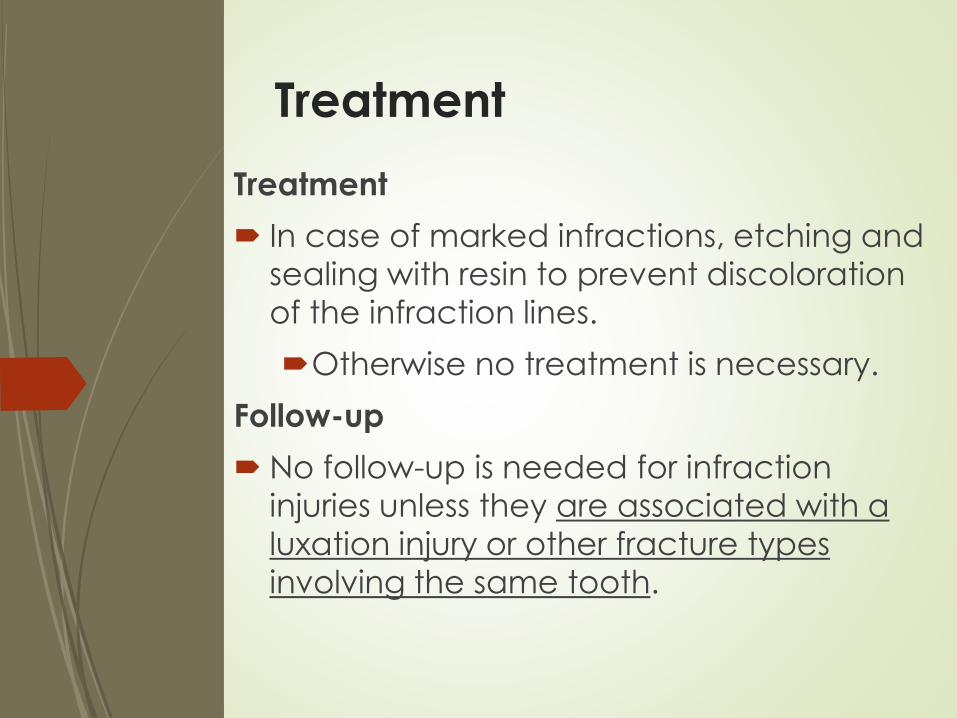
Treatment
Treatment
In case of marked infractions, etching and
sealing with resin to prevent discoloration
of the infraction lines.
Otherwise no treatment is necessary.
Follow-up
No follow-up is needed for infraction
injuries unless they are associated with a
luxation injury or other fracture types
involving the same tooth.
Enamel fracture
Fracture restricted to enamel
with loss of tooth structure.
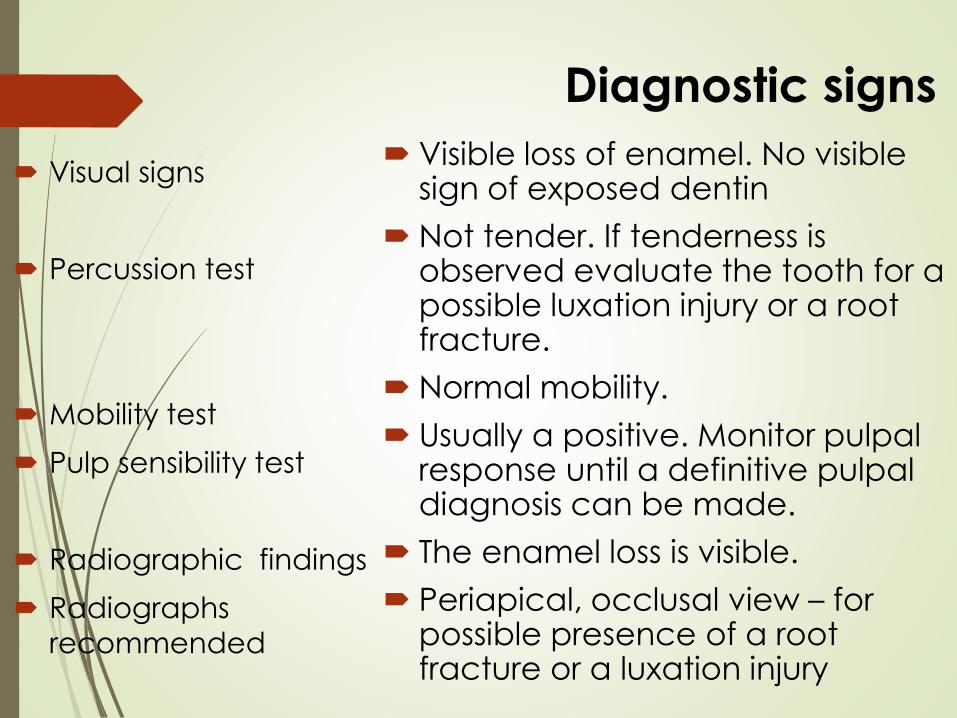
Diagnostic signs
Visual signs
Percussion test
Mobility test
Pulp sensibility test
Radiographic findings
Radiographs
recommended
Visible loss of enamel. No visible sign of exposed dentin
Not tender. If tenderness is observed evaluate the tooth for a possible luxation injury or a root fracture.
Normal mobility.
Usually a positive. Monitor pulpalresponse until a definitive pulpaldiagnosis can be made.
The enamel loss is visible.
Periapical, occlusal view – for possible presence of a root fracture or a luxation injury
TREATMENT
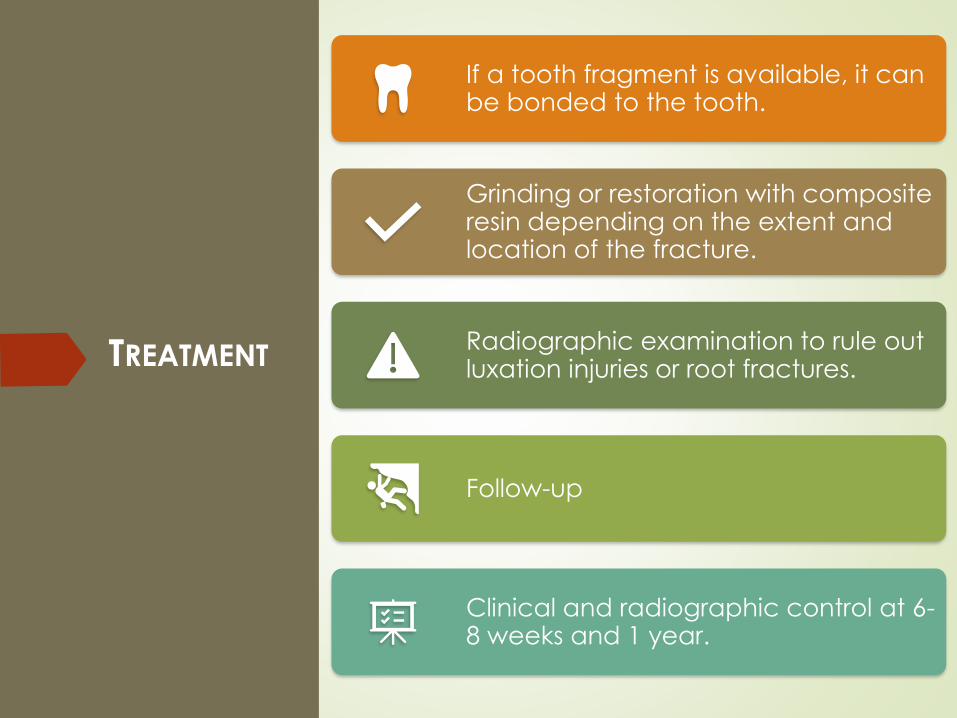
If a tooth fragment is available, it can be bonded to the tooth.
Grinding or restoration with composite resin depending on the extent and location of the fracture.
Radiographic examination to rule out luxation injuries or root fractures.
Follow-up
Clinical and radiographic control at 6-8 weeks and 1 year.
ENAMEL-DENTIN FRACTURE
A fracture involves enamel and dentin
with loss of tooth structure,
but not involving the pulp.
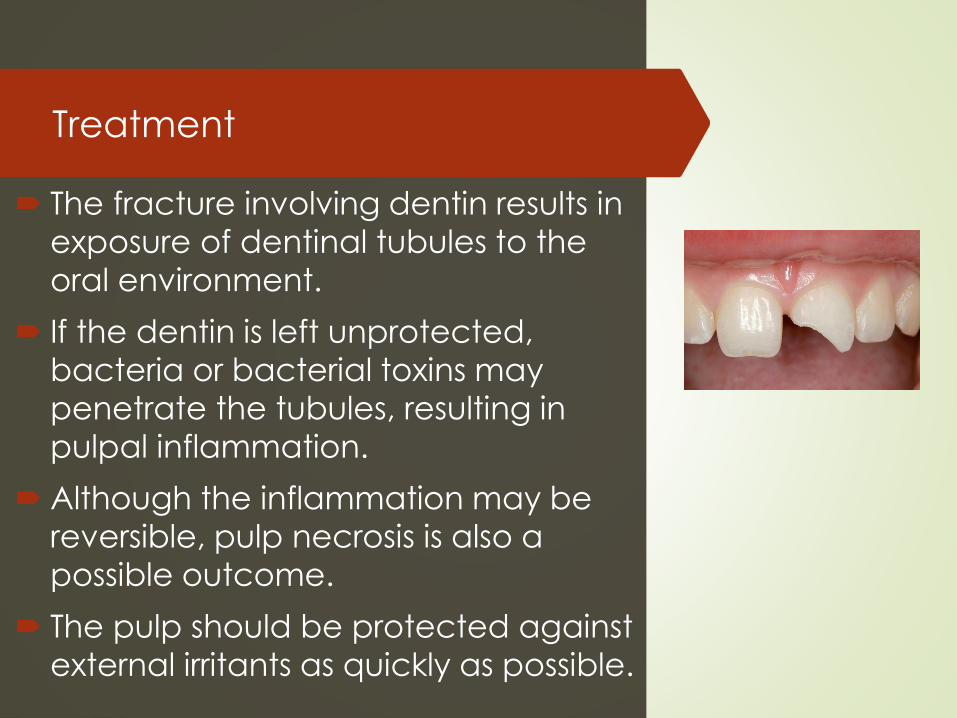
Treatment
The fracture involving dentin results in
exposure of dentinal tubules to the
oral environment.
If the dentin is left unprotected,
bacteria or bacterial toxins may
penetrate the tubules, resulting in
pulpal inflammation.
Although the inflammation may be
reversible, pulp necrosis is also a
possible outcome.
The pulp should be protected against
external irritants as quickly as possible.
Treatment Perform a provisional treatment by covering the
exposed dentin with GIC.
After 1 month:
A permanent restoration using a bonding agent and composite resin.
If a tooth fragment is available (and if it is stored properly), it can be bonded to the tooth.
When there is an associated luxation injury, which requires immediate fixation – the procedure is to cover exposed dentin with calcium hydroxide and GIC.
Radiographic examination should be used to rule out displacement or fracture of the root.
FOLLOW-UP
Clinical and radiographic control at 6-8 weeks and 1 year.
Once per year for next 5 years.
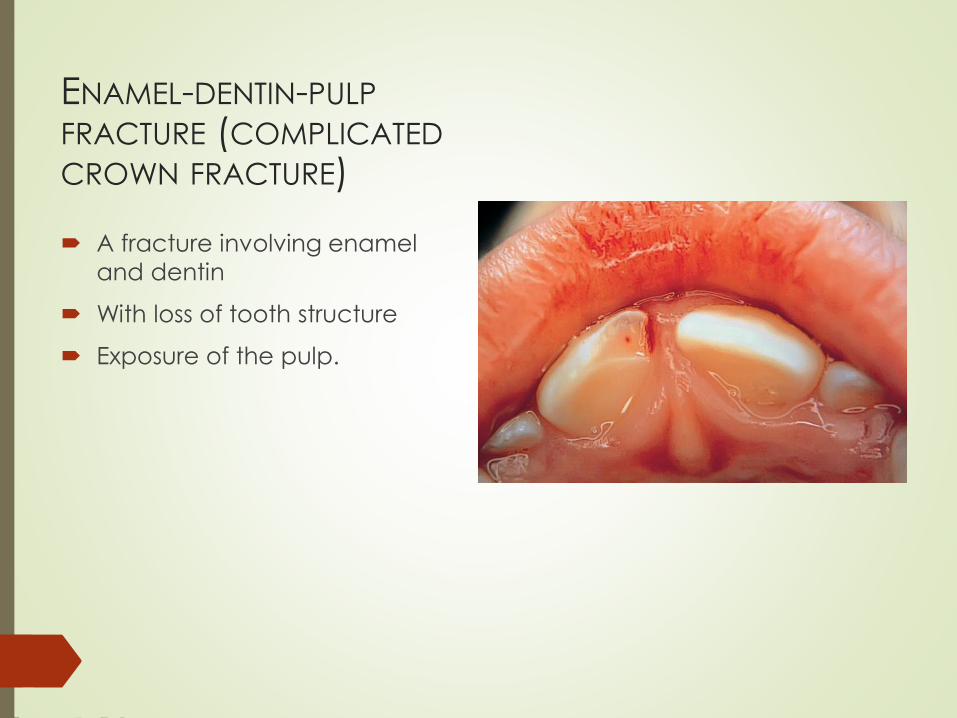
ENAMEL-DENTIN-PULP
FRACTURE (COMPLICATED
CROWN FRACTURE)
A fracture involving enamel
and dentin
With loss of tooth structure
Exposure of the pulp.
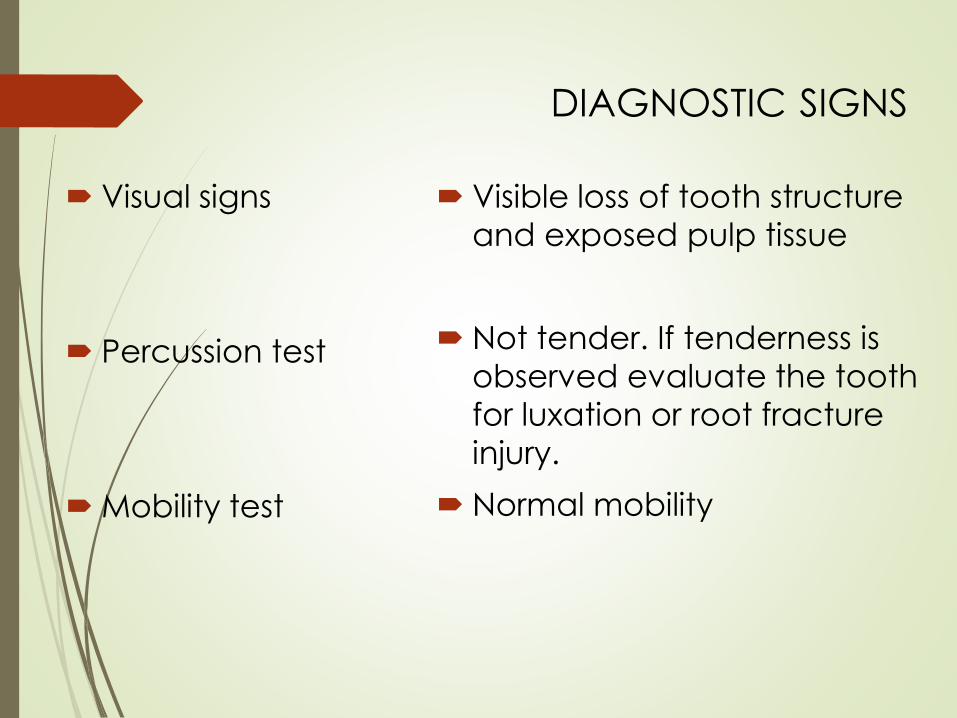
DIAGNOSTIC SIGNS
Visual signs
Percussion test
Mobility test
Visible loss of tooth structure
and exposed pulp tissue
Not tender. If tenderness is
observed evaluate the tooth
for luxation or root fracture
injury.
Normal mobility
DIAGNOSTIC SIGNS
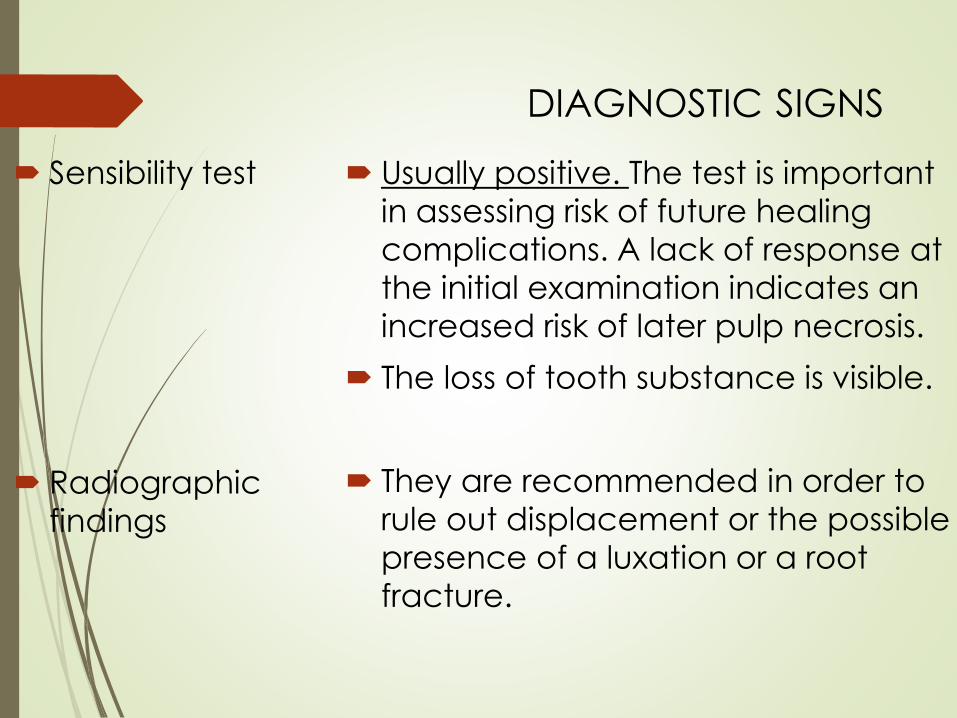
Sensibility test
Radiographic
findings
Usually positive. The test is important
in assessing risk of future healing
complications. A lack of response at
the initial examination indicates an
increased risk of later pulp necrosis.
The loss of tooth substance is visible.
They are recommended in order to
rule out displacement or the possible
presence of a luxation or a root
fracture.
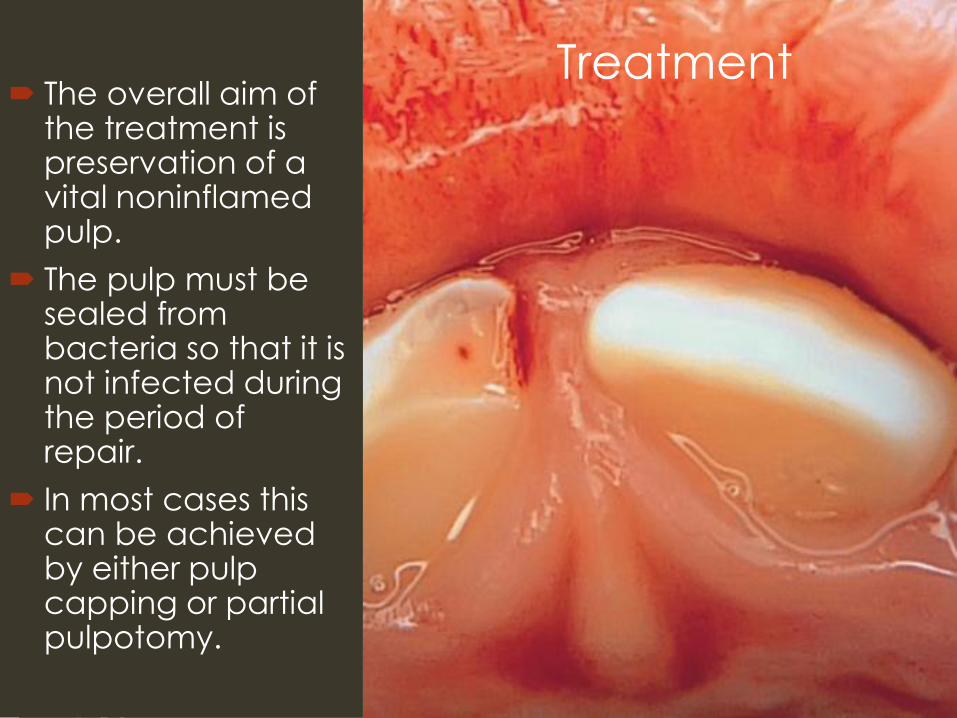
The overall aim of the treatment is preservation of a vital noninflamed pulp.
The pulp must be sealed from bacteria so that it is not infected during the period of repair.
In most cases this can be achieved by either pulp capping or partial pulpotomy.
Treatment
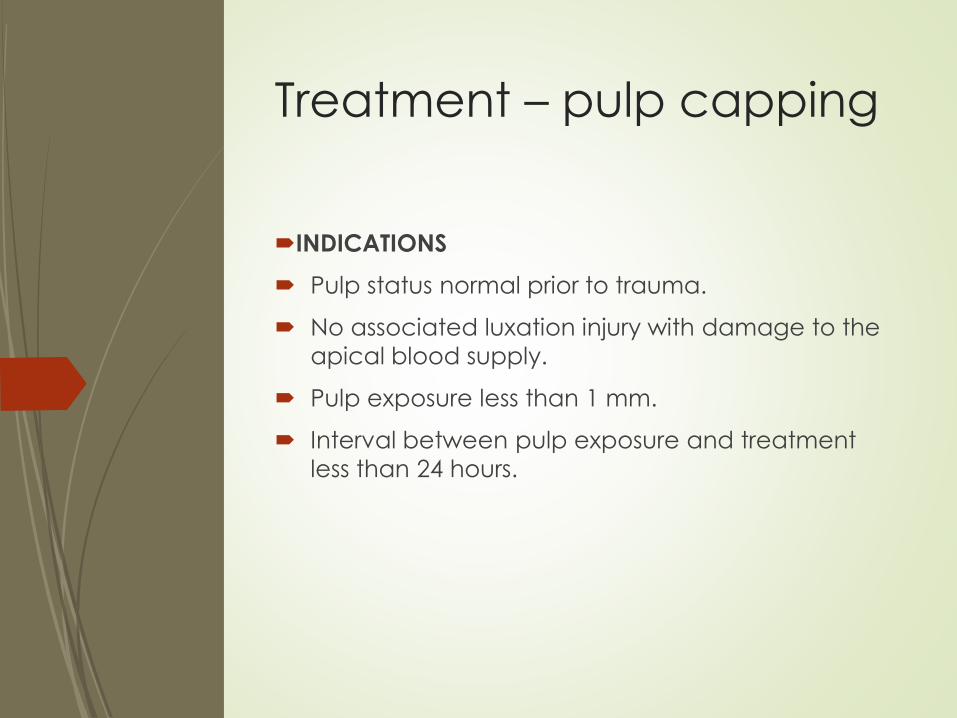
Treatment – pulp capping
INDICATIONS
Pulp status normal prior to trauma.
No associated luxation injury with damage to the
apical blood supply.
Pulp exposure less than 1 mm.
Interval between pulp exposure and treatment
less than 24 hours.
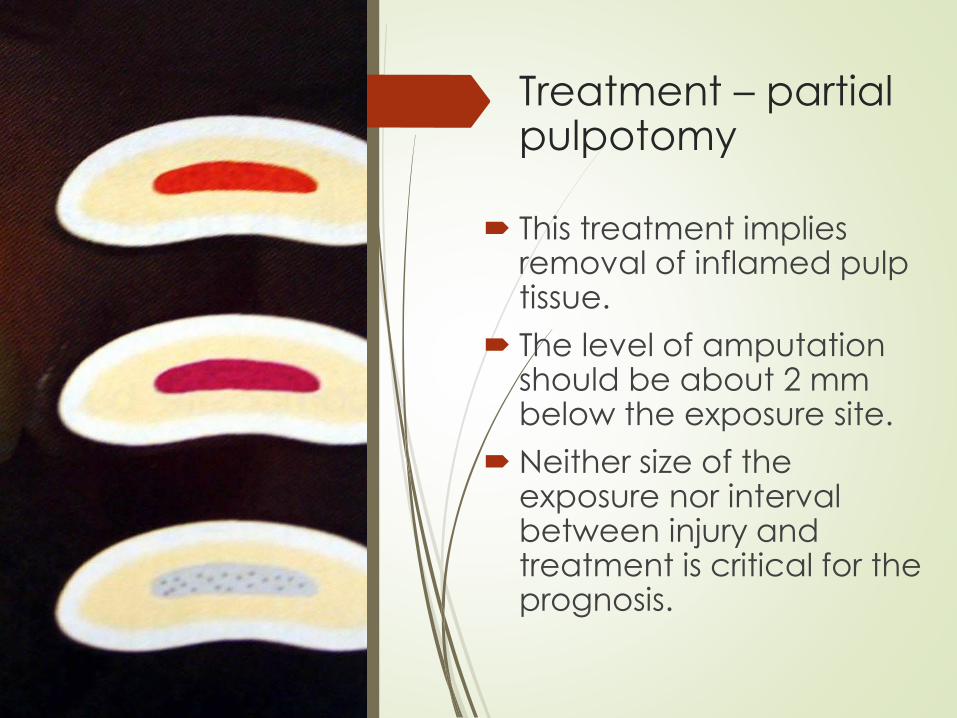
Treatment – partial pulpotomy
This treatment implies removal of inflamed pulp tissue.
The level of amputation should be about 2 mm below the exposure site.
Neither size of the exposure nor interval between injury and treatment is critical for the prognosis.
Treatment
In young patients with
open apices, it is very
important to preserve pulp
vitality by pulp capping or
partial pulpotomy in order
to secure further root
development
FOLLOW-UP
Clinical and radiographic
control at 6-8 weeks and 1
year.
Once per year for next 5
years.
A fracture involving
enamel, dentin and
cementum with loss of
tooth structure
but not exposing the pulp.
Crown-root fracture without pulp involvement
DIAGNOSTIC SIGNS
Visual signs
Percussion test
Mobility test
Sensibility pulp test
Radiographic
findings
Crown fracture extending below
gingival margin
Tender
Coronal fragment mobile.
Usually positive for apical fragment.
Apical extension of fracture usually
not visible.
Periapical, occlusal and eccentric
exposures. They are recommended
in order to detect fracture lines in the
root
Crown-root fracture without pulp involvement

Treatment
All of the treatment modalities are
technique sensitive and do not need to
be performed during the acute phase.
Prognosis will not be influenced by delay
of treatment within a time frame of one to
two weeks.
Fragment removal only
Removal of a superficial coronal crown-
root fragment and subsequent restoration
of exposed dentin above the gingival
level.
A fracture involving
enamel, dentin, and
cementum with loss of
tooth structure,
and exposure of the pulp.
CROWN ROOT FRACTURE WITH PULP
INVOLVEMENT
DIAGNOSTIC SIGNS
Visual signs
Percussion test
Mobility test
Sensibility pulp test
Radiographic
findings
Crown fracture extending below
gingival margin
Tender
Coronal fragment mobile.
Usually positive for apical fragment.
Apical extension of fracture usually
not visible.
Periapical and occlusal exposure.
EMERGENCY TREATMENT
As an emergency treatment a temporary stabilization
of a loose segments to adjacent teeth can be
performed until a definitive treatment plan is made.
In young patients with open apices, it is important to
preserve pulp vitality by a partial pulpotomy.
This treatment is also the choice in young patients
with completely formed teeth.
In patients with mature root development root canal
treatment can be the treatment of choice.
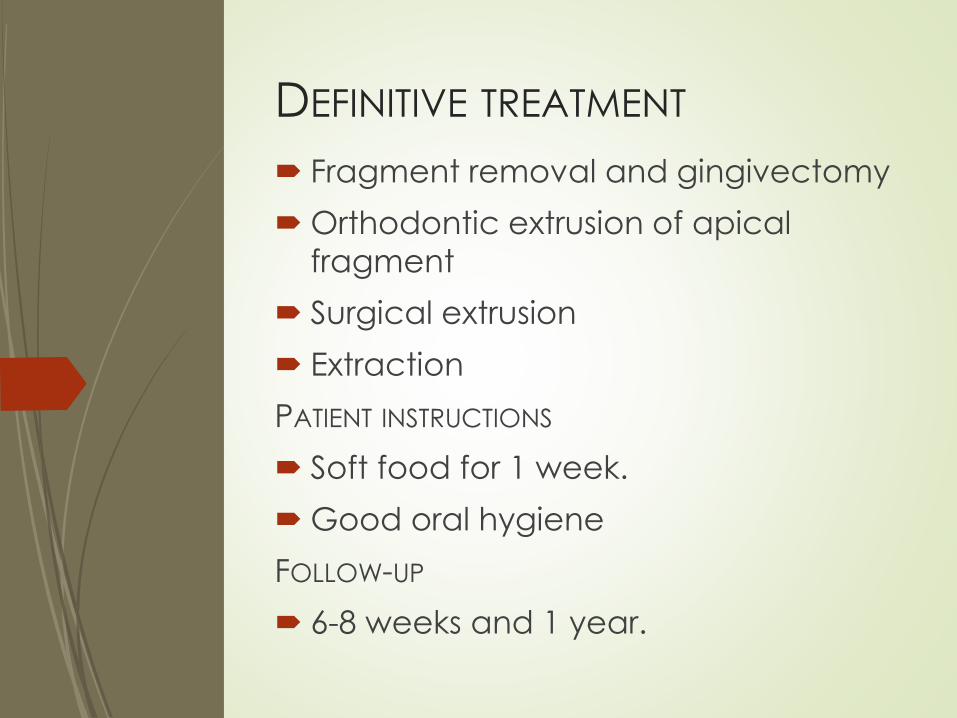
DEFINITIVE TREATMENT
Fragment removal and gingivectomy
Orthodontic extrusion of apical
fragment
Surgical extrusion
Extraction
PATIENT INSTRUCTIONS
Soft food for 1 week.
Good oral hygiene
FOLLOW-UP
6-8 weeks and 1 year.
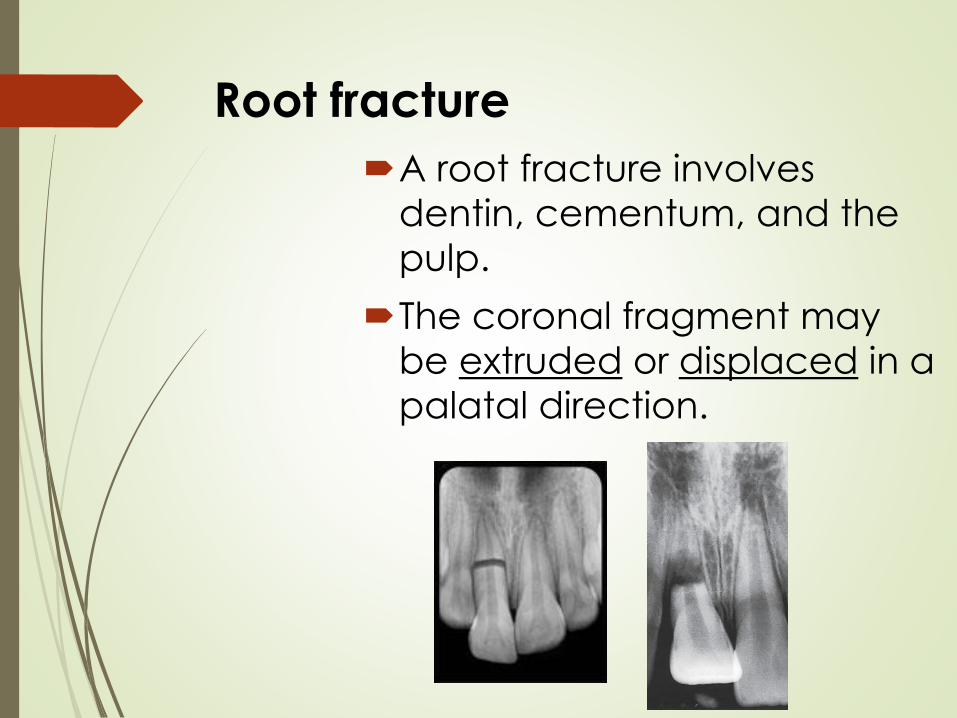
Root fracture
A root fracture involves
dentin, cementum, and the
pulp.
The coronal fragment may
be extruded or displaced in a
palatal direction.
Root fracture
The neurovascular supply is
usually intact at tooth apex
Rupture of neurovascular
supply at fracture line
Separation of PDL and
exposure of root surface

DIAGNOSTIC SIGNS
Visual signs
Percussion test
The coronal segment may be
mobile and in some cases
displaced. Transient crown
discoloration (red or grey) may
occur. Bleeding from the gingival
sulcus may be noted.
The tooth may be tender.
DIAGNOSTIC SIGNS
Sensibility pulp
test
Radiographic
findings
The pulp sensibility test is usually
negative for root fractures
(indicating transient or permanent
neural damage) except for teeth
with minor displacements.
Monitoring the status of the pulp is
recommended.
The test is important in assessing risk
of healing complications.
The root fracture line is usually visible
Treatment
Treatment consists of immediate
repositioning of the coronal fragment and
stabilization with a flexible splint.
Fixation should also be carried out in cases
without dislocation, as close contact
between the fragments is considered
essential during the period of initial repair
The splint (usually for 4 weeks) should
allow:
sensitivity testing
access to the root canal if endodontic
treatment is required
FOLLOW-UP
In apical third and mid-root fractures -
splint removal and clinical and
radiographic control after 4 weeks.
If the root fracture is near the cervical area
the splint should be kept on for up to 4
months.
Clinical and radiographic control after 6-8
weeks.
Clinical and radiographic control after 4
months.
If the root fracture is near the cervical
area the splint should be removed at
this session.

FOLLOW-UP
Clinical and radiographic control after 6
months, 1 year and yearly for 5 years.
Follow-up may include endodontic
treatment of the coronal fragment if pulp
necrosis develops.
The decision for endodontic treatment
may be taken after three months of follow-
up
if the tooth still does not respond to
electrometric or thermal pulp testing
and if radiographs show a radiolucency
next to the fracture line.
Injuries to developing permanent
teeth
Can be expected in 12 – 69% of primary tooth trauma
and 19 – 68% jaw fractures
Intrusive luxation causes most of disturbances
Avulsion – if the apex moved towards the permanent
tooth before the avulsion
Most damage to the permanent tooth bud occur under
3 years of age – during its development stage
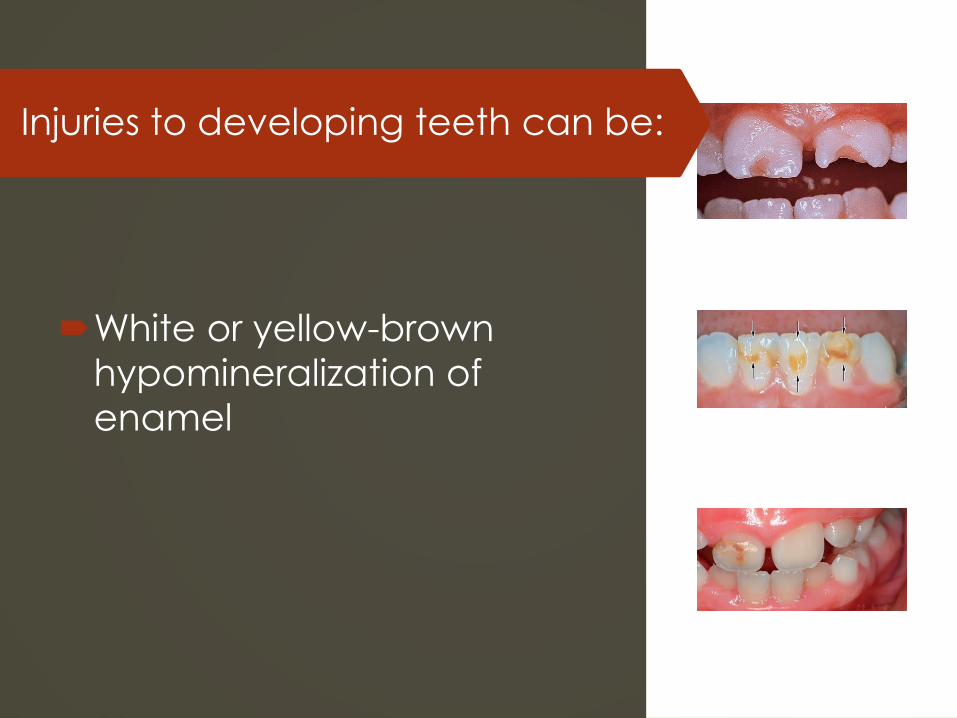
White or yellow-brown
hypomineralization of
enamel
Injuries to developing teeth can be:
Injuries
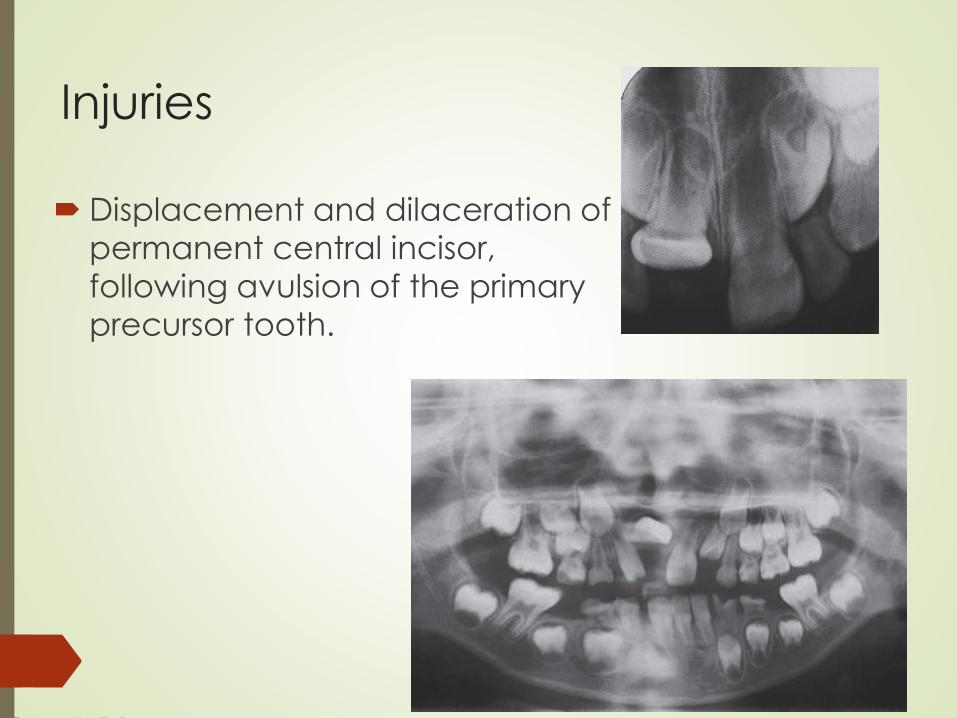
Displacement and dilaceration of
permanent central incisor,
following avulsion of the primary
precursor tooth.
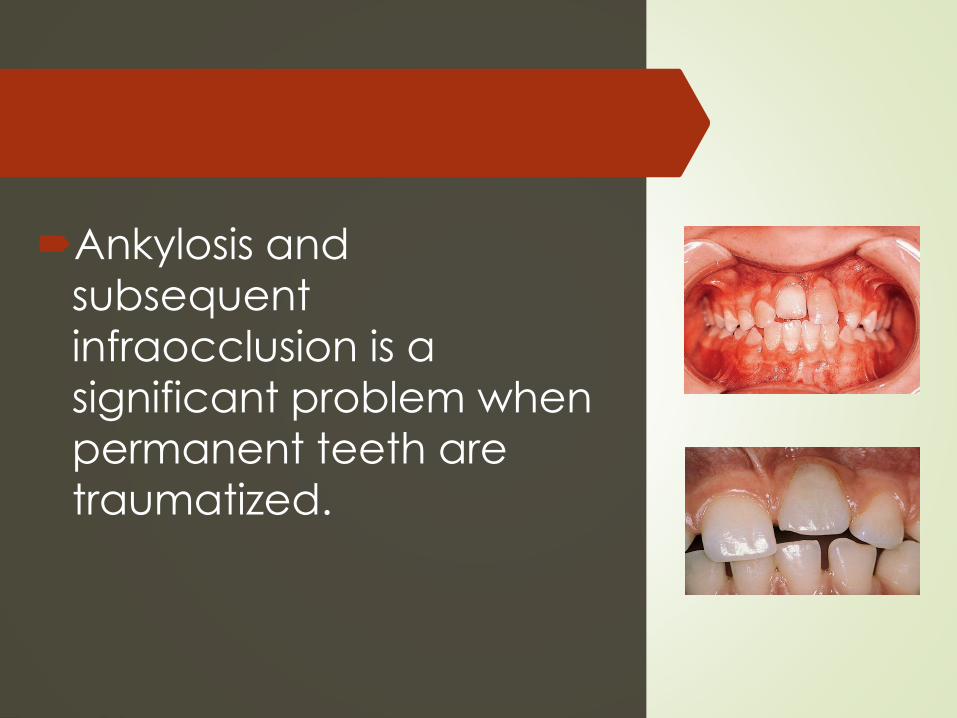
Ankylosis and
subsequent
infraocclusion is a
significant problem when
permanent teeth are
traumatized.