installation guide vaibhav gaikwad - vpmthane · dspace on windows xp installation guide vaibhav...
TRANSCRIPT

DSpace on Windows XPInstallation Guide
Vaibhav GaikwadDr. V N Bedekar Institute of Management Studies , Thane (W)
Maharashtra [email protected]
Pre-requisite Softwares:
1. Java jdk-1_5_0_06http://java.sun.com/javase/downloads/index.jsp
2. postgresql-8.1.3-1.If you install PostgreSQL, it's recommended to select to install thepgAdmin III toolhttp://www.postgresql.org/download/windows
3. Apache Ant 1.6.2 or later. Unzip the package in C:\ and add C:\apache-ant- 1.6.2\bin to the PATH environment variable. For Ant to work properly, you should ensure that JAVA_HOME is set.http://ant.apache.org/bindownload.cgi
4. apache-tomcat-6.0.20.http://tomcat.apache.org/download-60.cgi
5. apache-maven-2.2.1http://maven.apache.org/download.html
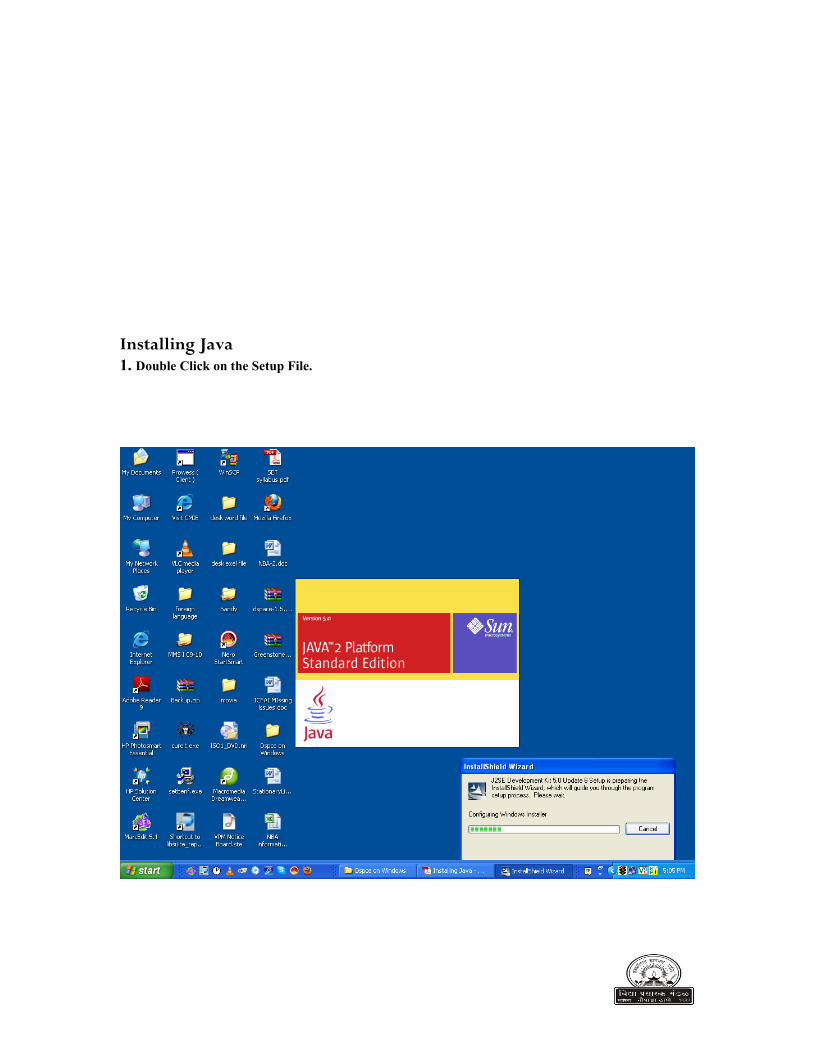
Installing Java1. Double Click on the Setup File.

Click (I accept the terms in the license agreement)

Click Next
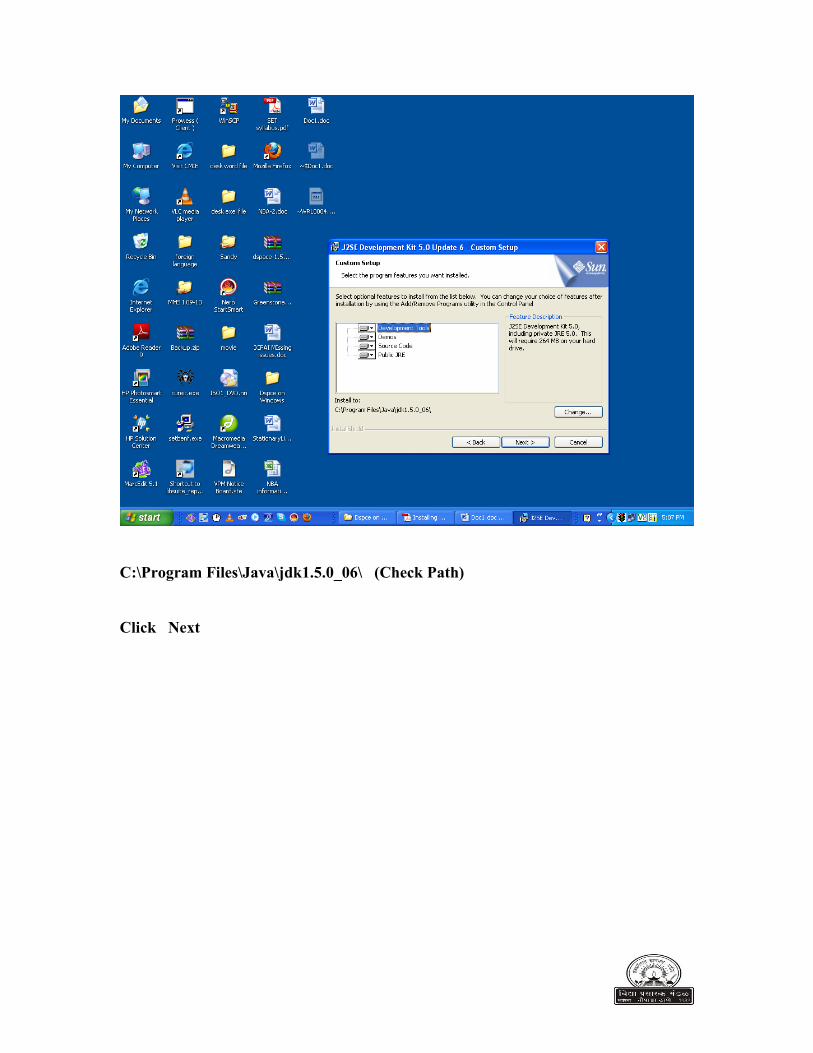
C:\Program Files\Java\jdk1.5.0_06\ (Check Path)
Click Next

Installing Java


C:\Program Files\Java\jdk1.5.0_06\ (Check Path)
Click Next

Browser Registration
Click Next

Installing

Installation Completed
Installing Apache Ant & Apache Maven
1. Copy folder and paste in C:\ or Desktop (Apache Ant)
2. Copy folder and paste in C:\ or Desktop (Apache Maven)

Setting up PATH for Java, Apache Ant, Apache Maven (System Variables)
1. Right click My Computer, click Properties, click Advanced, click Environment Variables, select “PATH” from System Variables, click editPATH for Java C:\Program Files\Java\jdk1.5.0_06\binPATH for Ant C:\apache-ant-1.6.2 \binPATH for Maven C:\apache-maven-2.2.1\bin
2. Add the above PATH variables in the edit box as last item (With Semi-Colons after each PATH); C:\Program Files\Java\jdk1.5.0_06\bin; C:\apache-ant-1.6.2 \bin; C:\apache-maven-2.2.1\bin

Setting up ANT_HOME & JAVA_HOME for Apache Ant and Java (User Variables)
1. Right click My Computer, click Properties, click Advanced, click Environment Variables, click “New” from User Variables for user and add the following and click OK
Variable name: ANT_HOMEVariable value: C:\apache-ant-1.6.2

2. Right click My Computer, click Properties, click Advanced, click Environment Variables, click “New” from User Variables for user and add the following and click OK
Variable name: JAVA_HOMEVariable value: C:\Program Files\Java\jdk1.5.0_06

Checking the PATH and HOME variables
1. Go to command prompt (Click Start, click Run, type cmd)
Click Ok

2. In the command line type mvn -version (see the version displayed)3. type ant -version (see the version displayed)4. type java –version (see the version displayed)
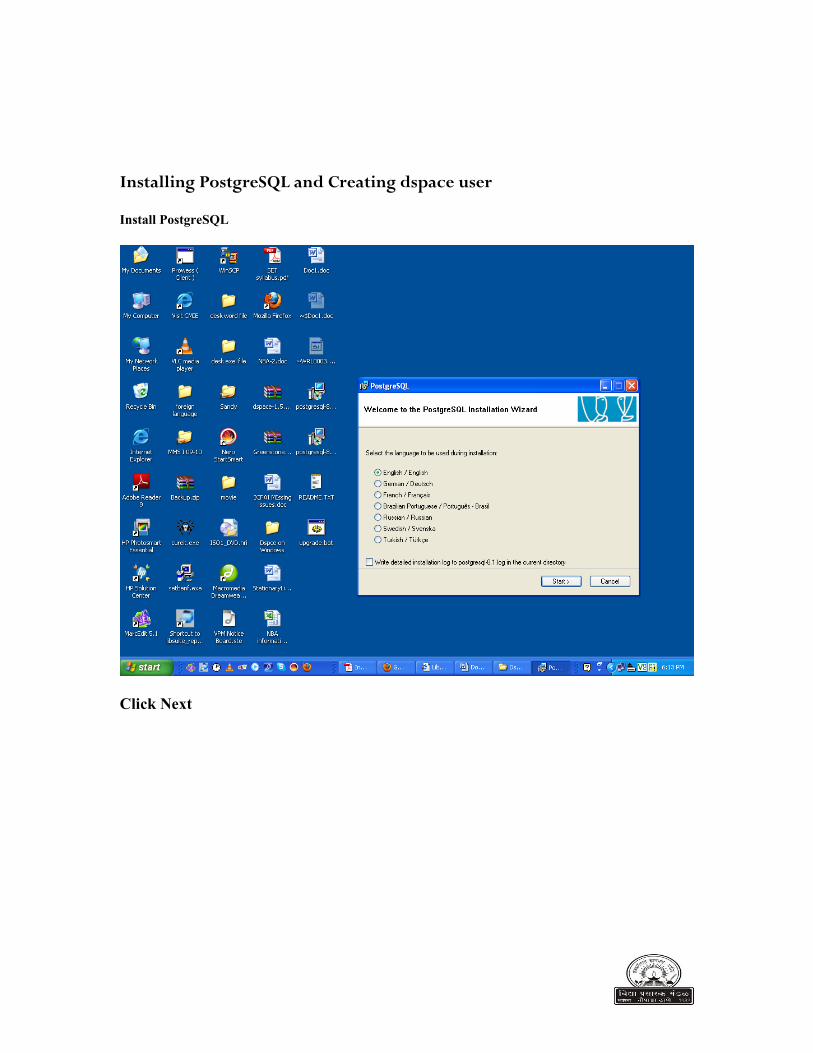
Installing PostgreSQL and Creating dspace user
Install PostgreSQL
Click Next
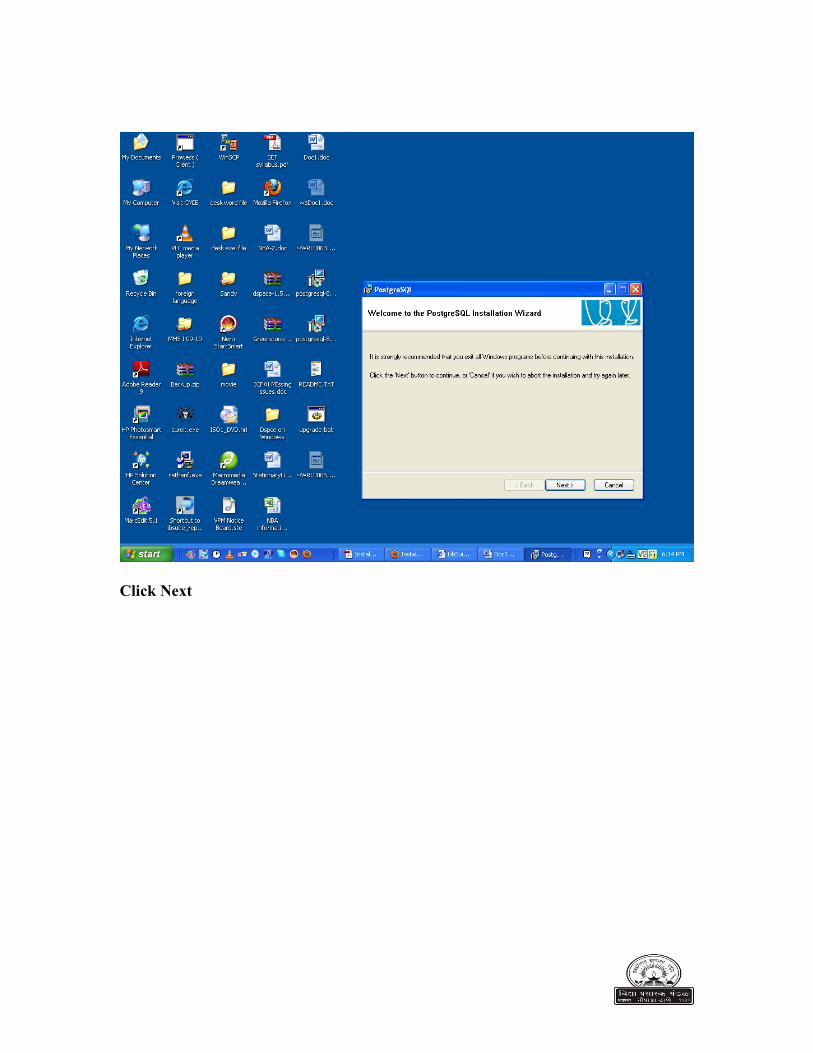
Click Next

Click Next

Click Next

C:\Program Files\PostgreSQL\8.1 (Check Path)
Click Next
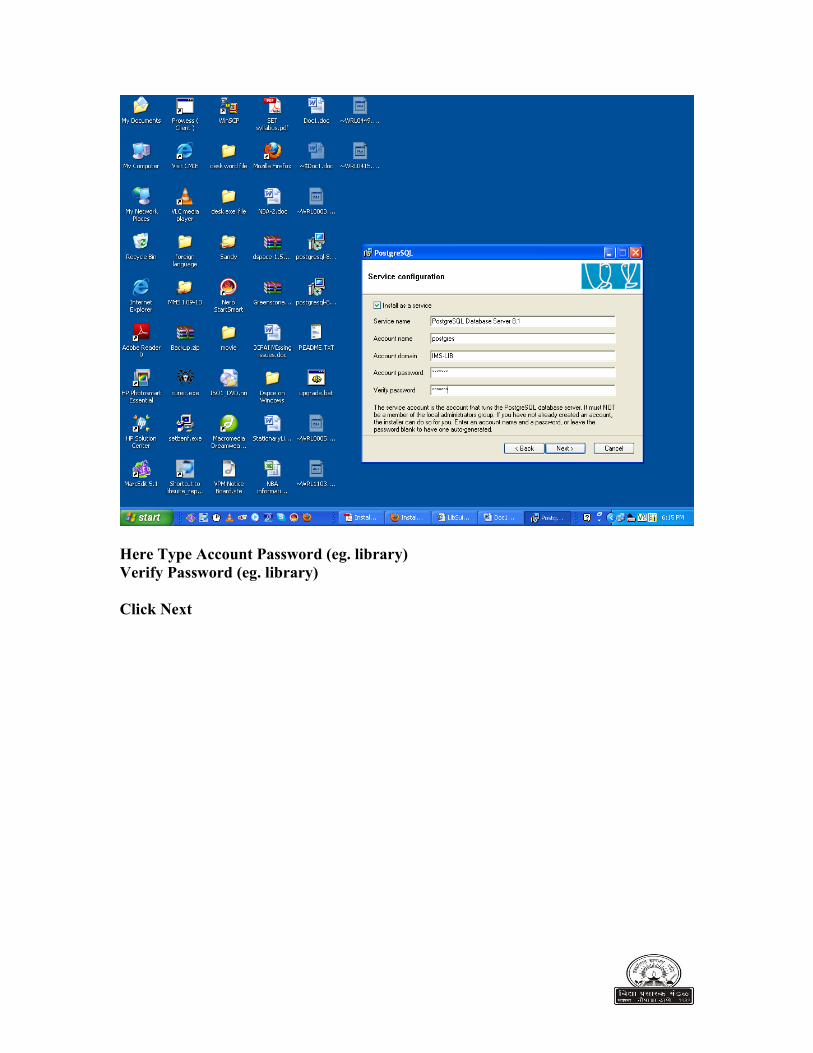
Here Type Account Password (eg. library)Verify Password (eg. library)
Click Next

Password (eg. library)Password (again) (eg. library)
Click Next
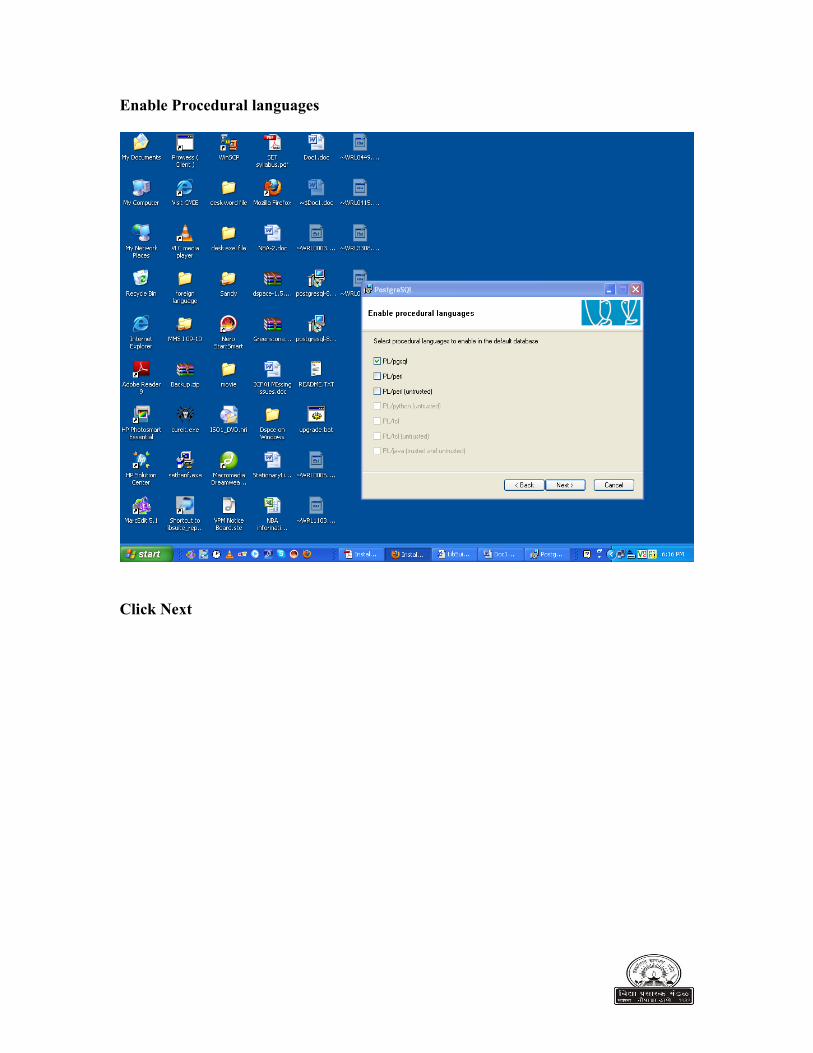
Enable Procedural languages
Click Next

Enable Contrib Modules
Click Next

Ready to Install
Click Next

Installing
Click Next

Finish

Start pgAdminIII
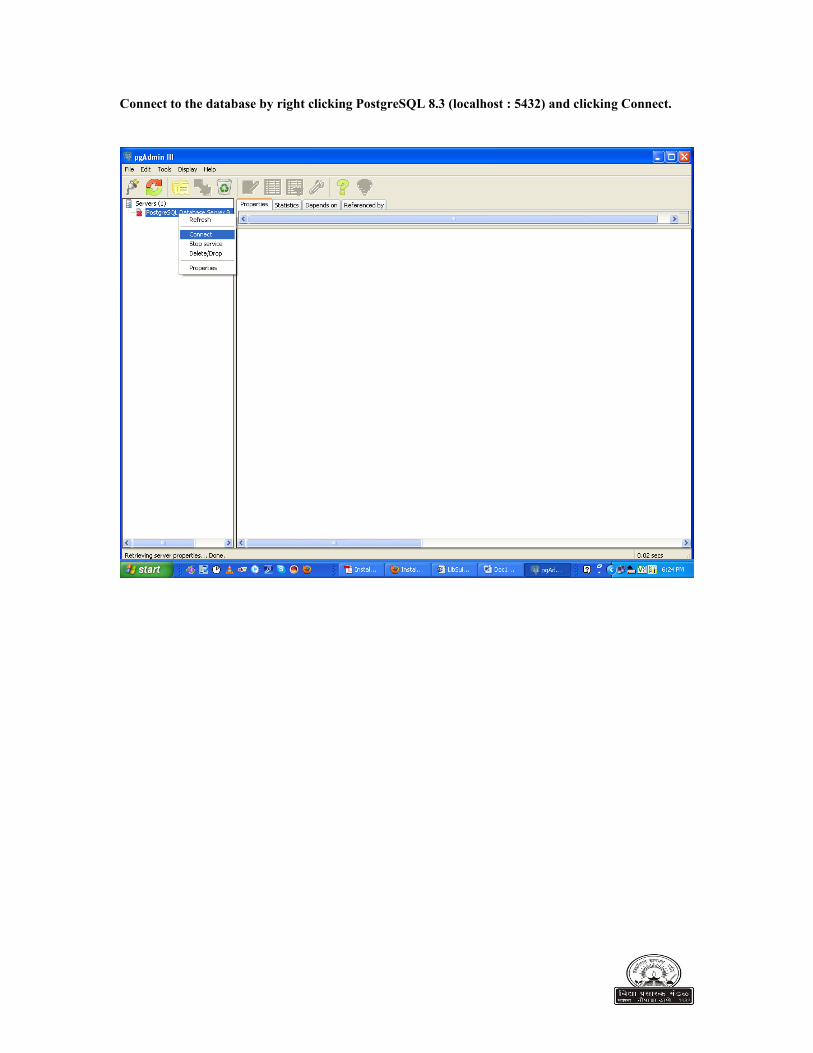
Connect to the database by right clicking PostgreSQL 8.3 (localhost : 5432) and clicking Connect.
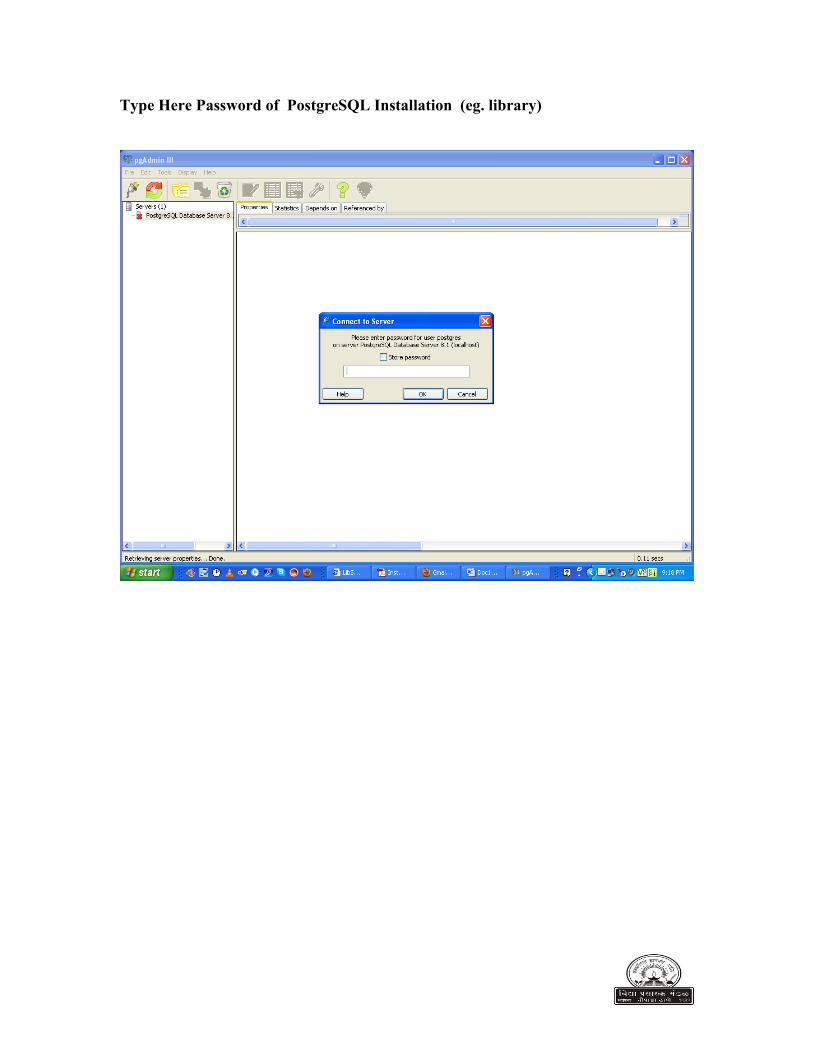
Type Here Password of PostgreSQL Installation (eg. library)

Add Login Role for “dspace” and Create database “dspace”

Create Login role (dspace)Provide password as “dspace”
Remember to click of Role Privileges

Creating database

Create database by giving Name as dspace “dspace”
Owner “dspace”
Encoding must be selected as UTF 8

Installing Apache Tomcat
Double click on Setup File to install tomcat
Click Next

Click Next
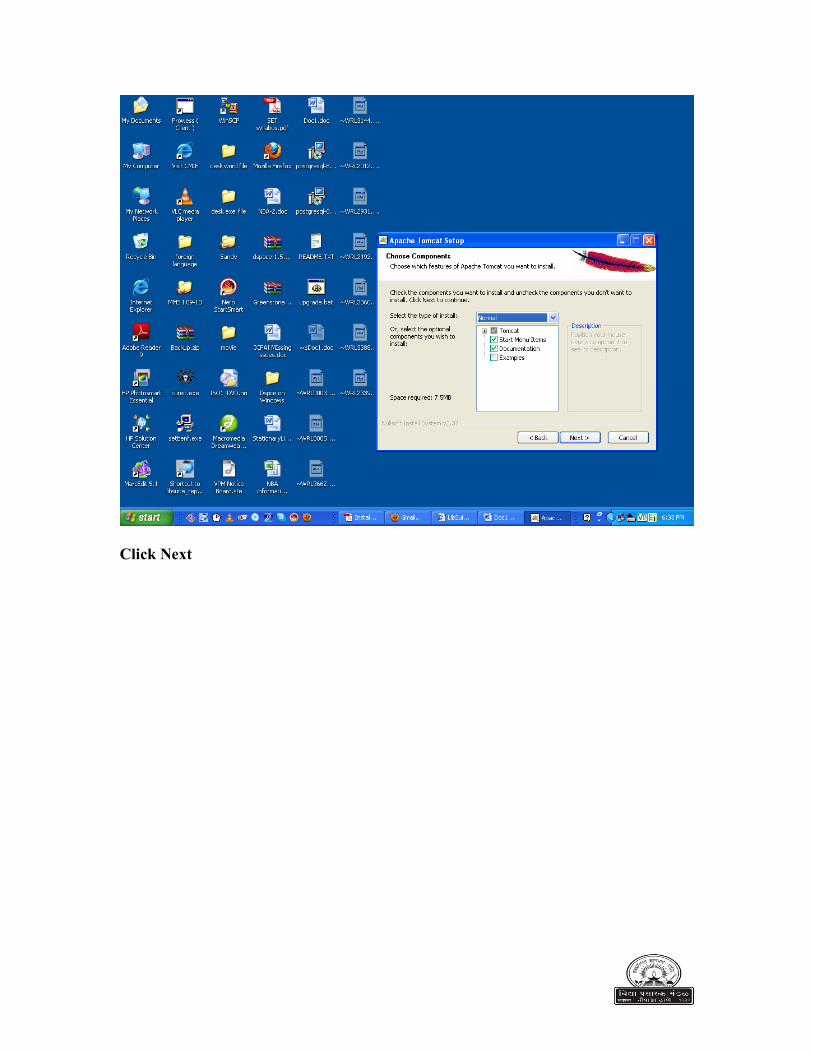
Click Next

Click Next
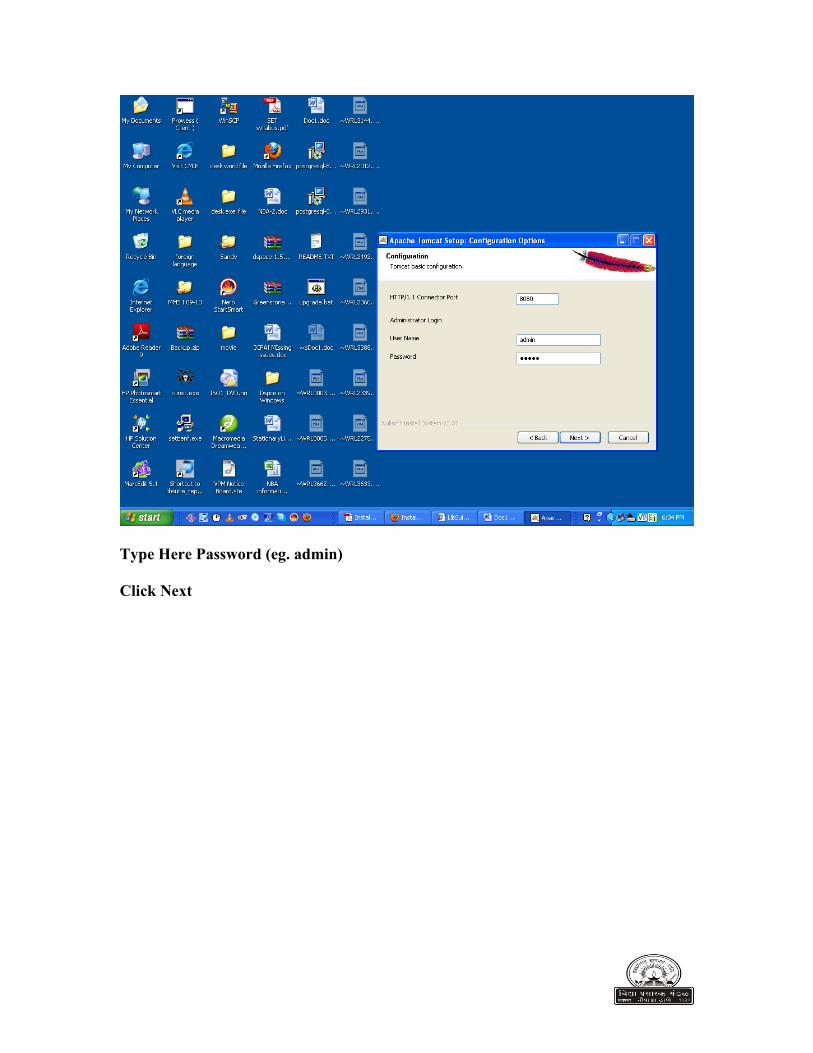
Type Here Password (eg. admin)
Click Next
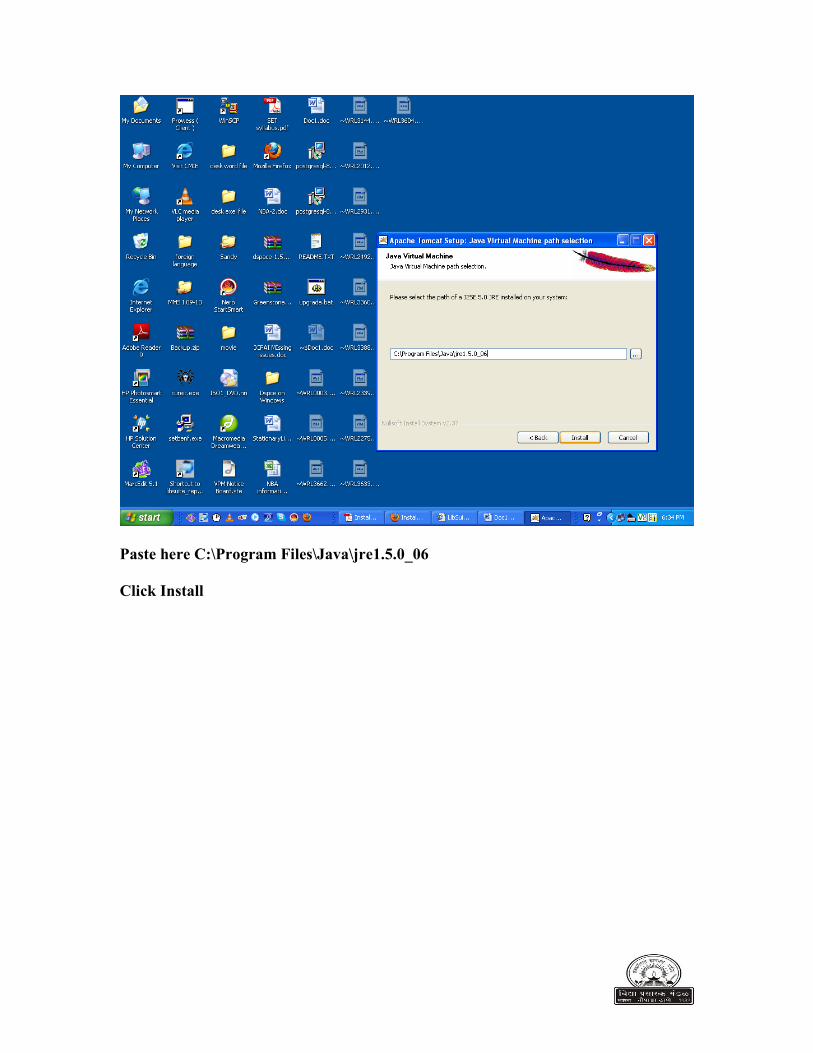
Paste here C:\Program Files\Java\jre1.5.0_06
Click Install

Installing (Apache Tomcat Setup)

Finish
When Tomcat is running , you can see the icon of tomcat on systems tray area of windows. You can stop the service , start the service by right clicking this icon.
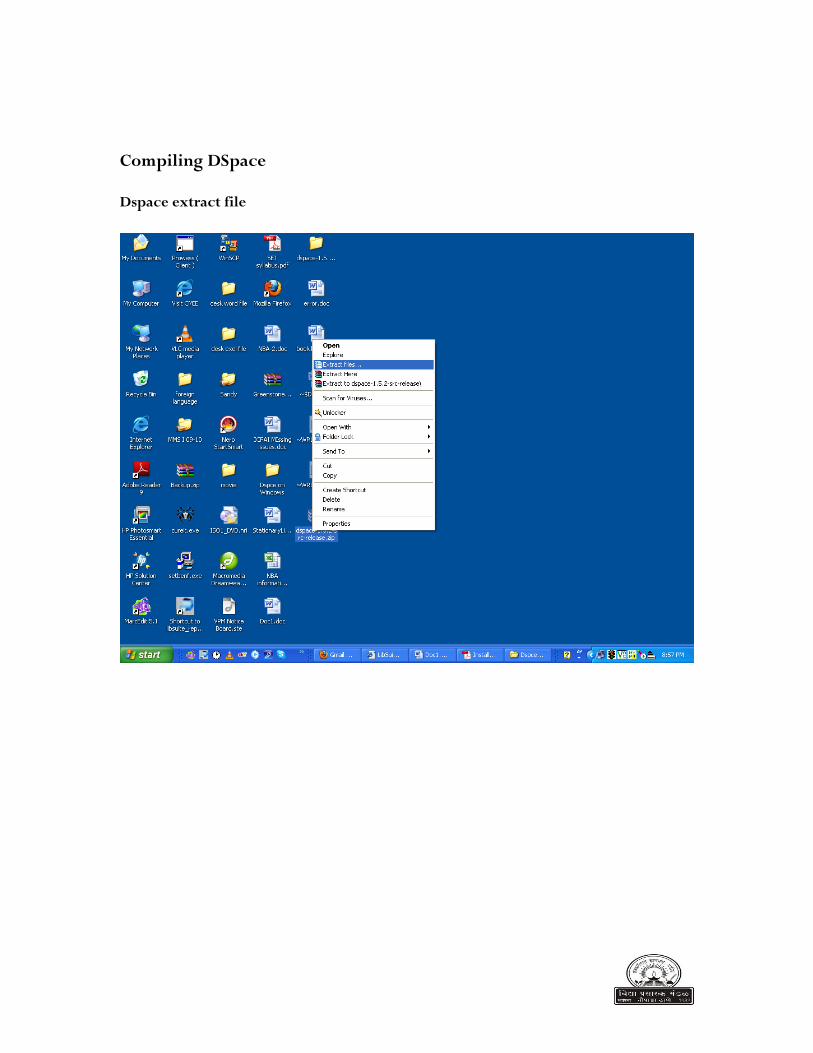
Compiling DSpace
Dspace extract file
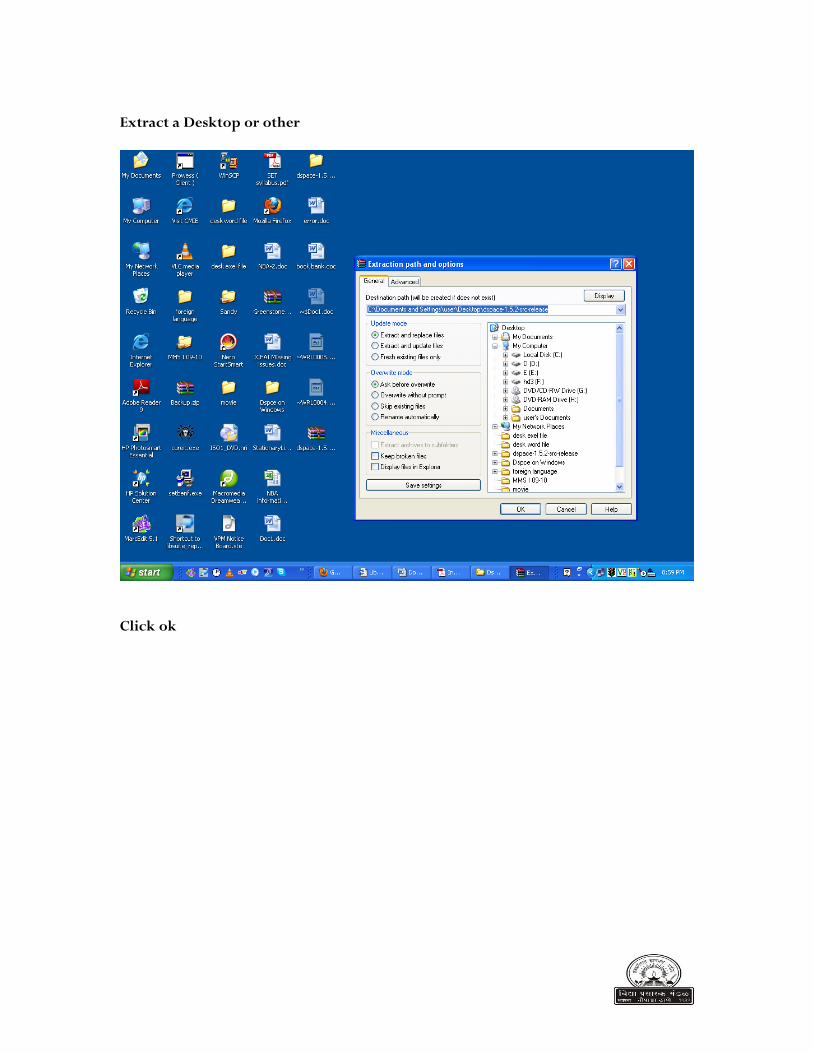
Extract a Desktop or other
Click ok

Extracting from dspace

1. Copy to C:\ [this is our source directory] dspace-1.5.2-src-release
Here Path is C:\dspace-1.5.2-src-release

2. Create a directory with name “dspace” in C:\ [this is our installation directory] e.g.: dspace.dir = C:/dSpace
Here Create New Folder in C Drive & rename this folder dspace

3. Start the Postgres Service [ Start > Programs > PostgreSQL 8.3 > Start Server]

Generate the DSpace installation package by running the following fromcommandline (cmd) from your [dspacesource]/dspace/ directory: and execute the command “mvn package”
Go Start , Run (Type cmd) press okOpen the cmd window after type C:\ (Press Enter)C:\cd dspace-1.5.2-src-release (Press Enter)C:\cd dspace-1.5.2-src-release >cd dspace (Press enter)C:\cd dspace-1.5.2-src-release >cd dspace>mvn package (Press enter)

After this window come

Completed the mvn packages come build Successful Message in your screen.

Install DSpace to [dspace] (e.g. C:\DSpace) by running thefollowing from commandline from your[dspace-source]/dspace/target/dspace-[version]-build.dir/ ant fresh_install
Command for Installing DSpaceHere open the cmd after type C:\Documents and Settings\user>cd \ (Press enter)C:\>cd dspace-1.5.2-src-release (Press enter) C:\>cd dspace-1.5.2-src-release>cd dspace (Press enter)C:\>cd dspace-1.5.2-src-release\dspace>cd target (Press enter)C:\>cd dspace-1.5.2-src-release\dspace\target>cd dspace-1.5.2-build.dir (Press enter) C:\>cd dspace-1.5.2-src-release\dspace\target\dspace-1.5.2-build.dir>ant fresh-install (Press enter)

Completed the ant fresh install come build Successful Message in your screen.

Create an administrator account, by running the following from your [dspace][dspace]\bin\dsrun org.dspace.administer.CreateAdministrator
Copy the Web application directories from [dspace]\webapps\ to Tomcat's

webapps dir, which should be somewhere like C:\Program Files\Apache Software Foundation\Tomcat 6.0\webapps
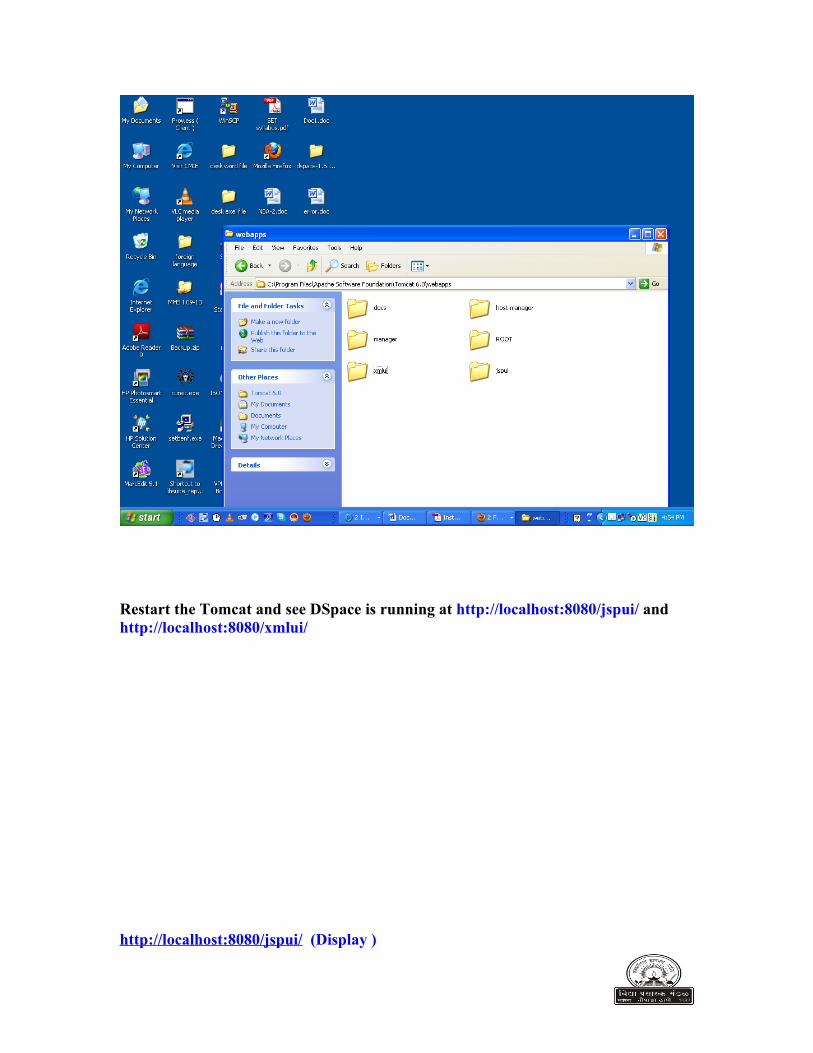
Restart the Tomcat and see DSpace is running at http://localhost:8080/jspui/ andhttp://localhost:8080/xmlui/
http://localhost:8080/jspui/ (Display )

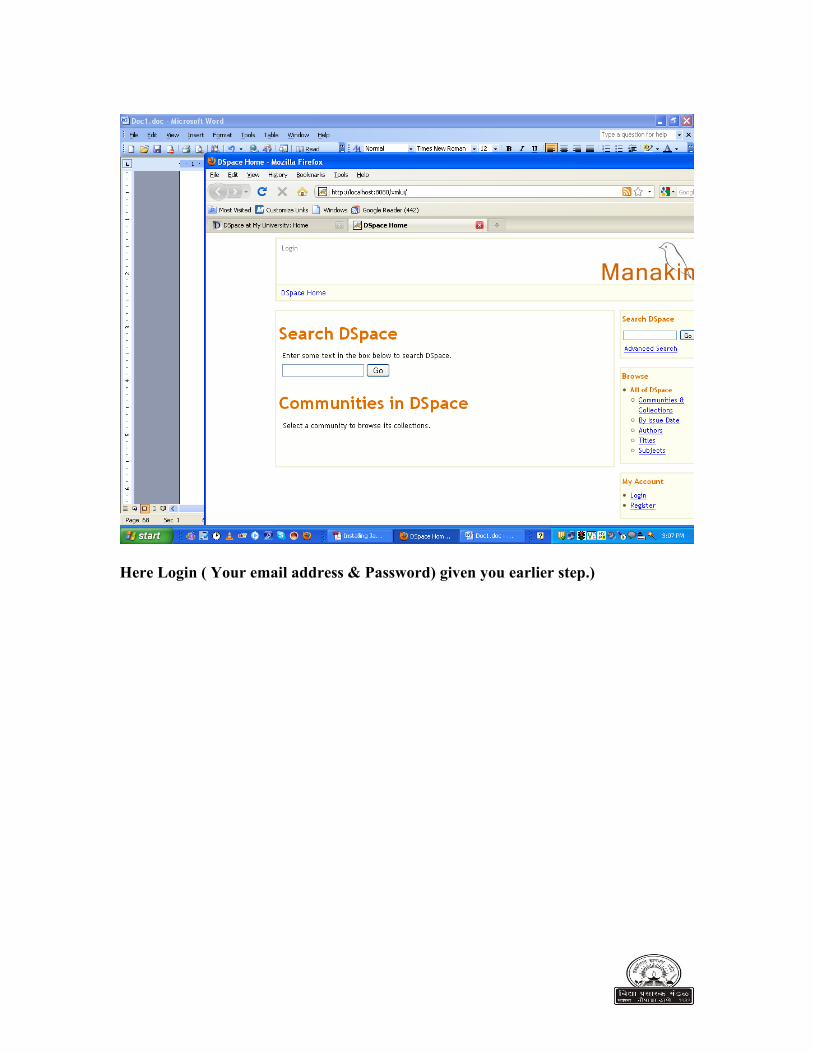
Here Login ( Your email address & Password) given you earlier step.)
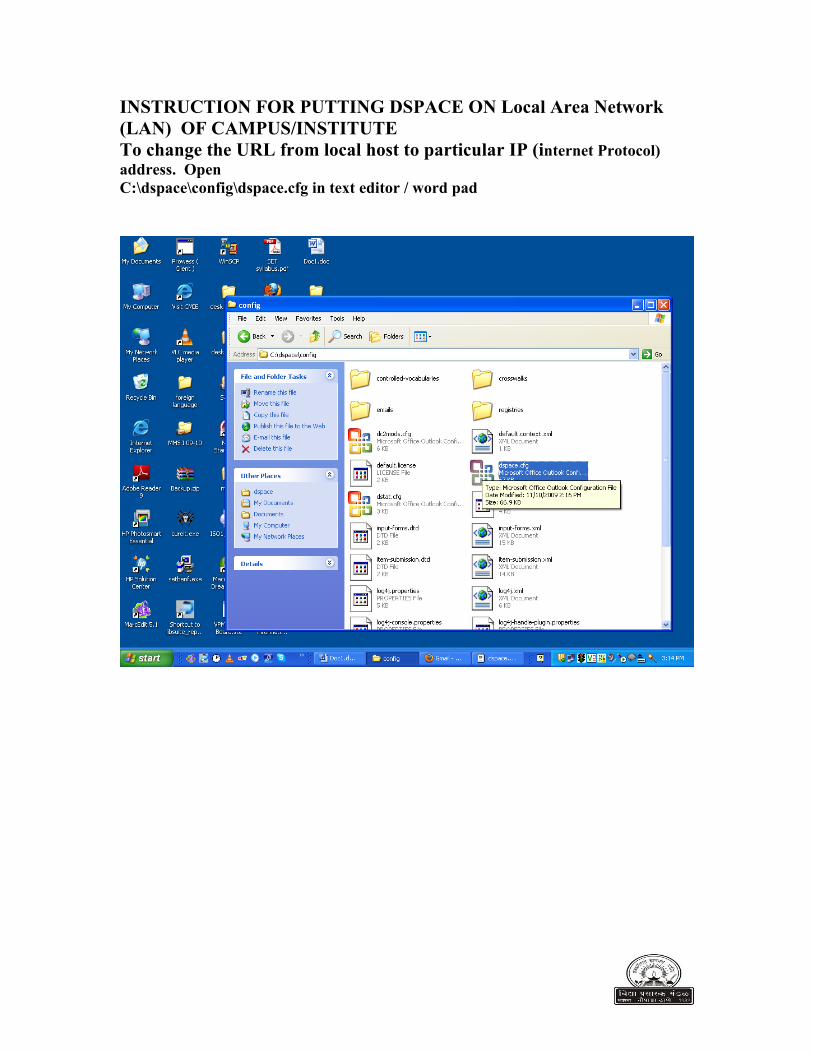
INSTRUCTION FOR PUTTING DSPACE ON Local Area Network (LAN) OF CAMPUS/INSTITUTETo change the URL from local host to particular IP (internet Protocol) address. Open C:\dspace\config\dspace.cfg in text editor / word pad

Change the dspace.url by writing your IP
After save the textfile

Type the URL as http://machine IP :8080/jspui
Congratulation !!!