introduction to wordpress
TRANSCRIPT
WORDPRESS GETTING STARTED
By Gaye Agesa and Esther Kimani Tuesday, 1 April 2014
WordPress is an online publishing suite that allows you to create and edit a blog.

Contents 1. CreaDng an account and logging in 2. Dashboard 3. WriDng and saving your blog 4. Toolbar 5. Making pages 6. CreaDng Categories and Tags 7. Designing your blog 8. Managing comments

CREATING AN ACCOUNT AND LOGGING IN
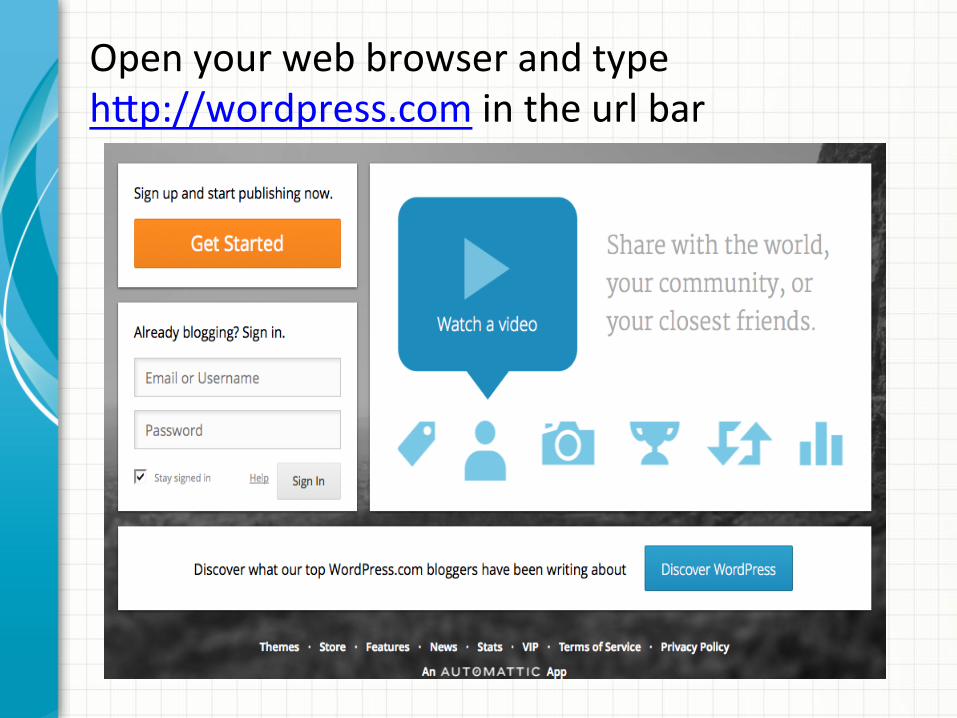
Open your web browser and type hOp://wordpress.com in the url bar
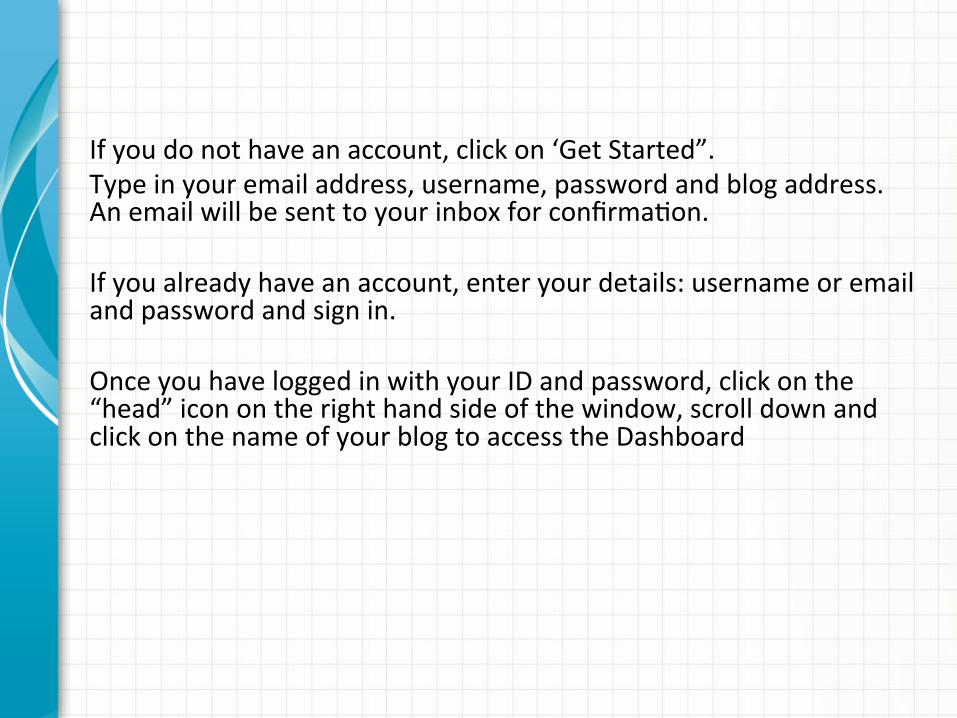
If you do not have an account, click on ‘Get Started”. Type in your email address, username, password and blog address. An email will be sent to your inbox for confirmaDon. If you already have an account, enter your details: username or email and password and sign in. Once you have logged in with your ID and password, click on the “head” icon on the right hand side of the window, scroll down and click on the name of your blog to access the Dashboard
DASHBOARD AND MANAGING YOUR PAGE
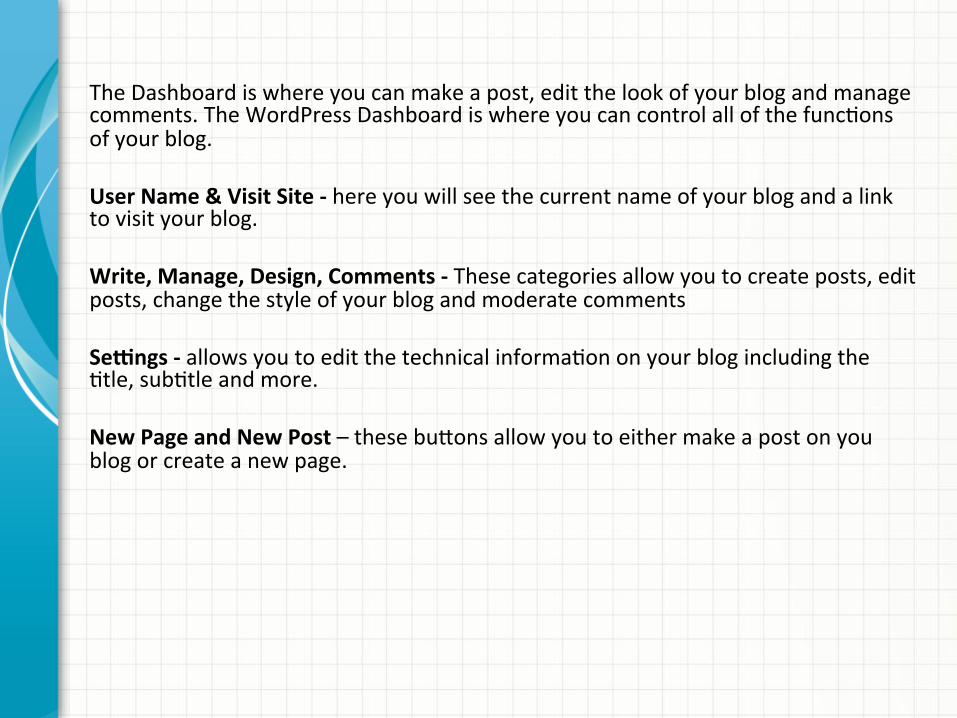
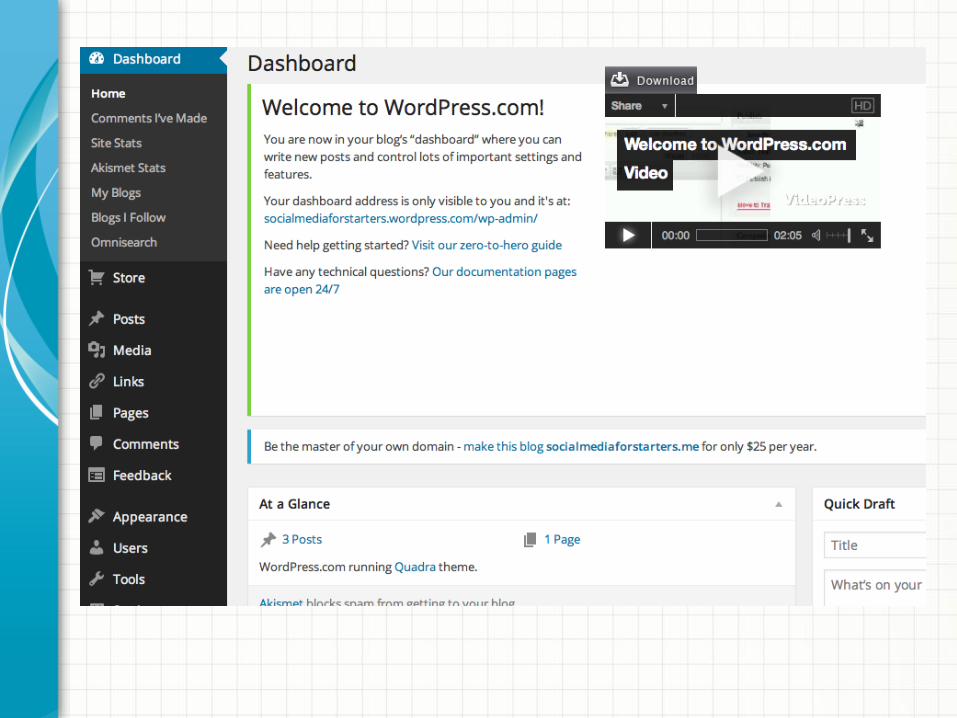
The Dashboard is where you can make a post, edit the look of your blog and manage comments. The WordPress Dashboard is where you can control all of the funcDons of your blog. User Name & Visit Site -‐ here you will see the current name of your blog and a link to visit your blog. Write, Manage, Design, Comments -‐ These categories allow you to create posts, edit posts, change the style of your blog and moderate comments SeCngs -‐ allows you to edit the technical informaDon on your blog including the Dtle, subDtle and more. New Page and New Post – these buOons allow you to either make a post on you blog or create a new page.

WRITING AND SAVING YOUR BLOG
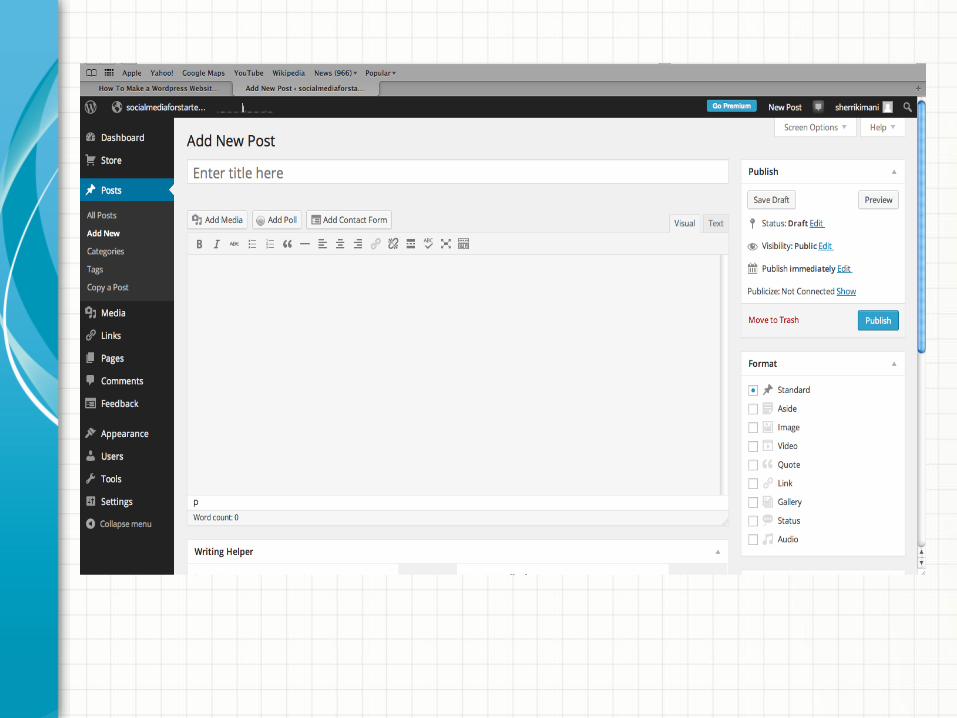
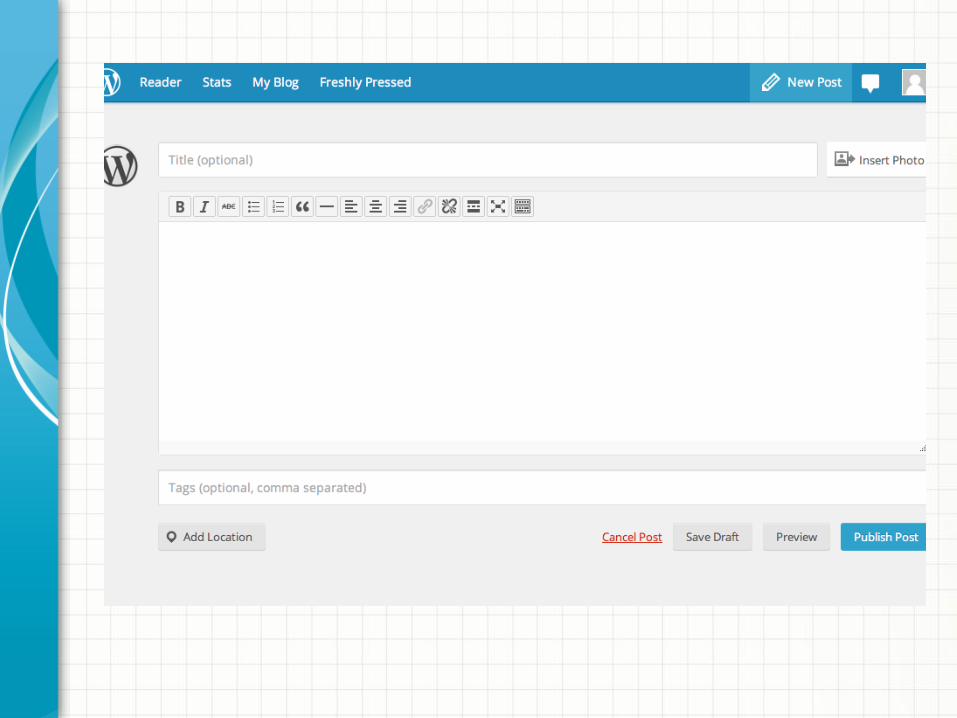
• To write your first blog, click on “New Post” on the upper right hand side of the window and give your post a Dtle and a body.
• A\er posDng your first blog, you can write subsequent blogs by clicking on “New Post” on the upper right hand side of the window and follow the instrucDons that were given when creaDng your first post, including giving your post a Dtle and a body.
• At any Dme when you are wriDng your post, you can always stop and save your work before you publish it by clicking on the “Save Dra\” tab on the right of the screen.
• Your work will remained unpublished, but will be saved for future ediDng.
• When you are ready to publish your post, click on the “Publish Post” tab on the right and that will enable your blog to be seen by the public, unless you wish to keep your post private. If so, click the “Keep this post private” check box.
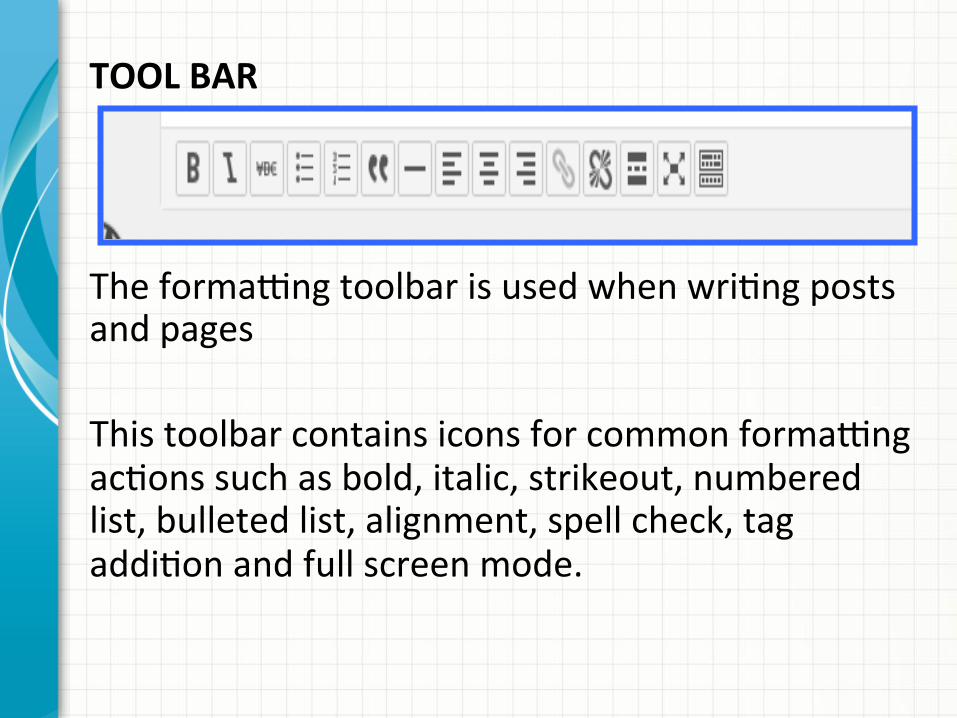
TOOL BAR The forma_ng toolbar is used when wriDng posts and pages This toolbar contains icons for common forma_ng acDons such as bold, italic, strikeout, numbered list, bulleted list, alignment, spell check, tag addiDon and full screen mode.
CREATING PAGES
CreaDng pages in Word Press is similar to wriDng a post, but pages are for content such as “About Me”, “Contact Me” and any other informaDon that you may wish to highlight.
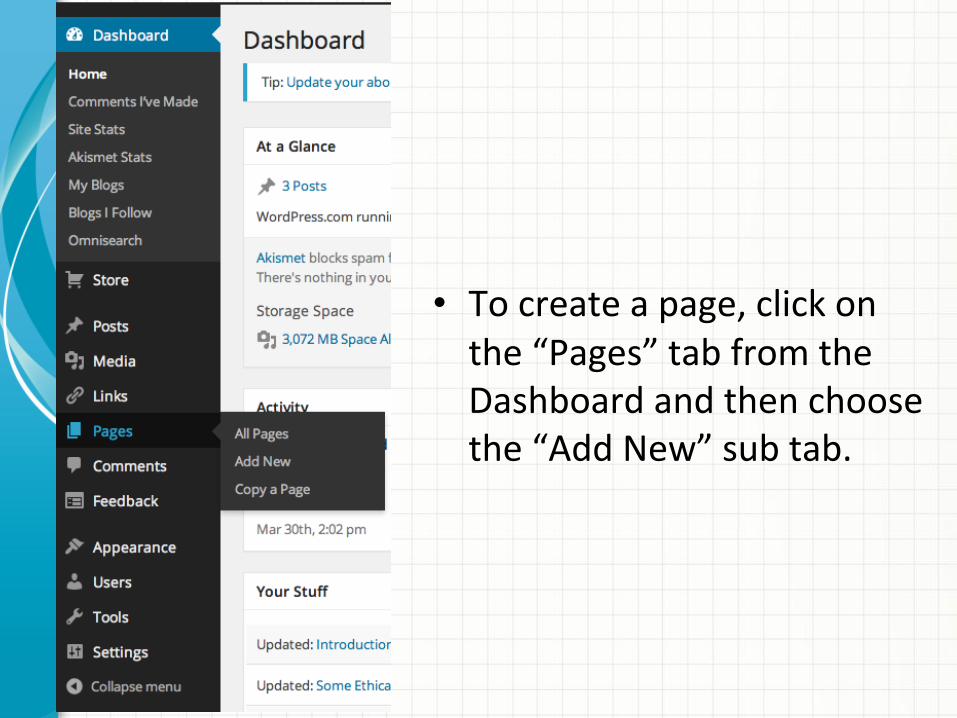
• To create a page, click on the “Pages” tab from the Dashboard and then choose the “Add New” sub tab.

CREATING CATEGORIES AND TAGS
Note: Adding categories and tags to posts and pages is op1onal.
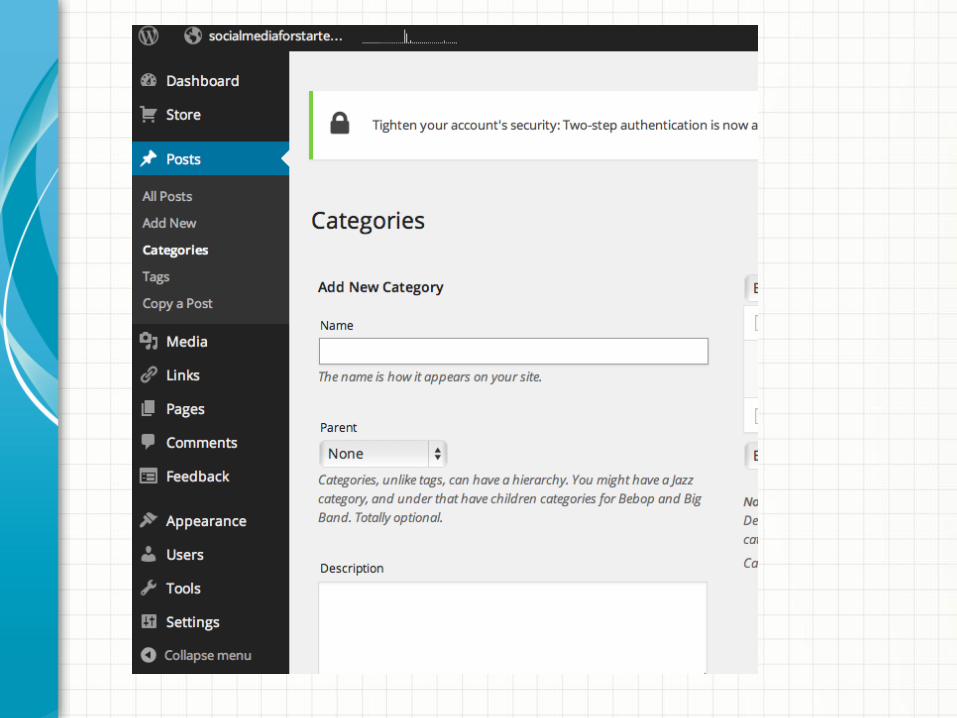
Categories allow you to group posts into topics. When you want to describe a post in more specific terms, you may have to add more categories or start adding tags. To add categories, scroll down on the “Write Post” page and click the “Add New Category” link under the “Categories” secDon. You will then come across a type and drop down box, along with an “Add” buOon. You can start introducing categories for your post.

Adding Tags • Tags are similar to categories, but instead of a list of words to choose from, you write them in a list separated by commas in a text box below your post.
• They are words that generally describe your post in more detail.

DESIGNING YOUR BLOG
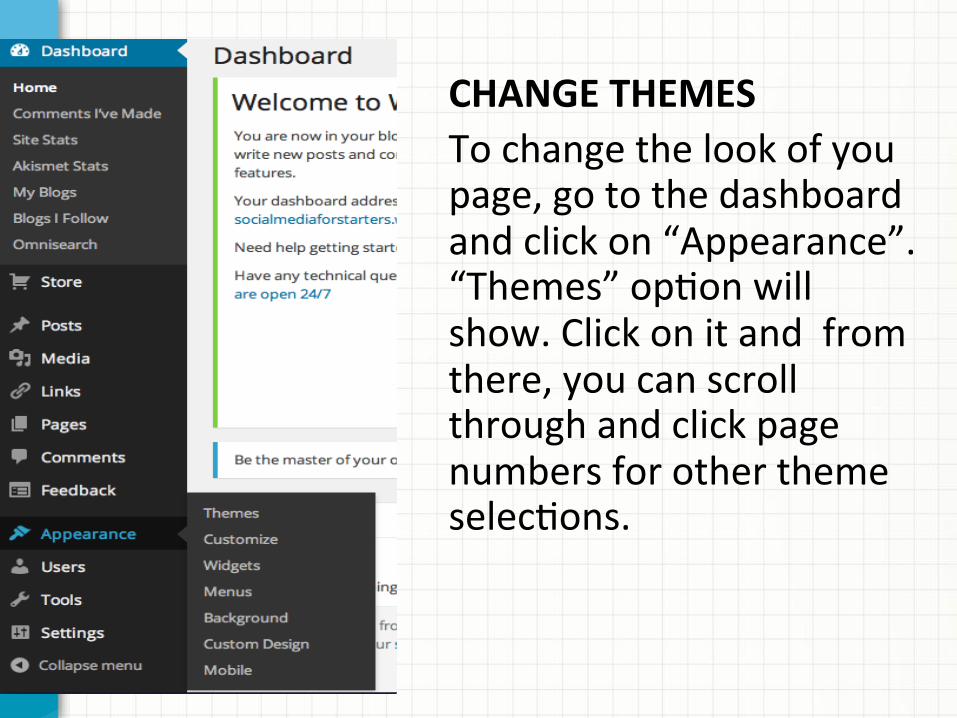
CHANGE THEMES To change the look of you page, go to the dashboard and click on “Appearance”. “Themes” opDon will show. Click on it and from there, you can scroll through and click page numbers for other theme selecDons.
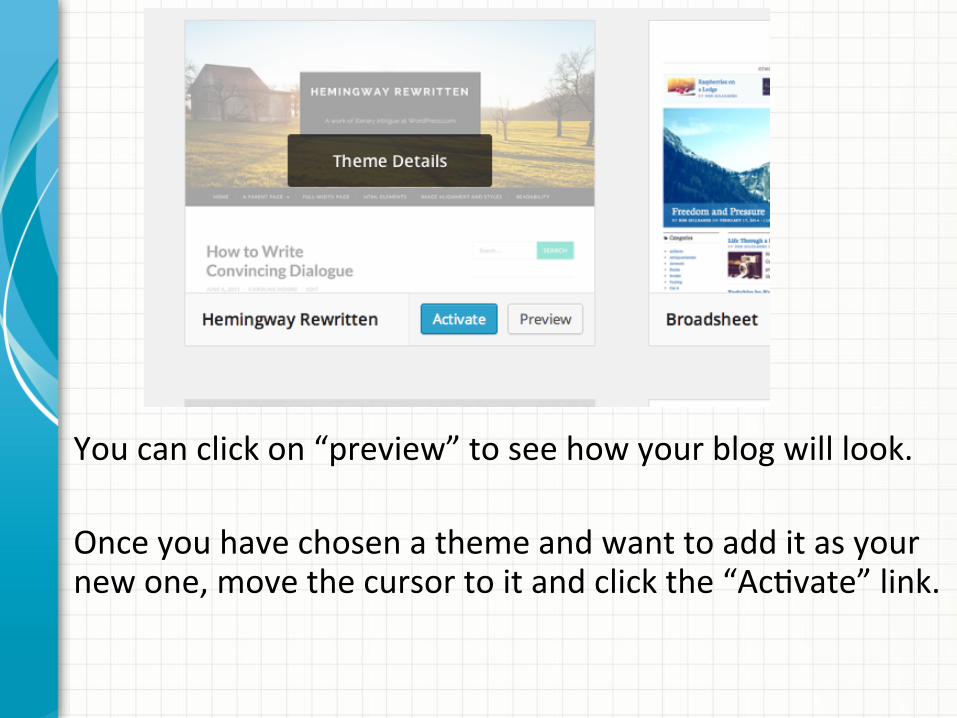
You can click on “preview” to see how your blog will look. Once you have chosen a theme and want to add it as your new one, move the cursor to it and click the “AcDvate” link.
MANAGE YOUR COMMENTS
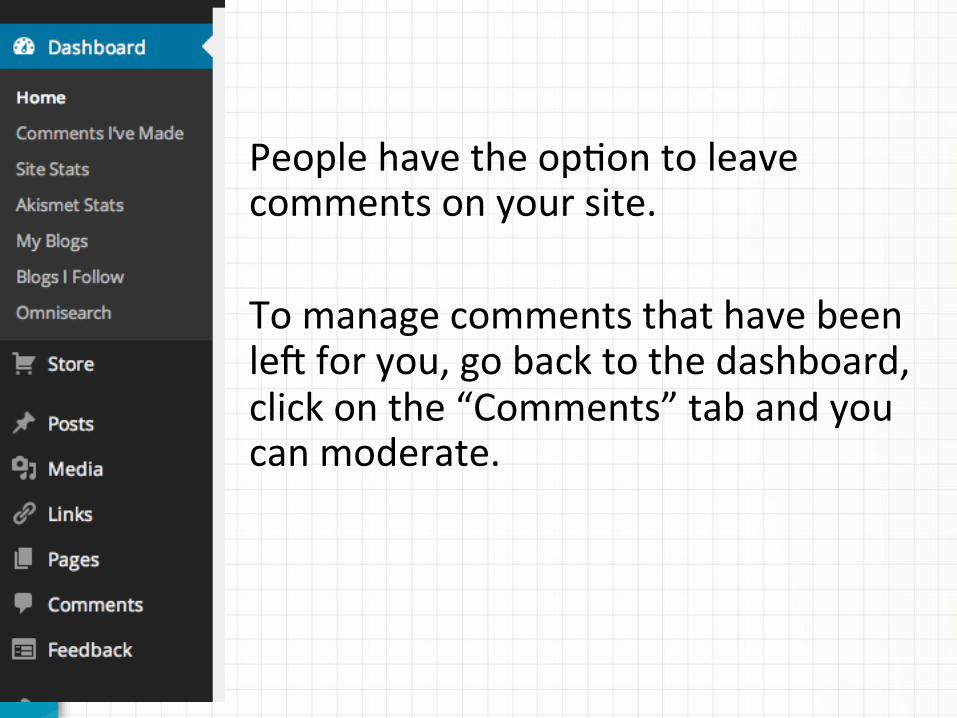
People have the opDon to leave comments on your site. To manage comments that have been le\ for you, go back to the dashboard, click on the “Comments” tab and you can moderate.
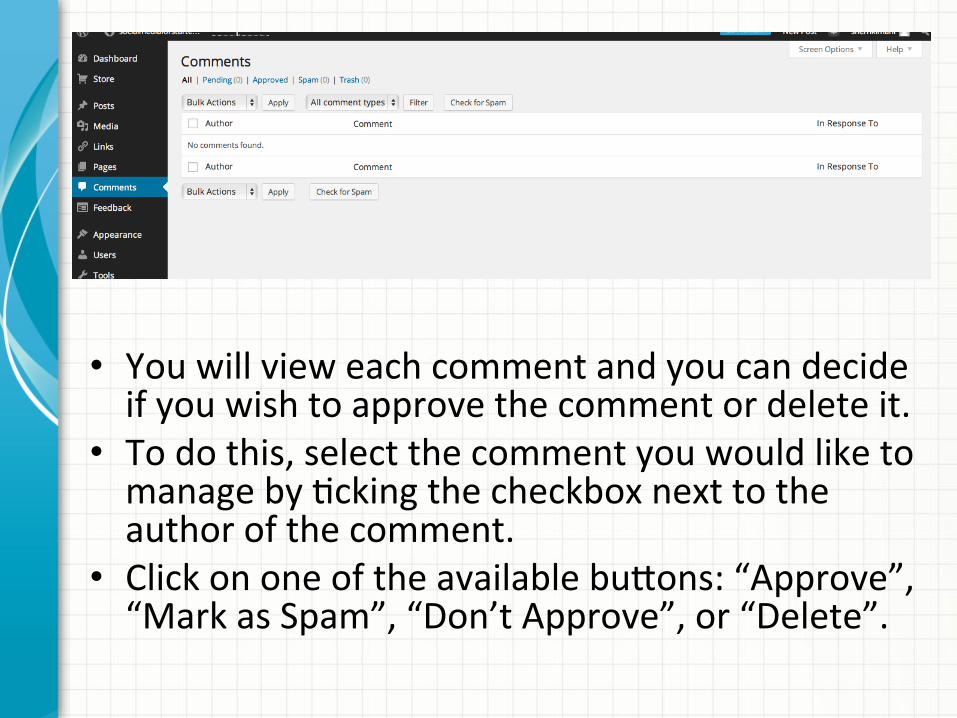
• You will view each comment and you can decide if you wish to approve the comment or delete it.
• To do this, select the comment you would like to manage by Dcking the checkbox next to the author of the comment.
• Click on one of the available buOons: “Approve”, “Mark as Spam”, “Don’t Approve”, or “Delete”.
It’s now )me to have our own blogs