ipbrick call manager v2.3...
TRANSCRIPT
Call Manager v2.3Manual
IPBRICK, S.A.
March 23, 2016

2
Copyright c©IPBRICK, S.A.All rights reserved. March 2016.
The information in this manual is subject to change without prior notice. Thepresented explanations, technical data, configurations and recommendations areprecise and trustful. Nevertheless, they have no expressed or implied guarantees.
Call Manager v2.3 - Manual IPBRICK, S.A.
Contents
1 Introduction 6
2 Call Manager Configurations 72.1 Telephones . . . . . . . . . . . . . . . . . . . . . . . . . . . . . . . . 72.2 Transfers . . . . . . . . . . . . . . . . . . . . . . . . . . . . . . . . . 92.3 Call Supervision Menu . . . . . . . . . . . . . . . . . . . . . . . . . 9
2.3.1 Call Supervision Groups . . . . . . . . . . . . . . . . . . . . 102.3.1.1 Call Supervision Group Members . . . . . . . . . . 102.3.1.2 Supervisioned Phones . . . . . . . . . . . . . . . . 11
2.4 Call Parking Menu . . . . . . . . . . . . . . . . . . . . . . . . . . . 112.5 Call Manager Menu . . . . . . . . . . . . . . . . . . . . . . . . . . . 12
2.5.1 Access Management . . . . . . . . . . . . . . . . . . . . . . 132.5.1.1 Groups . . . . . . . . . . . . . . . . . . . . . . . . 132.5.1.2 Members . . . . . . . . . . . . . . . . . . . . . . . 14
2.5.2 Groups Management . . . . . . . . . . . . . . . . . . . . . . 152.5.2.1 Groups . . . . . . . . . . . . . . . . . . . . . . . . 152.5.2.2 Members . . . . . . . . . . . . . . . . . . . . . . . 16
3 Call Manager Utilization 183.1 Call Manager Interface . . . . . . . . . . . . . . . . . . . . . . . . . 18
3.1.1 Task bar . . . . . . . . . . . . . . . . . . . . . . . . . . . . . 193.1.1.1 Dial . . . . . . . . . . . . . . . . . . . . . . . . . . 193.1.1.2 Blind Transfer . . . . . . . . . . . . . . . . . . . . 203.1.1.3 Supervised Transfer . . . . . . . . . . . . . . . . . 203.1.1.4 Call pickup . . . . . . . . . . . . . . . . . . . . . . 213.1.1.5 Hangup . . . . . . . . . . . . . . . . . . . . . . . . 213.1.1.6 Filter . . . . . . . . . . . . . . . . . . . . . . . . . 213.1.1.7 Status . . . . . . . . . . . . . . . . . . . . . . . . . 213.1.1.8 Preferences . . . . . . . . . . . . . . . . . . . . . . 223.1.1.9 Phonebook . . . . . . . . . . . . . . . . . . . . . . 223.1.1.10 Park Slots . . . . . . . . . . . . . . . . . . . . . . . 253.1.1.11 Logout . . . . . . . . . . . . . . . . . . . . . . . . . 25
IPBRICK, S.A. Call Manager v2.3 - Manual

List of Figures
2.1 Machines Management - Insert . . . . . . . . . . . . . . . . . . . . . 72.2 Machines Management - Partial list . . . . . . . . . . . . . . . . . . 82.3 Phones Management - Partial list . . . . . . . . . . . . . . . . . . . 92.4 Transfers . . . . . . . . . . . . . . . . . . . . . . . . . . . . . . . . . 92.5 Call Supervision . . . . . . . . . . . . . . . . . . . . . . . . . . . . . 92.6 Call Supervision - Insert Group . . . . . . . . . . . . . . . . . . . . 102.7 Call Supervision - Configure Groups . . . . . . . . . . . . . . . . . . 102.8 Call Supervision - Supervisors . . . . . . . . . . . . . . . . . . . . . 102.9 Call Supervision - Supervised . . . . . . . . . . . . . . . . . . . . . 112.10 Call Parking - Menu . . . . . . . . . . . . . . . . . . . . . . . . . . 112.11 Call Parking - Configuration . . . . . . . . . . . . . . . . . . . . . . 112.12 Call Manager Configuration . . . . . . . . . . . . . . . . . . . . . . 122.13 Access Management - Insert . . . . . . . . . . . . . . . . . . . . . . 132.14 Access Management - Access groups list . . . . . . . . . . . . . . . 142.15 Access Management - Groups permissions . . . . . . . . . . . . . . 152.16 Access Management - Members of the group Managers . . . . . . . 152.17 Groups Management - Insert . . . . . . . . . . . . . . . . . . . . . . 162.18 Groups Management - Groups list . . . . . . . . . . . . . . . . . . . 162.19 Access Management - Group definition . . . . . . . . . . . . . . . . 162.20 Access Management - Members of the group Comercial . . . . . . . 17
3.1 Call Manager - Authentication . . . . . . . . . . . . . . . . . . . . . 183.2 Call Manager - Interface . . . . . . . . . . . . . . . . . . . . . . . . 193.3 Call Manager - Task Bar . . . . . . . . . . . . . . . . . . . . . . . . 193.4 Call Manager - Park Slots . . . . . . . . . . . . . . . . . . . . . . . 193.5 Task bar - Make a call . . . . . . . . . . . . . . . . . . . . . . . . . 193.6 Task bar - Dial . . . . . . . . . . . . . . . . . . . . . . . . . . . . . 203.7 Task bar - Blind Transfer . . . . . . . . . . . . . . . . . . . . . . . . 203.8 Task bar - Supervised Transfer . . . . . . . . . . . . . . . . . . . . . 203.9 Task bar - Call Pickup . . . . . . . . . . . . . . . . . . . . . . . . . 213.10 Task bar - Call Hangup . . . . . . . . . . . . . . . . . . . . . . . . . 213.11 Task bar - Filter . . . . . . . . . . . . . . . . . . . . . . . . . . . . 213.12 Task bar - Status . . . . . . . . . . . . . . . . . . . . . . . . . . . . 213.13 Task bar - Preferences . . . . . . . . . . . . . . . . . . . . . . . . . 223.14 Preferences . . . . . . . . . . . . . . . . . . . . . . . . . . . . . . . 223.15 Task bar - Phonebook . . . . . . . . . . . . . . . . . . . . . . . . . 223.16 Phonebook . . . . . . . . . . . . . . . . . . . . . . . . . . . . . . . 23
Call Manager v2.3 - Manual IPBRICK, S.A.

LIST OF FIGURES 5
3.17 Phonebook Configuration - IPContacts on the same server . . . . . 233.18 Phonebook Configuration - Create user on IPContacts’ Server . . . 243.19 Phonebook Configuration - Set credentials to Contacts database . . 243.20 Task bar - Park Slots - Selected . . . . . . . . . . . . . . . . . . . . 253.21 Task bar - Park Slots - Call Parking . . . . . . . . . . . . . . . . . . 253.22 Task bar - Logout . . . . . . . . . . . . . . . . . . . . . . . . . . . . 253.23 Logout . . . . . . . . . . . . . . . . . . . . . . . . . . . . . . . . . . 26
IPBRICK, S.A. Call Manager v2.3 - Manual
Chapter 1
Introduction
Call Manager for IPBRICK is a call management module which is mainly usedfor receptionists and telephonists.
It is based on Flash Operator Panel 2 (FOP2) and allows you to manage andmonitor the status of extensions, sip trunks, queues and conference calls, of acompany, through a simple web interface. This solution is the equivalent of aphone expansion module, which is usually a very expensive extra.
• Advantages:
– Reliability;
– A low cost alternative to a phone expansion module.
• Features:
– Make calls;
– Transfer calls;
– Transfer to voice-mail;
– Pickup Call;
– Listen and speak to an extension;
– End call.
Call Manager v2.3 - Manual IPBRICK, S.A.
Chapter 2
Call Manager Configurations
First of all, to use Call Manager it is necessary to configure it on IPBRICK’sinterface.
This means we have to configure telephones and create groups of members toassign permissions.
2.1 Telephones
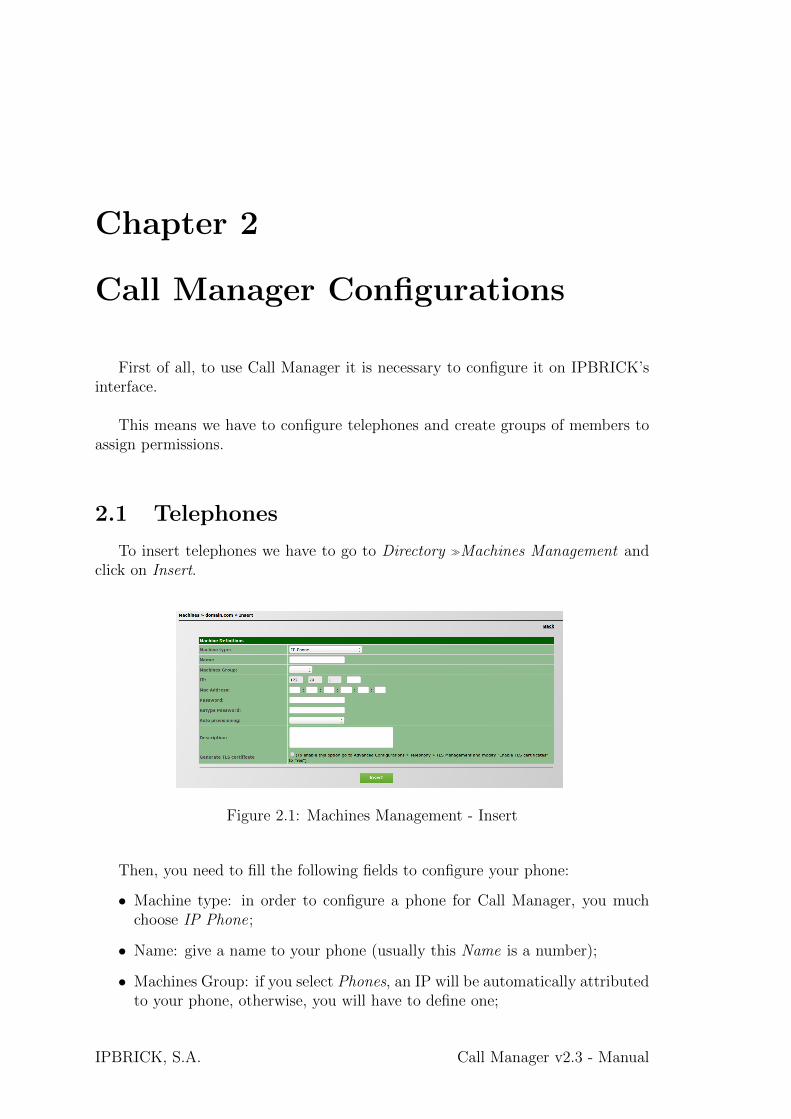
To insert telephones we have to go to Directory �Machines Management andclick on Insert.
Figure 2.1: Machines Management - Insert
Then, you need to fill the following fields to configure your phone:
• Machine type: in order to configure a phone for Call Manager, you muchchoose IP Phone;
• Name: give a name to your phone (usually this Name is a number);
• Machines Group: if you select Phones, an IP will be automatically attributedto your phone, otherwise, you will have to define one;
IPBRICK, S.A. Call Manager v2.3 - Manual

8 Call Manager Configurations
• IP: allows an automatic or manual insertion of an IP;
• Mac Address: to attribute your phone’s Mac Address ;
• Password: Insert a password that has at least 8 characters and respects atleast 3 out of 4 of its criterias (uppercase letters, lowercase letters, numbersand special characters);
• Retype Password: repeat your password;
• Auto provisioning: you can select Auto provisioning but you are not obligedto do it;
• Description: here we recommend inserting the name of the person to whomthe phone is assigned, because, this way, it becomes easier to know to whoyou’re calling;
• Generate TLS certificate: if this option is enabled (to enable go to AdvancedConfigurations �Telephony �TLS Management �Enable TLS certificates), itallows to generate TLS certificates which validate IP Phones, offering a moresecure connection to SIP communications.
Once you have your phones configured, you can consult them on Directory�Machines Management (Figure 2.2) or on UCoIP �VoIP �Phones Management(Figure 2.3).
Figure 2.2: Machines Management - Partial list
Call Manager v2.3 - Manual IPBRICK, S.A.

2.2 Transfers 9
Figure 2.3: Phones Management - Partial list
2.2 Transfers
To activate this option, you have to go to Advanced Configurations �Telephony�Configurations and search for Attended transfer and Blind transfer.
Figure 2.4: Transfers
Once you spoted them, just enable both.
2.3 Call Supervision Menu
This menu allows you to configure Call Supervision, which means that it ispossible to define the supervisor and the supervised.
To access it, go to UCoIP �VoIP �Monitoring �Call Supervision (Figure 2.5).
Figure 2.5: Call Supervision
First of all, you need to add a group. To do so, click on Insert (Figure 2.6).
IPBRICK, S.A. Call Manager v2.3 - Manual

10 Call Manager Configurations
Figure 2.6: Call Supervision - Insert Group
Here you have three fields to fill:
• Name: name your group;
• Unlock code: insert a security code;
• Supervision mode: select the group’s permissions.
Once you have your groups inserted you can consult them on Call Supervision(Figure 2.5).
2.3.1 Call Supervision Groups
Now that you have already created your groups, you have to define membersas supervisor and supervised.
In order to do that, you have to click on a group and configure Call SupervisionGroup Members and Supervisioned Phones.
Figure 2.7: Call Supervision - Configure Groups
2.3.1.1 Call Supervision Group Members
Figure 2.8: Call Supervision - Supervisors
In this option you can define which members will be supervisors.
Call Manager v2.3 - Manual IPBRICK, S.A.
2.4 Call Parking Menu 11
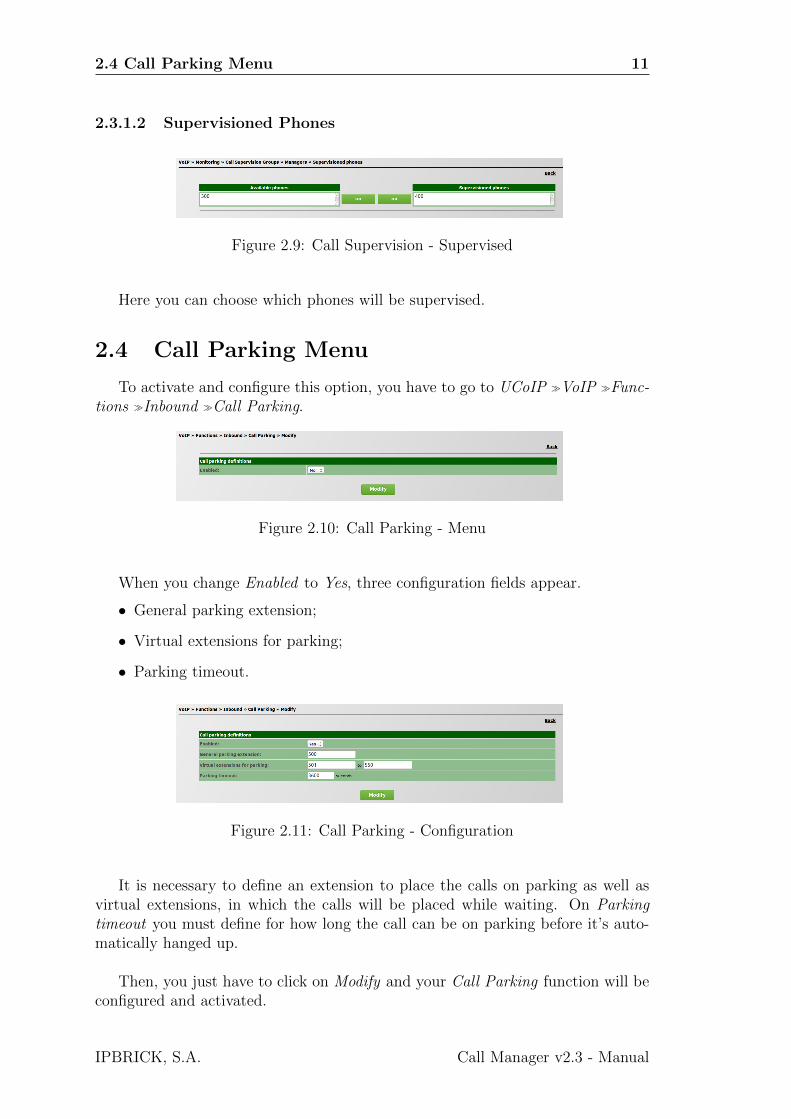
2.3.1.2 Supervisioned Phones
Figure 2.9: Call Supervision - Supervised
Here you can choose which phones will be supervised.
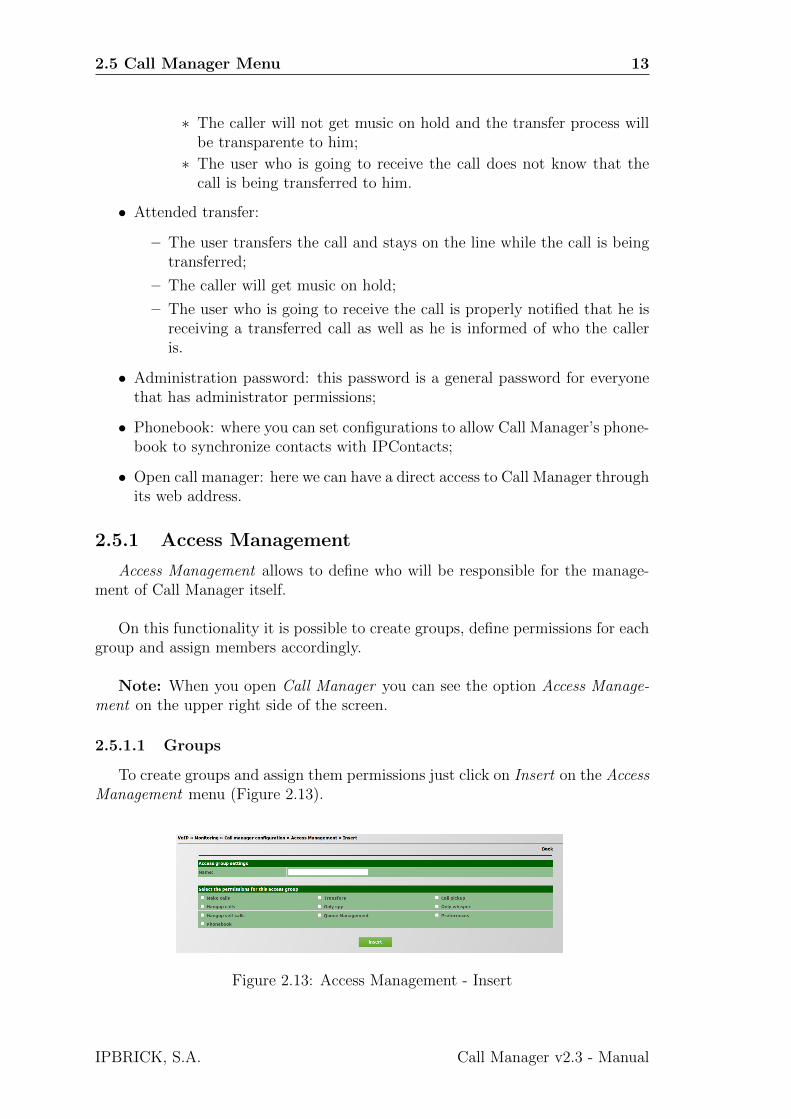
2.4 Call Parking Menu
To activate and configure this option, you have to go to UCoIP �VoIP �Func-tions �Inbound �Call Parking.
Figure 2.10: Call Parking - Menu
When you change Enabled to Yes, three configuration fields appear.
• General parking extension;
• Virtual extensions for parking;
• Parking timeout.
Figure 2.11: Call Parking - Configuration
It is necessary to define an extension to place the calls on parking as well asvirtual extensions, in which the calls will be placed while waiting. On Parkingtimeout you must define for how long the call can be on parking before it’s auto-matically hanged up.
Then, you just have to click on Modify and your Call Parking function will beconfigured and activated.
IPBRICK, S.A. Call Manager v2.3 - Manual

12 Call Manager Configurations
2.5 Call Manager Menu
To configure Call Manager Menu on IPBRICK’s interface, we have to go toUCoIP �VoIP �Monitoring �Call Manager (Figure 2.12).
Figure 2.12: Call Manager Configuration
We can see the following options:
• Show fields: which fields may be seen on call manager;
– Show line state: if the line is busy, available or disconected;
– Show queues state: if there is someone on a call queue and which usersare predefined to take those calls;
– Show parking state: if there is any call on parking;
– Show VoIP server state:
∗ Shows routes (e.g. SIP trunks, IP PBX, etc.);
∗ Registers if the server is receiving or making too many calls;
∗ Determines if the server has its channels busy.
– Show conferences state: if there are conferences occuring or not at thetime.
• Call Answer Mode - Automatic answer:
– Enables automatic answer of the call;
– Allows the user to keep working while answering a call (aided by ear-phones);
– Needs a phone that supports this functionality (e.g. Yealink).
• Call Transfer mode:
– Blind transfer:
∗ The user transfers the call and hangs up the phone whenever thetransference is completed;
Call Manager v2.3 - Manual IPBRICK, S.A.
2.5 Call Manager Menu 13
∗ The caller will not get music on hold and the transfer process willbe transparente to him;
∗ The user who is going to receive the call does not know that thecall is being transferred to him.
• Attended transfer:
– The user transfers the call and stays on the line while the call is beingtransferred;
– The caller will get music on hold;
– The user who is going to receive the call is properly notified that he isreceiving a transferred call as well as he is informed of who the calleris.
• Administration password: this password is a general password for everyonethat has administrator permissions;
• Phonebook: where you can set configurations to allow Call Manager’s phone-book to synchronize contacts with IPContacts;
• Open call manager: here we can have a direct access to Call Manager throughits web address.
2.5.1 Access Management
Access Management allows to define who will be responsible for the manage-ment of Call Manager itself.
On this functionality it is possible to create groups, define permissions for eachgroup and assign members accordingly.
Note: When you open Call Manager you can see the option Access Manage-ment on the upper right side of the screen.
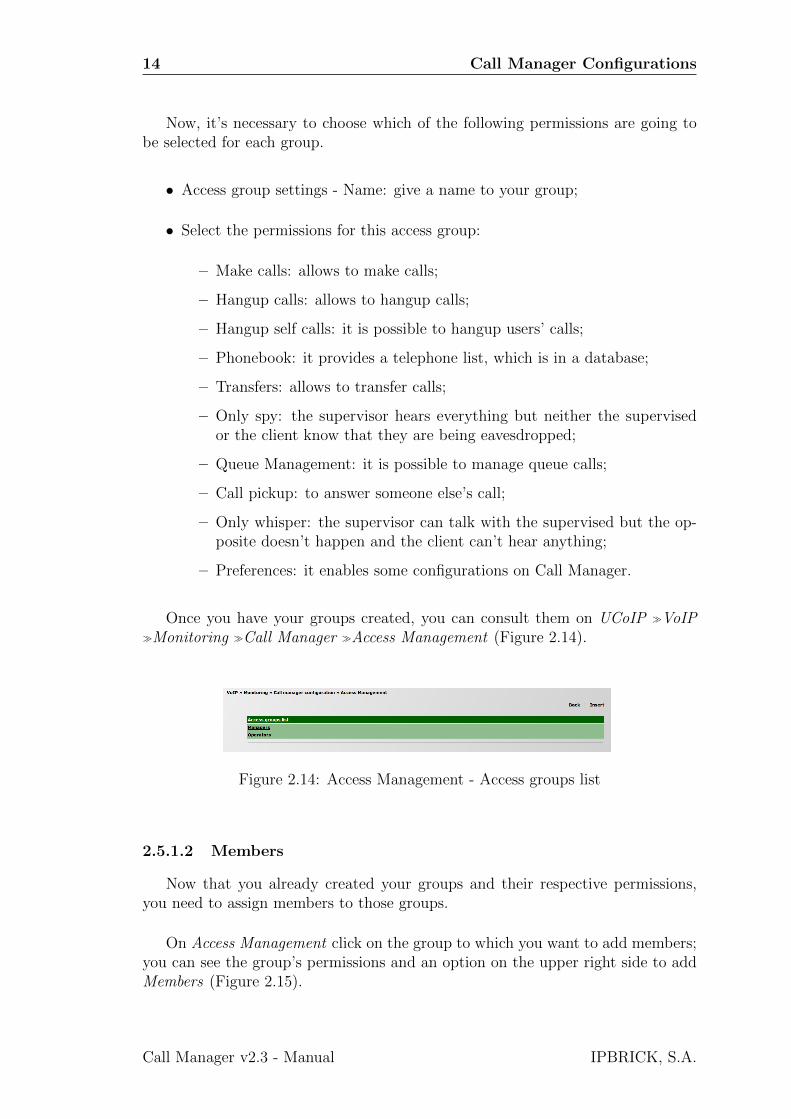
2.5.1.1 Groups
To create groups and assign them permissions just click on Insert on the AccessManagement menu (Figure 2.13).
Figure 2.13: Access Management - Insert
IPBRICK, S.A. Call Manager v2.3 - Manual
14 Call Manager Configurations
Now, it’s necessary to choose which of the following permissions are going tobe selected for each group.
• Access group settings - Name: give a name to your group;
• Select the permissions for this access group:
– Make calls: allows to make calls;
– Hangup calls: allows to hangup calls;
– Hangup self calls: it is possible to hangup users’ calls;
– Phonebook: it provides a telephone list, which is in a database;
– Transfers: allows to transfer calls;
– Only spy: the supervisor hears everything but neither the supervisedor the client know that they are being eavesdropped;
– Queue Management: it is possible to manage queue calls;
– Call pickup: to answer someone else’s call;
– Only whisper: the supervisor can talk with the supervised but the op-posite doesn’t happen and the client can’t hear anything;
– Preferences: it enables some configurations on Call Manager.
Once you have your groups created, you can consult them on UCoIP �VoIP�Monitoring �Call Manager �Access Management (Figure 2.14).
Figure 2.14: Access Management - Access groups list
2.5.1.2 Members
Now that you already created your groups and their respective permissions,you need to assign members to those groups.
On Access Management click on the group to which you want to add members;you can see the group’s permissions and an option on the upper right side to addMembers (Figure 2.15).
Call Manager v2.3 - Manual IPBRICK, S.A.
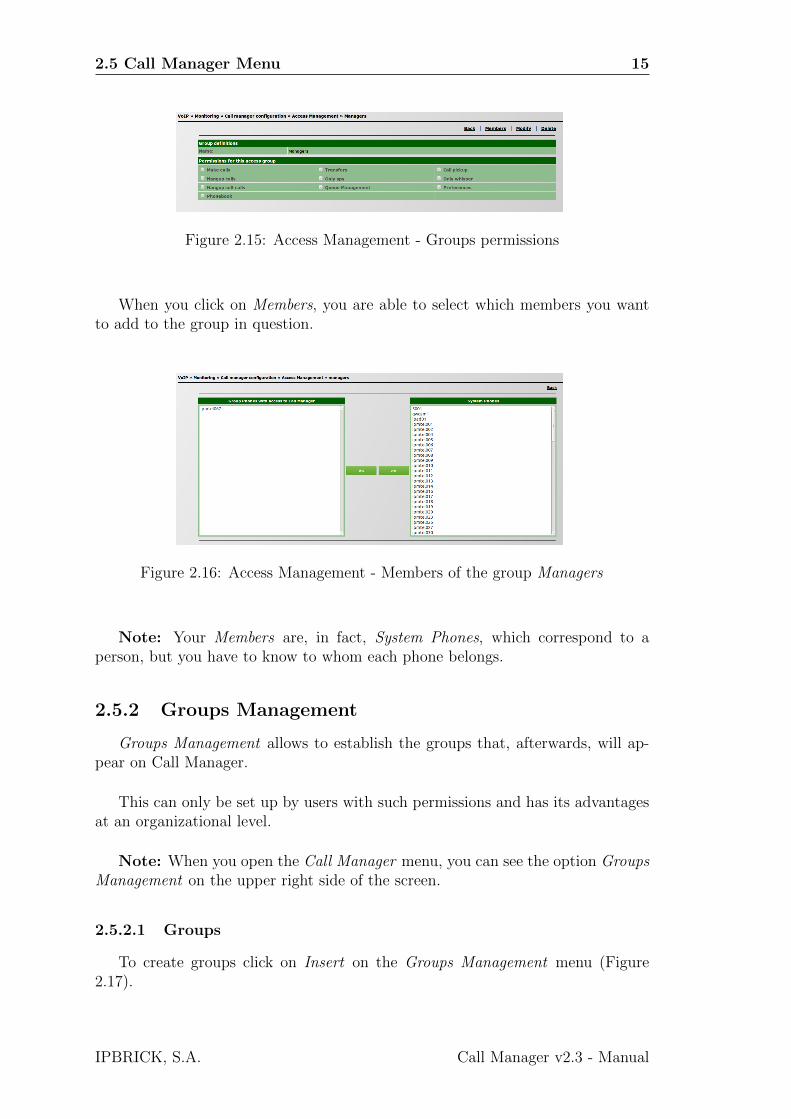
2.5 Call Manager Menu 15
Figure 2.15: Access Management - Groups permissions
When you click on Members, you are able to select which members you wantto add to the group in question.
Figure 2.16: Access Management - Members of the group Managers
Note: Your Members are, in fact, System Phones, which correspond to aperson, but you have to know to whom each phone belongs.
2.5.2 Groups Management
Groups Management allows to establish the groups that, afterwards, will ap-pear on Call Manager.
This can only be set up by users with such permissions and has its advantagesat an organizational level.
Note: When you open the Call Manager menu, you can see the option GroupsManagement on the upper right side of the screen.
2.5.2.1 Groups
To create groups click on Insert on the Groups Management menu (Figure2.17).
IPBRICK, S.A. Call Manager v2.3 - Manual
16 Call Manager Configurations
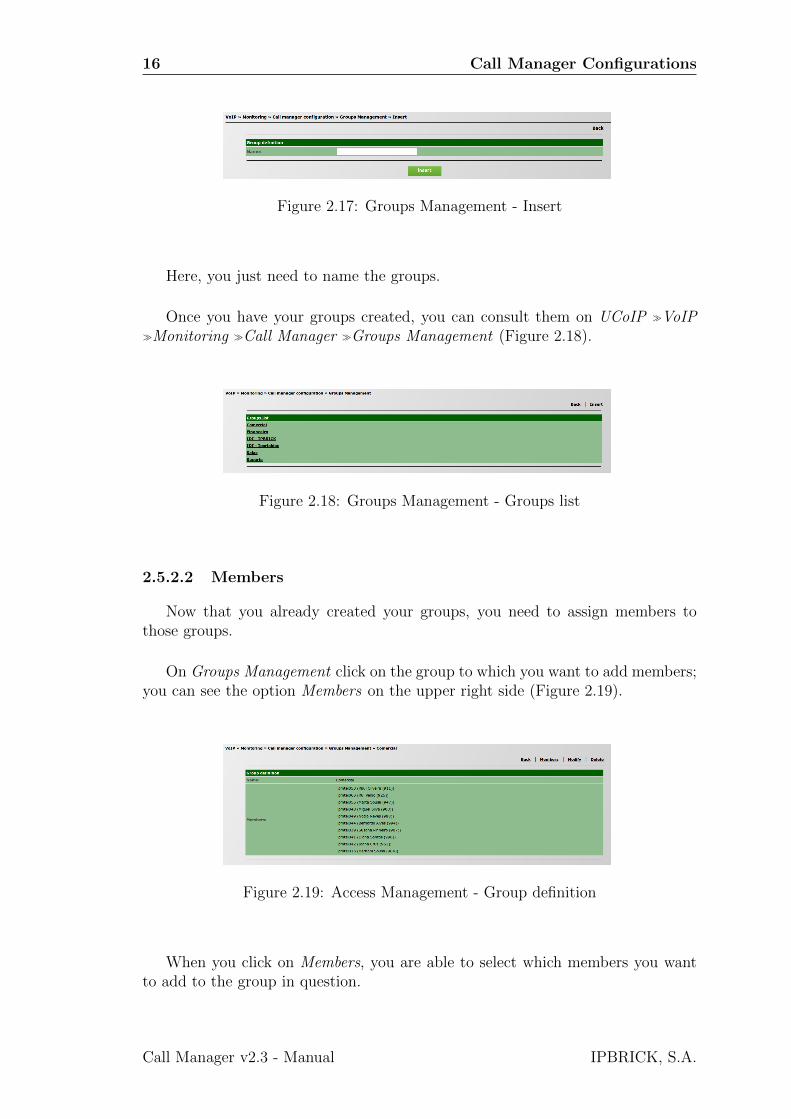
Figure 2.17: Groups Management - Insert
Here, you just need to name the groups.
Once you have your groups created, you can consult them on UCoIP �VoIP�Monitoring �Call Manager �Groups Management (Figure 2.18).
Figure 2.18: Groups Management - Groups list
2.5.2.2 Members
Now that you already created your groups, you need to assign members tothose groups.
On Groups Management click on the group to which you want to add members;you can see the option Members on the upper right side (Figure 2.19).
Figure 2.19: Access Management - Group definition
When you click on Members, you are able to select which members you wantto add to the group in question.
Call Manager v2.3 - Manual IPBRICK, S.A.
2.5 Call Manager Menu 17
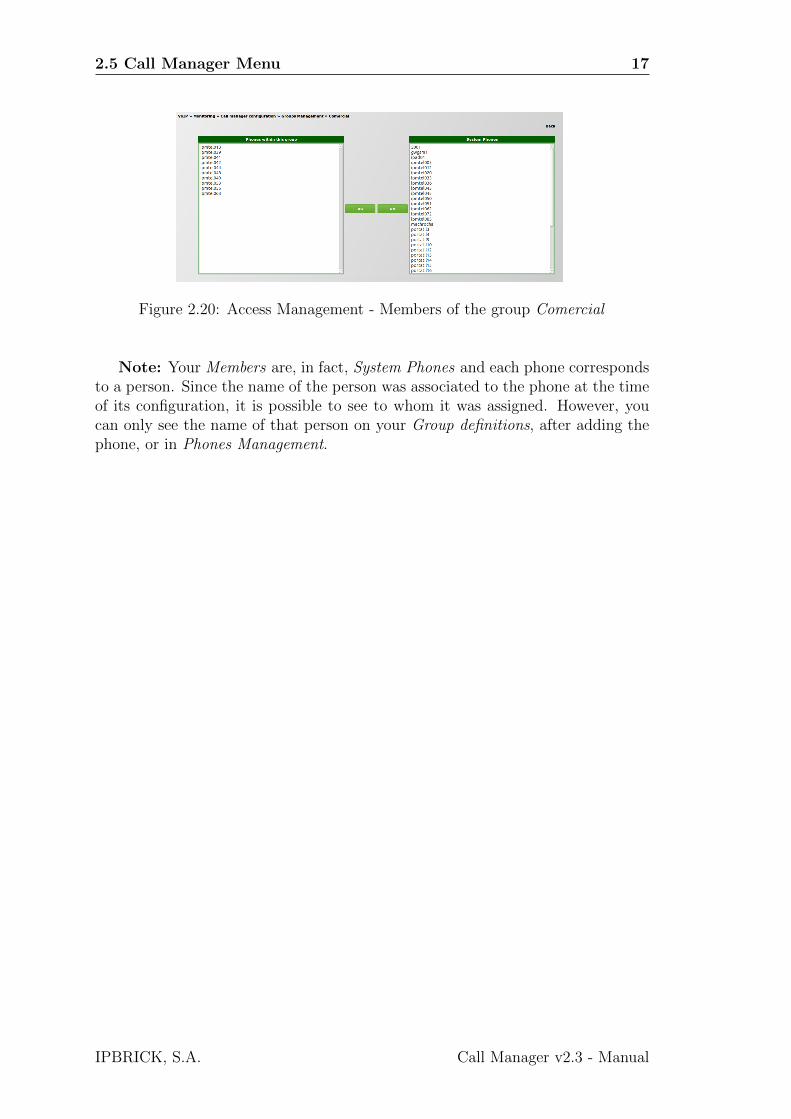
Figure 2.20: Access Management - Members of the group Comercial
Note: Your Members are, in fact, System Phones and each phone correspondsto a person. Since the name of the person was associated to the phone at the timeof its configuration, it is possible to see to whom it was assigned. However, youcan only see the name of that person on your Group definitions, after adding thephone, or in Phones Management.
IPBRICK, S.A. Call Manager v2.3 - Manual

Chapter 3
Call Manager Utilization
Once we have already configured Call Manager on IPBRICK’s interface, it istime to see how the web interface of Call Manager works and which are its features.
3.1 Call Manager Interface
Call Manager interface can be found in http://callmanager.domain.com.
To access it, you must authenticate first, typing your extension and passwordon the login page.
Figure 3.1: Call Manager - Authentication
Now you can see the interface, where you can manage your calls, by performingseveral types of actions on them.
Call Manager v2.3 - Manual IPBRICK, S.A.

3.1 Call Manager Interface 19
Figure 3.2: Call Manager - Interface
3.1.1 Task bar
On Call Manager’s interface, you can see a task bar with all of its features.
Figure 3.3: Call Manager - Task Bar
Figure 3.4: Call Manager - Park Slots
Next, we are going to describe each one of them.
Note: If you have any doubts about the function of an icon, you just have tohover your cursor over that icon and it will display a description.
3.1.1.1 Dial
Figure 3.5: Task bar - Make a call
IPBRICK, S.A. Call Manager v2.3 - Manual

20 Call Manager Utilization
If you wish to call for one of the phones that appear on the interface, you justhave to select the extension and then click on Dial (option on the left).
The option on the right allows you to type numbers or URLs for SIP calls(Figure 3.6).
Figure 3.6: Task bar - Dial
3.1.1.2 Blind Transfer
Figure 3.7: Task bar - Blind Transfer
As it was already meantioned on 2.2.Call Manager, Blind transfer (Figure 3.7)consists in:
• The user transfers the call and hangs up the phone whenever the transferenceis completed;
• The caller will not get music on hold and the transfer process will be trans-parente to him;
• The user who is going to receive the call does not know that the call is beingtransferred to him.
3.1.1.3 Supervised Transfer
Figure 3.8: Task bar - Supervised Transfer
The most commonly used transfer is the Supervised Transfer. When usingsupervised transfers, the system will stay on the line when a call is transferred;
Call Manager v2.3 - Manual IPBRICK, S.A.

3.1 Call Manager Interface 21
the person calling will get music on hold and the user who’s going to take the callwill speak to the operator from where the call was transferred, just to make surethe transfer completes correctly.
3.1.1.4 Call pickup
Figure 3.9: Task bar - Call Pickup
An operator can perform Call pickup, which means that he can collect any callfor himself and then he must decide whether to answer it or to transfer it.
3.1.1.5 Hangup
Figure 3.10: Task bar - Call Hangup
You may hangup your own phone via Call Manager’s interface, but you mayalso select another extension to hangup; it will all depend on the permissions as-signed at IPBRICK’s web interface on Access Management.
To hangup simply select the extension and click on the Hangup icon.
3.1.1.6 Filter
Figure 3.11: Task bar - Filter
The Filter Box allows you to filter by name or extension number.
3.1.1.7 Status
Figure 3.12: Task bar - Status
IPBRICK, S.A. Call Manager v2.3 - Manual
22 Call Manager Utilization
The Status Box allows you to set your status (Available, Do not Disturb, Outto lunch, Break, Meeting, Other).
3.1.1.8 Preferences
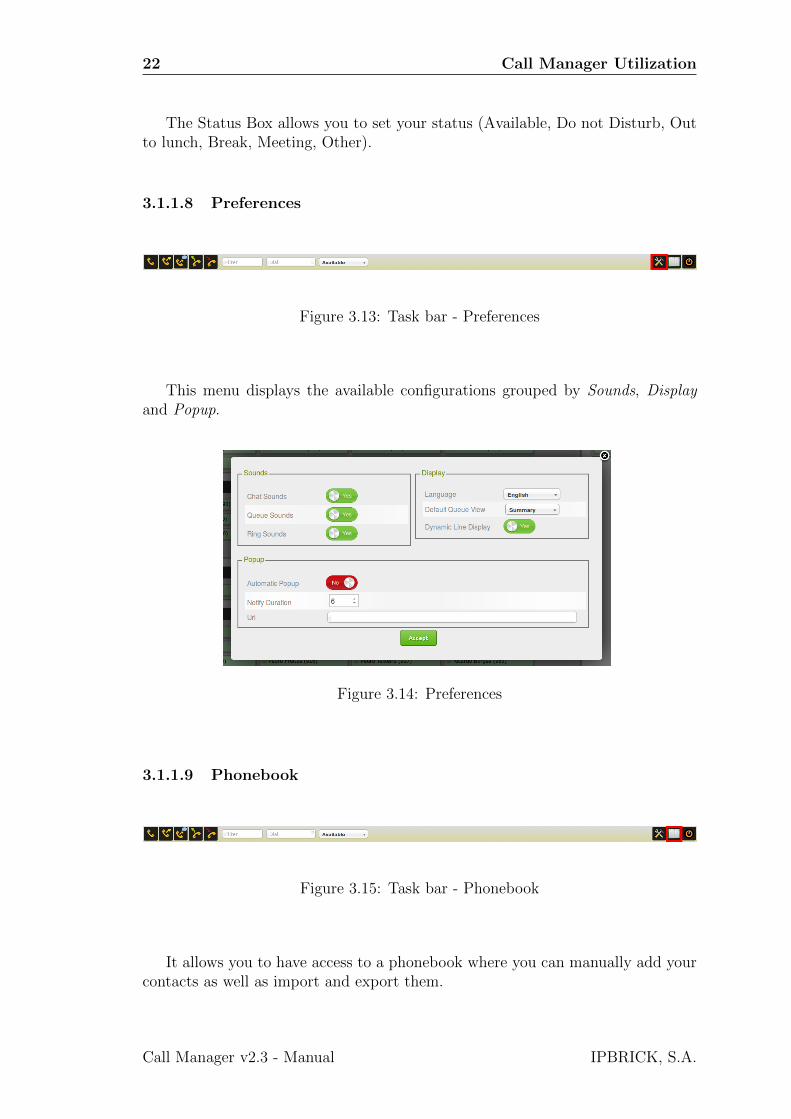
Figure 3.13: Task bar - Preferences
This menu displays the available configurations grouped by Sounds, Displayand Popup.
Figure 3.14: Preferences
3.1.1.9 Phonebook
Figure 3.15: Task bar - Phonebook
It allows you to have access to a phonebook where you can manually add yourcontacts as well as import and export them.
Call Manager v2.3 - Manual IPBRICK, S.A.
3.1 Call Manager Interface 23
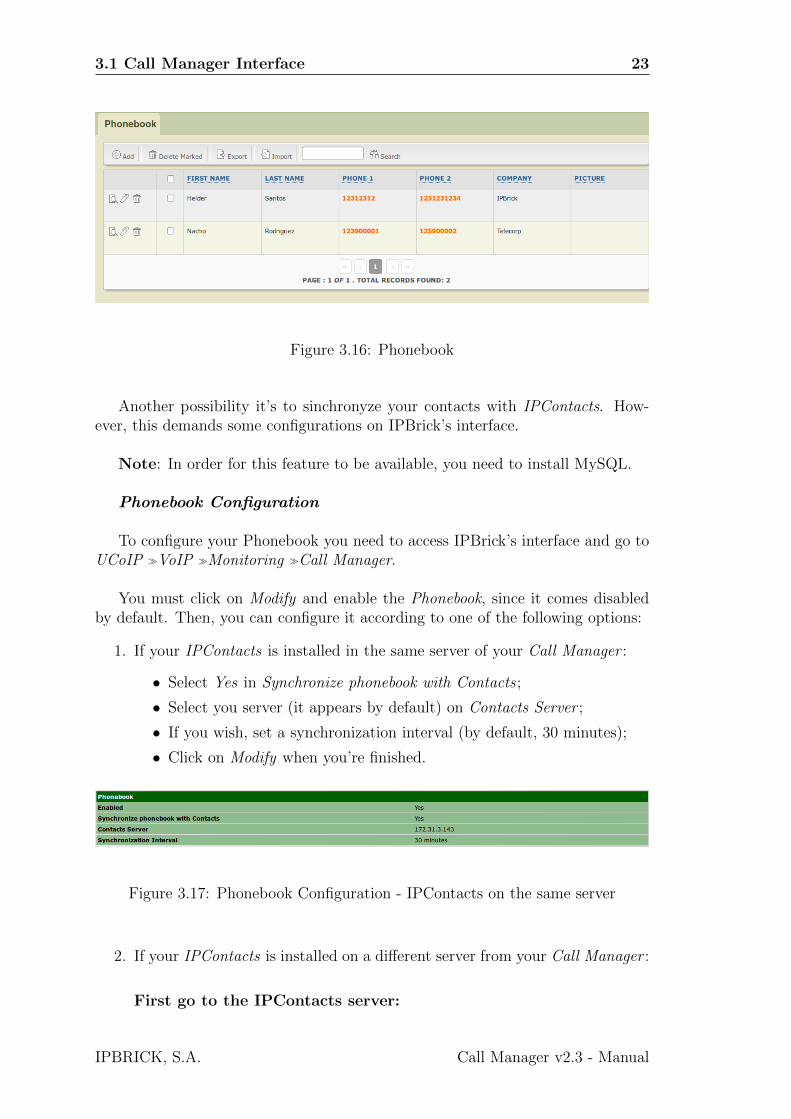
Figure 3.16: Phonebook
Another possibility it’s to sinchronyze your contacts with IPContacts. How-ever, this demands some configurations on IPBrick’s interface.
Note: In order for this feature to be available, you need to install MySQL.
Phonebook Configuration
To configure your Phonebook you need to access IPBrick’s interface and go toUCoIP �VoIP �Monitoring �Call Manager.
You must click on Modify and enable the Phonebook, since it comes disabledby default. Then, you can configure it according to one of the following options:
1. If your IPContacts is installed in the same server of your Call Manager :
• Select Yes in Synchronize phonebook with Contacts ;
• Select you server (it appears by default) on Contacts Server ;
• If you wish, set a synchronization interval (by default, 30 minutes);
• Click on Modify when you’re finished.
Figure 3.17: Phonebook Configuration - IPContacts on the same server
2. If your IPContacts is installed on a different server from your Call Manager :
First go to the IPContacts server:
IPBRICK, S.A. Call Manager v2.3 - Manual

24 Call Manager Utilization
• Go to Advanced Configurations �Support services �Database Server ;
• Create a user with:
- Login;
- Password;
- Authorized network - place the network of your Call
Manager server;
- Database - select dbdoc.
• Click on Insert when you’re finished.
Figure 3.18: Phonebook Configuration - Create user on IPContacts’ Server
Back to the Call Manager server:
• Go to UCoIP �VoIP �Monitoring �Call Manager ;
• Confirm that the option Phonebook is enabled;
• Select Yes in Synchronize phonebook with Contacts ;
• On Contacts Server select Other and then type:
- Server - the IP address of the IPContacts server;
- Login;
- Password.
• If you wish, set a synchronization interval (by default, 30 minutes);
• Click on Modify when you’re finished.
Figure 3.19: Phonebook Configuration - Set credentials to Contacts database
Call Manager v2.3 - Manual IPBRICK, S.A.

3.1 Call Manager Interface 25
3.1.1.10 Park Slots
Call parking is a feature that allows an operator to put a call on hold andcontinue the conversation with another.
Calls put on parking will have a waiting period that cannot surpass, by default,60 minutes (this can also be configured on IPBRICK’s web interface).
When the operator receives a call and wishes to put it on call park, he just hasto click on Call Parking (it will be highlighted in blue).
Figure 3.20: Task bar - Park Slots - Selected
He then clicks on the Supervised Transfer or Blind Transfer icons.
The received call will be parked and the time will start to countdown from 60minutes. When the operator is ready he may pick up the call by clicking on thepickup option.
Figure 3.21: Task bar - Park Slots - Call Parking
Afterwards, he may answer the call or transfer it.
3.1.1.11 Logout
Figure 3.22: Task bar - Logout
When you logout, you will visualize a confirmation prompt to make sure thatyou wish to end your session.
IPBRICK, S.A. Call Manager v2.3 - Manual

26 Call Manager Utilization
Figure 3.23: Logout
Call Manager v2.3 - Manual IPBRICK, S.A.