jennifer wolfe [email protected] naea convention baltimore, md 2010
TRANSCRIPT


BACKGROUND
Early Christians living in Egypt were known as Copts
Copts are credited with developing this binding method in the 2nd or 3rd century CE
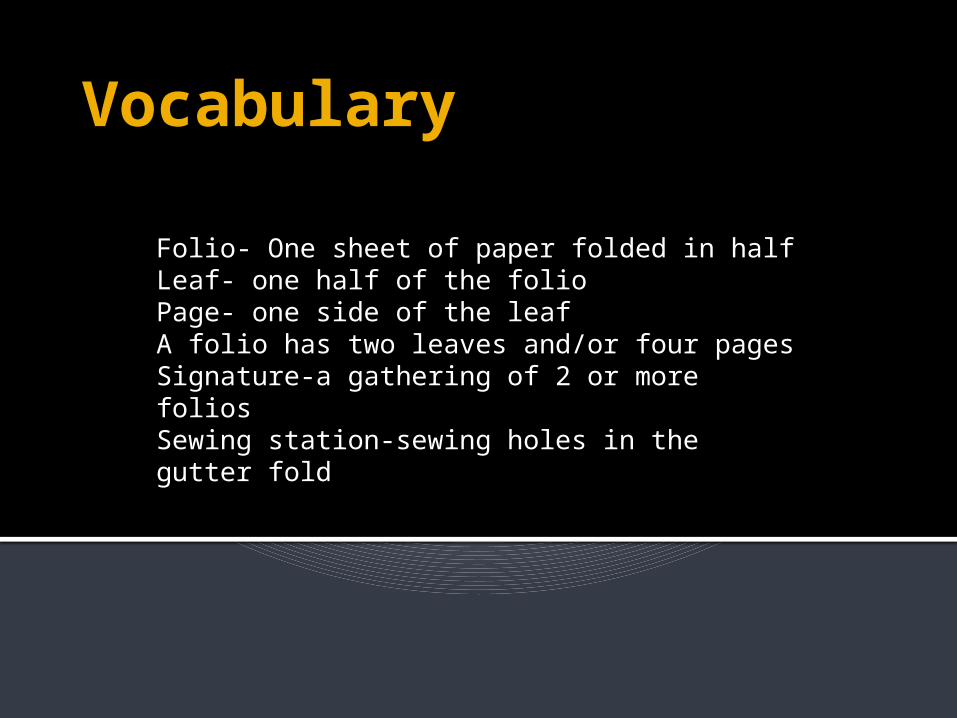
Vocabulary
Folio- One sheet of paper folded in halfLeaf- one half of the folioPage- one side of the leafA folio has two leaves and/or four pagesSignature-a gathering of 2 or more folios Sewing station-sewing holes in the gutter fold

Vocabulary
Spine-edge of book, attachments are generally at the spineEndpaper or Pastedown-papers inside front and back coversCover- front and back covers are sometimes called the books boards, the outer sections of the book, protective coveringText block or Book block-everything between the covers

supplies
Two Pieces for the cover.
5,or more, sections (front & back covers with 3 or more signatures)
String for binding
Awl for creating sewing stations

Supplies
Needle Bone folder Paper for template Cover material Paper for book block

NOTES
length of string = length of book spine x number of signatures + one book spine.
make sure to keep track of the tops and bottoms of the signatures so that you do not stitch them in upside down.

BOOK COVERS
Should be somewhat substantial Mat board Cardboard Leather Wood Metal Canvas board If it can be sized and holes can be made,
it will work!

BOOK COVERS
Today we are using:
Davey board, cut 3.5”h. x 3.25”w.
Covered with decorative paper

Let’s Make a Book!
Prepare covers Cover outer sides of davey board with
decorative paper Cut paper approximately ½ inch larger
than the cover Spread an even layer of glue on back of
paper Lay cover in center of paper to attach
Let’s Make a Book!
Turn over and smooth paper with bone folder
Turn back and wrap paper around edge of cover, beginning with the corners, following with long edges
Burnish glued papers for secure attachment

Let’s Make a Book!
Let’s Make a Book!

Let’s Make a Book!

Let’s Make a Book!
Select another decorative paper and cut it just smaller than your cover to become endpaper
Spread an even layer of glue on back side of paper
Carefully place endpaper on inside of cover, centered

Let’s Make a Book!
Make folios from 6” x 3” drawing paper
Fold so that 3” edges meet (hamburger fold)
Burnish folds with bone folder
Stack folios in 3 equal groups to make signatures

Let’s Make a Book!
Make template for sewing stations
2” x 3” paper (pink), folded in half with long edges together (hot dog fold)
Open fold and mark in 3 stitching sites; near top, near bottom, and in the center

Let’s Make a Book!
Open each signature and place template inside, aligning top edge, bottom edge, and folds
Carefully use awl to pierce through each sewing station in every signature

Let’s Make a Book!
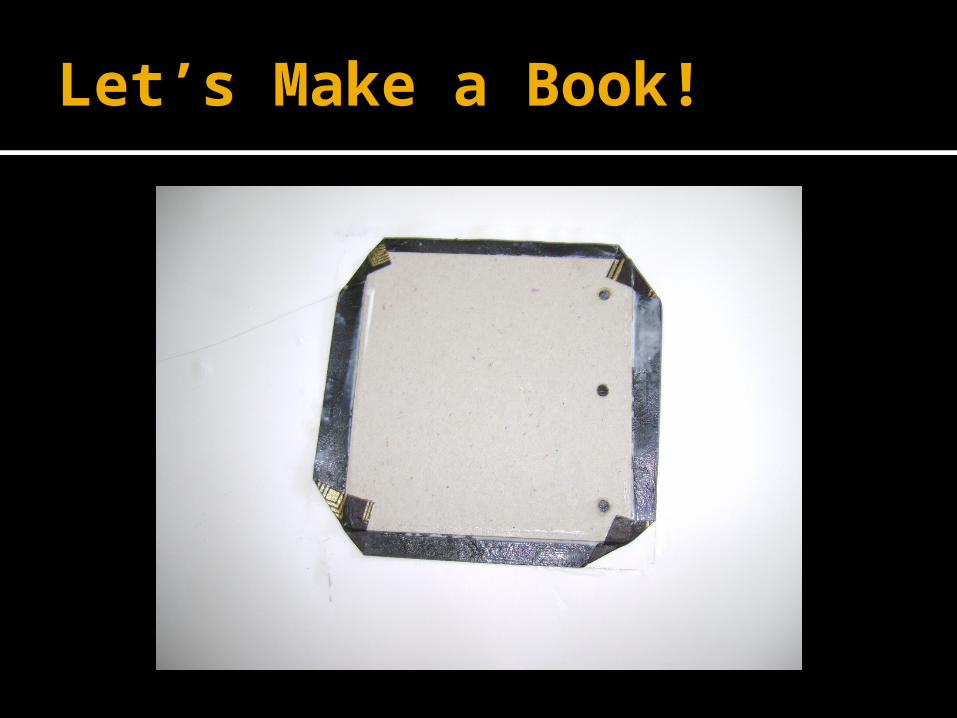
Use sewing station template to mark holes in the covers
Lay folded template about 3/8 inch from the long side of the front cover
Make marks corresponding to the holes in template
Let’s Make a Book!
Repeat for 2nd cover
Remember to consider how covers relate to each other and the spine
Pierce holes as marked using screw punch or paper punch

Let’s Make a Book!
Prepare for assembling by stacking covers and signatures as they should be bound together
Thread needle with waxed linen

Let’s Make a Book!
Let’s Make a Book!
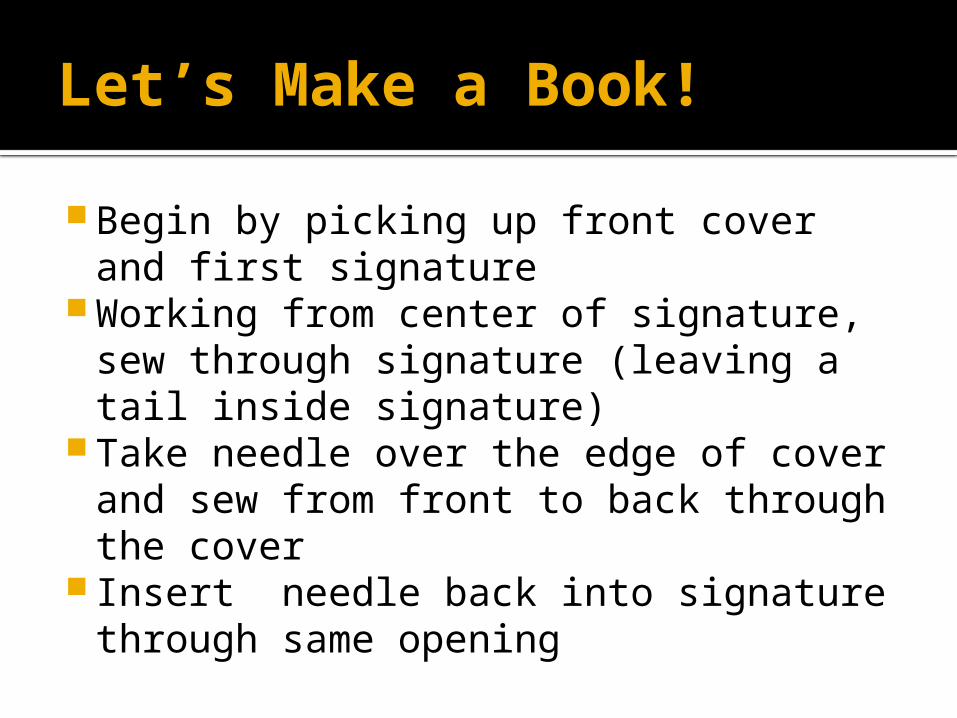
Begin by picking up front cover and first signature
Working from center of signature, sew through signature (leaving a tail inside signature)
Take needle over the edge of cover and sew from front to back through the cover
Insert needle back into signature through same opening

Let’s Make a Book!
Make a knot using the 2 ends of thread
Make knot close to paper, but do not pull so tightly as to rip anything

Let’s Make a Book
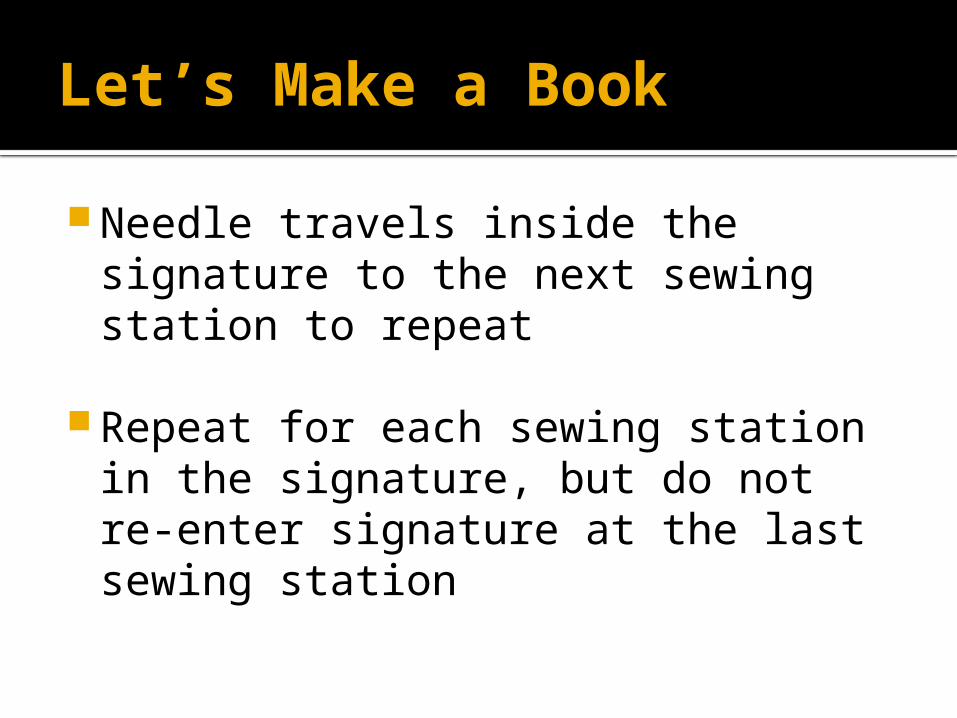
Needle travels inside the signature to the next sewing station to repeat
Repeat for each sewing station in the signature, but do not re-enter signature at the last sewing station

Let’s Make a Book
Pick up next signature and stack with previous work
Remember to align tops and sewing stations
Insert needle into the first sewing station of the new signature (at the same end you finished last signature)


Let’s Make a Book
Travel inside signature and sew at each station as before
Instead of sewing through the cover, you will loop around the stitch connecting the cover to the first signature
When you are at the last sewing station add the next signature and repeat procedure


Let’s Make a Book
Adding the back cover is done at the same time as adding the last signature
Hold last signature and back cover together in place for stitching
Rather than inserting needle into last signature, sew through back cover (outside to inside) and then insert into last signature
Let’s Make a Book
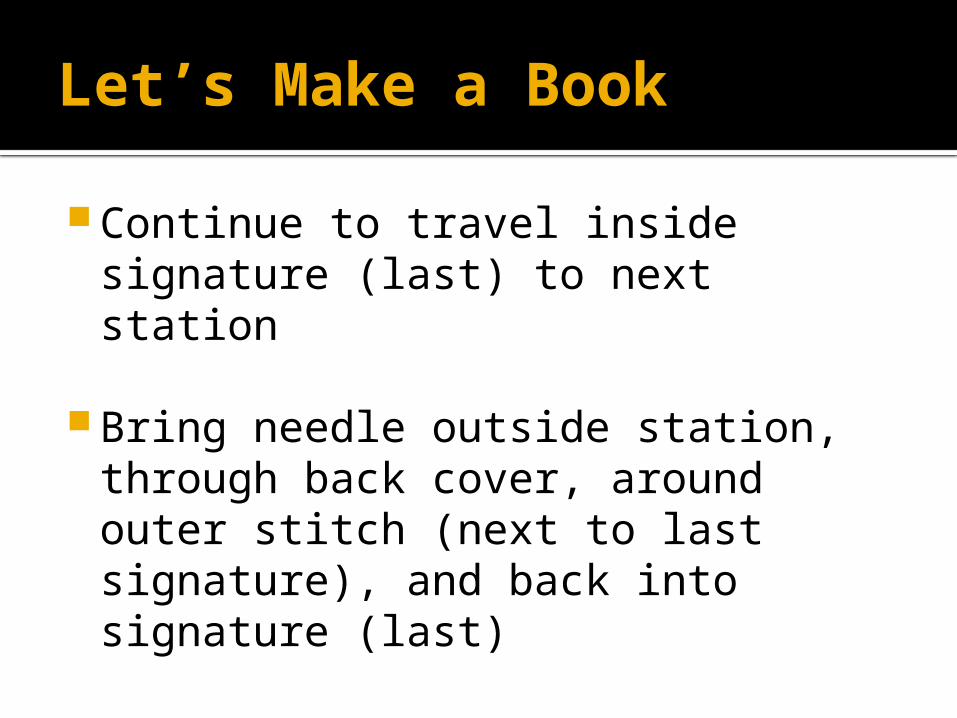
Continue to travel inside signature (last) to next station
Bring needle outside station, through back cover, around outer stitch (next to last signature), and back into signature (last)


Let’s Make a Book
When you re-enter last sewing station of last signature, tie off loose end and trim tail
YOU HAVE JUST COMPLETED A COPTIC BOUND BOOK! CONGRATULATIONS!