m s access
TRANSCRIPT

Microsoft Access is a powerful program to create and manage your databases. It has many built in features to assist you in constructing and viewing your information.

Database File: This is your main file that encompasses the entire database and that is saved to your hard-drive or floppy disk. (Example: video.mdb )
Table: A table is a collection of data about a specific topic..
Field: Fields are the different categories within a Table. Tables usually contain multiple fields.
Datatypes:Datatypes are the properties of each field. A field only has 1 datatype. (text, number…)

Double click on the Microsoft Access icon on the desktop.

This picture gives you the option to:
1. Create a New Database from scratch
2. Use the wizard to create a New Database
3. Open an existing database
The white box gives you the most recent databases you have used. If you do not see the one you had created, choose the More Files option and hit OK. Otherwise choose the database you had previously used and click OK.

When Microsoft Access first starts up, a dialog box is automatically displayed with options to create a new database or open an existing one. If this dialog box is displayed, click Access Database Wizards, pages, and projects and then click OK. (or you can click “New Database” on the toolbar )
On the Databases tab, double-click the icon for the kind of database you want to create.
Specify a name and location for the database. (Save it to your file on the H: drive)
Click Create to start defining your new database

When Microsoft Access first starts up, a dialog box is automatically displayed with options to create a new database or open an existing one. If this dialog box is displayed, click Blank Access Database, and then click OK.
If you have already opened a database or closed the dialog box that displays when Microsoft Access starts up, click New Database on the toolbar, and then double-click the Blank Database icon on the General tab.
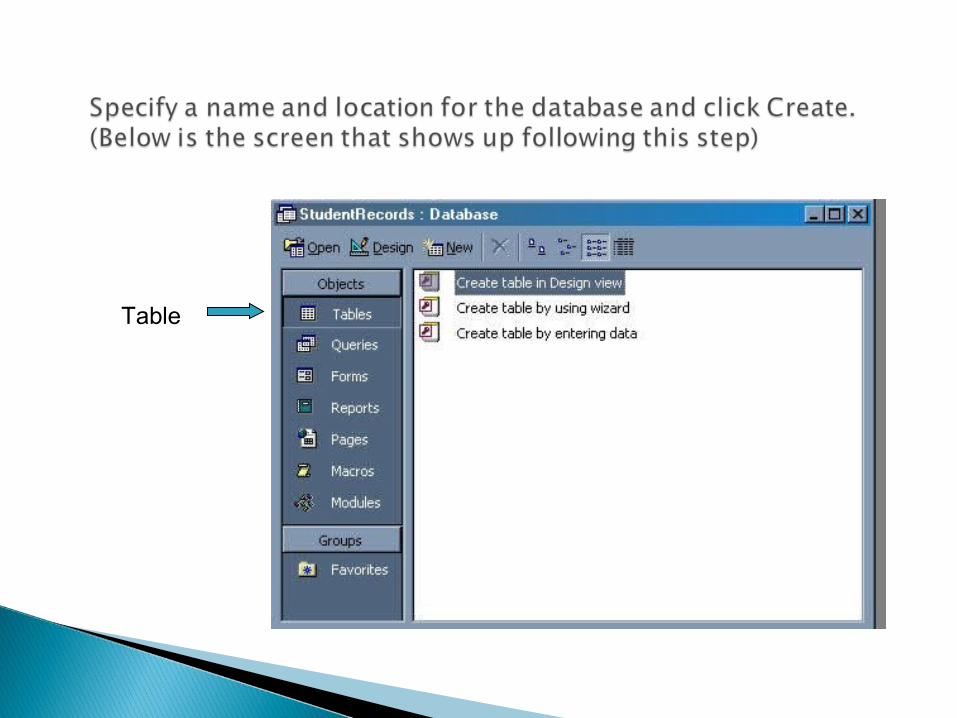
Table

A table is a collection of data about a specific topic, such as students or contacts. Using a separate table for each topic means that you store that data only once, which makes your database more efficient, and reduces data-entry errors.

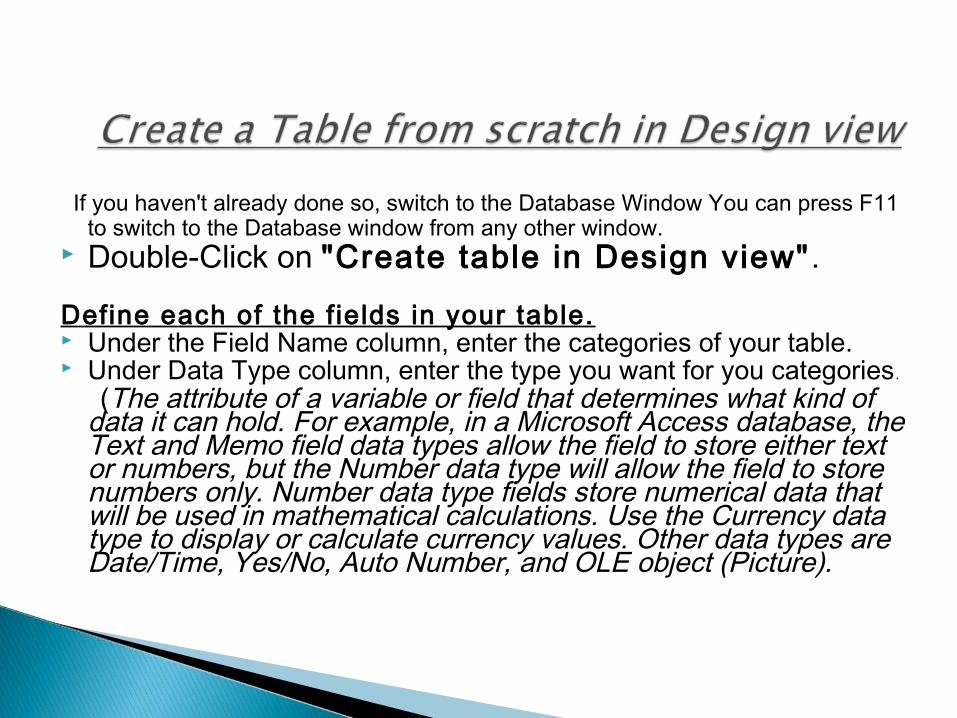
If you haven't already done so, switch to the Database Window You can press F11 to switch to the Database window from any other window.
Double-Click on "Create table in Design view". Define each of the fields in your table. Under the Field Name column, enter the categories of your table. Under Data Type column, enter the type you want for you categories.
(The attribute of a variable or field that determines what kind of data it can hold. For example, in a Microsoft Access database, the Text and Memo field data types allow the field to store either text or numbers, but the Number data type will allow the field to store numbers only. Number data type fields store numerical data that will be used in mathematical calculations. Use the Currency data type to display or calculate currency values. Other data types are Date/Time, Yes/No, Auto Number, and OLE object (Picture).

Under the Description column, enter the text that describes what you field is. (This field is optional).
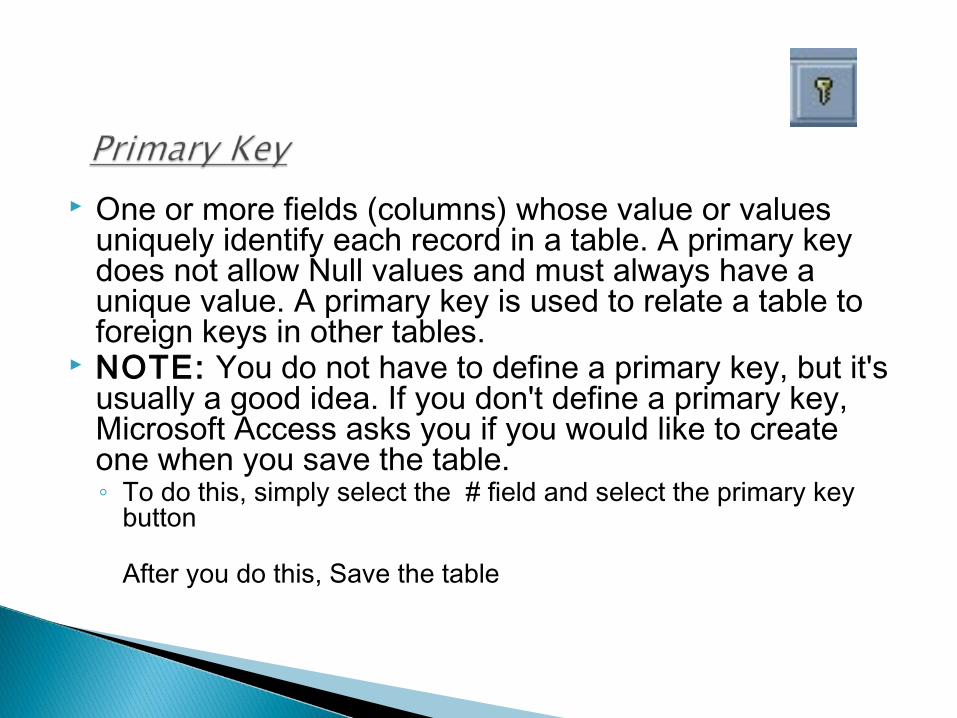
One or more fields (columns) whose value or values uniquely identify each record in a table. A primary key does not allow Null values and must always have a unique value. A primary key is used to relate a table to foreign keys in other tables.
NOTE: You do not have to define a primary key, but it's usually a good idea. If you don't define a primary key, Microsoft Access asks you if you would like to create one when you save the table. ◦ To do this, simply select the # field and select the primary key
button
After you do this, Save the table
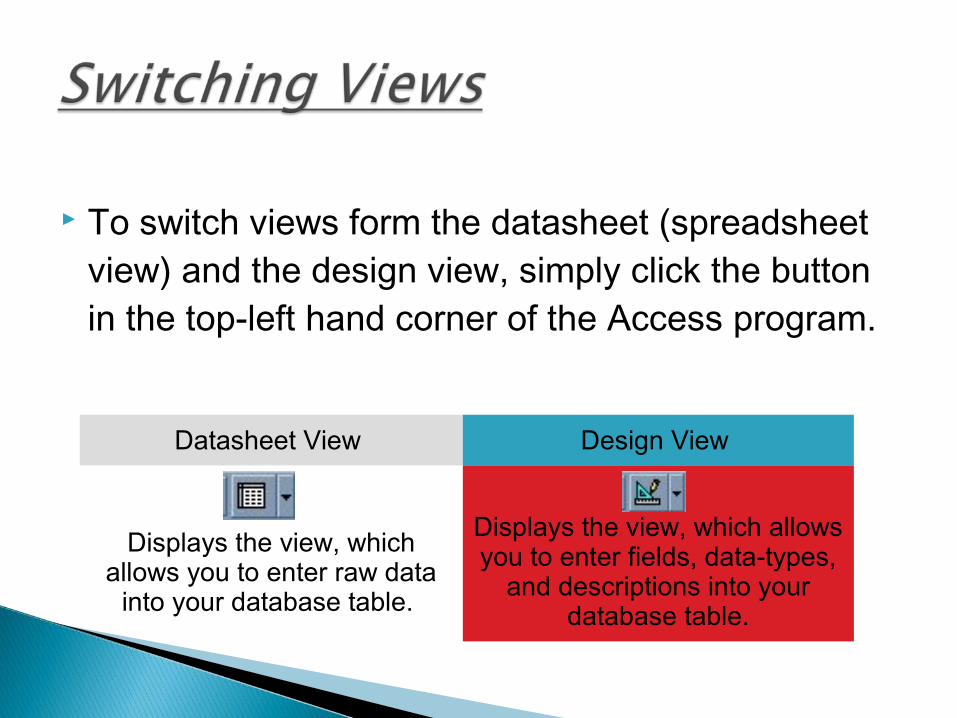
To switch views form the datasheet (spreadsheet view) and the design view, simply click the button in the top-left hand corner of the Access program.
Datasheet View Design View
Displays the view, which
allows you to enter raw data into your database table.
Displays the view, which allows you to enter fields, data-types,
and descriptions into your database table.
Click on the Datasheet View and simply start "chugging" away by entering the data into each field.

Adding a new row ◦ Simply drop down to a new line and enter the information
Updating a record ◦ Simply select the record and field you want to update, and
change its data with what you want Deleting a record ◦ Simply select the entire row and hit the Delete Key on the
keyboard
A form is nothing more than a graphical representation of a table. You can add, update, delete records in your table by using a form.
NOTE: Although a form can be named different from a table, they both still manipulate the same information and the same exact data. Hence, if you change a record in a form, it will be changed in the table also.
A form is very good to use when you have numerous fields in a table. This way you can see all the fields in one screen, whereas if you were in the table view (datasheet) you would have to keep scrolling to get the field you desire.

As with the Form, it is a very good idea to create a report using the wizard, unless you are an advanced user. Microsoft Access does a very good job using the wizard to create reports.
Switch to the Database Window. You can do this by pressing F11 on the keyboard. Click on the Reports button under Objects on the left side of screen Double click on Create Report Using Wizard On the next screen select the fields you want to view on your form. Most of the time you
would select all of them. Click Next Select if you would like to group your files. Keep repeating this step for as many groupings as
you would like. Click Next Select the layout and the paper orientation you desire Click Next Select the style you desire...HINT: if you plan on printing your report, I suggest you use a
light background to save on printer toner and ink Click Next Give you report a name, and select Preview the Report Select Finish You should see your report. To adjust the design of your report, simply hit the design button
(same as with the tables), and adjust your report accordingly

http://www.bcschools.net/staff/AccessHelp
https://www.google.com.pk/search?q=m+s+access.ppt&biw=1366&bih=657&source=lnms&tbm=isch&sa=X&ei=i1PSVN2zI8LzavelgIgN&ved=0CAYQ_AUoAQ
http://en.wikipedia.org/wiki/Microsoft_Accesshttp://allenbrowne.com/casu-01.html