mep-382: design of measurement systems, faculty of...
TRANSCRIPT

MEP-382: Design of Measurement Systems,
Faculty of Engineering, Ain Shams University,
Cairo, Egypt
Spring 2015
&
Lab-5: Interfacing Labview with Arduino using LINX
Ahmed Okasha

LAB Goals:
Understanding:
• How Labview can be interfaced with Arduino
• Making Digital Write
• Understanding Pulse Width Modulation
• Making Analog read

Overview on measurement system
www.ni.comConditioning using
OpAmps (Filtering,
Integration,
Differentiation)
ADC for
multichannels

LINX Library
LINX provides an interface
between LabVIEW and an
Arduino.
LINX was developed and
tested using an Arduino Uno
but should work with most
Arduino compatible hardware.
LINX requires a data
connection between LabVIEW
and the Arduino at all times.
LINX is an updated version of
LIFA (LabVIEW Interface for
Arduino).
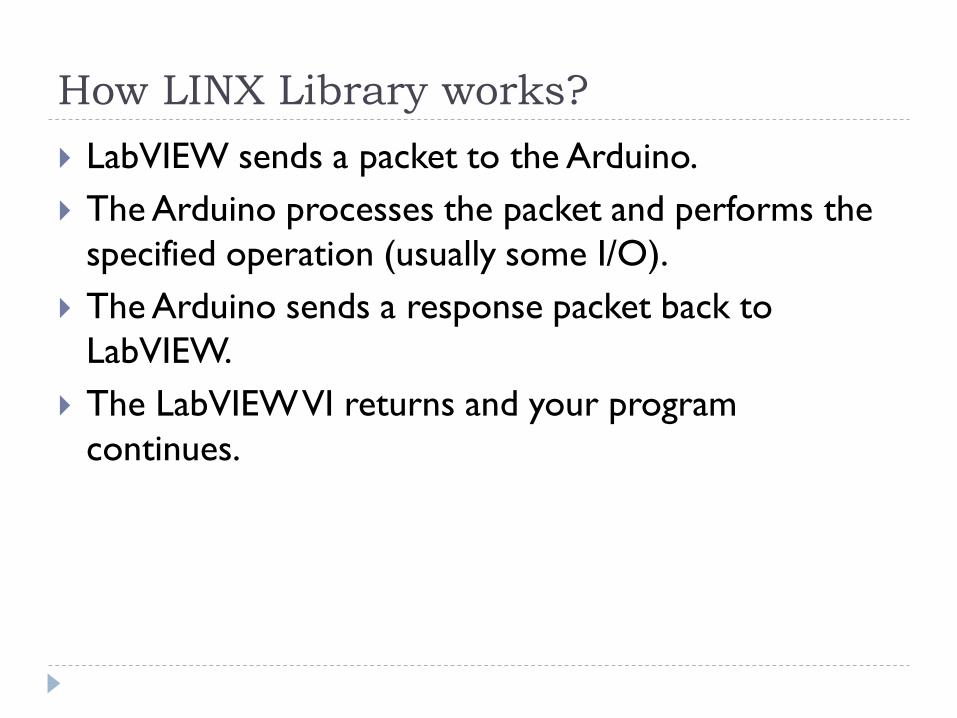
How LINX Library works?
LabVIEW sends a packet to the Arduino.
The Arduino processes the packet and performs the
specified operation (usually some I/O).
The Arduino sends a response packet back to
LabVIEW.
The LabVIEW VI returns and your program
continues.

LINX supported devices
Arduino: UNO, Mega, Leonardo, Nano,..
Raspberry PI: some models
Plus other platforms

Getting started with LINX Library
https://labviewhacker.com/doku.php?id=learn:libr
aries:linx:getting_started
The Virtual Instrument
Software Architecture
(VISA) is a standard for
configuring, programming,
and troubleshooting
instrumentation systems
comprising GPIB, VXI, PXI,
Serial, Ethernet, and/or
USB interfaces.
JKI Software’s VI Package
Manager (VIPM) makes
using and distributing an
NI LabVIEW add-on
simple. With VIPM, it is
easy to manage and share
reusable VIs across
multiple projects,
computers, and teams of
developers.

Getting started with LINX Library
In LabVIEW click Tools » LabVIEW Hacker » LINX » Firmware Wizard
Choose the Device Family
Choose the Device Type
Choose the Firmware Program Interface Most LINX devices use a serial interface.
Click Next
Configure the Firmware Program Interface For serial devices simply choose the COM Port associated with the device.
Click Next
Choose the Firmware Version
Click Next
Wait while the firmware is uploaded to the device.
Click Launch Example

LED Toggle Example

LED Toggle Example

Blink
Modify the previous program to make the LED
automatically blinks and repeats.

Pulse Width Modulation
Pulse Width Modulation, or PWM, is a technique for getting analog results with digital means.
Digital control is used to create a square wave, a signal switched between on and off.
This on-off pattern can simulate voltages in between full on (5 Volts) and off (0 Volts) by changing the portion of the time the signal spends on versus the time that the signal spends off.
The duration of "on time" is called the pulse width.
If you repeat this on-off pattern fast enough with an LED for example, the result is as if the signal is a steady voltage between 0 and 5v controlling the brightness of the LED.

Pulse Width Modulation
Arduino's PWM
frequency at about
500Hz (Period: 2 ms)

Pulse Width Modulation
Ex: To create a 3V signal given a digital source that can be
either high (on) at 5V or low (off) at 0V, you can use
PWM with a duty cycle of 60% which outputs 5V 60% of
the time.
Selecting a duty cycle of 80% would yield 4V, 20% would
yield 1V, and so on.

UNO PWM Pins:

Exercise:
It is required to interface a potentiometer, read its analog
value (0-5v), use this value after the proper conversion as
the duty cycle to control the fading (level of illumination)
of a LED.

LED and Pot interface