planning guide engineering design process developed by: greg strimel for the maryland state...
TRANSCRIPT

Planning Guide
ENGINEERING DESIGN PROCESS
DEVELOPED BY: GREG STRIMEL FOR THE MARYLAND STATE DEPARTMENT OF EDUCATION OFF ICE OF STEM IN IT IAT IVES

What problem are we solving?
DEFINE A PROBLEM
Most Problems are ill-defined, so the fi rst step is to create a concise problem statement to guide the process of creating a viable solution What is the problem that you are trying to solve? Why is it a problem?, who does it effect?, when does it
occur? When does it happen? A problem statement does not imply a solution
Example Problem Statement: While participating in athletic events on turf fields during
hot weather, cleats tend to absorb the heat which makes feet burn and uncomfortable.
Example Design Brief: Create a product or process to decrease the temperature in
feet while playing on turf during hot weather.

Now that you have a problem defined, you can start brainstorming ideas to research for solutions
Mind-Mapping is a great technique for coming up with as many ideas related to your problem.
Work towards quantityNever criticize anyone’s ideaEncourage Wild Ideas
Hot Turf
ShoeField
Heat Diffusio
n
BRAINSTORMING

Use the items from your Mind-Map to begin your research.
What have others done?What do you need to know?
science, math concepts Look on-line
As you look at what others
have done – do you have any
more ideas?
Cite your sources!
Google is not a source! It is a search engine.
RESEARCH & GENERATE IDEAS

Now that you know the Problem and some information, it is time to look at what the requirements are.
Criteria are the the things that your solution must do
Constraints are the limitations that are applied to your design
This will include what resources are needed: People, Time, Materials, Tools, Capitol, Energy, and
Knowledge
IDENTIFY CRITERIA & CONTRAINTS

Review the Problem StatementReview your brainstormingReview your research.Review the criteria & constraintsCreate at least three sketches of possible
solutions to your problem.These sketches should include annotations
EXPLORE POSSIBILITIES

Review the Problem StatementReview your brainstormingReview your research.Review the criteria & constraintsCreate at least three sketches of possible
solutions to your problem.These sketches should include annotations
EXPLORE POSSIBILITIES
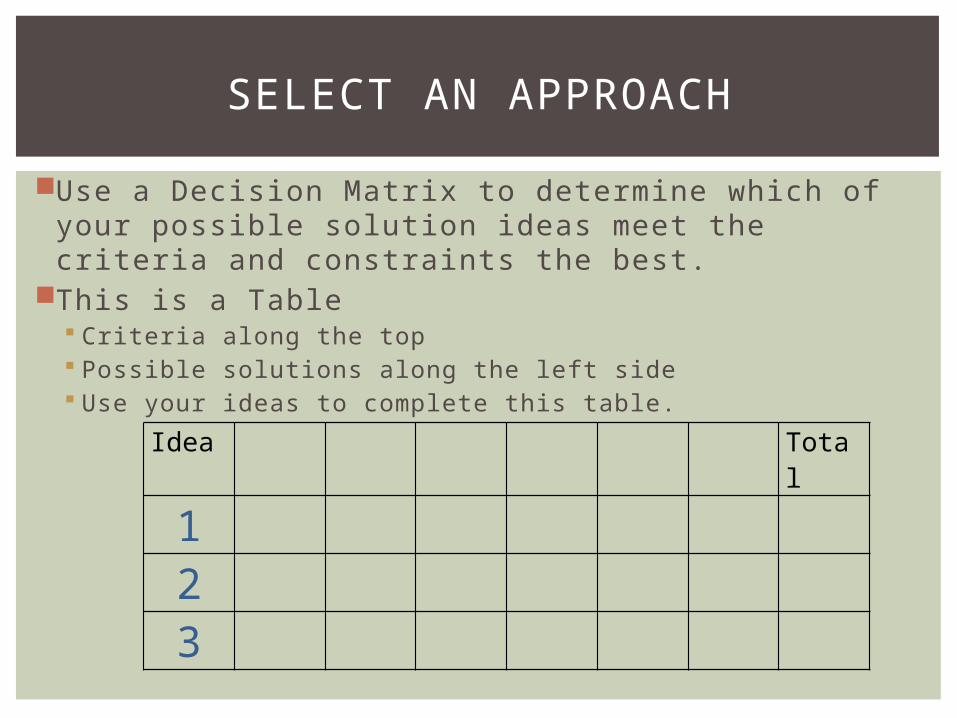
Use a Decision Matrix to determine which of your possible solution ideas meet the criteria and constraints the best.
This is a Table Criteria along the top Possible solutions along the left side Use your ideas to complete this table.
Idea Total
123
SELECT AN APPROACH

Idea Performance Durability Comfort Competitive Cost
Safe Materials
Light weight Total
123
•Analyze each idea based on the criteria
• 4 = meets it perfectly• 3 = is close but not perfect• 2 = just a little bit• 1 = it is a stretch 0
= does not meet the criteria
• YES = 1• NO = 0• Total up the results.
SELECT AN APPROACH

Idea Performance Durability Comfort Competitive Cost
Safe Materials
Light weight Total
1 4 3 4 Yes =1 Yes= 1 3
2 3 4 4 Yes =1 Yes = 1 2
3 4 2 3 No =0 Yes = 1 3
•Analyze each idea based on the criteria• 4 = meets it perfectly• 3 = is close but not perfect• 2 = just a little bit• 1 = it is a stretch to say it comes close• 0 = does not meet the criteria• YES = 1• NO = 0
•Total up the results.
Idea Performance Durability Comfort Competitive Cost
Safe Materials
Light weight Total
123
This is a sample of how it should work
In the event of a tie – give weight to the “more important” criteria
SELECT AN APPROACH

Idea Performance Durability Comfort Competitive Cost
Safe Materials
Light weight Total
1 4 3 4 Yes =1 Yes= 1 3 162 3 4 4 Yes =1 Yes = 1 2 153 4 2 3 No =0 Yes = 1 3 13
SELECT AN APPROACH
Explanatory WritingCreate an explanation on why the selected design is
the best solution to the problem.This explanatory writing must be based on logic,
facts, and data. Your explanation must be well written and make use
of the references from your research

You will need to create a Multi-view drawing of your best solution.
Make sure that you include dimensions and other important information.
Some solutions may be complex and need many drawings to build from.
What you design here is what you will build and ultimately test.
DEVELOP A DESIGN PROPOSAL

Once you have made your proposal for a solution based off of your research, you can begin to build a model or prototype to test.
Model: A visual, mathematical, or three-dimensional
representation in detail of an object or design, often smaller than the original. A model is often used to test ideas, make changes to a design, and to learn more about what would happen to a similar, real object.
Prototype: A full-scale working model used to test a
design concept by making actual observations and necessary adjustments.
DON’T FORGET TO TAKE PICTURES AND VIDEOS
MAKE A MODEL OR PROTOTYPE

You will need to create a test for your solution. Some projects may be destroyed after testing, so
you might want to come up with non-destructive tests.
Create a table to record your test results.
TEST & EVALUATE

As you test your solution, you will make changes based on the results of the test.
Take pictures or videos of these changes.
REDESIGN

This is your final solution to the design. Take a picture of the final solution. Video testing the final solution
CREATE IT

An engineer must be able to communicate his or her work.
You can be the most brilliant engineer but if you can successfully communicate your ideas with others, then your ideas are useless.
Create an argument on why your design is the best solution to the problem or why it is not.
This argument must be based on logic, facts, and data. A valid argument also provides the facts and data for the
opposing argument. Your argument must be well
written and make use of the references from your researchand testing results.
COMMUNICATE RESULTS

EVALUATE YOUR PROCESS