project - janome.com.au · janome - aotm project - june 2020 3 accessory of the month august 2019...
TRANSCRIPT

Janome - AOTM Project - June 2020 1
Accessory of the Month June 2020
PROJECT
Custom iPad Case Adjustable Zipper Foot
WHAT YOU WILL NEED
Janome Sewing Machine (we used the Skyline S3)
Adjustable Zipper Foot
Zig Zag Foot A
Janome Purple Tip Needle
Janome Plastic Bobbin
Scissors/Thread Snips
Tape Measure
Marking Pencil
Dressmaking Pins or Wonderclips
Cutting Mat & Ruler
Rotary Cutter
Ironing Board & Steam Iron
FABRIC & NOTIONS
Main Fabric - Printed 35cm (14”) by wof
Lining Fabric - Plain 35cm (14”) by wof
Pocket Lining Fabric - 20cm (8”) by wof
Lightweight Iron-on interfacing - 20cm (8”)
Bag Foam - 50cm (20”)
Sewing Thread colour to match your fabric
1 x 35cm Zip your colour choice to match fabric
1 x 20cm Zip matching for front pocket
CUTTING INSTRUCTIONS
Main Fabric, Lining Fabric & Bag Foam
Cut 2 pieces of each width 12½” x length 9½”
(32cm x 24½cm)
Pocket lining fabric (same as lining fabric)
Cut 2 10½” x 7” (27cm x18cm)
Iron-on interfacing
Cut 2 10½” x 7” (27cm x18cm)
INSTRUCTIONS
Step 1
Take one each of the Main Fabric and Bag Foam.
Place Main Fabric right side up, on top of bag foam.

Janome - AOTM Project - June 2020 2
Accessory of the Month August 2019
Step 2
Place 35cm zip at the top of the main fabric & foam.
Then, place the lining on top of the zip, make sure
the zip is positioned right side down on top of main
fabric. Pin all layers. See below image.
With your machine threaded and Zipper Foot
attached.
Select straight stitch with lock-off at each end.
Stitch length: 1.8
Stitch Width: move needle to be on the left
side of the zipper foot using the width key.
Line-up the right-side of the foot with the edge of
the zip, then stitch across the width of the fabric.
Step 3
Inserting pocket zip using Welted Pocket method.
Take one of the pocket lining fabric pieces, then
place a piece of the lightweight interfacing on the
wrong side of the pocket lining. With the iron,
lightly press the interfacing to the fabric.
TIP: Do not move the iron around, just lightly press and
lift then lightly press another section.
Next, draw a rectangle on the interfacing side of
your pocket lining, ½” wide x 8 ¼” length (1.3cm x
20cm). Mark small angles at each end, as shown in
the below image. Draw it approx. 1½” (4cm) below
the top of the pocket.
Step 4
Place the pocket piece onto the second MAIN fabric
piece with right sides together. Position the pocket
piece 1½” (4cm) below the top of the main fabric, so
the pocket fits nicely within the bag front area.
See below image.
Step 5
Stitch around the outside line of the rectangle box,
using a stitch length of 1.8mm and the adjustable zip-
per foot. Take your time, make sure the corners are
stitched square and neatly. See below image A.
Image A Image B
Now, take your sharp scissors or rotary cutter and cut
through the straight line between where you have just
sewn, the cut lines are shown in Image B above.
Make sure you also cut those small angled lines, be
careful not to snip any of the stitches.
Step 6
Turn the pocket through
to the wrong side of the
main fabric and press.
We are ready to sew in
the zip.

Janome - AOTM Project - June 2020 3
Accessory of the Month August 2019
Step 7
Turn your fabric over, so you are looking at the main
fabric. Lay your 20cm zip underneath it, so it fills the
gap you just made.
Pin in place, making sure it is evenly placed.
Now, stitch carefully around the edges of the zip,
stitching on top of the main fabric. Then press.
Step 8
Now place the other piece of the pocket lining on top
of the piece sewn with the zip. See below image.
Pin around the outside of the pocket lining only, then
stitch all the way around. Be careful not to catch the
main fabric with your pins. The pocket sits freely inside
the case, it is only attached via the zip.
Step 9
Follow Step 2, attach the second side of the 30cm zip.
Step 10
Now, the zip is sewn to both sides of the main fabric.
Flatten out the case and top stitch alongside the zip.
Stitch length: 3, use the adjustable zipper foot.
Then press, make sure all sections are well pressed.
TIP: For the best result stitch slowly, stopping and ad-
just as required. See below image.
Step 11
Lay out right sides together, with main on main fabric
and lining on lining fabric and open the zip to halfway.
Pin all the way around, leaving a 3” (8cm) gap on one
side of the lining, so it can be turned through.
You will see the zip hanging off each end, we used a
nylon dress zip, which you can slowly stitch through
when seaming. Attach the Zig Zag Foot and stitch
around the outer edge, leaving the 3” (8cm) opening in
the lining. Trim off the excess zip.
Janome - AOTM Project - June 2020 4
Accessory of the Month August 2019
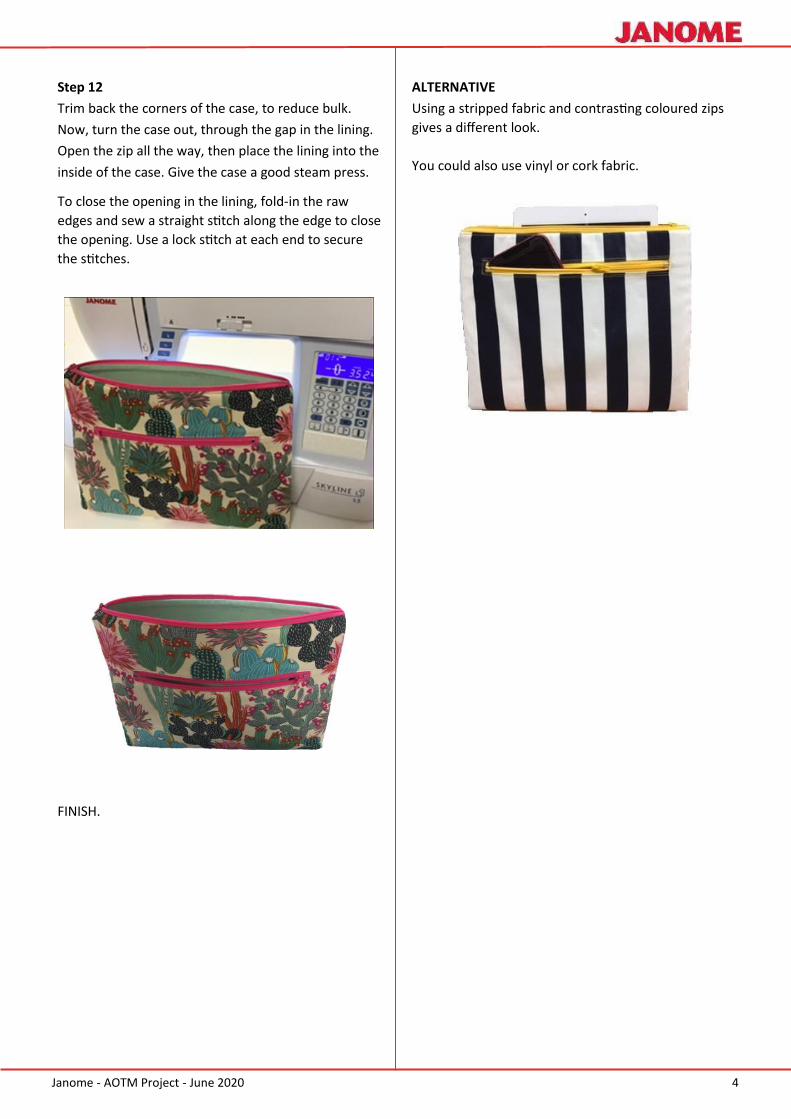
Step 12
Trim back the corners of the case, to reduce bulk.
Now, turn the case out, through the gap in the lining.
Open the zip all the way, then place the lining into the
inside of the case. Give the case a good steam press.
To close the opening in the lining, fold-in the raw
edges and sew a straight stitch along the edge to close
the opening. Use a lock stitch at each end to secure
the stitches.
FINISH.
ALTERNATIVE
Using a stripped fabric and contrasting coloured zips
gives a different look.
You could also use vinyl or cork fabric.