radiographic anatomy of the normal lumbar...
TRANSCRIPT
RADIOGRAPHIC ANATOMY
OF THE
NORMAL LUMBAR SPINE
Prepared for
by Nikolai Bogduk MD, DSc University of Newcastle
Royal Newcastle Hospital Newcastle Australia
© Nikolai Bogduk 2003

ACKOWLEDGEMENTS
I extend my appreciation to
Dr Peter Lau FRACR, of Newcastle Australia, for providing the magnetic resonance images and the spot plain films used in this presentation,
Dr Paul Dreyfuss, of Seattle WA, for providing the plain films of the lumbar spine used in this presentation, and
Dr Charles Aprill, of Magnolia Diagnostics, New Orleans LA, for reviewing the presentation,
Nikolai Bogduk

PART 1: GETTING STARTED
RADIOGRAPHIC ANATOMY
OF THE
NORMAL LUMBAR SPINE

This CD presentation is designed to be used either or both • by individuals wishing to teach themselves,
• by instructors teaching others, the basic radiographic anatomy of the lumbar spine.
This is not a lecture on anatomy. Rather, it is an instructional course on how to apply and to recognize the details of anatomy in radiographic form. Consequently, participants need to have more than an elementary knowledge of the anatomy of the lumbar vertebrae and of the lumbar spine. They should have read and understood the relevant chapters in:
Bogduk N. Clinical Anatomy of the Lumbar Spine and Sacrum, 3rd edn. Churchill Livingstone, Edinburgh, 1997.
Those are:
chapter 1 for the osteology of the lumbar vertebrae chapters 2 and 3 for the structure of the joints of the lumbar spine
chapter 9 for the muscles of the lumbar spine
chapter 10 for the nerves of the lumbar spine
This course is presented in several consecutive Parts. Each part is introduced by a heading in white print, Times Roman font, in the form:
Part X: Name of the Part.
Within each Part, various forms of graphics and text are provided. These are coded by color.
Directions as to what to do and what to expect are presented in blue type, as on this page. They constitute what an instructor would say, or the script for a voice-over, if this CD had audi0.
Instructional material, i.e. what to know and what to remember is presented in YELLOW type.
At times, important highlight statements are printed in PINK type.
Different phases or steps in each Part are introduced by heading in SILVER type.

PHASE 1: OBJECTIVES
The next sequence of 6 slides depicts a series of radiographic images of the lumbar spine. View these rapidly, at a rate of about 1-2 per second.
The objective is to set the scene. The images are ones that participants should be able to interpret.

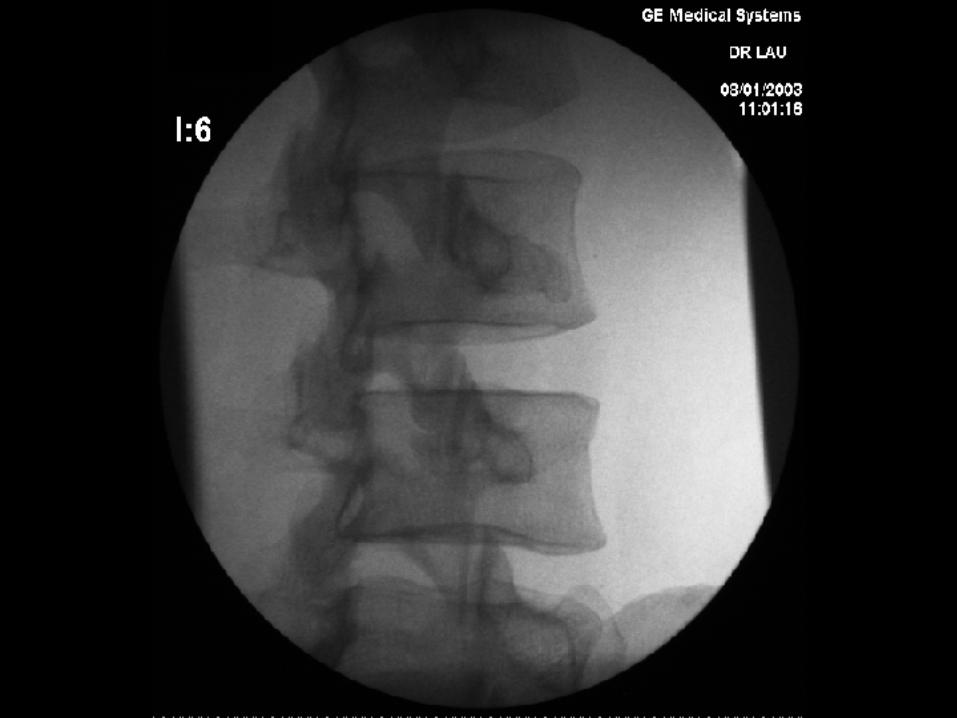


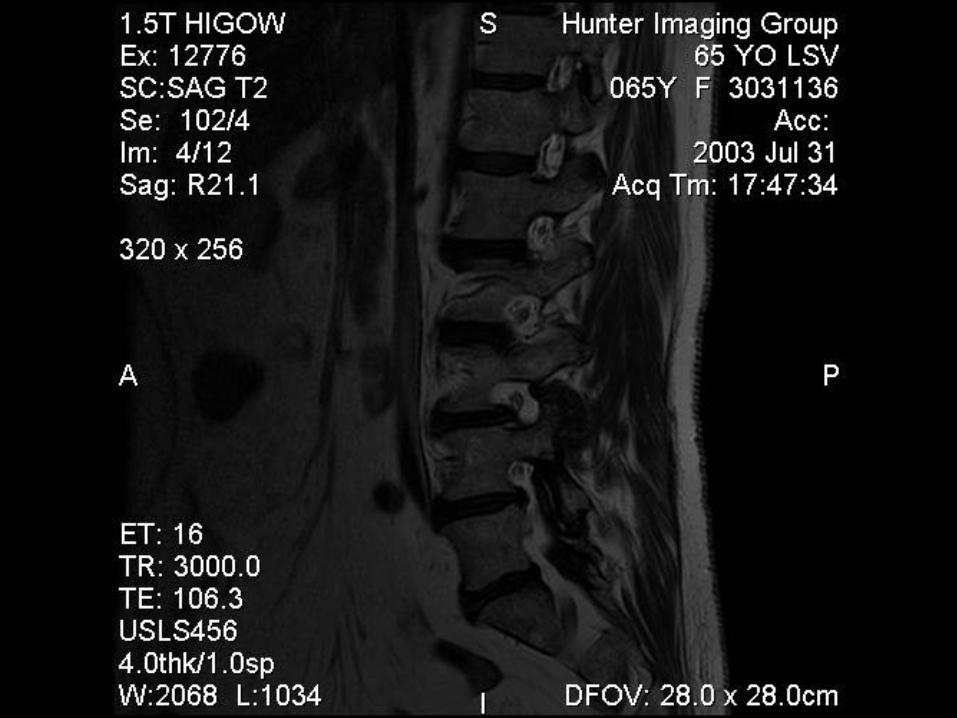


Having viewed these slides, participants are entitled to be bewildered or overwhelmed. The slides show the lumbar spine in different views, using different modes of medical imaging.
Subsequent phases of the course will help participants develop a means by which they can confidently interpret these various images.