recruiting - approvers - ryerson university · ehr recruiting - approvers guide for users 1 about...
TRANSCRIPT

Recruiting - Approvers
Guide for Users Updated on 12 July 2017
eHR Recruiting - Approvers
Guide for Users
ii
Contents
Getting Help ..................................................................................................................... iii
Supported Browsers ......................................................................................................... iii
About Approvers .............................................................................................................. 1
Approve CUPE 1 job offers ............................................................................................... 1
Approve CUPE 3 job offers ............................................................................................... 8
Deny a job offer ............................................................................................................. 12
Review job posting details ............................................................................................. 15
Approving Data Changes ................................................................................................ 18 Validate Transactions ............................................................................................... 18 Approve transactions ............................................................................................... 19 Edit & reject transactions ......................................................................................... 23
eHR Recruiting - Approvers
Guide for Users
iii
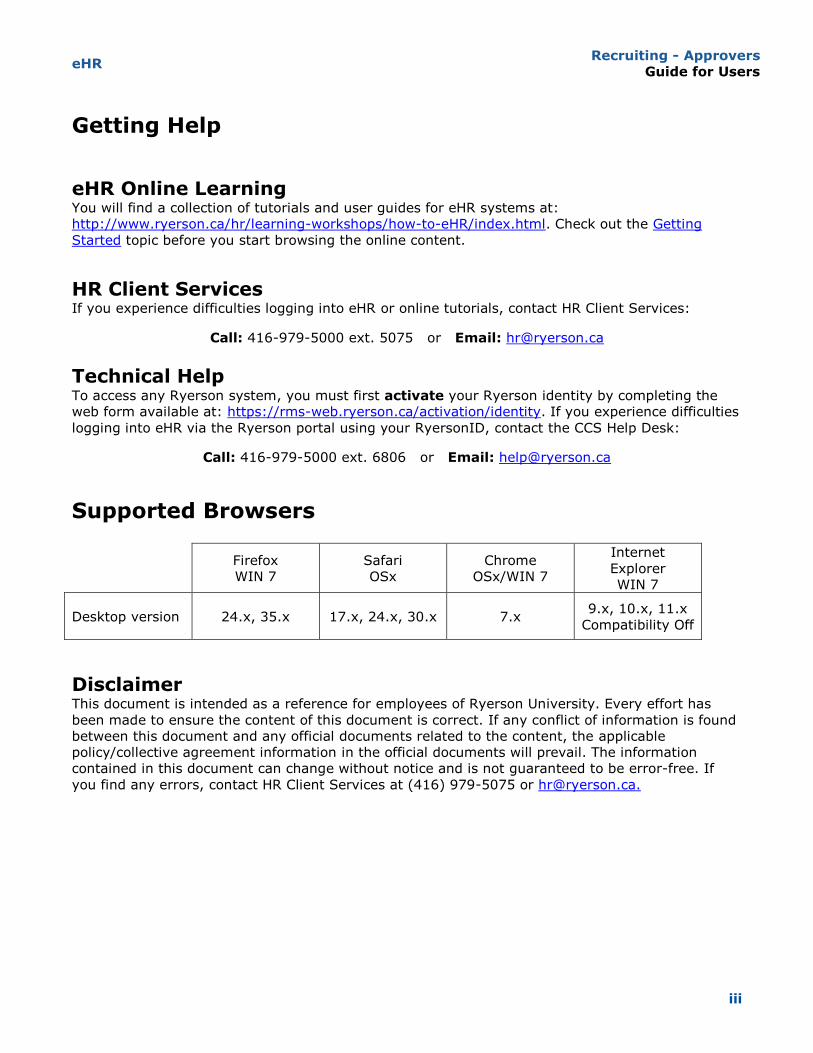
Getting Help
eHR Online Learning You will find a collection of tutorials and user guides for eHR systems at: http://www.ryerson.ca/hr/learning-workshops/how-to-eHR/index.html. Check out the Getting
Started topic before you start browsing the online content.
HR Client Services If you experience difficulties logging into eHR or online tutorials, contact HR Client Services:
Call: 416-979-5000 ext. 5075 or Email: [email protected]
Technical Help To access any Ryerson system, you must first activate your Ryerson identity by completing the
web form available at: https://rms-web.ryerson.ca/activation/identity. If you experience difficulties
logging into eHR via the Ryerson portal using your RyersonID, contact the CCS Help Desk:
Call: 416-979-5000 ext. 6806 or Email: [email protected]
Supported Browsers
Firefox
WIN 7
Safari
OSx
Chrome
OSx/WIN 7
Internet
Explorer
WIN 7
Desktop version 24.x, 35.x 17.x, 24.x, 30.x 7.x 9.x, 10.x, 11.x
Compatibility Off
Disclaimer This document is intended as a reference for employees of Ryerson University. Every effort has
been made to ensure the content of this document is correct. If any conflict of information is found
between this document and any official documents related to the content, the applicable
policy/collective agreement information in the official documents will prevail. The information
contained in this document can change without notice and is not guaranteed to be error-free. If
you find any errors, contact HR Client Services at (416) 979-5075 or [email protected].


eHR Recruiting - Approvers
Guide for Users
1
About Approvers
Recruiters create job openings, job postings, and electronic offers sent to the selected candidates.
When a job offer is submitted, the system checks whether all required data is entered, and routes the offer to the designated approver for the department/faculty.
By the end of these modules, you will be able to:
Review the offer details Approve, delete and deny job offers
Approve CUPE 1 job offers
When a job offer is submitted by the recruiter, the system routes to the offers to designated
person in the department for approval. You approve job offers on the 'Pending Approvals' page,
which lists all offers that have been routed to you for approval.
Approvers can:
Access the complete job offer letter to review
Approve the job offer, which sets the offer status to Extend and posts the offer to the
applicant profile
Deny the job offer, which sets the offer status to Denied, stops the progress of the job offer,
and notifies the recruiter to re-submit the offer approve offers individually or by using the mass approval option
Note: You will be alerted by the system of any expired offers that were included in your mass
approve selection. Each of the remaining offers should be denied/rejected individually so that the recruiter can take action to reprocess the offer.
eHR Recruiting - Approvers
Guide for Users
2
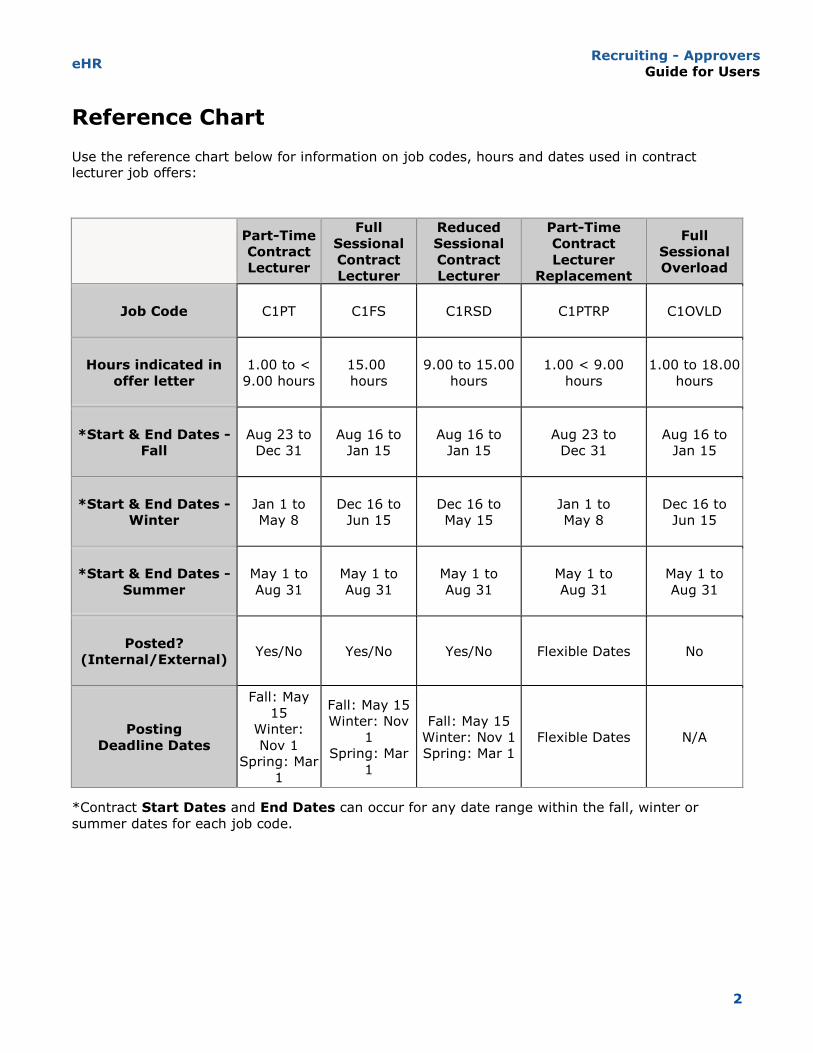
Reference Chart
Use the reference chart below for information on job codes, hours and dates used in contract lecturer job offers:
Part-Time
Contract
Lecturer
Full
Sessional
Contract
Lecturer
Reduced
Sessional
Contract
Lecturer
Part-Time
Contract
Lecturer
Replacement
Full
Sessional
Overload
Job Code
C1PT C1FS C1RSD C1PTRP C1OVLD
Hours indicated in
offer letter
1.00 to <
9.00 hours
15.00
hours
9.00 to 15.00
hours
1.00 < 9.00
hours
1.00 to 18.00
hours
*Start & End Dates -
Fall
Aug 23 to
Dec 31
Aug 16 to
Jan 15
Aug 16 to
Jan 15
Aug 23 to
Dec 31
Aug 16 to
Jan 15
*Start & End Dates -
Winter
Jan 1 to
May 8
Dec 16 to
Jun 15
Dec 16 to
May 15
Jan 1 to
May 8
Dec 16 to
Jun 15
*Start & End Dates -
Summer
May 1 to
Aug 31
May 1 to
Aug 31
May 1 to
Aug 31
May 1 to
Aug 31
May 1 to
Aug 31
Posted?
(Internal/External)
Yes/No Yes/No Yes/No Flexible Dates No
Posting
Deadline Dates
Fall: May
15
Winter:
Nov 1
Spring: Mar
1
Fall: May 15
Winter: Nov
1
Spring: Mar
1
Fall: May 15
Winter: Nov 1
Spring: Mar 1
Flexible Dates N/A
*Contract Start Dates and End Dates can occur for any date range within the fall, winter or
summer dates for each job code.
eHR Recruiting - Approvers
Guide for Users
3
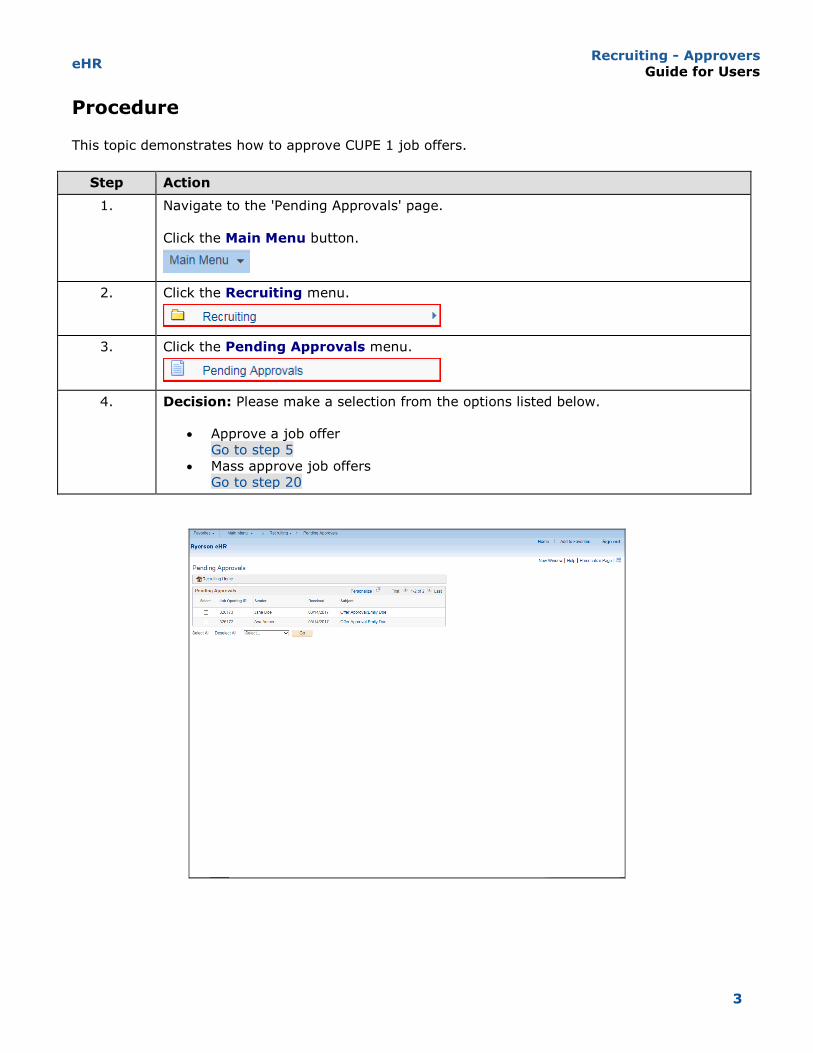
Procedure This topic demonstrates how to approve CUPE 1 job offers.
Step Action
1. Navigate to the 'Pending Approvals' page.
Click the Main Menu button.
2. Click the Recruiting menu.
3. Click the Pending Approvals menu.
4. Decision: Please make a selection from the options listed below.
Approve a job offer
Go to step 5
Mass approve job offers
Go to step 20
eHR Recruiting - Approvers
Guide for Users
4
Step Action
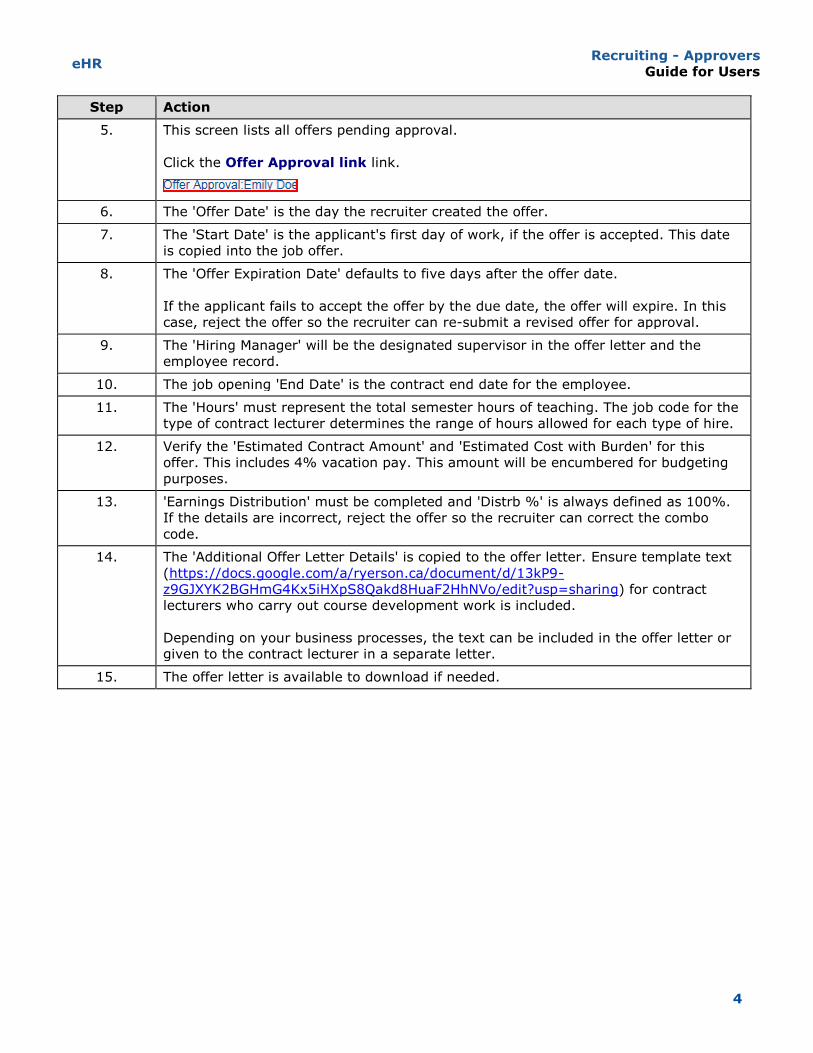
5. This screen lists all offers pending approval.
Click the Offer Approval link link.
6. The 'Offer Date' is the day the recruiter created the offer.
7. The 'Start Date' is the applicant's first day of work, if the offer is accepted. This date
is copied into the job offer.
8. The 'Offer Expiration Date' defaults to five days after the offer date.
If the applicant fails to accept the offer by the due date, the offer will expire. In this
case, reject the offer so the recruiter can re-submit a revised offer for approval.
9. The 'Hiring Manager' will be the designated supervisor in the offer letter and the
employee record.
10. The job opening 'End Date' is the contract end date for the employee.
11. The 'Hours' must represent the total semester hours of teaching. The job code for the
type of contract lecturer determines the range of hours allowed for each type of hire.
12. Verify the 'Estimated Contract Amount' and 'Estimated Cost with Burden' for this
offer. This includes 4% vacation pay. This amount will be encumbered for budgeting
purposes.
13. 'Earnings Distribution' must be completed and 'Distrb %' is always defined as 100%.
If the details are incorrect, reject the offer so the recruiter can correct the combo
code.
14. The 'Additional Offer Letter Details' is copied to the offer letter. Ensure template text
(https://docs.google.com/a/ryerson.ca/document/d/13kP9-
z9GJXYK2BGHmG4Kx5iHXpS8Qakd8HuaF2HhNVo/edit?usp=sharing) for contract
lecturers who carry out course development work is included.
Depending on your business processes, the text can be included in the offer letter or
given to the contract lecturer in a separate letter.
15. The offer letter is available to download if needed.
eHR Recruiting - Approvers
Guide for Users
5
Step Action
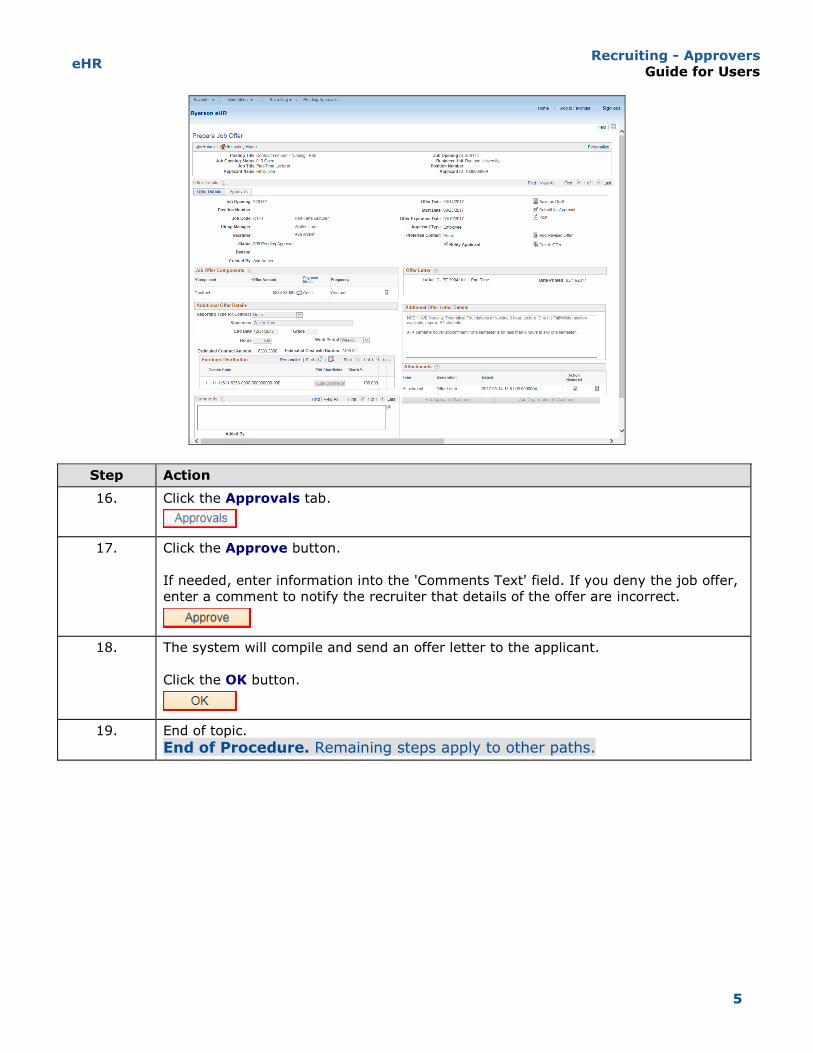
16. Click the Approvals tab.
17. Click the Approve button.
If needed, enter information into the 'Comments Text' field. If you deny the job offer,
enter a comment to notify the recruiter that details of the offer are incorrect.
18. The system will compile and send an offer letter to the applicant.
Click the OK button.
19. End of topic.
End of Procedure. Remaining steps apply to other paths.
eHR Recruiting - Approvers
Guide for Users
6
Step Action
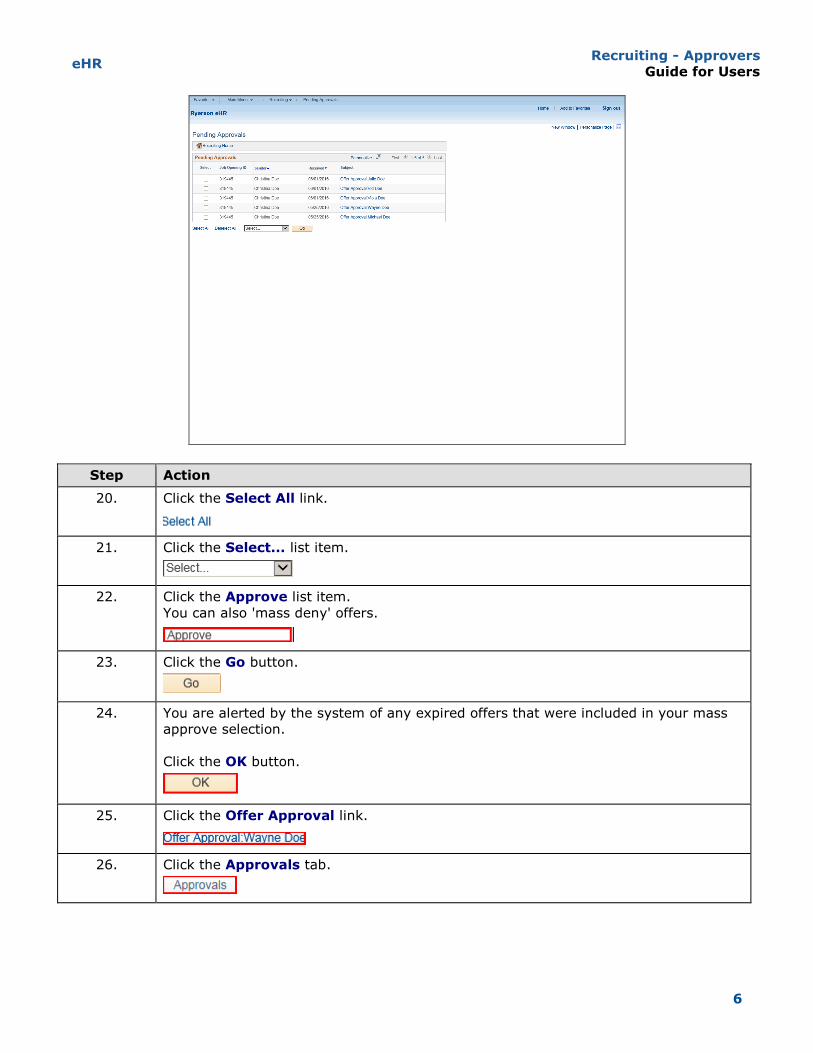
20. Click the Select All link.
21. Click the Select... list item.
22. Click the Approve list item.
You can also 'mass deny' offers.
23. Click the Go button.
24. You are alerted by the system of any expired offers that were included in your mass
approve selection.
Click the OK button.
25. Click the Offer Approval link.
26. Click the Approvals tab.
eHR Recruiting - Approvers
Guide for Users
7
Step Action
27. Enter relevant notes in the 'Comments Text' field.
Click the Deny button.
28. End of topic.
End of Procedure.

eHR Recruiting - Approvers
Guide for Users
8
Approve CUPE 3 job offers
When a job offer is submitted by the recruiter, the system routes to the offers to designated
person in the department for approval. You approve job offers on the 'Pending Approvals' page, which lists all offers that have been routed to you for approval.
Approvers can:
Access the complete job offer letter to review
Approve the job offer, which sets the offer status to Extend and posts the offer to the
applicant profile
Deny the job offer, which sets the offer status to Denied, stops the progress of the job offer,
and notifies the recruiter to re-submit the offer
approve offers individually or by using the mass approval option
Note: You will be alerted by the system of any expired offers that were included in your mass
approve selection. Each of the remaining offers should be denied/rejected individually so that the recruiter can take action to reprocess the offer.
Procedure This topic demonstrates how to approve a CUPE 3 job offer.
Step Action
1. Navigate to the 'Pending Approvals' menu.
Click the Main Menu button.
2. Click the Recruiting menu.
3. Click the Pending Approvals menu.
4. Decision: Select an option listed below:
Approve a job offer
Go to step 5
Mass approve job offers
Go to step 25
5. This screen lists all offers pending approval.
Click the Offer Approval link to review and approve offer details.
6. The 'Offer Date' is the day the recruiter created the offer.
eHR Recruiting - Approvers
Guide for Users
9
Step Action
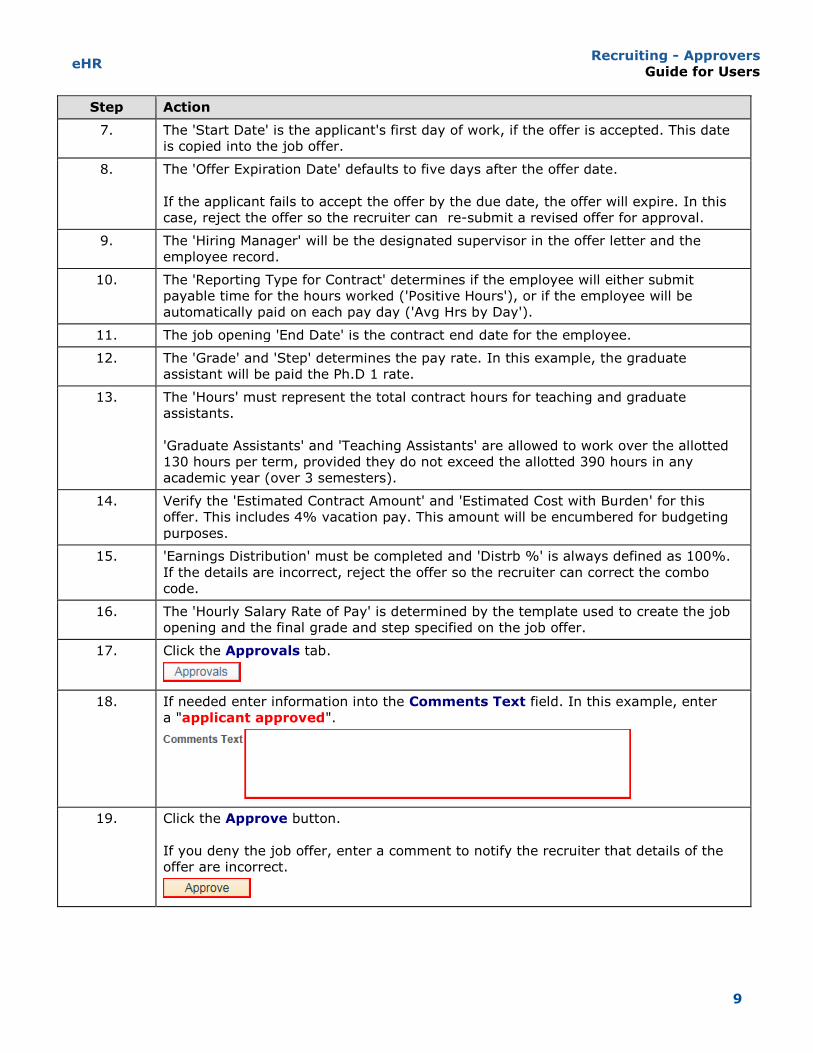
7. The 'Start Date' is the applicant's first day of work, if the offer is accepted. This date
is copied into the job offer.
8. The 'Offer Expiration Date' defaults to five days after the offer date.
If the applicant fails to accept the offer by the due date, the offer will expire. In this
case, reject the offer so the recruiter can re-submit a revised offer for approval.
9. The 'Hiring Manager' will be the designated supervisor in the offer letter and the
employee record.
10. The 'Reporting Type for Contract' determines if the employee will either submit
payable time for the hours worked ('Positive Hours'), or if the employee will be
automatically paid on each pay day ('Avg Hrs by Day').
11. The job opening 'End Date' is the contract end date for the employee.
12. The 'Grade' and 'Step' determines the pay rate. In this example, the graduate
assistant will be paid the Ph.D 1 rate.
13. The 'Hours' must represent the total contract hours for teaching and graduate
assistants.
'Graduate Assistants' and 'Teaching Assistants' are allowed to work over the allotted
130 hours per term, provided they do not exceed the allotted 390 hours in any
academic year (over 3 semesters).
14. Verify the 'Estimated Contract Amount' and 'Estimated Cost with Burden' for this
offer. This includes 4% vacation pay. This amount will be encumbered for budgeting
purposes.
15. 'Earnings Distribution' must be completed and 'Distrb %' is always defined as 100%.
If the details are incorrect, reject the offer so the recruiter can correct the combo
code.
16. The 'Hourly Salary Rate of Pay' is determined by the template used to create the job
opening and the final grade and step specified on the job offer.
17. Click the Approvals tab.
18. If needed enter information into the Comments Text field. In this example, enter
a "applicant approved".
19. Click the Approve button.
If you deny the job offer, enter a comment to notify the recruiter that details of the
offer are incorrect.
eHR Recruiting - Approvers
Guide for Users
10
Step Action
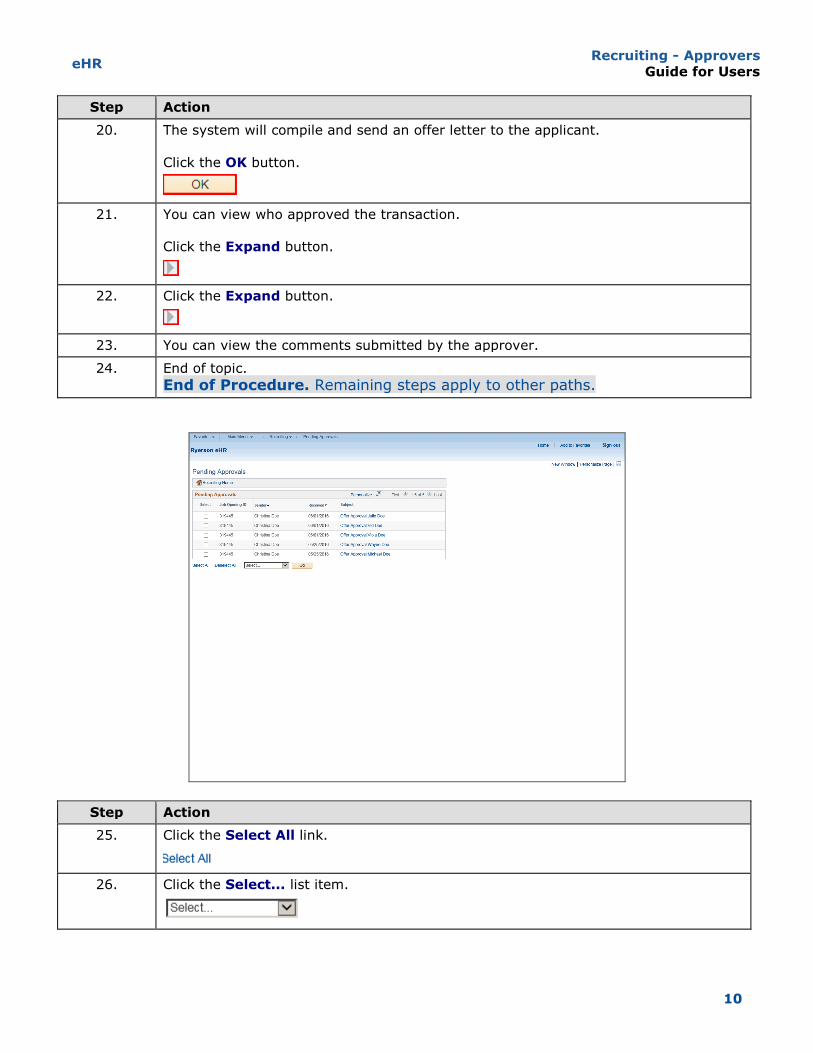
20. The system will compile and send an offer letter to the applicant.
Click the OK button.
21. You can view who approved the transaction.
Click the Expand button.
22. Click the Expand button.
23. You can view the comments submitted by the approver.
24. End of topic.
End of Procedure. Remaining steps apply to other paths.
Step Action
25. Click the Select All link.
26. Click the Select... list item.
eHR Recruiting - Approvers
Guide for Users
11
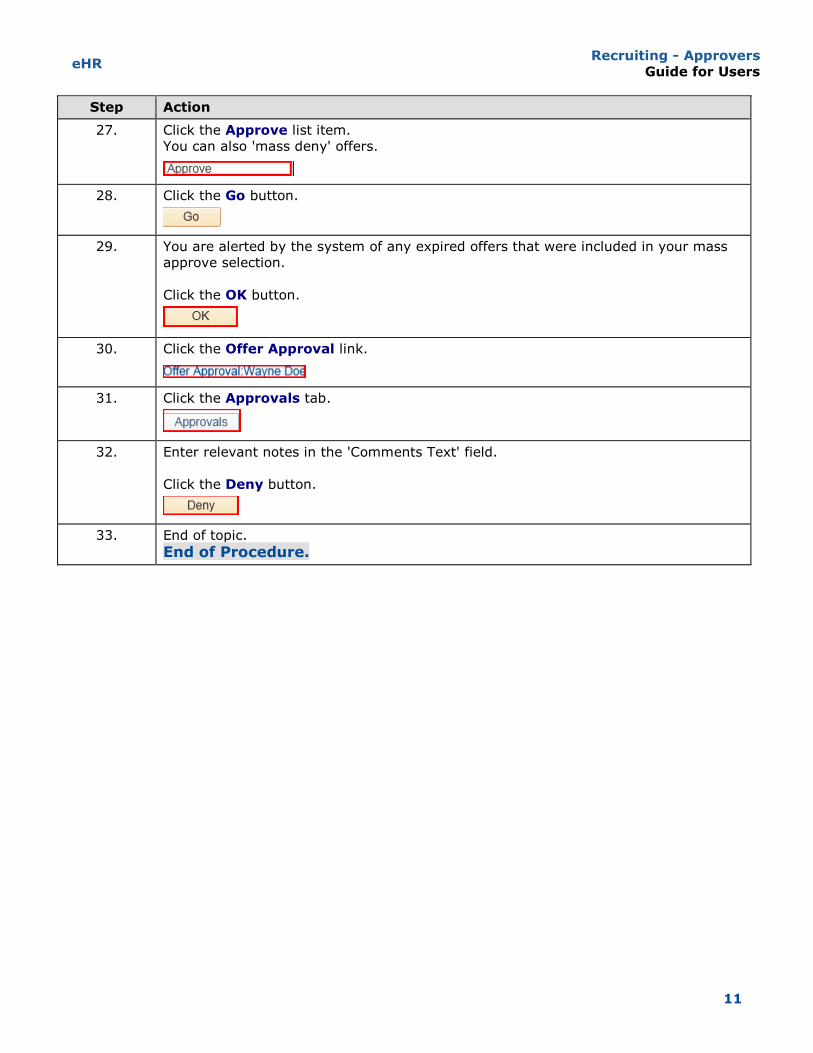
Step Action
27. Click the Approve list item.
You can also 'mass deny' offers.
28. Click the Go button.
29. You are alerted by the system of any expired offers that were included in your mass
approve selection.
Click the OK button.
30. Click the Offer Approval link.
31. Click the Approvals tab.
32. Enter relevant notes in the 'Comments Text' field.
Click the Deny button.
33. End of topic.
End of Procedure.
eHR Recruiting - Approvers
Guide for Users
12
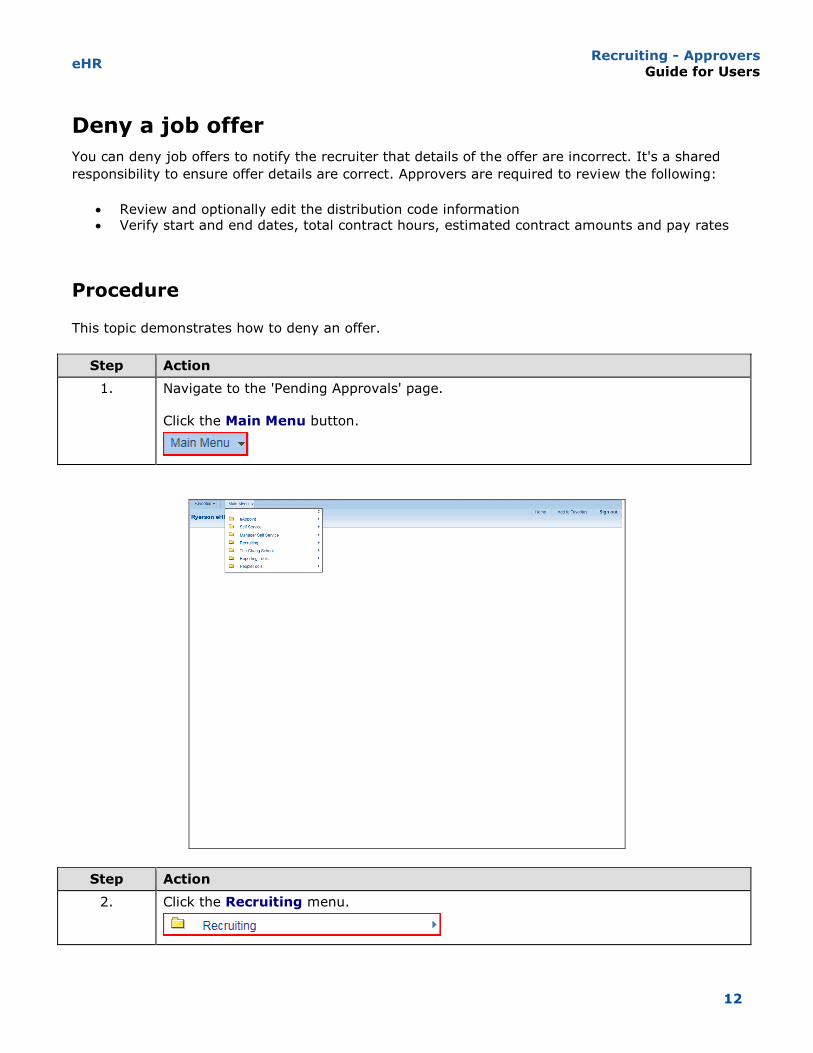
Deny a job offer
You can deny job offers to notify the recruiter that details of the offer are incorrect. It's a shared
responsibility to ensure offer details are correct. Approvers are required to review the following:
Review and optionally edit the distribution code information Verify start and end dates, total contract hours, estimated contract amounts and pay rates
Procedure This topic demonstrates how to deny an offer.
Step Action
1. Navigate to the 'Pending Approvals' page.
Click the Main Menu button.
Step Action
2. Click the Recruiting menu.
eHR Recruiting - Approvers
Guide for Users
13
Step Action
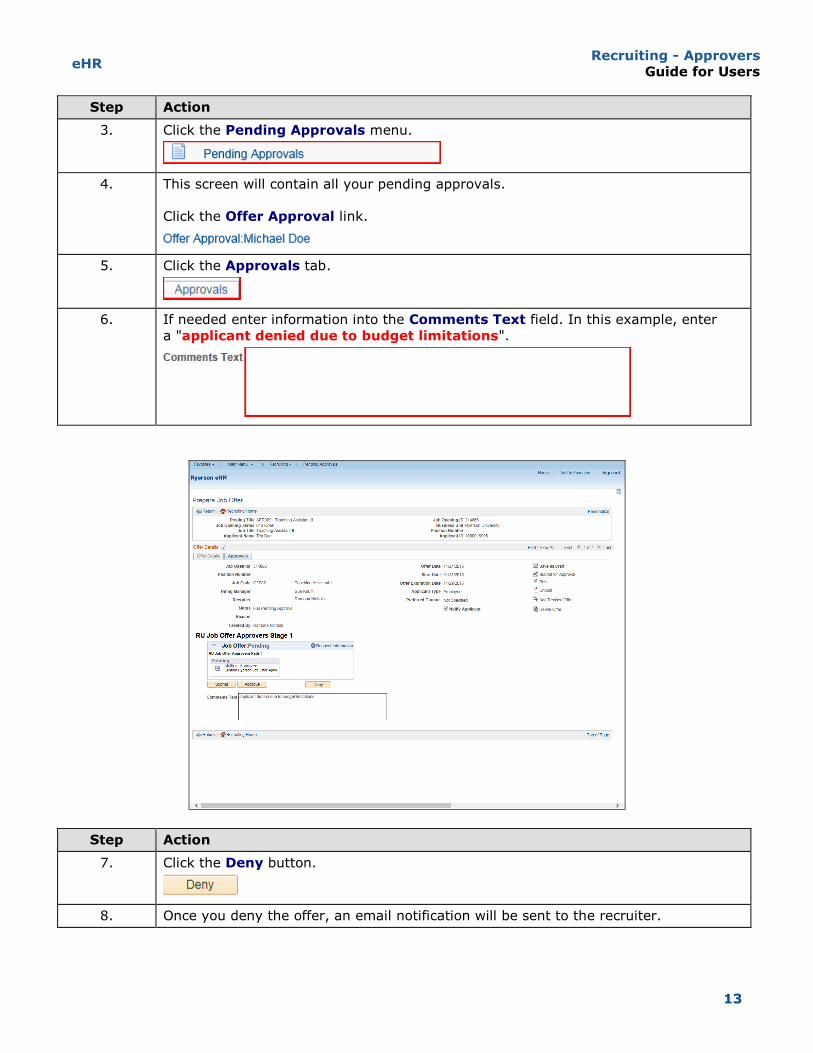
3. Click the Pending Approvals menu.
4. This screen will contain all your pending approvals.
Click the Offer Approval link.
5. Click the Approvals tab.
6. If needed enter information into the Comments Text field. In this example, enter
a "applicant denied due to budget limitations".
Step Action
7. Click the Deny button.
8. Once you deny the offer, an email notification will be sent to the recruiter.
eHR Recruiting - Approvers
Guide for Users
14
Step Action
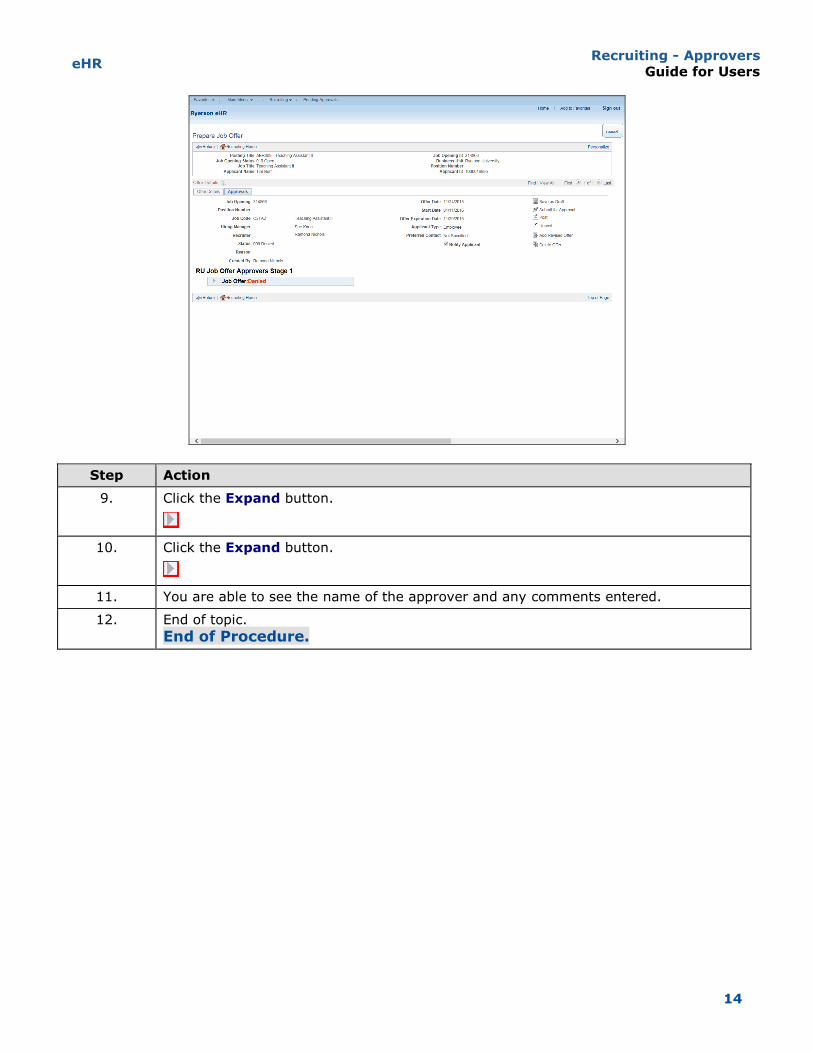
9. Click the Expand button.
10. Click the Expand button.
11. You are able to see the name of the approver and any comments entered.
12. End of topic.
End of Procedure.
eHR Recruiting - Approvers
Guide for Users
15
Review job posting details
Depending on the department's business process, recruiters can assign approvers as an 'interested
party', this will enable them to view job postings. Electronic job offers are created from data on the job opening and reviewed on the offer details page.
For CUPE 1 postings, data from the 'Appointment Details' found on the job posting is used
in the offer to describe the course work, hours and class size as required by the collective
agreement
For CUPE 3 postings, data from the 'Responsibilities section' found on the job posting is
used in the offer to describe the breakdown of work as required by the collective
agreement.
In both cases this data should be checked for accuracy to ensure the job offer reflects the breakdown of work correctly.
Procedure This topic demonstrates how to review job details as an approver.
Step Action
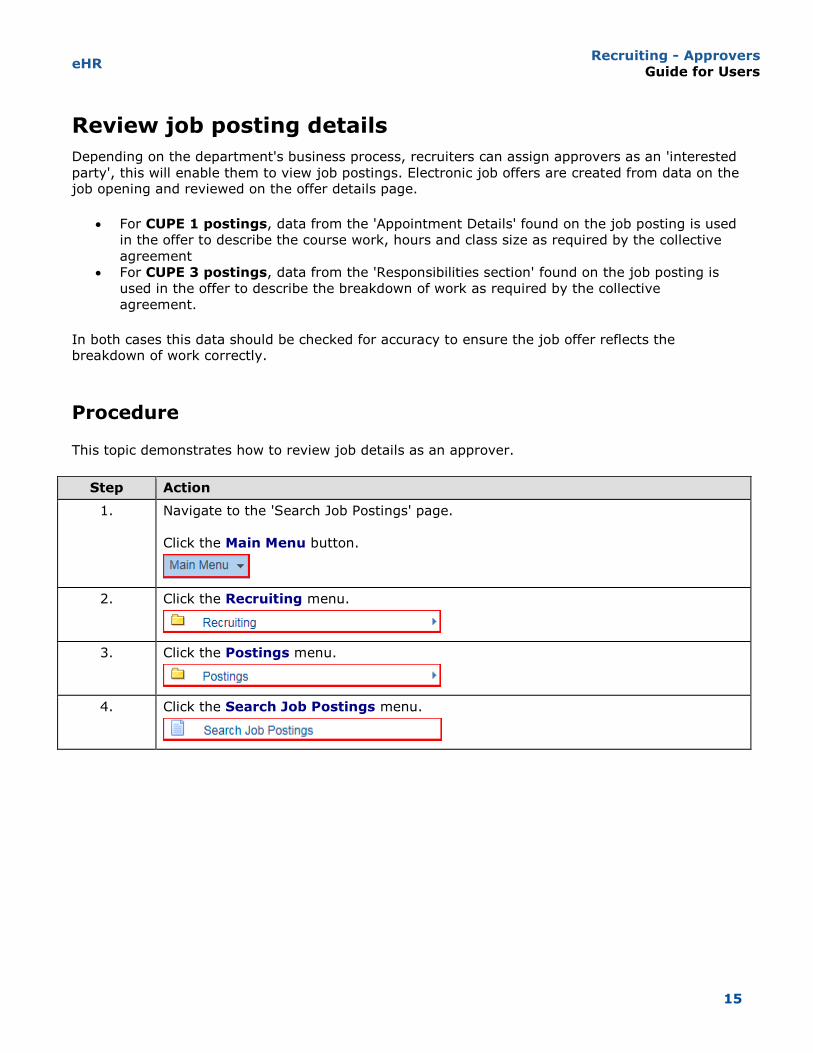
1. Navigate to the 'Search Job Postings' page.
Click the Main Menu button.
2. Click the Recruiting menu.
3. Click the Postings menu.
4. Click the Search Job Postings menu.
eHR Recruiting - Approvers
Guide for Users
16
Step Action
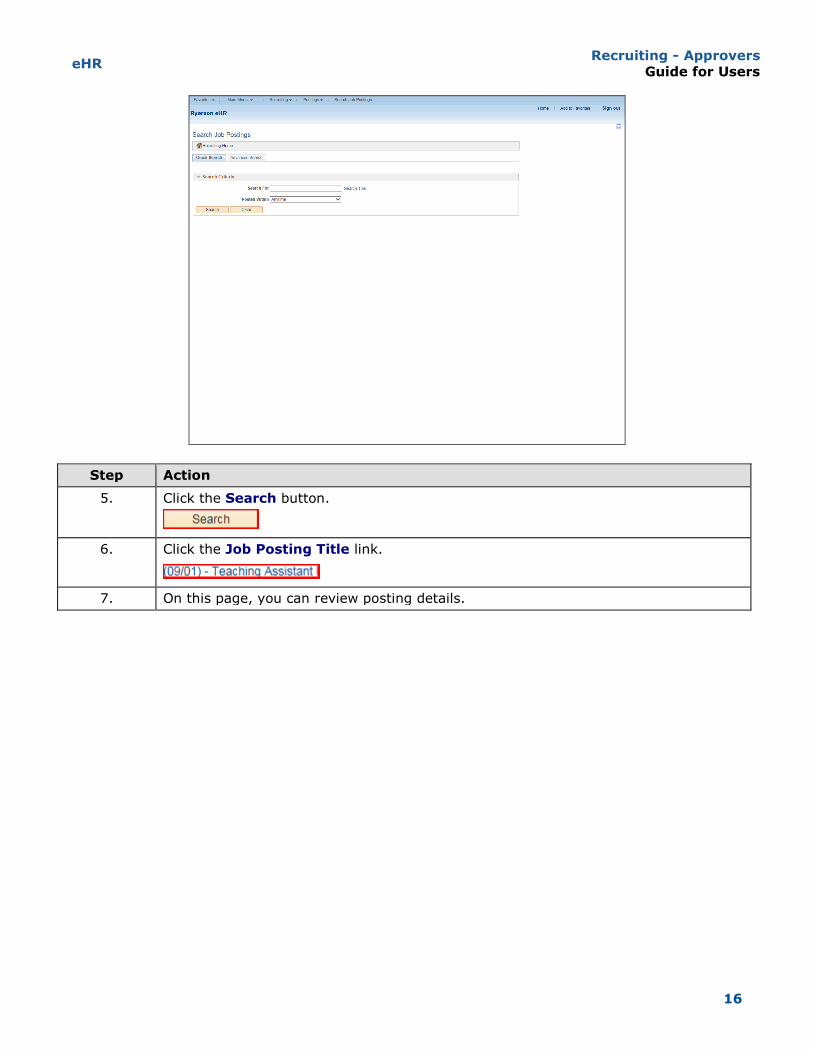
5. Click the Search button.
6. Click the Job Posting Title link.
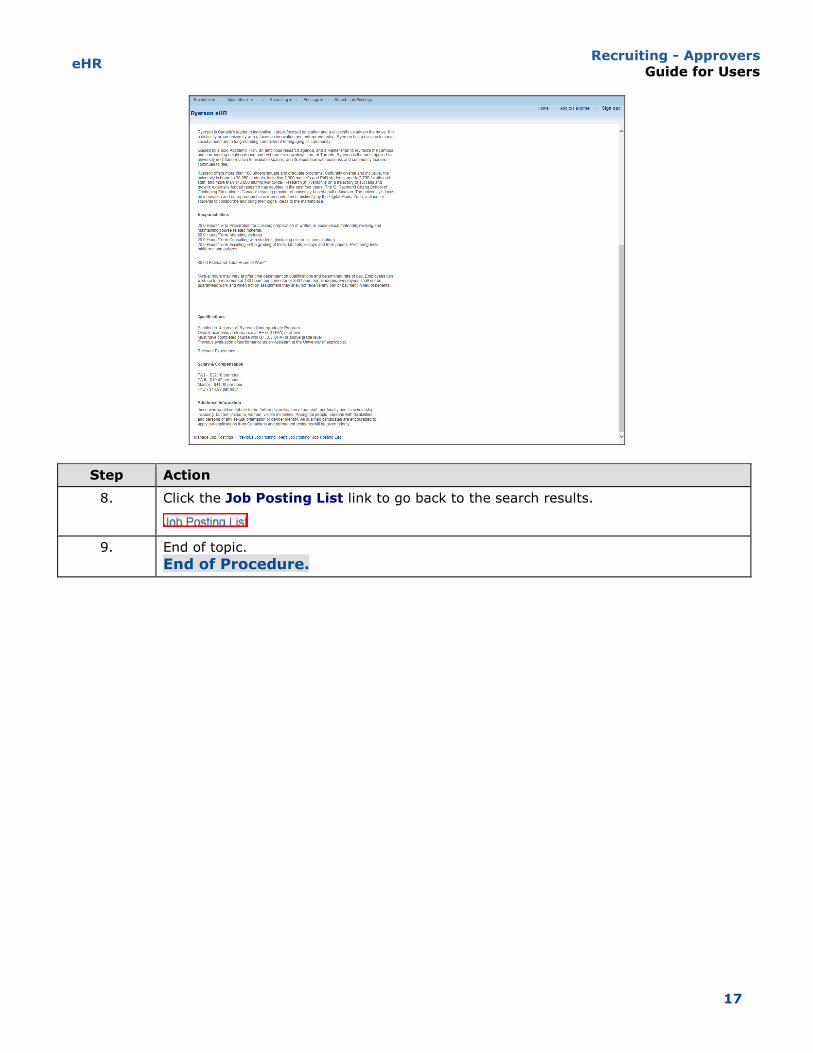
7. On this page, you can review posting details.
eHR Recruiting - Approvers
Guide for Users
17
Step Action
8. Click the Job Posting List link to go back to the search results.
9. End of topic.
End of Procedure.
eHR Recruiting - Approvers
Guide for Users
18
Approving Data Changes
Recruiters use the 'Job Change and Termination' menu within recruiting to change employee data
once the applicant has been successfully hired in eHR. As an approver for CUPE 1, CUPE 3 or CUPE
2 transactions, you are also be required to validate these changes to job information that affect
pay, contract start and end dates, contract terminations and other data changes.
Validate Transactions
Validators are assigned in the system to approve transactions for their department/faculty. In this
role, you are responsible for: reviewing the appointment information before approving or rejecting
the transactions. This also includes completing and processing any data changes that will affect an employee's pay.
About e-mail Notifications
Each validator assigned to the same department/faculty and employee class will receive e-mail
reminders for all eAppoint transactions that require approval in that department and employee
class.
For example, if John Doe and Amy Smith are the validators for department D12345 and Non-Union
Research Assistants, each will receive an e-mail regardless of which Initiator created the transaction for the department D12345.
eHR Recruiting - Approvers
Guide for Users
19
Approve transactions
As a validator, you are responsible for reviewing and approving/rejecting transactions. Listed
here are important information that must be reviewed in every transaction:
Review the contract start and end dates
Check the department code and supervisor
Verify the compensation rate, total contract amount and the assignment cost Approve transactions in a timely manner
The system will process the new employee appointment and transfer this into eHR as an employee
record. It's important that you approve these transactions in a timely manner to allow enough time for the appointment to be transferred into eHR.
Tip: Refer to the employee resources (http://ryerson.ca/hr/employee-resources/index.html) page
and click the link for your employee group. You can view eAppoint deadlines to plan when your
appointments should be processed into the system, and sign up for e-mail reminders about these deadlines under the 'Pay Information' section.
Procedure This topic demonstrates how to approve an eAppoint transaction.
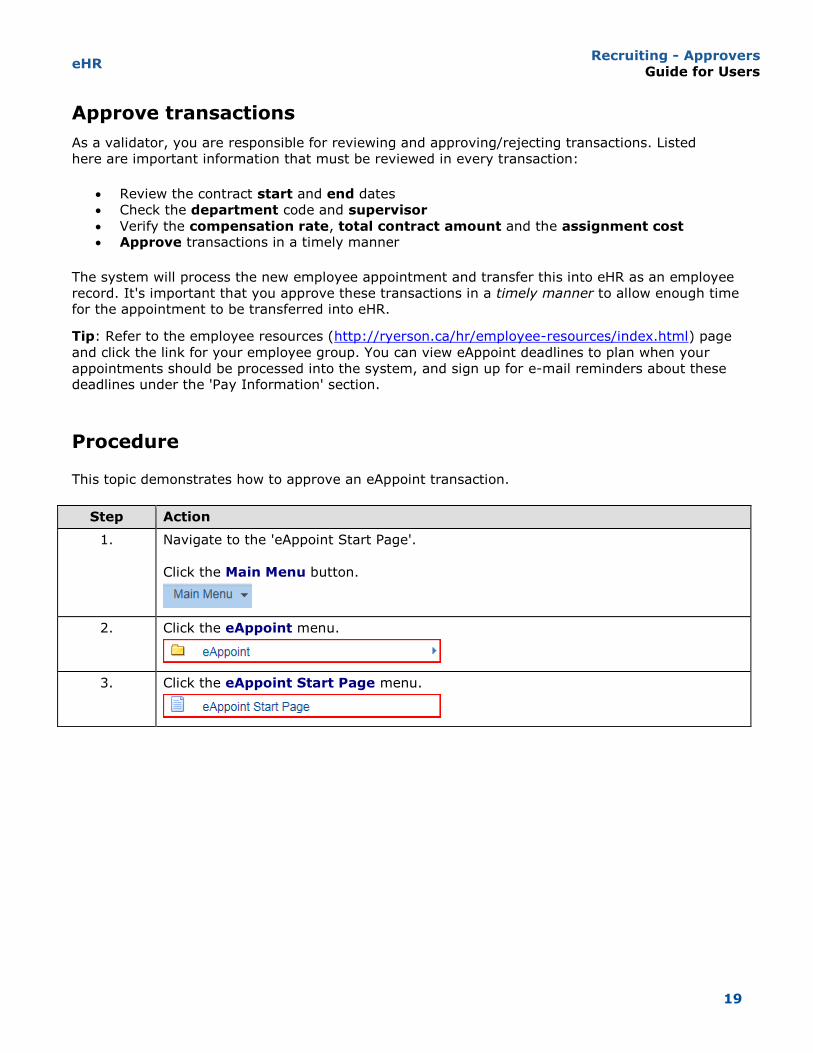
Step Action
1. Navigate to the 'eAppoint Start Page'.
Click the Main Menu button.
2. Click the eAppoint menu.
3. Click the eAppoint Start Page menu.
eHR Recruiting - Approvers
Guide for Users
20
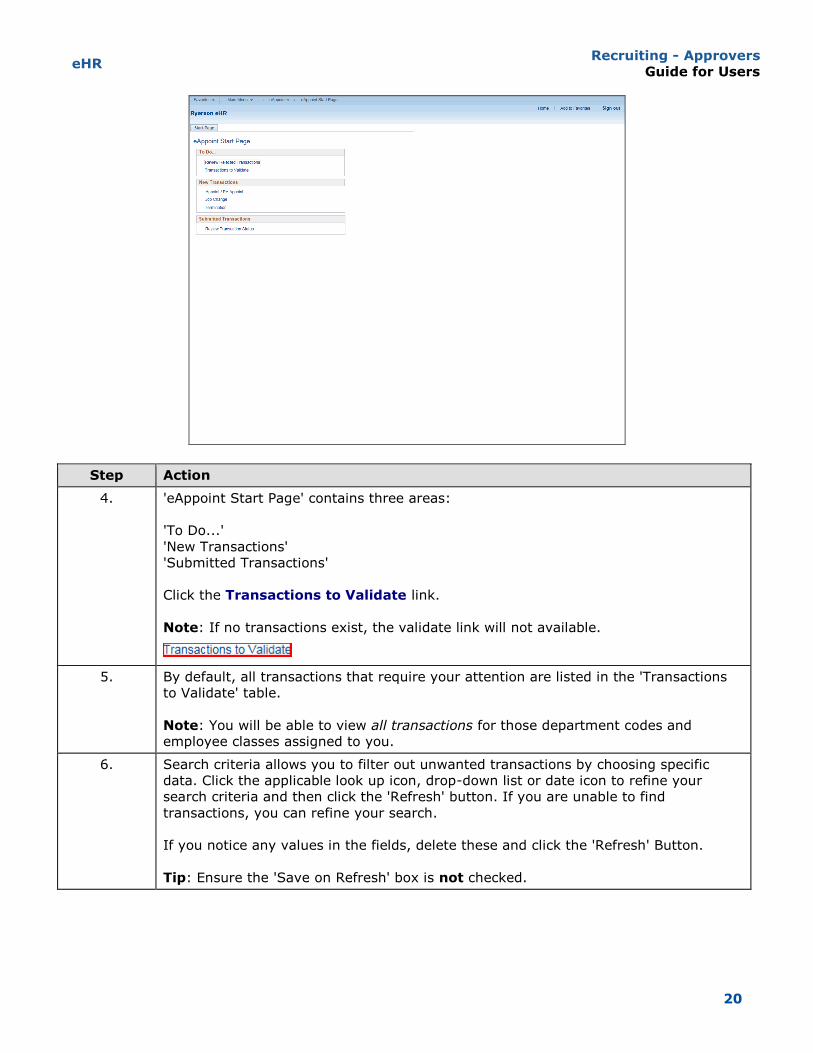
Step Action
4. 'eAppoint Start Page' contains three areas:
'To Do...'
'New Transactions'
'Submitted Transactions'
Click the Transactions to Validate link.
Note: If no transactions exist, the validate link will not available.
5. By default, all transactions that require your attention are listed in the 'Transactions
to Validate' table.
Note: You will be able to view all transactions for those department codes and
employee classes assigned to you.
6. Search criteria allows you to filter out unwanted transactions by choosing specific
data. Click the applicable look up icon, drop-down list or date icon to refine your
search criteria and then click the 'Refresh' button. If you are unable to find
transactions, you can refine your search.
If you notice any values in the fields, delete these and click the 'Refresh' Button.
Tip: Ensure the 'Save on Refresh' box is not checked.

eHR Recruiting - Approvers
Guide for Users
21
Step Action
7. By default, your transactions are sorted by Trans Nbr order (lowest transaction
number first).
You can sort your transactions by clicking a label in the column header. Click once to
sort by ascending order and second time to sort by descending order.
8. To access a transaction, click the 144642 link.
9. The 'Summary Page' provides an overview of all the employee's appointment
information. Verify that all the details are correct on the summary page.
To view the 'Contact Info', click the 'Expand Section' icon.
Review the 'Job Info', 'Compensation Info', and 'Department' code (cost center).
10. 'Estimated Contract Amount' is calculated by multiplying the hourly rate by the Total
Contract Hours.
'Estimated Cost with Burden' is calculated by adding the burden rate and 4% vacation
pay to the Estimated Contract Amount.
11. 'Department' code (Cost Center) and 'Account' code combinations are specific to
each department. Ensure the correct codes are used on the appointment.
In the example: 11141 is the Accounting Department (TRSM) with account code
6253.
eHR Recruiting - Approvers
Guide for Users
22
Step Action
12. Review the transaction and add comments. For example, you may use this field to
identify any compensation exceptions for the employee or special arrangements.
The system will return to the 'eAppoint Start Page' if all your transactions have been
approved.
Click the Approve button.
13. End of topic.
End of Procedure.
eHR Recruiting - Approvers
Guide for Users
23
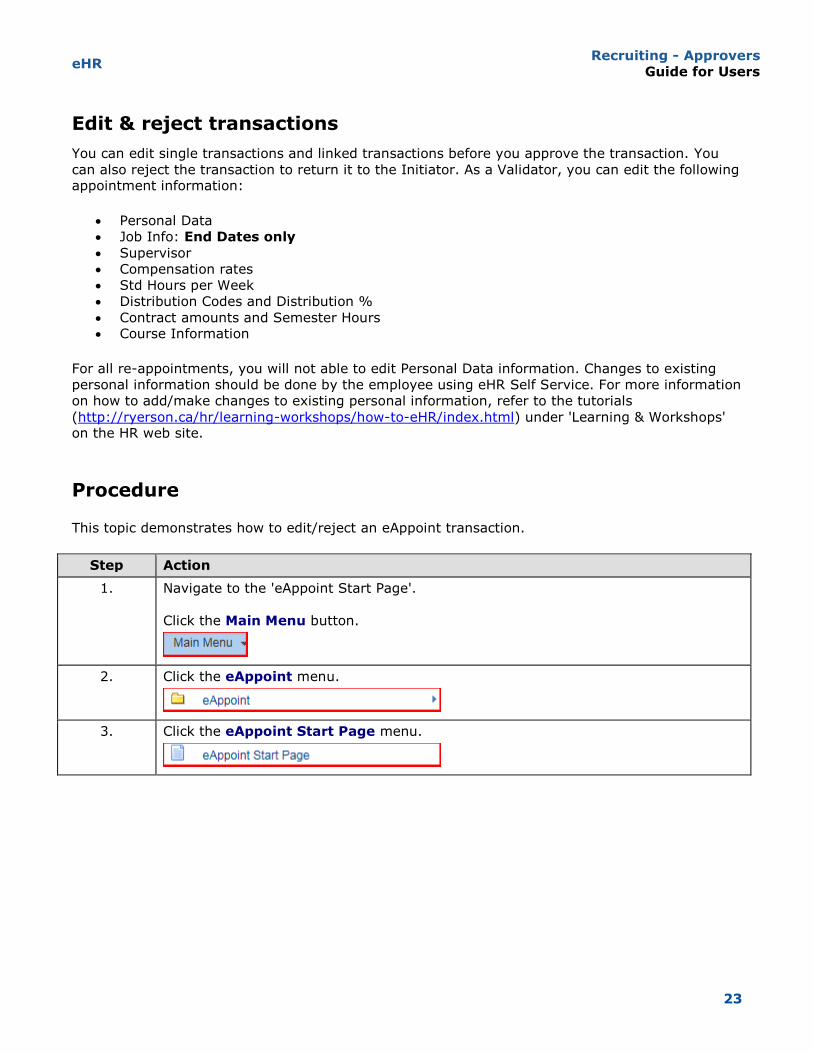
Edit & reject transactions
You can edit single transactions and linked transactions before you approve the transaction. You
can also reject the transaction to return it to the Initiator. As a Validator, you can edit the following appointment information:
Personal Data
Job Info: End Dates only
Supervisor
Compensation rates
Std Hours per Week
Distribution Codes and Distribution %
Contract amounts and Semester Hours Course Information
For all re-appointments, you will not able to edit Personal Data information. Changes to existing
personal information should be done by the employee using eHR Self Service. For more information
on how to add/make changes to existing personal information, refer to the tutorials
(http://ryerson.ca/hr/learning-workshops/how-to-eHR/index.html) under 'Learning & Workshops' on the HR web site.
Procedure This topic demonstrates how to edit/reject an eAppoint transaction.
Step Action
1. Navigate to the 'eAppoint Start Page'.
Click the Main Menu button.
2. Click the eAppoint menu.
3. Click the eAppoint Start Page menu.
eHR Recruiting - Approvers
Guide for Users
24
Step Action
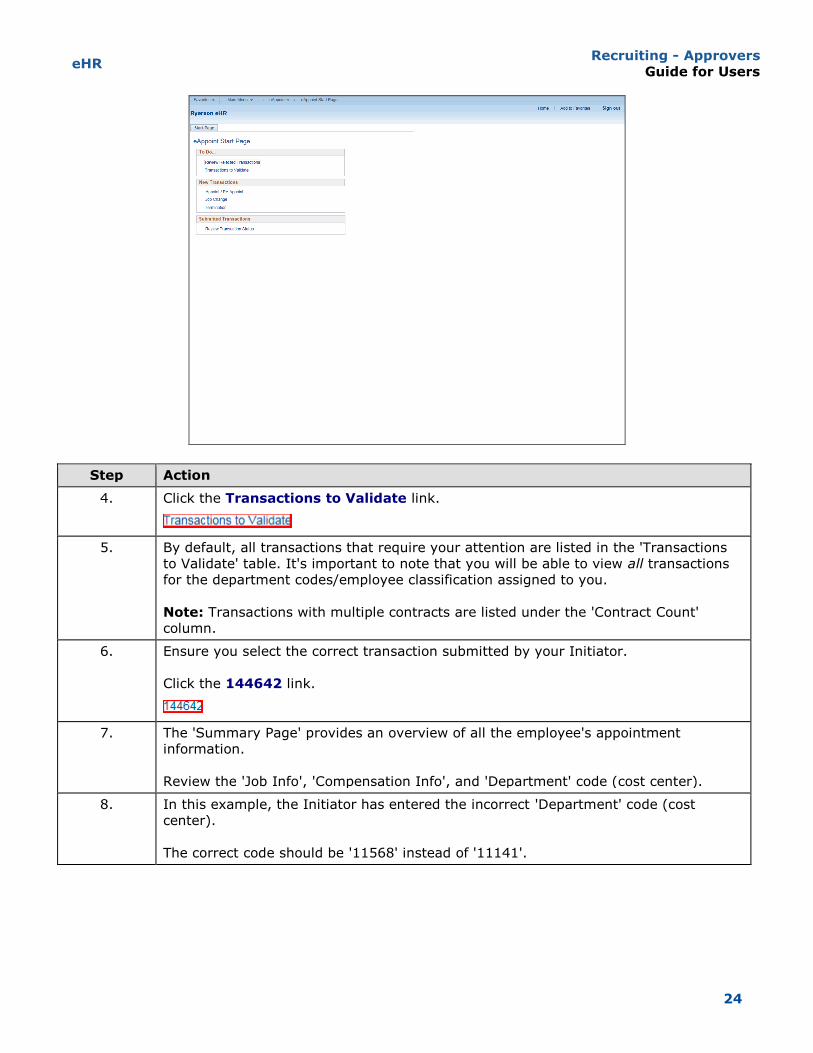
4. Click the Transactions to Validate link.
5. By default, all transactions that require your attention are listed in the 'Transactions
to Validate' table. It's important to note that you will be able to view all transactions
for the department codes/employee classification assigned to you.
Note: Transactions with multiple contracts are listed under the 'Contract Count'
column.
6. Ensure you select the correct transaction submitted by your Initiator.
Click the 144642 link.
7. The 'Summary Page' provides an overview of all the employee's appointment
information.
Review the 'Job Info', 'Compensation Info', and 'Department' code (cost center).
8. In this example, the Initiator has entered the incorrect 'Department' code (cost
center).
The correct code should be '11568' instead of '11141'.
eHR Recruiting - Approvers
Guide for Users
25
Step Action
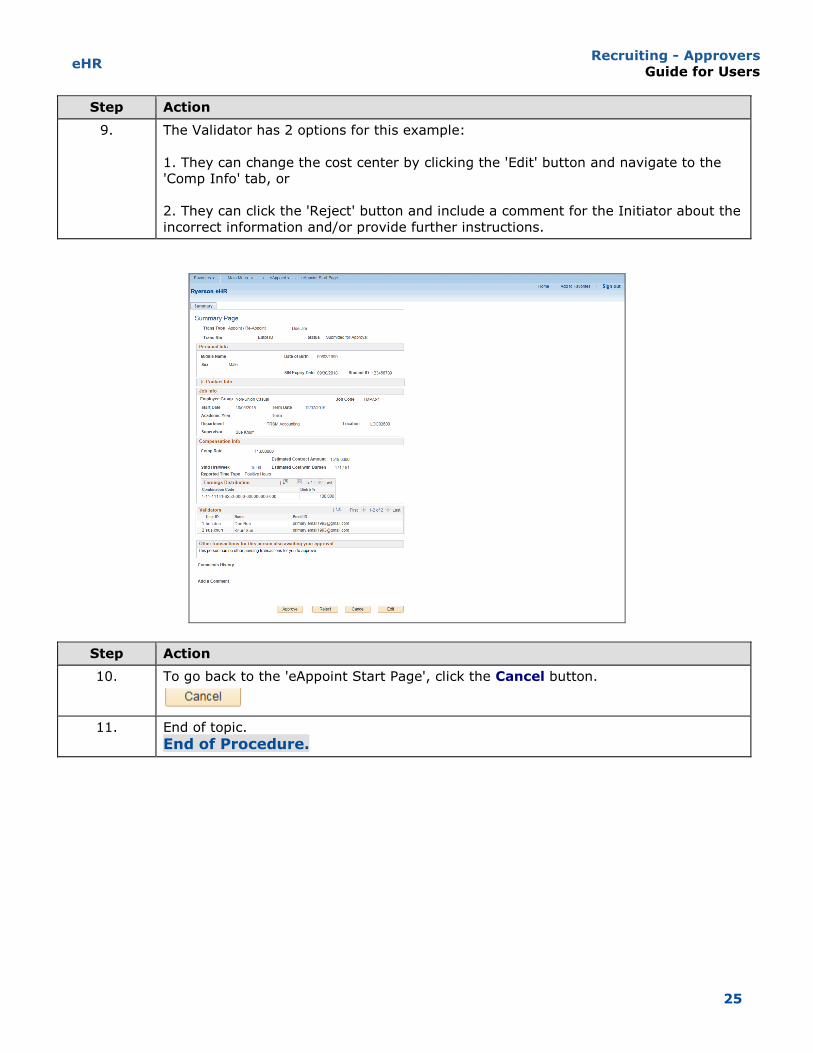
9. The Validator has 2 options for this example:
1. They can change the cost center by clicking the 'Edit' button and navigate to the
'Comp Info' tab, or
2. They can click the 'Reject' button and include a comment for the Initiator about the
incorrect information and/or provide further instructions.
Step Action
10. To go back to the 'eAppoint Start Page', click the Cancel button.
11. End of topic.
End of Procedure.