resizing photos on windows computers
TRANSCRIPT
Resizing Photos on Windows computers By John Allen
This document explains how to resize digital photos and store them so you can attach them to an email, or upload them to the Cloud, or to websites such as eBay, Facebook or GumTree.
Three methods are explained:
Using Microsoft Paint to resize individual photos - I have chosen Microsoft Paint because it is available in all versions of Windows. Most photo applications will allow you to change the image size, for example GIMP (use Image > Scaling), Photofiltre (use Image > Resize)
Using Google Picasa to resize multiple photos
Using the powerful IrfanView Batch processing to resize multiple photos
Introduction Digital photos these days can be very large with high resolution. There are times where you might want to reduce the size of these photo files, for example:
Reducing their storage requirements
Emailing them
Uploading them to the Cloud, Facebook, Gumtree, EBay, etc.
Changing Size You can change the size or resolution of a digital photo by changing the number of pixels. Its file size can also vary depending on the format of the file. Most photos are JPG format. You may see some that are TIFF, RAW, CR2, and BMP (and others) which consume a lot more storage space than JPG files.
Changing JPG Quailty JPG files are slightly less quality than other types of files, but you would really only notice the difference if you were either cropping the photo, doing some fine editing on it, or printing a photo on A4 or A3 high resolution photo paper with a good quality printer. JPG format uses compression algorithms to significantly reduce the file size. JPG files can also be stored in different compression levels (i.e. photo quality levels) – the photo size remains the same but the photo quality varies. JPG quality setting is usually a %, or a choice of low, medium, high. The higher the quality, the more storage space the photo consumes.
Emailing photos In the old days, if we wanted to email small versions of photos, we could to open File Explorer, select one or more photos, right click on the selection and choose Send to: Mail recipient. Then you got a choice of size. Then then a new email opened with the resized photos attached. This method may still work if you use Thunderbird Mail or Incredimail, and either is set as the default email application. But this doesn’t work if you use a browser to access your mail, or a modern mail app, or Windows Live Mail locally.
Keeping the original When resizing, if you want to keep the original high resolution photos you need to be careful to save the resized pictures either with a different file name or in a different folder.

Resize a photo using Microsoft Paint
Paint is an application provided in all Windows systems and it can be used to easily resize a photo or save it in a different format.
Paint does not give you the option of changing the JPG compression level (image quality).
In this example we will reduce the file size of a photo by a factor of 15.
Open Paint – click on the Start button, type “paint” then click on the Paint icon.
In Paint, click on the Menu > Open
Then locate and open the photo you want to resize > Open.
Windows 7 Windows 10
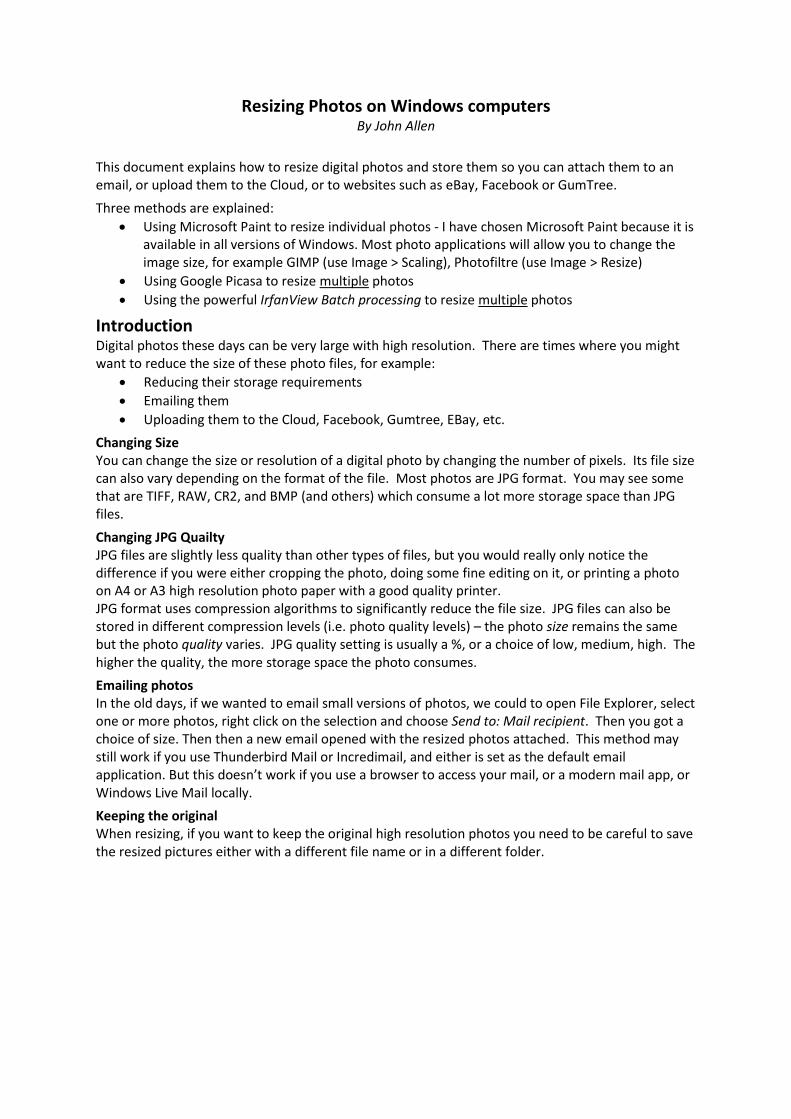
In this example I have opened a file “A Denham’s Dawning.jpg”.
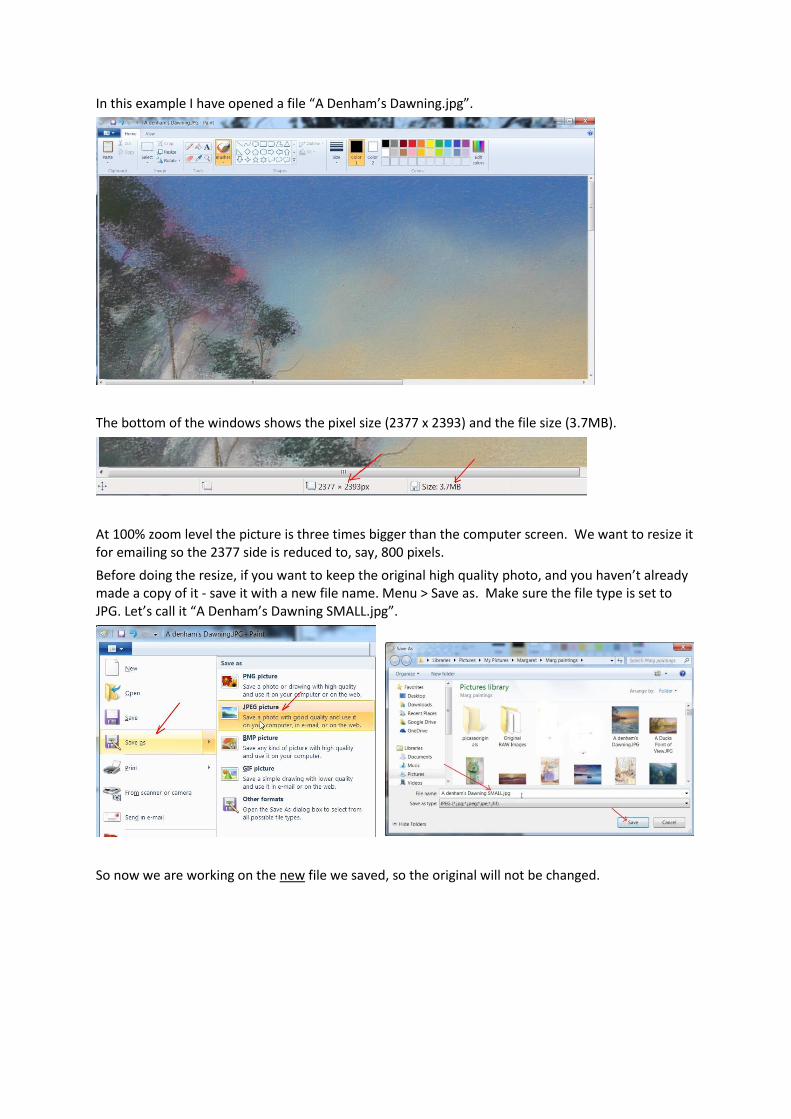
The bottom of the windows shows the pixel size (2377 x 2393) and the file size (3.7MB).
At 100% zoom level the picture is three times bigger than the computer screen. We want to resize it for emailing so the 2377 side is reduced to, say, 800 pixels.
Before doing the resize, if you want to keep the original high quality photo, and you haven’t already made a copy of it - save it with a new file name. Menu > Save as. Make sure the file type is set to JPG. Let’s call it “A Denham’s Dawning SMALL.jpg”.
So now we are working on the new file we saved, so the original will not be changed.
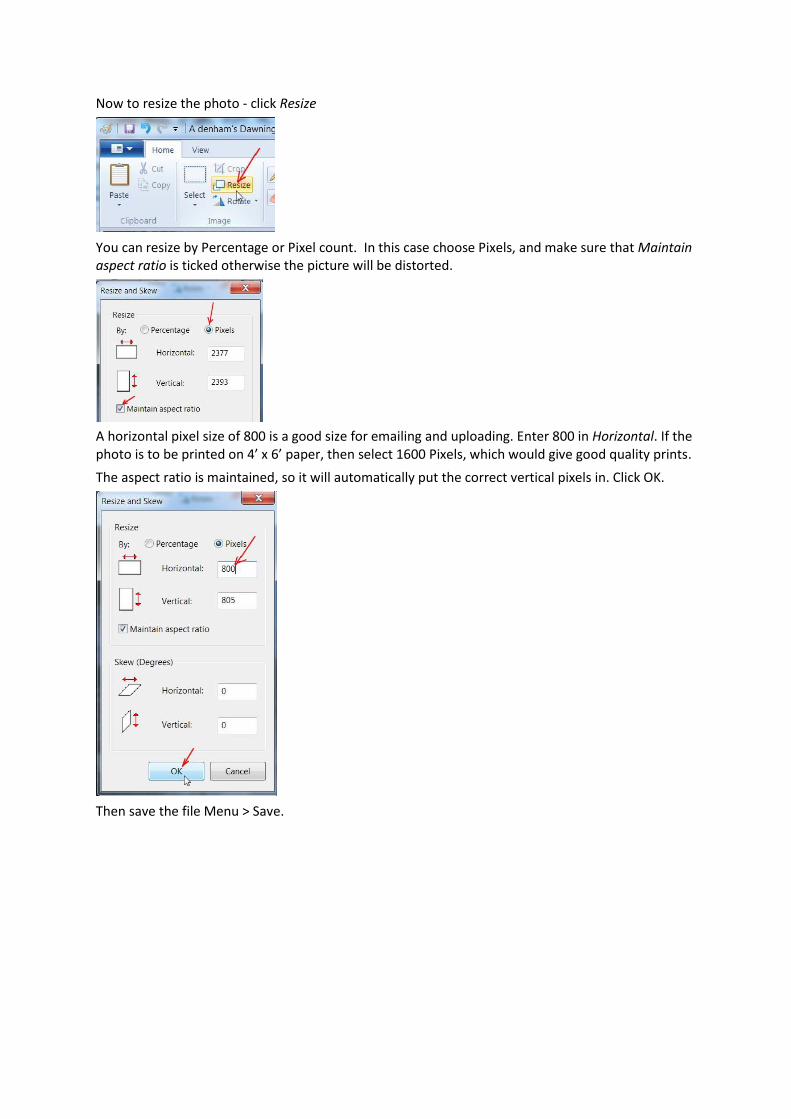
Now to resize the photo - click Resize
You can resize by Percentage or Pixel count. In this case choose Pixels, and make sure that Maintain aspect ratio is ticked otherwise the picture will be distorted.
A horizontal pixel size of 800 is a good size for emailing and uploading. Enter 800 in Horizontal. If the photo is to be printed on 4’ x 6’ paper, then select 1600 Pixels, which would give good quality prints.
The aspect ratio is maintained, so it will automatically put the correct vertical pixels in. Click OK.
Then save the file Menu > Save.

Now you see that the size has been reduced to 244KB, or 0.24MB – that is 15 times smaller file size than the original.

Resize photos using Google Picasa
If you use Picasa to manage photos, it has an easy to use resizing feature, and you can resize multiple photos in one go. It also gives you some control over the image quality of the reduced photos. If you have movies mixed in with your photos, don’t include them in the resizing otherwise Picasa will create a new photo based on a frame in the movie.
Open Picasa
Select all the photos you want to resize. To select multiple photos, Ctrl > click on the thumbnails in the Picasa browser (the photos can be selected in different folders). If the photos are all in one folder, just click on the folder name and then press Ctrl-A to select all.
In this example I want to reduce the size of all the photos in a folder called My Holiday, which are all between 6 to 8 megabytes each. In the Picasa browser, I first click on the folder My Holiday then select all the photos with Ctrl > A
The selected photos appear in the photo tray at the bottom of the screen.
Now, in the File menu choose Export Picture to Folder...

The Export to Folder dialog box will appear.
Click Browse and locate My Holiday, then in the "Name of exported folder" type the name of the new folder where Picasa should put the resized photos – My Holiday Small. Be sure you don't use the same name as a folder that already exists, or your newly sized photos will be mixed in with other photos and it might be confusing.
Under Image size: select Resize to: then enter the size you'd like for the resized photos. A pixel size of 800 is a good size for emailing and uploading. If the photo is to be printed on 4’ x 6’ paper, then select 1600 Pixels, which would give good quality. We will enter 800 here. In Picasa, the pixel size specified here applies to the long side of the photo:
For portrait photos, this applies to the vertical edge
For landscape photos, this refers to the horizontal edge
Under Image Quality, first we will use Automatic setting Click Export.
Windows File Explorer then appears. If I open a photo in My Holiday Small I can see that the 6GB size has been reduced to about 350KB, a reduction by a factor of 17. Let’s say we decide that we want even smaller file sizes by reducing the quality of the photos. You could open the newly resized photos and change their quality, but it is better to work from the originals.
First delete all the newly resized photos in the folder My Holiday Small
In the Picasa browser, click on the folder My Holiday then select all the photos with Ctrl > A
Then in the File menu choose Export Picture to Folder...
Click Browse and locate My Holiday, then in the "Name of exported folder" type My Holiday Small. Under Image size Options select Image size: Resize to: then enter
Under Image Quality, select Normal (a good balance of quality and file size, achieves about 85% compression ratio)
Click Export.
Open My Holiday Small – each photo is now around 150KB, and there is no noticeable difference to the quality of the displayed photo.
Resize a batch of photos using IrfanView
IrfanView is a handy free photo display and editing program which includes a powerful feature called Batch Conversion/Rename. It gives you a lot of options to choose from when resizing photos.
You can download IrfanView from http://www.irfanview.com/. Then run the IrfanView installer to install it. During the install you have the option to also install Google Toolbar – uncheck that option.
Once installed, start IrfanView.
In this example we will reduce the size of the My Holiday photos done in the Picasa example, but set the long side of each photo to 1200 pixels.
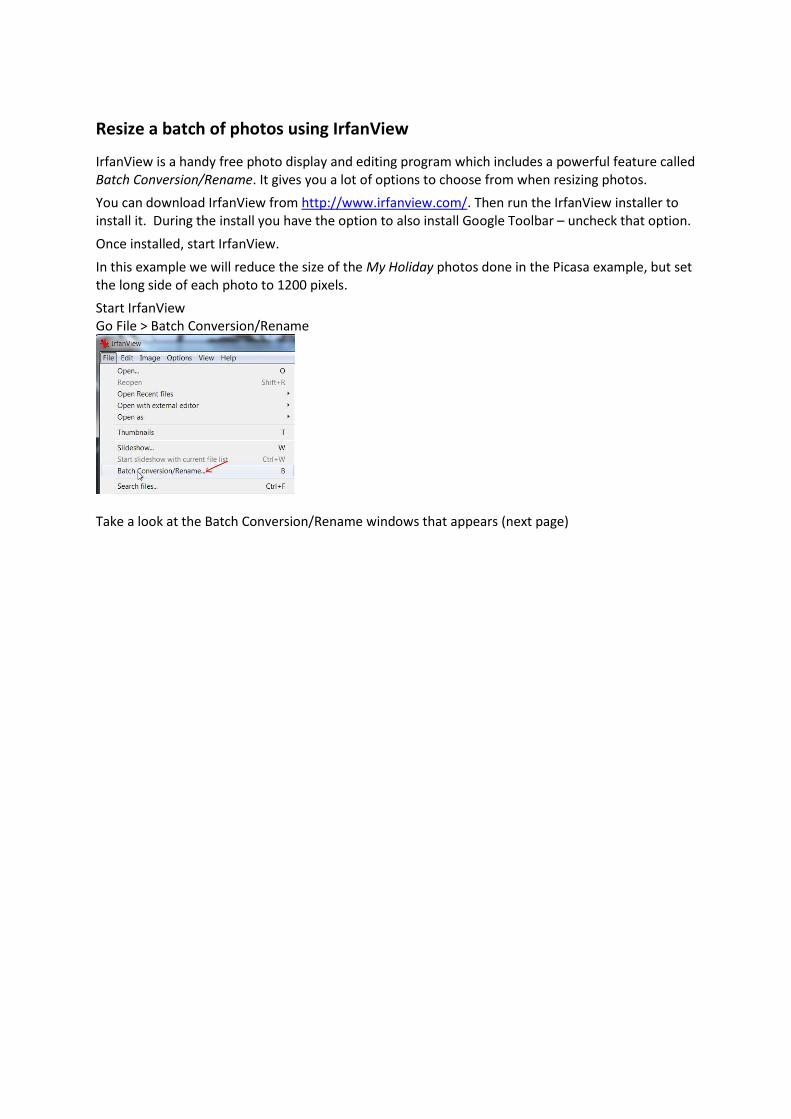
Start IrfanView Go File > Batch Conversion/Rename
Take a look at the Batch Conversion/Rename windows that appears (next page)

Left hand side
The Work as: section is where you select the type of batch
In the Batch conversion settings section you can select the file type. The Options button allows you to select the compression size, and remove the photo’s EXIF data (such as location geocoding and other private information). The Advanced button is where you set the image reduction parameters.
The Output directory for result files is where the reduced files will be placed. Clicking Use current (‘look in’) directory will place the path of the current folder selected on the right hand side. Alternatively you can Browse to a folder.
Right hand side The Look in: section is where you select the photos to be processed. You can add photos from different folders if you want, add individual photos, or all photos in a folder
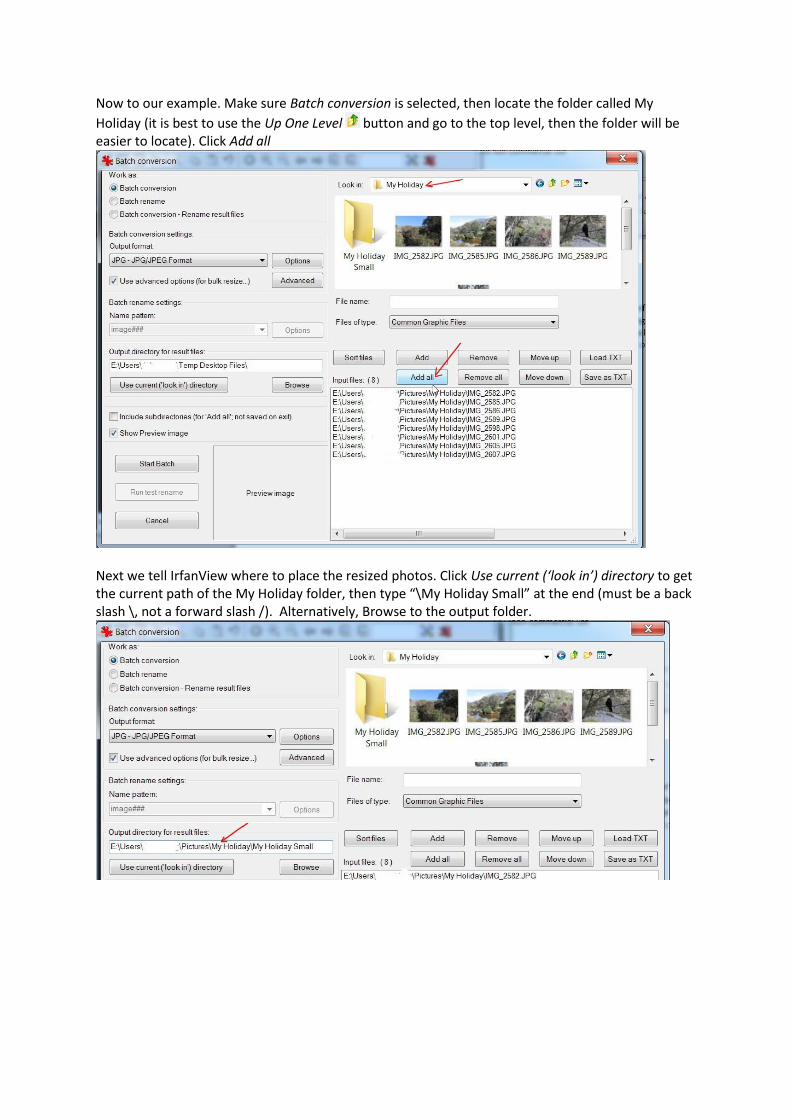
Now to our example. Make sure Batch conversion is selected, then locate the folder called My
Holiday (it is best to use the Up One Level button and go to the top level, then the folder will be easier to locate). Click Add all
Next we tell IrfanView where to place the resized photos. Click Use current (‘look in’) directory to get the current path of the My Holiday folder, then type “\My Holiday Small” at the end (must be a back slash \, not a forward slash /). Alternatively, Browse to the output folder.
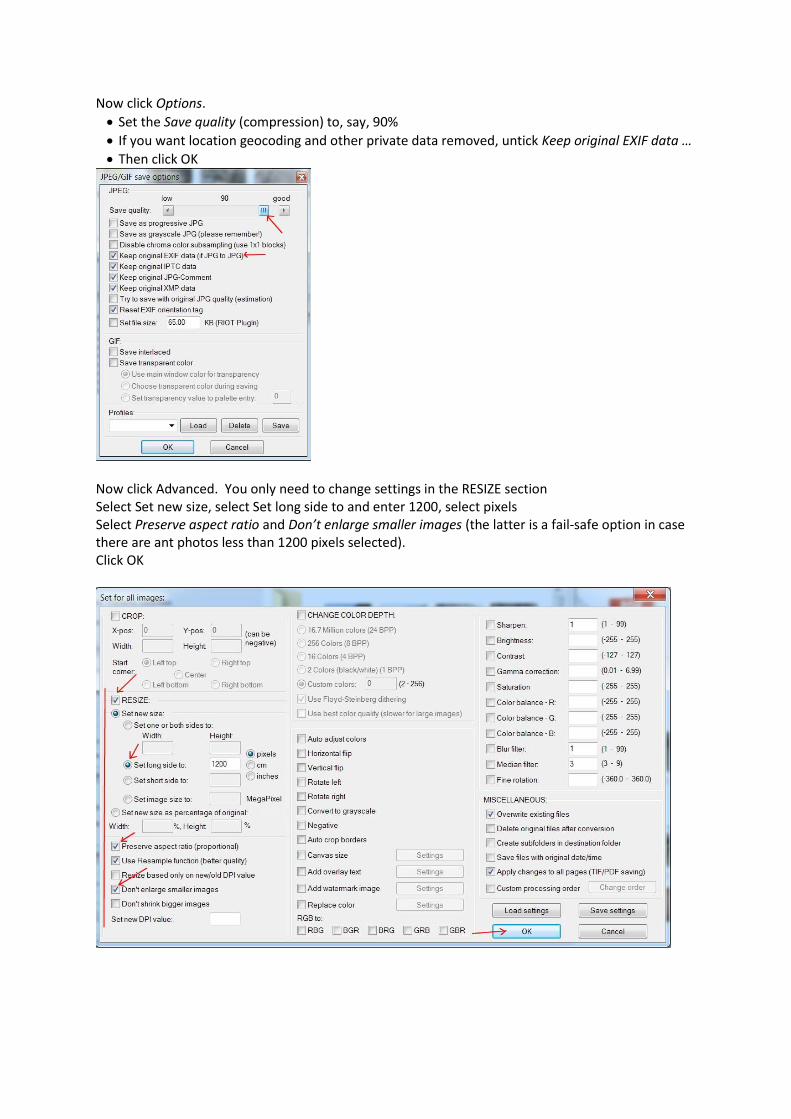
Now click Options.
Set the Save quality (compression) to, say, 90%
If you want location geocoding and other private data removed, untick Keep original EXIF data …
Then click OK
Now click Advanced. You only need to change settings in the RESIZE section Select Set new size, select Set long side to and enter 1200, select pixels Select Preserve aspect ratio and Don’t enlarge smaller images (the latter is a fail-safe option in case there are ant photos less than 1200 pixels selected). Click OK

Now you are ready to start processing. Click Start batch
The Batch processing windows appears and you can check if it worked or if errors occurred. Click Exit batch the close IrfanView