sonos play 1 tweeter speaker replacement · sonos play 1 tweeter speaker replacement the guide will...
TRANSCRIPT
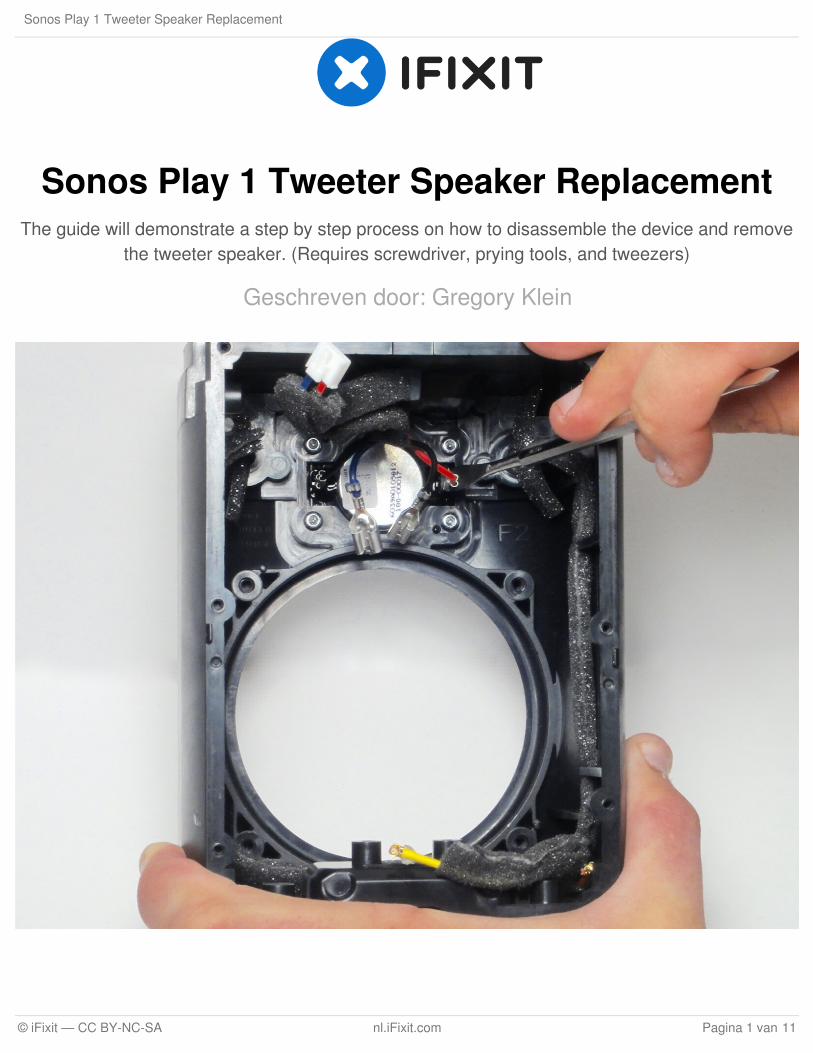
Sonos Play 1 Tweeter Speaker ReplacementThe guide will demonstrate a step by step process on how to disassemble the device and remove
the tweeter speaker. (Requires screwdriver, prying tools, and tweezers)
Geschreven door: Gregory Klein
Sonos Play 1 Tweeter Speaker Replacement
© iFixit — CC BY-NC-SA nl.iFixit.com Pagina 1 van 11

INTRODUCTIE
A tweeter creates a crisp and accurate high-frequency sound. If the device tweeter is not working,the tweeter may be damaged and may need to be replaced. This guide will demonstrate how toreplace the tweeter.
GEREEDSCHAPPEN:64 Bit Driver Kit (1)
Tweezers (1)
Metal Spudger (1)
iFixit Opening Tools (1)
Tweezers (1)
Sonos Play 1 Tweeter Speaker Replacement
© iFixit — CC BY-NC-SA nl.iFixit.com Pagina 2 van 11

Stap 1 — Exterior Screen
Remove the rubber footing from the bottom of the device. Pry it up from one end using one of theplastic opening tools.
Once you pry open one end, use precision tweezers to remove rubber footing.
Stap 2
Using a metal spudger, pry open a corner of the adhesive tape.
Use precision tweezers to remove the adhesive tape.
Sonos Play 1 Tweeter Speaker Replacement
© iFixit — CC BY-NC-SA nl.iFixit.com Pagina 3 van 11

Stap 3
Remove the four 10 mm Torx security #10 screws that hold the base together.
Remove the base by lifting it vertically away from the bulk of the device.
Stap 4
Remove the 10 mm Torx security #10 screw that holds down the exterior screen.
Using precision tweezers, remove the metal bracket.
Sonos Play 1 Tweeter Speaker Replacement
© iFixit — CC BY-NC-SA nl.iFixit.com Pagina 4 van 11

Stap 5
Remove the exterior screen by liftingit away from the bulk of the device.
Stap 6 — Sonos Play 1 Top Cover Disassembly
Remove the four 9 mm TorxSecurity #9 head screws. There aretwo on each side.
Sonos Play 1 Tweeter Speaker Replacement
© iFixit — CC BY-NC-SA nl.iFixit.com Pagina 5 van 11

Stap 7
Using a plastic opening tool, pry open the top cap containing the power and volume button.
Vertically remove the top cap.
Be sure to not jerk the top cap when removing , as to not damage the cable linking the switchboardto the motherboard.
Stap 8
Using a plastic opening tool, pry open the circuit flap.
Once flap is loosened, use your hand to remove the circuit wire.
Sonos Play 1 Tweeter Speaker Replacement
© iFixit — CC BY-NC-SA nl.iFixit.com Pagina 6 van 11

Stap 9 — Disassembling Sonos Play 1 Rear Housing Cover
Using a plastic opening tool, remove the grey tape from both sides of the device.
Stap 10
Remove the six 9 mm Torx #9 screws.
Using a plastic opening tool, detach the rear housing cover from the housing.
Try not to jerk the rear housing cover, as its wires are still connected to delicate electronics.
Sonos Play 1 Tweeter Speaker Replacement
© iFixit — CC BY-NC-SA nl.iFixit.com Pagina 7 van 11

Stap 11
Using tweezers, grip the connector fixed to the motherboard's audio cable.
While pulling on the connector, detach the cable by pressing the connectors release.
Stap 12
Using your fingers, grip theconnector fixed to the motherboardspower cable and detach it.
You will now be able to remove therear housing cover.
Sonos Play 1 Tweeter Speaker Replacement
© iFixit — CC BY-NC-SA nl.iFixit.com Pagina 8 van 11

Stap 13 — Mid-Woofer speaker
Remove the two 9mm Torx #9screws fastening the power cable tothe housing.
Remove the power cable.
Stap 14
Using a metal spudger, press therelease located in the center of theconnector .
While pressing the release pull onthe connector detaching it from thespeaker.
Do this for both connections.
Sonos Play 1 Tweeter Speaker Replacement
© iFixit — CC BY-NC-SA nl.iFixit.com Pagina 9 van 11

Stap 15
Using the Torx T20 bit remove the four 13 mm screws fastening the speaker to the housing.
Remove the speaker by lifting it up towards the top of the housing and out at an angle.
Stap 16 — Tweeter Speaker
Using a metal spudger, press down on the clips that lock the input wires to the amplifier.
Once unlocked, pull back on the wires to remove them.
Sonos Play 1 Tweeter Speaker Replacement
© iFixit — CC BY-NC-SA nl.iFixit.com Pagina 10 van 11

To reassemble your device, follow these instructions in reverse order.
Dit document is voor het laatst gegenereerd op 2018-02-03 08:08:56 AM.
Stap 17
Using a screwdriver, remove the four 10 mm Torx Security #10 screws.
Using your fingers, remove the tweeter from the front of the housing.
Sonos Play 1 Tweeter Speaker Replacement
© iFixit — CC BY-NC-SA nl.iFixit.com Pagina 11 van 11