transplanting - sare
TRANSCRIPT

Transplanting

Why Transplant? Transplants offer several advantages to the grower. We use transplants to lengthen our growing season. In the Midwest this is especially important with plantings that require long growing seasons. By starting our seedlings in a greenhouse we gain valuable growing time; bringing produce to market earlier when profit margins are at their best. Of course not all plants respond well to transplanting (root systems have a big part to do with this) and even the ones that do need special care and attention for success. Controlled environments, like greenhouses, give farmers the ability to start seedlings early and use transplants in the farming enterprise.

Greenhouse Advantages
1. Greater Climate Control
2. Intensive rather than extensive management of seedlings
Pest management Disease management Irrigation needs
3. Rapid crop successions

The root nature of a plant is a good indicator if it will be a successful transplant. The fibrous root system (spread root system) is typical of plants grown for transplanting (vs tap roots which are more typically directly seeded).

Transplants allow for greater control over specific density of crops. Spacing is more exact and controlled.

Seedling pre-treatment necessary for successful transplanting
The soil mix that seedlings are grown in should be fertile and have water retention capabilities. Pre-mixed starter soils with the OMRI label are acceptable alternatives to mixing your own. (see greenhouse module) Moisture in flats should be 50%-75% of field capacity and in cells at field capacity.

1/16/13
Soil Moisture Chart

Assess Plant, Soil, and Environmental Conditions Prior to Transplanting
Assessing the Plant for Transplanting Readiness
Plants should show second set of true leaves (shoot development).
Root Knit should be present in cells or roots should fill allotted space in flats(blocks).
Shoots
Roots
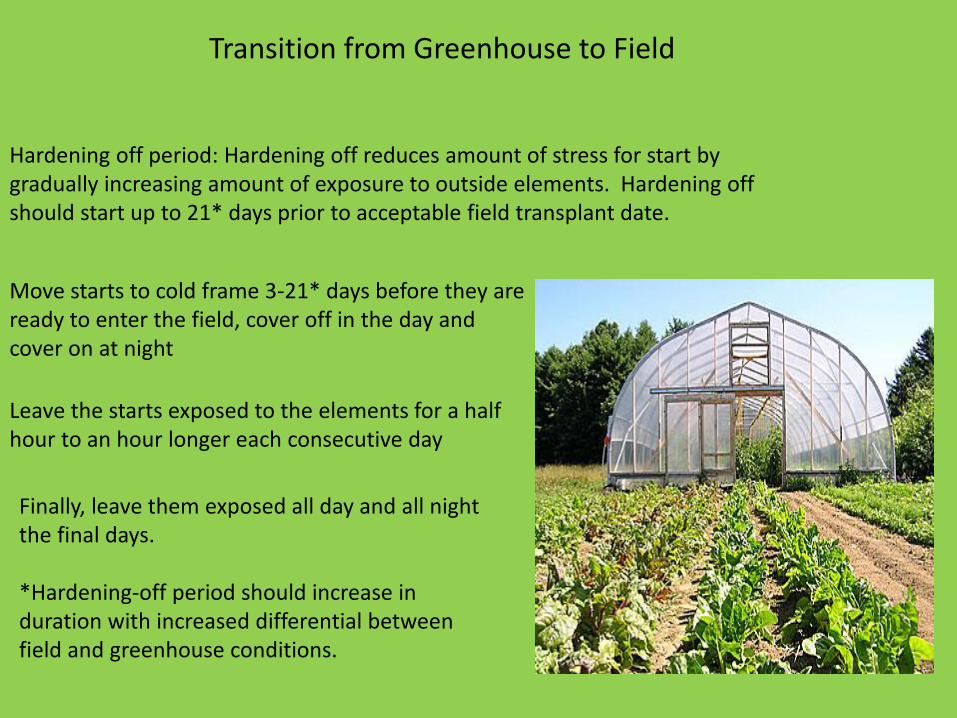
Transition from Greenhouse to Field
Hardening off period: Hardening off reduces amount of stress for start by gradually increasing amount of exposure to outside elements. Hardening off should start up to 21* days prior to acceptable field transplant date.
Move starts to cold frame 3-21* days before they are ready to enter the field, cover off in the day and cover on at night
Leave the starts exposed to the elements for a half hour to an hour longer each consecutive day
Finally, leave them exposed all day and all night the final days. *Hardening-off period should increase in duration with increased differential between field and greenhouse conditions.

Asses Field or Garden Soil Conditions Before Transplanting
.
• Moisture
• Cultivation
• Environmental Conditions
Moisture Soil Moisture for optimum conditions when transplanting should be 50-75% of field capacity

Cultivation Extensive secondary cultivation is needed for transplants with small, weak or insufficient root systems (i.e. beets or carrots) much like direct seeding. Course secondary tillage for large, vigorous, and resilient transplants (e.g. tomatoes and peppers) is fine. Consider using no –till methods for establishing gardens/plots.
2nd method video
Setting up your garden
No-till bed preparation

Optimal conditions in the field will add to the success of your transplants by reducing shock and helping the seedlings to take root quickly.
The best field conditions for Transplanting seedlings include: Low light levels Low Temperatures Little or no wind High humidity
Environmental Conditions Favorable for Successful
Transplanting
The best time to transplant any start is in the cool of the evening. This allows the plant a nice buffer to become acquainted with its new surroundings before dealing with a hot sun.

Transplanting Starts
Gather your tools; Mature seedlings Hand trowel Watering wand Dibble String and stakes Optional transplanting tools; Hatfield transplanter (Johnny's
seeds) http://www.johnnyseeds.com/MediaPlayer.aspx?VideoID=21&source=JSSVideos
Pull behind mechanisms http://youtu.be/gMSpN0E8_H8

Starts should be thoroughly watered before transplanting. This greatly reduces shock. Using a weak fish emulsion solution just prior to transplanting helps reduce shock.

Plant spacing considerations; Row planting should be wide enough to accommodate drip irrigation ribbon
and cultivation tool. Fertile soils can accommodate denser plantings where as infertile or
degraded soil plant density should be low. How large will the root system and plant shoots be at maturity. Is the crop susceptible to disease; Increasing the spacing to assure better air
circulation can cut down on fungal pathogens(early and late blights). By increasing crop density in certain cut flowers, the bloom shaft length may
be increased. Increasing spacing often results in greater numbers of shorter bloom shafts.
Use available references and seed packaging to help determine best spacing.

Keep starts in shaded area until they enter the ground
When pulling apart individual soil blocks or removing starts from trays, carefully separate the intertwined root growth, causing as little trauma as possible, while still remaining efficient.
Do not expose tender root systems to direct sunlight (as little as 15 seconds of exposure can kill roots)
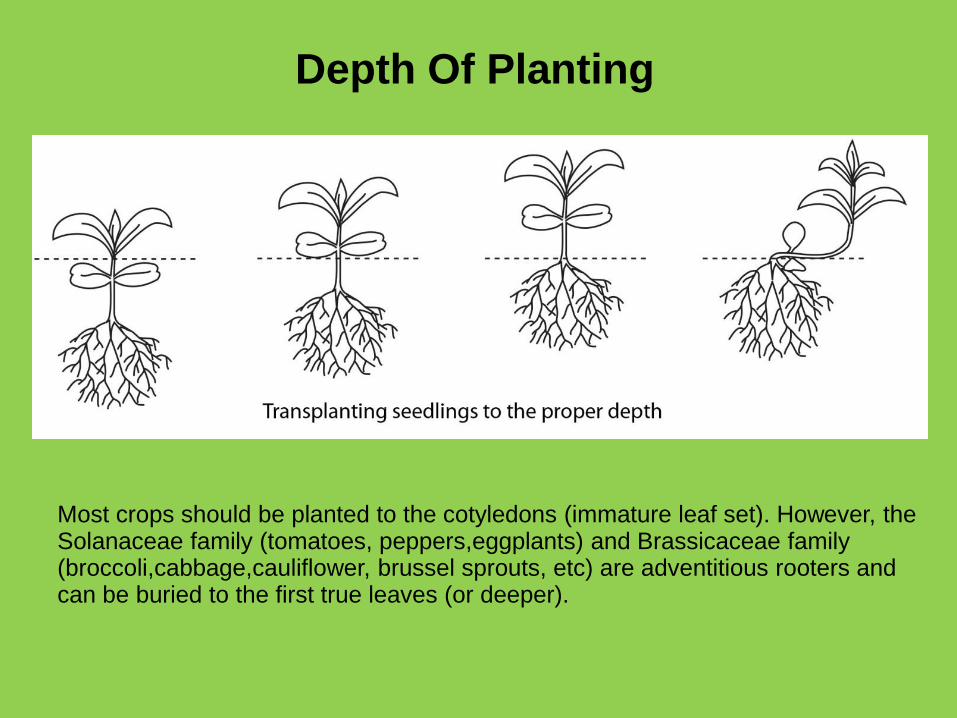
Depth Of Planting
Most crops should be planted to the cotyledons (immature leaf set). However, the Solanaceae family (tomatoes, peppers,eggplants) and Brassicaceae family (broccoli,cabbage,cauliflower, brussel sprouts, etc) are adventitious rooters and can be buried to the first true leaves (or deeper).

Take special care to insure the top of the soil block or cell being planted is covered with native field soil; this greatly reduces the natural drying out process during the beginning of the plants field life. After transplanting in dry soil water in the plants.
Some farmers will apply a furrowed in line of organic fertilizer along or around new transplants ,referred to as side dressing. This should be done only if the quality of the soil requires that boost.
Transplanting Broccoli Video

Always water in a new start.
This is the highest
preventative measure you
can take against shock
Bring the root zone of the crop to field capacity using drip irrigation.

Mulching
Mulching is an excellent alternative to weeding and it conserves water by requiring 1/10 of the regular use. Consider mulching your transplants with available organic materials (wood chips, grass clippings, clean straw, news paper) or compost. Organic mulching weed suppresses, conserves water and feeds important micro organisms in the soil. It does require large amounts of organic material and the initial application is time consuming. Black plastic is a mulching alternative as well and is installed after the ground is prepared and before transplanting. Holes are punctured or burnt into the plastic and then transplants are planted. Black plastic mulch is used in larger farm operations and usually requires a partner irrigation system (usually drip). Black plastic mulch is a petroleum product and is not reusable after one season.

Documenting
Using the crop marker from the flat of seedlings add the transplant date (or transpose the information to a larger marker)and use as a end row/garden marker. Also record transplant dates in record log books.
Video on Record Keeping

Follow Up after Planting
Set up irrigation system Return unused seedlings to propagation area. Refill
the flats with starter mix and water thoroughly. Over the following week, monitor soil moisture in the
root zone of transplants. Irrigate whenever the root zone reaches 50% of field capacity.
Periodic, light overhead irrigation will raise the humidity around the seedlings, reduce the rate of evaporation and help minimize transplant shock.
Observe transplant growth for changes in color, and damage due to predation.
Replace lost seedlings with those stored from original planting.
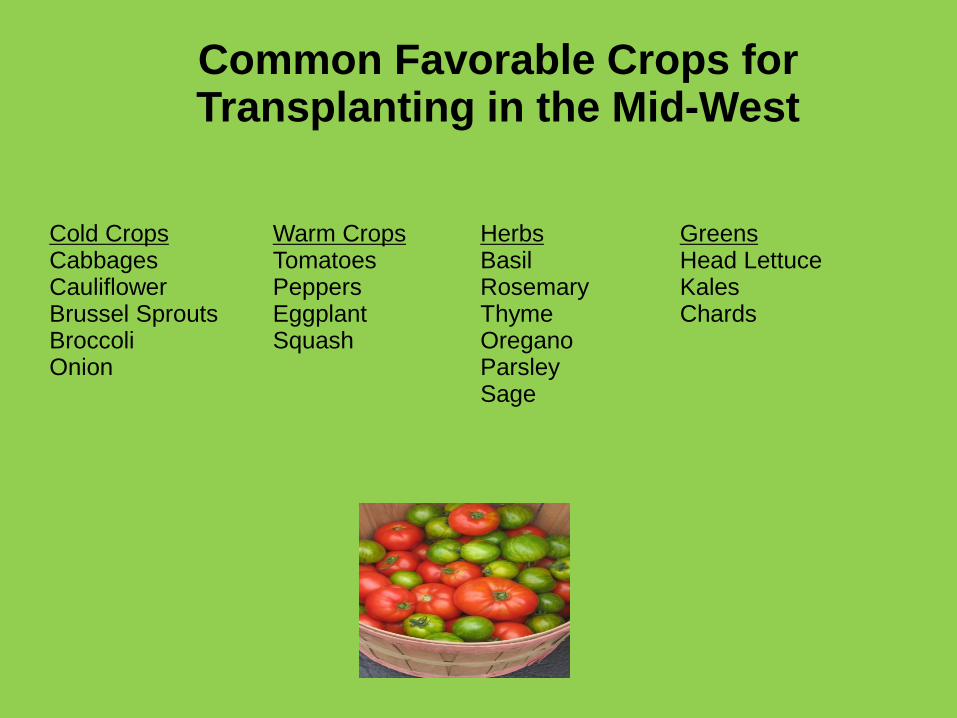
Common Favorable Crops for Transplanting in the Mid-West
Cold Crops Cabbages Cauliflower Brussel Sprouts Broccoli Onion
Warm Crops Tomatoes Peppers Eggplant Squash
Herbs Basil Rosemary Thyme Oregano Parsley Sage
Greens Head Lettuce Kales Chards

Self-Evaluation Questions
1) List 3 environmental conditions favorable for successful transplanting of flat-grown seedlings? 2) What is the optimal range of soil moisture for transplanting seedlings? 3) Describe how the size, root nature, and vigor of transplants influence cultivation needs? 4) List 2 characteristics of seedlings at transplanting maturity? 5) List 2 necessary steps in preparing seedlings for transplanting? 6) What pieces of information are commonly documented in the propagation process? 7) What is the hardening off process? 8) List 2 characteristics of cell-tray grown seedlings at maturity? 9) List 2 necessary steps for preparing seedlings before transplanting them to the field or garden. 10) List the environmental conditions most favorable for successful bare root transplanting? 12) What should be considered when determining transplant spacing? 13) How deep should seedlings be transplanted? 14) What is the role of mulching in the transplanting process. 15) Describe the follow-up care for transplanted crops?

Resources
• SARE
• New Organic Grower by Elliot Coleman