introduction · for drilling to be effective, a special fluid (called drilling mud) must be used to...
TRANSCRIPT

2
W E L L C E M E N T I N G O P E R A T I O N S
COPYRIGHT © 2015
INTRODUCTIONWelcome to the IADC Cementing Book and Course. This book provides excellent value for students working for oil and gas operators, well cementing service companies, drilling contractors and others throughout the world. Cementing is the process that enables well integrity for many years of well operating time periods and beyond.
This course book is an introduction to the cementing process: what it is, why is it done and how to do it. This course contains many new terms, types of equipment, types of materials and processes. Course completion will help the student communicate more effectively in the office and at the job site, improving participation during cementing jobs, and helping prepare the student to assume greater responsibility. Understanding the book’s content may start the journey to learning how to design and deliver cementing services.
Take time to carefully read this introduction. It will acquaint readers with this course and suggest ways to get the most out of it.
This book allows learning at one’s own speed, without an instructor, and at any time or place that may be convenient.
Before Starting This Course
Parts of this course, starting with Chapter 5, require calculation of answers using basic math and geometry, along with the Halliburton Cementing Tables (RedBook). If additional training in math or using RedBook is needed, complete the Essential Math course or the Essential RedBook course. These learning tools are available on the Internet as described later.
Experts in cementing may use more exotic mathematical models, but for the purpose of this course only the basics are necessary.
How This Course Book is Organized
Become familiar with the way this book is organized. The table of contents begins each chapter, followed by an introduction, a list of topic areas and the learning objectives for that chapter.
Each chapter in this book contains several units. Each unit contains all the information needed at this time. Other books or manuals are not necessary, with the
possible exception of a dictionary and the Halliburton Cementing Tables (RedBook). Each unit is made up of text, figures to help explain the text (pictures, drawings charts, etc.) and most have a unit quiz. When all the units in a chapter are complete, perform a self-check test. Both the quizzes and tests will help evaluate personal progress. The time spent learning each unit and chapter is not important; it is important that the content is remembered.
The answers to all unit quizzes and the self-check tests are at the end of relevant chapters. After completing a quiz or a test, refer to the appropriate answer key. Successful completion of all the chapter tests and a comprehensive final examination makes the reader eligible to study the advanced chapters in the book and those in other books on the subject.
Study Suggestions
This course was designed to make learning as easy as possible. However, one must read all sections and complete the tests to retain the knowledge. The reader is responsible for learning this course.
Keep this book available at all times as unexpected opportunities to work on a unit may arise such as waiting on a well location to perform a cementing operation. Try to set aside enough time to complete an entire unit during a study period.
Some study suggestions include:
• Review both the section and unit introductions. They will very briefly describe what is in the unit;
• Skim through the unit. Look at the figures and headings to see what’s familiar and what isn’t. They will tell you what to expect;
• Read the content carefully. Go back to the beginning of the unit and read the content, paragraph by paragraph. Study the figures. If you are unfamiliar with the meaning of a word, look it up in a dictionary;
• Check your understanding. Try to put into your own words the paragraph you have just read. Go back and underline or make notes of important points. This will help you to review the content later;
• Review the unit. At the end of each unit, take a few minutes to look over your notes;

3
I N T R O D U C T I O N T O C E M E N T I N G
COPYRIGHT © 2015
• Take the unit quiz. Try not to refer to the text when you are filling in the blanks in the unit quiz. Write your answers down on notepaper and insert in your book;
• Check your answers against the answer key. Reread the parts of the text that relate to the items you are unsure about or you have answered incorrectly. Don’t forget, if you are having trouble, or if you feel your response is equally correct, consult someone for help.
When you work through all the units in a section, you will be ready to take the self-check test for that section. Go back through all the units to review what you have learned. Your completed unit quizzes should also be helpful here.
If you are having trouble choosing or calculating an answer, go to the next question. At the end of the test, go back to the questions you didn’t answer and try again. Remember, you are not competing with anyone but yourself. Take your time and do your best.
When you finish a self-check test, turn to the answer key at the end of the section to check your answers. References to where the answers can be found are provided. Make sure that you understand the correct answers before proceeding to another section.
Upon completion of a section, complete the section test. Successful completion of the test enables you to move on to the next section.
THE PURPOSE OF CEMENT IN AN OIL OR GAS WELLWhen an oil or gas well is drilled, pipe (casing or liners) is put into the ground to protect the well by keeping formation debris from falling into it and even against well collapse. The casing also provides a barrier against formation pressures and formation fluid flows, isolates fresh water aquifers, and provides smooth, solid surfaces for further work in the well. Casing is typically made of steel or corrosion-resistant metal alloys to provide for high strength. In some cases, fiberglass or composites are used to make casing that is highly resistant to corrosion. A guide shoe (a rounded, steel cover or cap) is placed in the end of the casing in the hole to protect the casing and guide it during installation into the well.
The annulus, the space that remains between the casing and the formation, is then filled with cement by pumping the cement slurry through the casing and back up the annulus. A wiper plug (“top” plug) is used behind the cement to push the cement up the annulus. A wiper plug (“bottom” plug) is always a good idea to run ahead of the cement. A displacement fluid (such as water) is pumped behind the plug to push it and the cement down the casing.
Oilwell cementing occurs throughout the world and has become increasingly more complex. The basic functions of primary cementing, however, have remained the same:
• Cement structurally supports the casing, so the cement should completely surround the casing; this is where centralizers on the casing help. If the casing is centered in the hole, a cement sheath should completely envelop the casing;
• Cement seals off formations to prevent fluids from one formation migrating vertically in the hole and polluting the fluids in another formation (also known as zonal isolation). For example, cement can protect a freshwater formation (that perhaps a nearby town is using as its drinking water supply) from saltwater contamination coming from other formations;
• Cement helps prevent blowouts by setting rapidly;
FIGURE 1.1: DIAGRAM OF CEMENT BEING PLACED IN WELL. COURTESY HALLIBURTON.

4
W E L L C E M E N T I N G O P E R A T I O N S
COPYRIGHT © 2015
• Cement protects the casing from the corrosive effects that formation fluids (such as salt water) may have on it;
• Cement protects casing from shock loads when drilling deep;
• Cement seals off formation areas that might allow fluids to leak off (lost circulation or thief zones);
• Cement protects the environment by controlling the flow of fluids;
• Cement can be used to plug an old well (abandonment) or to seal off a depleted zone.
Cementing can be classified as primary or secondary. Primary cementing is done immediately after the casing is run into the well. Secondary cementing is performed after the primary job such as part of a repair or remedial cementing job.
CEMENTING AND DRILLING OF AN OIL OR GAS WELLAt the beginning, an oil and gas company (called an operating company or the well operator) must locate areas where there is a good potential for oil or natural gas to be found underground (an oil or gas reservoir). To do this, they examine the geology and conduct other tests (such as seismic) using Reservoir Engineers, Geologists, Geophysicists and Petrophysicists from their own staff or using contractor personnel. If the potential exists, the operator must then acquire the right to drill by buying or leasing the underground location from the owner.
The operator will then hire a drilling contractor to actually drill the well. The operator may manage the whole drilling project or they may hire a contractor (sometimes called a consultant) to manage it. The operator’s supervisor, whether employee or consultant, is usually known as the “Company man” by the people working on the well site. Before drilling can begin, the operating company must determine the following:
• How deep is the reservoir (the depth of an oil or gas well can range from a few hundred to more than 20,000 feet)?
• What kind of pressures will be encountered?
• What is the cost?
• How will the reservoir be controlled?
• Will this well be profitable?
The operator must also hire service and supply companies to provide drilling mud and bits, casing and casing attachments, cementing and measuring and testing services.
Drilling Operations
Simply stated, the drilling rig crew’s normal drilling operations are:
• Keeping a sharp bit on bottom, drilling as efficiently as possible;
• Adding a new joint of pipe as the hole deepens;
• Tripping the drill string out of the hole to put on a new bit and running it back to bottom, or making a round trip;
• Helping to run and cement casing, which is large-diameter steel pipe that is put into the hole at various, predetermined intervals.
Often, special casing crews are hired to run the casing and usually a cementing company is called on to place cement around the casing to bond it in place in the hole. Still, the rig crew usually assists in casing and the cementing operation.
For drilling to be effective, a special fluid (called drilling mud) must be used to wash away the cuttings and lubricate and cool the drill bit. And if the well is to be drilled at an angle other than straight down (called a deviated well), a subcontractor with specialized equipment and knowledge may be brought in.
Running Drill Pipe
The drill bit is made up (connected) on the end of the first drill collar (heavy wall pipe). Enough collars and drill pipe are made up and lowered into the well (called tripping in) until the bit is almost to bottom. Then, the “kelly” is attached. (a kelly is a four- or six-sided piece of pipe that fits into the kelly bushing, which fits into the master bushing in the rotary table. The rotary table is the part of the derrick floor that spins the drill pipe. The system is like a wrench turning a bolt.) The drillstring then starts to rotate and weight is applied to drill the hole.
5
I N T R O D U C T I O N T O C E M E N T I N G
COPYRIGHT © 2015
Another way of rotating the pipe is to connect the last joint of drillpipe to a top drive assembly. This unit runs on a rail system inside the derrick and has a hydraulically or electrically powered motor that turns the drill string. In some cases, circulating-fluid-actuated motors are used to rotate a short section of drill pipe, drilling tools, and the drill bit located under the motor which is installed near the bottom of the drill pipe string in the well. The drill pipe above the motor doesn’t rotate.
When near the end of the pipe, rotation is stopped, the kelly is pulled out of the hole and another section of drill pipe is attached. Then, the kelly is made up, the bit is lowered to bottom and drilling resumes. This continues until the desired depth is reached or the drill bit must be replaced. Then the drill pipe is picked up and disassembled (called tripping out), the new bit is attached and the string is tripped back into the hole.
Running Surface Casing
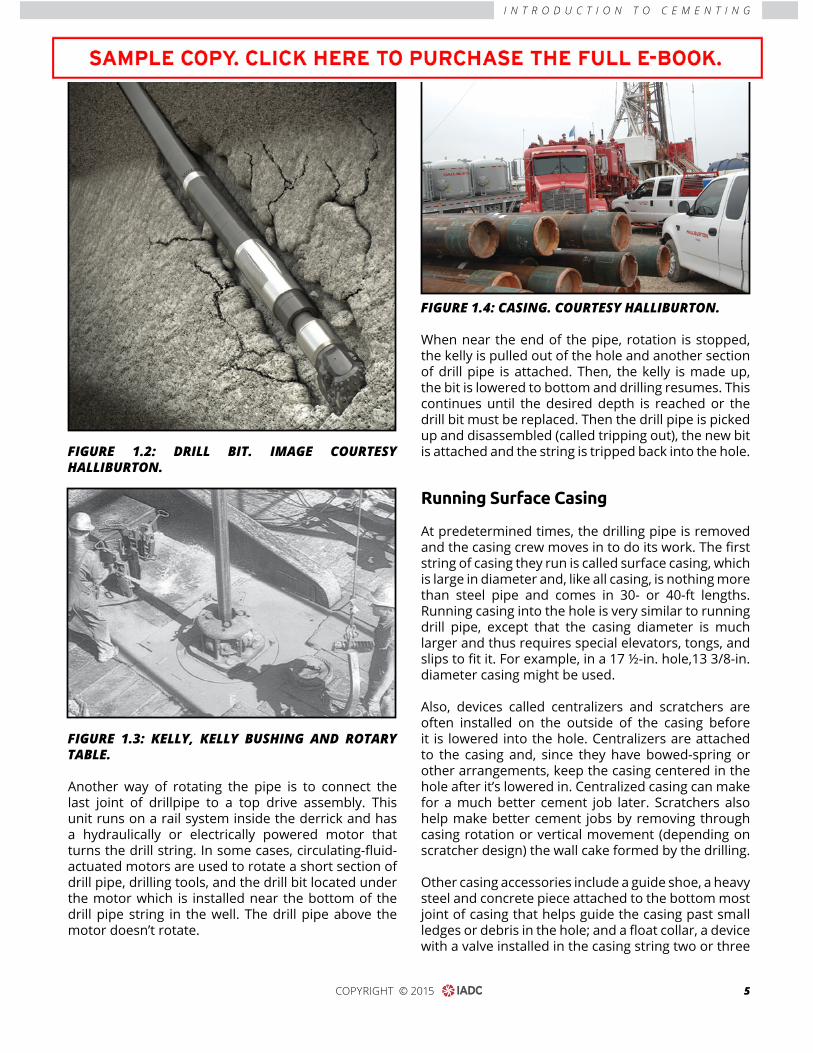
At predetermined times, the drilling pipe is removed and the casing crew moves in to do its work. The first string of casing they run is called surface casing, which is large in diameter and, like all casing, is nothing more than steel pipe and comes in 30- or 40-ft lengths. Running casing into the hole is very similar to running drill pipe, except that the casing diameter is much larger and thus requires special elevators, tongs, and slips to fit it. For example, in a 17 ½-in. hole,13 3/8-in. diameter casing might be used.
Also, devices called centralizers and scratchers are often installed on the outside of the casing before it is lowered into the hole. Centralizers are attached to the casing and, since they have bowed-spring or other arrangements, keep the casing centered in the hole after it’s lowered in. Centralized casing can make for a much better cement job later. Scratchers also help make better cement jobs by removing through casing rotation or vertical movement (depending on scratcher design) the wall cake formed by the drilling.
Other casing accessories include a guide shoe, a heavy steel and concrete piece attached to the bottom most joint of casing that helps guide the casing past small ledges or debris in the hole; and a float collar, a device with a valve installed in the casing string two or three
FIGURE 1.2: DRILL BIT. IMAGE COURTESY HALLIBURTON.
FIGURE 1.3: KELLY, KELLY BUSHING AND ROTARY TABLE.
FIGURE 1.4: CASING. COURTESY HALLIBURTON.