quick reference guide - medtronic...
TRANSCRIPT

1 of 10 7-SEP-2017 (WD29)
MANAGER REFERENCE WORKDAY MANAGER QUICK GUIDE
This guide provides navigation help and basic steps for the following Workday topics (click topic to view): Basic Navigation Compensation Talent Other Tasks & Tips
My Team Team Performance Team Time Off Help & Support
BASIC NAVIGATION
Access Workday on a Computer
From Medtronic Network: Click the Workday link on the myMedtronic home page.
From Any Computer with a secure Internet Connection: Go to www.myworkday.com/medtronic.
Access Workday on iPad or iPhone
To access Workday on a mobile device (iPhone or iPad), you must install AirWatch and download the Workday app.
For detailed instructions, refer to Install, Log In and Quick Actions for iPhone and iPad Job Aid
Workday Banner
Home – Click to return to your Workday Home page.
Search – Search for people, tasks, reports and more.
Home – Click logo to return to your Workday Home page.
Profile – Click to access your Profile, Home, Inbox, Notifications, Favorites, W:Drive, My Account page, Sign Out button and other menu items.
MY TEAM
Manager Home Page
Navigation: Click Home (top left icon or click Workday logo at top of
page)
A manager’s Home page includes worklets available to all
employees and the following manager worklets:
1. My Team: Use to view information about your team and to
initiate team tasks.
2. My Team’s Time: (Not available in all locations.) Use to review
time worked and time off balances for your direct reports.
Refer to Workday Time Tracking Reference for Managers.
3. Team Time Off: Use to manage time off and leave of absence
tasks for your direct reports. Not available in all countries.
4. Team Performance: Use to complete Performance Reviews
(Performance Acceleration) and manage goals for your team.
5. Compensation: Use to review and complete Salary Planning
activities.
Click the Configure this page icon to add or remove optional
worklets or to change the order of worklets on the Home page.

2 of 10 7-SEP-2017 (WD29)
MANAGER REFERENCE WORKDAY MANAGER QUICK GUIDE
My Team Worklet
Navigation: Home > My Team worklet
Use the Actions to perform tasks including Transfer, Promote or
Change Job, Manage Succession Plan, Terminate and Business Title
Change.
When using the Actions links, you will be prompted to enter the
team member’s name.
Use the View links to access data and reports about your direct
reports and organizations.
Click the
More (xx)
links
to display
additional
items.
View Employee Information
Navigation: Home > My Team worklet
1. Click the worker’s name link.
Workers are listed below Actions/View section.
2. Select Overview, Personal, Performance, Career, Benefits, Pay and
Time Off tabs to view additional information.
3. Select sub-headings to view details available to manager.
4. To view tasks for this worker, click the Actions icon below
worker’s name.
5. To view tasks, hover cursor over an Actions heading and select a
task from the menu.
Overview – Job Details, Compensation, Management Chain, Organizations, Support Roles, and more
Personal – Names, Personal Information, Contact, Emergency Contacts and Documents
Performance – Performance Reviews, Development Plans, Goal Details, Potential, Succession Profile
Career – Professional Profile, Relocation, Travel, Languages, Training, Achievements and more
Benefits – Additional Data
Pay – Pay Group
Time Off – Time Off Balance, Time Off and Leave Requests
Transfer, Promote or Change Job (For employees and contingent workers)
Navigation: Home > My Team worklet
1. Under Actions, click Transfer, Promote or Change Job.
2. In Worker field, enter employee name or select from prompt, and
click OK.
3. Start: To make changes, click Edit icon and answer questions:
When do you want this change to take effect?
Why are you making this change?
Who will be the manager after this change?
Which team will this person be on after this change?
Where will this person be located after this change?
4. Click Save, and then click Start.
The pages that follow will vary depending on your answers on the
Start page.
5. Complete Job, Move (Manager Transfers Only), Location, Details,
Attachments, Organizations and Compensation sections as needed,
and click Next to continue.
To navigate, click section headings in left panel.
6. On Summary page, confirm changes, click Submit, then click Done.
All changes can be made from the Summary page. Use left-
hand Navigation Panel or Edit icon to view and edit section details.
Contact AskHR for assistance if needed.
Promotions can be used with or without Manager/Supervisory Organization changes.
Transfers should be used with Manager/ Supervisory Organization changes.
Data Changes should not be used with Manager/Supervisory Organization changes. Data changes may include changes to Job, Location, Shift, Hrs, Business Title, or Cost Center. (If any data changes are occurring due to a transfer or promotion they should be updated within the transfer/promotion process, not as a separate data change.)
Once you select a reason for the change, Workday applies the appropriate data change rules, work flows, approvals and notifications.
To access additional resources, go to myWorkday Support site > Managers > My Team/Employee Changes.
3 of 10 7-SEP-2017 (WD29)
MANAGER REFERENCE WORKDAY MANAGER QUICK GUIDE
Hire Employee
Hiring processes may vary according to local procedures.
1. Determine if there is an existing position for the new hire or if one
must be created in Workday.
2. Contact AskHR to request that a new position is created (if needed)
and to initiate a hire.
Note: Creating a position is NOT required if the manager is filling a
vacated position that already exists in Workday. The existing
Position ID can be used to create a requisition in Taleo.
3. Reach out to your Finance Partneror HRBP to verify that you have
the correct cost center and home account, if applicable, before
creating a requisition.
4. Create a requisition in Taleo.
See Taleo Training for Hiring Managers.
Work with HR to select the final applicant and extend the offer.
The applicant’s personal and requisition data is automatically fed
to Workday.
The hire process is initiated in Workday and AskHR completes the
transaction.
An open position must exist in Workday before an applicant can be hired or a contingent worker can be contracted.
Newly created Workday positions will feed to Taleo (Medtronic’s Talent Acquisition system) every hour.
Onboarding: When the hire process is completed in Workday, an Enterprise User Account (EUA) will be created for the applicant. A Network ID will be emailed to the Applicant, along with a temporary password, two days after the hire is entered in the system. This will allow the Applicant to access Workday to complete onboarding tasks before their start date.
Note: Hourly manufacturing employees outside the USA and Puerto Rico will NOT receive account information or onboarding tasks. Personal Information and National IDs, which are not a part of the hire process, will need to be updated by HR.
Contract Contingent Worker
1. To request that a contingent worker record be set up in the Workday system, complete the Contingent Worker Request form (if required) and send to [email protected]. AskHR or local HR enter the requests into Workday.
No form is required if you are using the Consult system for Agency/Temp workers in the U.S. and Puerto Rico.
To access the Contingent Worker Request form and other resources, go to myWorkday Support site > Managers > Contingents.
Update Contact Information for Contingent Worker
Navigation: Home > My Team worklet > Click worker’s name
1. Click Actions button next to worker’s name.
2. Hover cursor over Personal Data and select > Change Contact
Information.
3. Enter Home Contact Information as needed.
a. To make changes, click Add button or Edit icon.
4. Enter Work Contact Information as needed.
a. To make changes, click Add button or Edit icon.
5. Click Submit.
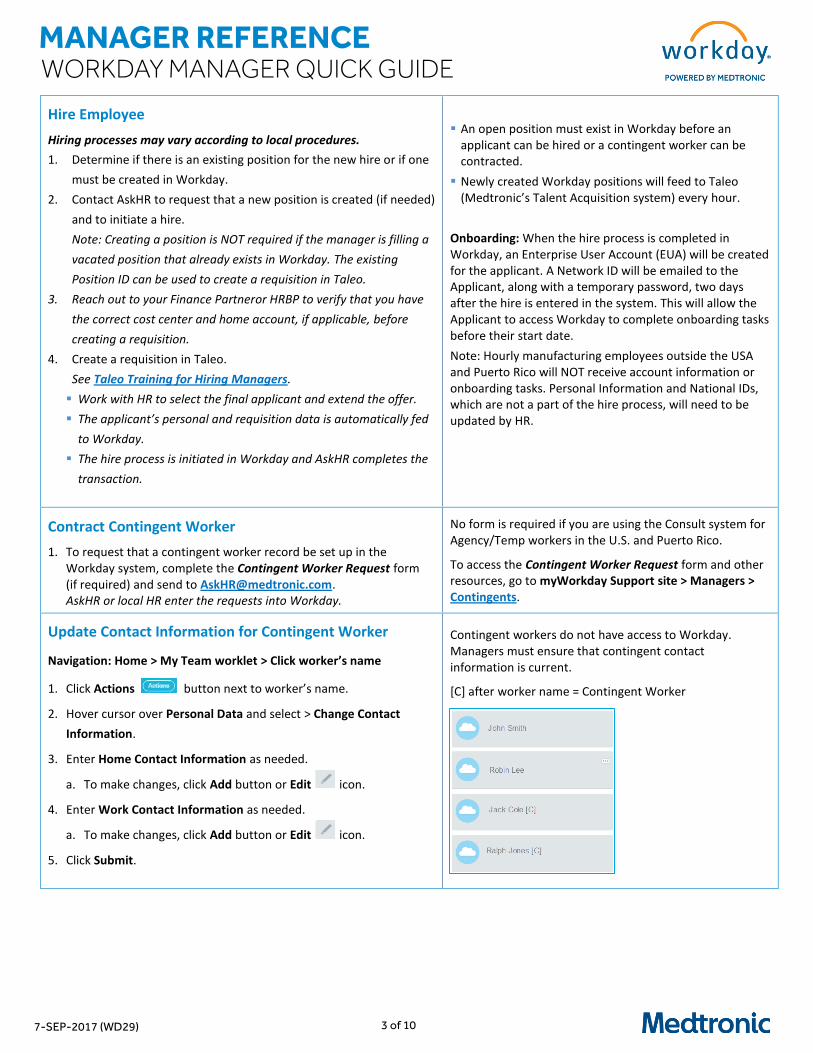
Contingent workers do not have access to Workday. Managers must ensure that contingent contact information is current.
[C] after worker name = Contingent Worker

4 of 10 7-SEP-2017 (WD29)
MANAGER REFERENCE WORKDAY MANAGER QUICK GUIDE
End Contingent Worker Contract
Navigation: Home > My Team worklet > Click worker’s name
1. Click Actions button next to worker’s name.
2. Hover cursor over Job Change and select End Contingent Worker
Contract.
3. Enter Contract End Date.
4. Click Reason prompt and select Voluntary or Involuntary and then
select specific reason.
5. Select the Close Position checkbox prior to submitting the End
Contingent Worker Contract process.
6. Enter Additional Information as needed.
7. Add Attachments if required.
8. Click Submit, and then click Done.
Use the End Contingent Worker Contract process to terminate a Contingent Worker.
Terminations should occur several days prior to the termination date. To meet regulations, a worker’s network account must be inactivated within 5 days of the worker’s termination date.
Contingent positions should always be closed because they are temporary. If Contingent Worker is through Fieldglass, Consult team (KellyOCG) is automatically notified by the Workday termination event to work with the manager to close out the work order.
Terminate Employee (For employees only; not available for contingent workers)
To meet regulations, a worker’s network account must be inactivated within 5 days of the worker’s termination date.
Navigation: Home > My Team worklet
1. Under Actions, click Terminate.
2. In Employee field, enter employee name or select from prompt.
3. Click OK. Terminate Employee page displays.
4. Click Reason prompt and select Voluntary and then select specific
reason. Contact Employee Relations or AskHR for assistance with
Involuntary terminations.
5. Enter Termination Date.
6. If position is being closed, select the Close Position checkbox.
7. Enter Additional Information as needed.
8. (Optional) In comment box, enter a note if applicable.
For U.S. and Puerto Rico employees, provide information about
hours worked in final pay period or unreported time off from prior
pay periods.
9. Click Submit, and then click Done.
For step-by-step help with Terminations, click the in the
top right corner of the Terminate Employee page.
Managers must terminate a worker in Workday
immediately once termination date is known for
voluntary terminations.
(For US/PR only) Ideally, initiate the termination several
days before the worker’s actual termination date, but
not more than one pay period before the date.
Termination Date is last day employee is considered a
Medtronic employee and typically the last day worked.
Workday Payroll uses the Termination Date as the last
day for which employee should be paid. If employee
should be paid through a date other than Termination
Date, override default date by entering appropriate date
in Pay Through Date field.
Only close a position if not expected to be filled again.
Canada will enter ROE information.
Access to Workday and other Medtronic systems will be
discontinued within 1 business day of employee‘s
termination.
To access additional resources, go to myWorkday Support
site > Managers > Terminate Worker.

5 of 10 7-SEP-2017 (WD29)
MANAGER REFERENCE WORKDAY MANAGER QUICK GUIDE
COMPENSATION (For employees only; not available for contingent workers)
View Compensation Information
Navigation: Home > My Team worklet > Click worker’s name
1. Click Actions button next to worker’s name.
2. Under Actions, hover cursor over Compensation and click View
Compensation.
3. In View As Of field, change today’s date to a different date if desired.
4. Click OK.
5. If desired, expand the Primary Compensation Basis Pay Range
section.
Position In Range bar represents the employee’s position within the min/max pay range. (50% = 1.00 Compa-ratio).
Compa-ratio represents employee’s pay/midpoint (market) value.
Request Compensation Change
Refer to myWorkday support site > Managers > Compensation > Request, Propose and Change Compensation > Manage Team Compensation Job Aid for Ad Hoc compensation changes.
If the compensation change is as a result of a job change, refer to myWorkday Support site > Managers > My Team/Employee Changes > Change Job > Manage Employee Job Changes Job Aid (MngEmpJobChg-JA).
To access additional resources (including Job Aids & Video Demos), go to myWorkday Support site > Managers > Compensation.
Request One-Time Payment
A one-time payment request is initiated when an employee is to receive a lump sum amount in lieu of a base pay increase.
Refer to myWorkday support site > Managers > Compensation > Request, Propose and Change Compensation > Manage Team Compensation Job Aid (MngTeamComp-JA).
To access additional resources (including Job Aids & Video Demos), go to myWorkday Support site > Managers > Compensation.

6 of 10 7-SEP-2017 (WD29)
MANAGER REFERENCE WORKDAY MANAGER QUICK GUIDE
TEAM PERFORMANCE (For employees only; not available for contingent workers)
The Performance and Annual Rewards cycle occurs annually. Communications will be sent that contains links to tools and resources at the time managers will engage with the cycle.
For additional tools and resouces refer to myWorkday Support.
View Your Team’s Goals
Navigation: Home > Team Performance worklet
1. Under View, click Goals.
By Employee Tab
2. Click the Worker column heading to Sort and Filter.
Click Value prompt, select the employee from the list, and then click Filter.
3. To add and view comments, click Comments icon and then click Post after
entering a comment.
4. To view all details for a specific goal, including comments, click goal name.
Click back arrow to return to My Team’s Goals page.
5. To make changes to a goal, click Edit next to employee’s name.
To edit goal data, click the goal listed in left panel and edit fields as needed.
To add a goal for employee, click Add and then click Done to save changes.
When finished adding or editing goals, click Submit, and then click Done.
6. To print all employee goals with comments:
Go to the Workday Home page.
Click Team Performance worklet.
Click My Team’s Printable Goals.
Click OK to print all goals, or select an employee from the prompt.
To generate a PDF, click Print at bottom left of page. Click Notify Me Later and a
pop-up notification with link to PDF file will display when report is available.
To export to Excel, click Export to Excel icon in upper right.
By Goal Tab
1. From My Team’s Goal page, to view assigned goals for your team, click By Goal
link at top of page.
2. To see goal details, click a goal name.
The My Team’s Goal page includes two tabs:
By Worker tab lists your direct reports alphabetically.
By Goal page is useful to view assigned goals. It includes the ability to add and view notes.
Employees do not receive notifications if changes are made to their goals.
To assign goals to employee(s), click the
Add Goal to Employees button (top left).
Goals that have been used in a
Performance & Development Summary
cannot be deleted.
To access additional resources, go to
myWorkday Support site > Managers >
Performance.
Talent Performance Resources
Additional Team Performance resources is available on myWorkday Support website and the PCD Portal.
7 of 10 7-SEP-2017 (WD29)
MANAGER REFERENCE WORKDAY MANAGER QUICK GUIDE
TALENT
View Employee Career Profile
Navigation: Home > My Team worklet
1. Click an employee’s name link.
2. Click the Career heading in left panel.
3. To view information, click Professional Profile, Relocation, Travel, Languages,
Training, Achievements, Certifications and Professional Affiliations.
Career profile information is available for employees but not contingent workers.
TEAM TIME OFF (For employees only; not available for contingent workers.
Not available for all countries. Processes may vary by country, therefore refer to local procedures.)
View Time Off Balances
Navigation: Home > Team Time Off worklet
1. Under View, click All Time Off.
2. Click Organization prompt and select your organization.
3. Click Include Subordinate Organizations checkbox if applicable.
4. Click Include Managers checkbox to include managers in the list if applicable.
5. Enter a Start Date and End Date if desired.
6. Click OK.
7. Click Magnifier icon or Related Actions icon to view details, including any
comments that may be available.
Time off is earned time that employees are awarded (e.g. vacation/PTO) and can use to take time off from work.
Use this process to view time off for all of your employees. It includes time off by type, number of time off units (days or hours) and other data.
For countries that have implemented Time Off, managers can also enter time off and correct time off for employees.
To access additional resources, go to myWorkday Support site > Managers > Time Off.
Enter Time Off for Employee
Navigation: Home > My Team worklet
1. Hover over the employee name for whom you want to enter time off.
2. Click the Related Actions icon next to the employee’s name.
3. Select Time and Leave > Enter Time Off.
4. On the calendar, select the day(s) for the time off.
5. Click Request Time Off button.
6. Enter the Type of time off requested.
7. The Daily Quantity field may default with the employee’s daily scheduled hours
based on how it is configured. If so, it is usually editable.
8. If Reason field displays, click prompt and select PTO or Sick.
9. Click Submit to save.
Only the Time Off Types for which the employee is eligible will display in the Type list.
The employee will receive a notification that time off has been requested and approved by the manager.
8 of 10 7-SEP-2017 (WD29)
MANAGER REFERENCE WORKDAY MANAGER QUICK GUIDE
Correct Time Off for a Direct Report
Navigation: Home > Team Time Off worklet
1. Click Correct Time Off under Actions. This option only works after a time off request has been submitted and approved.
2. In Worker field, enter the name of the affected employee. 3. Click OK.
4. Select the checkbox for a time off entry to open the details. 5. Select multiple days if you are making the same correction to each day. 6. Correct a previously approved time off entry by entering the correct number of
hours per day. 7. To remove the entry, enter “0” in the Daily Quantity field or click Remove Row
icon. 8. Enter a comment if needed.
9. Click Submit.
The Correct Time Off screen is similar to the Enter Time Off screen, with the exception of the Correction to Requested column. Depending on location, time off submitted in Workday can be corrected up to the beginning of the current month, or for the previous 90 days.
Place Employee On Leave or Return Employee From Leave
Contact AskHR to request that an employee be placed on leave or returned from leave. Your request will either be escalated to the appropriate COE for processing or AskHR will direct you to the appropriate point of contact.
OTHER TASKS & TIPS
Search
1. In Search field, enter the first three letters of a word or the complete word, and
then press Edit key to display Search Results.
Spelling must match.
2. To narrow your search, select an option from the Categories list.
The default search category is Common. Use it to search for people, organization,
reports and tasks.
All of Workday category enables you to search everything to which you have
access.
Use Staffing to search for jobs, positions, applicants, terminated workers, and
searches for workers by job or position.
To search for Medtronic custom reports, enter “MDT”. Select the report from the
Search Results.
To find a Supervisory Organization, enter the supervisor’s name in Search field.
Select the Supervisory Organization item from Search Results.
Workday supports type-ahead, predictive search behavior based on first three letters and brief pause. Results that are most directly related to you will be returned.
Employees can be searched by legal name, preferred name or Employee ID. When searching by Employee ID, you must include leading zeros if they are part of the number.
Search results for employees will return the Preferred Name, not the Legal Name.
Enter a question mark (?) in search box to view a list of available search prefixes.

9 of 10 7-SEP-2017 (WD29)
MANAGER REFERENCE WORKDAY MANAGER QUICK GUIDE
Inbox and Notifications
View Actions and Notifications
1. To view your Inbox actions or notifications, click your name or photo.
2. From the menu, click Inbox or Notifications.
The total number of Inbox actions and notifications displays next to the link.
Manage Inbox Actions and Archive
1. Under Actions tab, click an Inbox action to display details and/or instructions for
completing tasks.
2. To mark an action as a Favorite, click the Toggle Star / icon to select it.
3. To change viewing options from All to Favorites or Overdue, click the
Viewing drop-drop arrow. Click Edit Filters to set up Inbox filters.
4. To change how items are sorted, click the Sort By drop-down arrow and
select Newest on Top, Oldest on Top or Due Soonest on Top.
5. Click the More drop-down arrow and select Refresh or My Delegations.
6. If Actions (gear) icon displays on right side of selected action, click to perform tasks such as View Details, Cancel, Delegate Task or Reassign task.
7. To view archived items, click the Archive tab.
Manage Notifications
1. Click a notification to display details. Click any buttons or links (if available) to view
additional information.
2. Select the Mark Read icon if you want Workday to remove the item from the
notifications list. A checkmark displays when marked as read.
To access additional resources, including video demonstrations, go to myWorkday Support site > Managers > Training.
Delegate Tasks
Navigation: Click Inbox > More icon > My Delegations
1. Click Manage Delegations at bottom of page.
2. Expand the Business Processes allowed for Delegation section to see which
processes can be delegated.
3. In the New Delegation section, click icon to add a New Delegation.
4. Enter the Begin Date and End Date of the delegation period.
5. In the Delegate field, enter the name or ID of the person you are assigning as your
delegate.
6. Select the Start On My Behalf prompt and select a process or processes that you
want your delegate to be able to initiate.
7. In the Do Inbox Tasks On My Behalf section, select For all Business Processes or
For Business Process (and then click the prompt and select individual processes for
which you want your delegate to handle Inbox tasks).
8. To retain the ability to process tasks from your Inbox and allow your delegate to
process these tasks, click the Retain Access to Delegated Tasks in Inbox checkbox. 9. Click Submit, and then click Done.
Use to temporarily delegate your role to another person. Typically used when a person knows they will be on vacation, leave, etc.
There are no restrictions when
delegating. You can delegate to anyone.
Workday does not limit delegation to
Superiors, Peers, and/or Subordinates. Be
sure it is appropriate for the person to
whom you delegate tasks to have access
to sensitive data.
Approvals are not required when setting
up a delegation.
To access tasks that were delegated to
you, click your name or photo (top right)
and then click the Switch Account link.
If you take a leave of absence, be sure to
assign an interim manager/ supervisor or
delegate to ensure your business processes
are managed in Workday.
10 of 10 7-SEP-2017 (WD29)
MANAGER REFERENCE WORKDAY MANAGER QUICK GUIDE
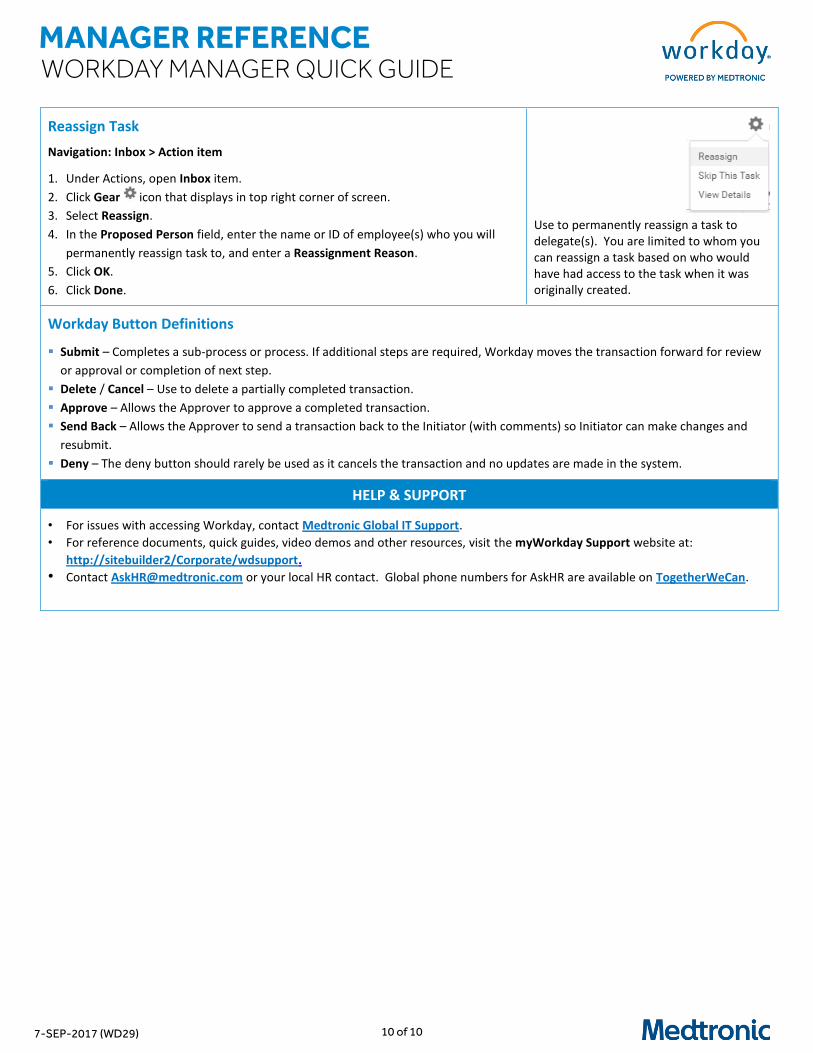
Reassign Task
Navigation: Inbox > Action item
1. Under Actions, open Inbox item.
2. Click Gear icon that displays in top right corner of screen.
3. Select Reassign.
4. In the Proposed Person field, enter the name or ID of employee(s) who you will
permanently reassign task to, and enter a Reassignment Reason.
5. Click OK.
6. Click Done.
Use to permanently reassign a task to delegate(s). You are limited to whom you can reassign a task based on who would have had access to the task when it was originally created.
Workday Button Definitions
Submit – Completes a sub-process or process. If additional steps are required, Workday moves the transaction forward for review
or approval or completion of next step.
Delete / Cancel – Use to delete a partially completed transaction.
Approve – Allows the Approver to approve a completed transaction.
Send Back – Allows the Approver to send a transaction back to the Initiator (with comments) so Initiator can make changes and
resubmit.
Deny – The deny button should rarely be used as it cancels the transaction and no updates are made in the system.
HELP & SUPPORT
• For issues with accessing Workday, contact Medtronic Global IT Support.
• For reference documents, quick guides, video demos and other resources, visit the myWorkday Support website at:
http://sitebuilder2/Corporate/wdsupport.
• Contact [email protected] or your local HR contact. Global phone numbers for AskHR are available on TogetherWeCan.